Meteor
Meteor is a full-stack framework that lets you use JavaScript both on the client-side and on the server-side. PhpStorm integrates with Meteor so you can use it from inside the IDE. Meteor support in PhpStorm includes:
Automatic recognition of Meteor projects by detecting the .meteor folder and excluding the .meteor/local folder from the project. For more information, refer to Hiding excluded files.
Attaching the predefined Meteor library to the project automatically. This enables syntax highlighting, resolving references, and code completion.
Support of Spacebars via Handlebars with completion for if and each directives. PhpStorm recognizes Spacebars templates, but as a side effect marks HTML files in Meteor projects with
 . PhpStorm provides navigation between JavaScript source code and templates with go to Declaration Ctrl+B.
A dedicated complex Meteor run/debug configuration for debugging both the client-side and the server-side code within one debugging session, refer to Debugging a Meteor application.
Before you start
Download and install Node.js.
Make sure the JavaScript and TypeScript plugin is enabled in the settings. Press Ctrl+Alt+S to open settings and then select . Click the Installed tab. In the search field, type JavaScript and TypeScript. For more information about plugins, refer to Managing plugins.
Install the Meteor and Handlebars/Mustache plugins on the Settings | Plugins page, tab Marketplace, as described in Installing plugins from JetBrains Marketplace.
Install Meteor
The installation procedure depends on the operating system you are using. Learn more from the Meteor official website.
Download the LaunchMeteor.exe installer at the Meteor official website.
In the embedded Terminal (Alt+F12) , type:
$ curl https://install.meteor.com | /bin/sh
In the embedded Terminal (Alt+F12) , type:
$ curl https://install.meteor.com | /bin/sh
Create a new Meteor application
If you have no application yet, you can generate a PhpStorm project with Meteor-specific structure from a Meteor boilerplate template. Alternatively, create an empty PhpStorm project and configure Meteor support in it as described in Starting with an existing Meteor application below.
Create a Meteor project from a boilerplate template
Click New Project on the Welcome screen or select from the main menu. The New Project dialog opens.
In the left-hand pane, choose Meteor.
In the right-hand pane:
Specify the path to the folder where the project-related files will be stored.
Specify the location of the Meteor executable file (refer to Installing Meteor).
From the Template list, choose the sample to generate. To have a basic project structure generated, choose the Default option.
In the Filename field, type the name for the mutually related .js, .html, and .css files that will be generated. The field is available only if the Default sample type is selected from the Template drop-dow list.
Create an empty PhpStorm project
Click New Project on the Welcome screen or select from the main menu. The New Project dialog opens.
In the left-hand pane, choose PHP Empty Project. In the right-hand pane, specify the application folder and click Create.
Start with an existing Meteor application
If you are going to continue developing an existing Meteor application, open it in PhpStorm, configure Meteor in it, and download the required dependencies as described in Downloading Meteor dependencies below.
Open the application sources that are already on your machine
Click Open on the Welcome screen or select from the main menu. In the dialog that opens, select the folder where your sources are stored.
Check out the application sources from your version control
Click Clone Repository on the Welcome screen.
Alternatively, select or or from the main menu.
Instead of Git in the main menu, you may see any other Version Control System that is associated with your project. For example, Mercurial or Perforce.
In the dialog that opens, select your version control system from the list and specify the repository to check out the application sources from. For more information, refer to Check out a project (clone).
Configure Meteor support in an existing project
In the Settings dialog (Ctrl+Alt+S) , go to . The Meteor page opens.
Specify the path to the Meteor executable file. If you followed the standard installation procedure, PhpStorm detects the file automatically.
To involve the .meteor/local folder and its contents in project analysis, clear the Automatically exclude ".meteor/local" directory on open project checkbox. For more information, refer to Hiding excluded files below.
Make sure the Automatically import Meteor packages as external library checkbox is selected.
When the checkbox is selected, PhpStorm automatically imports the external packages from the meteor/packages file. As a result, PhpStorm provides full range coding assistance: resolves references to Meteor built-in functions, for example,
check(true), and to functions from third-party packages, provides proper syntax and error highlighting, supports debugging with source maps, and so on.When this checkbox is cleared, PhpStorm does not automatically import the external packages from the meteor/packages file. As a result no coding assistance is provided. To improve the situation, open the meteor/packages file in the editor and click the Import packages as library link or run the
meteor --updatecommand.
Make sure PhpStorm has attached the Meteor library to the project.
In the Settings dialog (Ctrl+Alt+S) , go to .
On the Settings: JavaScript Libraries page that opens, make sure the checkbox next to the Meteor project library in the Libraries list is selected.
Project security
When you open a project that was created outside PhpStorm and was imported into it, PhpStorm displays a dialog where you can decide how to handle this project with unfamiliar source code.
Select one of the following options:
Preview in Safe Mode: in this case, PhpStorm opens the project in a preview mode. It means that you can browse the project's sources but you cannot run tasks and script or run/debug your project.
PhpStorm displays a notification on top of the editor area, and you can click the Trust project… link and load your project at any time.
Trust Project: in this case, PhpStorm opens and loads a project. That means the project is initialized, project's plugins are resolved, dependencies are added, and all PhpStorm features are available.
Don't Open: in this case, PhpStorm doesn't open the project.
Learn more from Project security.
Import Meteor packages
Besides the predefined Meteor library that ensures basic Meteor-specific coding assistance, you can download additional packages that are defined in the .meteor/local/packages file.
Download additional Meteor packages
Open the .meteor/local/packages file in the editor.
Click the Import Meteor Packages link in the upper right-hand corner of the screen.
In the dialog that opens, specify the packages to download depending on the type of the application you are going to develop in your project.
Client
Server
Cordova: select this option to import the packages that support development of Meteor applications for iOS and Android For more information, refer to Meteor Cordova Phonegap Integration.
PhpStorm automatically marks the .meteor/local folder, which is intended for storing the built application, as excluded but still shows it in the project tree.
Hide the .meteor/local folder
Click the
 button on the toolbar of the Project tool window (Alt+1) and remove a tick next to the Show Excluded Files option.
Run a Meteor application
PhpStorm runs Meteor applications according to a run configuration of the type Meteor. If you created your application from a boilerplate template, PhpStorm generates this run configuration for you.
Create a Meteor run configuration
Select Edit Configurations from the Run/Debug Configurations widget on the toolbar, click the Add New Configuration button (
 ) and select Meteor from the list to open the configuration settings.
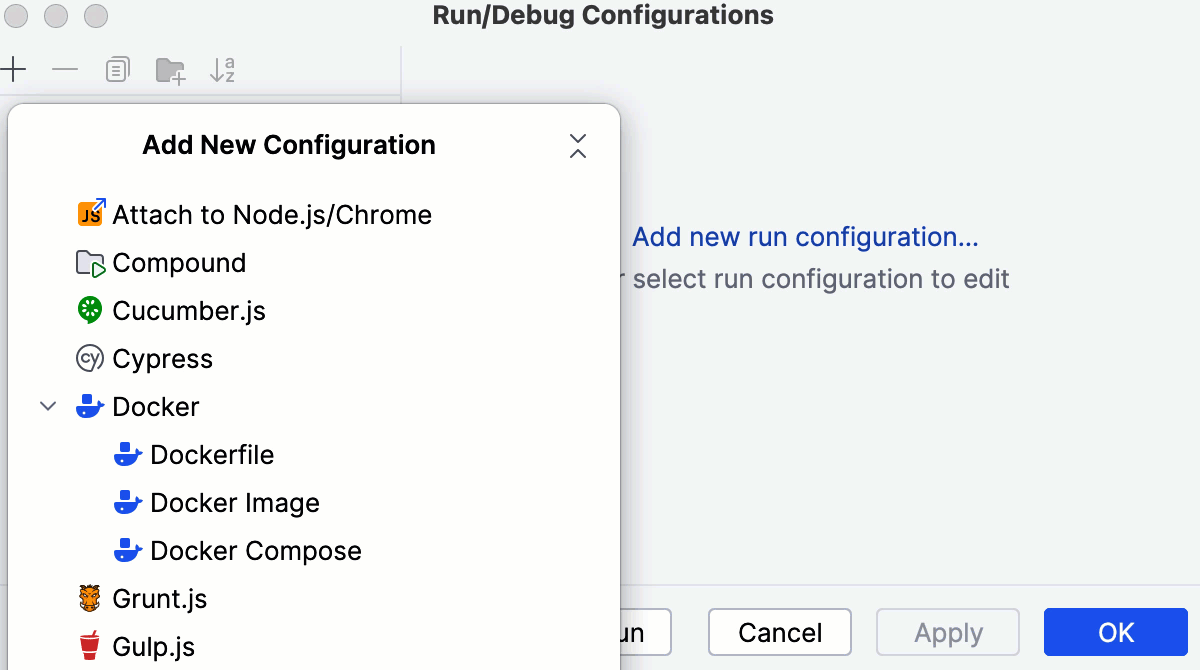
In the Configuration tab, specify the path to the Meteor executable file according to the installation (refer to Installing Meteor).
Specify the folder under which the application files to run are stored. This folder must have a .meteor subfolder in the root so PhpStorm recognizes your application as a Meteor project.
By default, the working directory is the project root folder.
Optionally
In the Program Arguments field, specify the command-line additional parameters to be passed to the executable file on start up, if applicable. These can be, for example,
--dev,--test, or--prodto indicate the environment in which the application is running (development, test, or production environments) so different resources are loaded on start up.By default, PhpStorm shows the application output in the Run tool window. To view the results of the client-side code execution, in the Browser / Live Edit tab select the After Launch checkbox and choose the browser to open from the list. In the field below, specify the URL address to open the application at. The default value is http://localhost:3000.
Run a Meteor application
Create a run/debug configuration as described above or modify an existing one and click Run in the dialog.
Alternatively, select the newly created run configuration from the list on the main toolbar and click
 .
. View the application output in the Run tool window or in the browser if you configured the browser to open on application start as described above.
Debug a Meteor application
With PhpStorm, you can debug both the client-side and the server-side of Meteor JavaScript code within one debugging session. A debugging session is initiated only through a dedicated Meteor run configuration.
Technically, several Meteor projects that implement different applications can be combined within one single PhpStorm project. To run and debug these applications independently, create a separate run configuration for each of them with the relevant working directory. To avoid port conflicts, these run configurations should use different ports. In the Program Arguments field, specify a separate port for each run configuration in the format --port=<port_number>.
Set the breakpoints in the code where necessary.
Create a Meteor run/debug configuration as described above. In the Browse / Live Edit tab, select the After launch checkbox, choose Chrome from the list, and select the with JavaScript debugger checkbox.
To initiate a debugging session, select the required debug configuration from the list on the main toolbar and click
 next to the list or select from the main menu.
 The Debug tool window opens showing two tabs: one for debugging the server-side code marked with
 and the other one for debugging the client-side code marked with
  .
.Optionally, preview the changes to the application on the fly as described below.
Preview changes in the browser
During a debugging session, you can preview changes to your HTML, CSS, or JavaScript code on the fly. The live contents of the page you edit are shown in the Elements tab of the Debug tool window. The update policy depends on which part of your application you are editing.
Preview changes to the client-side code
Switch to the <Configuration name> JavaScript
tab and click  on the toolbar.
Configure automatic upload of updates by selecting the Enable Meteor Hot code push checkbox on the Meteor page. Learn more from the Meteor official website.
Preview the changes to the server-side code
Switch to the <Configuration name>
tab and click on the toolbar.Configure automatic upload with the Live Edit functionality as described in Live Edit in HTML, CSS, and JavaScript. It is recommended that you select the Restart if hotswap fails checkbox on the page, then PhpStorm will attempt to reload the page if the changes couldn't be applied without that.