Edit Jupyter notebook files
Set up your project
In PyCharm, create a new Python project or.
Install the jupyter package for the selected interpreter.
When all the indexing processes are finished, you are ready to start working with the notebook files.
To open an existing .ipynb file, follow the same steps as for the files of the other types. If needed, you can create a notebook file.
Create a notebook file
Do one of the following:
Right-click the target directory in the Project Workspace tool window, and select New from the context menu.
Press Alt+Insert
Select Jupyter Notebook.

In the dialog that opens, type a filename.
A notebook document has the *.ipynb extension and is marked with the corresponding icon: ![]() .
.
Switch between the available editing modes by using the corresponding icons.
Edit source code in the notebook
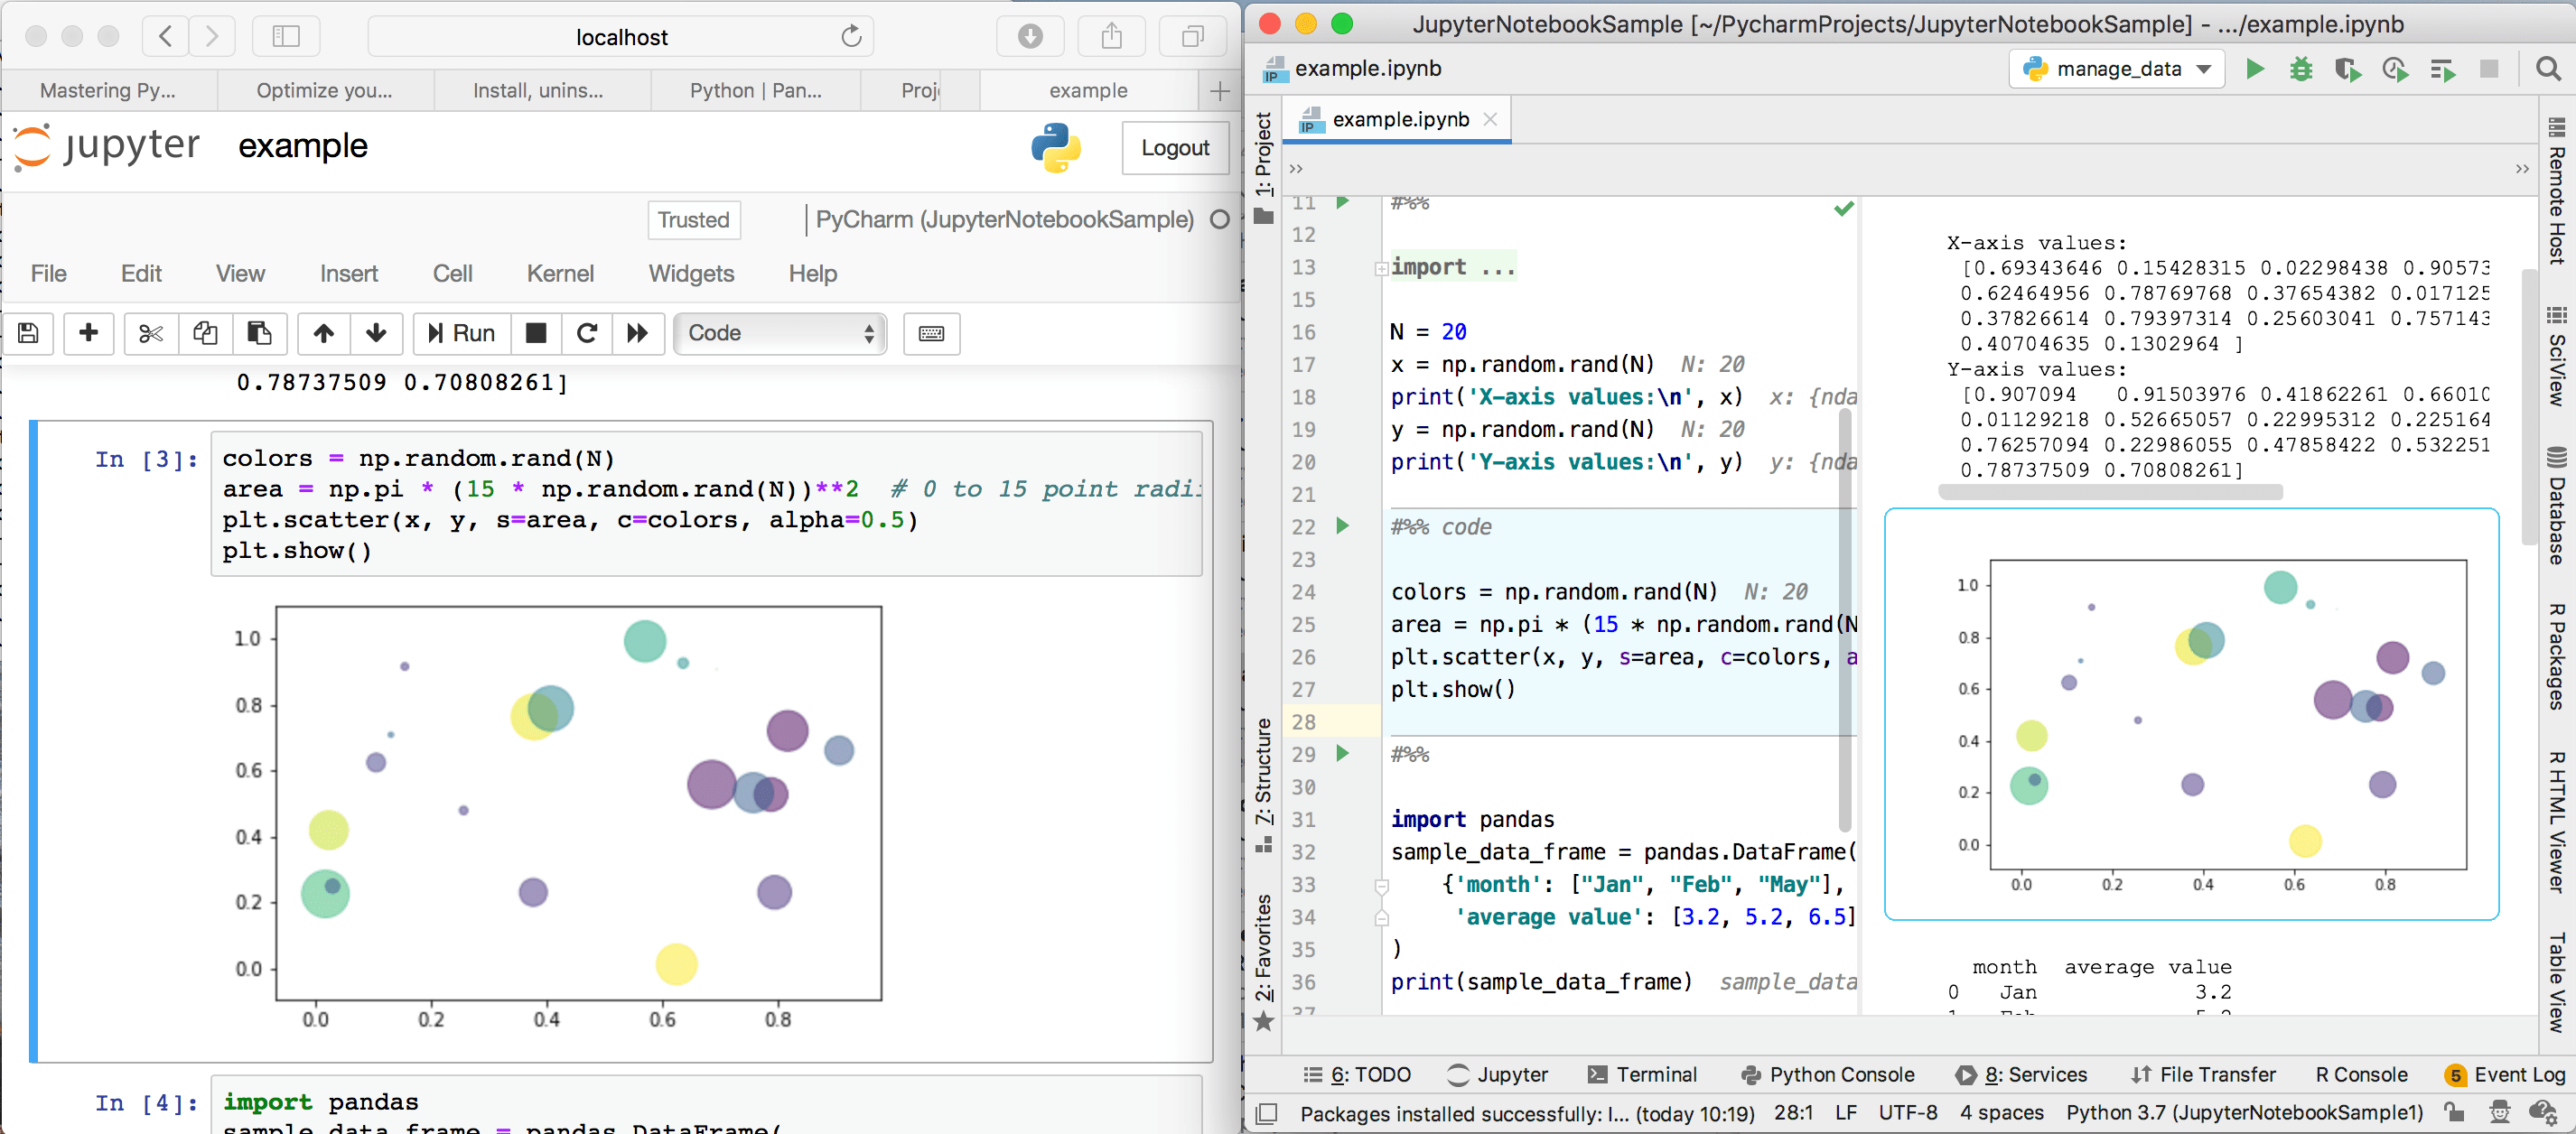
You can add Markdown, raw, and code cells to the notebook file.
Use one of the following ways to add a new cell:
Click the
 icon in the lowest line in the gutter. Select a cell type to add.
Type the corresponding comment:
Comment Cell type #%% mdMarkdown markup language. #%%Python code fragment #%% raw“Raw NBConvert” cell type. For code cells, press Alt + Shift + A (Windows) or ⌥ ⇧ A (macOS) to insert a new cell above the currently selected cell, or Alt + Shift + B (Windows) or ⌥ ⇧ B (macOS) to create a new cell below the selected cell.
Add appropriate content to the newly created cell. Once a Markdown or raw cell is added, its output appears in the Preview pane. To preview the results produced by a code cell you need to execute it first.

Use the
 icon to control visibility of the source code preview.
You can apply various editing actions to one cell or to the entire notebook. Press the Ctrl+A once to select a cell at caret, and press Ctrl+A twice to select all cells in the notebook.
When editing notebook files, mind that PyCharm updates the source code and preview of the notebook if it has been changed externally.
Use code assistance
You can edit code cells with the help of Python code insights, such as syntax highlighting, code completion, and so on.
PyCharm enables code completion for the names of classes, functions, and variables. Start typing the name of the code construct, and the suggestion list appears.

Runtime completion retrieves information from the Jupyter kernel during cell execution. You can start typing the name of the data element, and the kernel prompts the list of the suggestions.

Intention actions and quick fixes. You can add the missing imports on-the-fly by using the intention actions.

Configure the source editor
Set up cell separators.
By default, all cells are separated by lines. To alter this formatting, open project Settings/Preferences Ctrl+Alt+S, select dialog, and deselect the Show Cell Line Separators in the Editor checkbox.
Set up the number of virtual lines in code and Markdown cells.
When you create new code or Markdown cells, PyCharm adds opening and closing virtual lines that are not part of the cell content, are not displayed in the Preview area, and are not saved in the notebook file. By default, PyCharm adds one line before the actual content and one line after it. To change this behavior, open Settings/Preferences Ctrl+Alt+S, select dialog, and modify the value of the Number of Virtual Lines in Code Call Start/End input stepper.
Configure the notebook preview area
Manage the font size.
By default, the output content in the Preview area is displayed using the editor font size. To alter this value and set any specific font size, open Settings/Preferences Ctrl+Alt+S, select dialog, deselect Use Font Editor Size, and choose the required size in the Font Size field.
Cell selection
To select several cells in the command mode, press Shift and Up/ Down keys.

Copy and paste cells
To copy a cell in a command mode, press Ctrl+C.
To paste the copied cell below, press Ctrl+V. To paste it above the current cell, press Shift with Ctrl+V
