Add a JavaScript asset to a Rails application
This tutorial explains how to add a JavaScript asset to a Rails application. We'll continue working on the project created in this topic, add a button to the web page, and handle the button click on the client side.
Choose a JavaScript setup
Before creating the application, consider how you want to debug client-side JavaScript in RubyMine.
Importmap is the default option in the RubyMine New Project dialog. It loads JavaScript modules directly in the browser without bundling them or generating source maps. With this setup, you can debug JavaScript using the browser's developer tools.
esbuild bundles JavaScript and generates source maps. The source maps allow the RubyMine JavaScript debugger to map the generated bundle back to the original files and bind breakpoints under app/javascript.
Create a Rails application using importmap
Before you start, create a project as instructed here. Once the project is created, perform the procedures below.
Add a controller
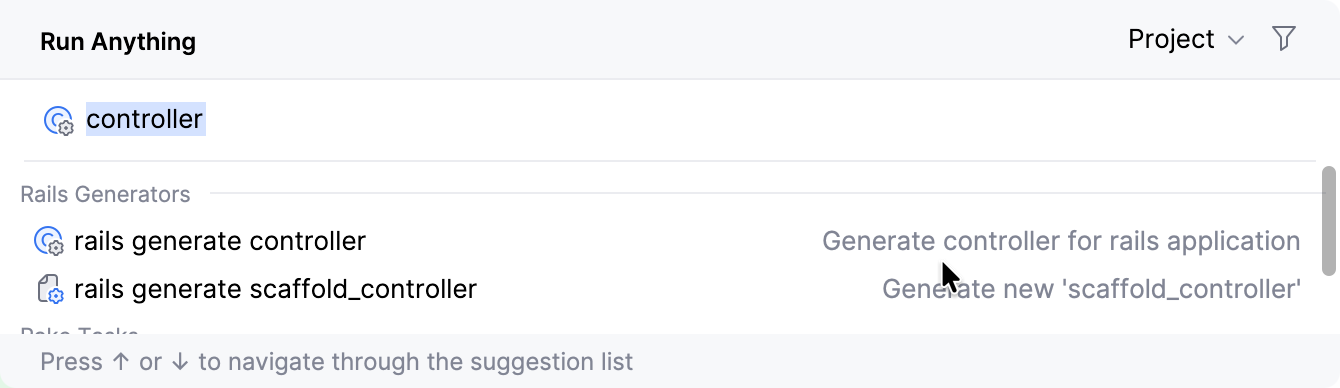
Press Ctrl twice and start typing controller. In the invoked list, select rails generate controller and press Enter.
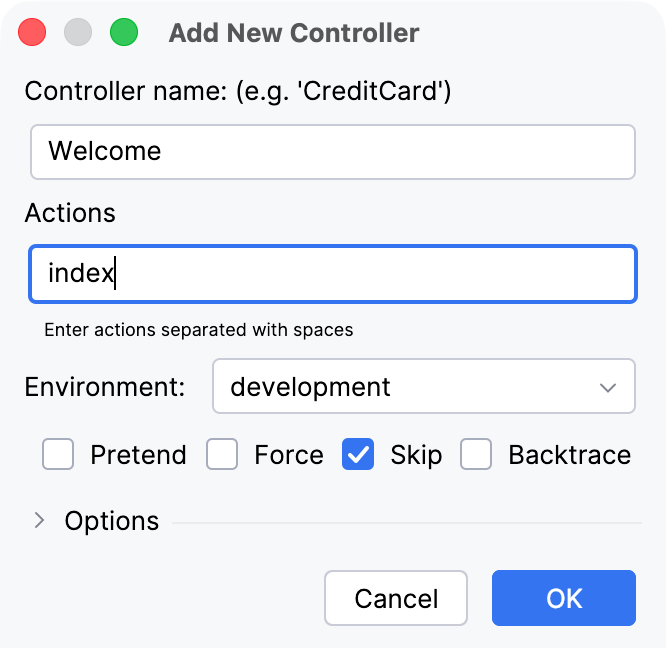
In the invoked Add New Controller dialog, set the controller name to Welcome and add one action called index. Click OK.
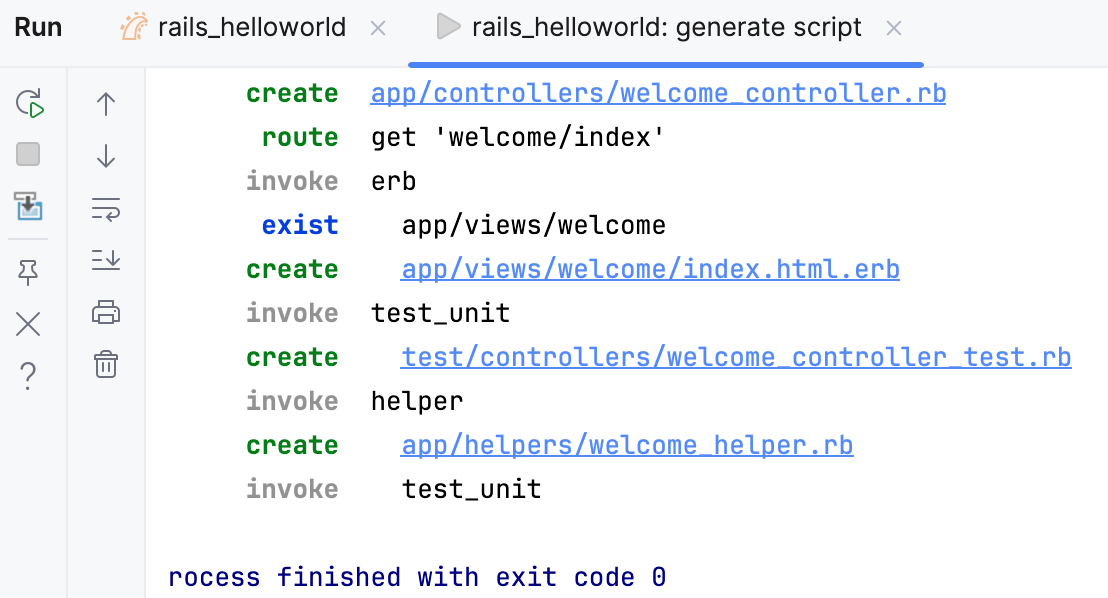
RubyMine will create a controller, view, and several other files. This process will be displayed in the Run tool window. In this window, click the index.html.erb file.
To set the home page of your application to index, open the config/routes.rb file and add the following line within the
Rails.application.routes.draw do ... endblock:root 'welcome#index'Learn more at Setting the Application Home Page.
Update a view
Add a button to the created view.
In the Project view (Alt+1), open the app/views/welcome/index.html.erb file.
Replace the current content of the file with the following code:
<h1>Hello, Rails!</h1> <button id="greet-user-button">Hello!</button>Apart from the existing static text within the
h1tag, the view file now contains a button element with a specific identifier that will be used in JavaScript.
Add a JavaScript handler
Now, create a JavaScript file that will handle the button click.
In the Project view, select the app/javascript directory.
Press Alt+Insert and select JavaScript File.
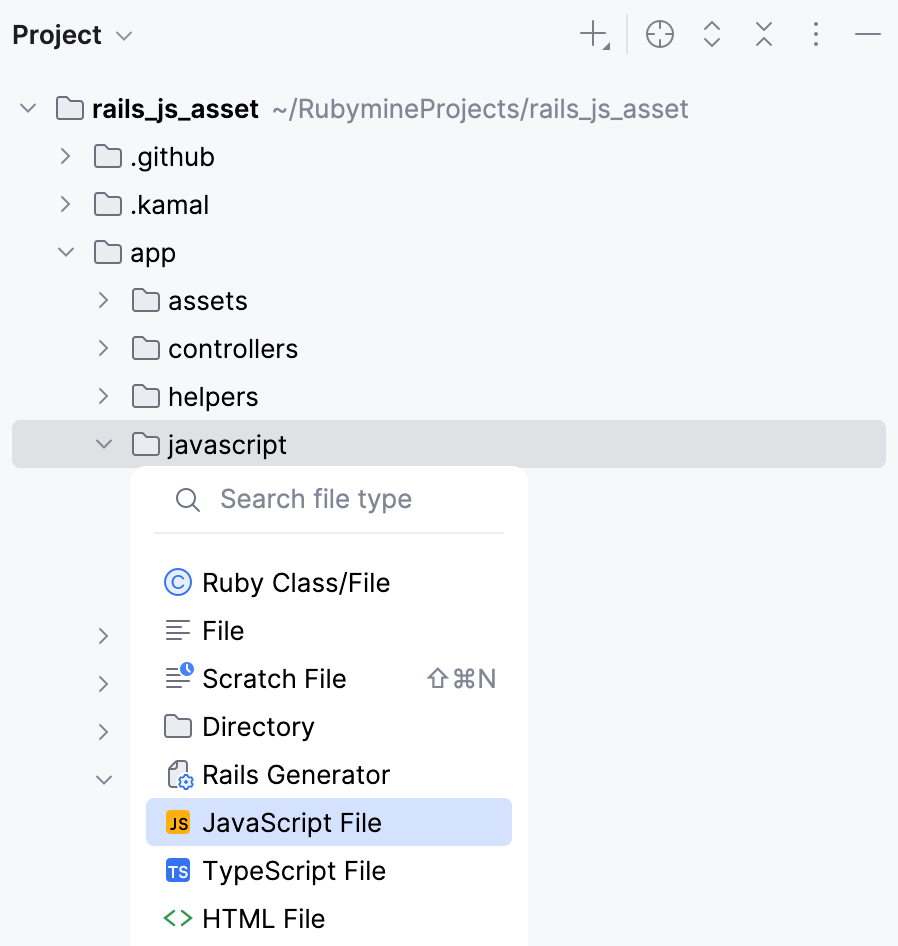
Specify the file name (hello) and press Enter.
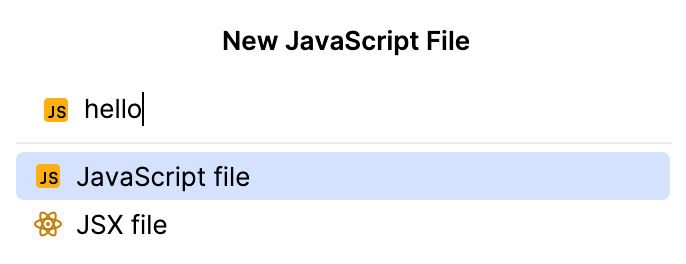
In the created hello.js file, add the following code:
const button = document.getElementById("greet-user-button") if (button) { button.addEventListener("click", () => { alert("Hello!, JavaScript!") }) }In this script we:
Find the button by its identifier.
Attach a click handler that displays an alert and logs a message to the console.
To make this file available in the application, open app/javascript/application.js and add:
import "hello"Ensure that the application layout includes JavaScript assets. Open app/views/layouts/application.html.erb and verify that it contains:
<%= javascript_importmap_tags %>Open the config/importmap.rb file and add the following line:
pin "hello"
Start a web server
To see our application in action, you need to start a web server.
Press Ctrl twice and start typing development.
Click the Run icon in the upper right corner.
RubyMine will show the process of preparing the application to run.
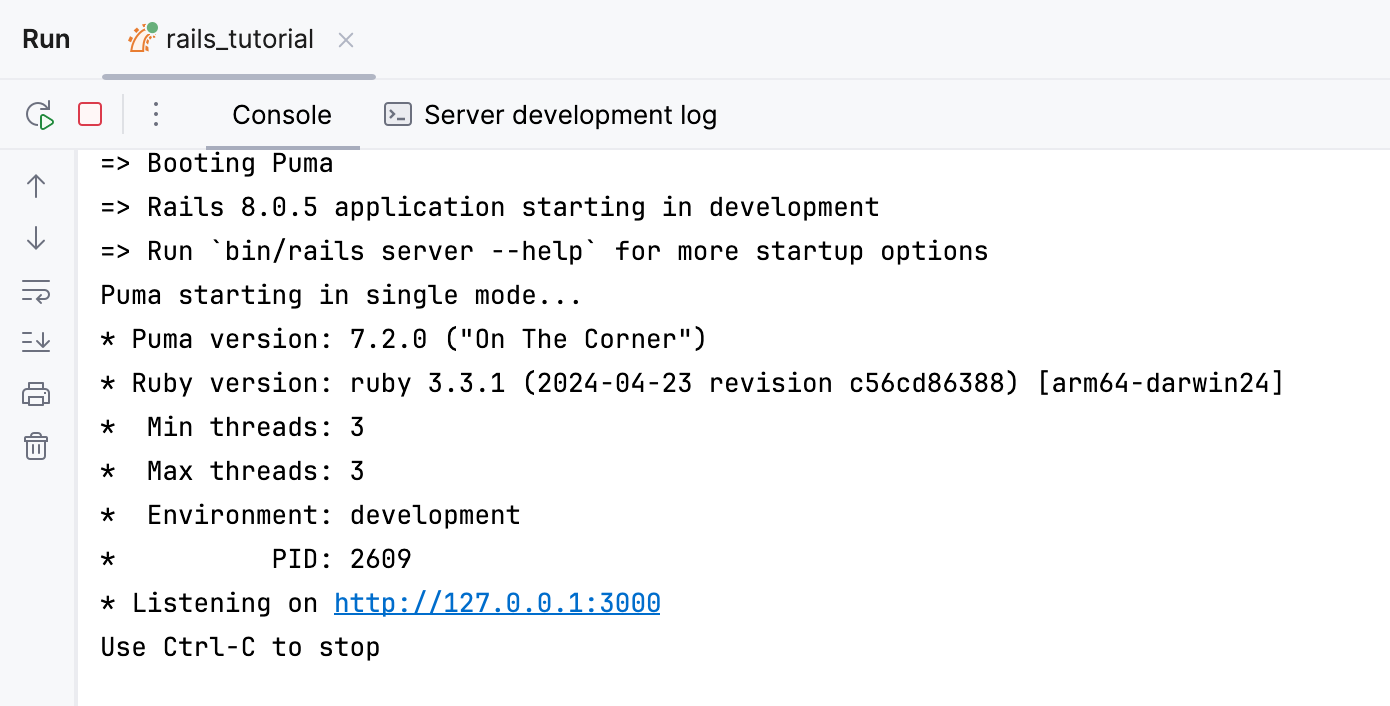
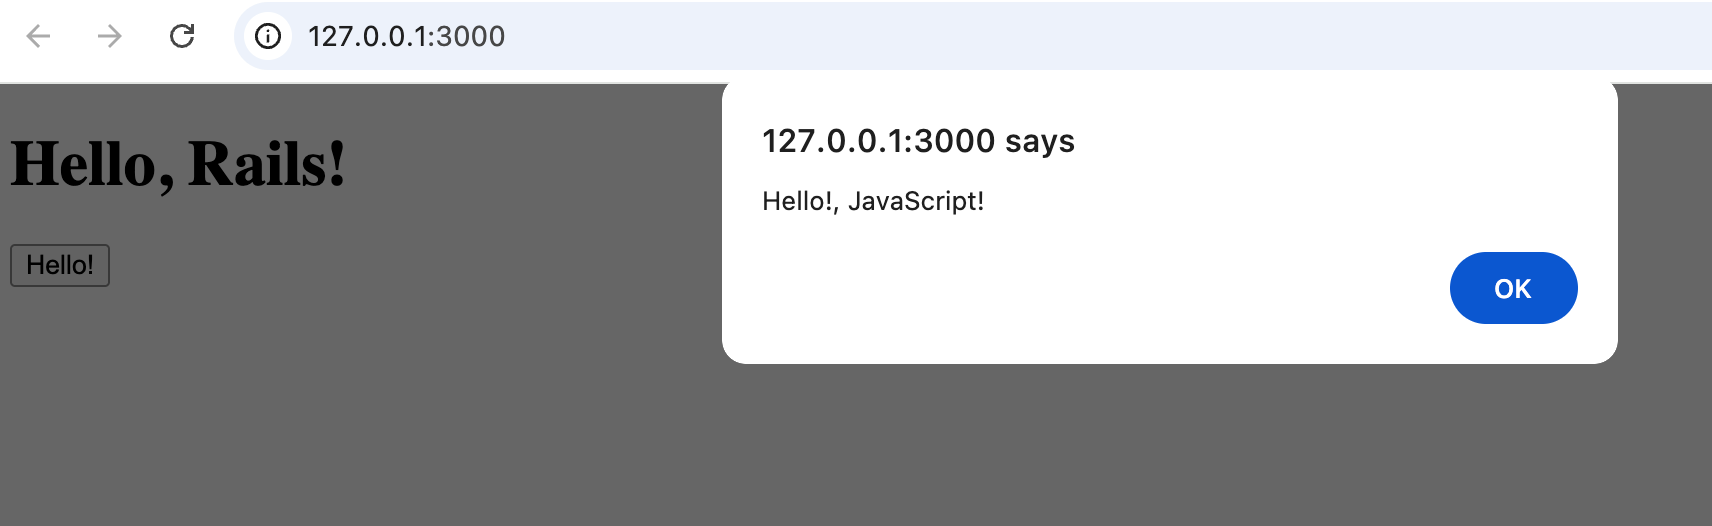
Open http://127.0.0.1:3000 in your browser. Then click the Hello! button to see the alert.
Create a Rails app using esbuild
Before you start, create a project as instructed here. Make sure to select ESbuild from the build tool list.
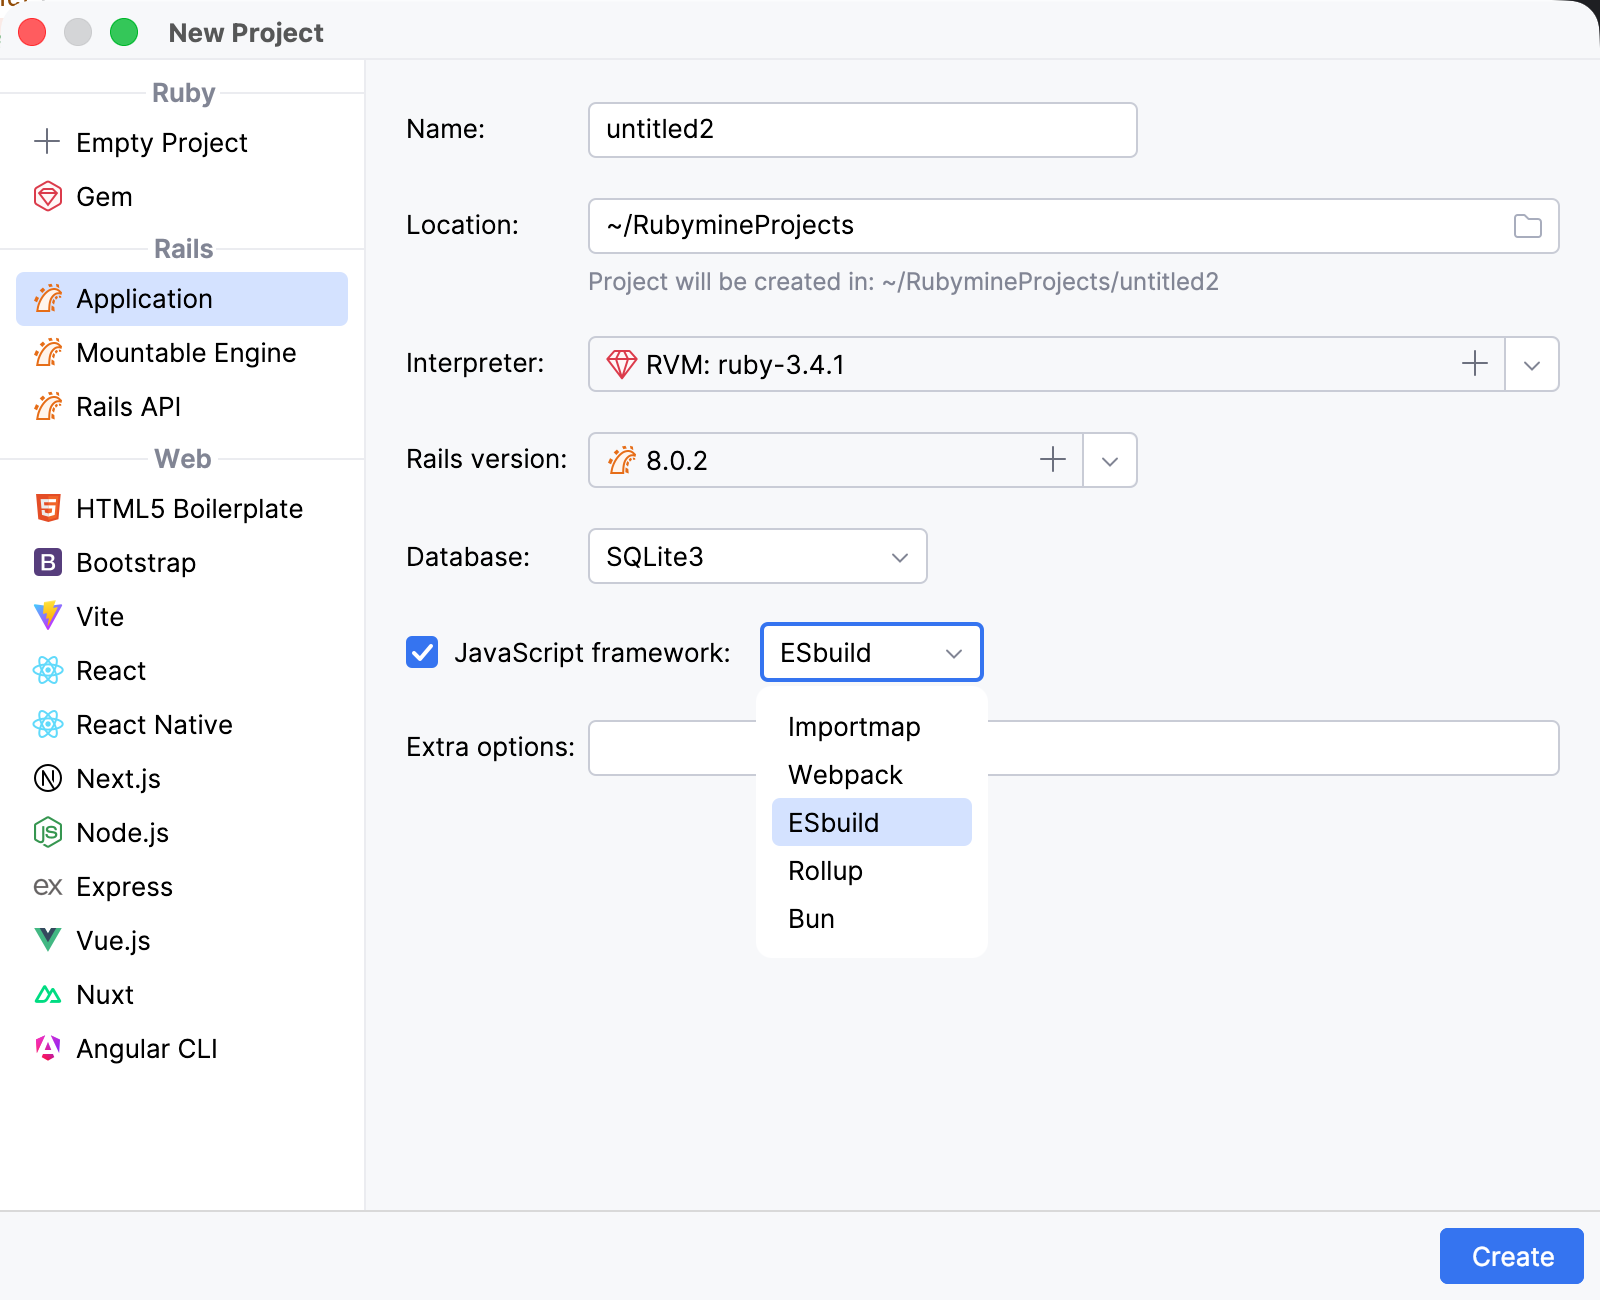
Once the project is created, perform the procedures below.
Add a controller
Press Ctrl twice and start typing controller. Select rails generate controller and press Enter.
In the Add New Controller dialog, set the controller name to Welcome and add an action named index. Click OK.
Open config/routes.rb and add the following line inside the
Rails.application.routes.draw do ... endblock:root "welcome#index"
Update a view
Add a button to the generated view.
In the Project view (Alt+1), open app/views/welcome/index.html.erb.
Replace the contents of the file with the following code:
<h1>Hello, Rails!</h1> <button id="greet-user-button" type="button">Hello!</button>The button has an identifier that will be used by the JavaScript handler.
Add a JavaScript handler
Create a JavaScript file that handles the button click.
In the Project view, select the app/javascript directory.
Press Alt+Insert and select JavaScript File.
Enter hello as the file name and press Enter.
Add the following code to hello.js:
const button = document.getElementById("greet-user-button") if (button) { button.addEventListener("click", () => { alert("Hello!, JavaScript!") }) }This script finds the button and attaches a click handler to it.
Open app/javascript/application.js and add the following import:
import "./hello"Keep the imports generated by Rails in this file.
Open app/views/layouts/application.html.erb and verify that it loads the generated application bundle:
<%= javascript_include_tag "application", "data-turbo-track": "reload", type: "module" %>
Build the JavaScript bundle
In the Project view, open package.json.
Verify that the
scriptssection contains the following build command:{ "scripts": { "build": "esbuild app/javascript/*.* --bundle --sourcemap --format=esm --outdir=app/assets/builds --public-path=/assets" } }The
--sourcemapoption generates source maps for debugging the original JavaScript files.Click the Run icon in the gutter next to the
buildscript and select Run 'build'.RubyMine runs
yarn buildand displays the result in the Run tool window.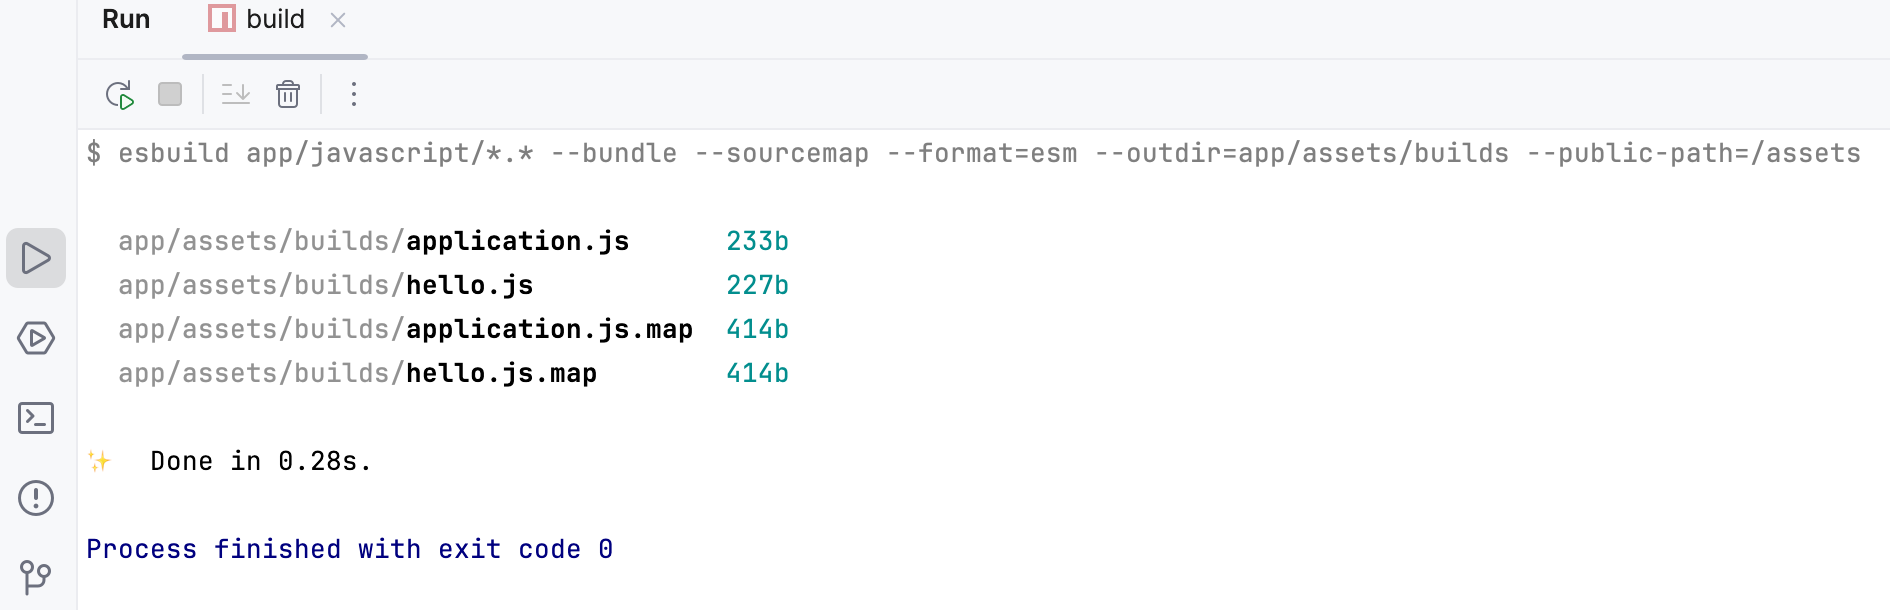
Now, you can start the web server and verify your application is working.