Space Integration with JetBrains IDEs
Space IDE integration is intended for JetBrains Space members that use JetBrains IDEs to work on their projects. It links your IDE with your organization at JetBrains Space and lets you:
All of which right from your IDE.
The integration works across all JetBrains IDEs of the version 2019.3 and newer:
IntelliJ IDEA
WebStorm
PhpStorm
Rider
PyCharm
RubyMine
CLion
GoLand
The integration is available as a plugin which comes bundled with all JetBrains IDEs of the version 2022.2 and newer. For older versions you need to install it.
Install Space plugin (only required for older IDE versions)
Make sure your JetBrains IDE is version 2019.3 or newer. If you're using JetBrains IDE version 2022.2 (2021.1 for IntelliJ IDEA) or newer, you don't need to install the plugin — it comes with your IDE installation. Otherwise, follow the steps below.
Open your IDE and go to .
In the Settings dialog window, select Plugins from the left pane.
Select the Marketplace tab.
Find JetBrains Space plugin on the list and click Install.
To activate the plugin, restart your IDE.
Log in to Space
Before you can start using Space plugin, you need to provide it with your Space organization address and log in to Space.
In your IDE, go to :
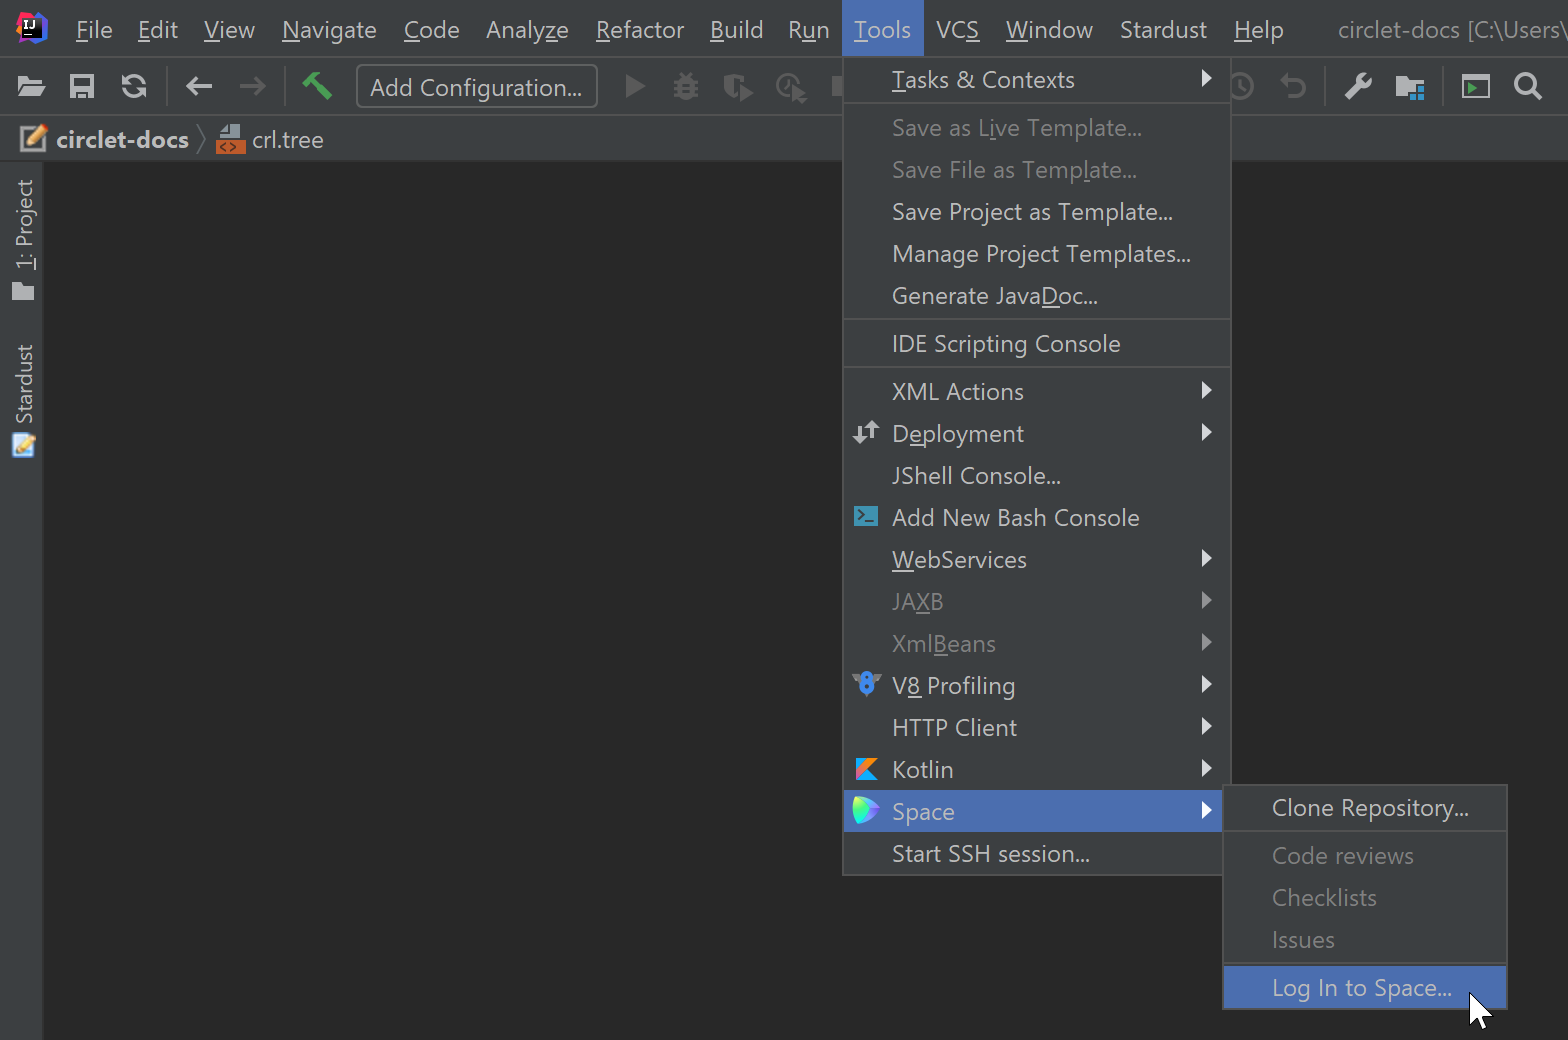
Enter the address of your Space organization website, e.g
https://mycompany.jetbrains.space(Make sure to enter the full URL starting withhttps://):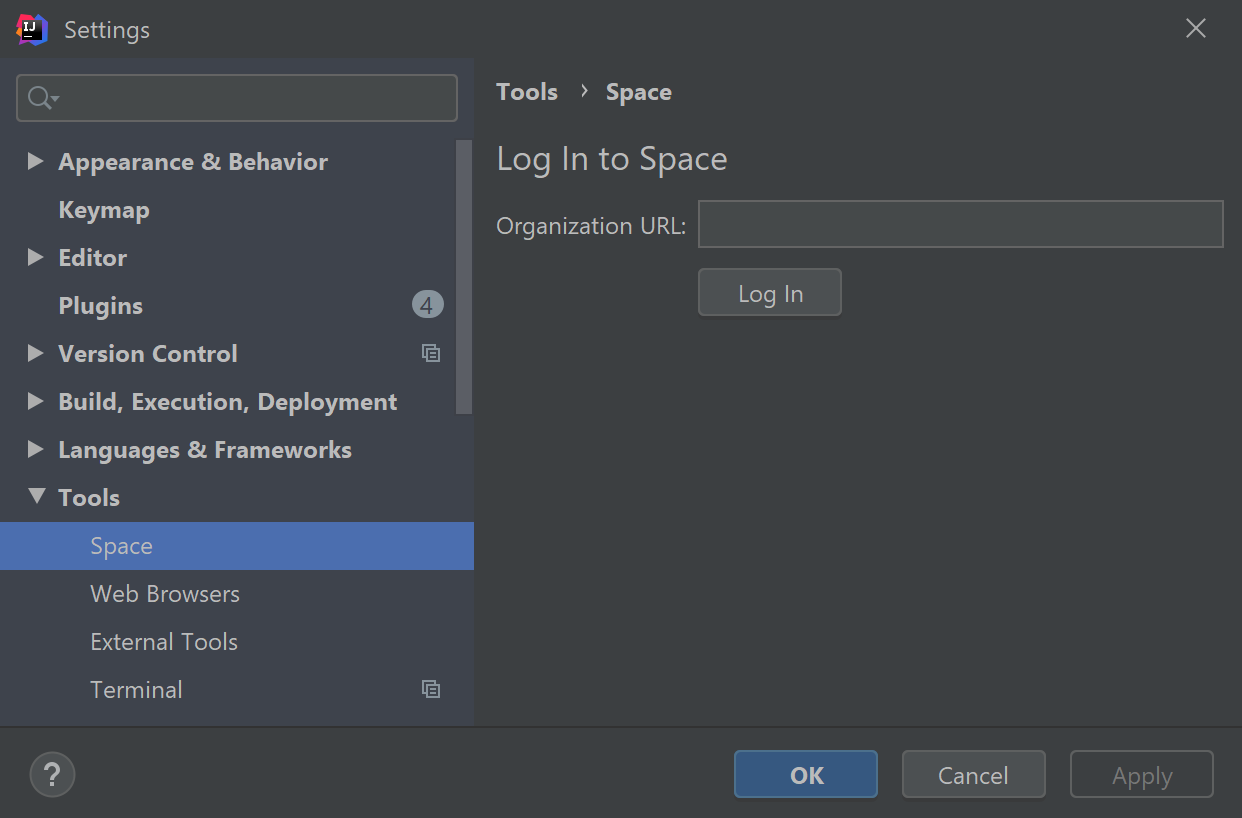
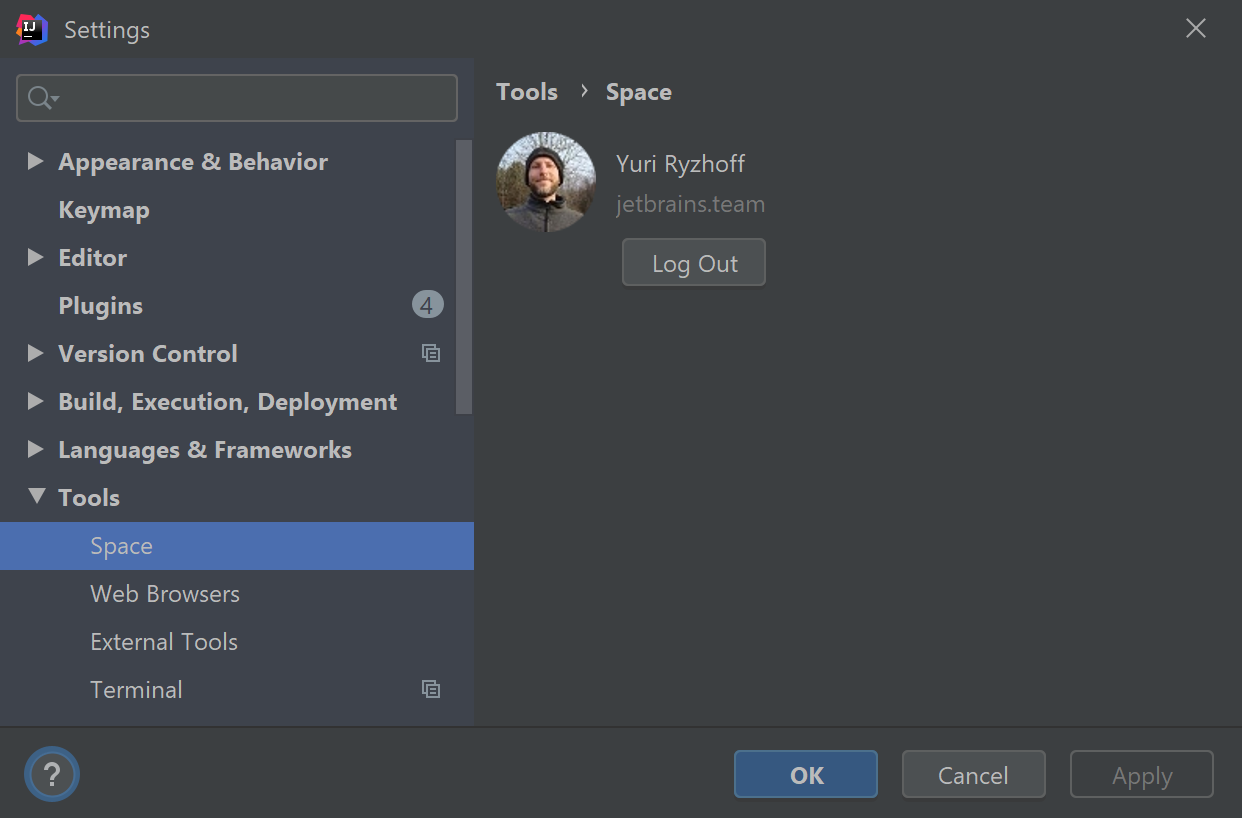
The Space login screen will open in a browser where you can enter your Space credentials. If you're successfully logged in, your Space avatar will be displayed in the IDE:
View and clone repositories
View all projects and repositories hosted in your Space organization then clone a repository you want to contribute to.
Before you can clone a repository, you need to upload your SSH public key to Space or set up an HTTP password (depending on the authentication methods used in repositories)
You may be also required to have a GPG key for signing your commits.
See Git Keys for instructions.
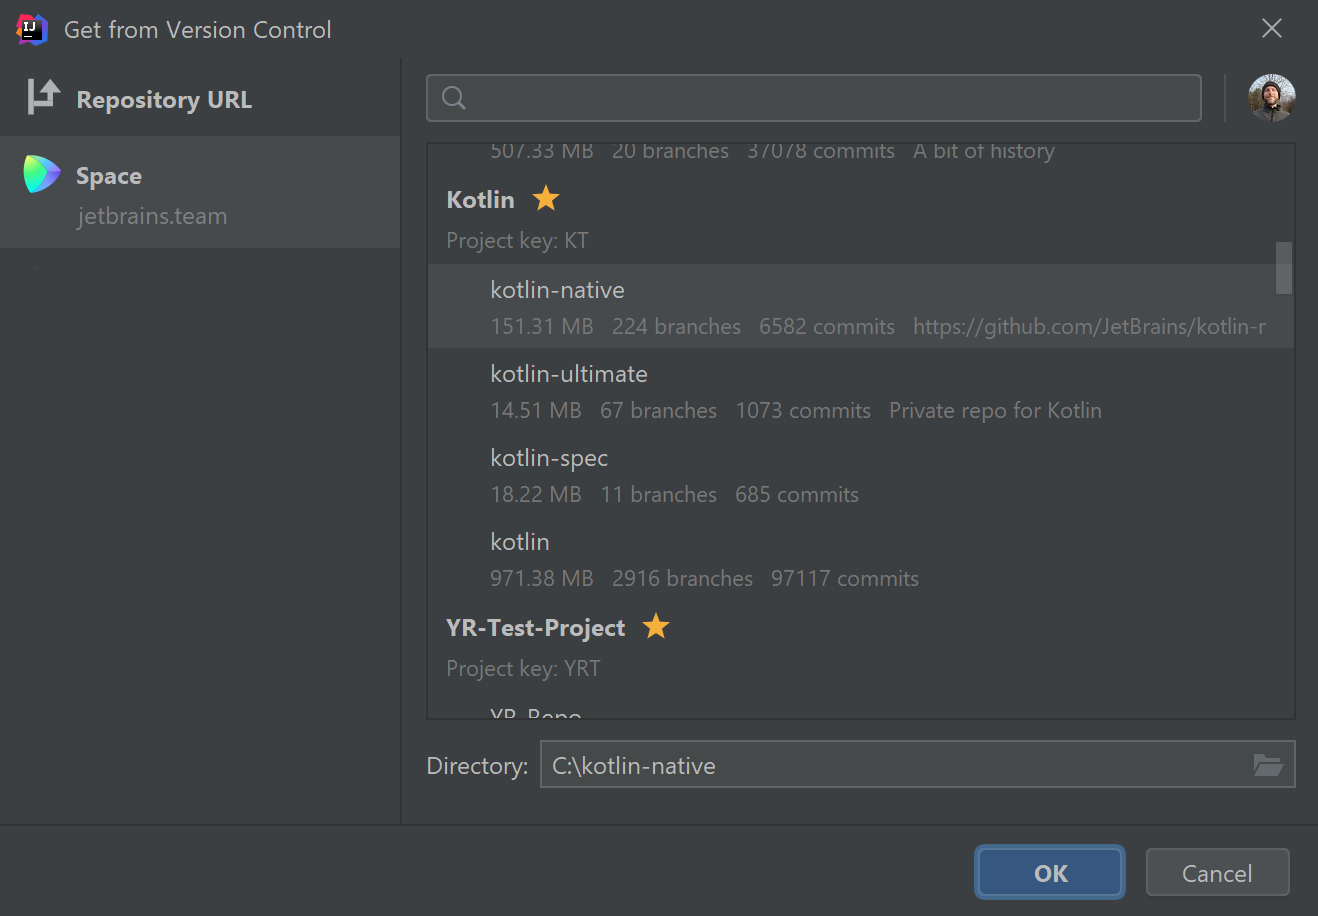
Now you can view and clone repositores from your IDE:
In your IDE, go to .
A list of projects and repositories will be displayed.
To clone a repository to your machine, select it from the list and click OK:
Review code
Space Code Review tool window lets you browse and search all code reviews for the current project, view and leave comments, examine and accept changes, create code reviews and merge requests.
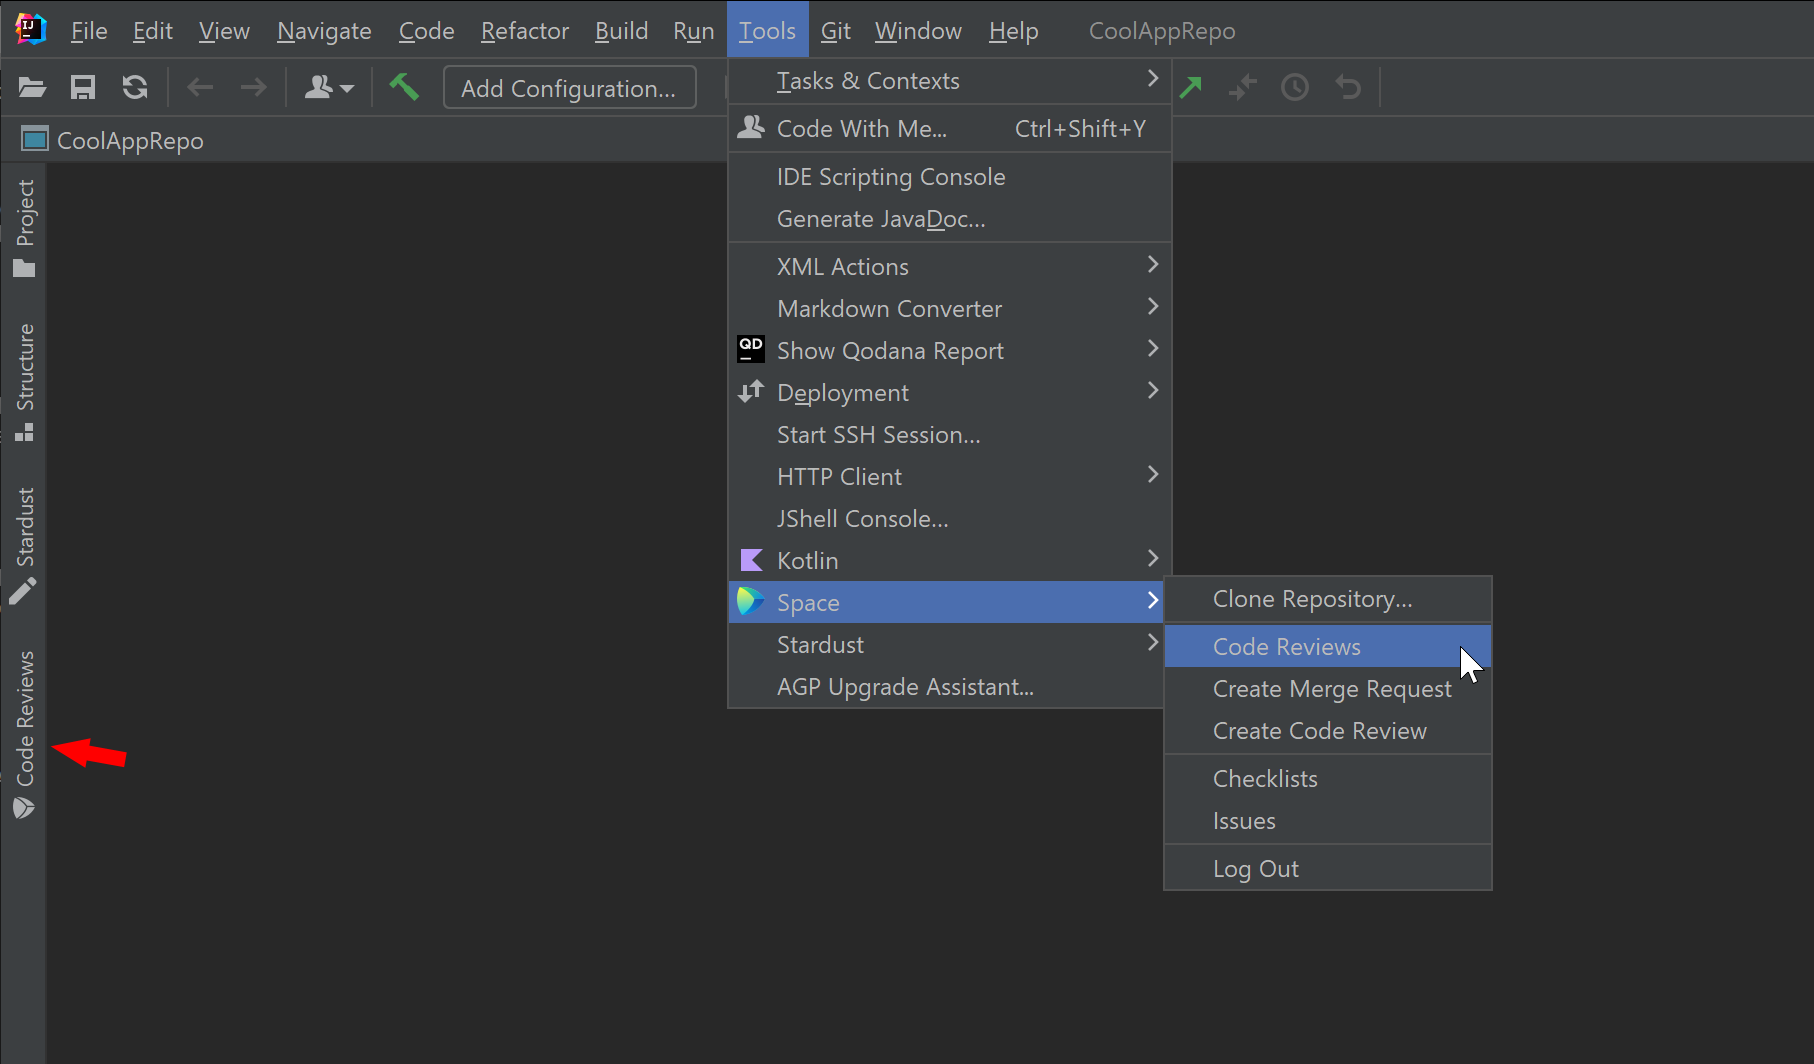
To open the Code Reviews tool window, click the respective sidebar menu item on the left or go to :
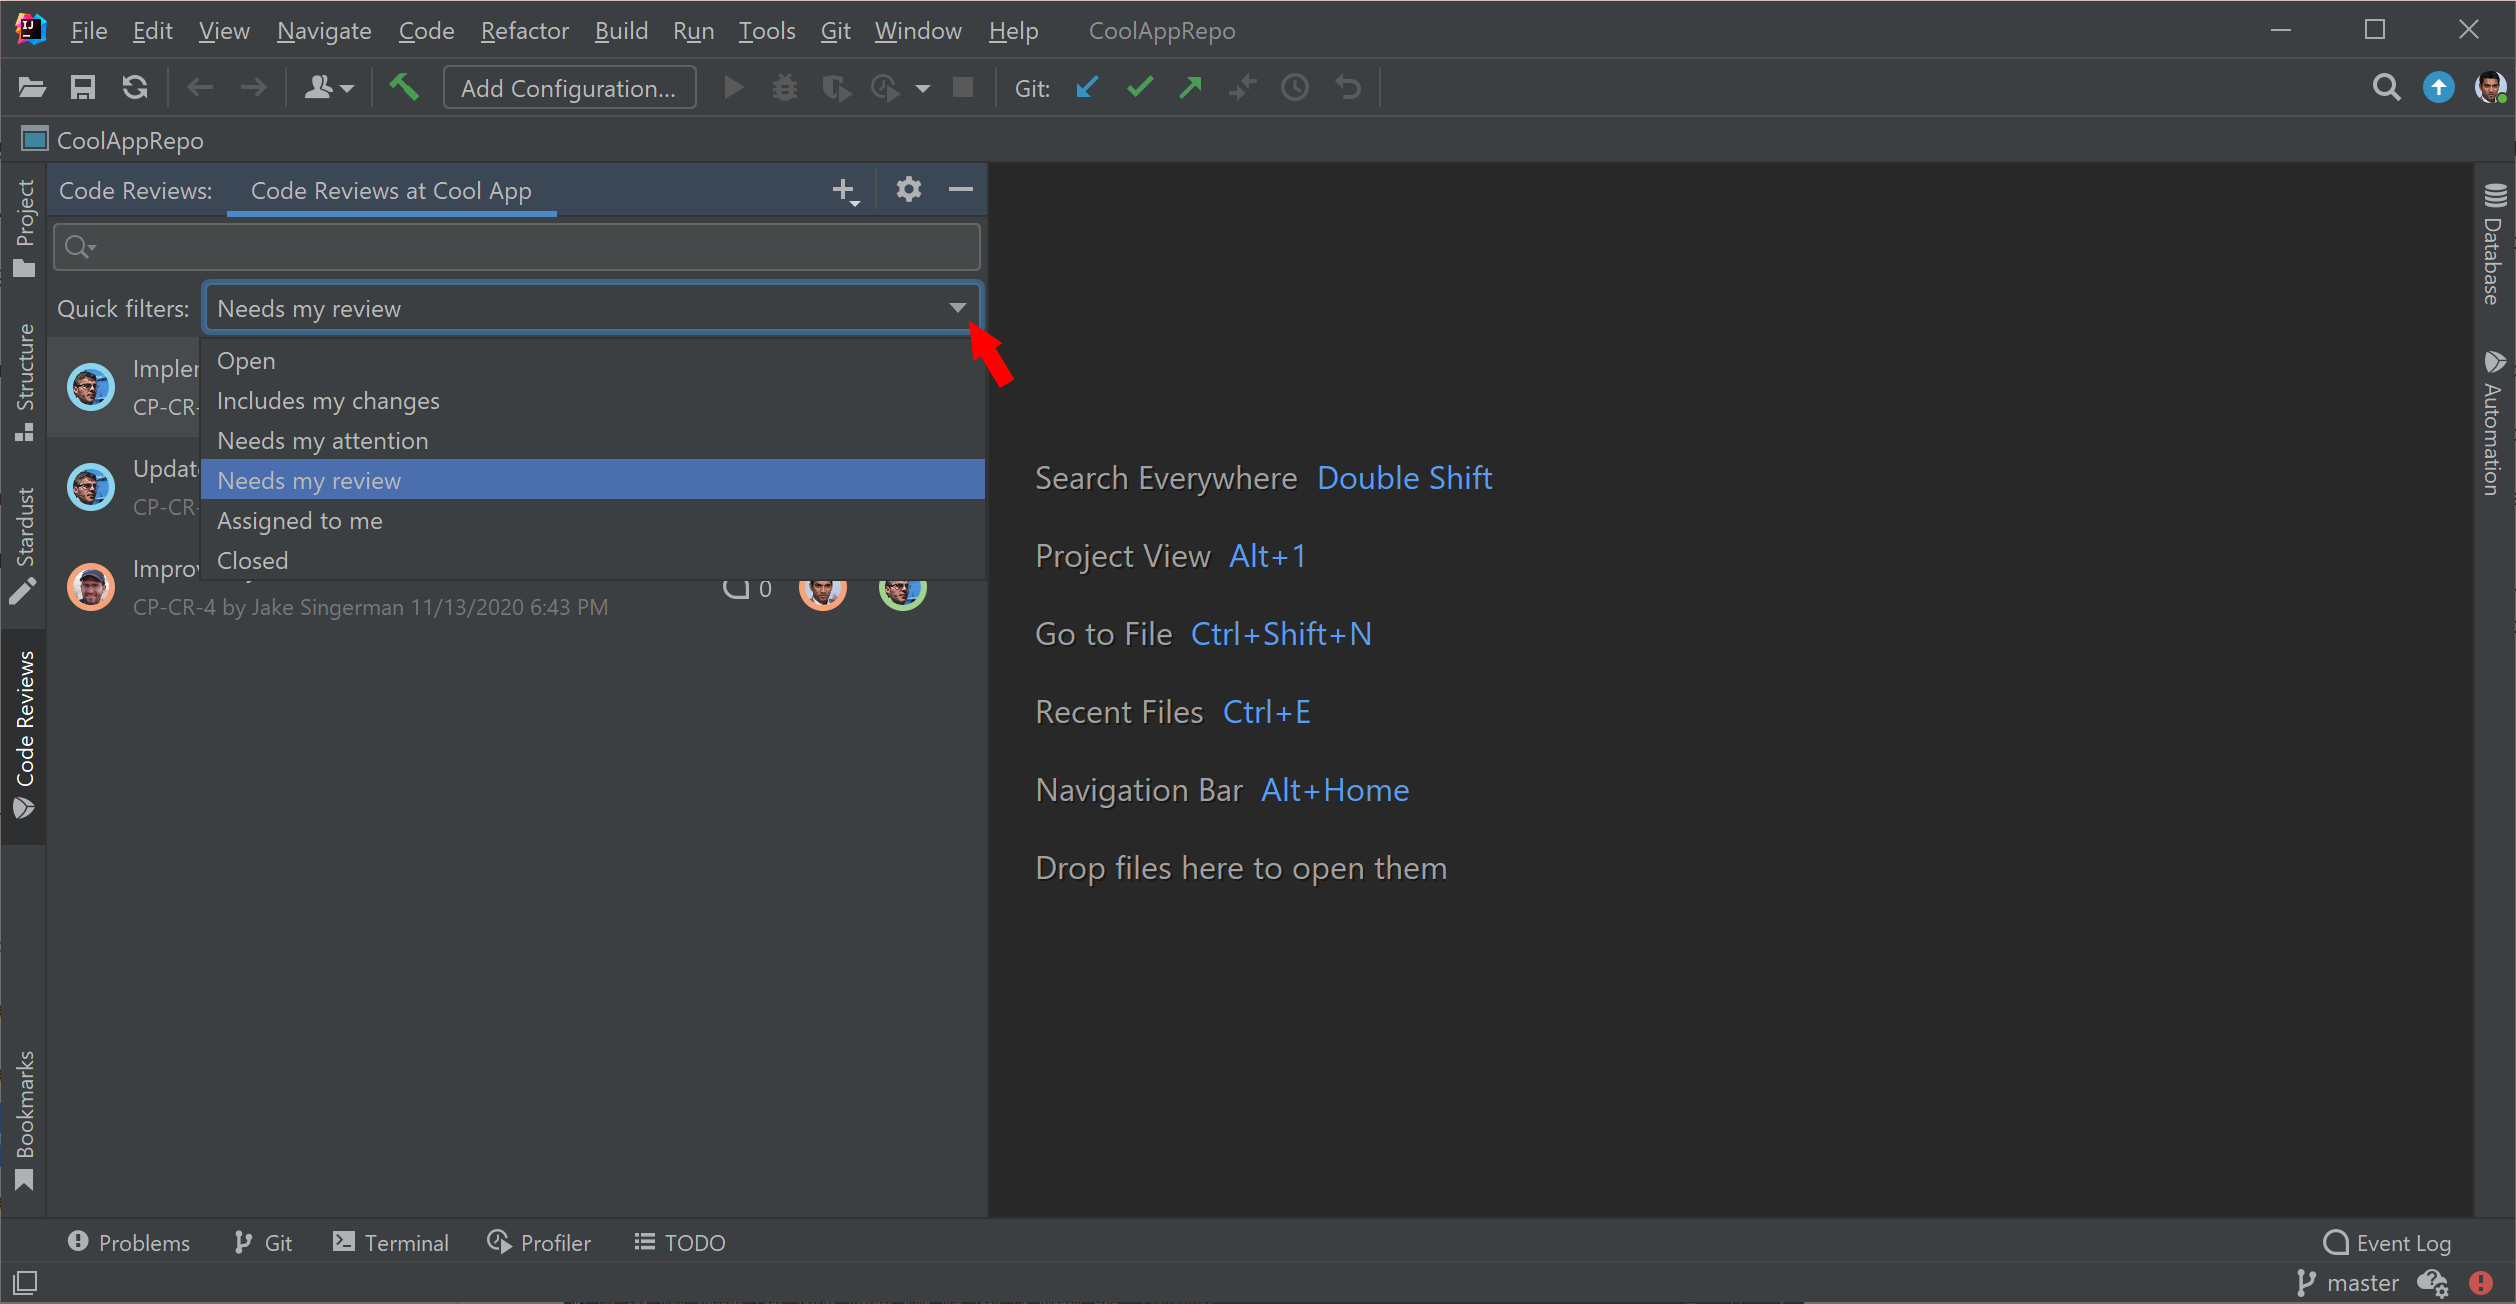
Use the quick filters to display:
Open or closed code reviews.
Reviews that include your changes.
Reviews that need your attention.
Changes that you're expected to review.
Reviews assigned to you.
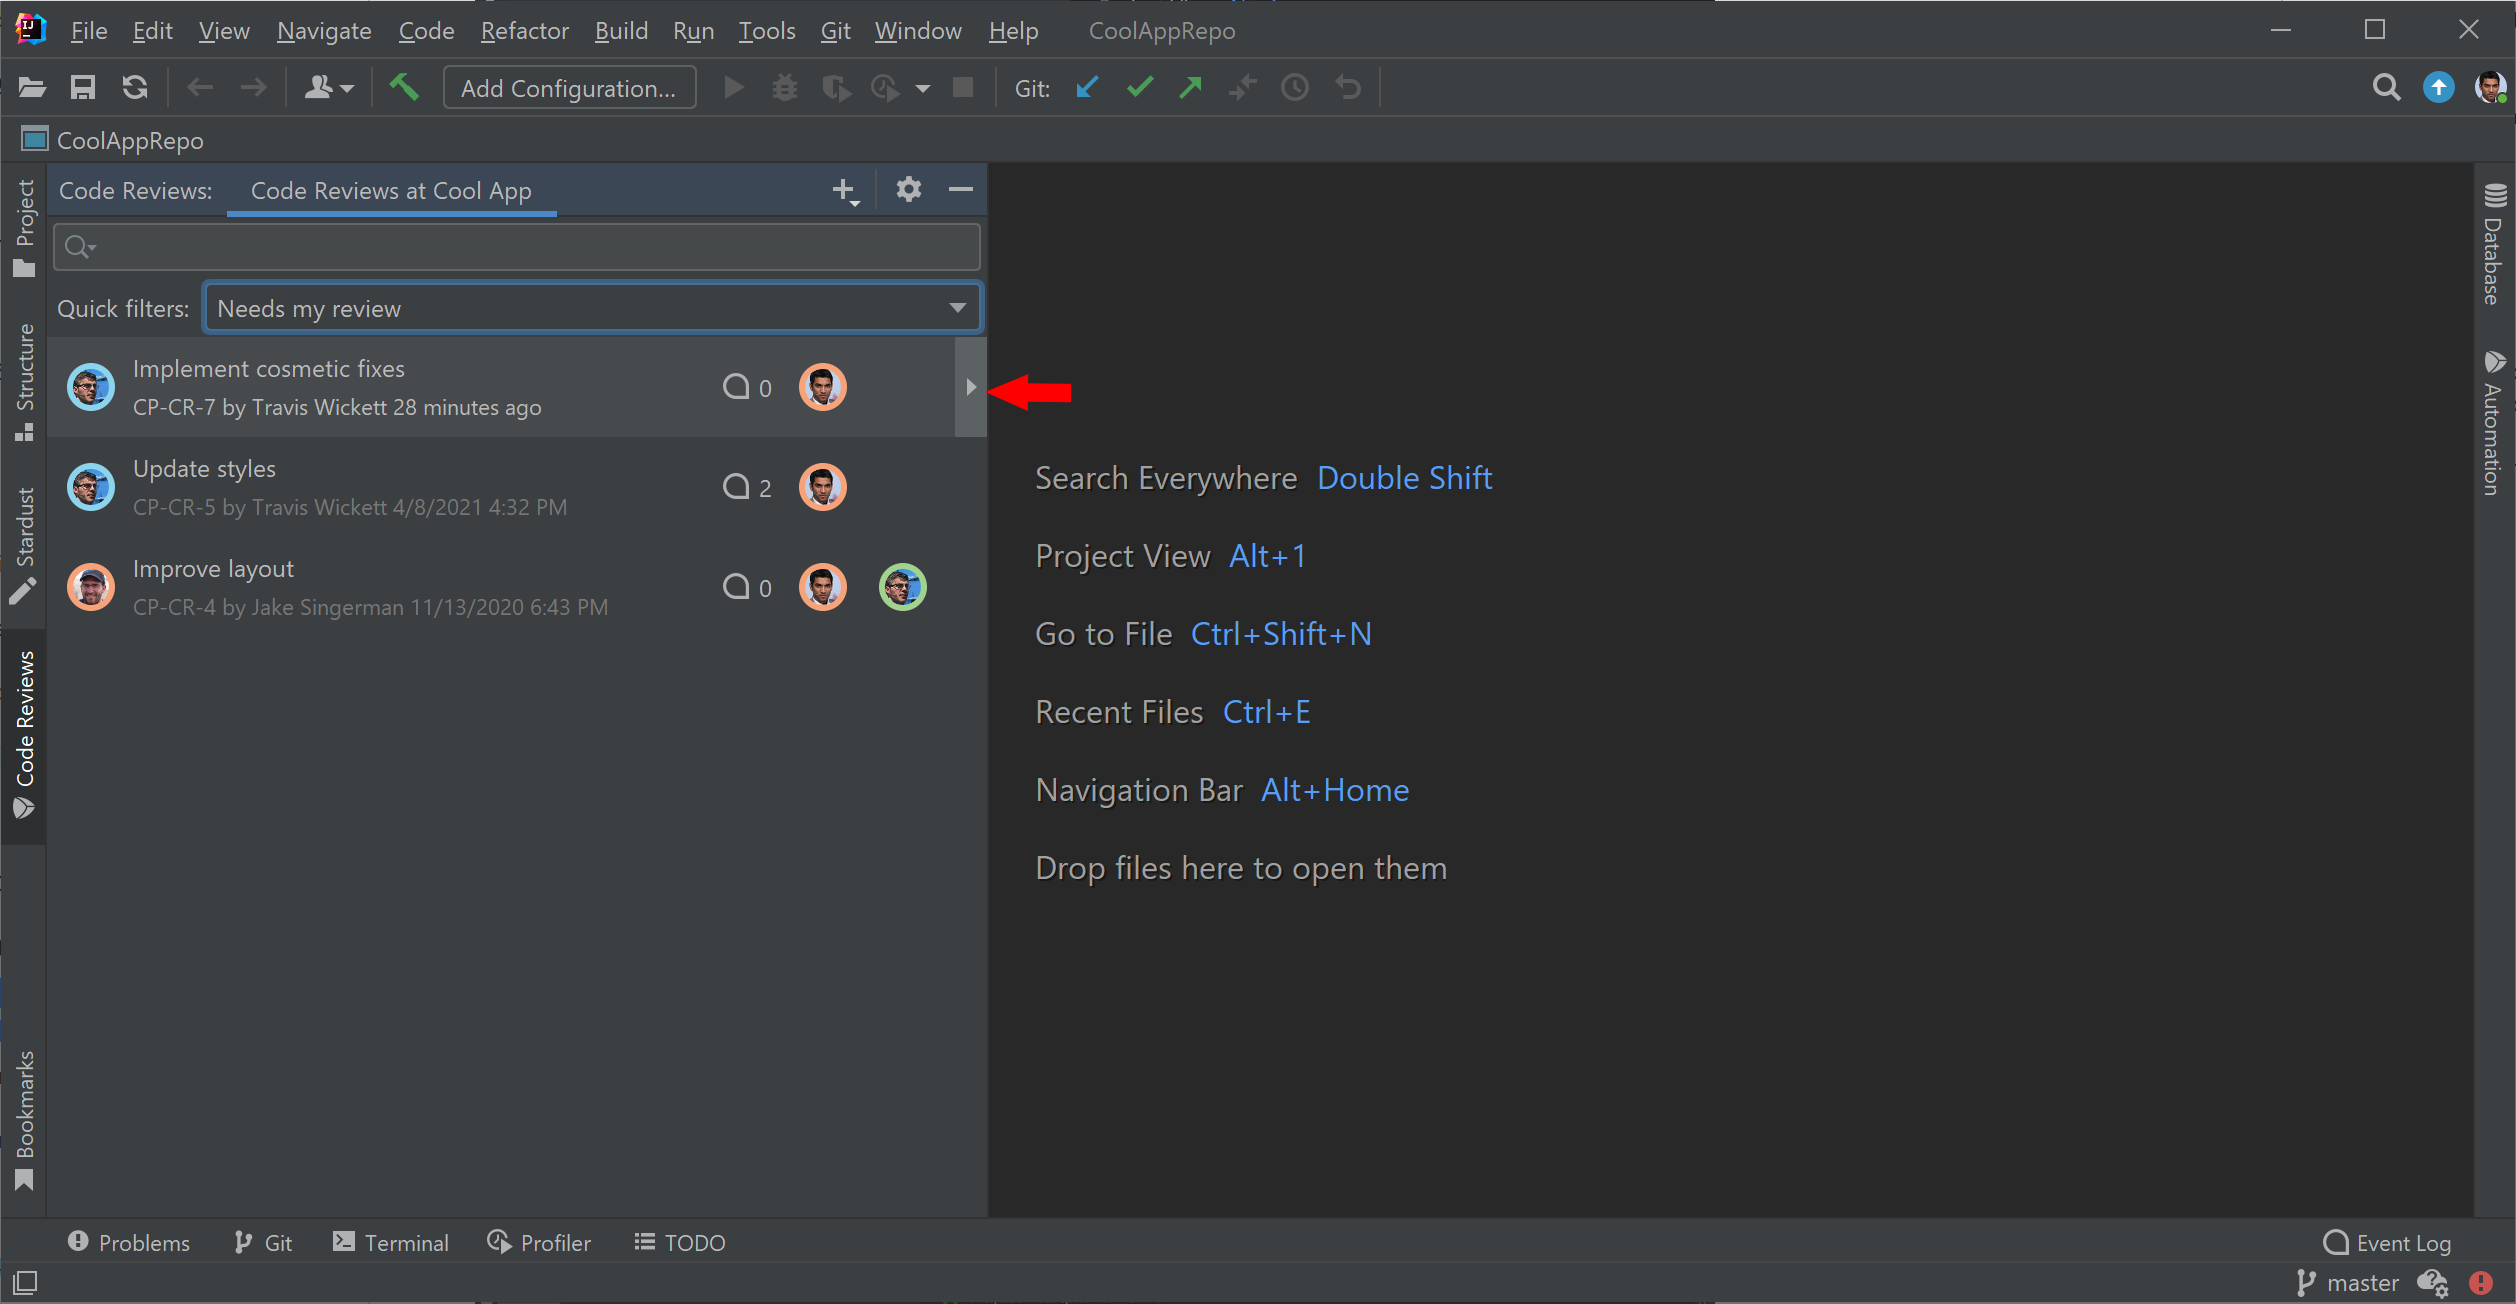
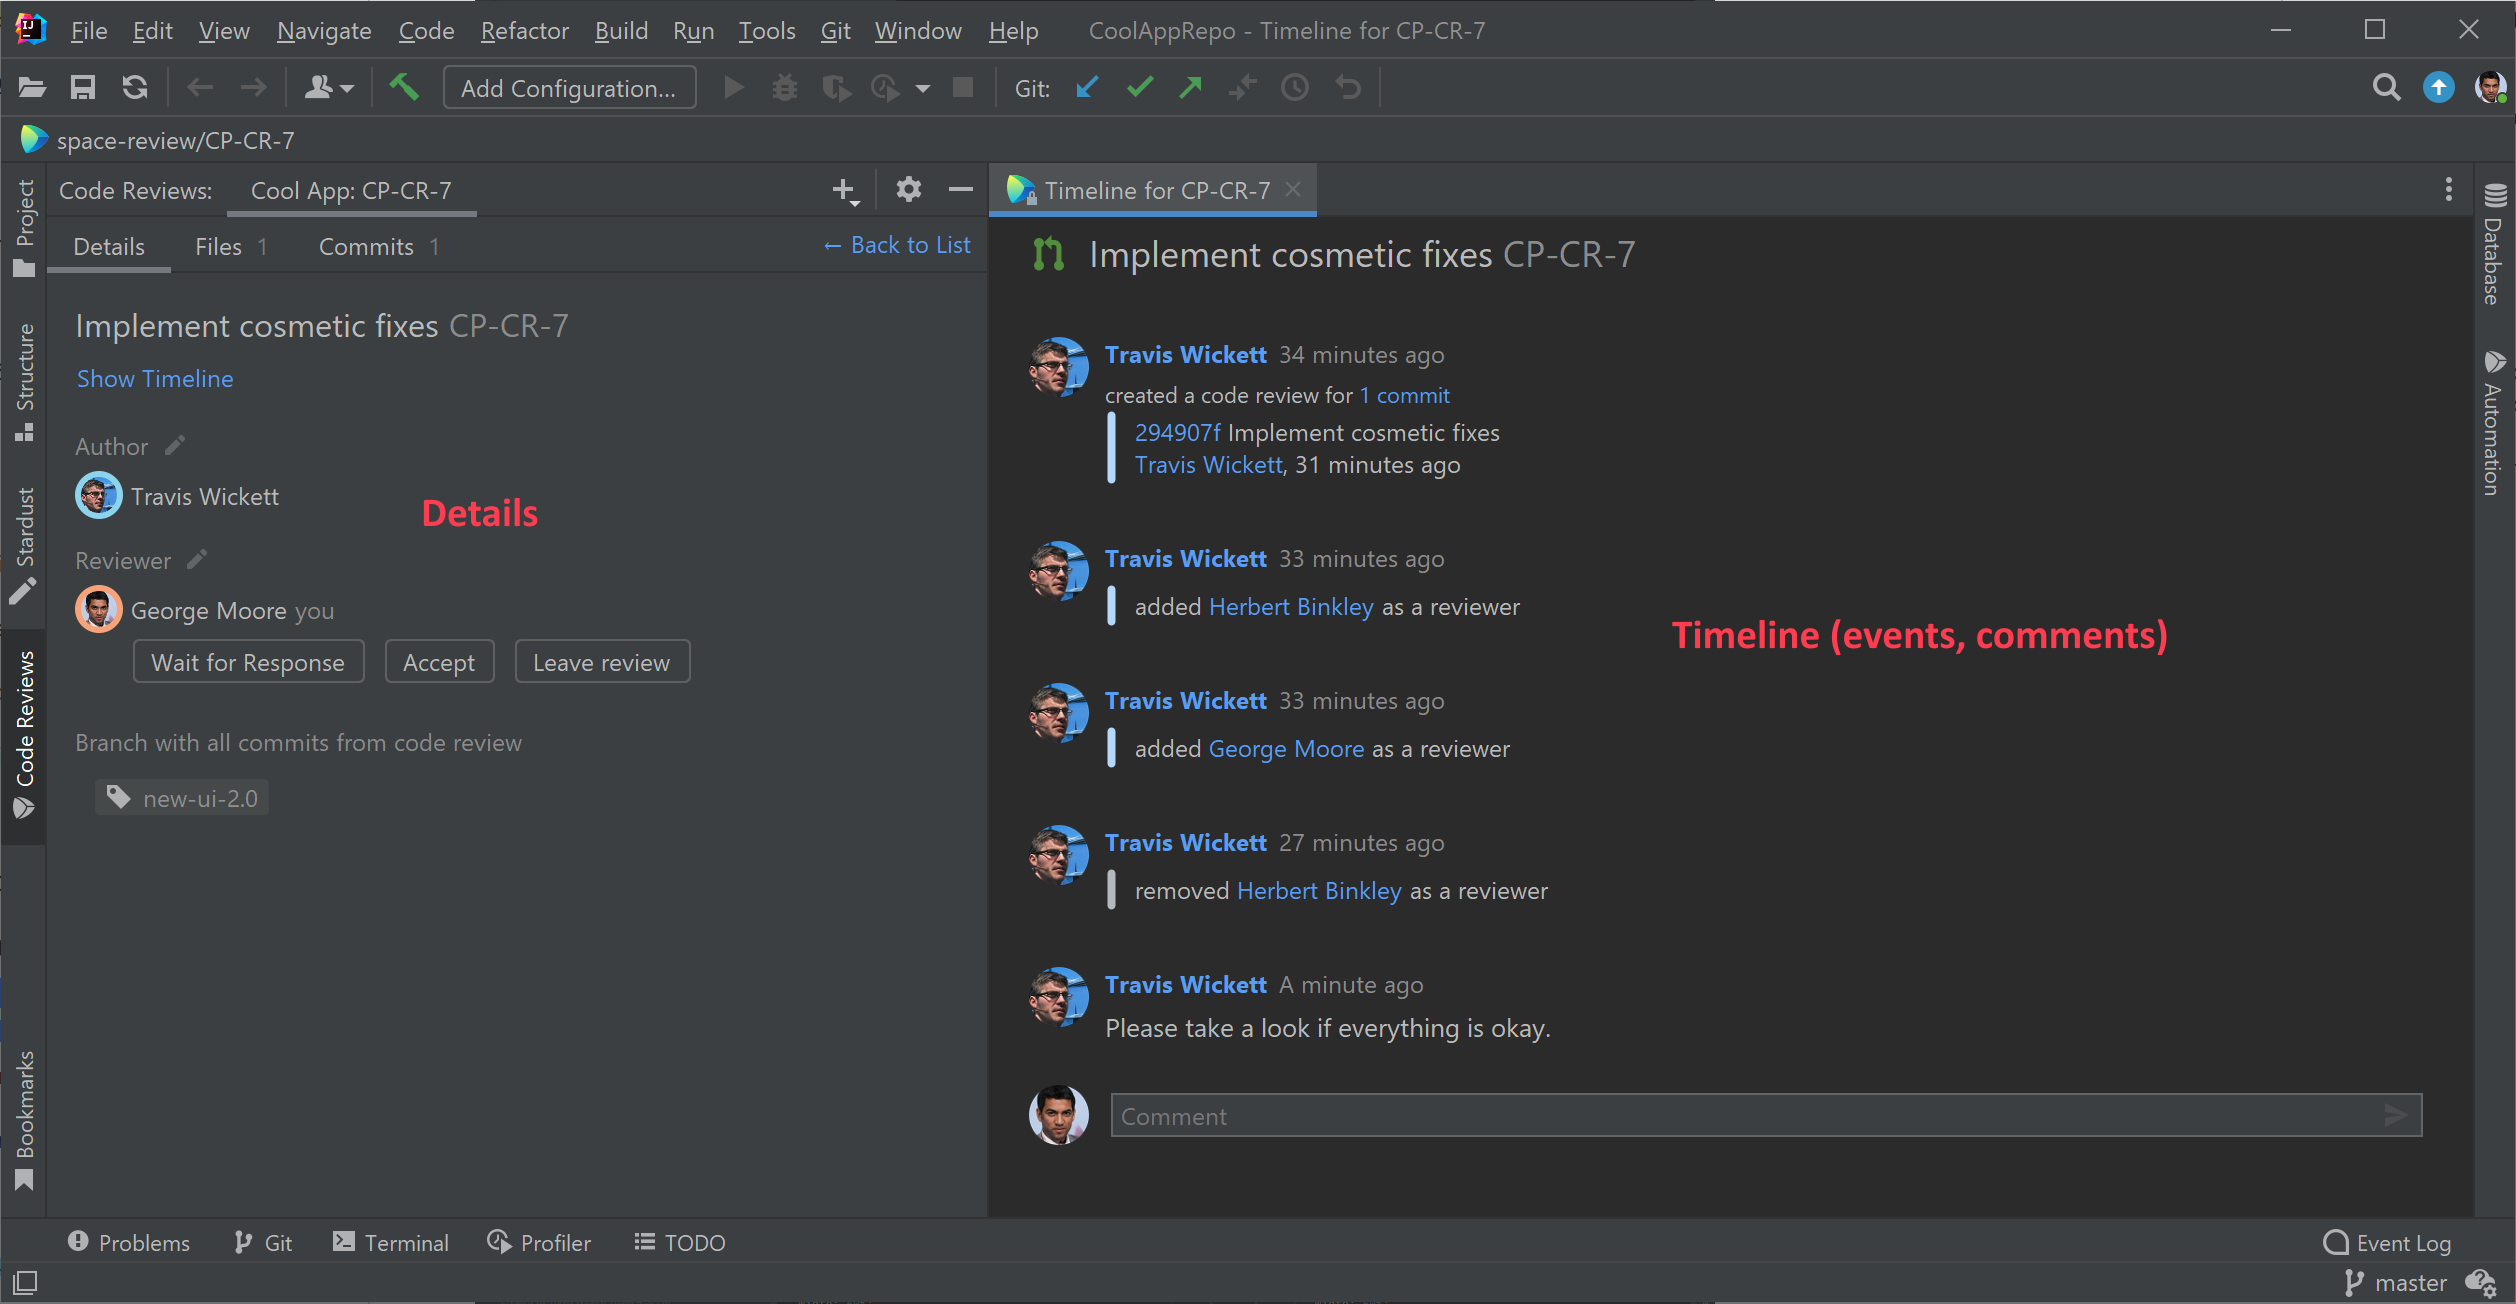
Click on the review to open it:
On the left, you can see the code review details, such as who the authors and reviewers are, and when it was created. On the right you can see the review timeline including comments:
Inspect changes
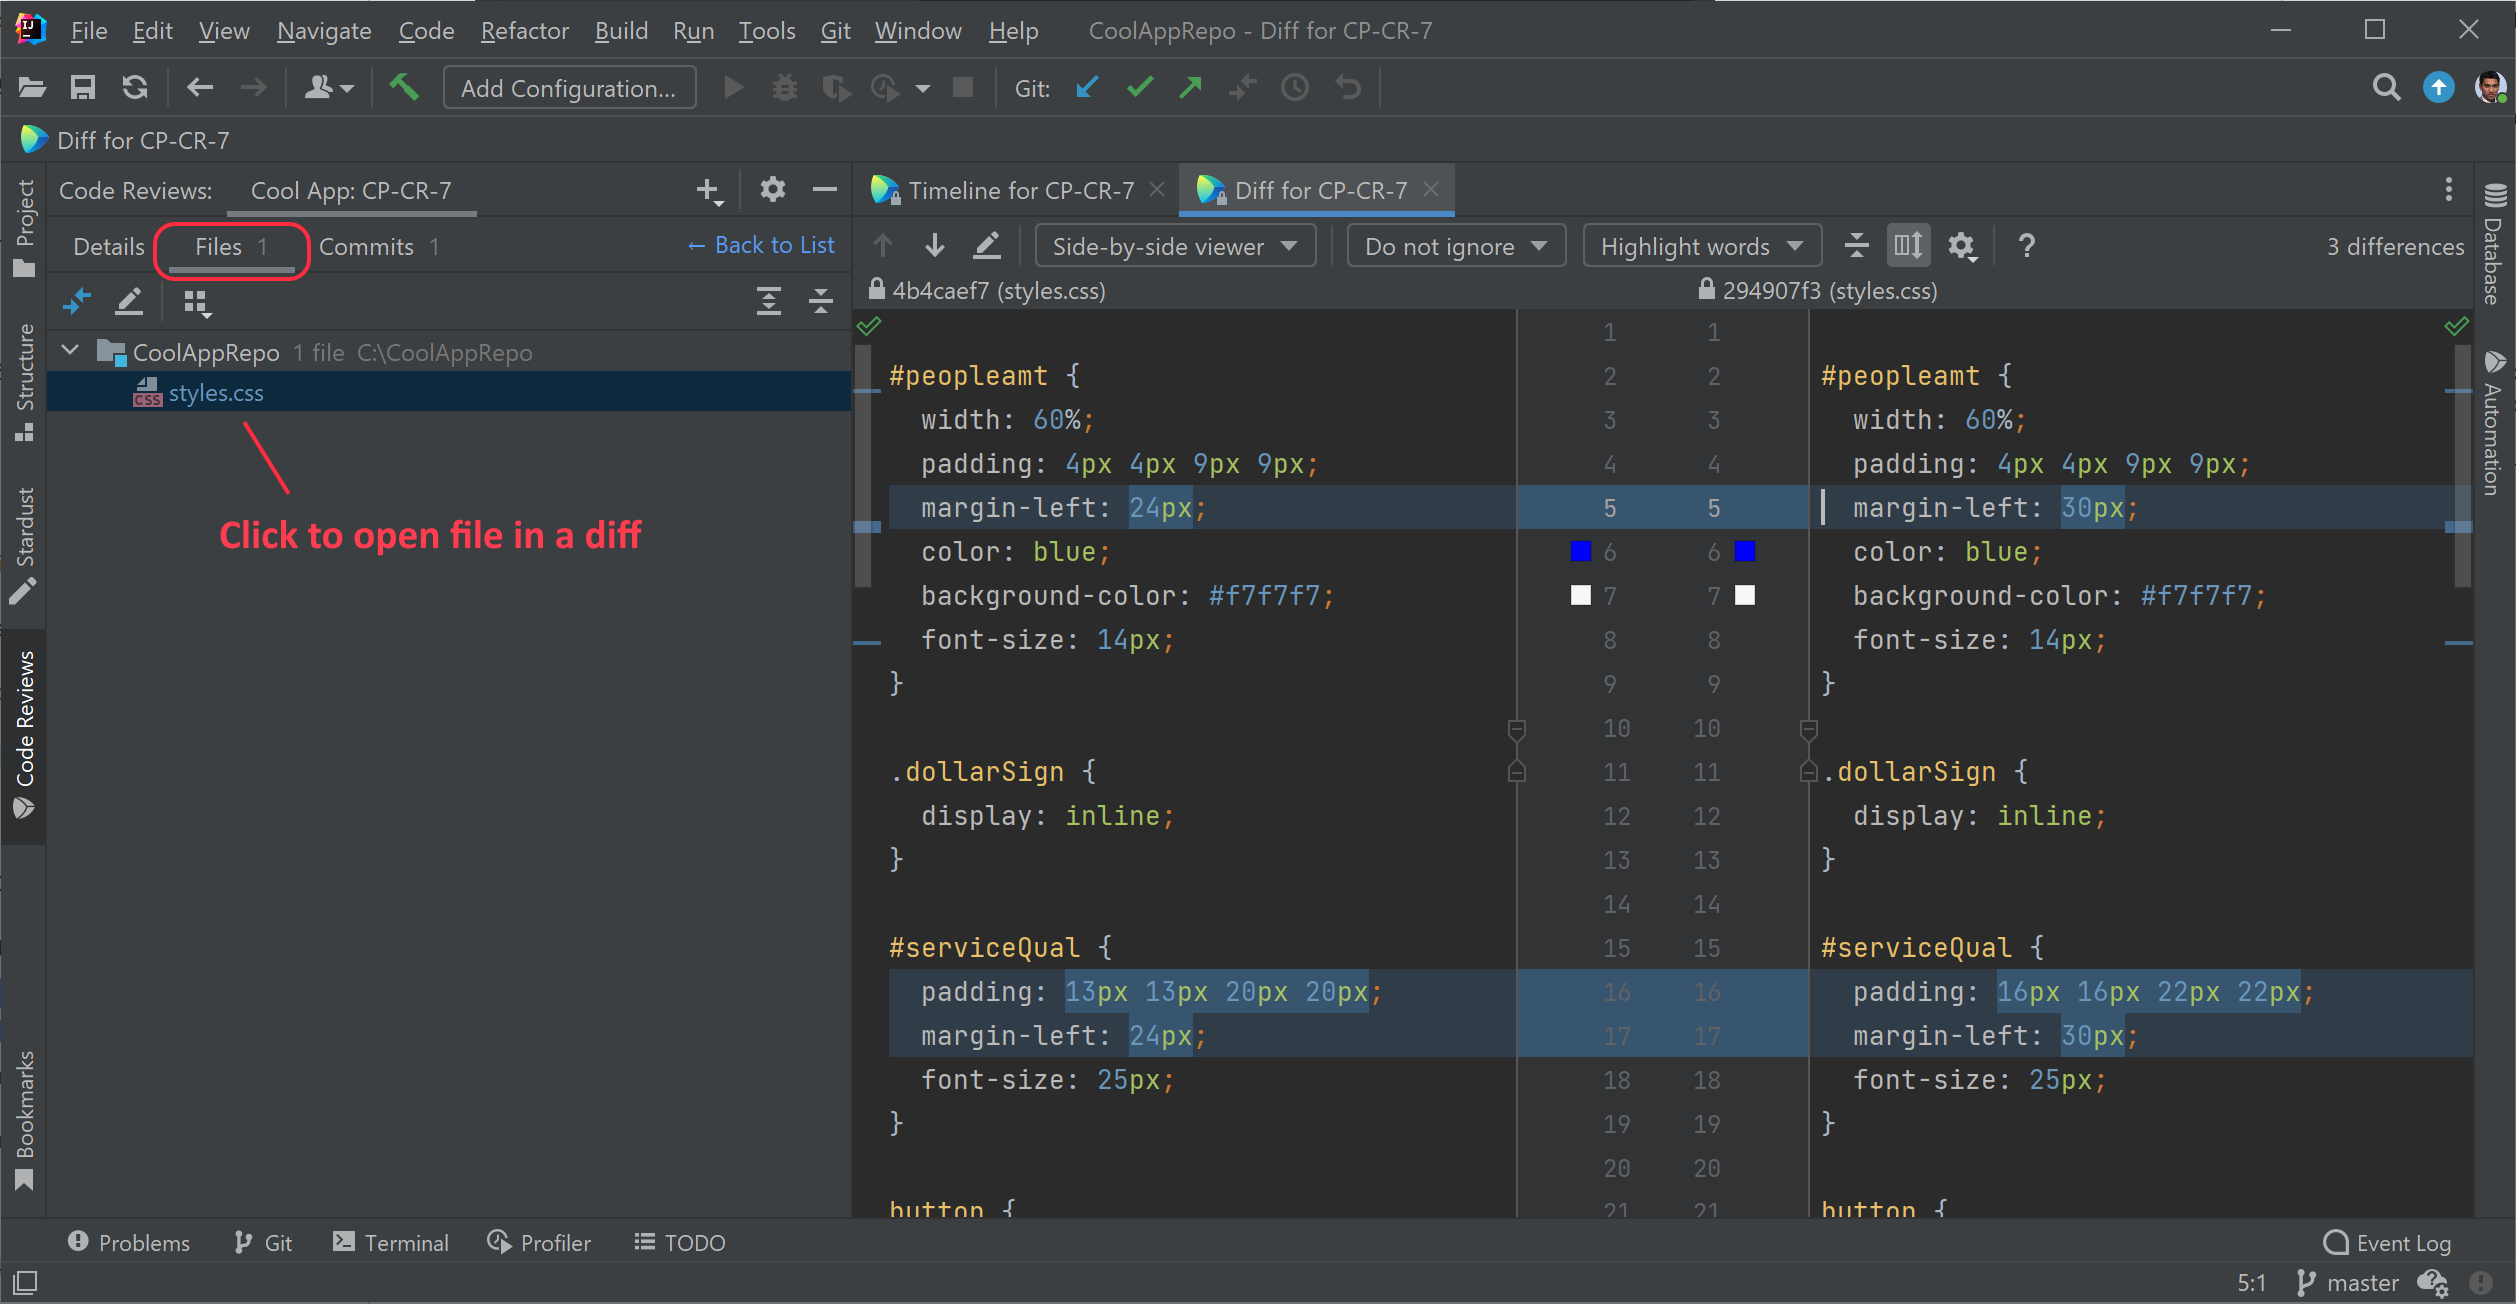
Under the Files tab you’ll see a list of files that were added, changed, or removed. Click on a file to open it in a diff viewer and examine changes:
Leave comments and replies
In the diff viewer, you can reply to comments left by others and add new line comments. Just hover over a line of code and click on a plus sign:
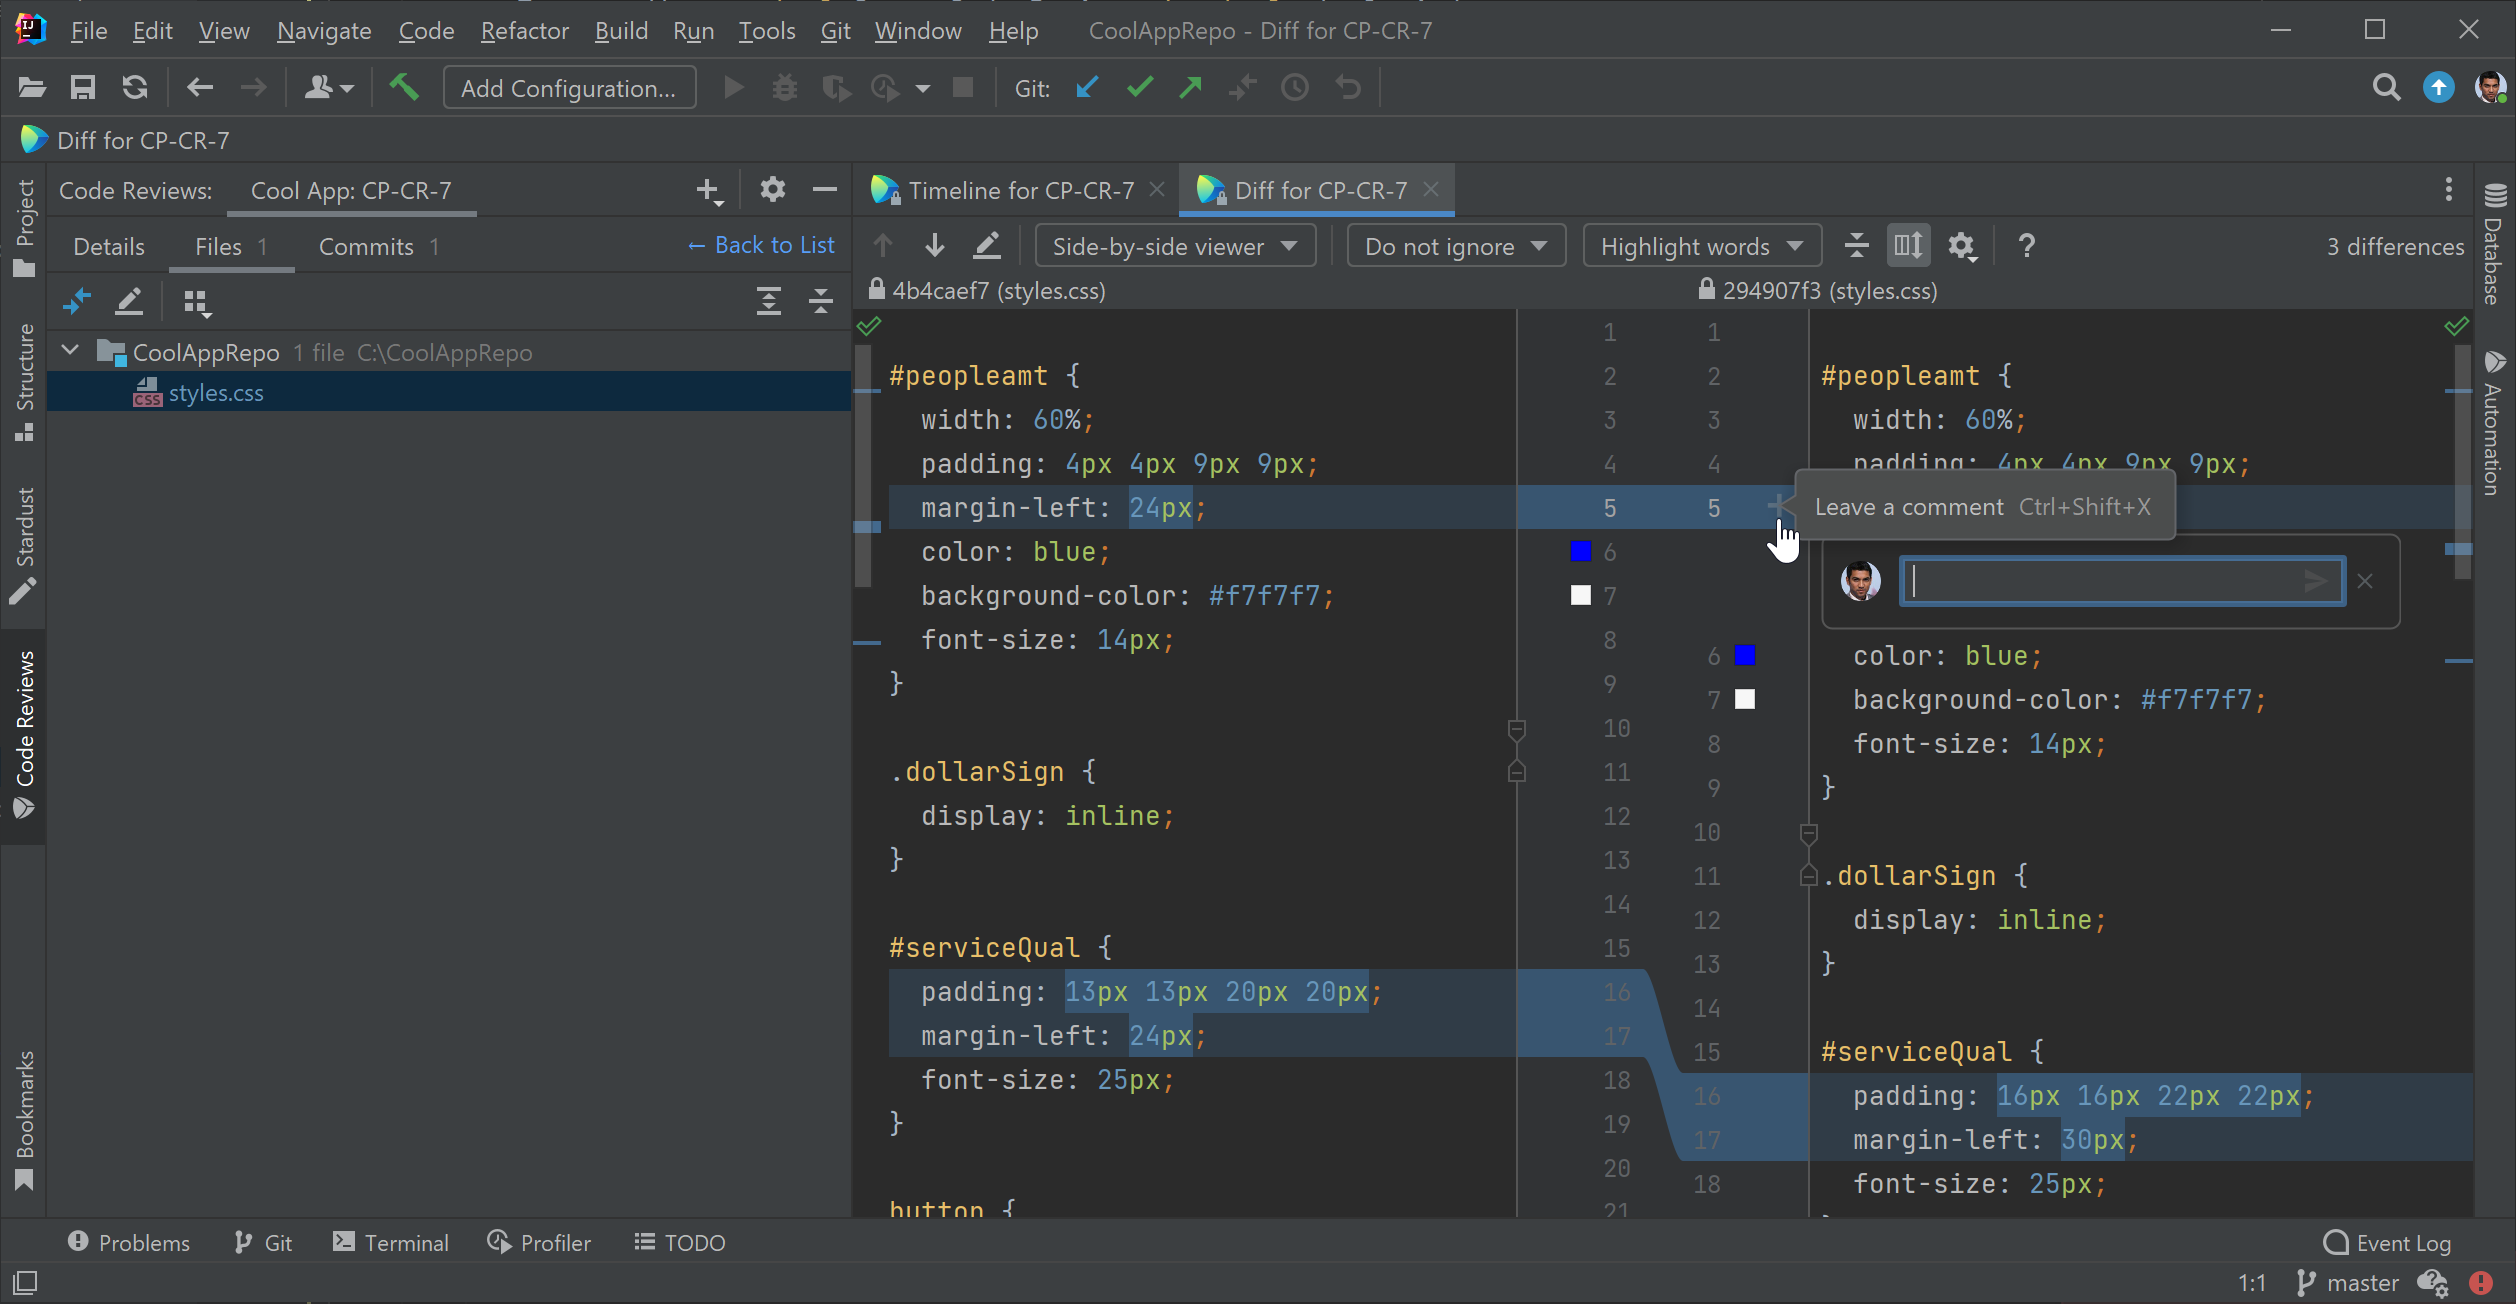
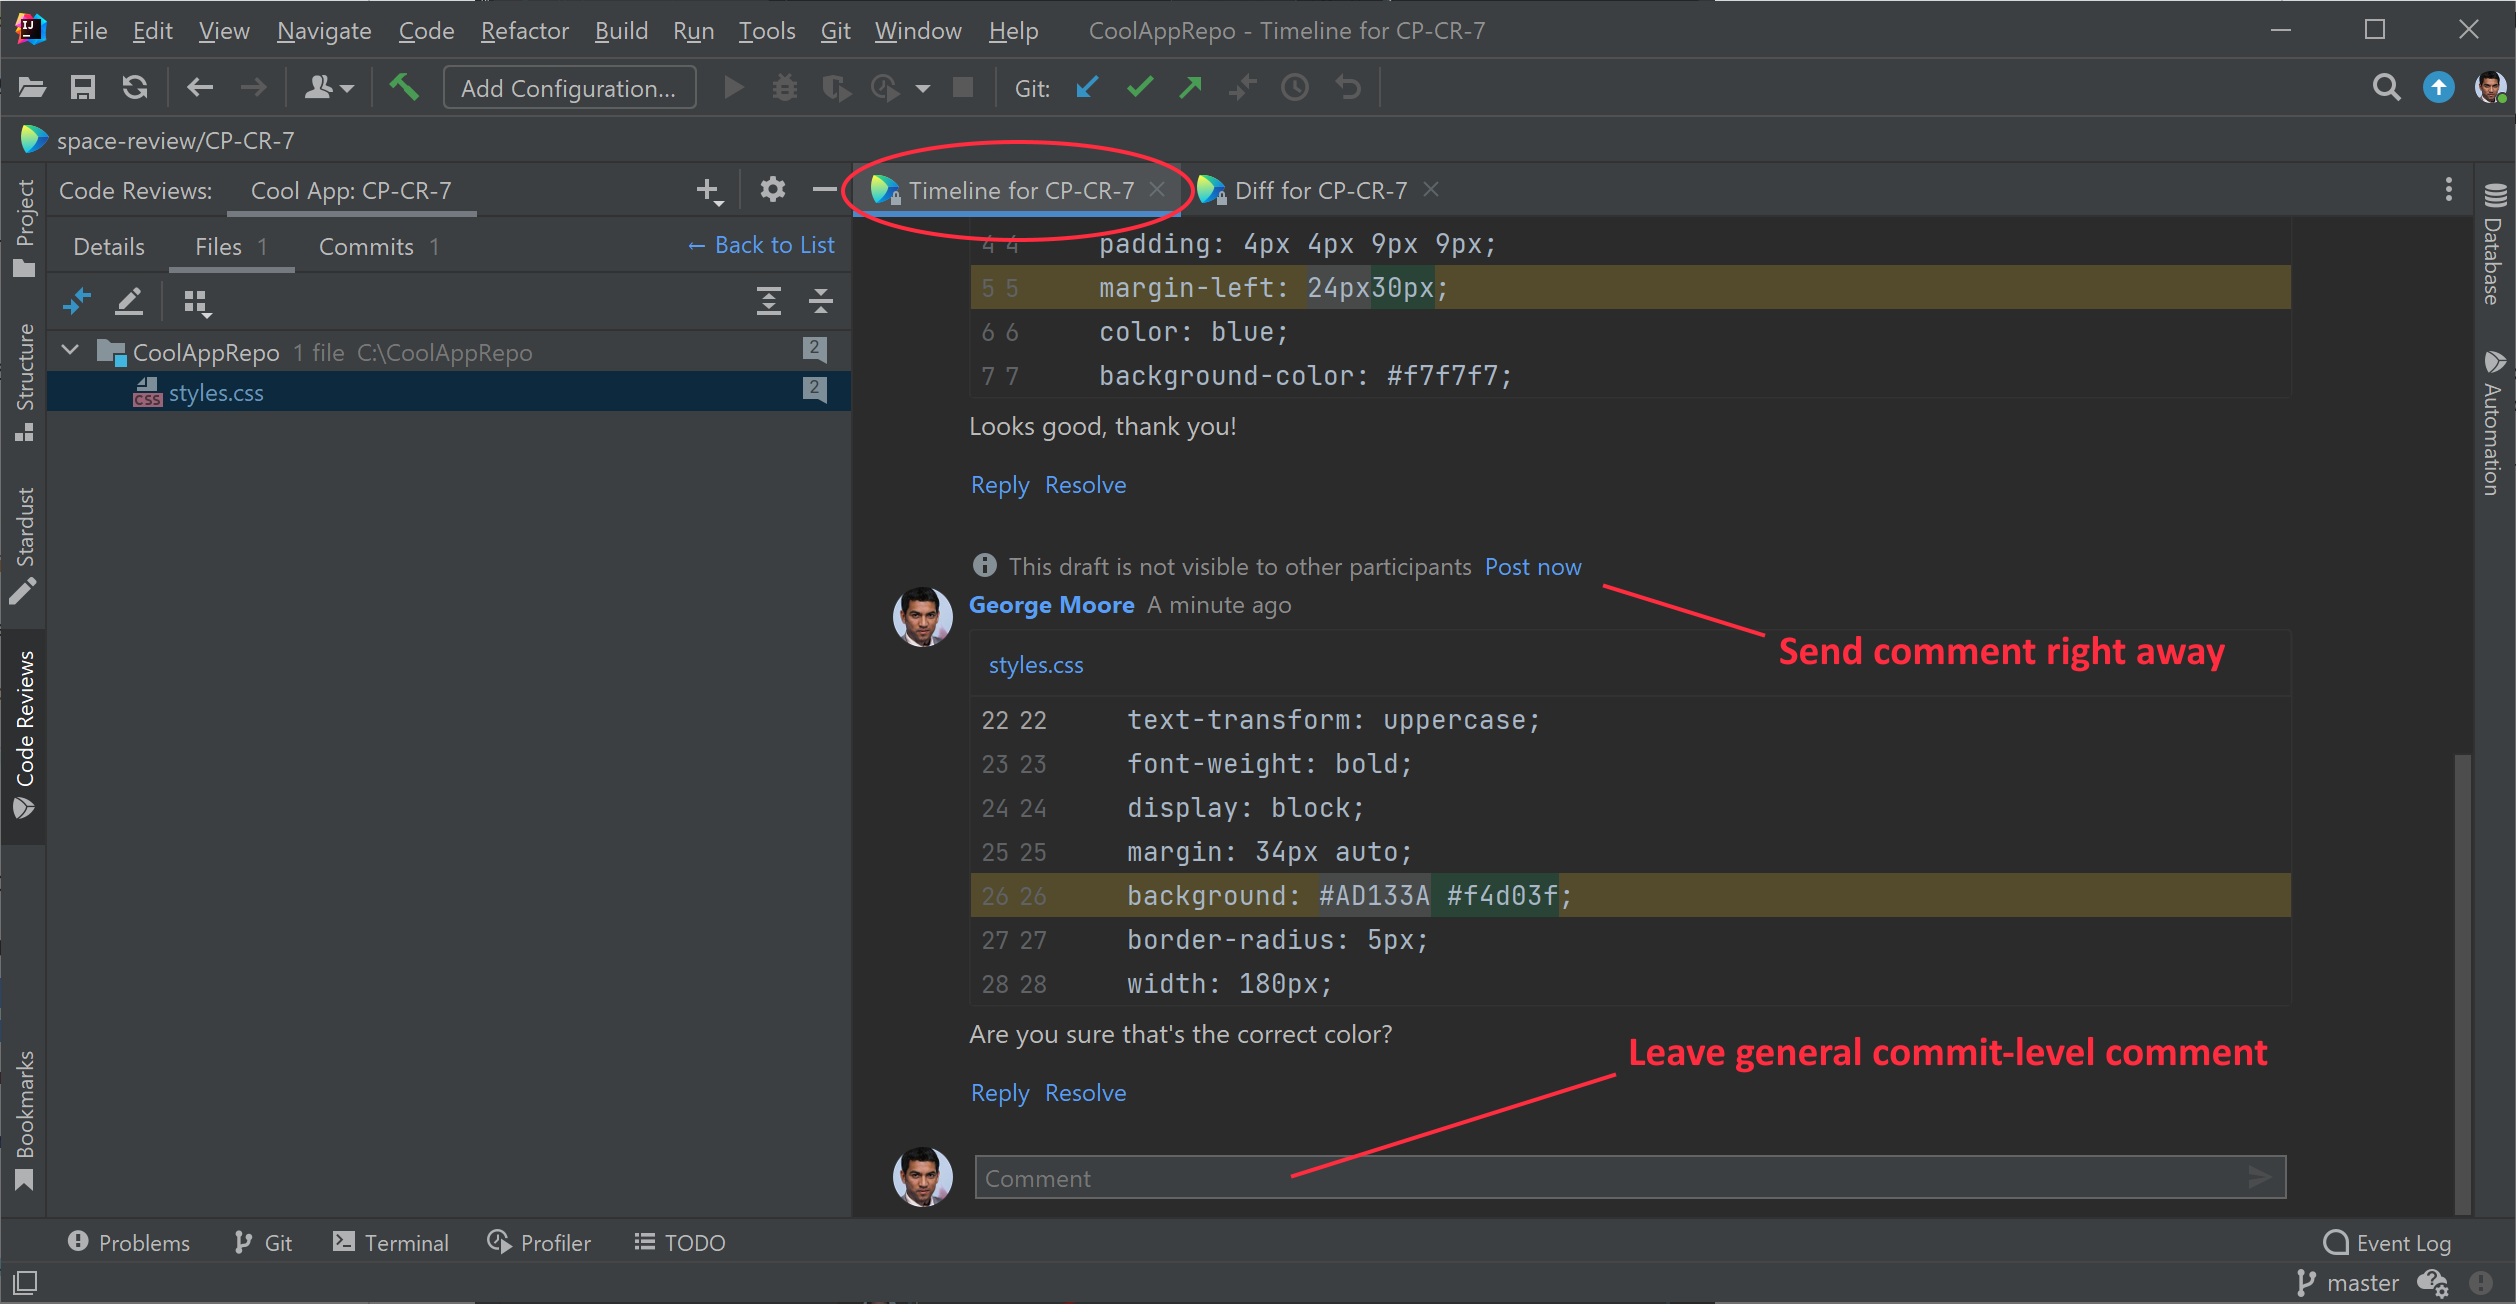
Comments are saved as a draft not visible to others. They will be sent at the end of your turn in the code review process. To send your comment immediately, go to the Timeline and click Post now.
On the Timeline view, you can also leave general (commit-level) comments and reply to comments left by other participants:
Finish your turn: Accept changes or Wait for response
Once you’re done reviewing changes, you can finish your turn in the code review process. In Details view, you can choose to:
Accept Changes — when everything is fine and you are ready to approve the changes.
Wait for Response — when you have questions, concerns or suggestions, or some other reasons not to approve the changes.
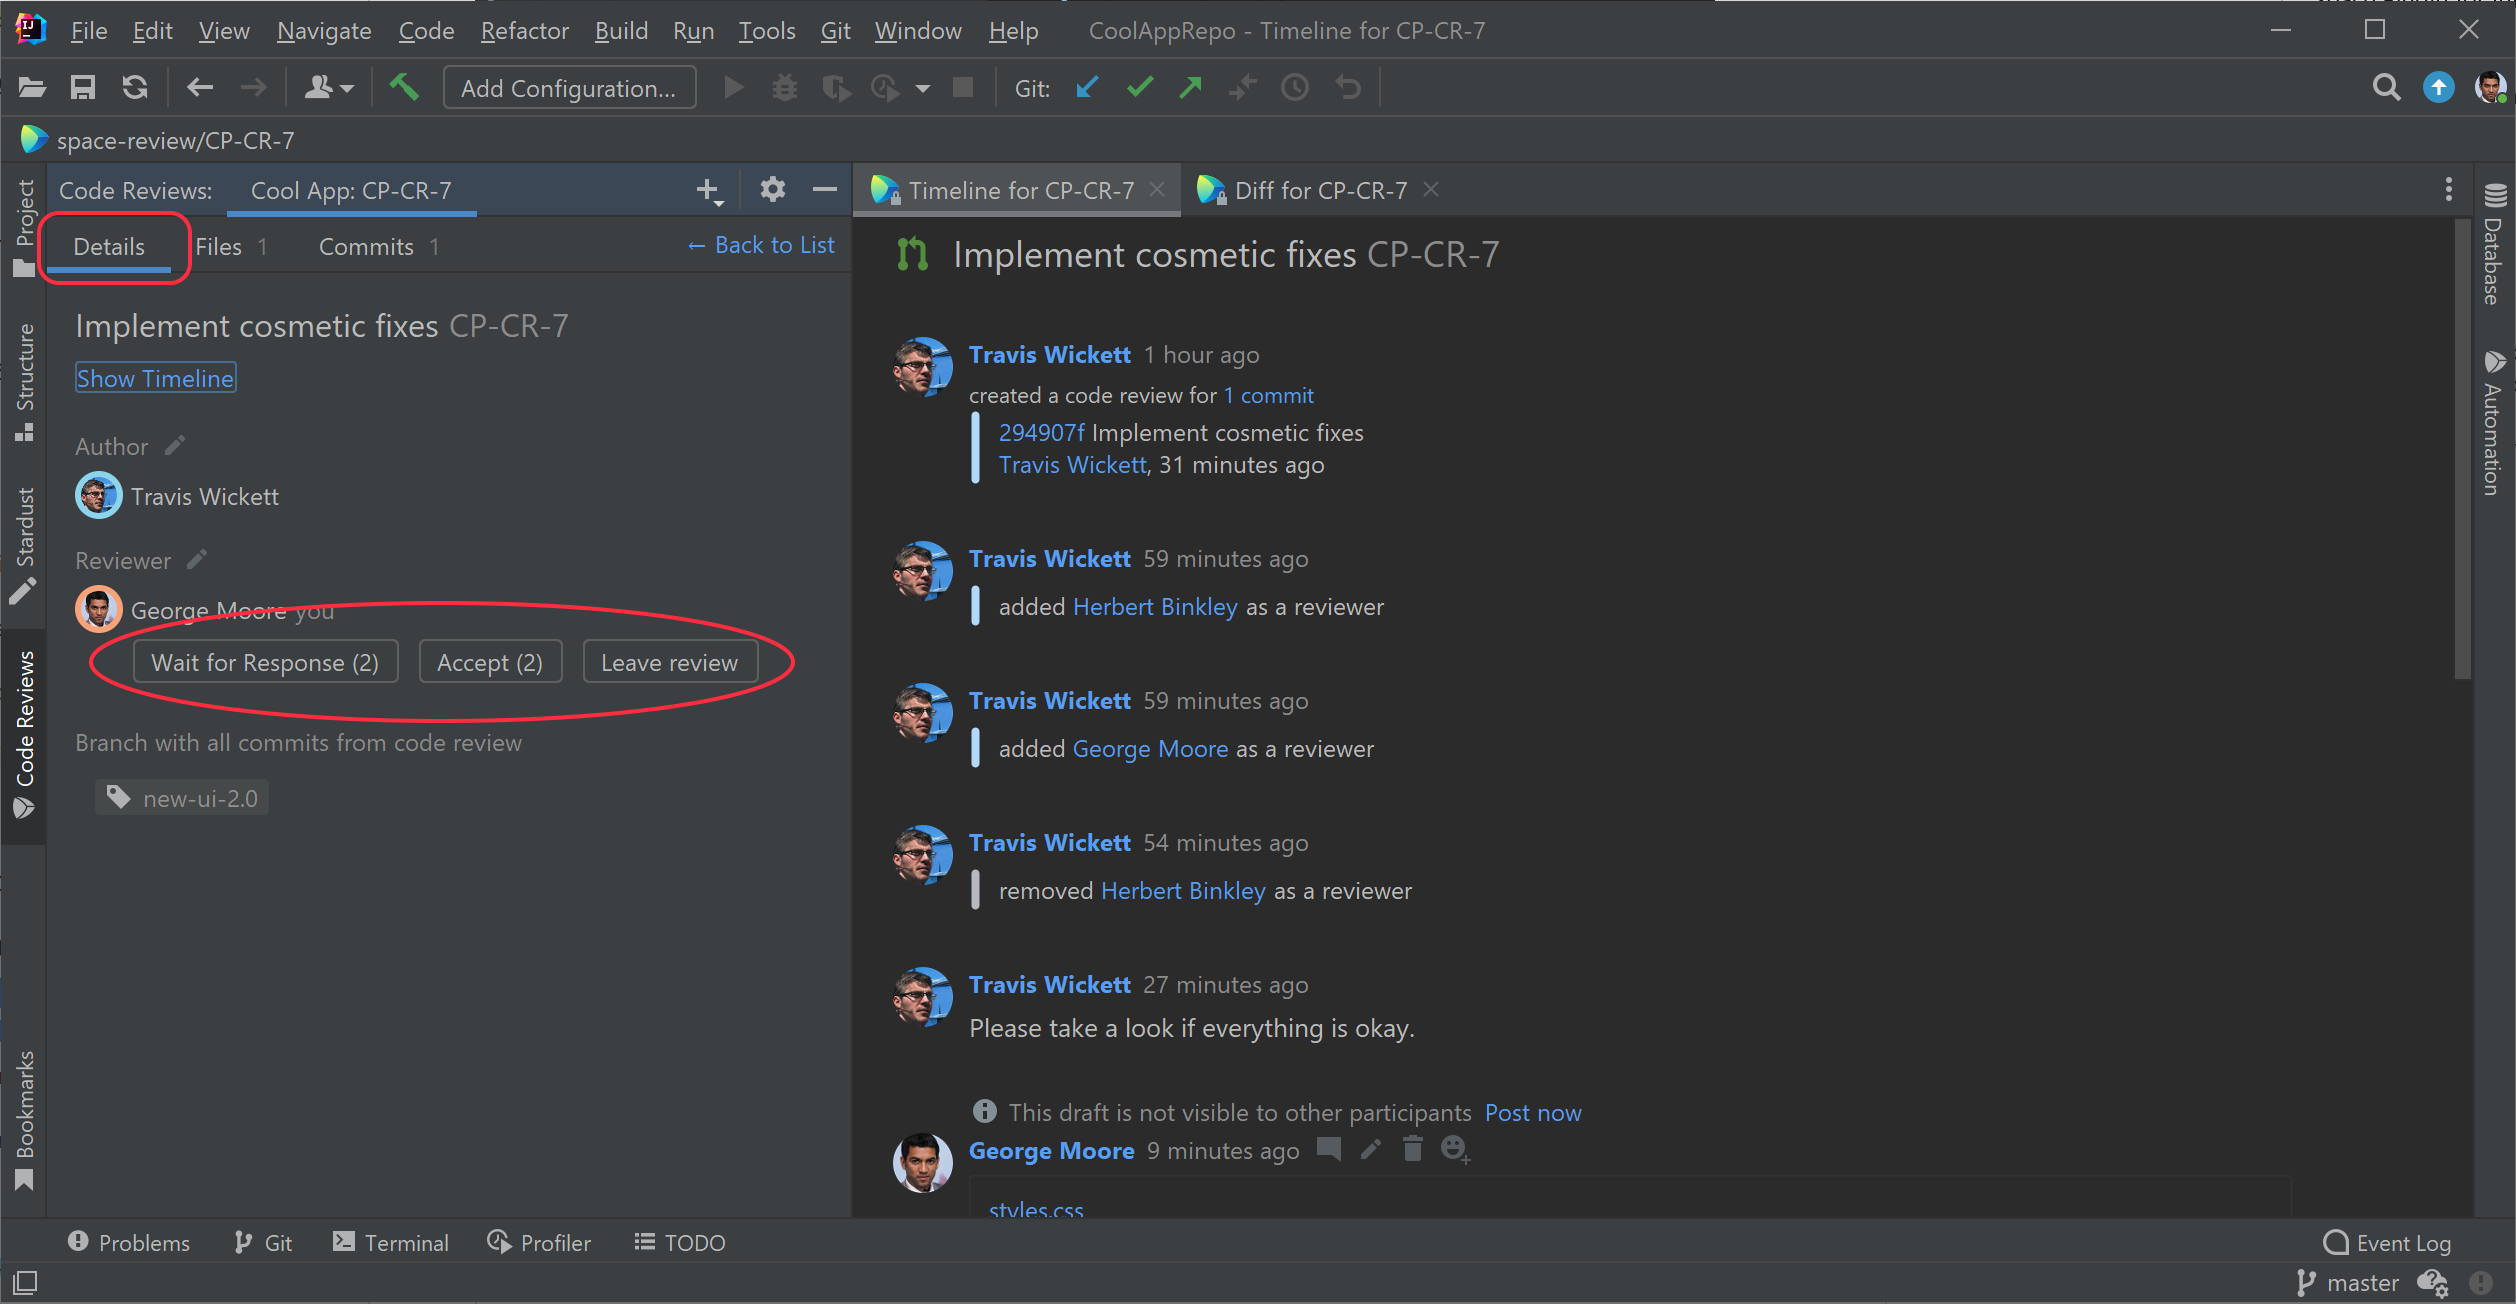
Any of these two options will end your turn in the code review process. The draft comments you added while looking through code will be posted and other participants notified that you're done.
If you believe you've been assigned to this review by mistake, click Leave.
Create code reviews and merge requests
After making a change to your project’s code base, you can create a code review or a merge request. Here are the differences between the two:
A Code Review can be associated with one or more commits, or an entire branch. It lets you and your team comment on specific lines of code and discuss the code under review.
A Merge Request is a special kind of code review that has the intent of merging changes into a branch after the review is completed. For example, a merge request can be created to review changes on a feature branch before it is merged back into the main branch.
Open the Code Reviews tool window:

Click the plus icon on the top of the Code Reviews tool window and select either Code Review or Merge Request:
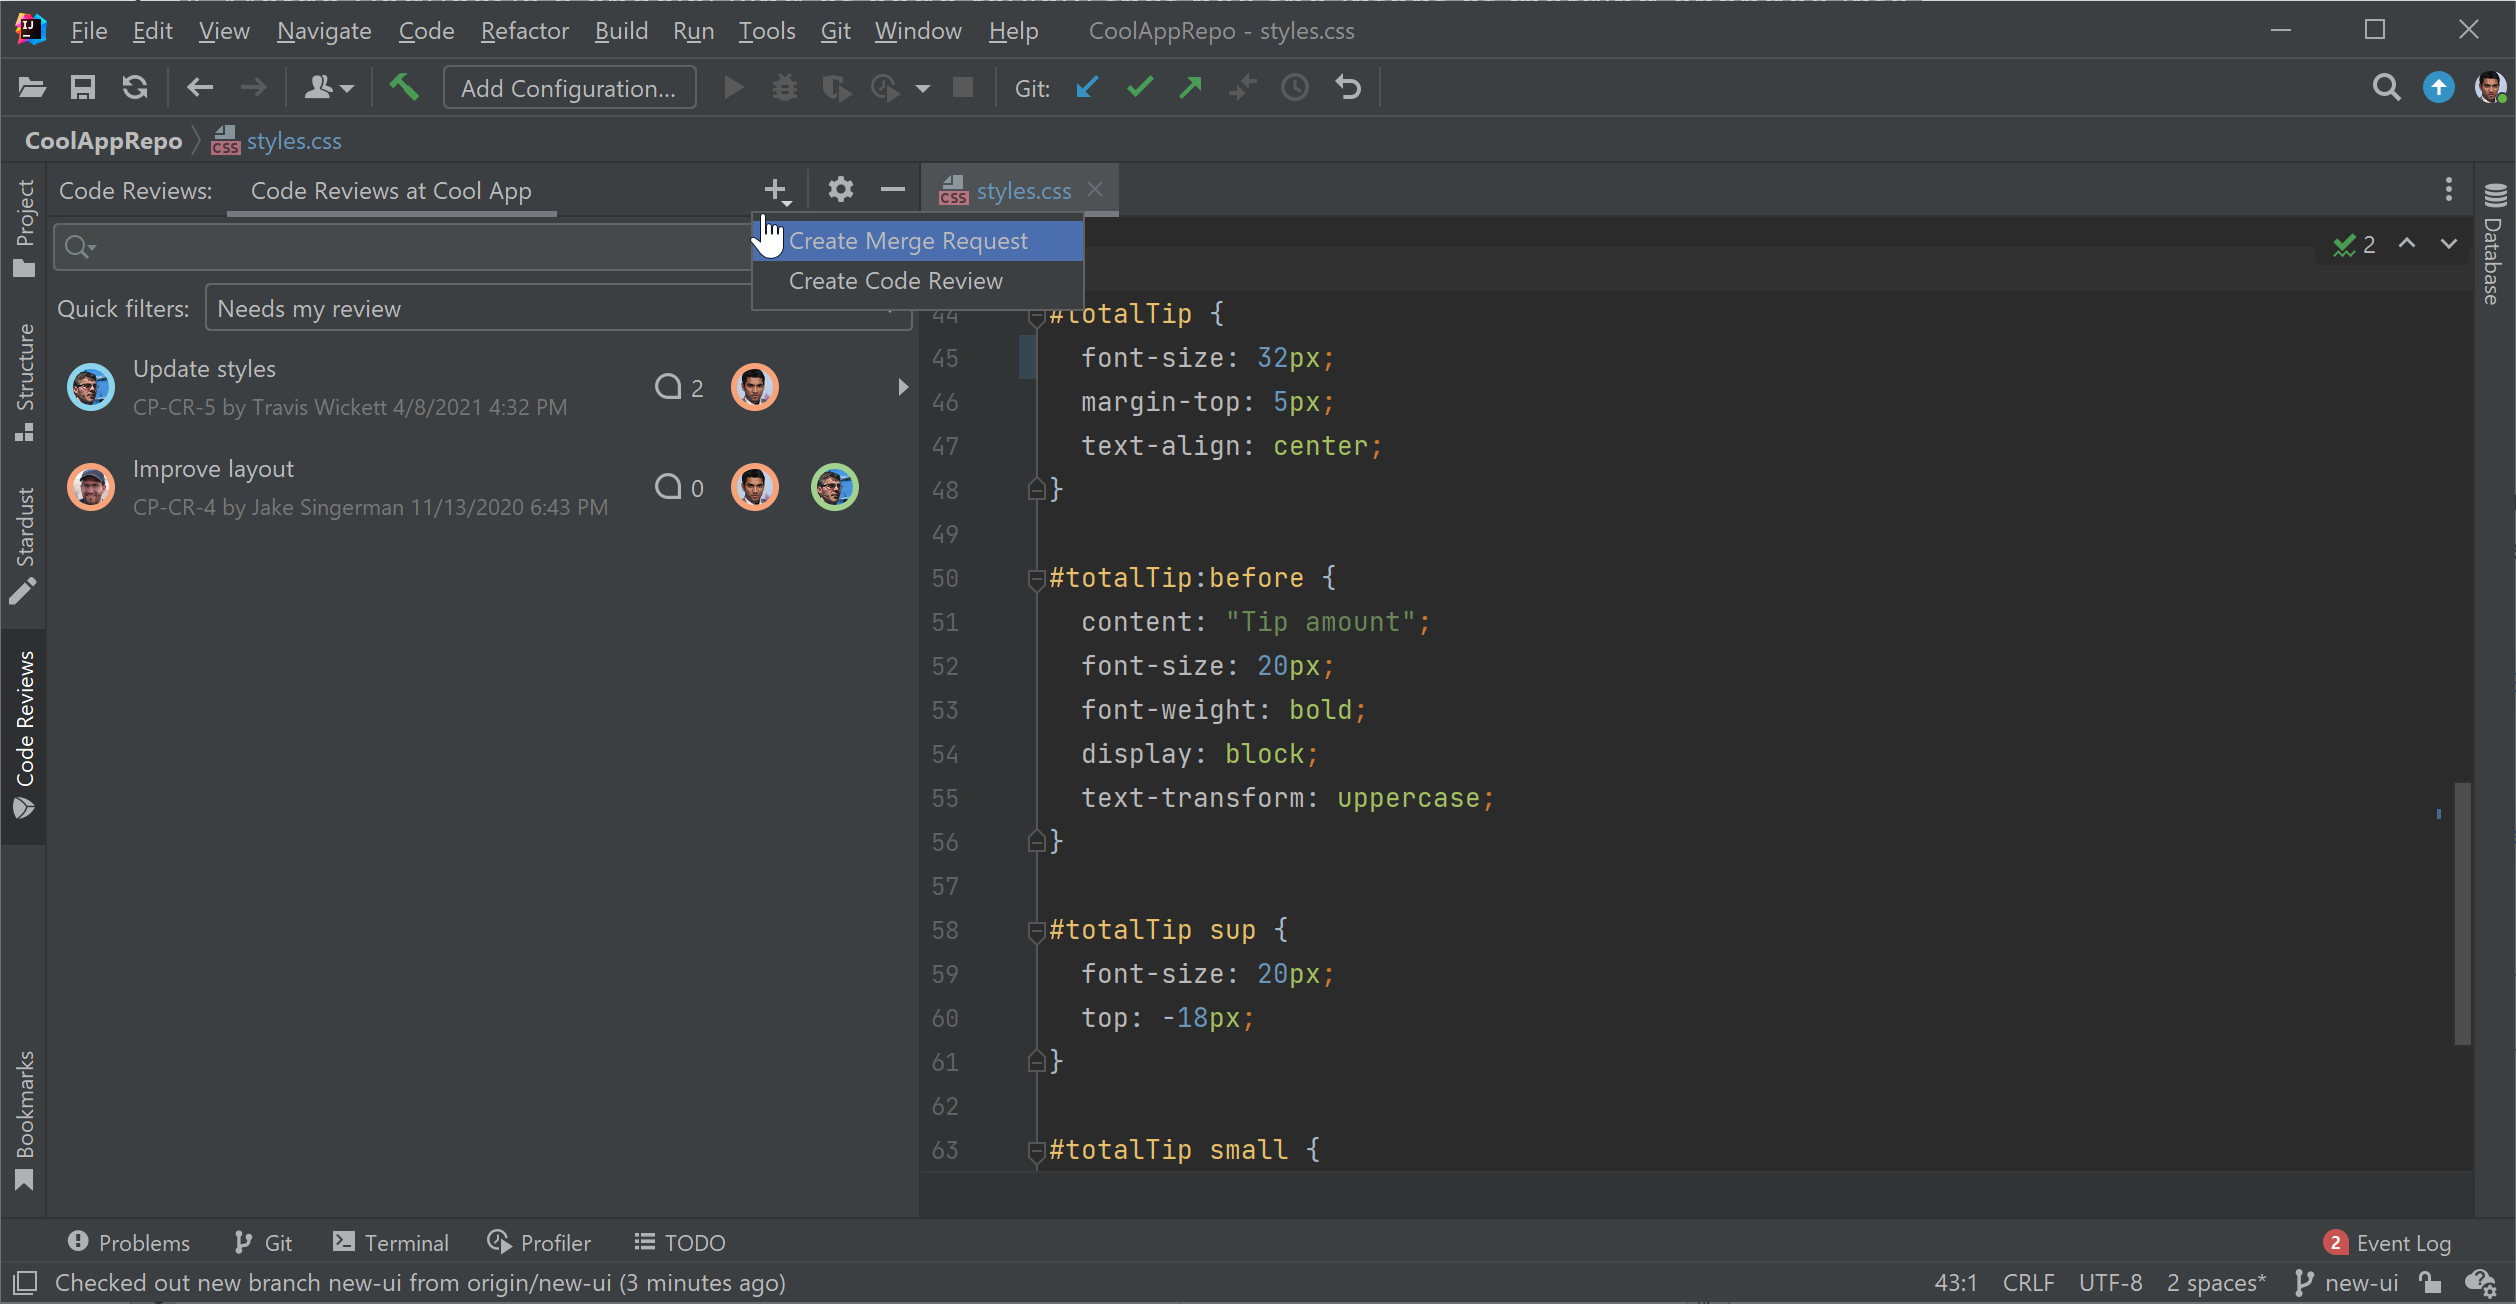
By default, the currently checked out branch in your IDE is selected as the source branch, and the configured main branch as the target. Click any of the branch names at the top of the tool window to make changes.
Give this review a title and assign team members who will review the changes:
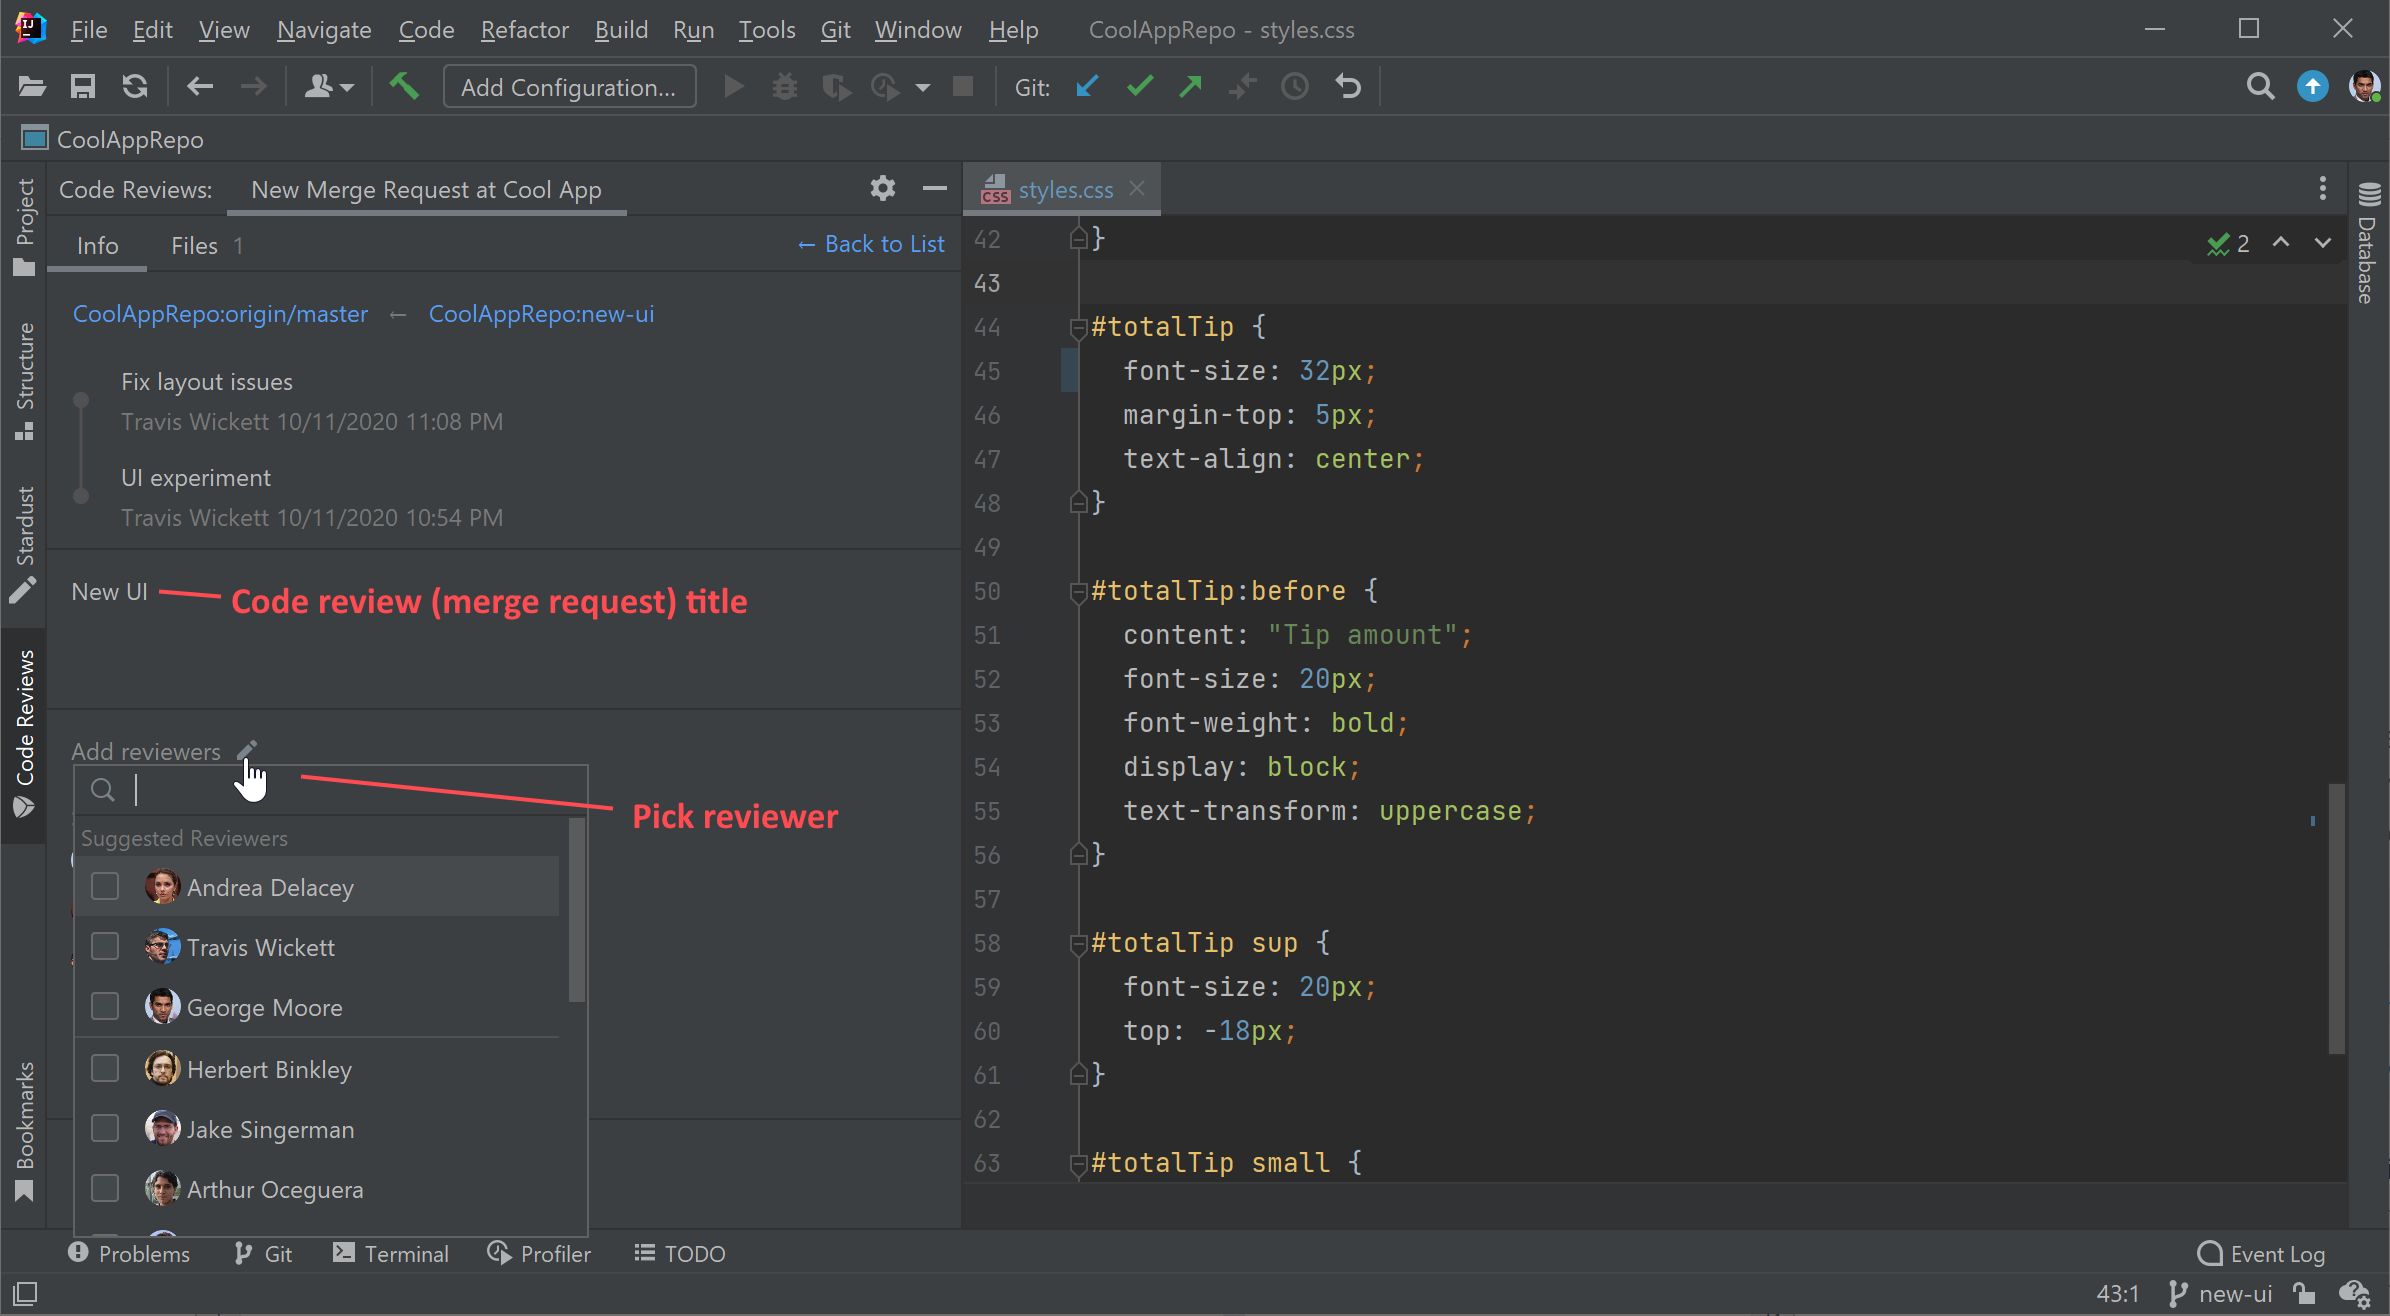
When you're done, click Create Code Review or Create Merge Request.
Once you create a Merge Request or Code Review, it will be visible in Space and in the IDE, and your team mates can inspect changes and add comments.
Open project checklists, issues, and commits in browser
Quickly navigate to the issues, checklists, or commits associated with the project you're currently working on in your IDE.
To open checklists or issues:
In your IDE, go to .
Choose what you'd like to see:
Checklists
or Issues
The selected category will open in your browser.
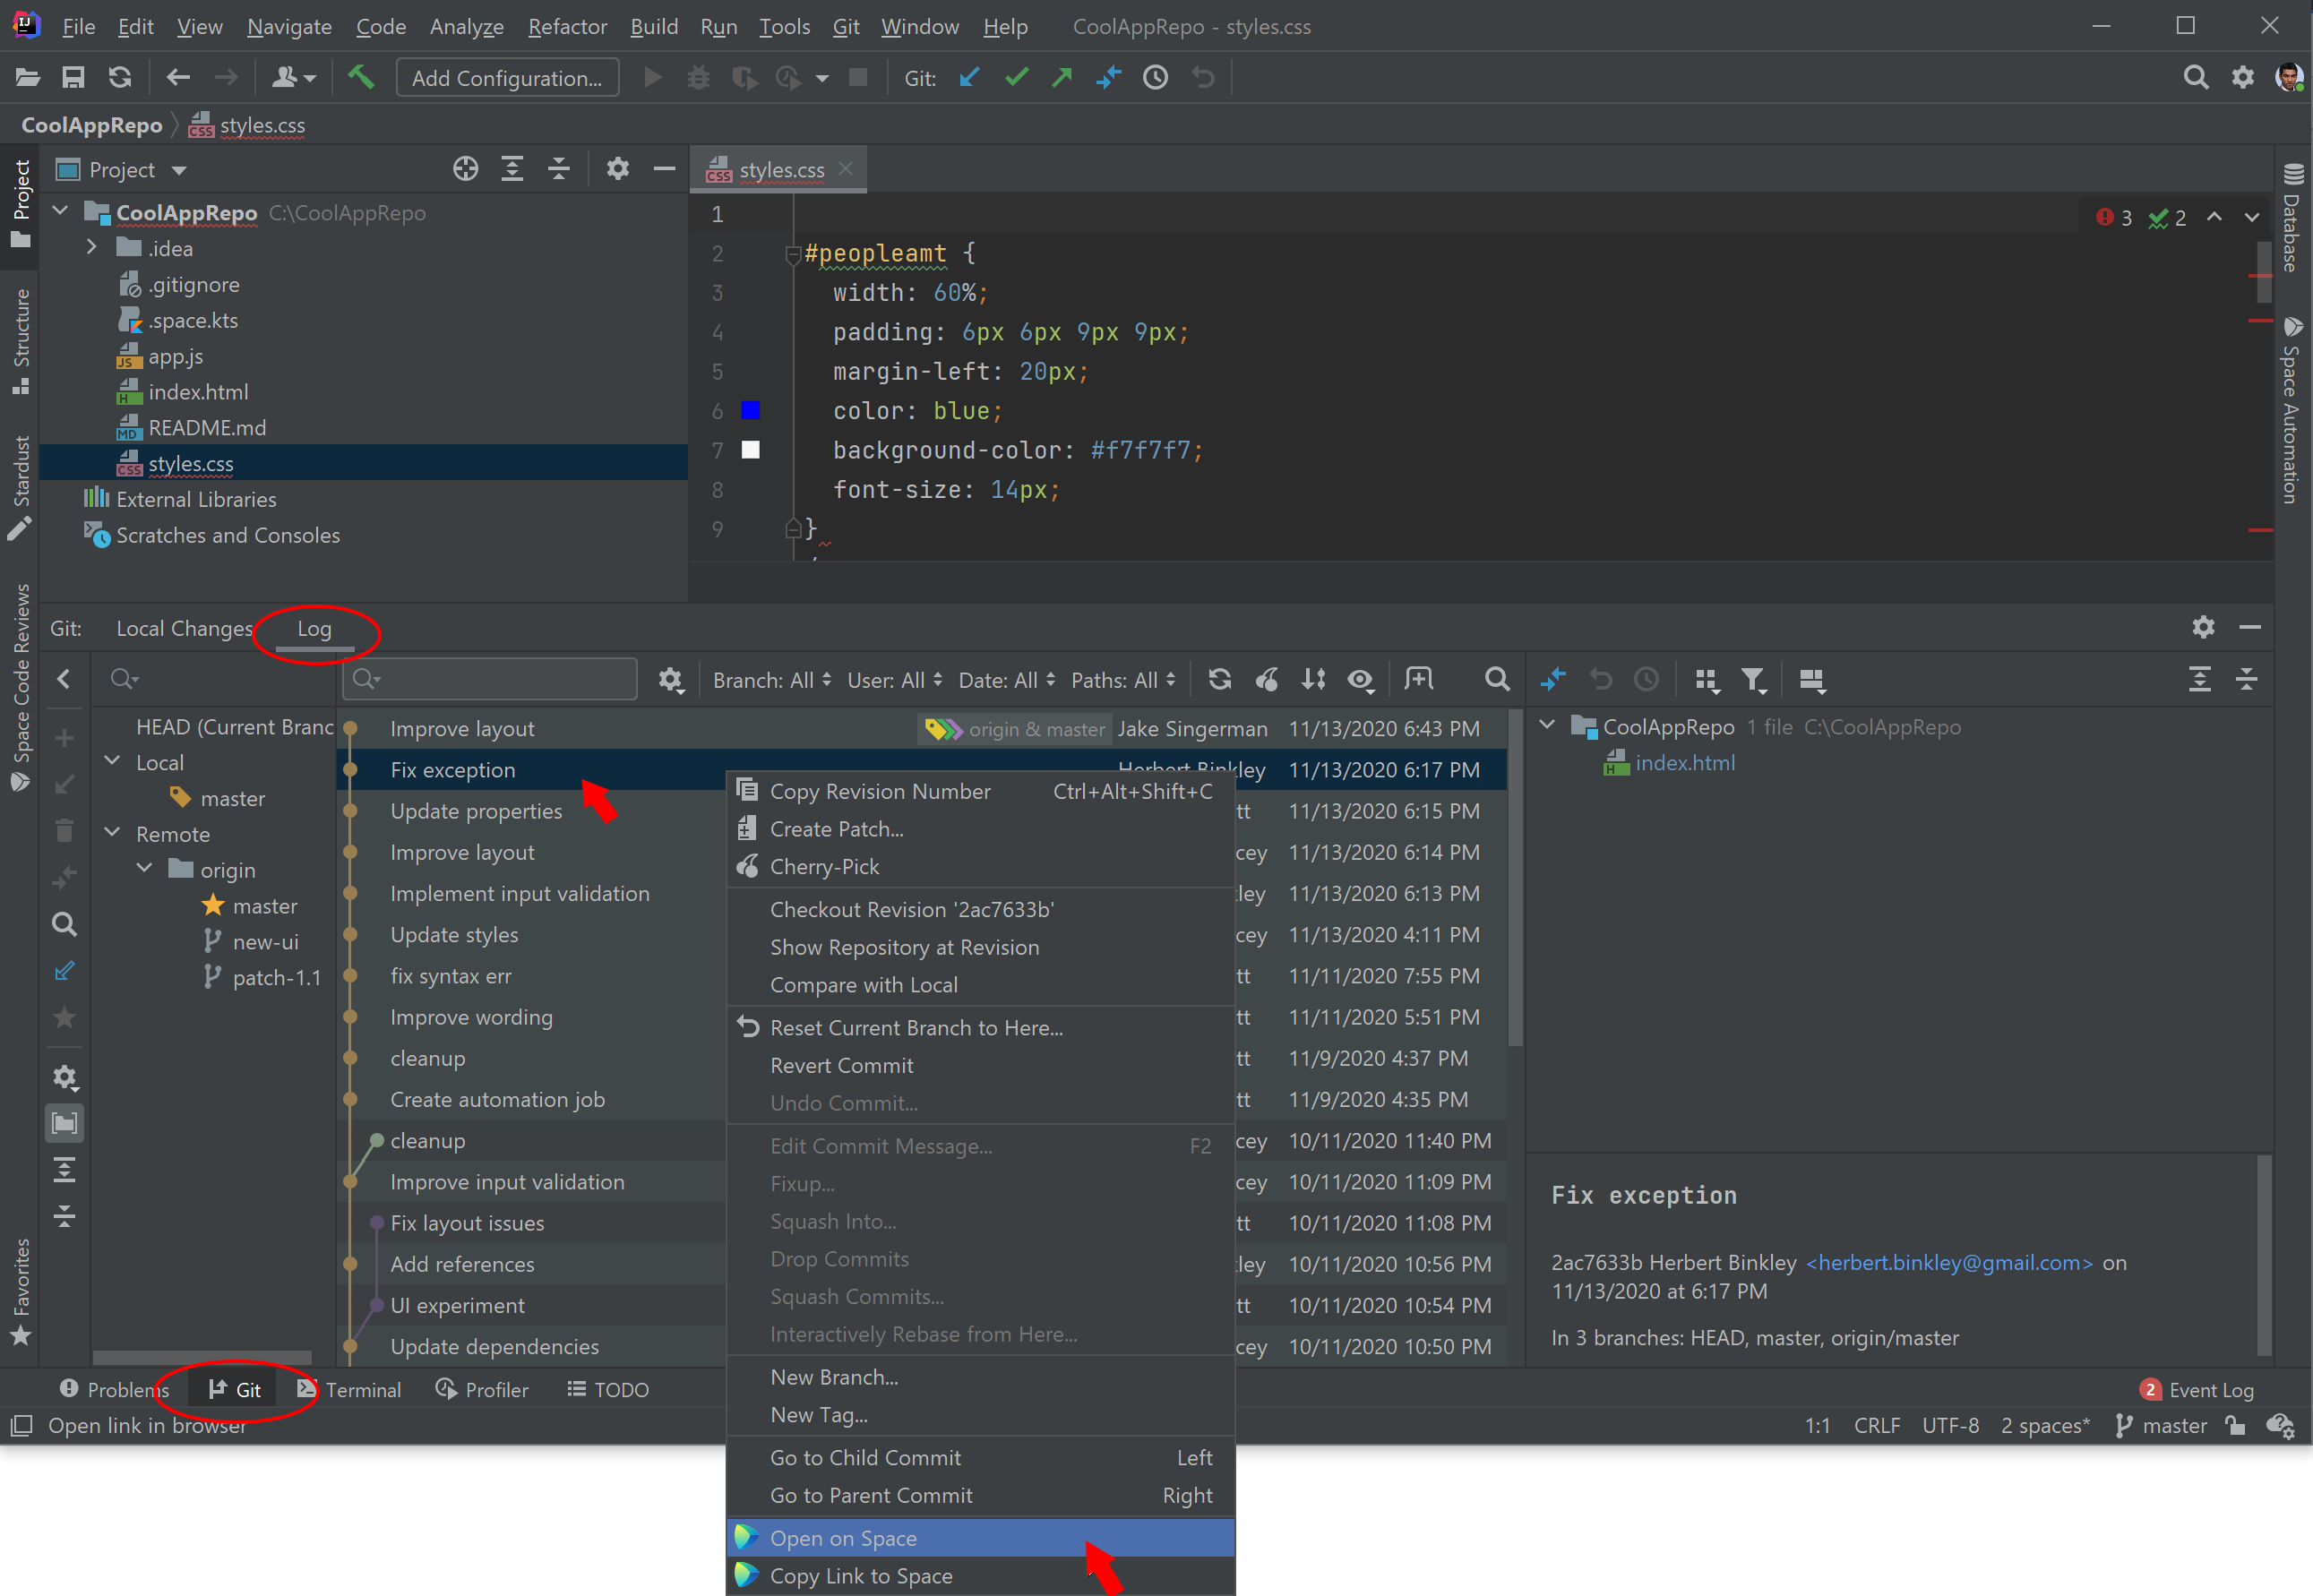
When viewing a commit log in your IDE, instantly open a commit in Space to comment on it, start a code review, or contact its author.
To open commits:
Inspect Automation jobs and write scripts
A repository hosted in Space contains a .space.kts file that describes Automation jobs with Kotlin scripts.
The Space plugin gives you additional functionality for creating and editing these scripts:
Code completion and syntax highlighting.
Move common logic into functions
Use the Extract method refactoring to move existing script code into a separate function.
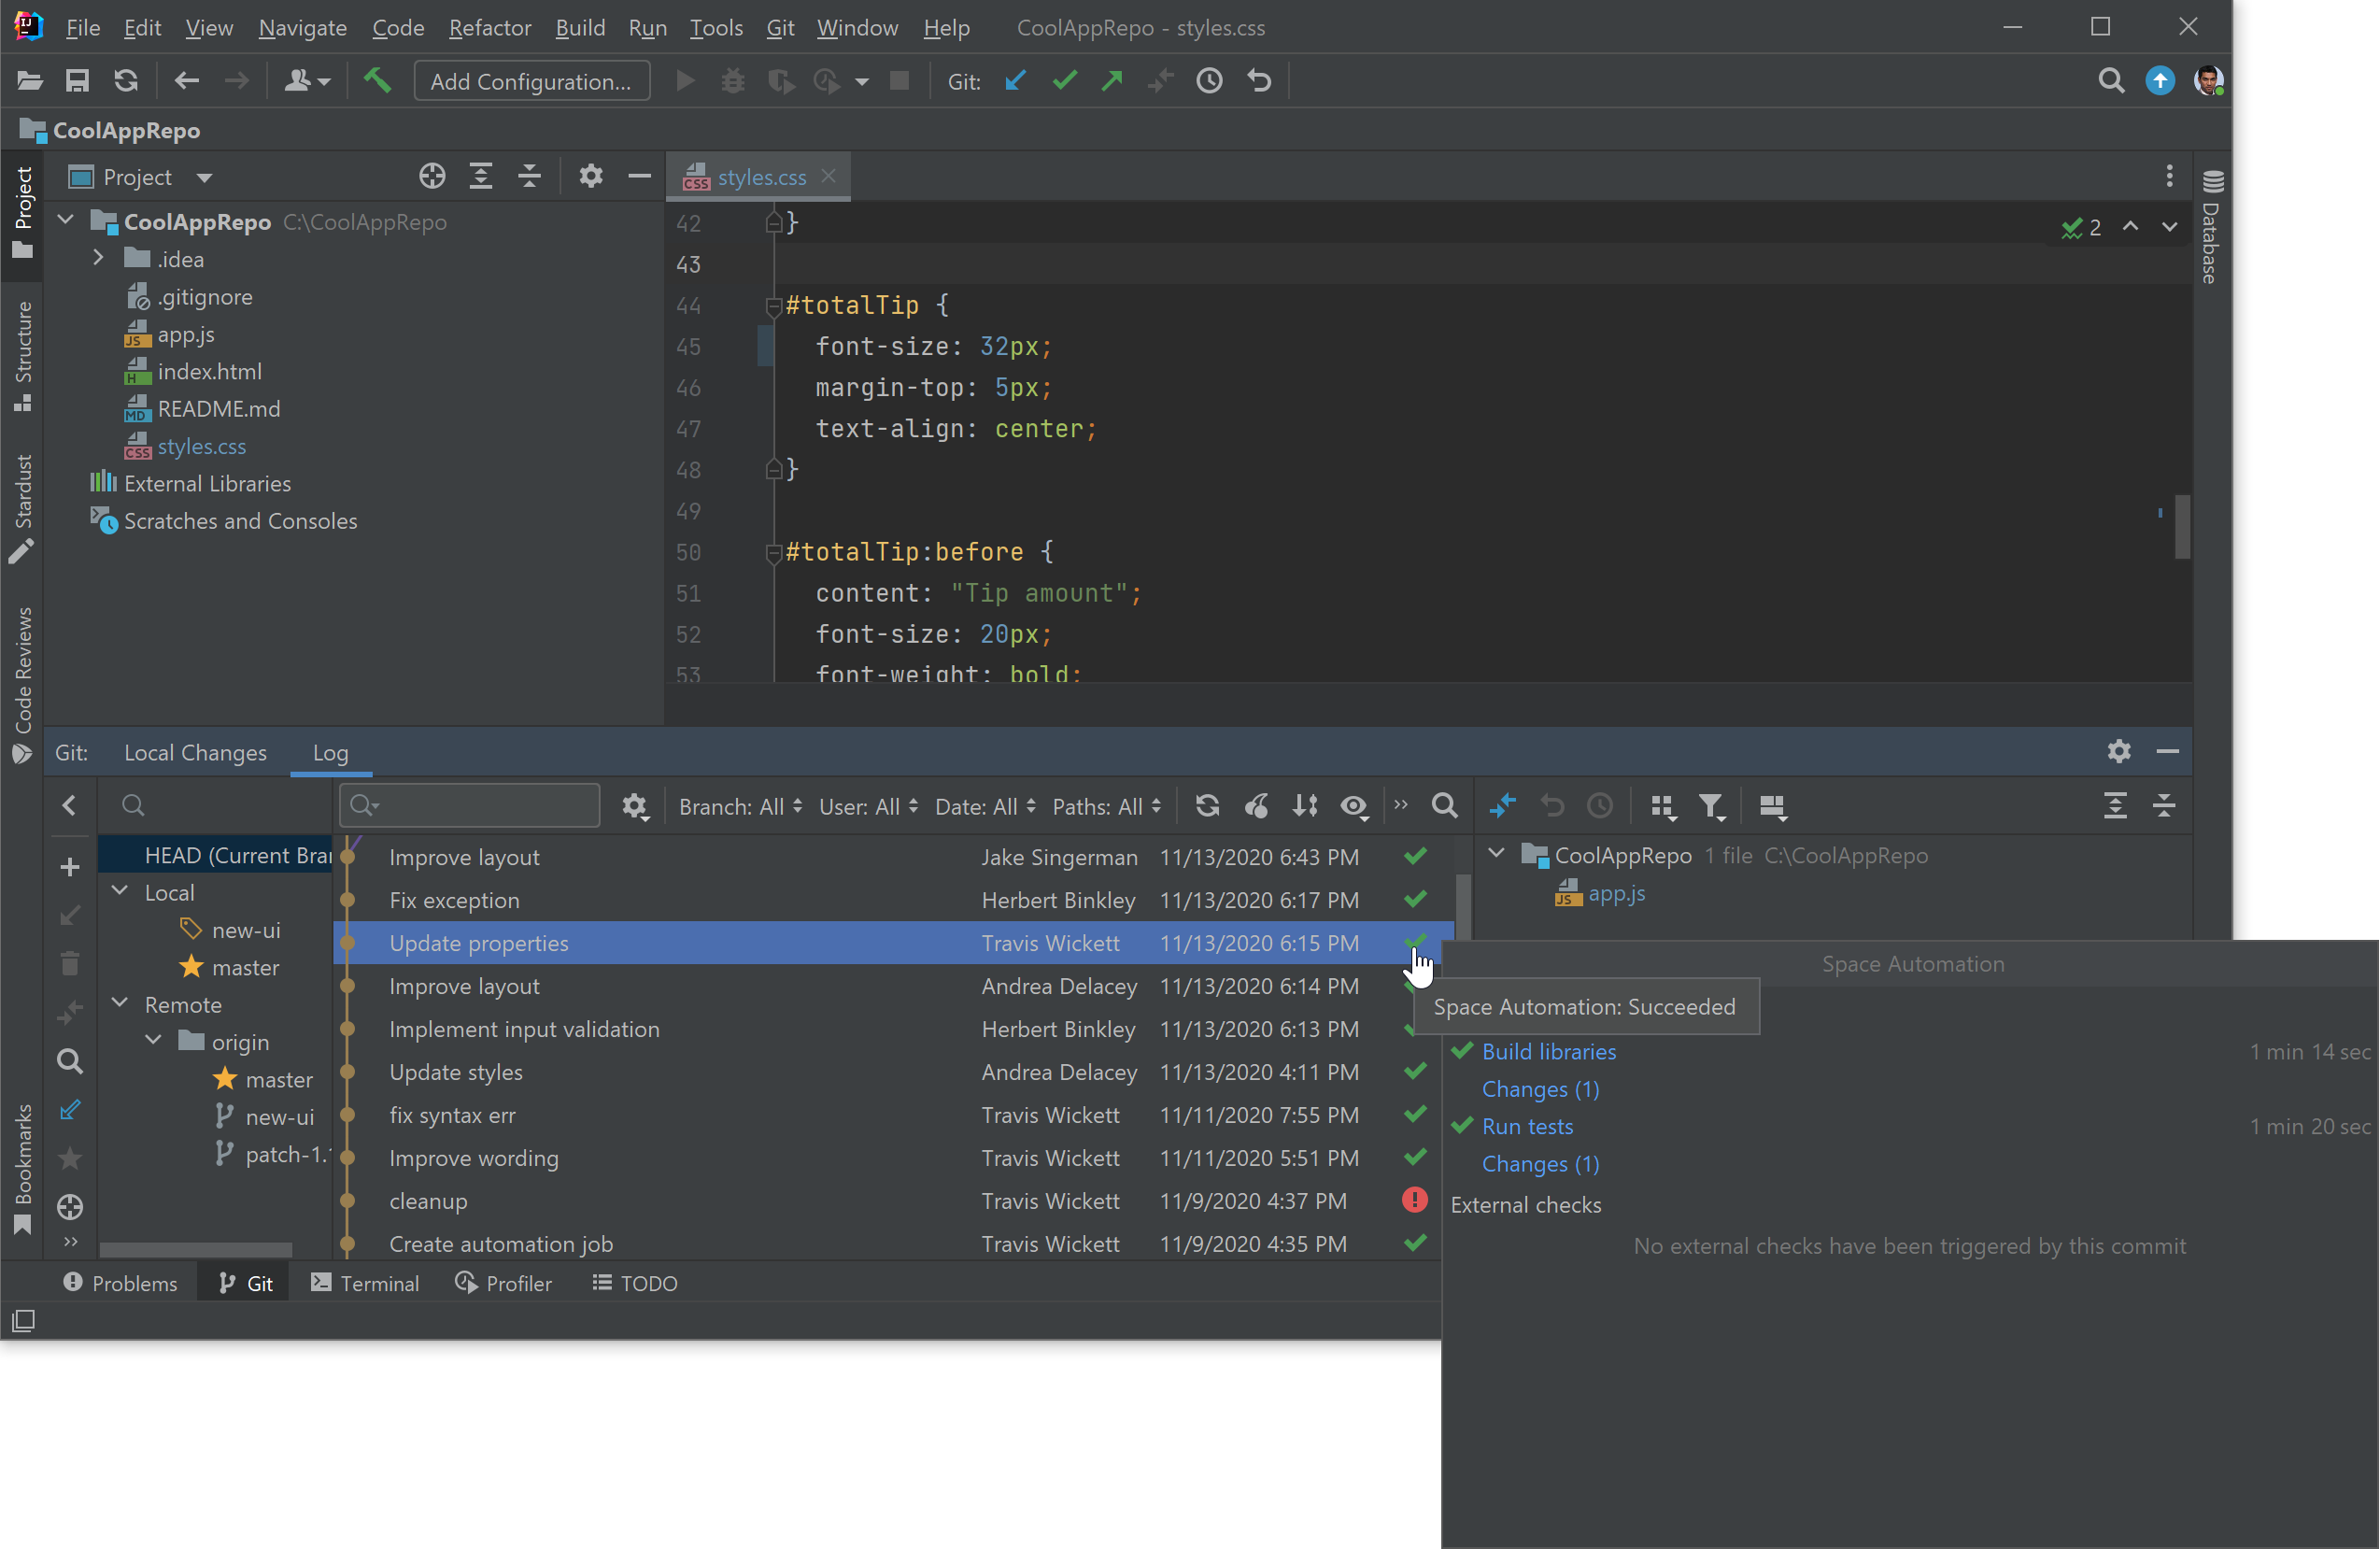
You can also preview automation job statuses right in your IDE. Open your IDE's Git log window to check if an Automation job is still running, failed with an error, or finished successfully:
Manage dev environments
You can manage your dev environments directly from your JetBrains IDE or the JetBrains Gateway UI.
When your IDE is connected to your Space organization:
All of your existing dev environments are synchronized.
You can create a new dev environment for a repository and branch, and start coding right away with JetBrains Client.
You can hibernate a dev environment to reduce resource consumption or simply delete it when your work is finished.
