Zapier
Zapier is an online automation tool that connects your favorite apps, such as Gmail, Slack, Mailchimp, and more. You can connect two or more apps to automate repetitive tasks without coding or relying on developers to build the integration. It's easy enough that anyone can build their own app workflows with just a few clicks.
JetBrains Space Zapier Integration lets you connect Space to 2,000+ other web services. Automated connections called Zaps, set up in minutes with no coding, can automate your day-to-day tasks and build workflows between apps that otherwise wouldn't be possible.
Each Zap has one app as the Trigger, where your information comes from and which causes one or more Actions in other apps, where your data gets sent automatically.
To get started, sign up for a free Zapier account. From there, you can jump right in.
Supported Triggers
On the free plan, they are polled every 15 minutes.
A new channel is created.
A new project is created.
A new absence is created.
A new blog article is created.
A new meeting is created.
A new code review is created in a project.
A new package repository is created in a project.
A new checklist is created in a project.
A new issue is created in a project.
A new location is created.
A new profile is created.
A new membership is created.
A new role is created.
A new team is created.
Supported actions
The actions are performed immediately on all plans.
Create a ToDo item.
Send a chat message to a channel.
Send a direct chat message to a member.
Invite a user to a Space instance via Email.
Create an issue.
Create a project.
Create a location.
Create a profile.
Create a role.
Create a team.
Send a comment to a code review (code review ID must be provided manually e.g., from external storage - it will be improved in the next update of the integration).
Send a comment to an issue (issue ID must be provided manually e.g., from external storage - it will be improved in the next update of the integration).
More actions and triggers will be added as Space API is extended.
Getting Started with JetBrains Space and Zapier Integration
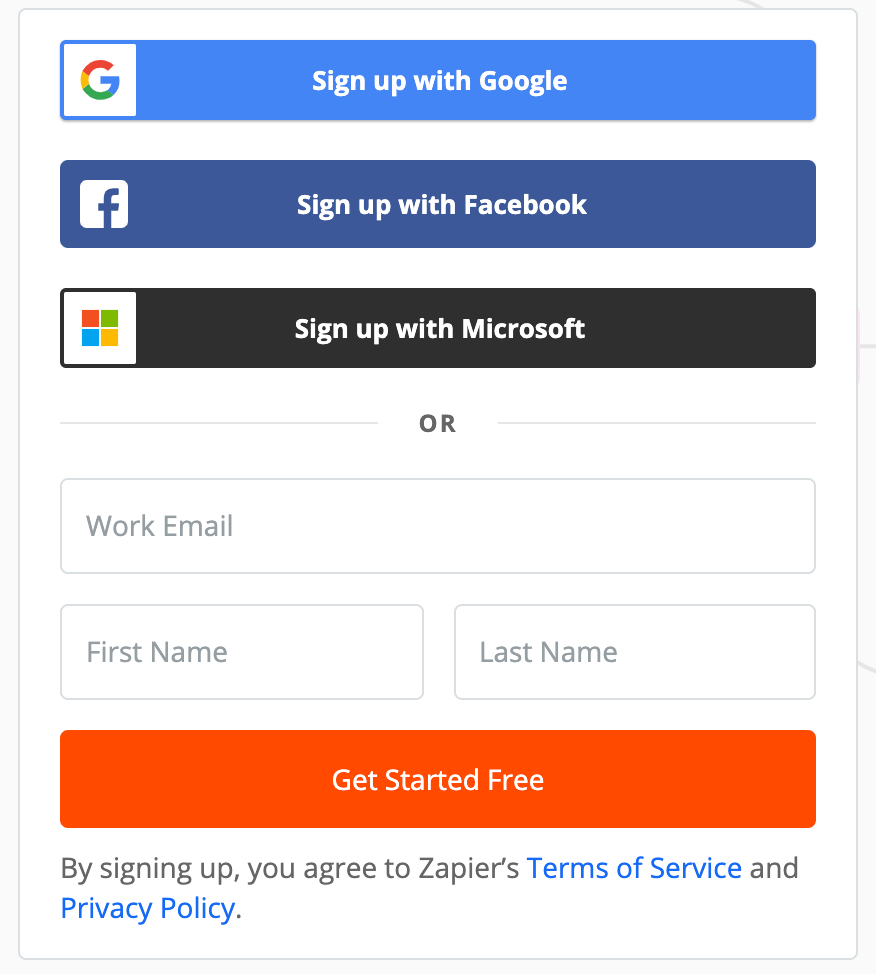
Create a Zapier account at https://zapier.com/ (you can just use your Google, Facebook, or Microsoft account).
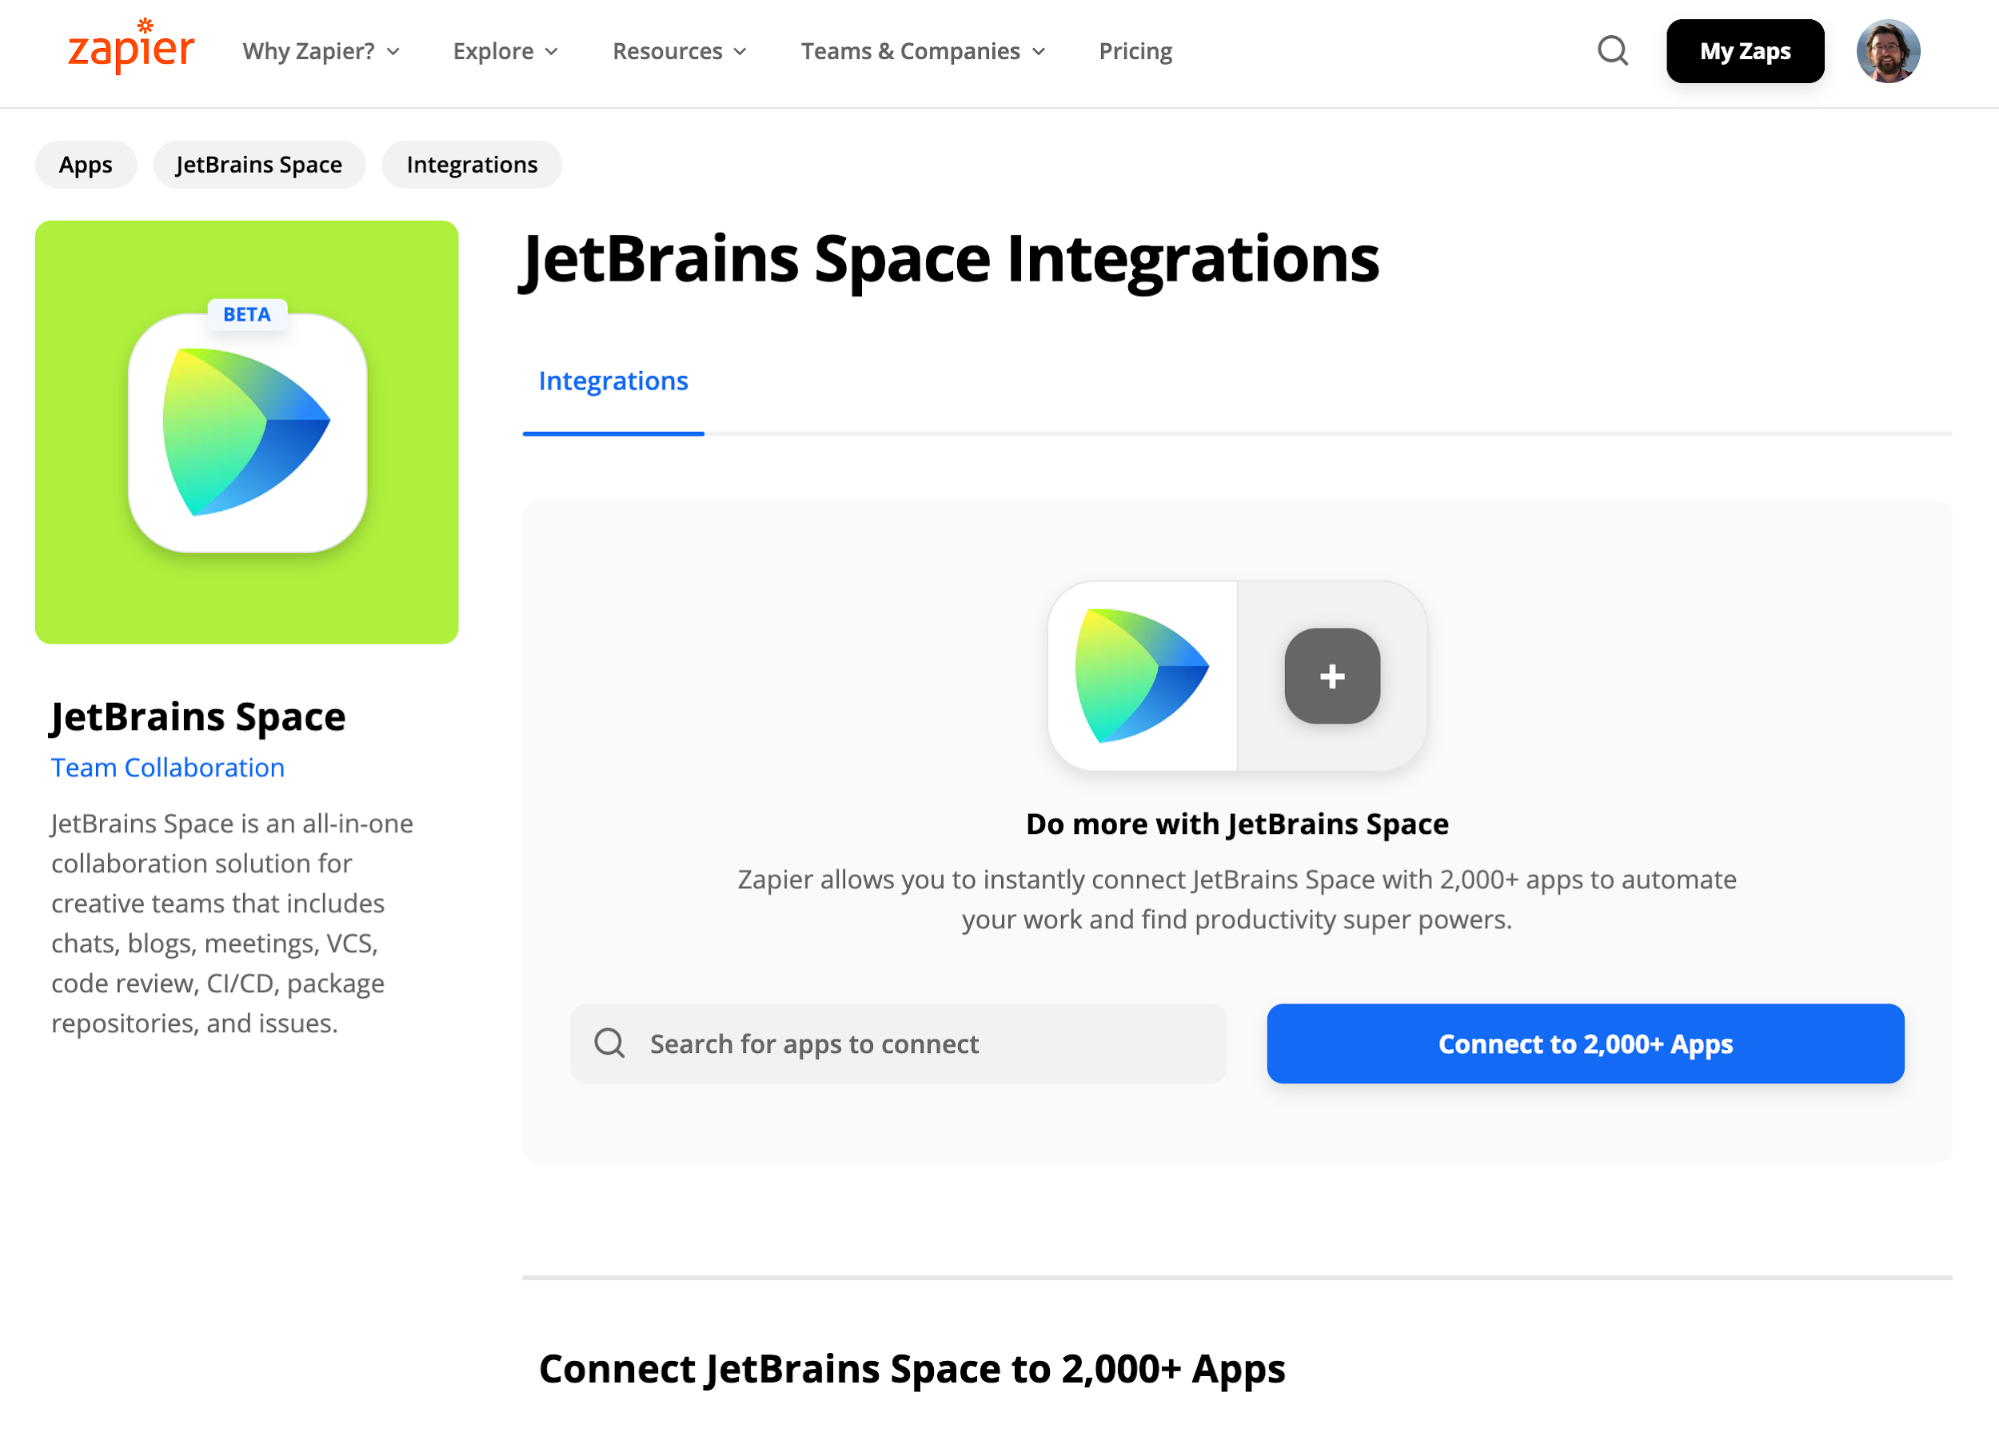
Explore features of JetBrains Space Zapier integration at https://zapier.com/apps/jetbrains-space/integrations:
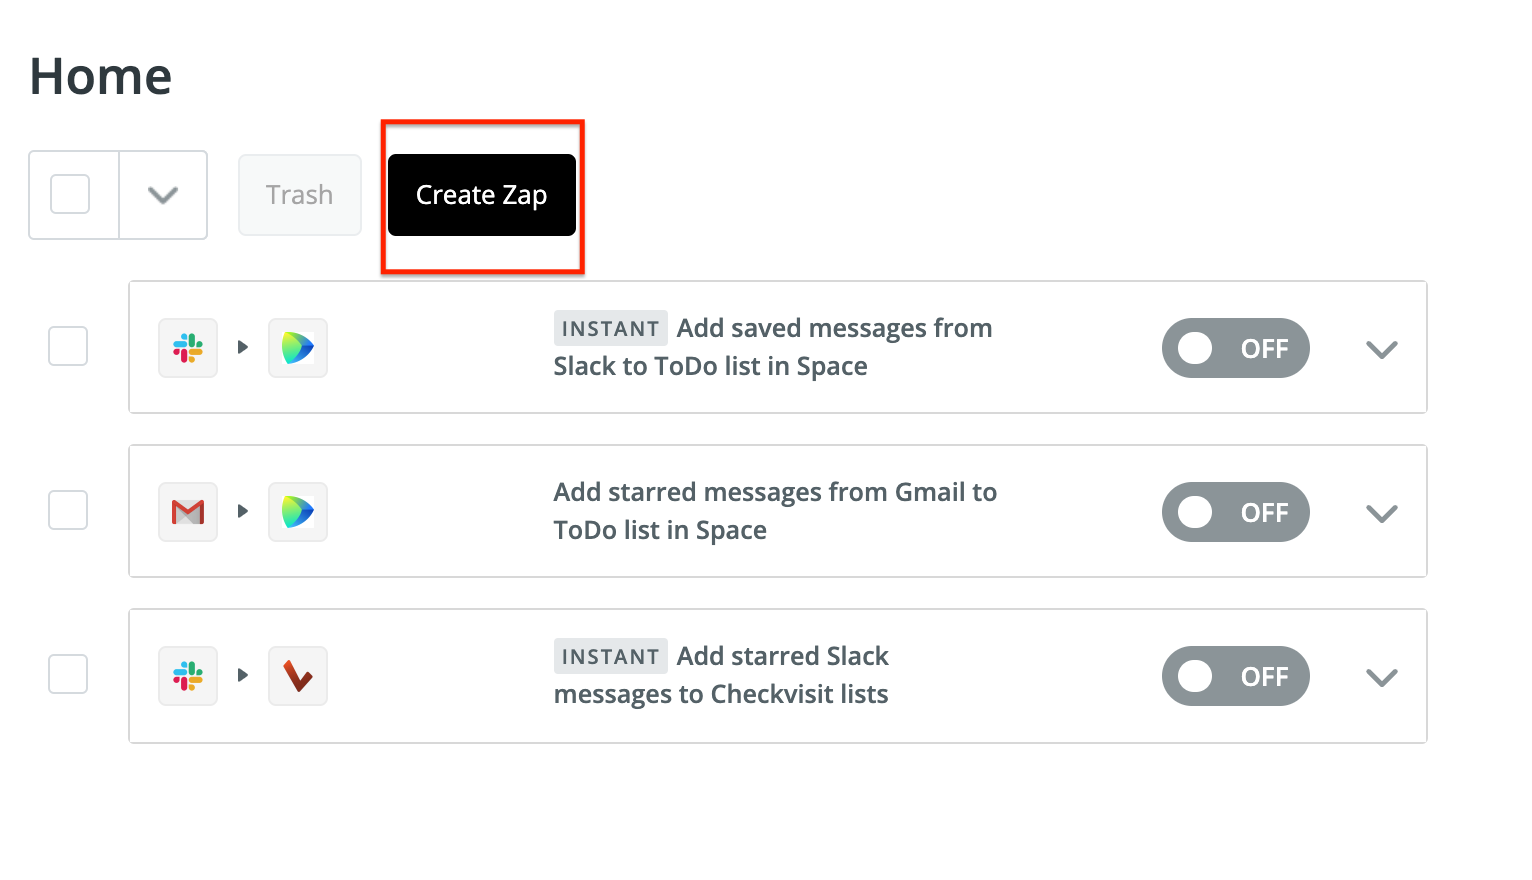
After creating the account, you can start connecting other tools to Space via Zapier.
Go to https://zapier.com/app/zaps and click Create Zap.
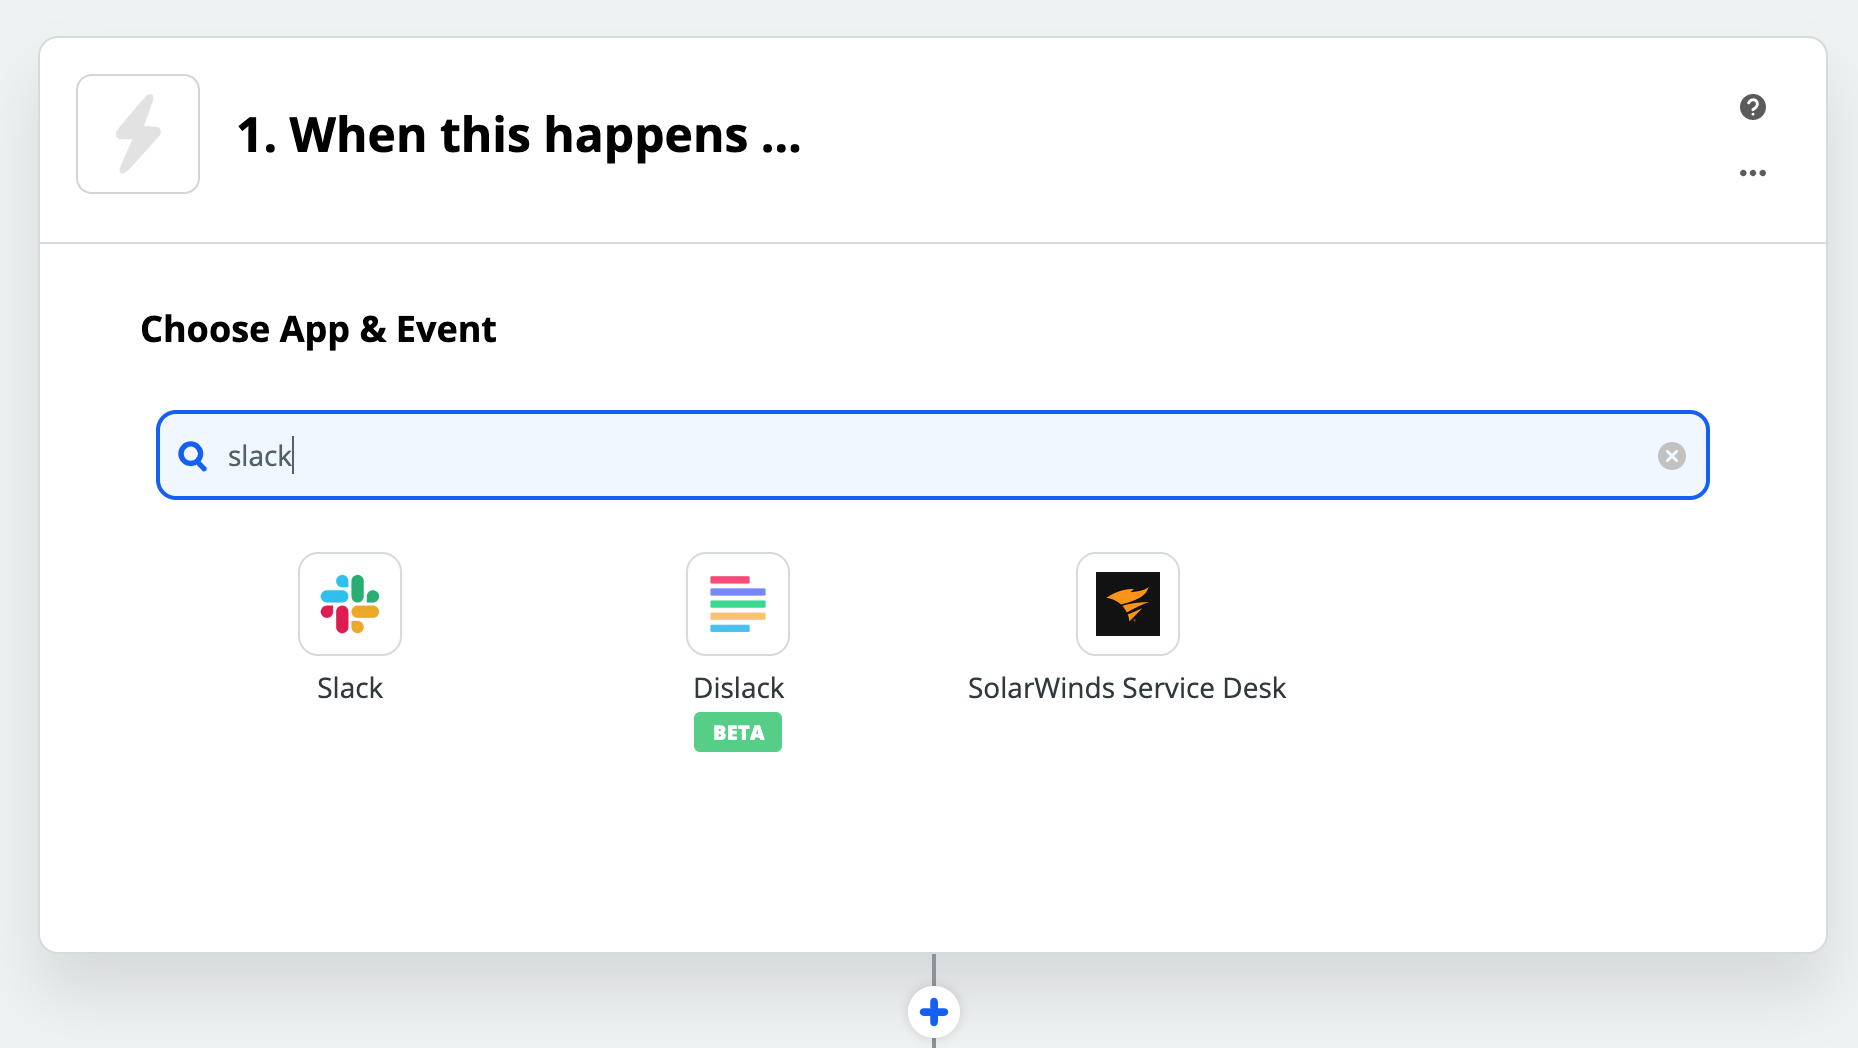
Choose the trigger (e.g., Saved message in Slack, as in our example).
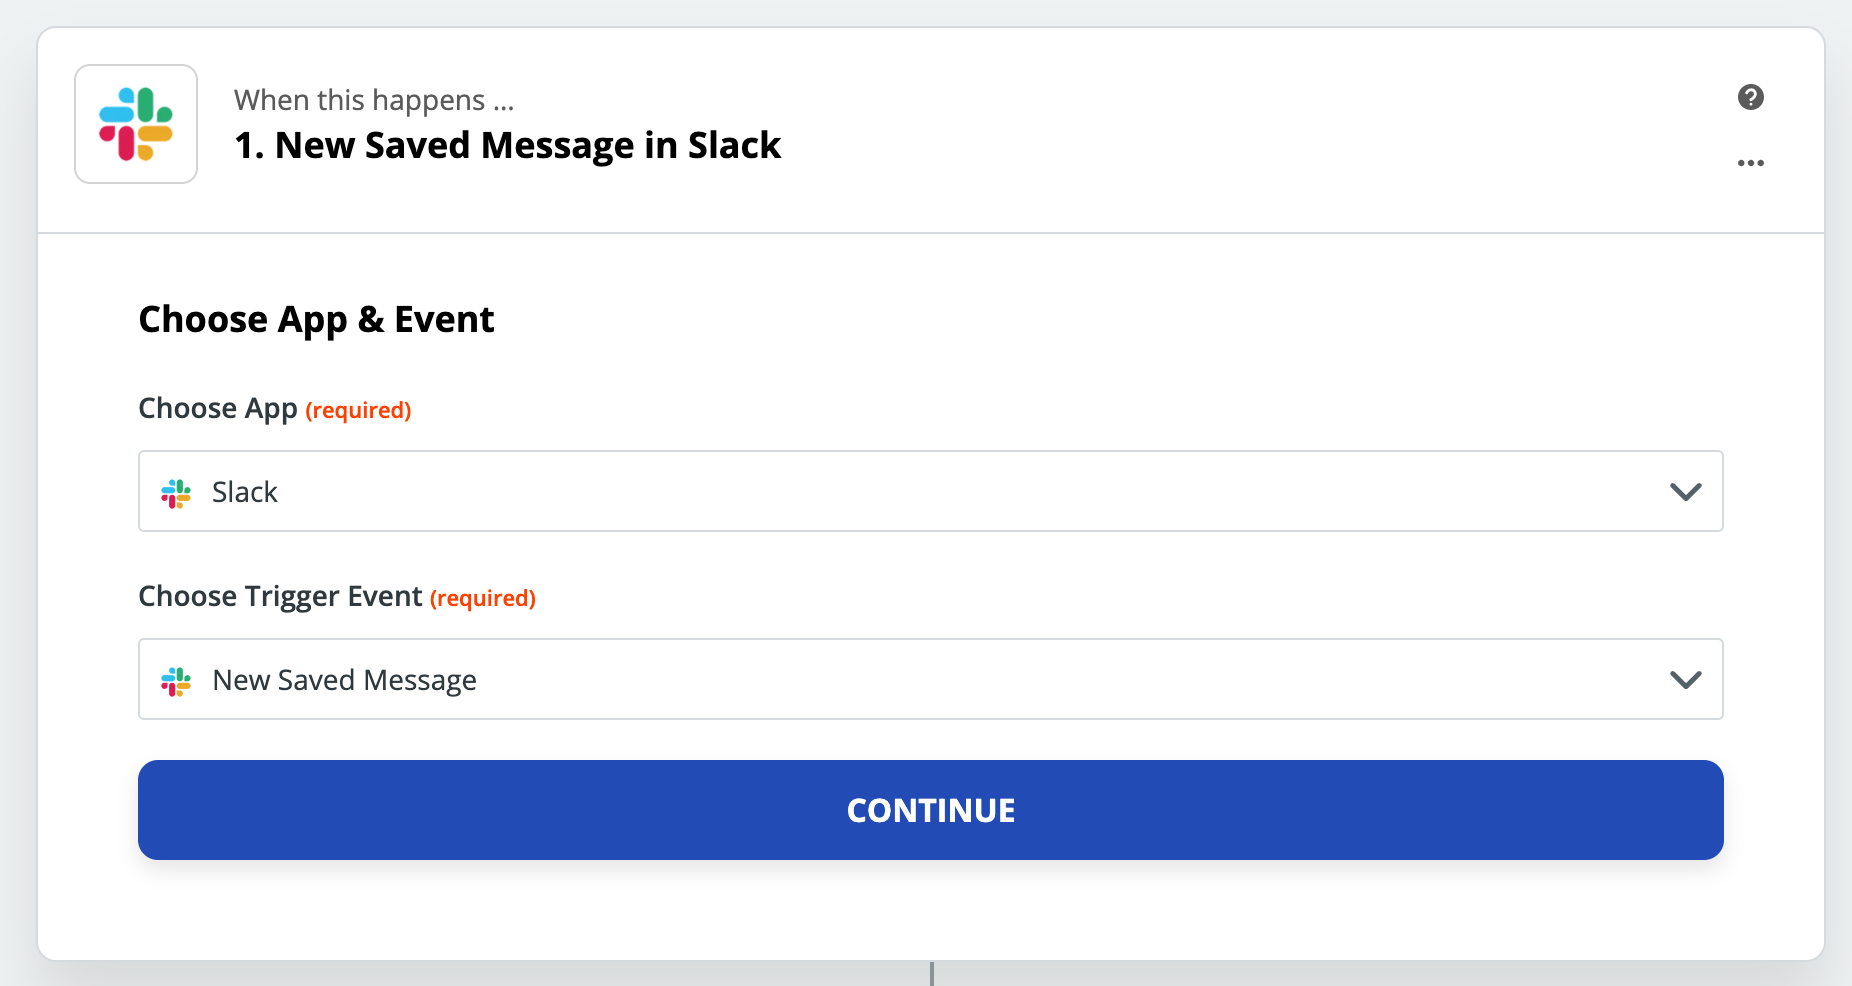
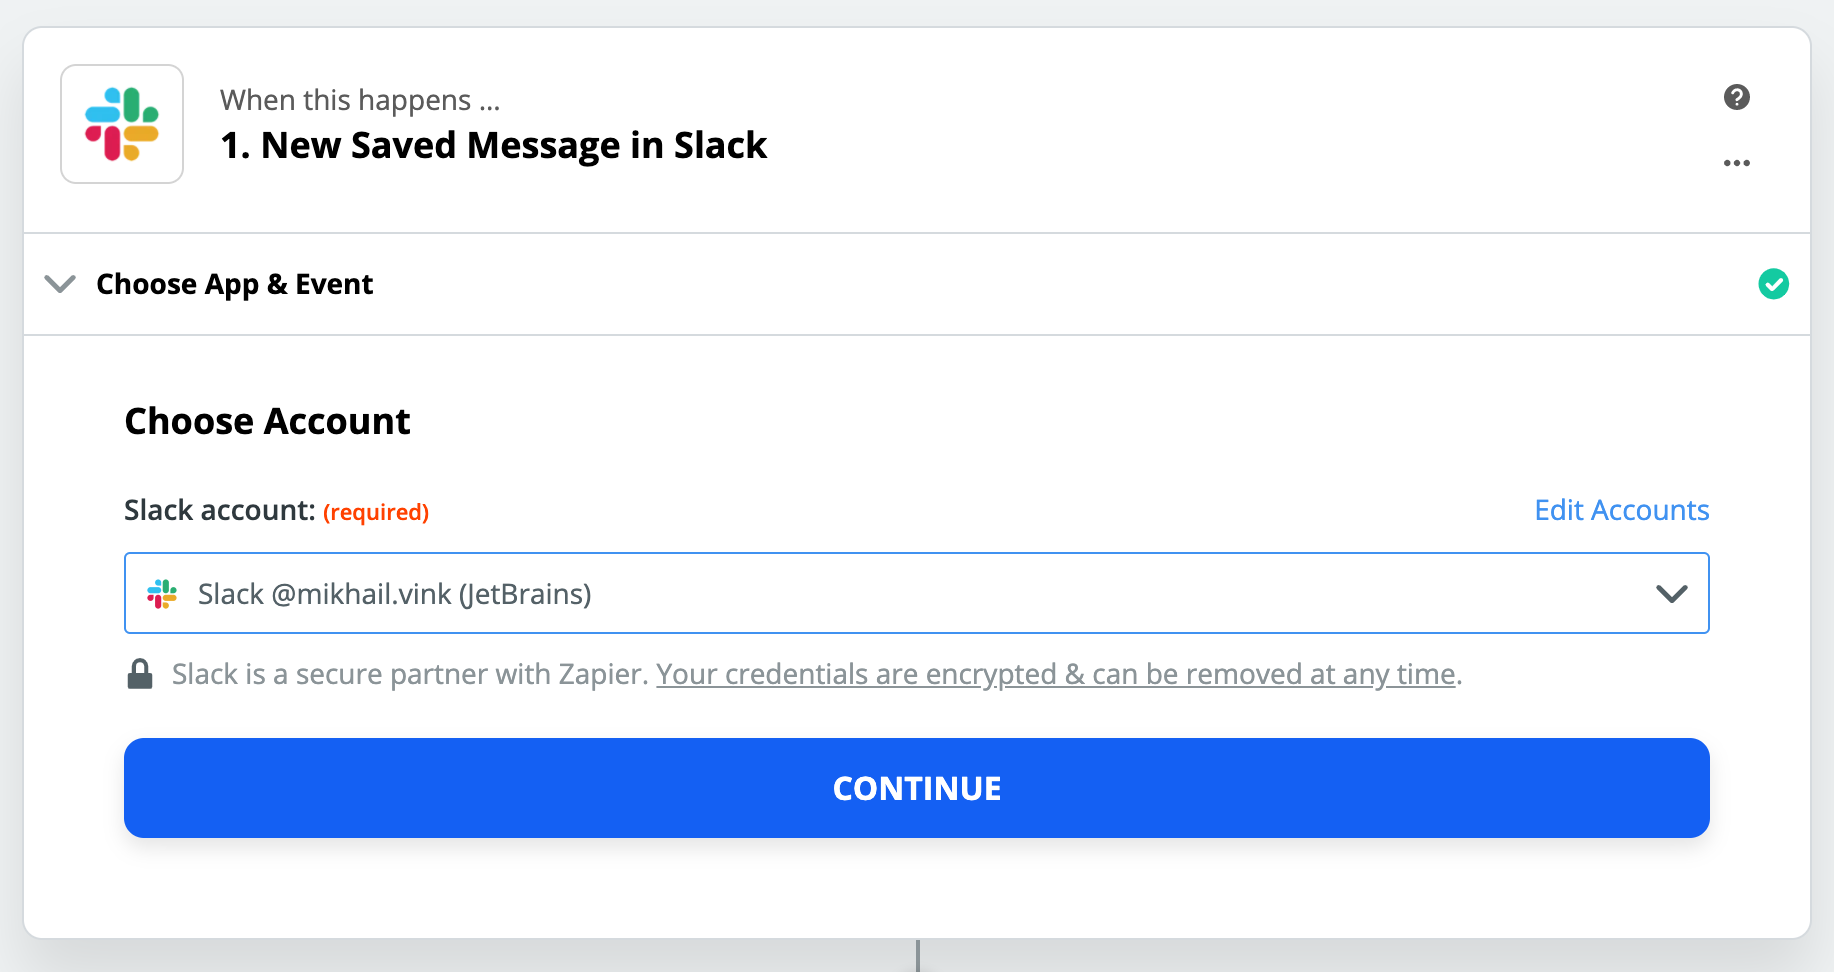
You will need to authorize Zapier with your Slack account (or another tool).
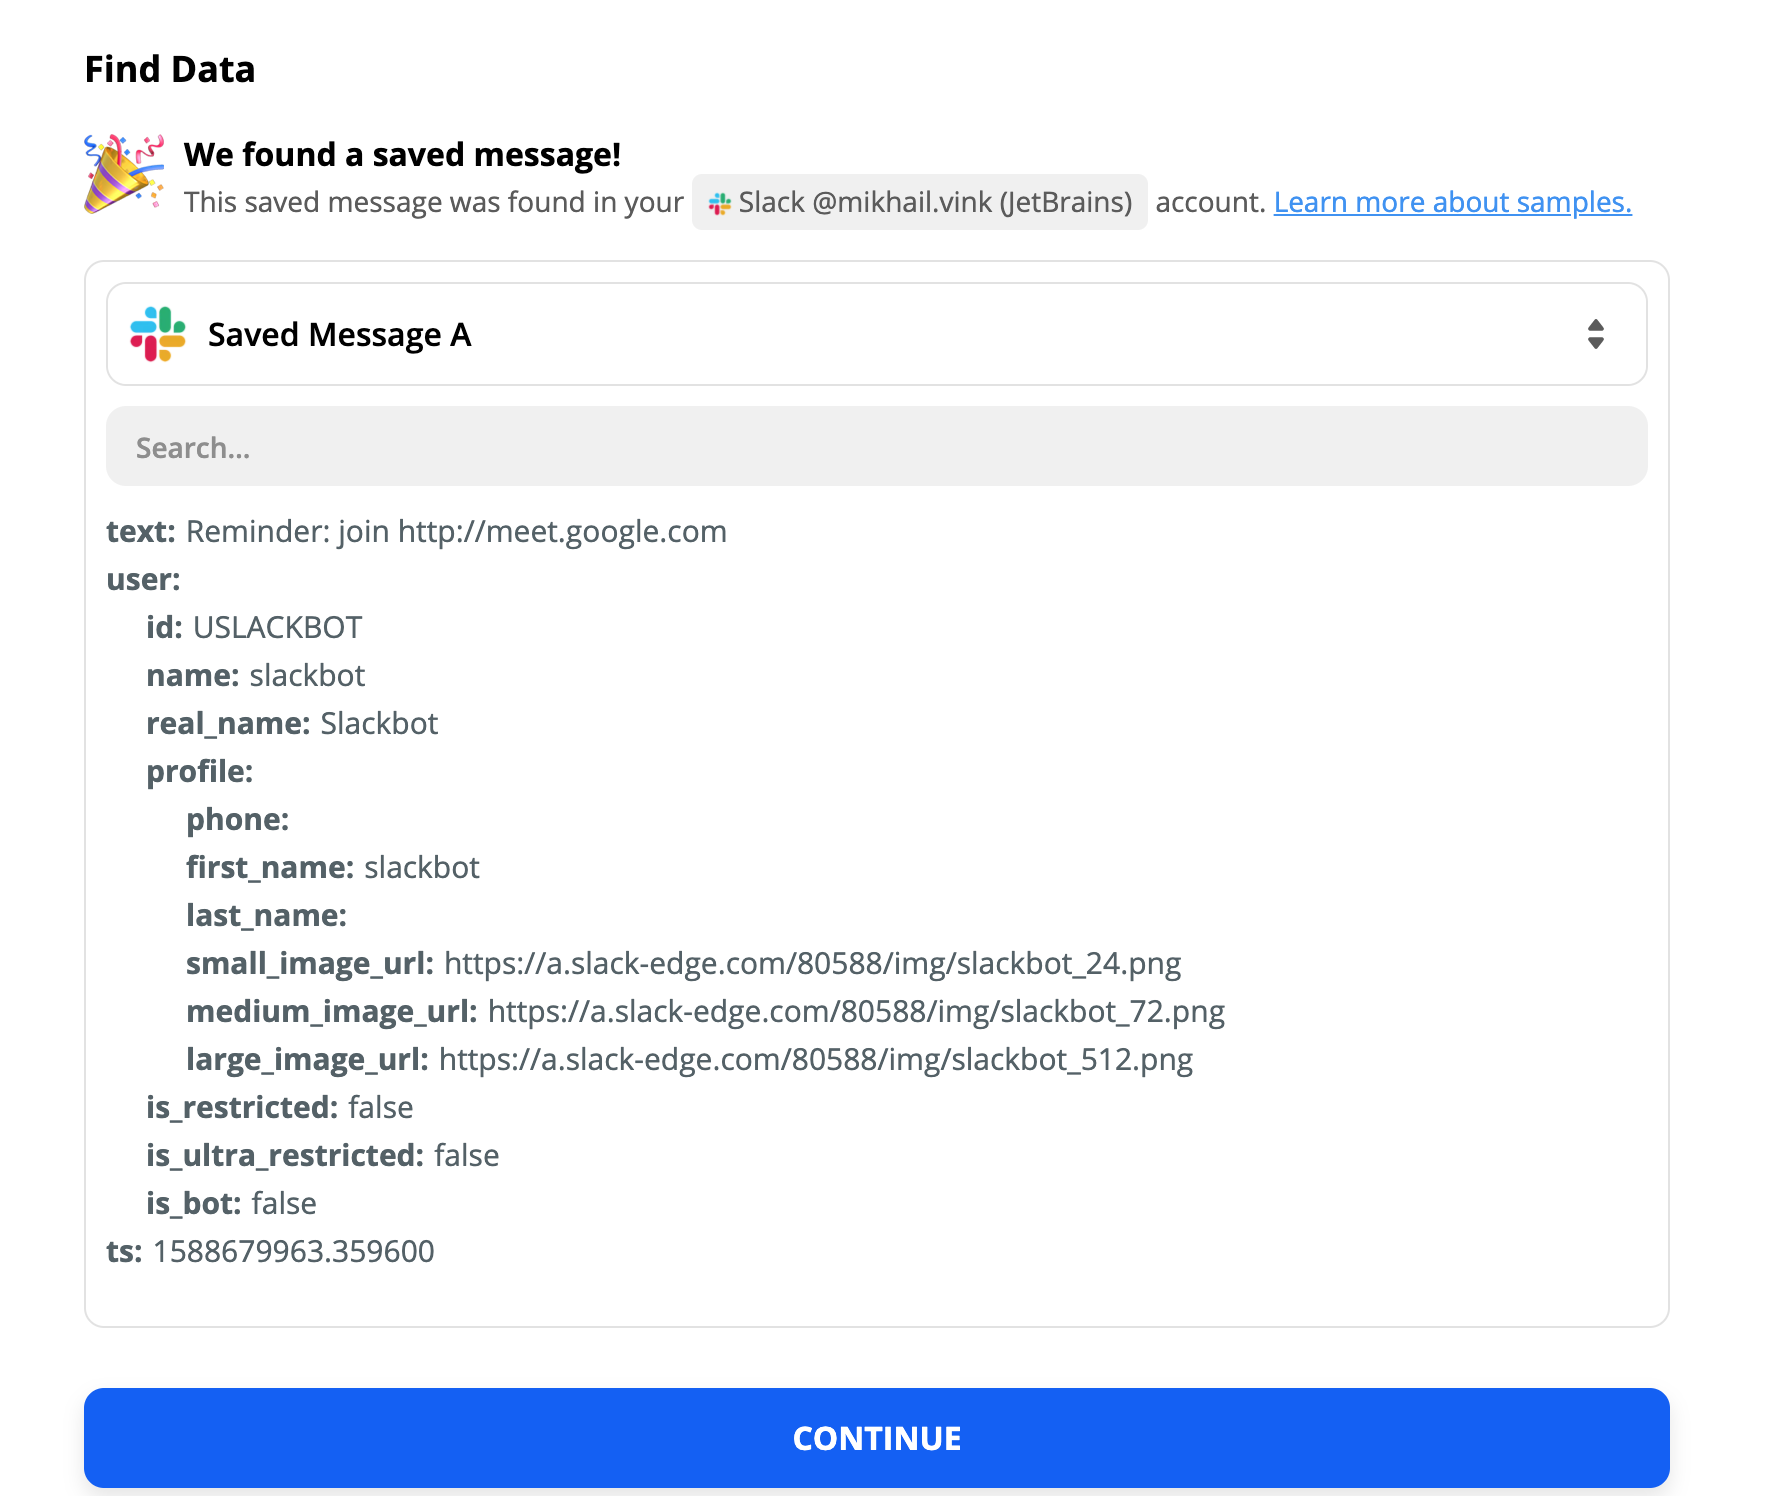
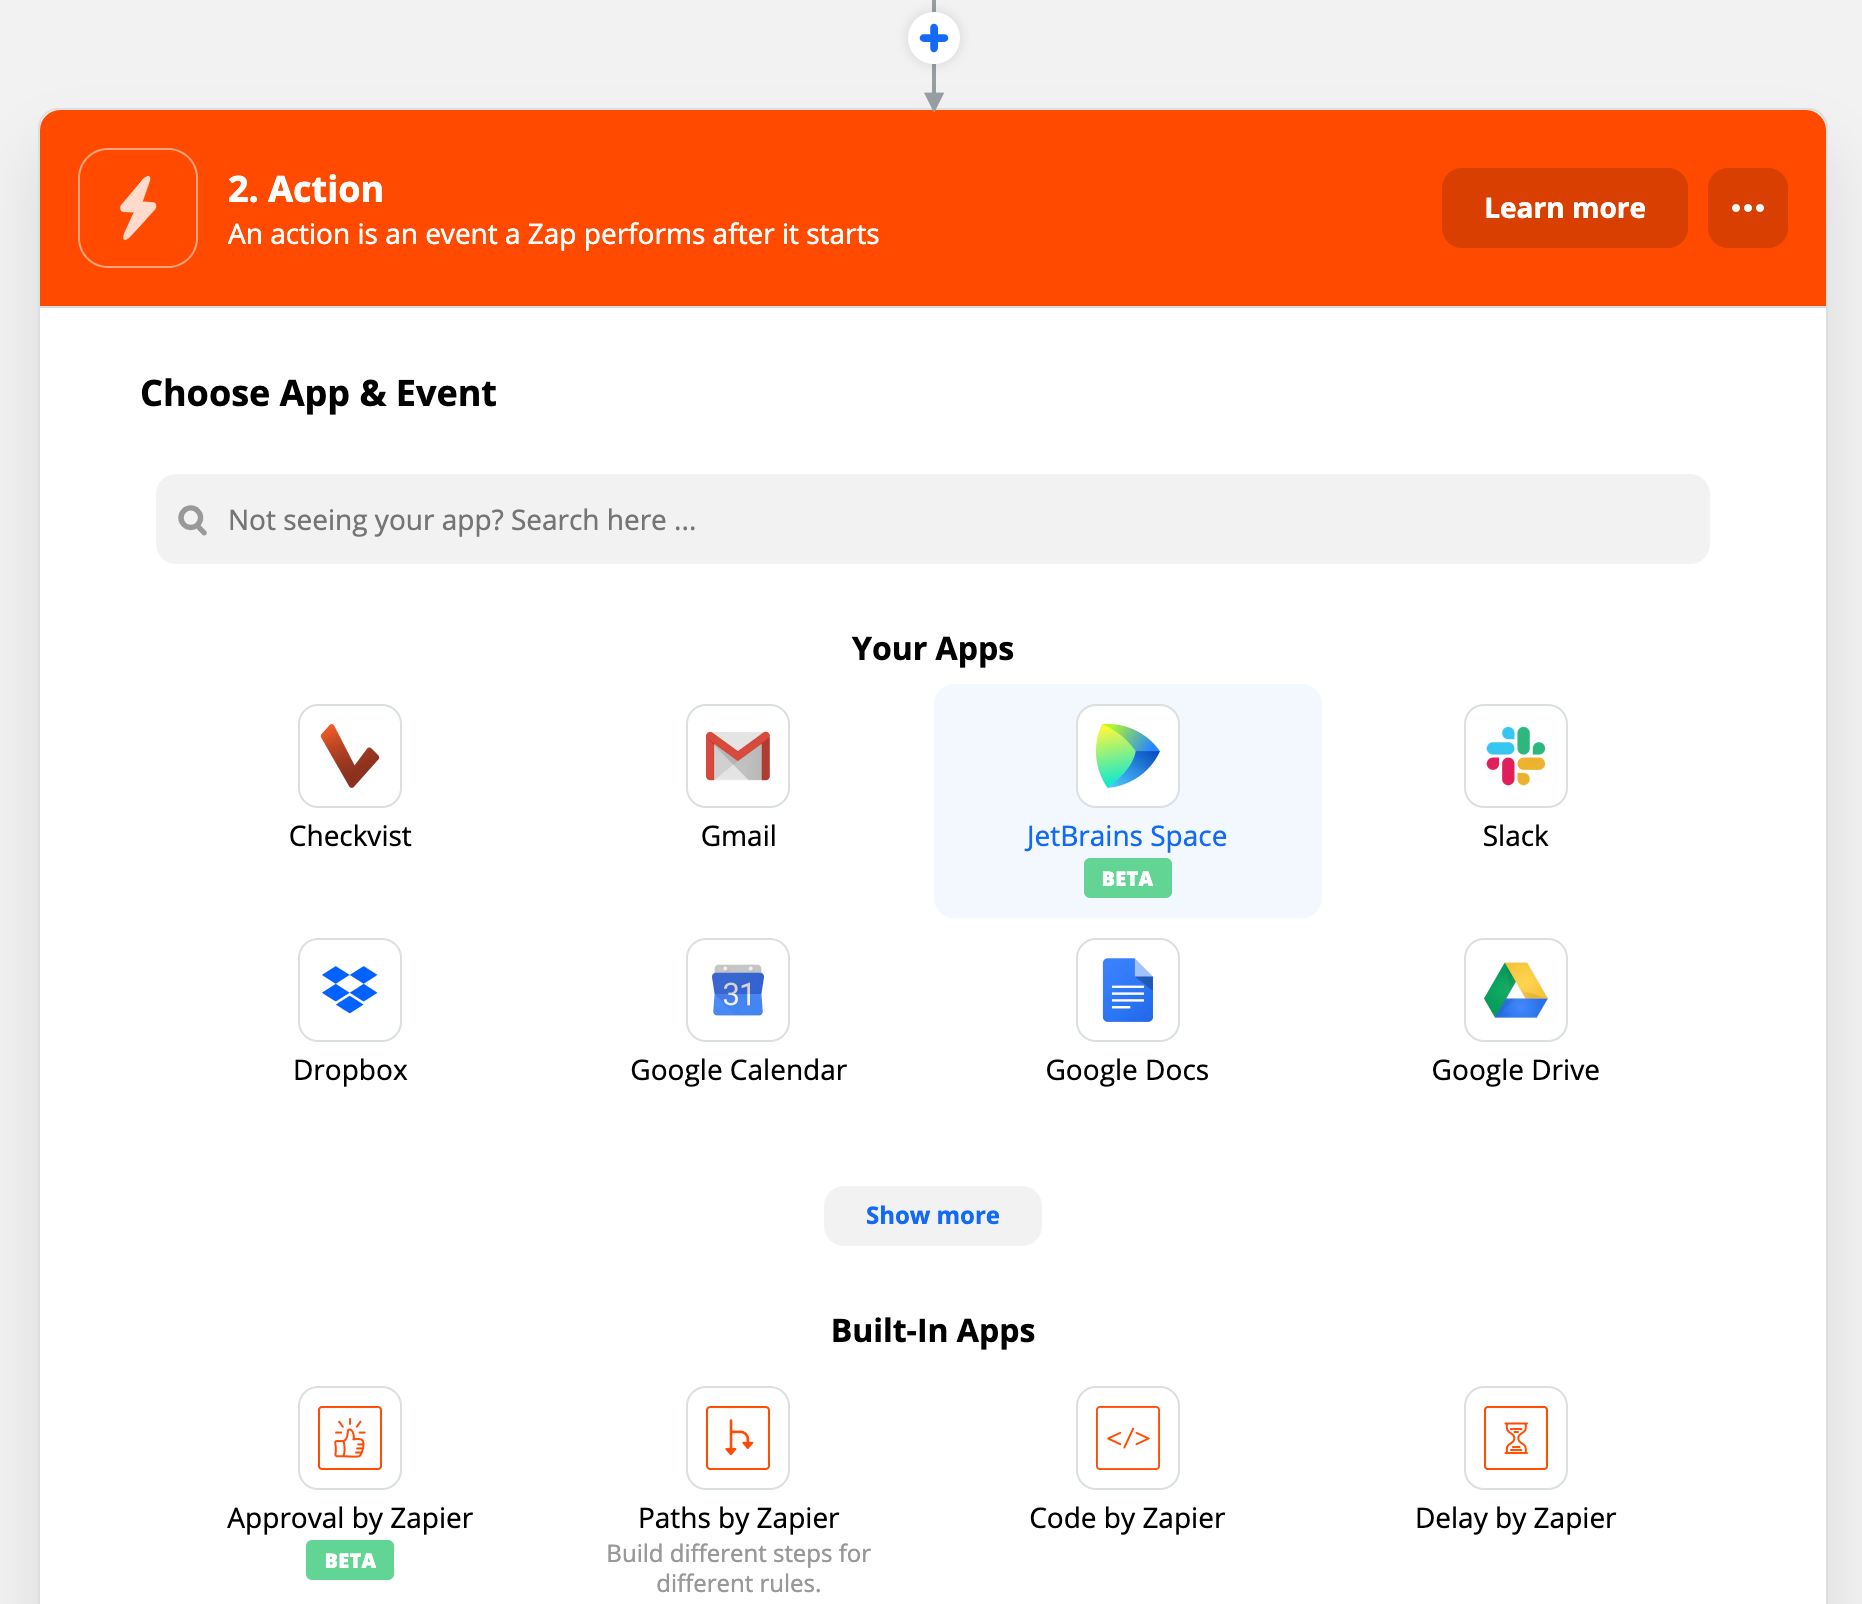
Proceed with configuring Space actions:
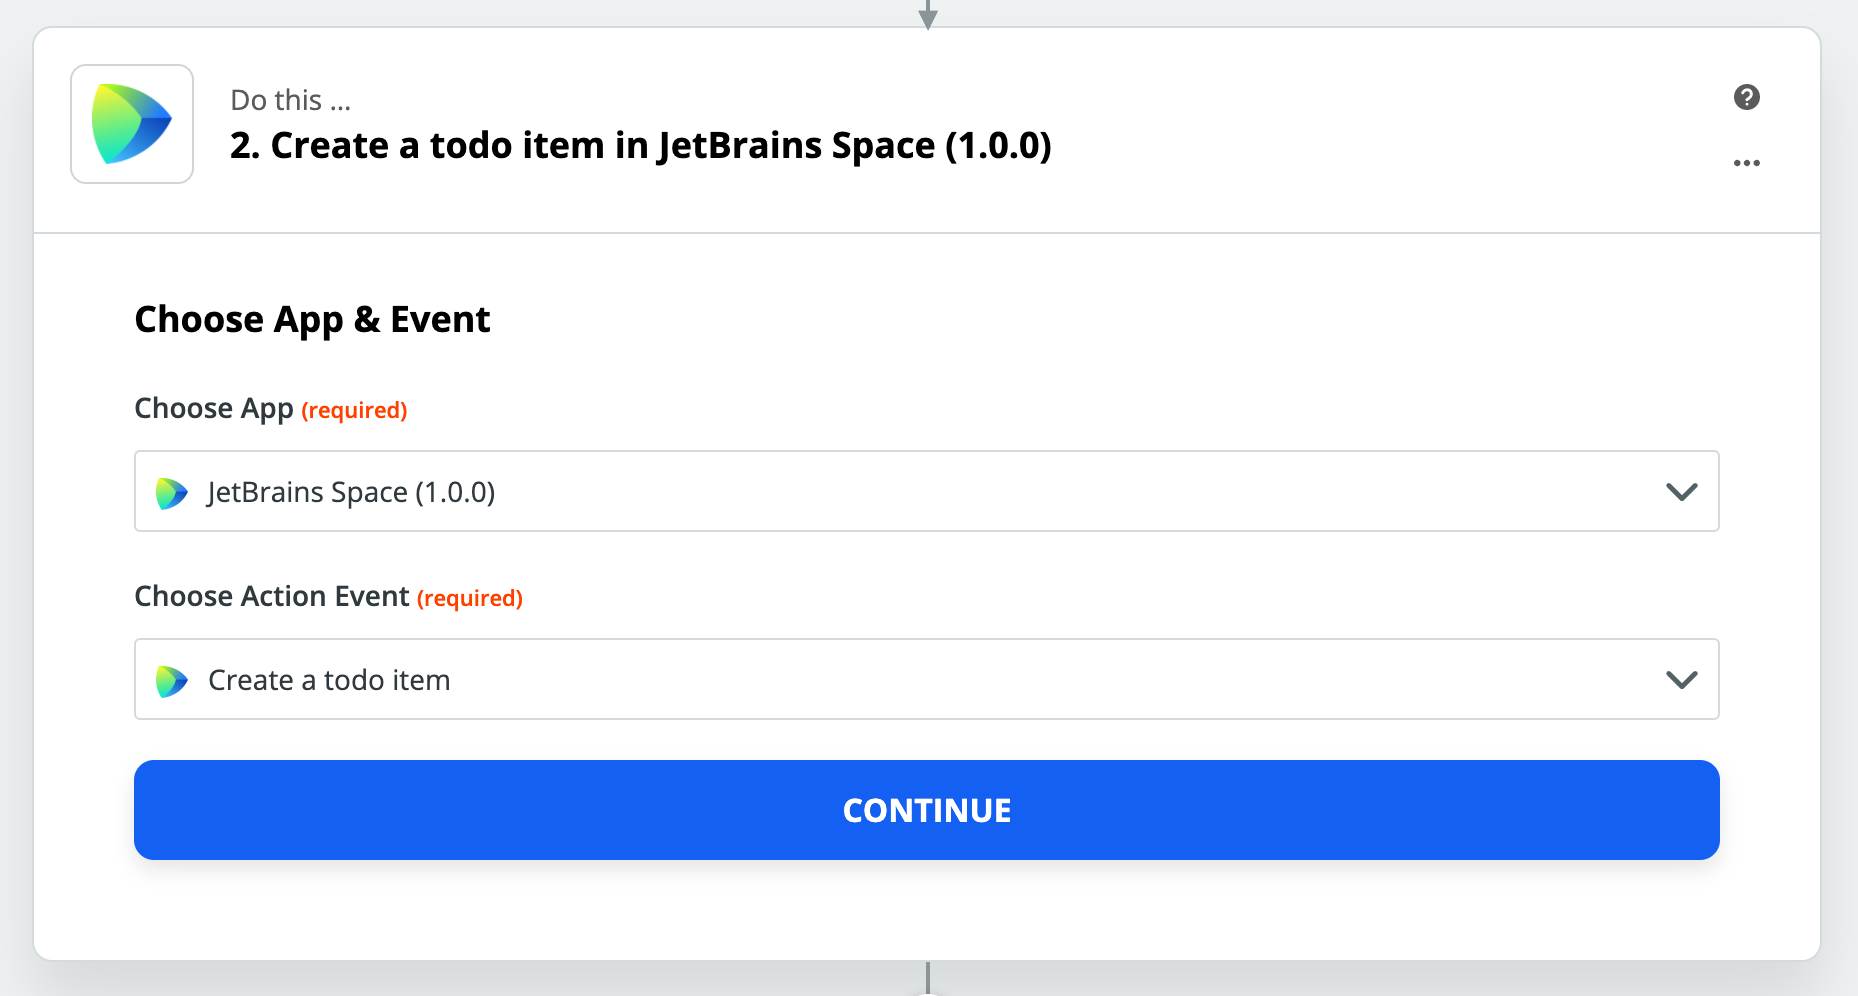
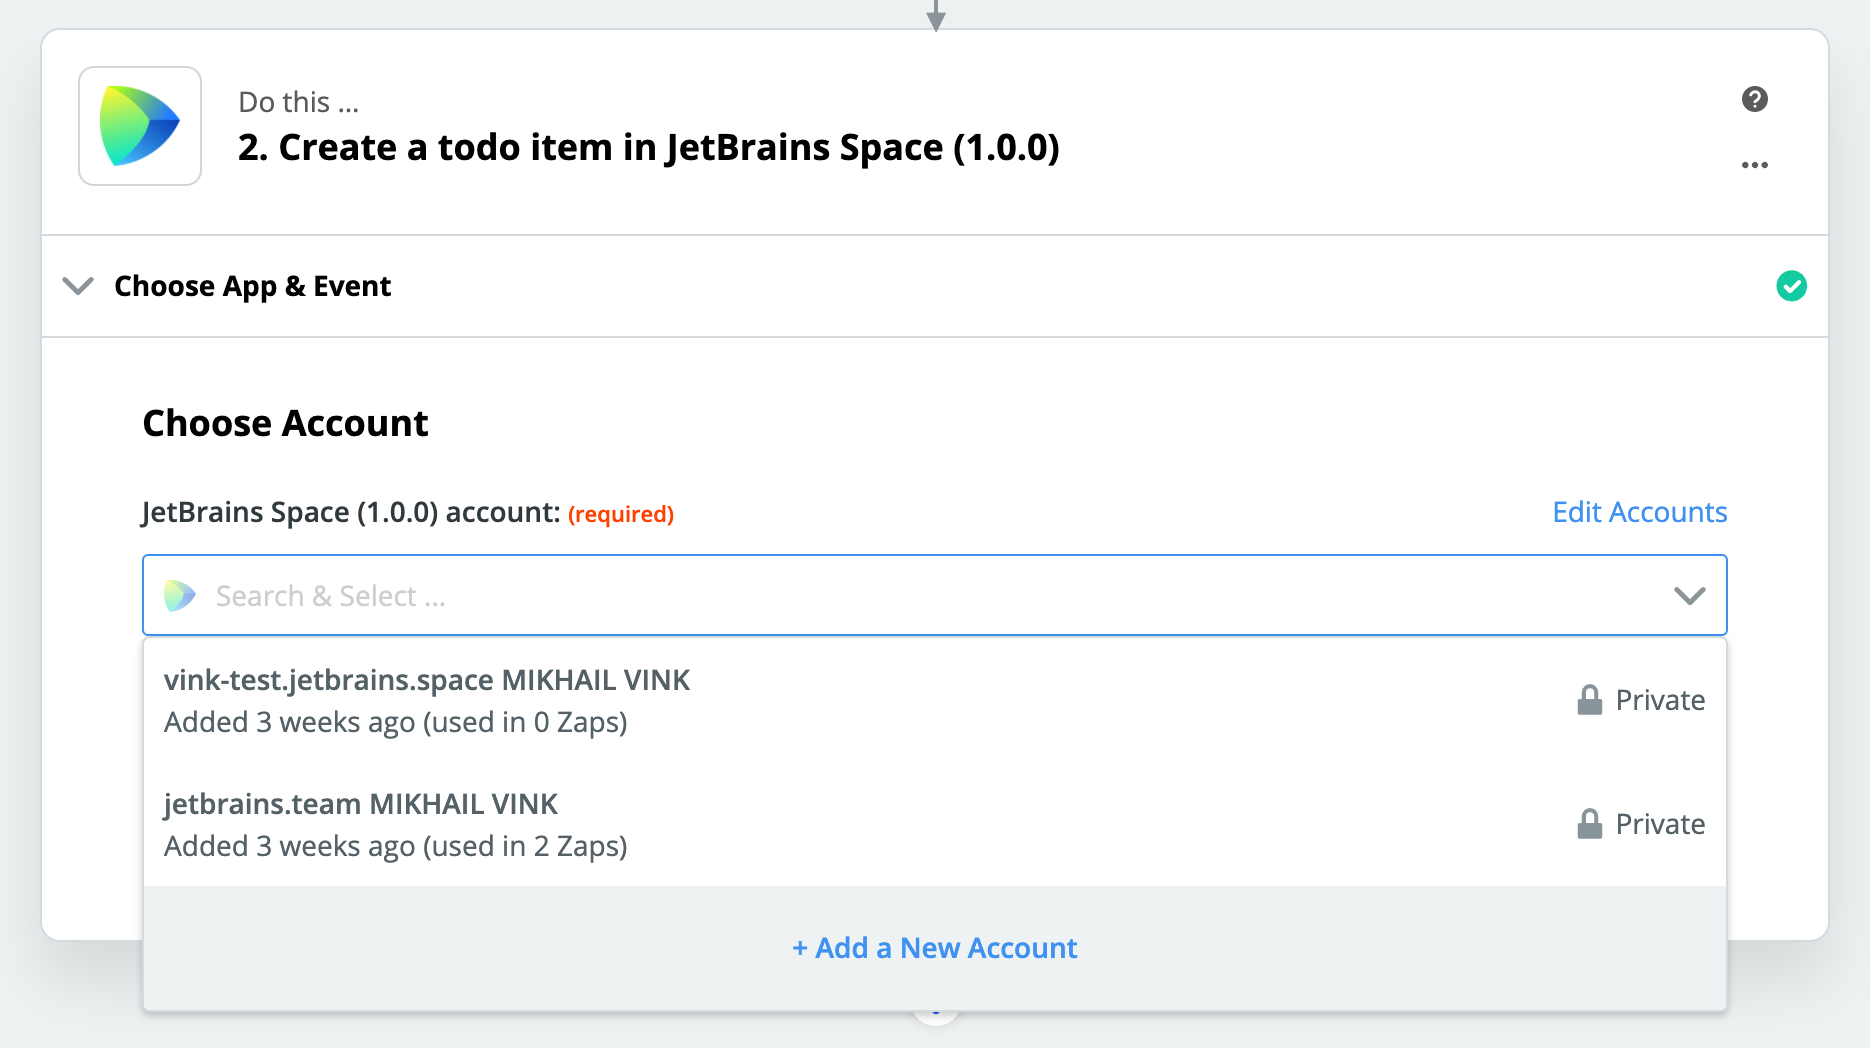
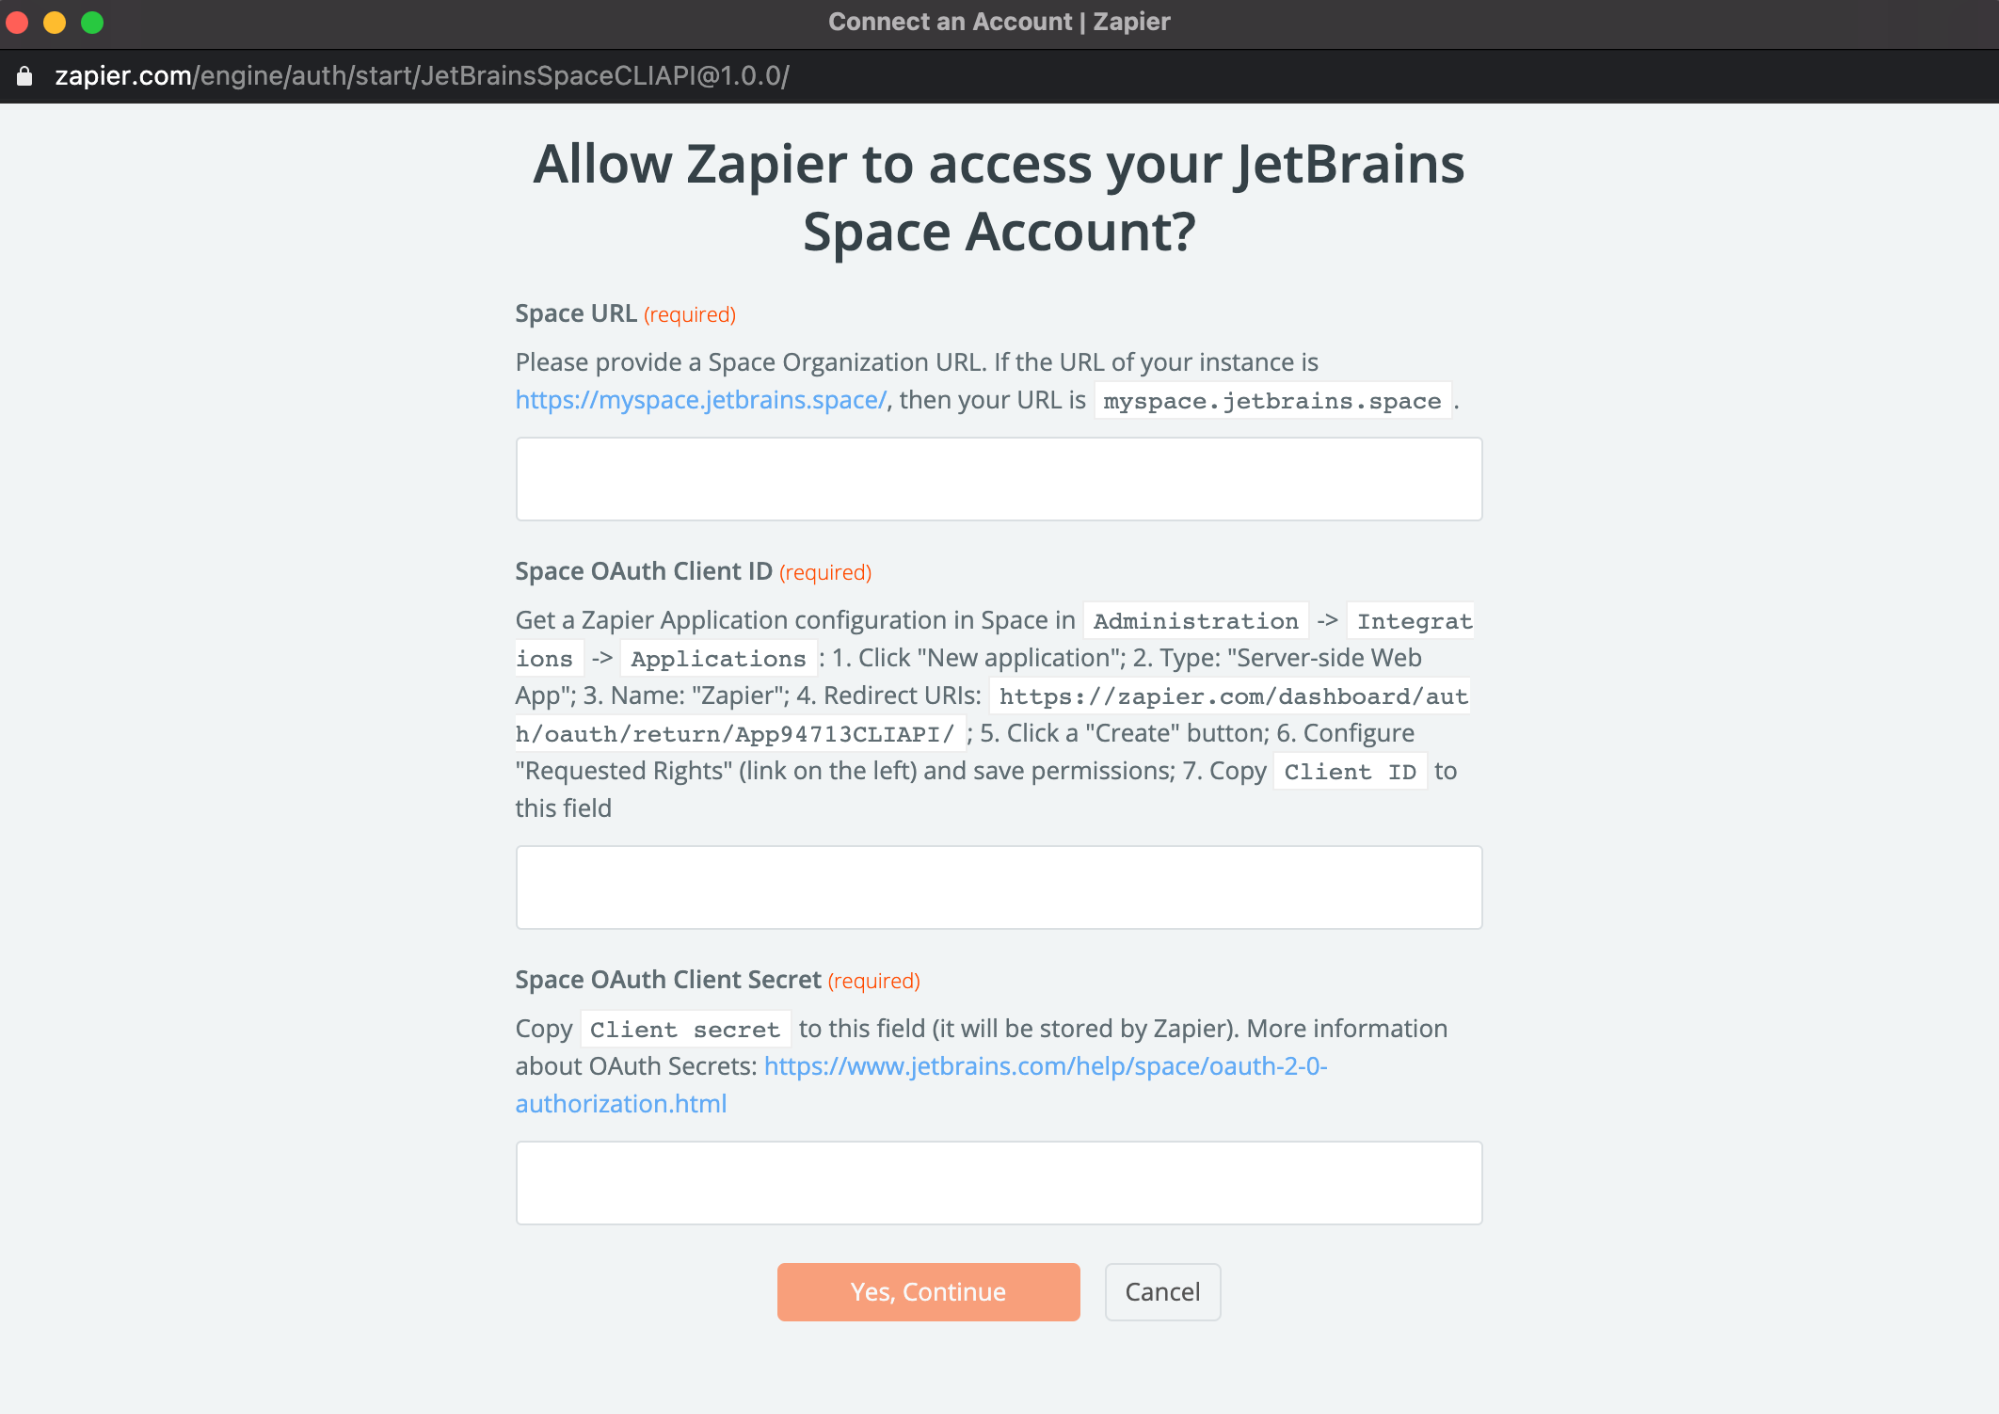
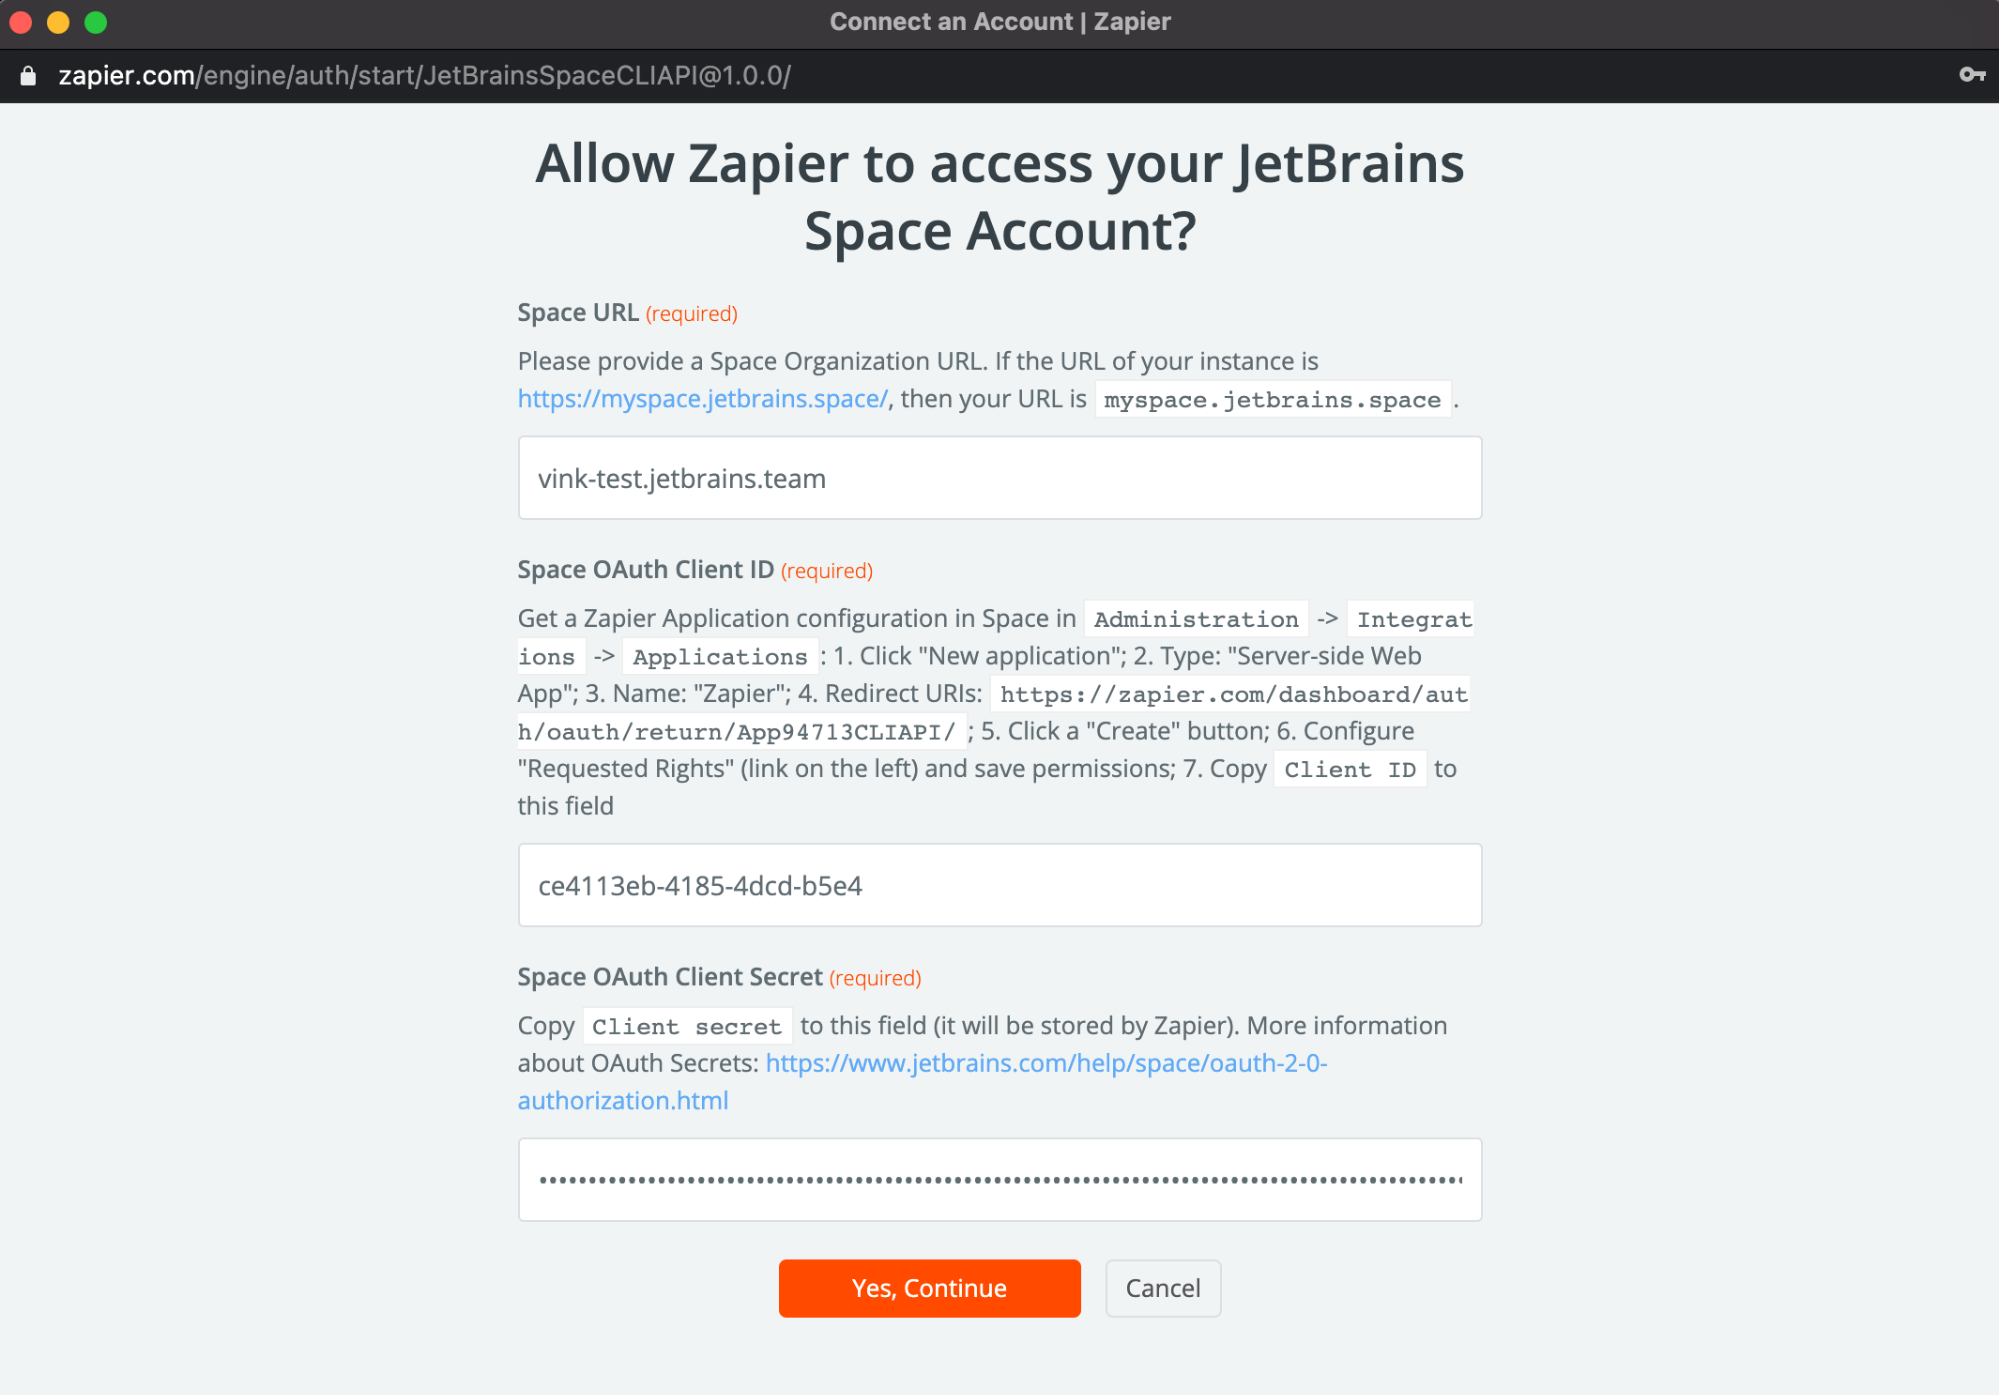
Click Add a New Account. A popup will open:
Register the application in Space: go to and click New application.
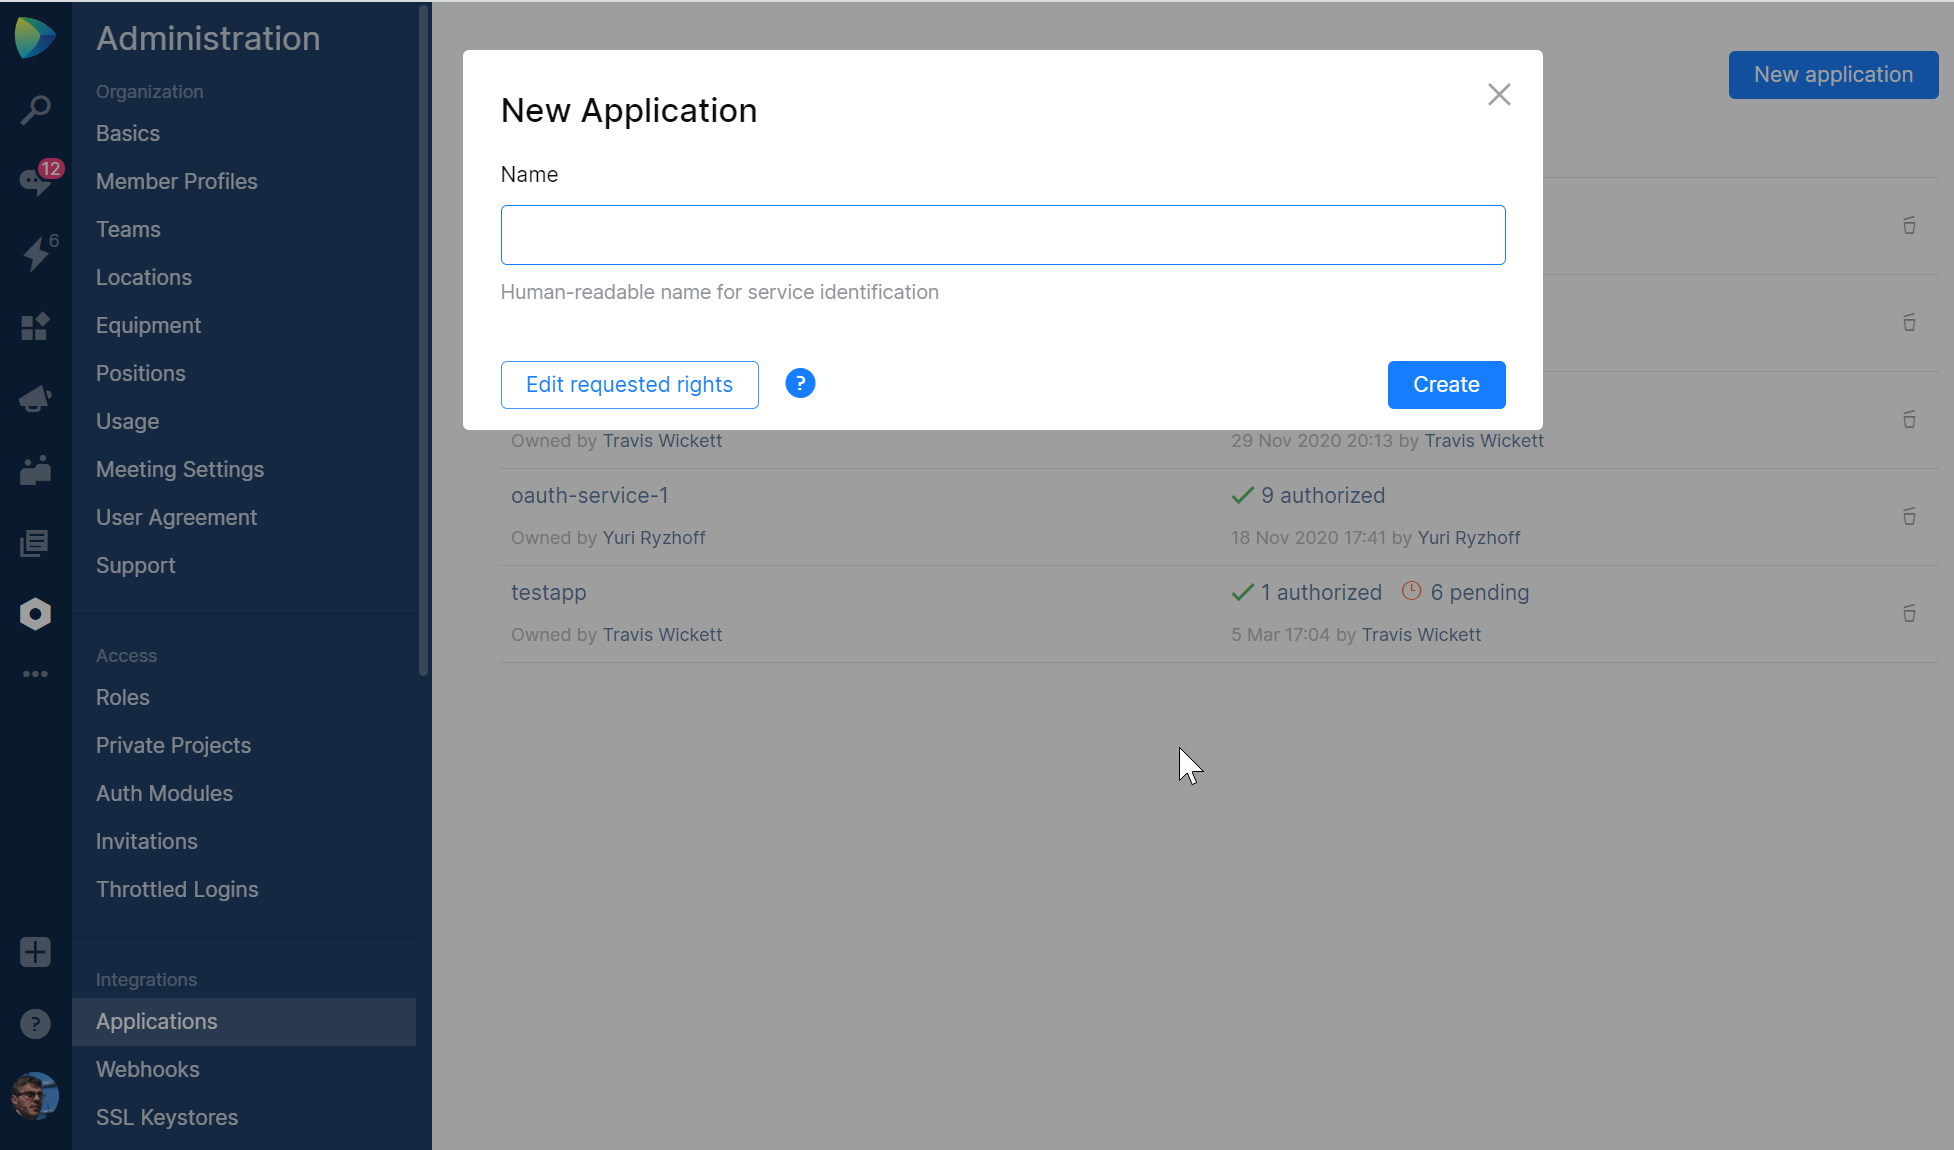
Give the application a name and click Create.
After it's created, go to the Authentication tab.
Select the Authorization Code Flow checkbox and enter the Redirect URL (Redirect URI):
https://zapier.com/dashboard/auth/oauth/return/JetBrainsSpaceCLIAPI/or
https://zapier.com/dashboard/auth/oauth/return/App94713CLIAPI/(legacy redirect URL)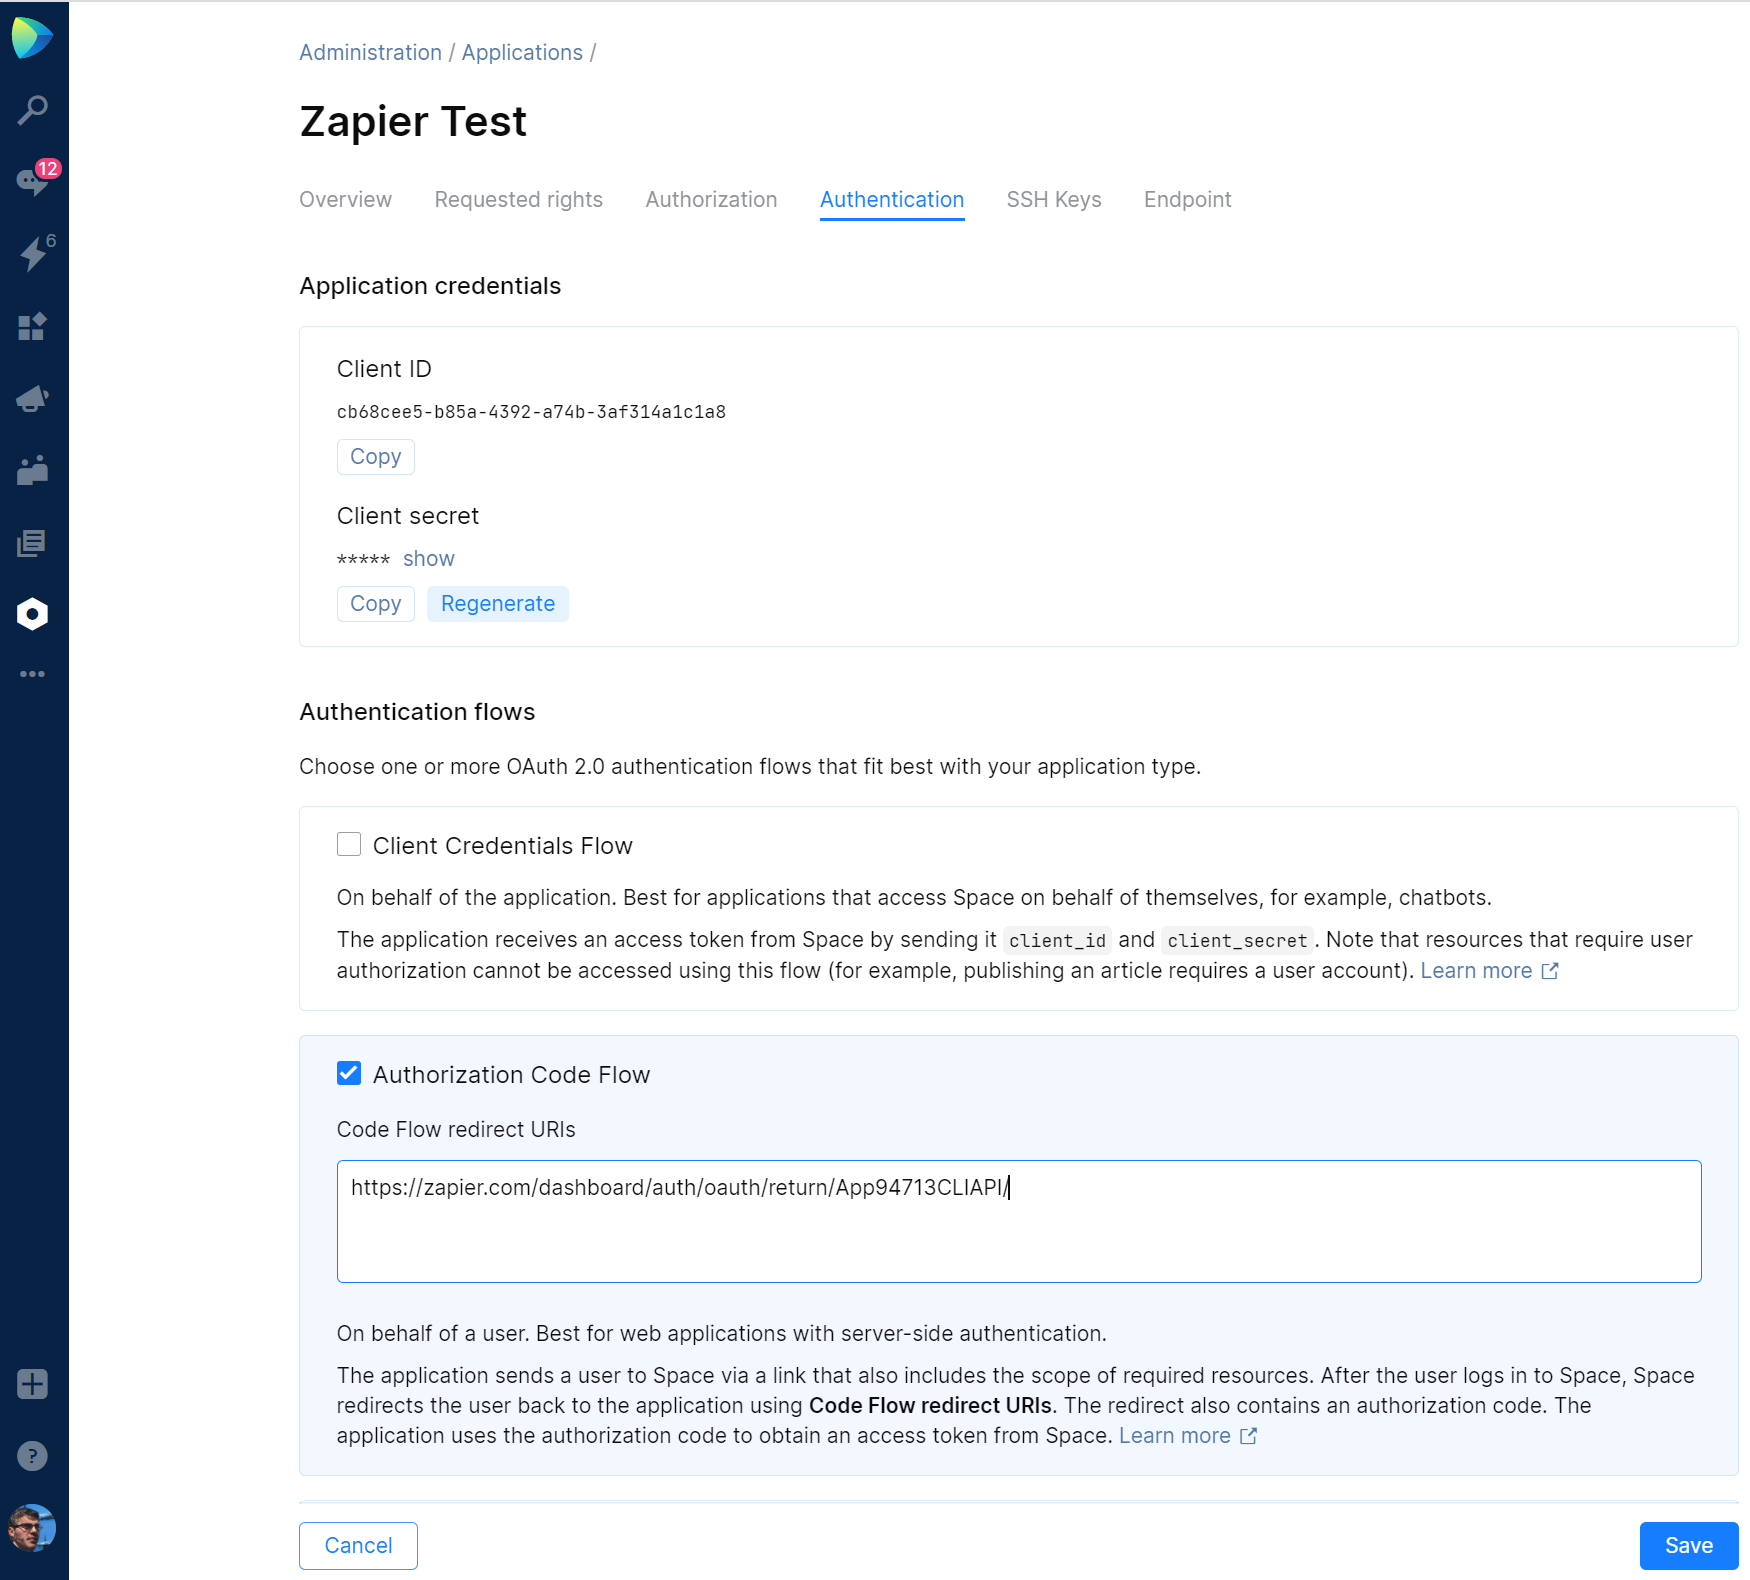
Note the Client ID and Client Secret that Space has generated for your application. You will need them later on.
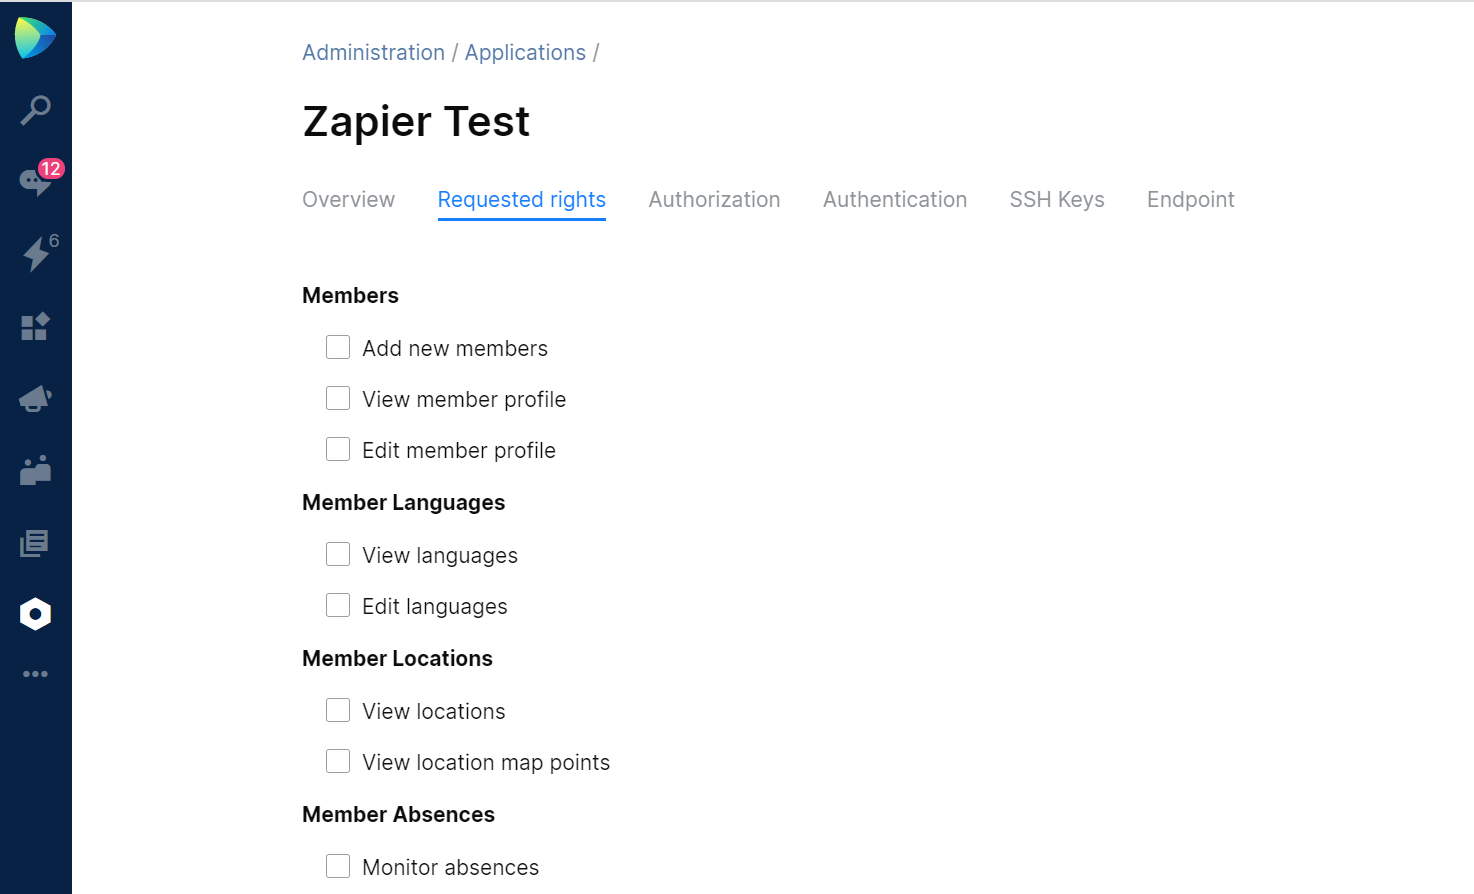
Go to the Requested rights tab and select operations which your connected apps should be allowed to perform in Space:
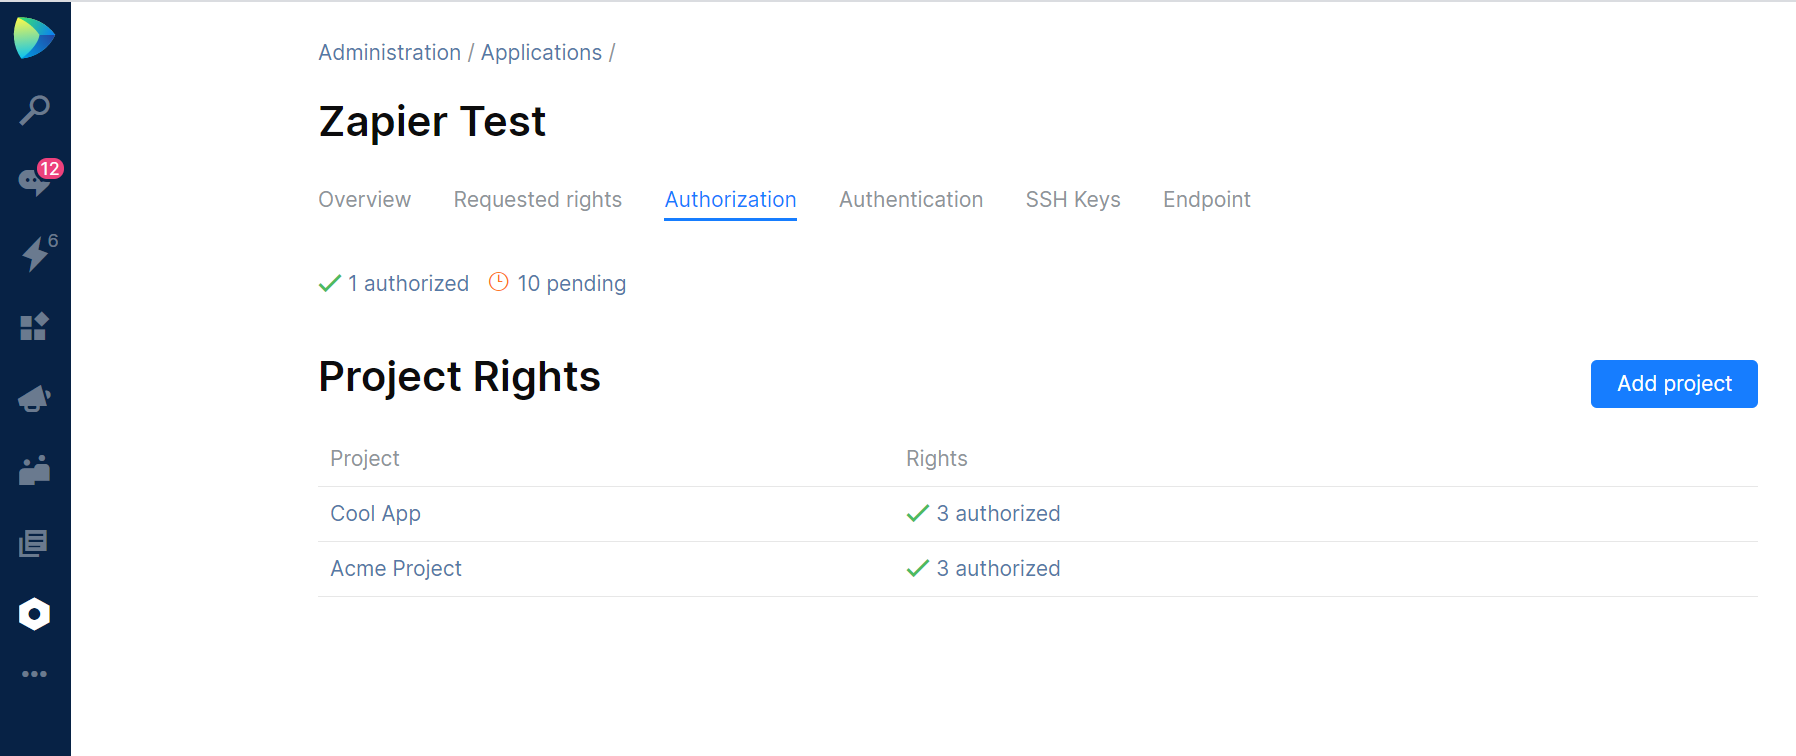
On the Authorization tab, click on pending.. to authorize permissions and configure access to selected projects by adding them to the list:
Get back to the Zapier popup and provide a URL, client ID, and client secret.
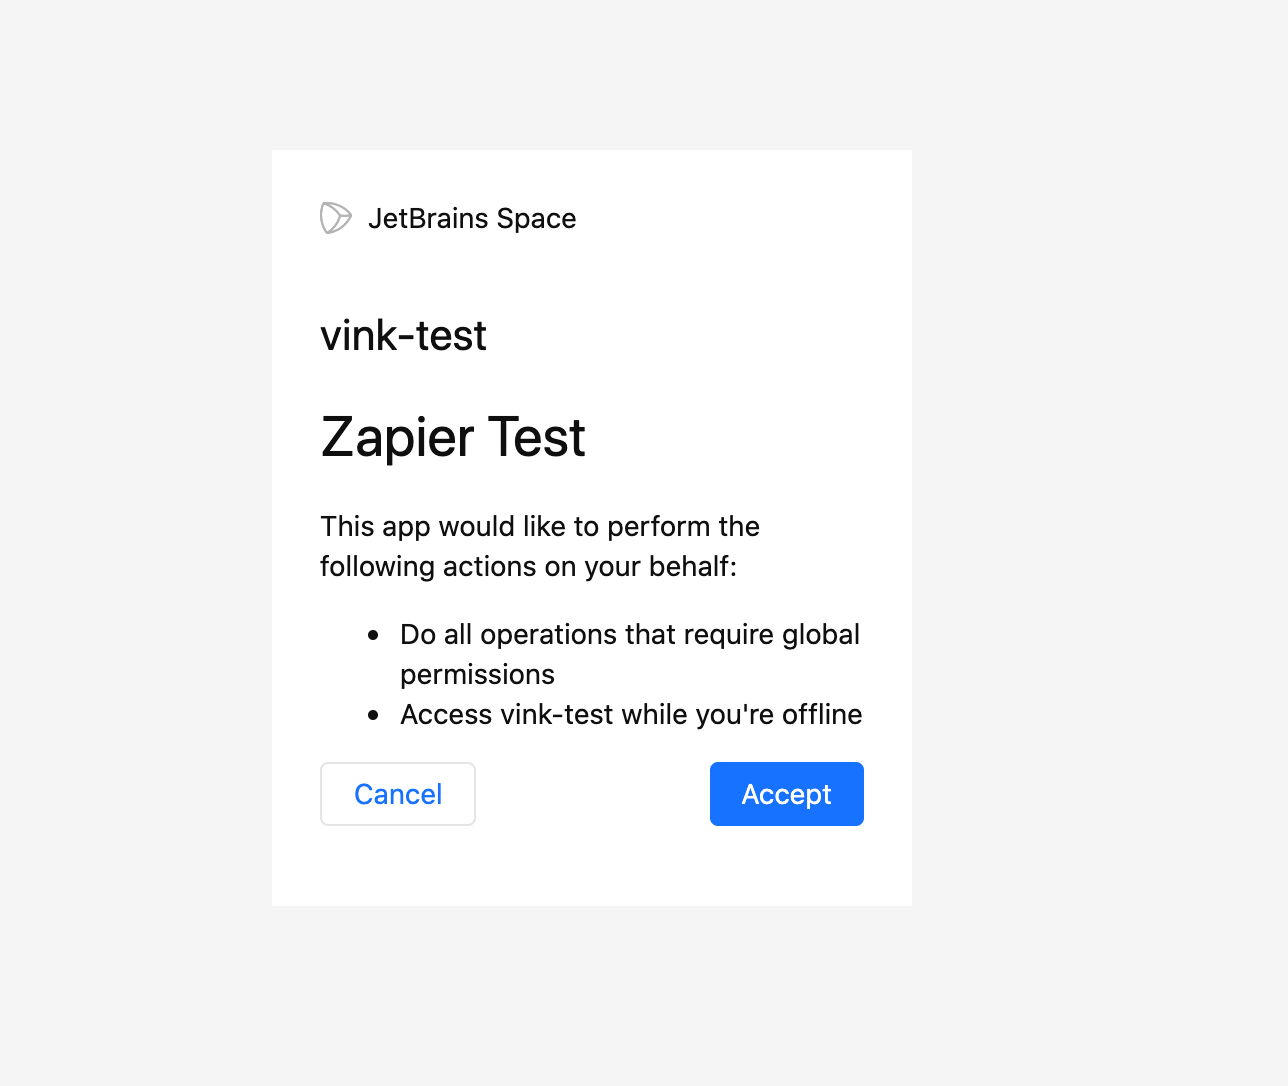
That's it! Space is connected. Get back to the Zap configuration from step (c):
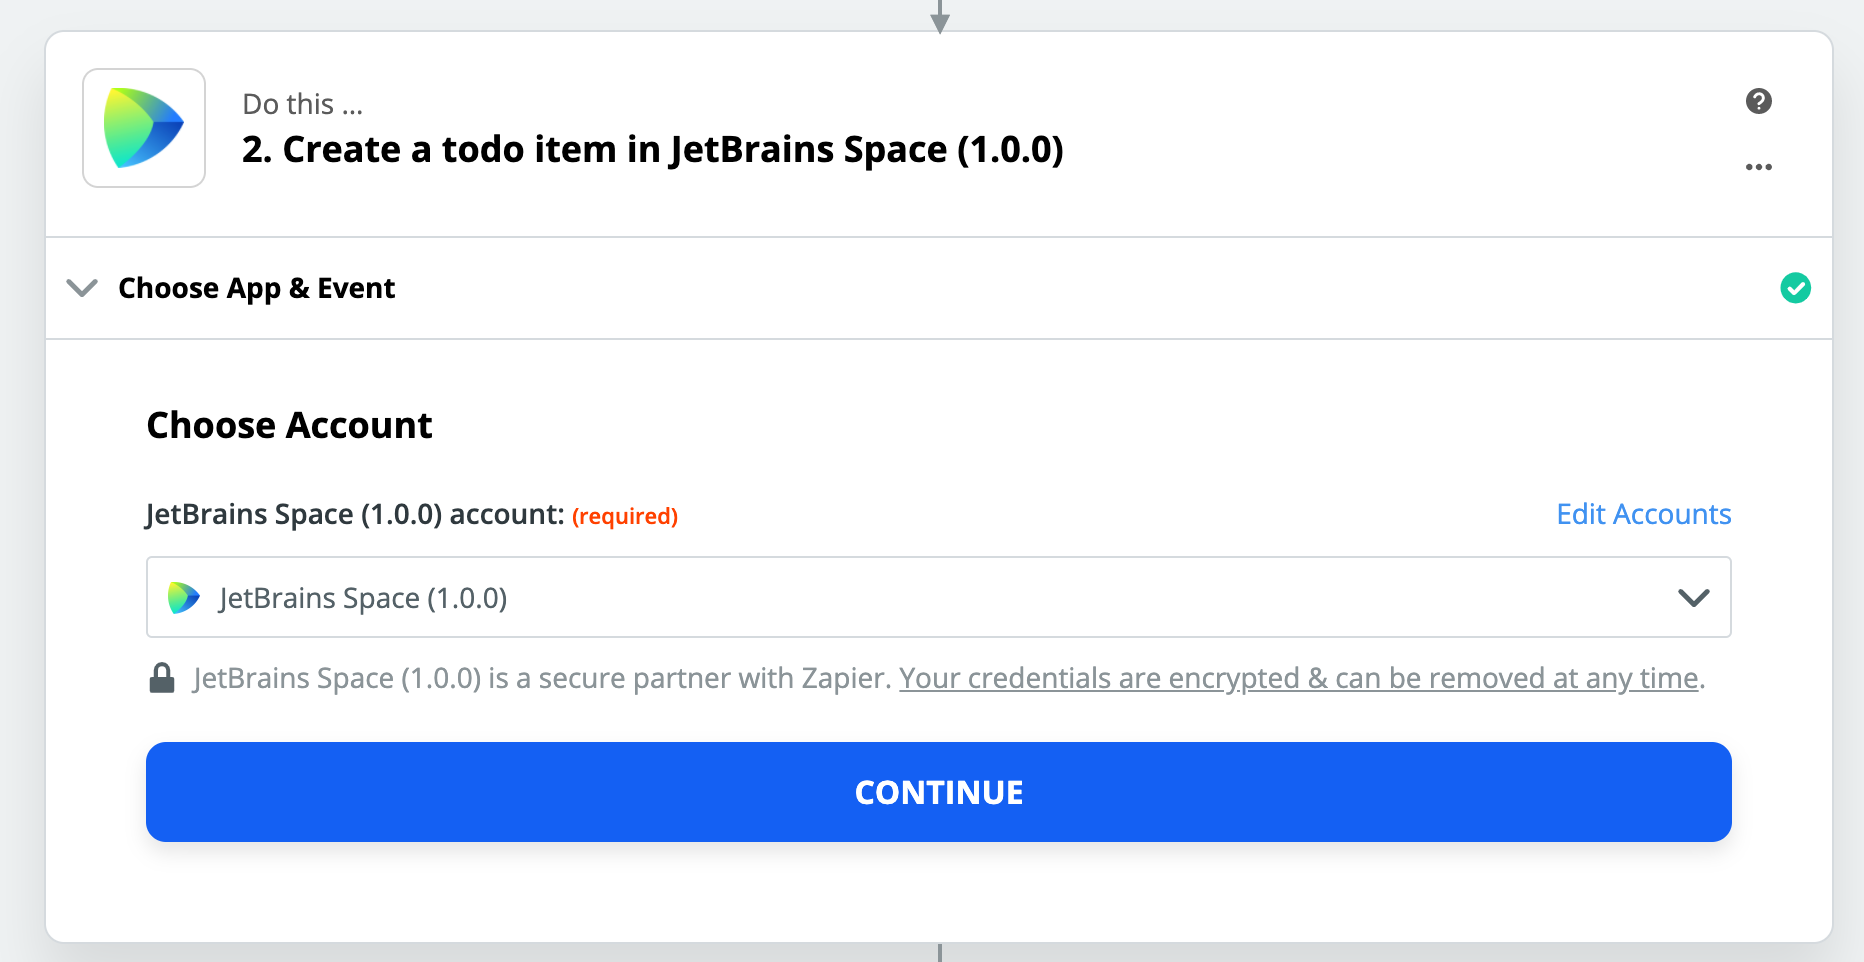
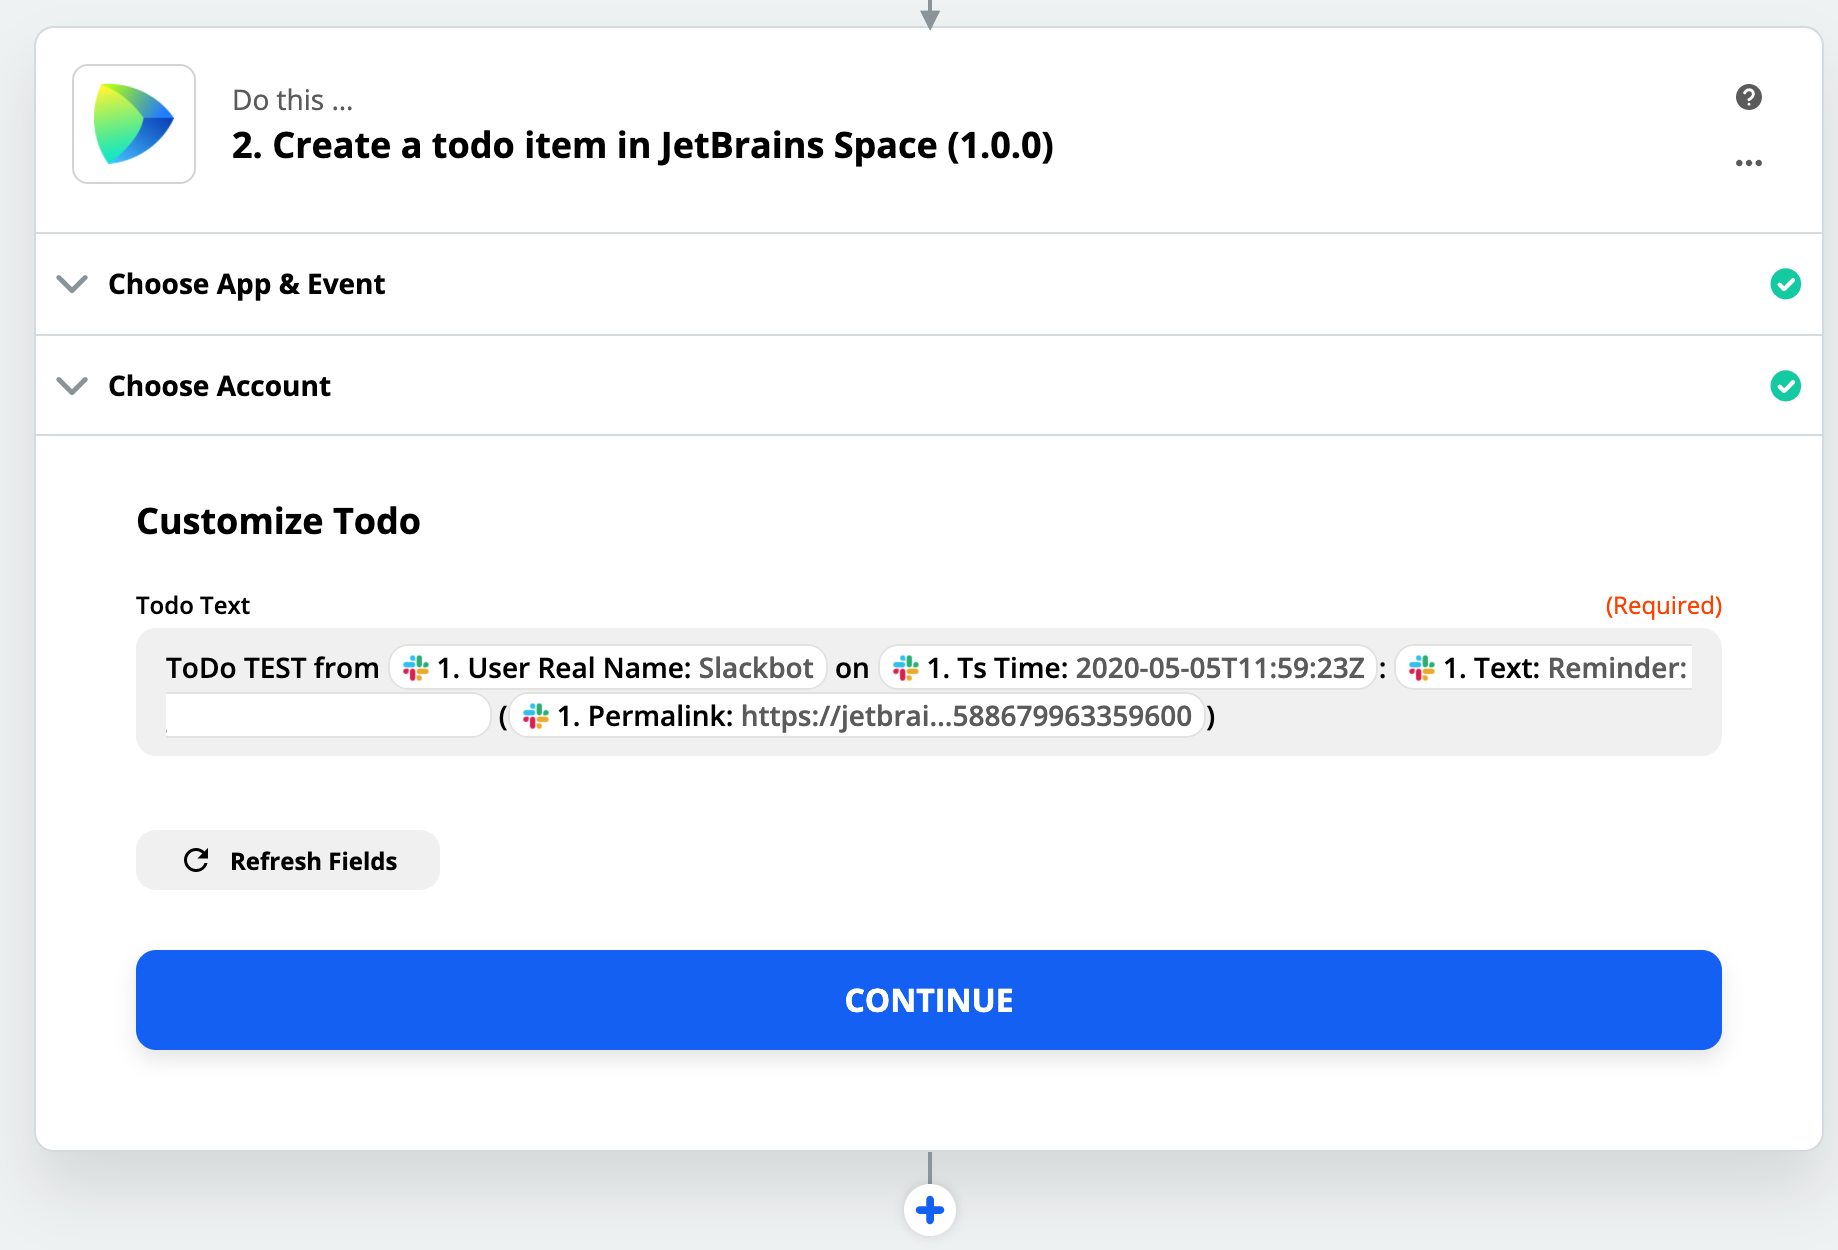
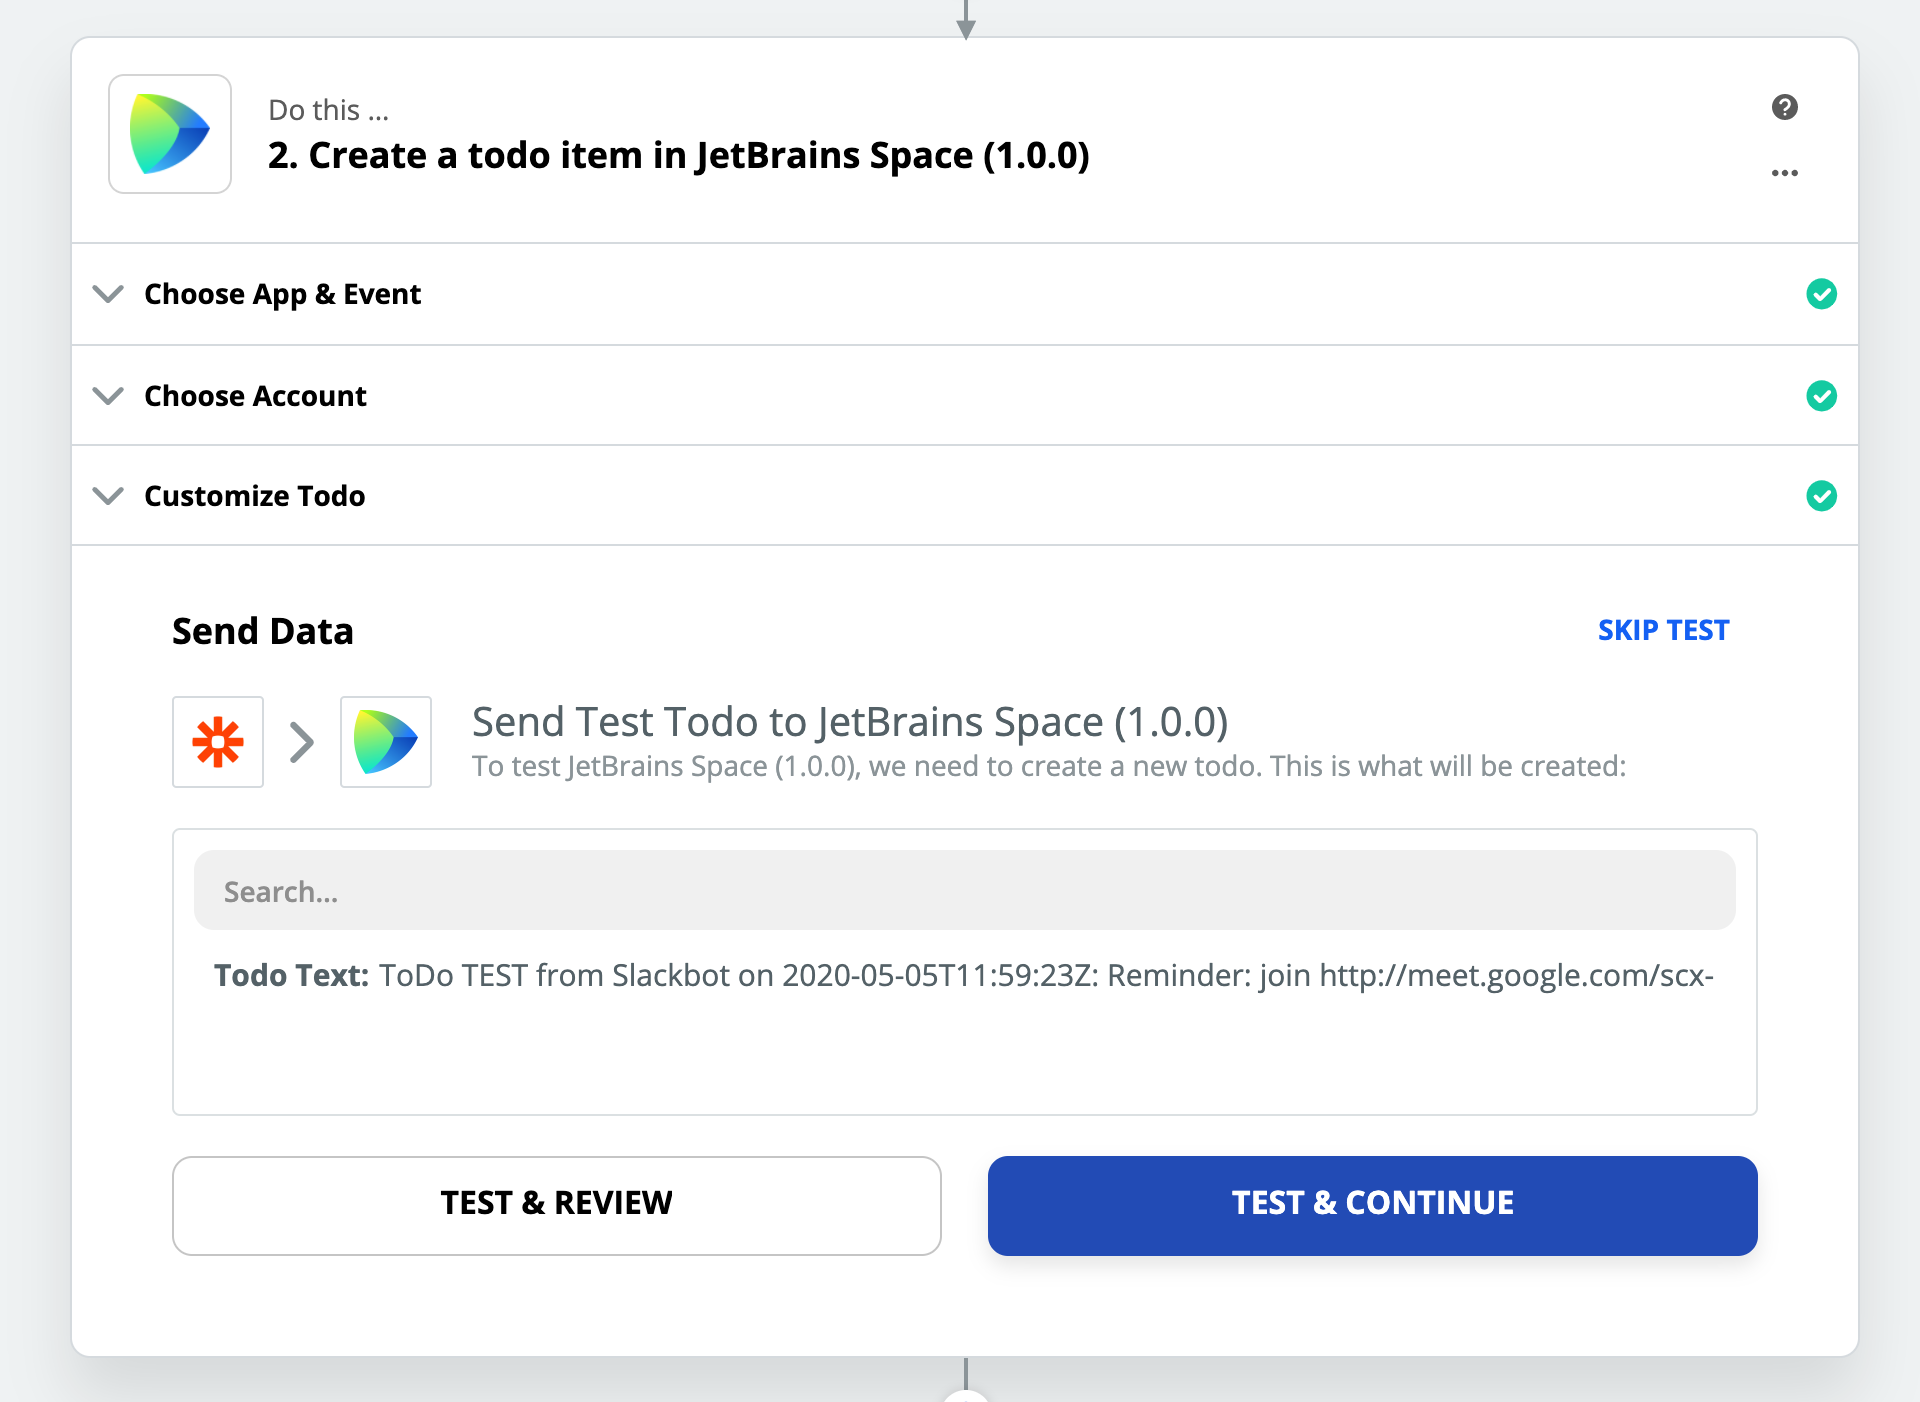
Turn the Zap on as the last step of the configuration or in the list of Zaps.

That's it! Enjoy, and proceed with configuring other Zaps!
