Things to configure after the first start
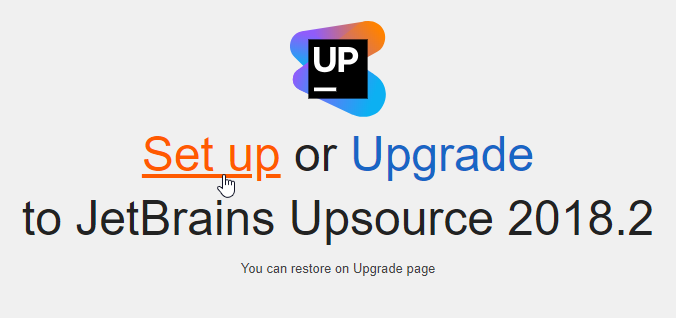
When you run Upsource for the first time, it will open Configuration Wizard in your default browser. Select Set up:
First you need to choose what type of connection your Upsource server will provide:
-
For a basic unencrypted connection choose HTTP.
-
For a secure encrypted connection choose HTTPS. You will need to provide:
Private key
Certificate that contains your domain name.
Certificate that contains a trusted chain without your domain name.
by clicking the Private key and certificate tab and uploading the data.
Instead of entering your private key/certificate data directly, you can optionally generate a keystore file that will contain the data. Then click Key Store, and specify the path to the keystore file and its credentials.
Upsource accepts certificate data in the following formats:
keystore:
JKS,PKCS#12certificate/private key:
PKCS#1,PKCS#8
Read more about certificates.
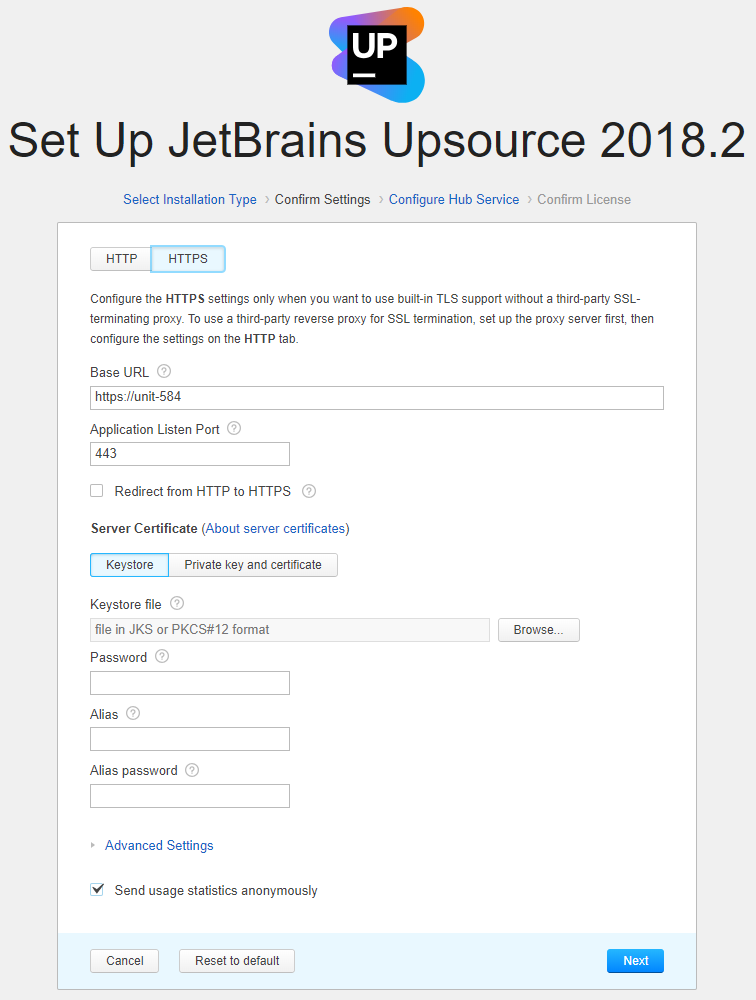
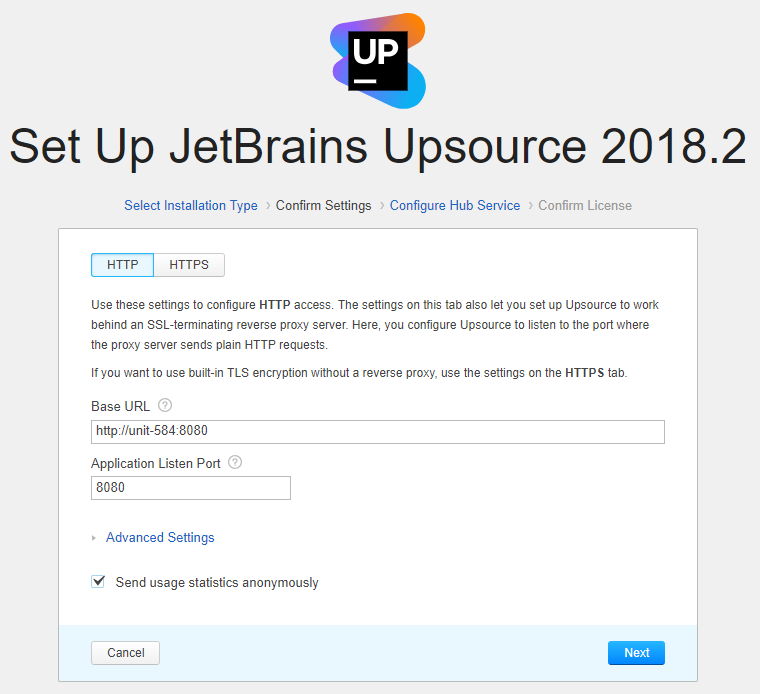
Next you can specify System settings:
-
Base URL — the URL at which the Upsource service will be available to the users. You might want to change the default value if:
your server has several DNS interfaces and you wish to make Upsource accessible by a particular DNS interface;
you have set up Upsource to work behind reverse or terminating HTTP proxy (see Proxy configuration) — in this case the new value should match the base URL you've set before.
-
Application Listen Port — you can change the default port that Upsource will use for HTTP or HTTPS communications if the suggested port is or expected to be taken.
If you've selected a secure HTTPS mode, you can optionally set up a Redirect listen port — a non-secure port that will receive all HTTP requests and redirect them to the secure Application Listen Port you've specified.
-
Location of system directories (Under Advanced Settings)
Click Next to proceed to User management settings.
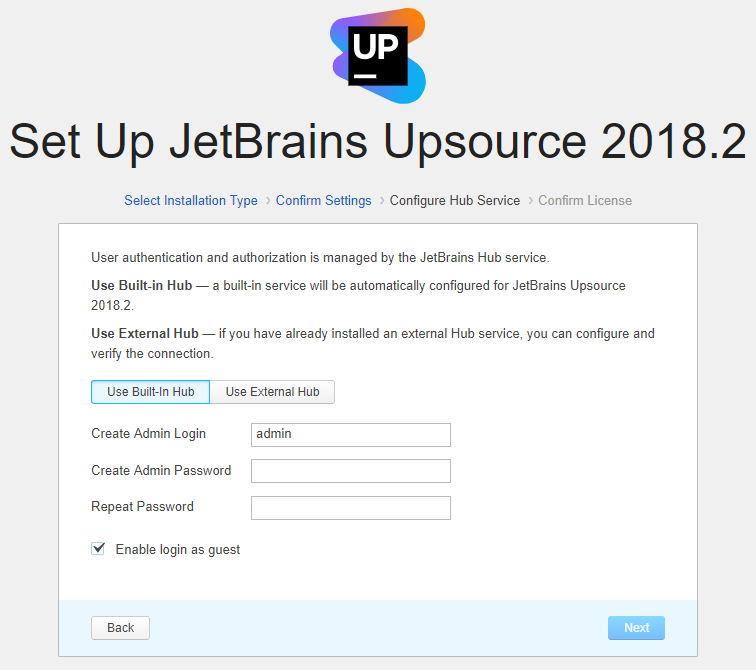
Here you have to choose to set up Upsource with either built-in Hub or external (standalone) Hub . If you are going to integrate with the YouTrack issue tracker or TeamCity, you should choose External Hub. Otherwise you may choose Build-in Hub.
If you are going to select External Hub:
-
Important: Prior to selecting External Hub, you should first install and start your external Hub service.
Select External Hub
Enter your Hub URL and verify the connection.
If Built-in Hub selected:
Create admin login and password—specify login name and password for your administrator account (Login:admin is offered by default). You'll be able to reset your password if you ever forget it.
Enable login as guest—allow guest (non-registered) users to access projects. You'll be able change guest user rights or deny anonymous access altogether later.
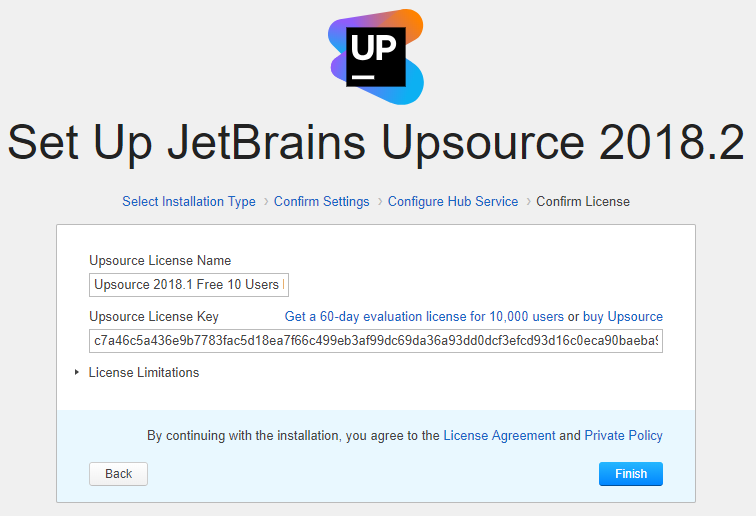
If you have a paid license, enter the license name and key. Click Finish when you're done.
Wait a little for Upsource to launch its components:
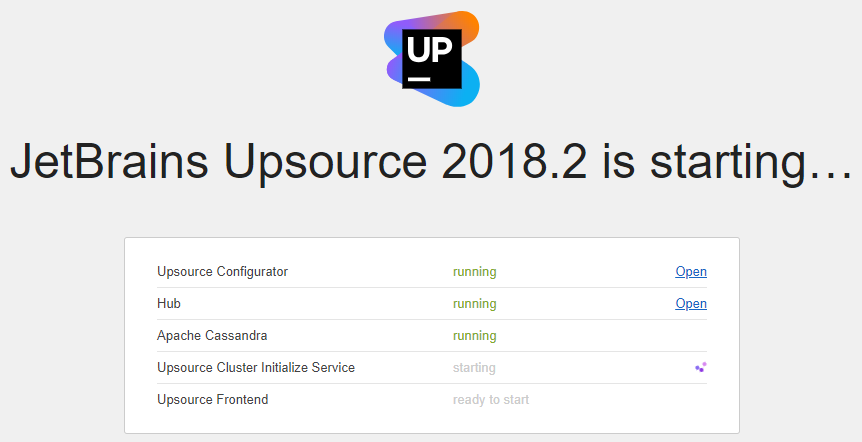
As soon as it's done, it will open its welcome page (http://your-host-name:port_for_upsource) which will also be opened upon any consequent startup:

