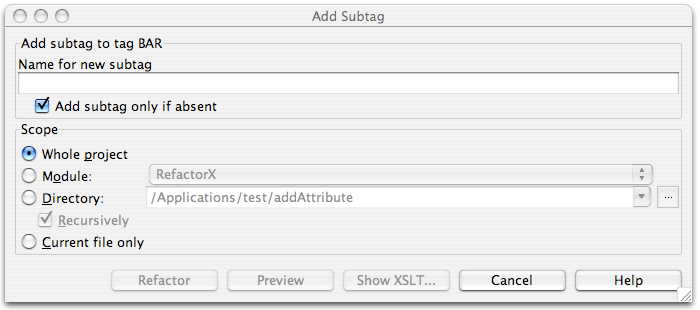
Add subtag
The Add Subtag refactoring allows you to add a subtag to a set of XML tags. If this refactoring is invoked, subtags matching the requested subtag name will be added to tags with the selected tag name. Optionally, the requested subtag may be added only to tags that do not already contain the selected subtag. This bulk addition of subtags is useful as XML schemas evolve.
Adding a subtag
Pressing Preview opens the Refactoring preview window displaying all found usages of the subtags to be replaced. In this window you can exclude/include usages you want to refactor.
Pressing Show XSLT... opens the XSLT preview window displaying a small fragment of XSLT equivalent to the refactoring requested. This fragment can be used by XSLT processors to perform the requested refactoring on files external to your WebStorm project.
The preview window may appear anyway if the files that you want to change are read-only.
In the editor, place the caret within the corresponding tag.
Select Refactor | XML Refactorings| Add Subtag from the main or the context menu.
Determine the name of the subtag to add to the selected tags.
Determine whether tags that already contain the requested subtag will be ignored, or will have their values changed.
Determine the scope of the addition. All tags matching the name of the selected will be replaced if they are in the selected scope. Scopes available include the current file, the entire project, or a specified directory or module. Directory scopes can either include subdirectories, or not, based on whether the Recursively checkbox is selected. If the Limit to files with DTD:... checkbox is selected, the scope will be limited to those files with the same DOCTYPE as the current file.
Click Preview button to make WebStorm to search for usages of the selected subtag Find window.
Click OK to continue. If you do not select the Preview option, all usages will be changed immediately.
