Code coverage
With WebStorm, you can also monitor how much of your code is covered with tests. WebStorm displays this statistics in a dedicated Coverage tool window and marks covered and uncovered lines visually in the editor and in the Project tool window (Alt+1) .
The results of a coverage measurement are saved in a coverage suite. You can also merge them with any of the existing suites. In this case, a line is considered covered if it is covered by at least one test run.
Measuring code coverage is available for Jest, Mocha, Karma, and Vitest.
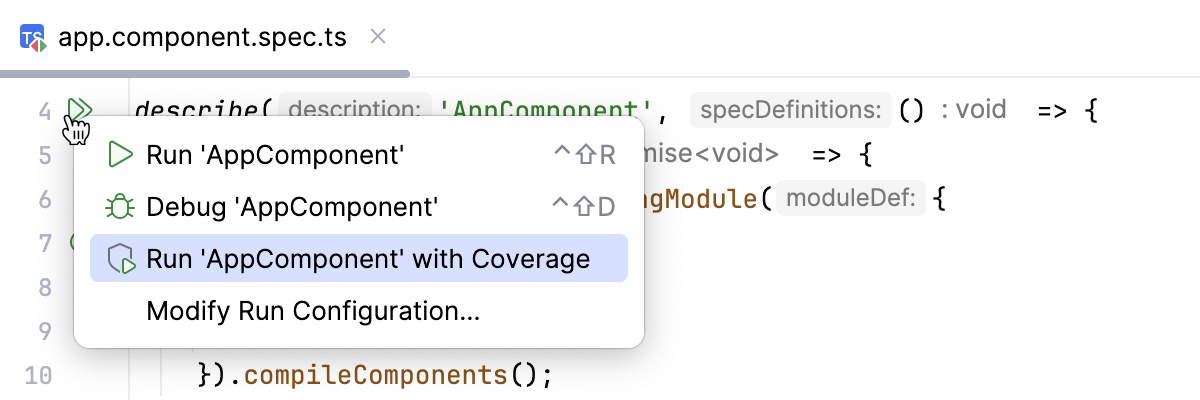
Run tests with coverage
 next to it., and select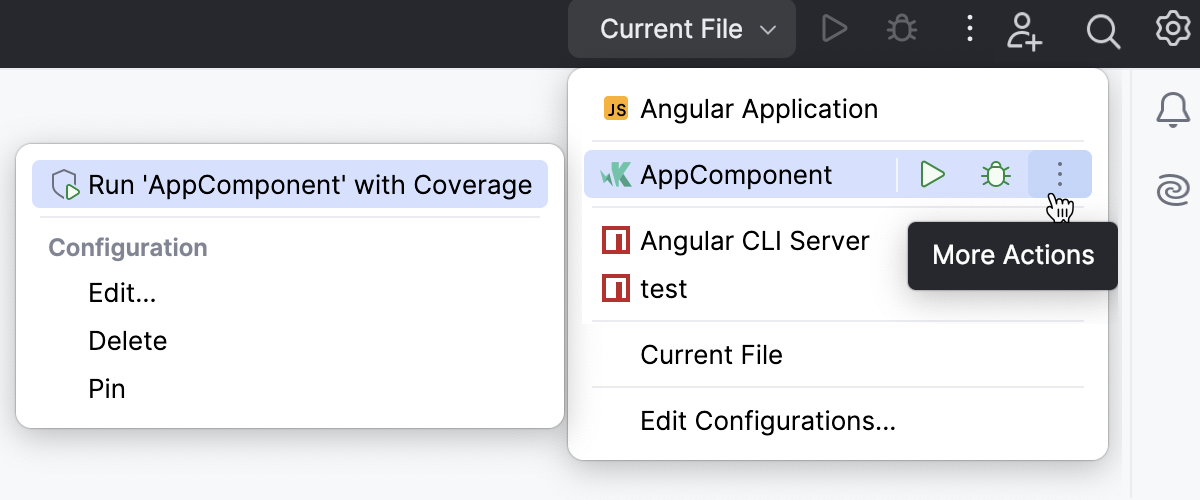
Coverage suites
A coverage suite is a collection of code coverage data from a specific run. Each coverage suite stores data from either a single run configuration (if it was run with coverage) or from an imported coverage data file.
WebStorm stores coverage suites in the coverage folder of the IDE system directory:
%LOCALAPPDATA%\JetBrains\WebStorm2026.2\coverage
~/Library/Caches/JetBrains/WebStorm2026.2/coverage
~/.cache/JetBrains/WebStorm2026.2/coverage
WebStorm can display results from one or more coverage suites at the same time, and you can select which suites to show. If multiple suites are selected, the IDE displays their merged results: this means that a line is considered covered if it was executed in at least one of the suites.
Select which coverage suites to display
The list of coverage suites becomes available after at least one run with coverage.
In the main menu, go to (Ctrl+Alt+F6).
In the Choose Coverage Suite to Display dialog that opens, select the suites you want to display results from.
If you want to hide all code coverage results, click No Coverage instead. This deselects all coverage suites and closes the dialog.
Click Show Selected.
WebStorm loads the code coverage results and opens the Coverage tool window.
Add and remove coverage suites
If you want to review code coverage results from a file that was generated outside WebStorm (for example, by a build server or another developer), you can add the file as a separate coverage suite.
You can also remove suites from the IDE or completely delete them from disk.
In the main menu, go to (Ctrl+Alt+F6).
In the Choose Coverage Suite to Display dialog that opens, choose an action from the toolbar:
To import an external coverage file, click
 Add and browse for the file.
To remove a coverage suite from the IDE but keep it on disk, select the suite and click
 Remove.
To delete a coverage suite from both the IDE and the disk, select the suite and click
 Delete.
Read coverage data
WebStorm shows coverage results in:
Coverage tool window
Project tool window
Editor
Coverage tool window
The tool window shows the percentage of covered lines for each folder and the percentage of covered lines in each file.
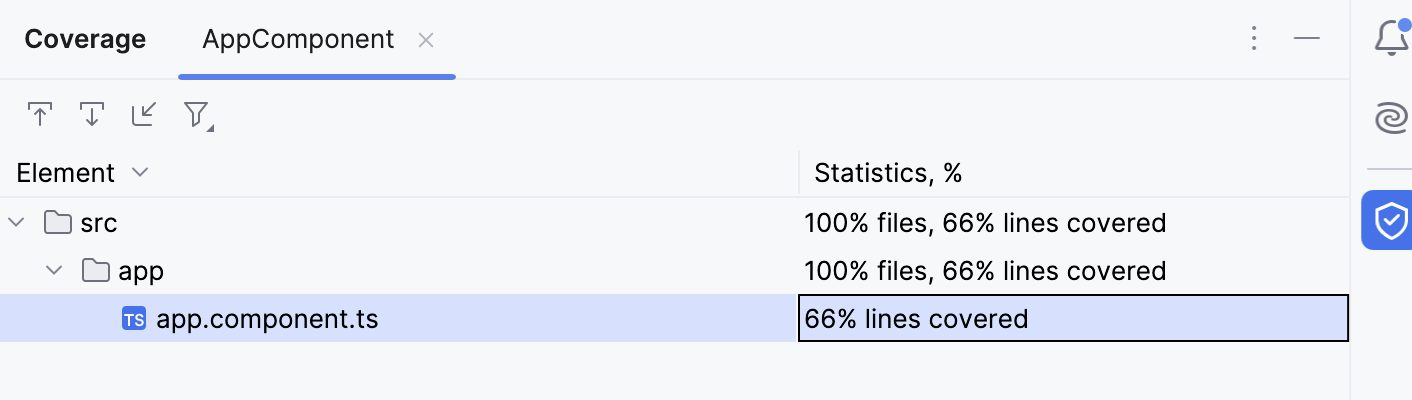
The Coverage tool window appears right after you run a configuration with coverage and displays the coverage report. To reopen the Coverage tool window, go to in the main menu, or press Ctrl+Alt+F6.
Code Coverage tool window options
The Coverage tool window has the following options:
Item | Description |
|---|---|
| If this option is on, WebStorm automatically opens the selected item in the editor. Otherwise, you need to double-click items to open them. |
| If this option is on, WebStorm automatically locates in the tool window the files that you open in the editor. |
| Import a coverage suite from disk. |
| Filter coverage results. You can choose to view only the files with uncommitted changes to focus on recent updates or hide the files that are fully covered with tests. 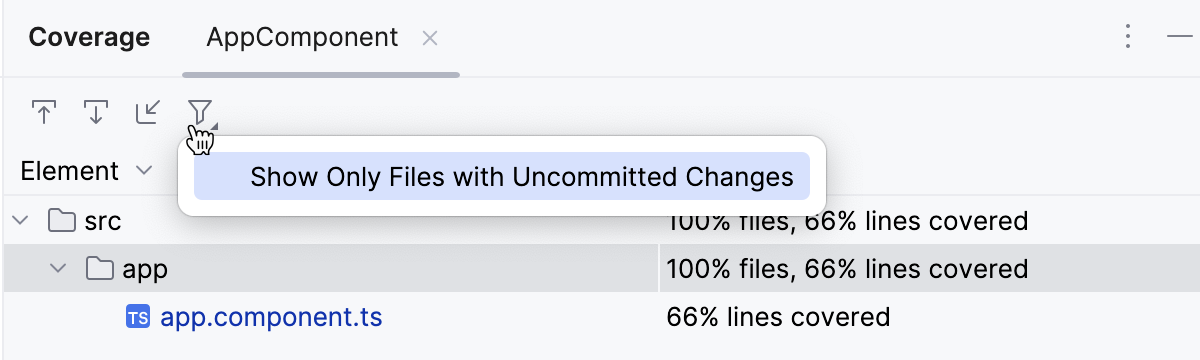 |


Coverage results in the editor
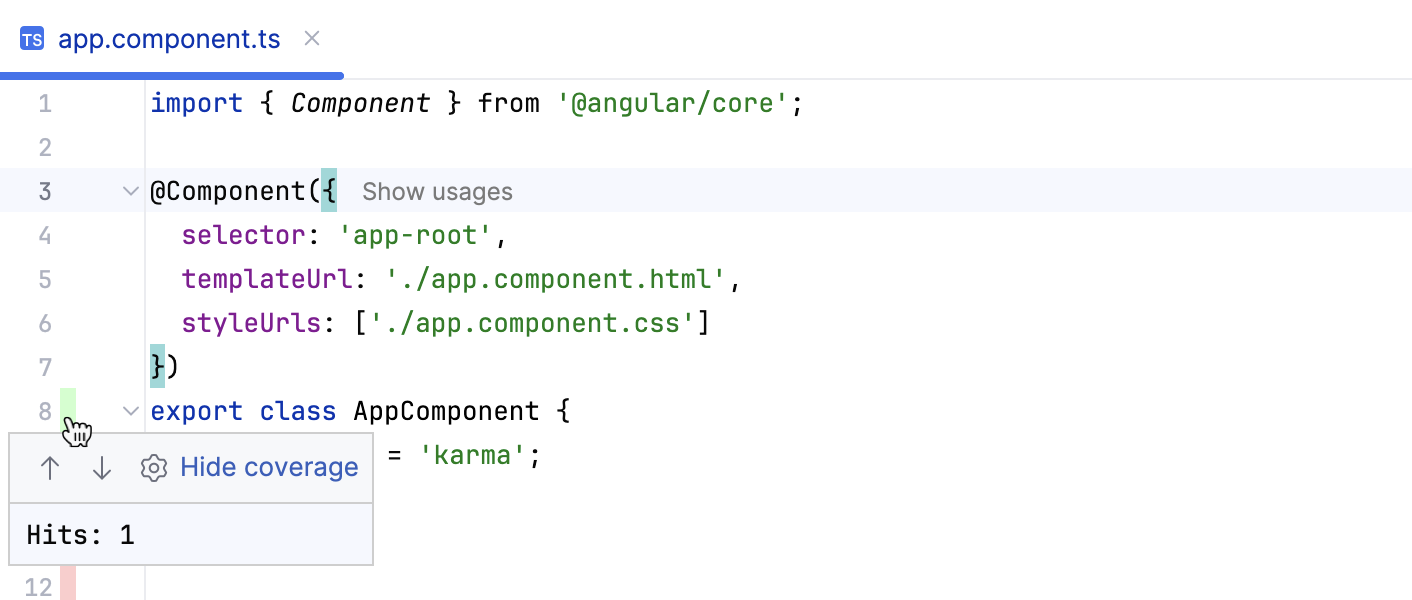
When a file is opened in the editor, its lines are highlighted in the gutter according to their coverage status:
Green (
 ): the code line was executed.
Red (
 ): the code line was not executed.
To find out how many times a line has been hit, click the color indicator in the gutter. A popup that opens shows the statistic for the line at caret.
Coverage results in the Project tool window
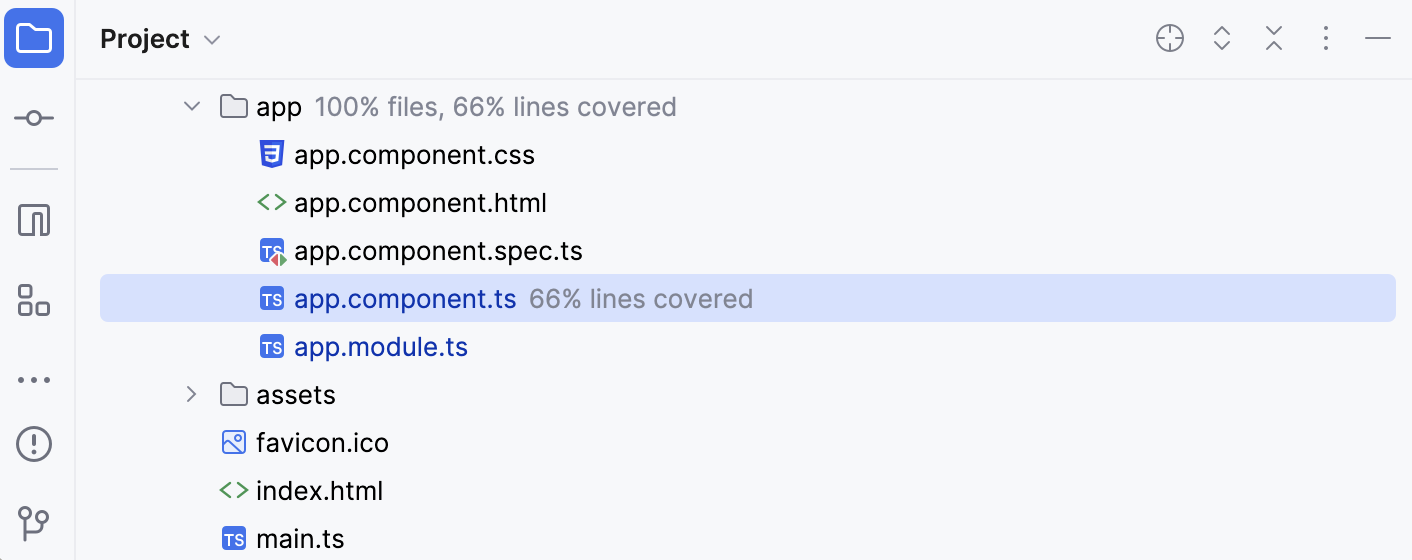
The Project shows the percentage of covered lines for files and directories.
Hide coverage data
Do one of the following:
Close the tab with coverage statistics in the Coverage tool window ().
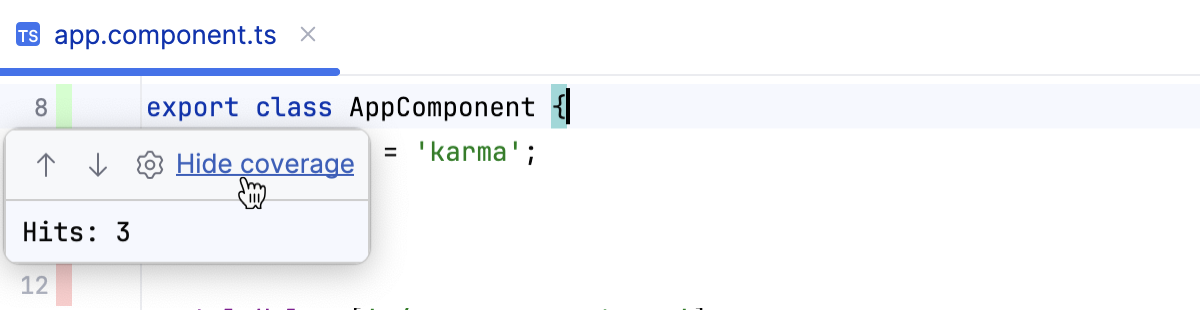
Click coverage highlighting in the gutter and select Hide coverage.
Configure code coverage
Press Ctrl+Alt+S to open settings and then select .
Define how the collected coverage data will be processed:
To have the Code Coverage dialog shown every time you launch a new run configuration with code coverage, choose Show options before applying coverage to the editor.
To discard the new code coverage results, choose Do not apply collected coverage.
To discard the active suites and use the new one every time you launch a new run configuration with code coverage, choose Replace active suites with the new one.
To have the new code coverage suite appended to the active suites every time you launch a new run configuration with code coverage, choose Add to active suites.
Define the behaviour of the Coverage tool window when an application or test is run with coverage:
To have the Coverage tool window opened automatically, select the Activate Coverage View checkbox.
To open the Coverage tool window manually, clear the Activate Coverage View checkbox.
Change colors of the coverage highlighting
Press Ctrl+Alt+S to open settings and then select .
Alternatively, click
 in the popup that opens on clicking the coverage indication line in the gutter.
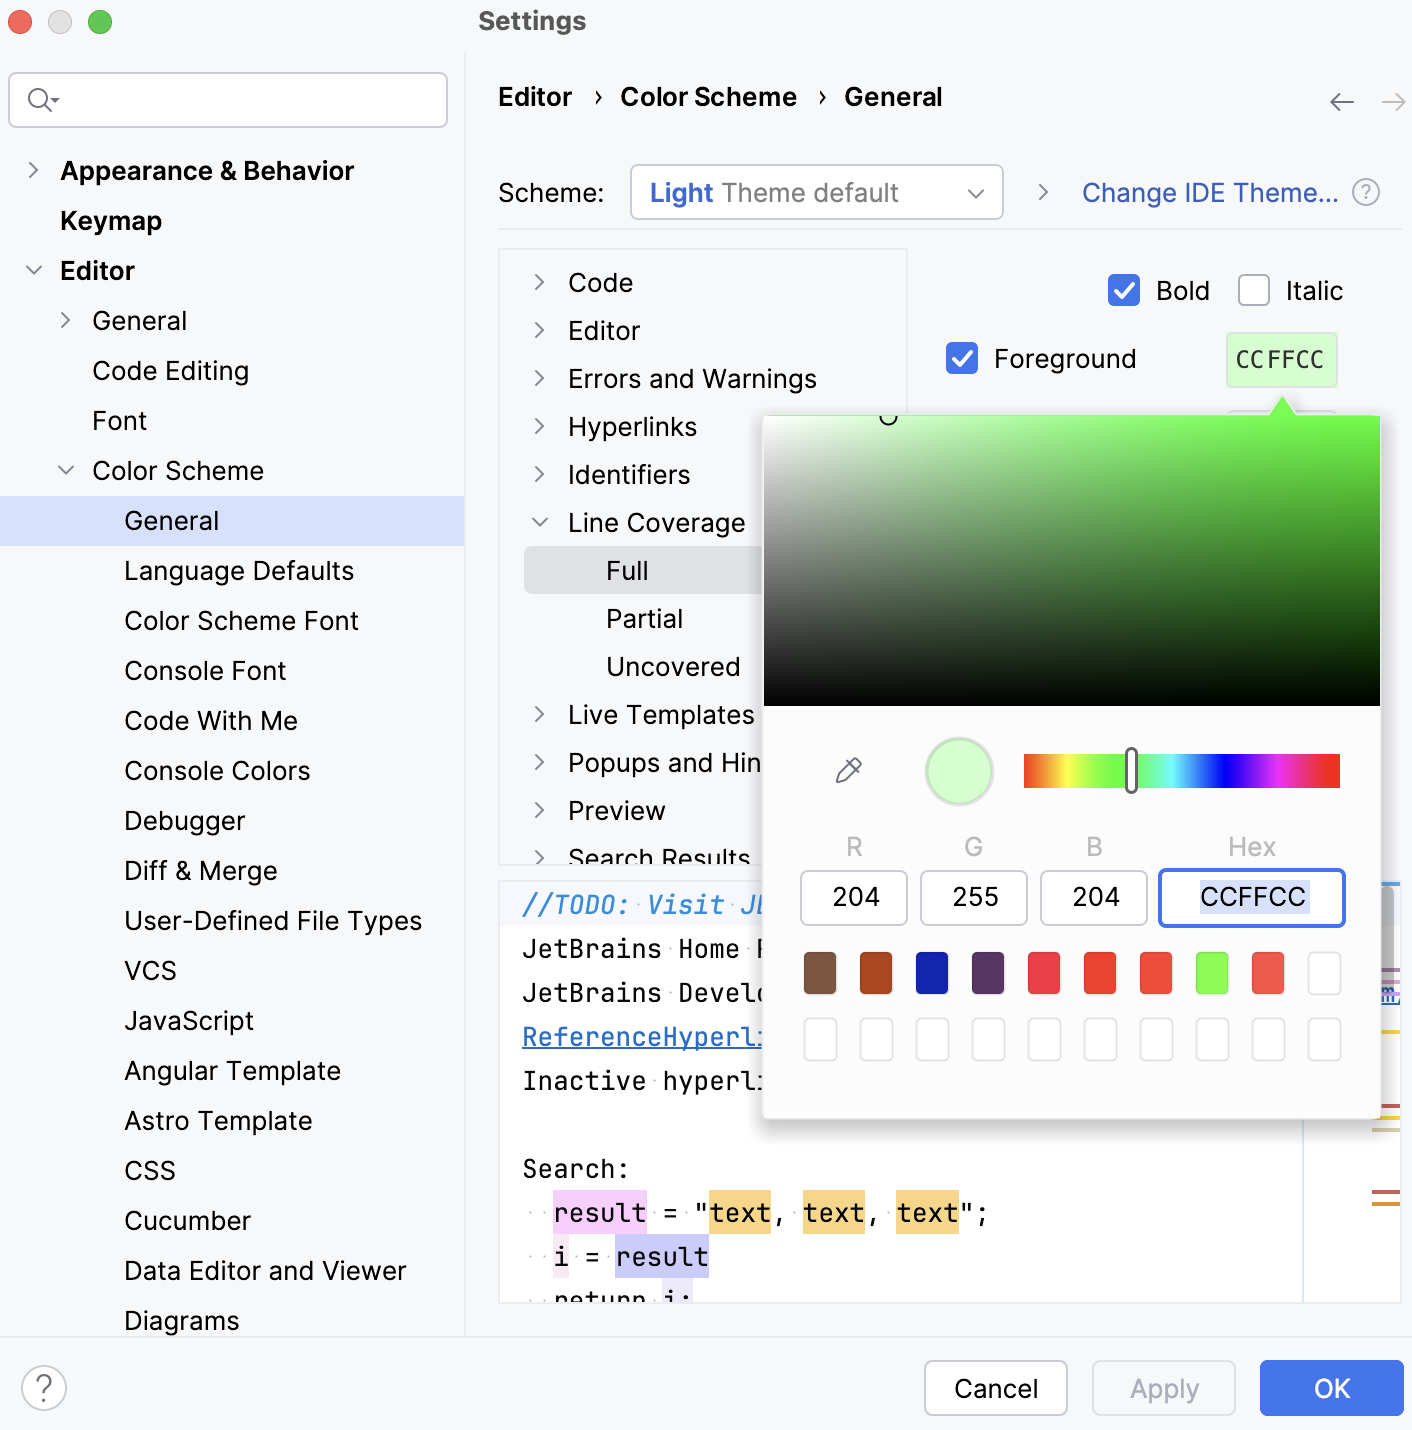
In the list of components, expand the Line Coverage node and select a type of coverage: for example, Full, Partial or Uncovered.
Click the Foreground field to open the Select Color dialog.
Select a color, apply the changes, and close the dialog.