Working with Reports
On this page, you'll find descriptions for the general operations that you can perform with reports in YouTrack. To access these options, click Reports in the main navigation menu.
Create a Report
You can create and view reports that help you keep track of the statistics that are most important to you. The procedure for creating a report (regardless of its type) is quite simple.
To create a report:
From the main navigation menu, select
Reports.
Click the New report button.
Click the link for the type of report that you want to create.
In the settings page for the report, set the parameters for the new report.
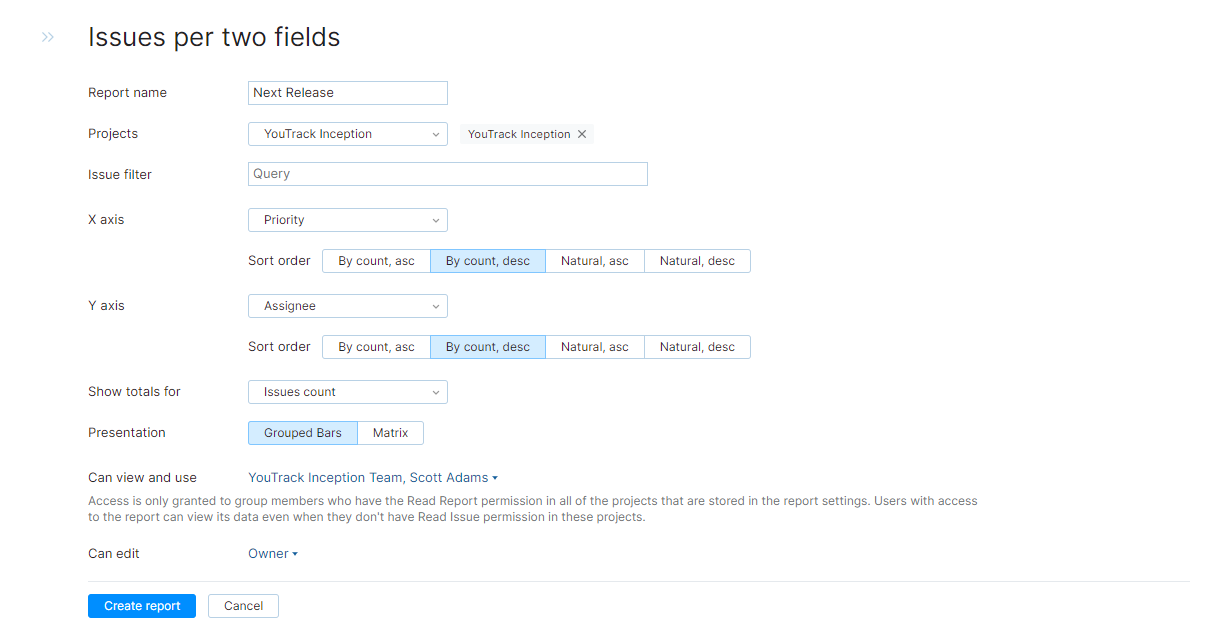
To learn more about the settings for a specific report, refer to the page for the report that you want to create.
When you are finished with the report settings, click the Create report button.
The report is sent to the processing queue of your YouTrack server.
When processing is finished, the new report is displayed.
Filter Report Data
When creating a report, use the Issue filter field to narrow the scope of your report and generate more precise results. This field supports the same search syntax and auto-completion features as the main search box.
For details on using the filter, see Search Query Reference and Sample Search Queries.
Share a Report
YouTrack lets you configure the visibility of a report so you can share it with your colleagues. By default, a new report is only visible to the person who created it, its owner.
Sharing a report doesn't guarantee that every user or member of the group or project team can access it. To access the shared report, users and members of the selected groups and teams also require the Read Report permission in all the projects that are stored in the settings for this report.
Keep in mind the following characteristics of shared reports:
Any user who can access the report can view its data. This means that users who haven't been granted the Read Issue in the projects that are included in the report can still see issue data from these projects. Administrators can use the Read Report permission to block users from sharing data from projects that store sensitive information.
Any user who can view and use the shared report can recalculate it.
Any user who can edit the report can update its settings. This includes the setting for sharing the report with other users.
Users who have the Low-level Admin Read or Low-level Admin Write permission can view and edit any report, respectively.
The following options are available for all reports:
Option | Description |
|---|---|
Can view and use | Determines who has access to view the report. To share the report, select users, groups, and project teams from the list. |
Can edit | Determines who has permission to view and edit the report settings. |
It's possible to grant permission to edit a report without granting permission to view and use it. In this case, members of the group or project team that has permission to edit won't see the report in the sidebar but can still access and update the report using the direct link.
To share a report:
From the main navigation menu, select
Reports.
Create and configure a new report or edit an existing report that you want to share.
From the Can view and use list, select one or more users, groups, and project teams.
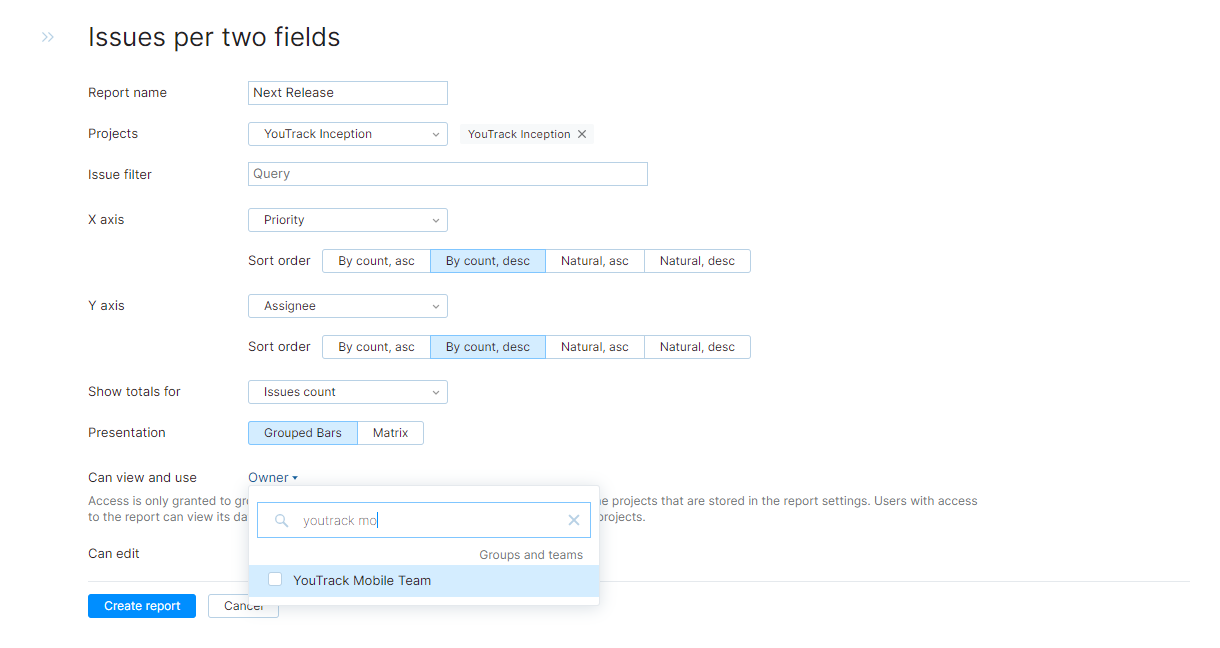
Click the Save button.
The report is made accessible to the selected users and members of the selected groups and project teams.
For users who have the Read Report permission in all the projects that are stored in the settings for this report, the report is visible in the Reports list.
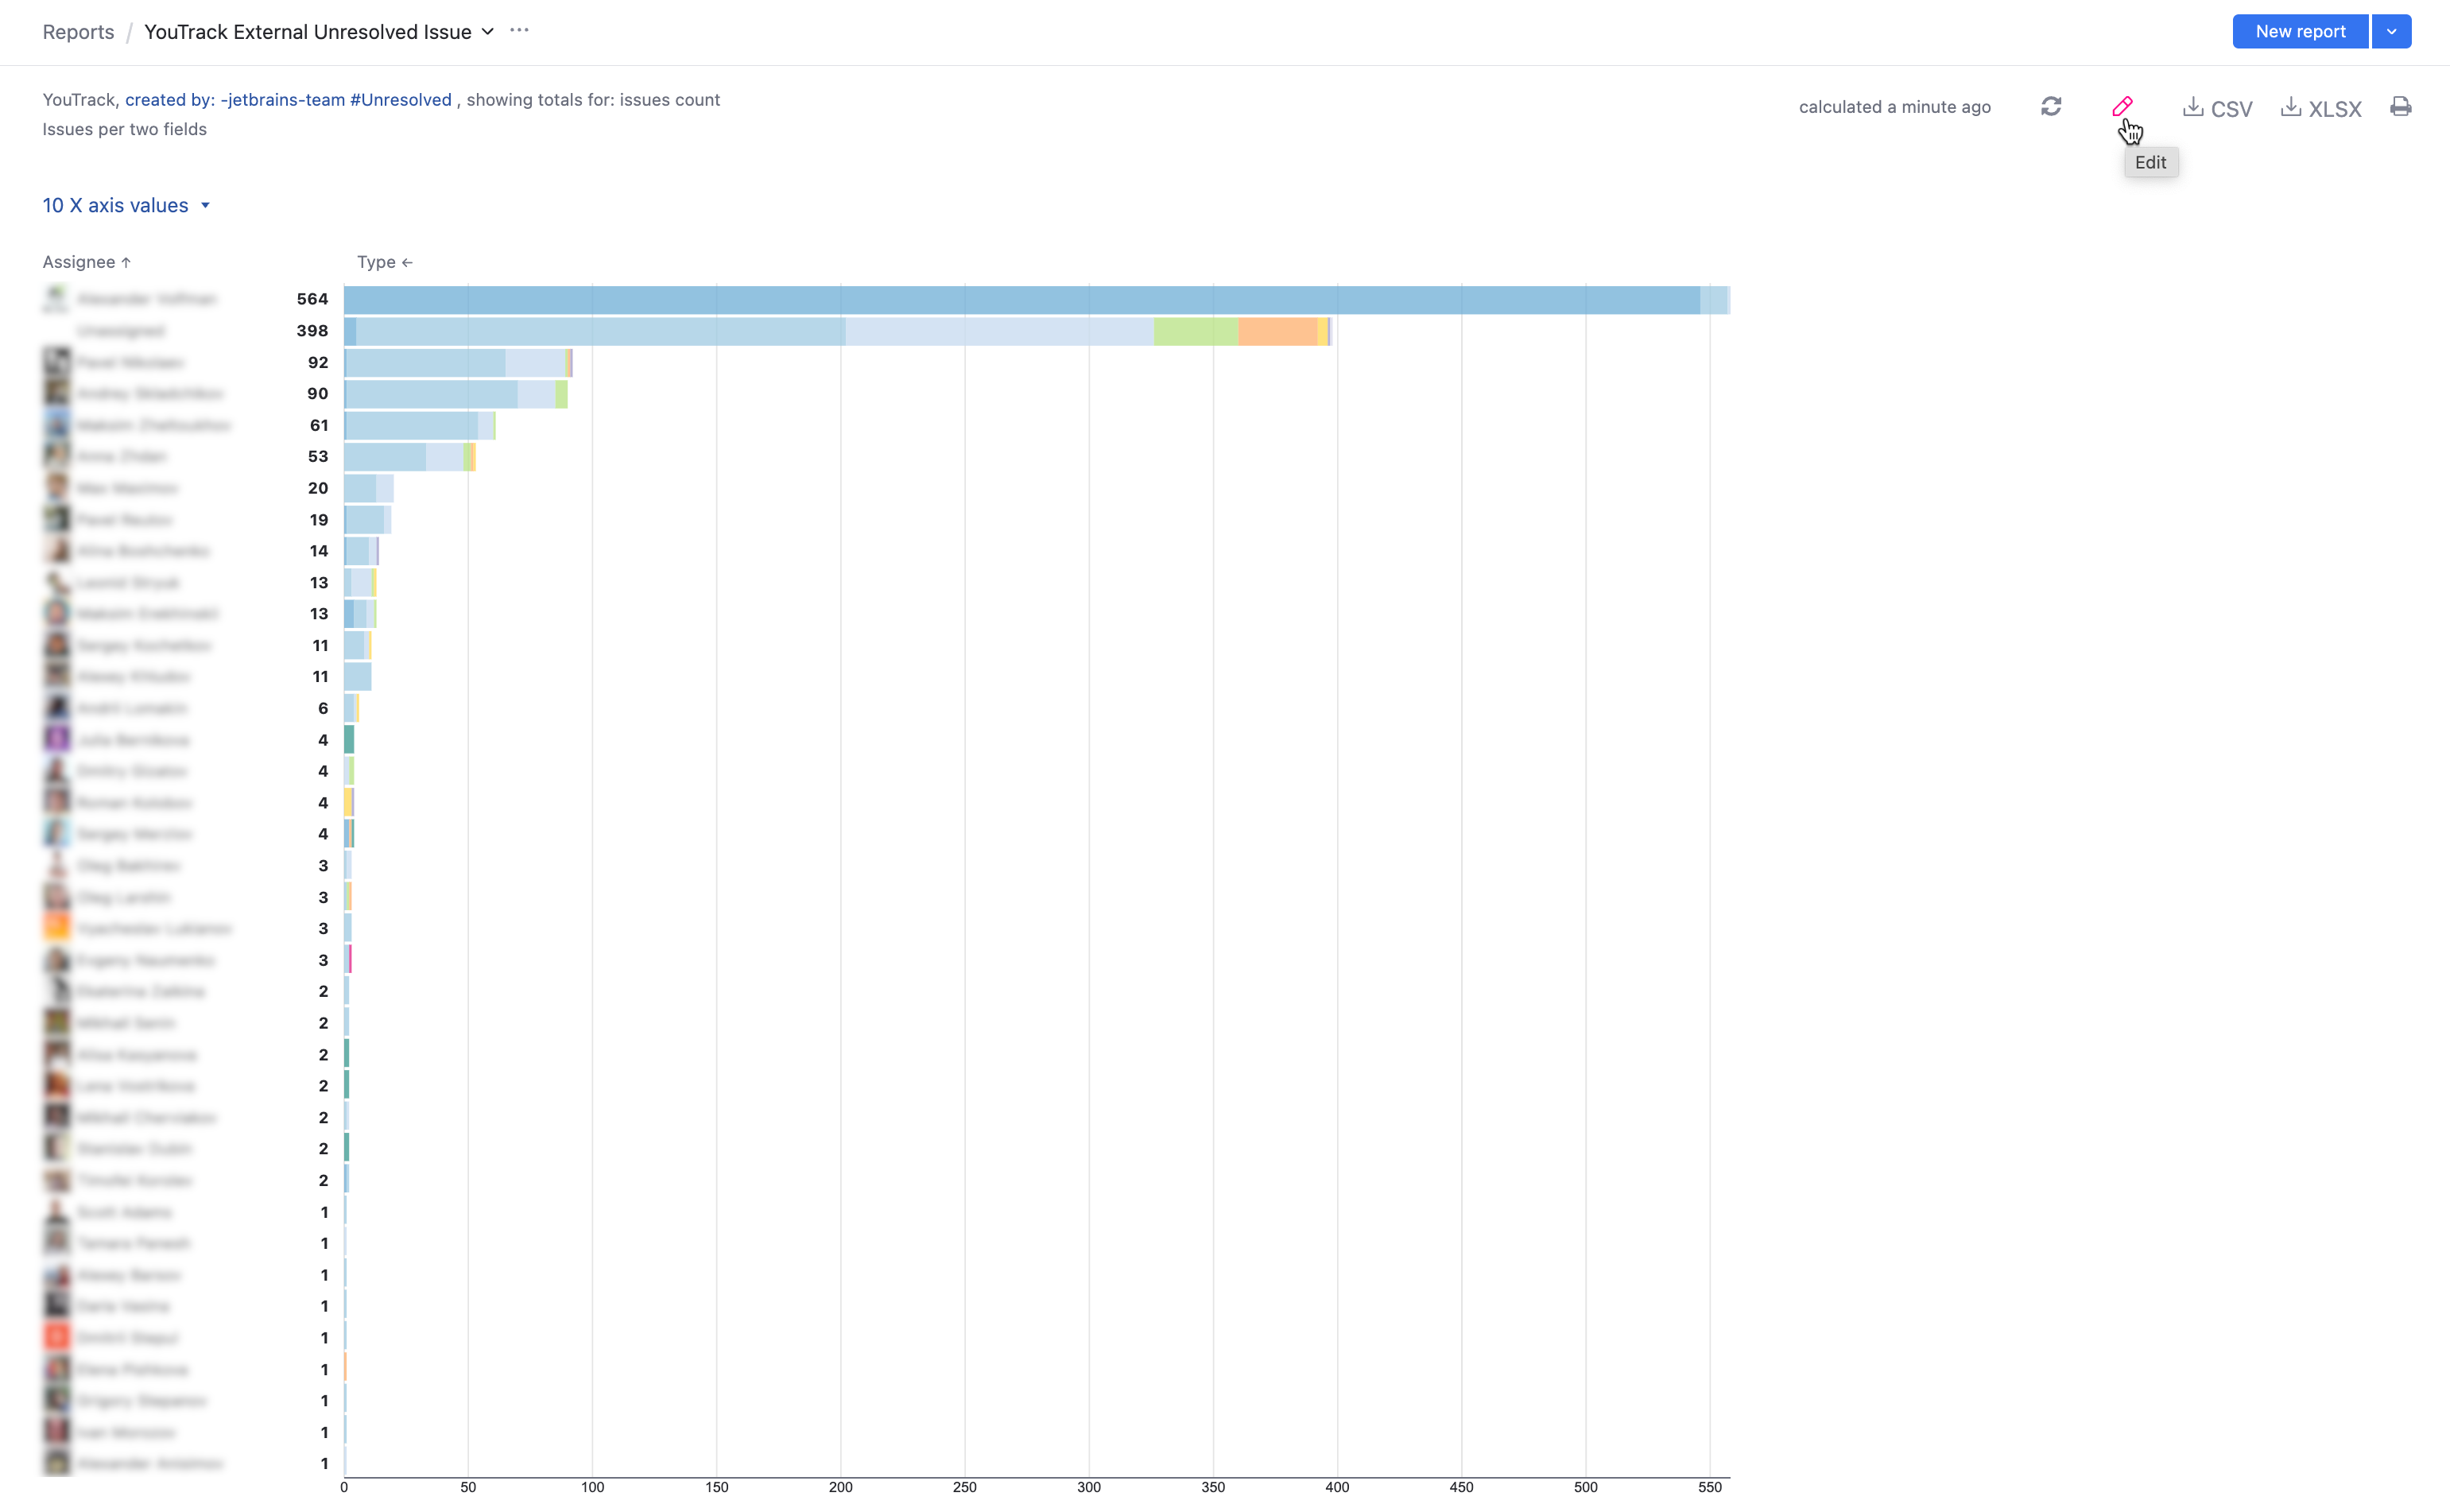
Edit a Report
As the owner of a report, you can modify the report parameters at any time.
To edit an existing report:
Clone a Report
Cloning a report comes in handy in the following situations:
You want a report that is similar to an existing report but also want to continue using the original report.
You are not the owner of the original report and do not have permissions to edit its parameters.
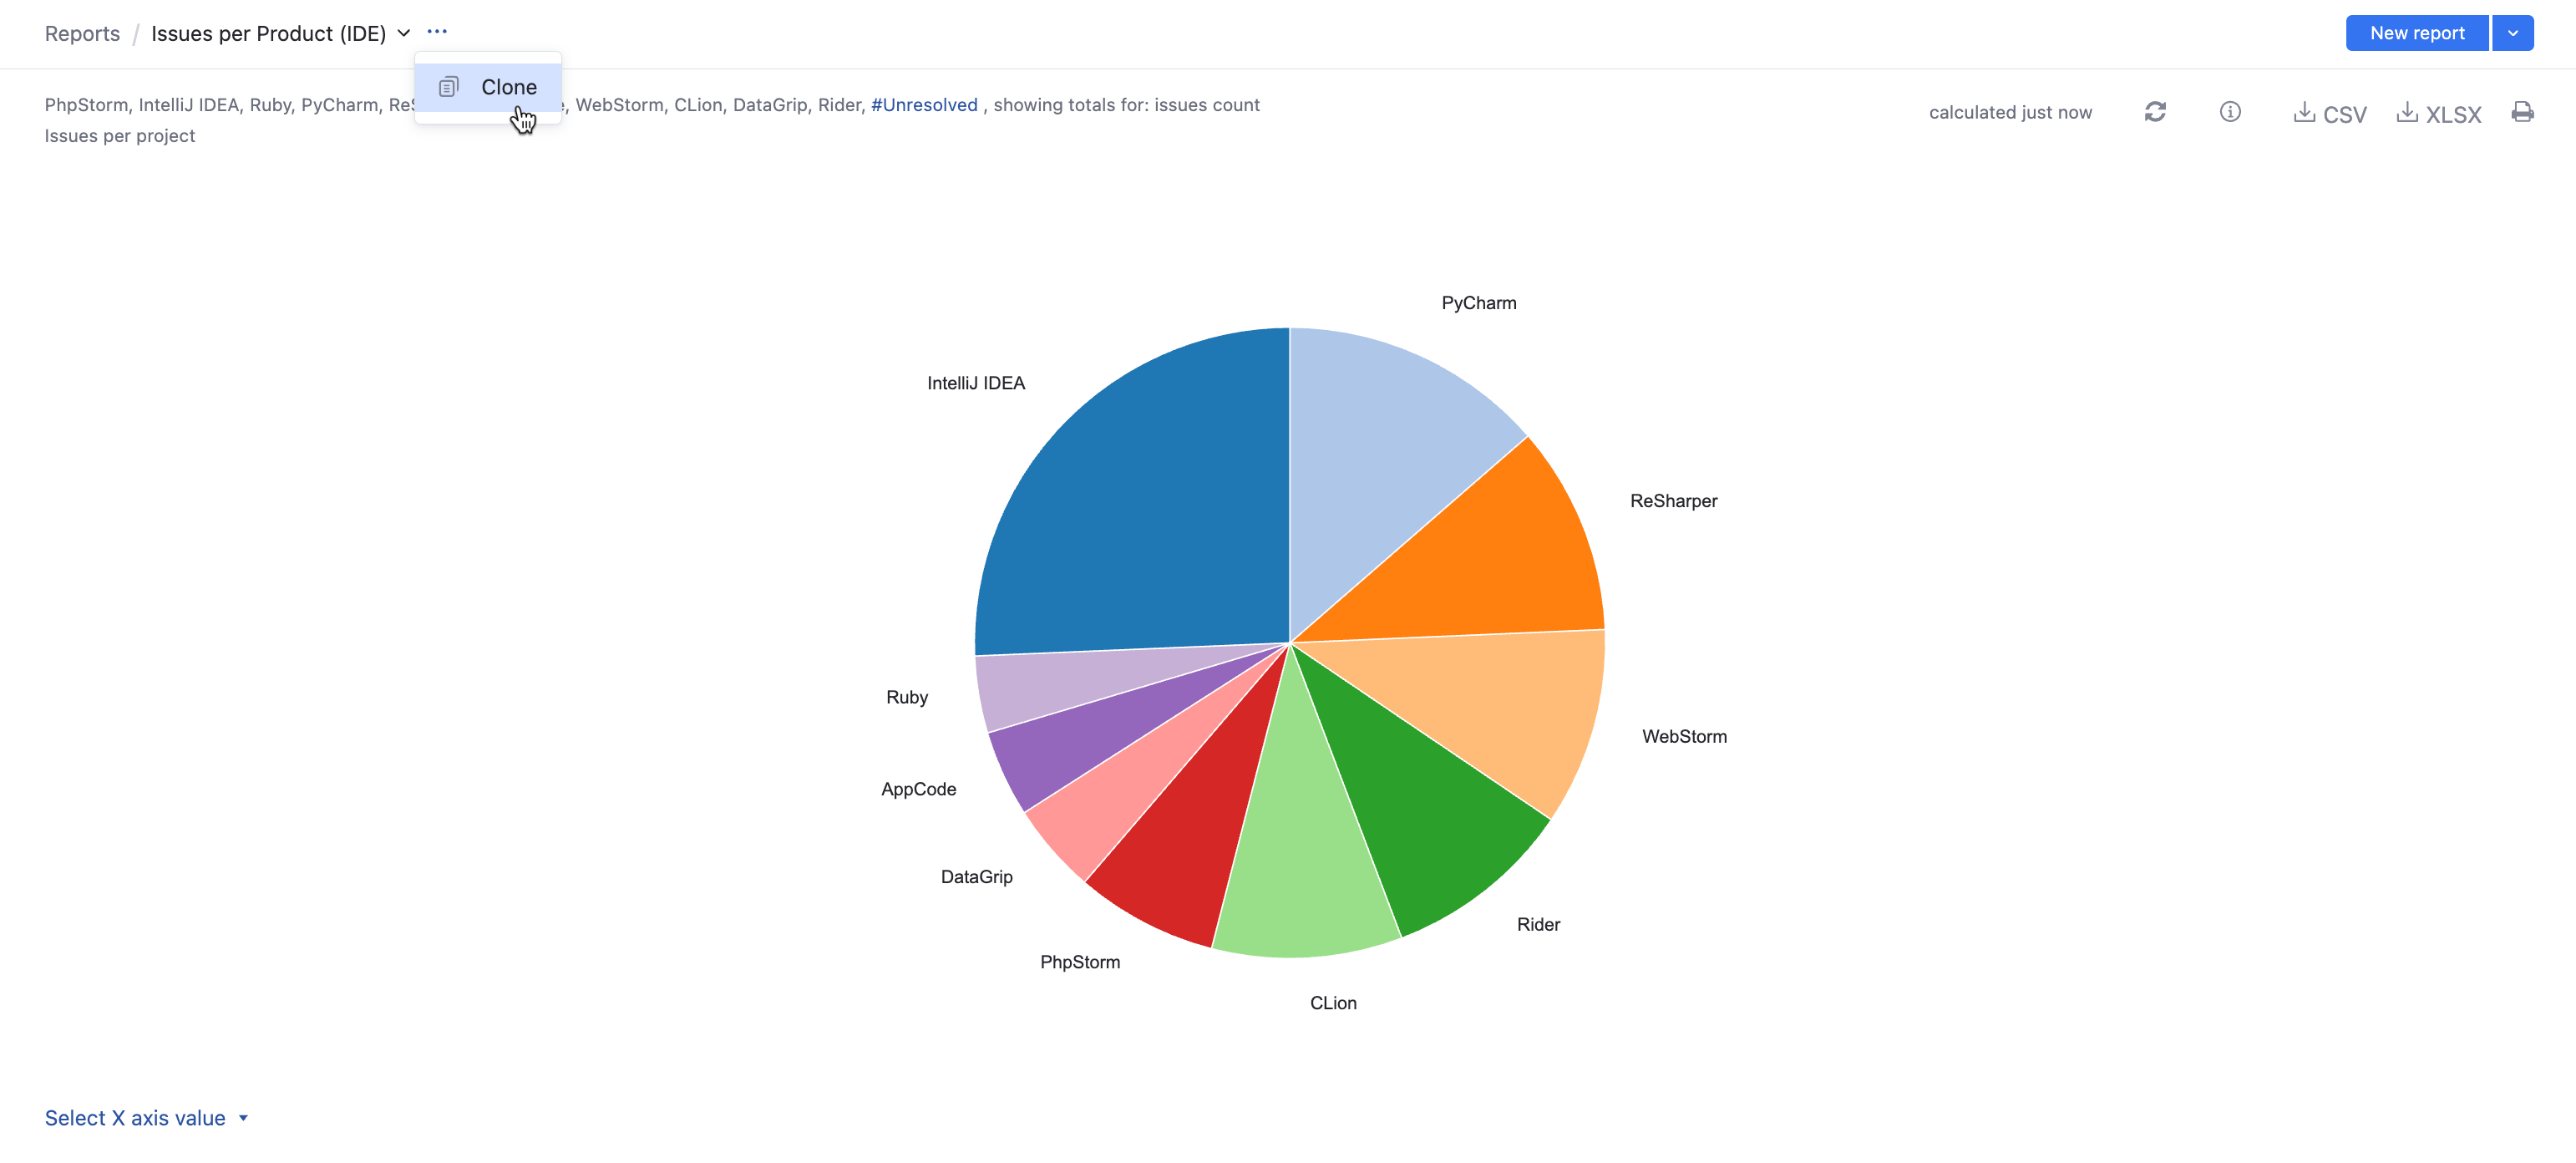
To create a clone of a report:
From the main navigation menu, select
Reports.
Open the report that you want to clone.
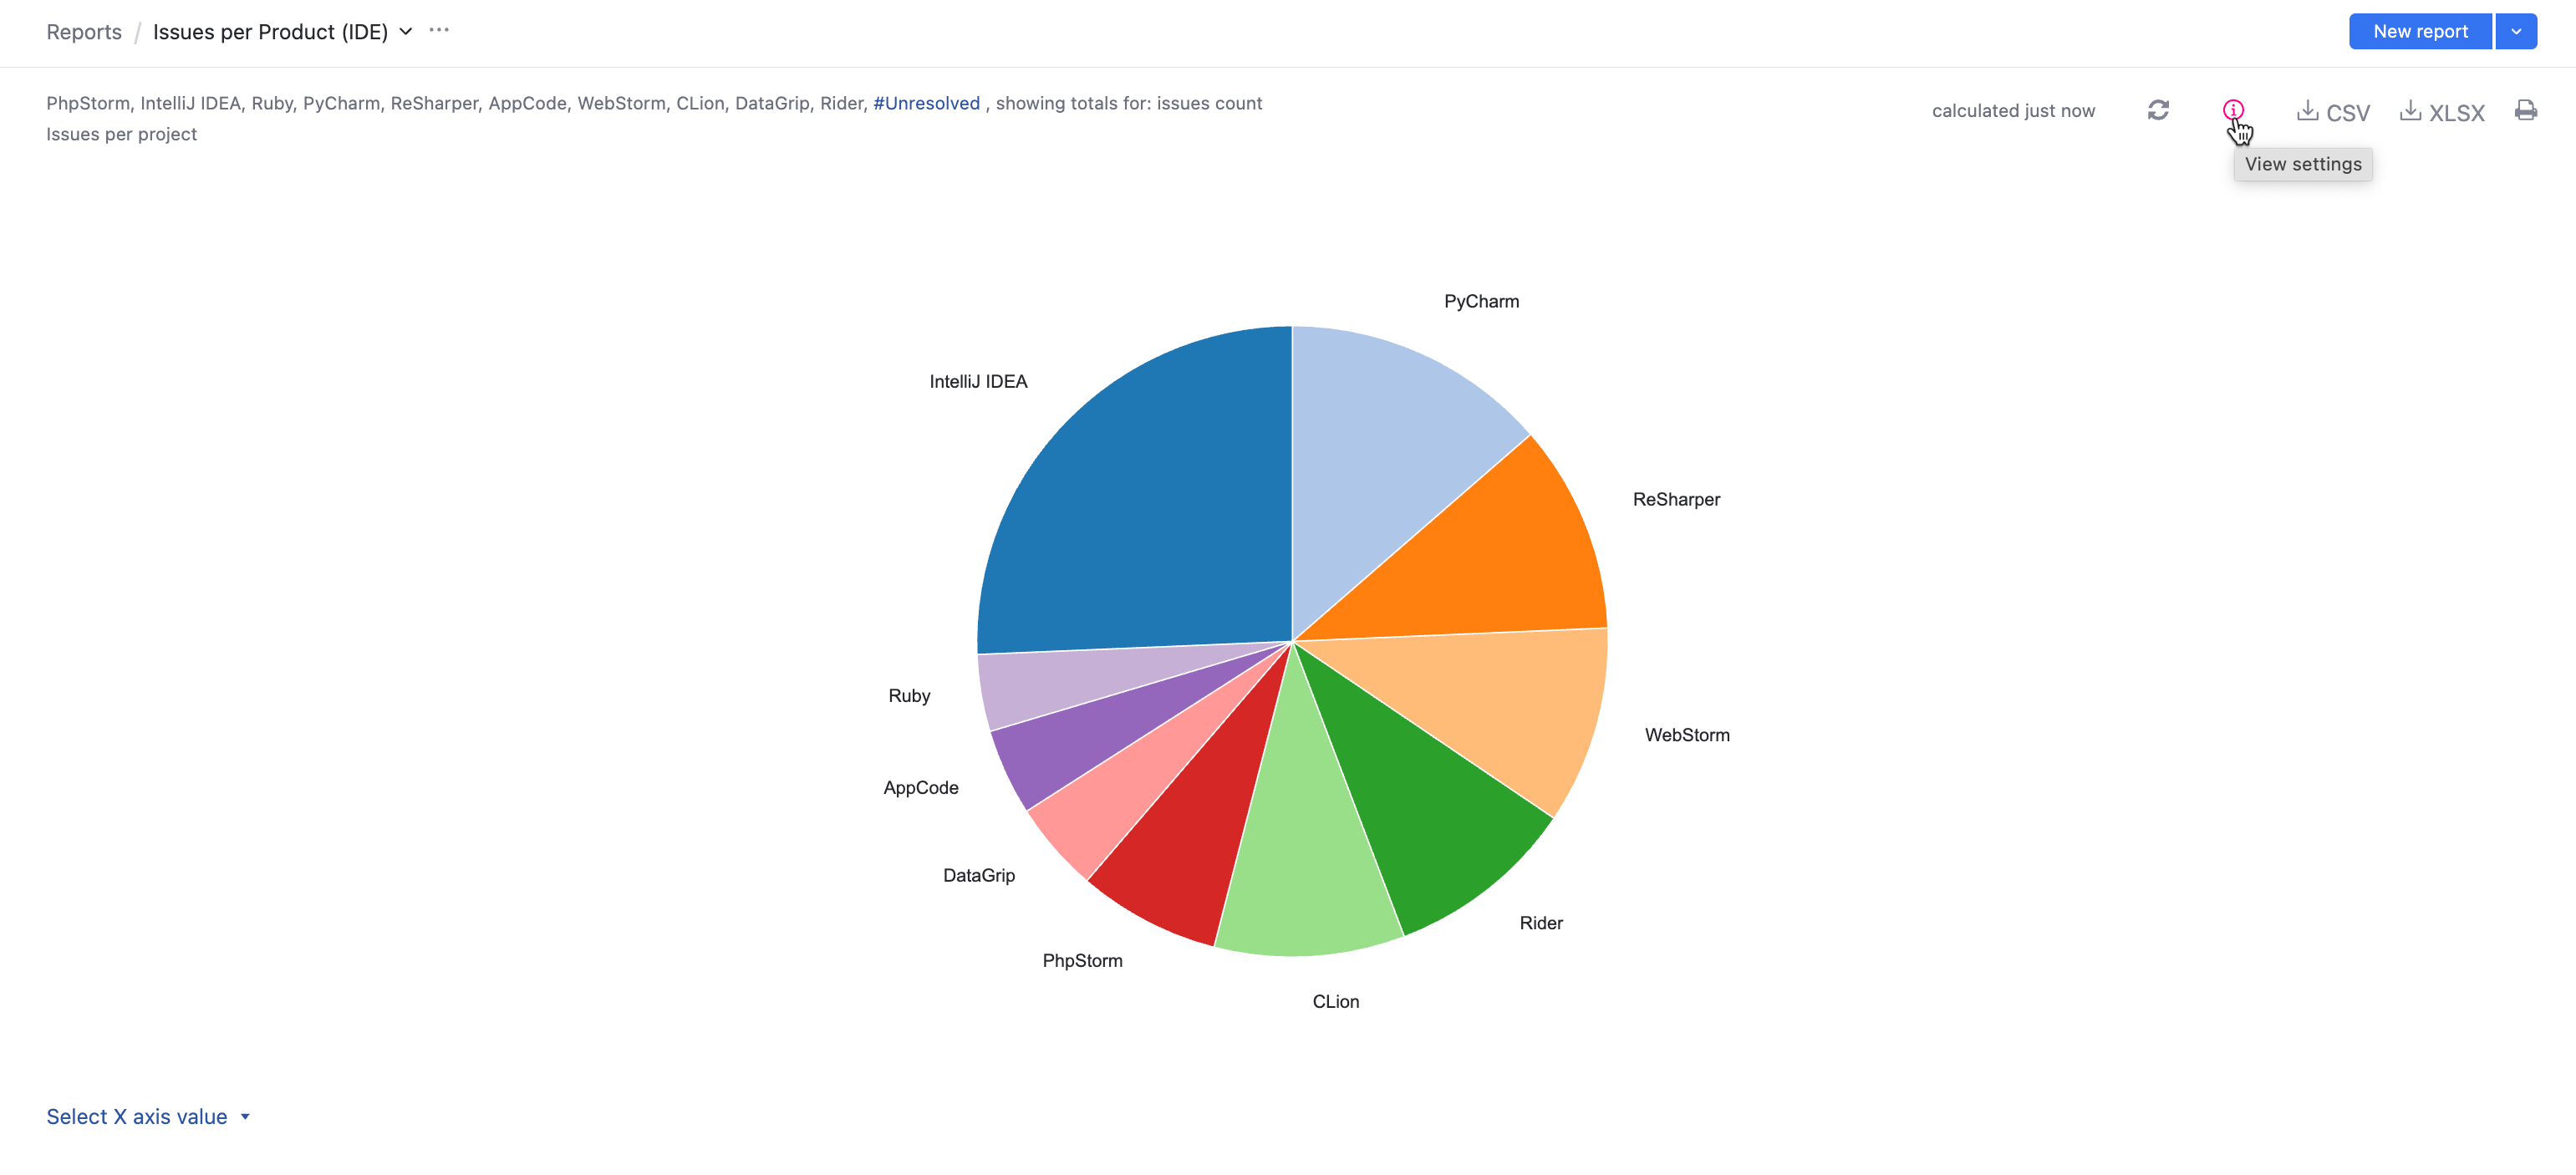
Open the report settings:
Configure the settings for the new report.
When done, click the Save button.
The report is created and calculated.
Delete a Report
If you no longer use a report, you can delete it. You can only delete reports that you created.
To delete a report:
Recalculate a Report
YouTrack reports support both automatic and manual recalculation.
For automatic recalculation, the following general rules apply:
Issue distribution reports are recalculated automatically every 10 minutes.
Time-based reports (timeline, time management, and state transition) are recalculated according to the value that is stored in the Period setting.
You must refresh or open the report in order to get it recalculated even if the configured period has already expired. If the period has not expired yet, refreshing the report returns the data that was calculated for the previous period.
Once calculated, the report is saved in the database and is not updated automatically. When you need to view an up-to-date report, you must start report update manually.
To manually recalculate an existing report:
From the main navigation menu, select
Reports.
Open the report that you want to update.
Click the
Recalculate icon in the toolbar.
Download Report Data
YouTrack lets you download the data from a calculated report. Different options in the report header let you export the data as a CSV or Microsoft Excel file.
Download options are not supported for any of the Timeline Reports, the Gantt Chart, or the State Transition Report.
Use these options to upload report data to another application or use third-party software to compile custom reports.
To download report data:
From the main navigation menu, select
Reports.
Open the report that contains the data you want to download.
If necessary, recalculate the report.
Click the corresponding option in the toolbar to download the data to a CSV or XLSX file.
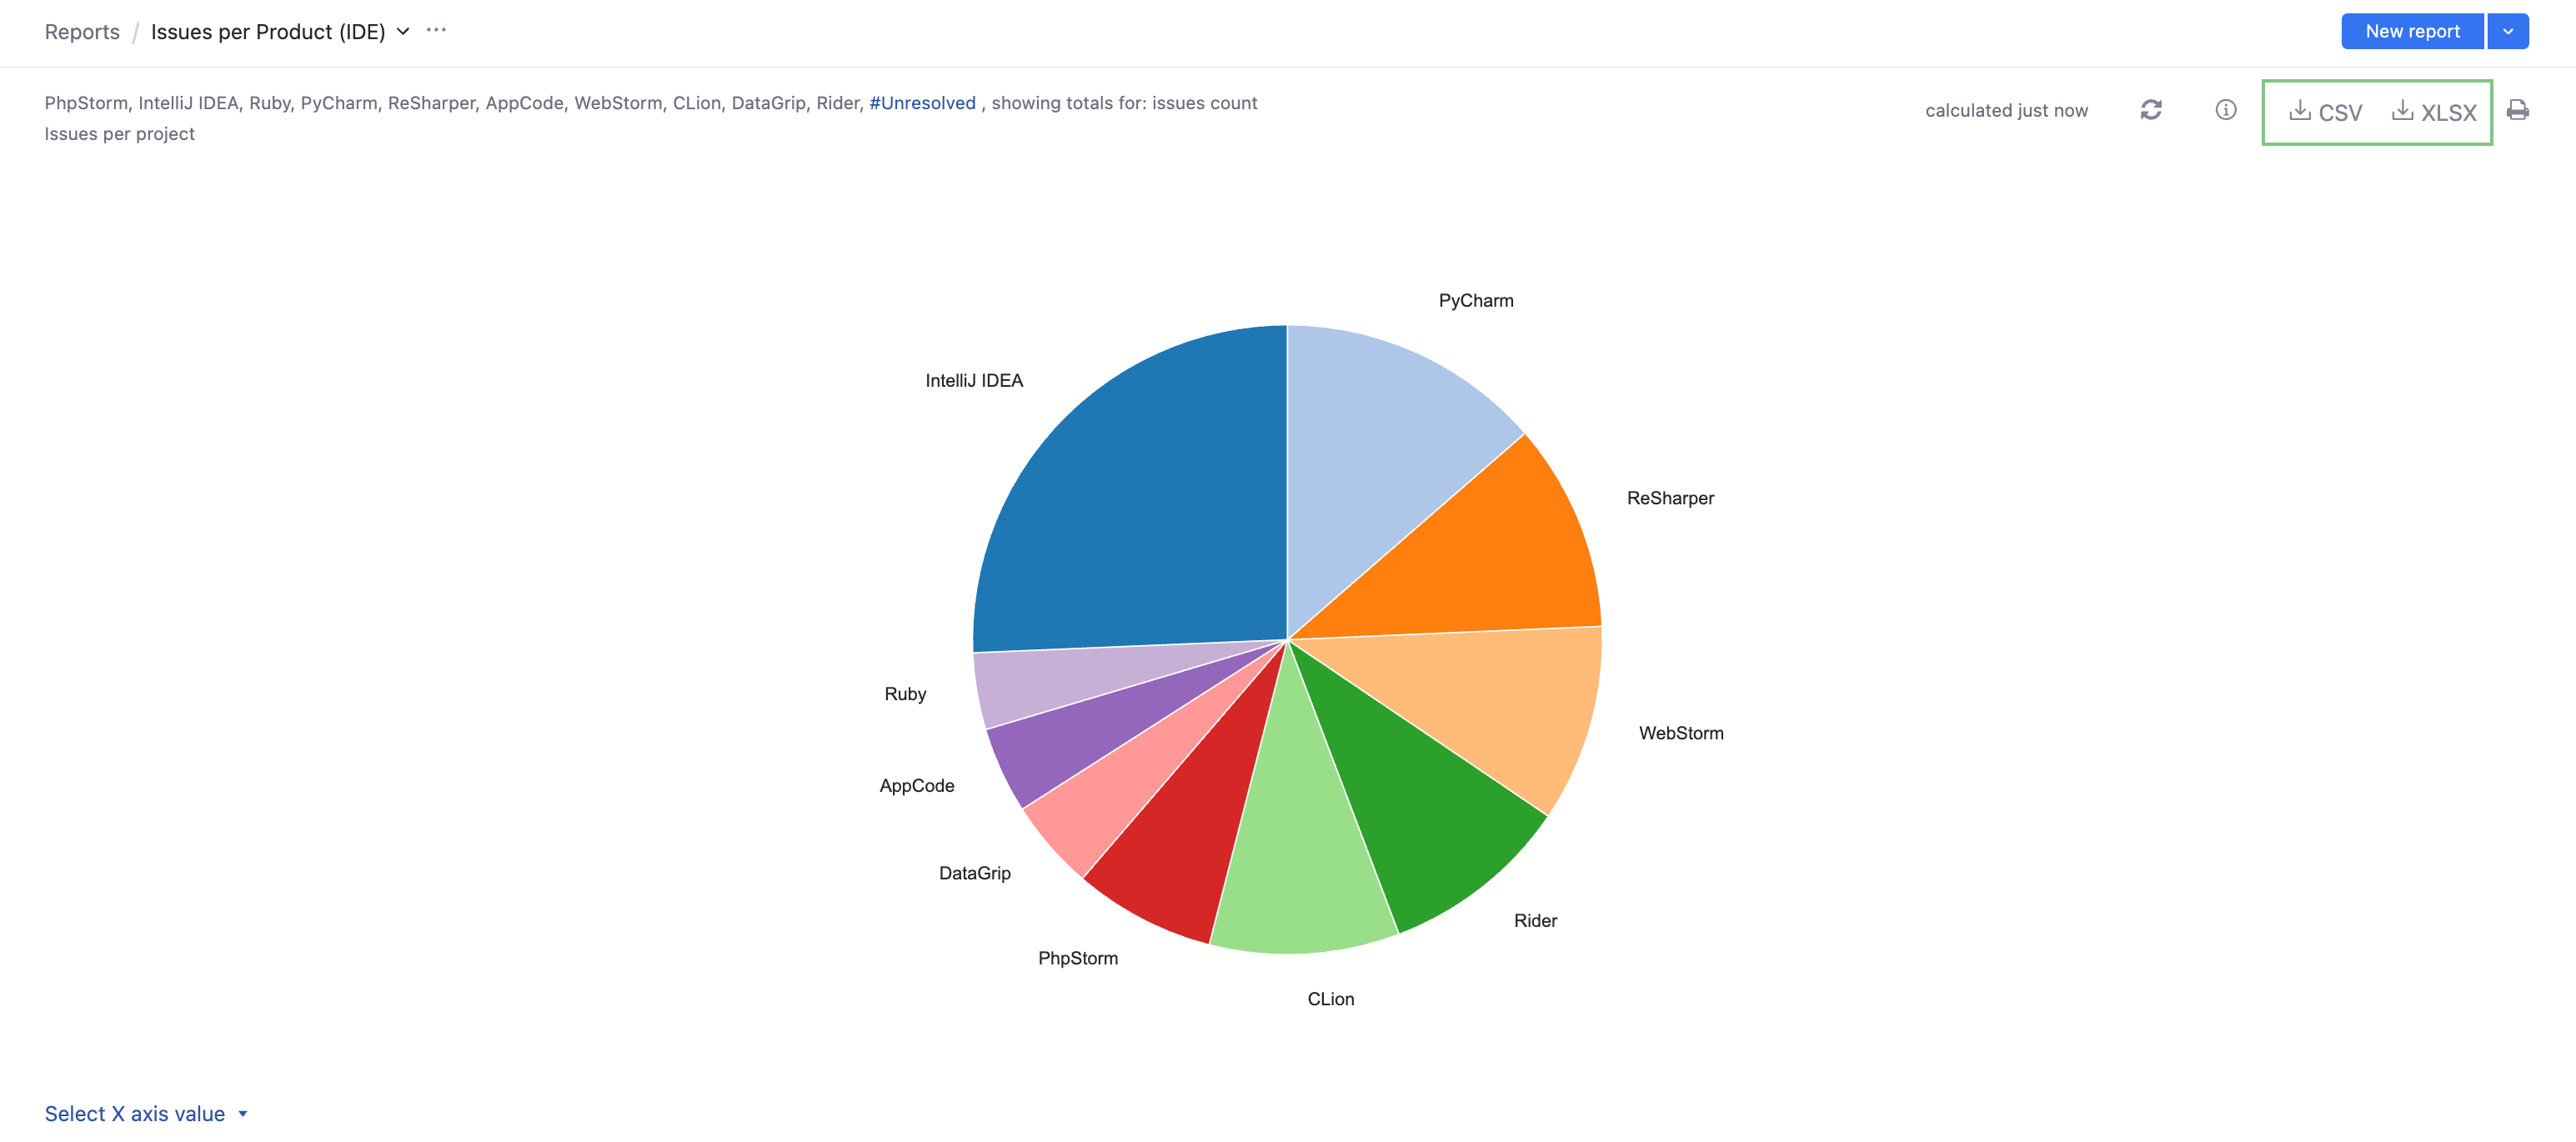
The report data is exported to your local directory.
The name of the report is used as the filename for the export file.
Print a Report
To prepare a report for printing, open it and click the print icon in the toolbar.
The report will be displayed in the print mode, which you can then print using the standard print function in your web browser.
Configure the Reports List
In the application header, to the right of the report's name, is a drop-down menu listing all the reports you can access.
This menu lists your favorite reports at the top with a star. Other reports that aren't your favorites are accessible from the drop-down menu underneath.
By default, each new report that you create is added to your list of favorites. If you want to hide reports that you don't work with often, you can remove them from your favorites. You can still access the report at any time from the drop-down list.
