Codex
 Codex is a third-party coding agent by OpenAI available for use in AI Assistant. It can help you to design and implement features, fix bugs, answer questions, review code, and assist with a wide range of development tasks.
Get started with Codex
To use Codex, you need to install and activate it using one of the supported authentication methods. For instructions, refer to:
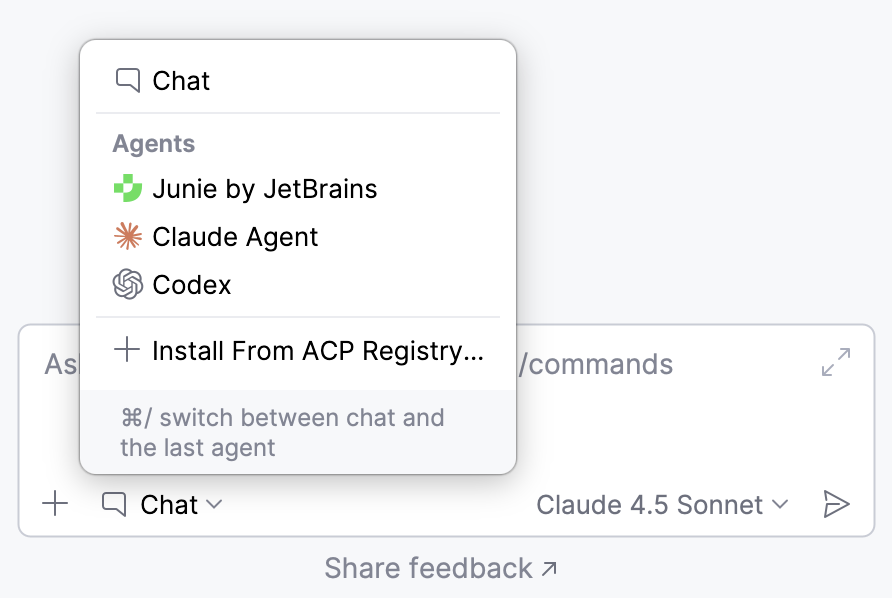
After setup, select Codex in AI Chat to start using it.
Collect IDE context
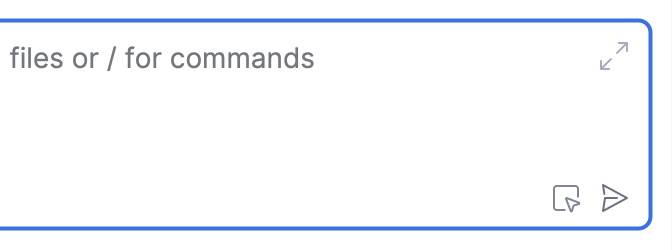
Codex can automatically receive context about your current editing session, so you don't have to attach it manually with every prompt. When automatic context is enabled, each request you send includes:
The file currently open in the editor.
The text you have selected in that file, if any.
An indicator in the chat input field shows the current state of automatic context. Click it to switch between the two states:
 IDE context enabled – the active file name and any selected text are attached to each prompt.
 IDE context disabled – no editor context is attached automatically.
Select operation mode
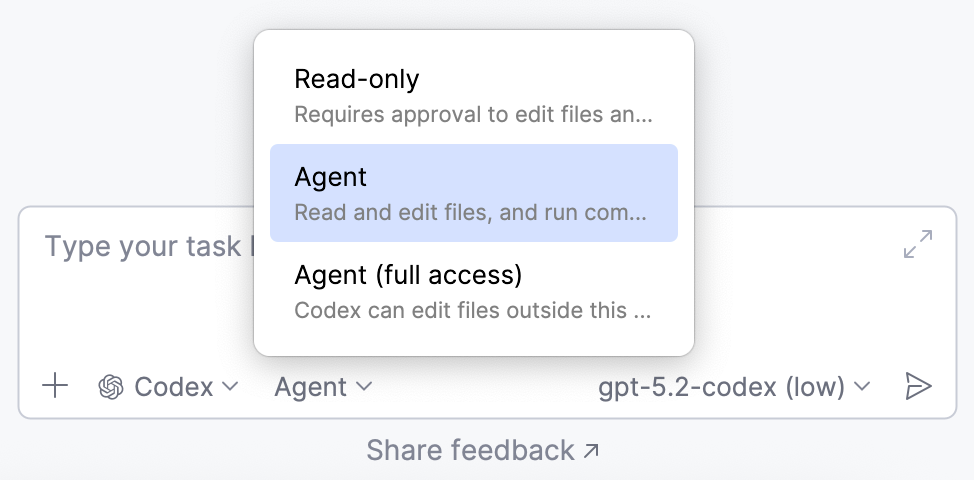
Codex has several operation modes that you can use:
Read-only – Codex can browse and explain the codebase but cannot modify files or run commands.
Agent – Codex can modify files within the project workspace but cannot make changes outside the project without approval.
Agent (full access) – Codex can modify files anywhere on the machine and run commands with minimal restrictions, enabling system-level edits, installs, and full workflows.
To switch between modes, use the mode picker dropdown in the prompt window.
Select a model and reasoning level
To select a model that Codex uses to process your requests, click  and select the model from the list.
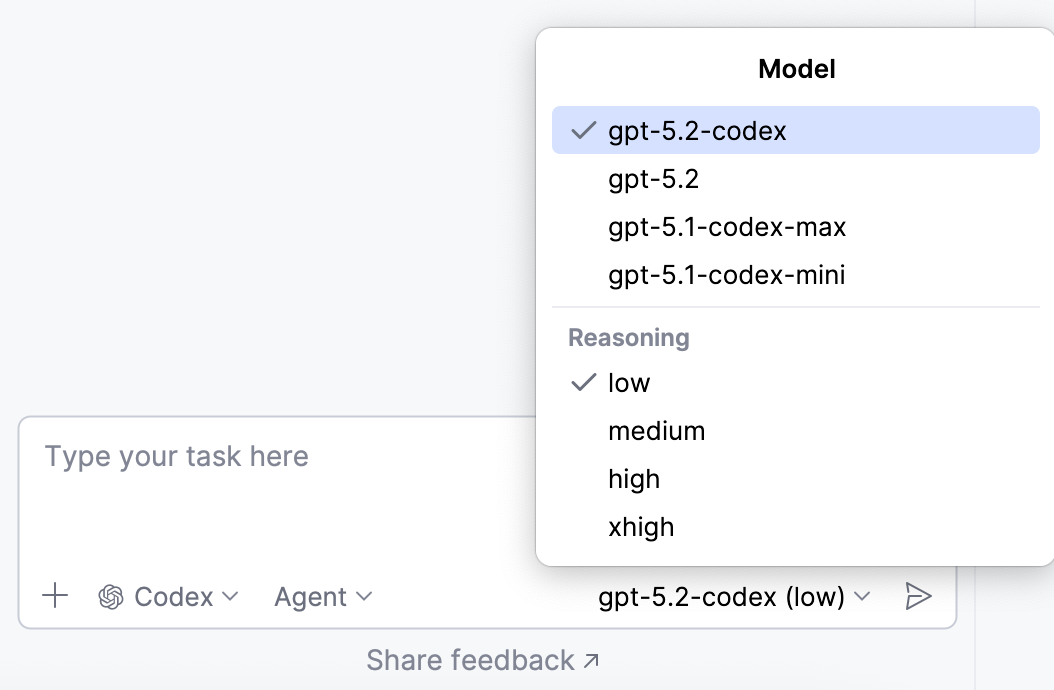
You can also select the Reasoning level for the model. Model reasoning refers to a model's ability to perform multi-step analysis and solve complex tasks. Higher levels increase the amount of reasoning the model applies before it responds, which can lead to higher-quality results on complex or critical tasks but may take longer.
Approve operations
In the Read-only mode, Codex requests your permission to run suggested bash commands, introduce changes, perform file operations, or use external tools. In this case, you can either approve or reject the operation.
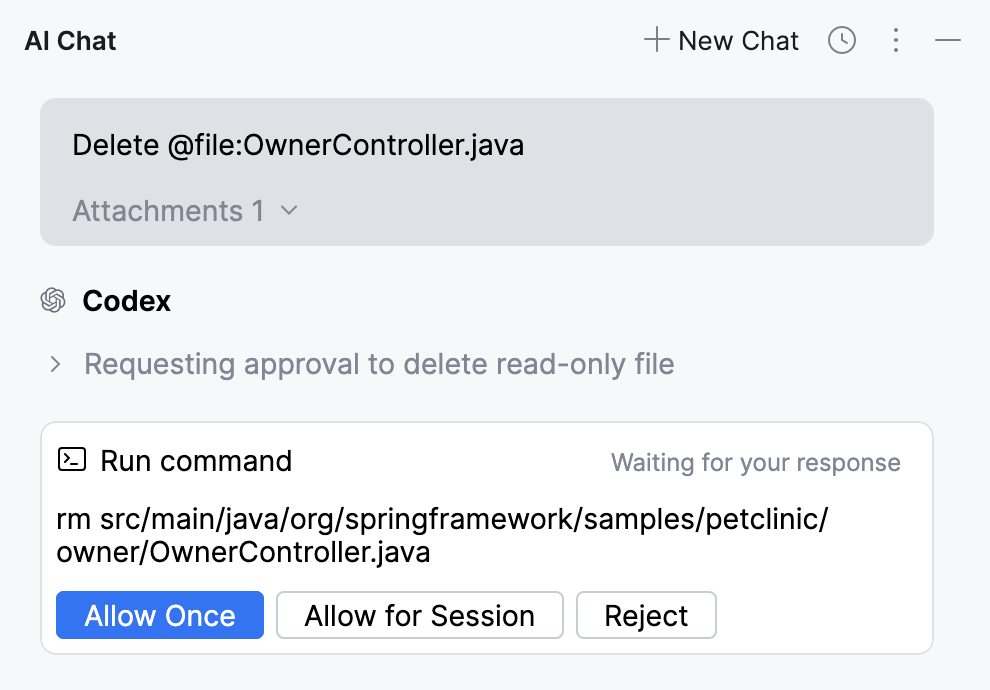
Allow Once – allows Codex to execute the command this time only. You will be asked again if the command is requested later.
Allow for Session – allows Codex to execute this command for the current session without asking again.
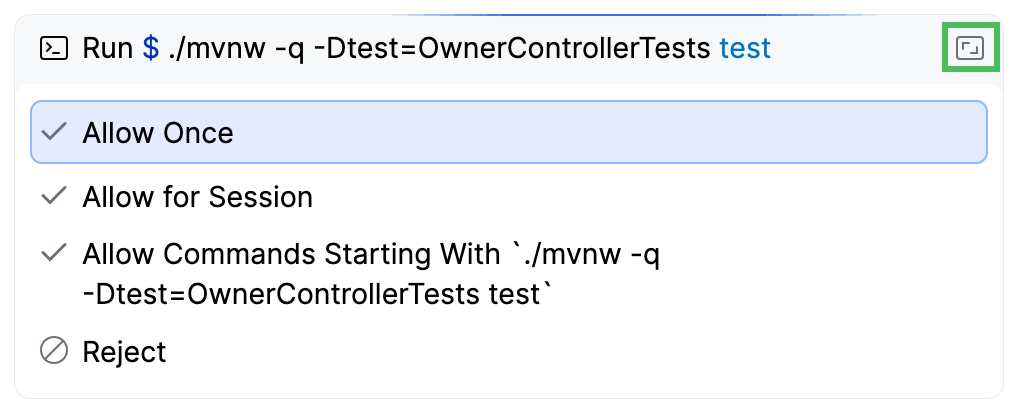
Allow Commands Starting With – allows Codex to run any command that begins with the specified prefix without asking again. This approves a group of related commands that share the same starting text, so you don't need to confirm each one individually.
Reject – prevents Codex from executing this command.
Before you decide, you can review what the agent is about to do:
For a suggested file change, click
 to review the changes the agent introduces.
For a suggested command, click Open in editor in the top-right corner of the widget to review the complete command the agent suggests to run.
Rollback operations
If the changes introduced by Codex do not suit you, you can roll them back. To do this:
Navigate to the pane listing the changed files.
Do one of the following:
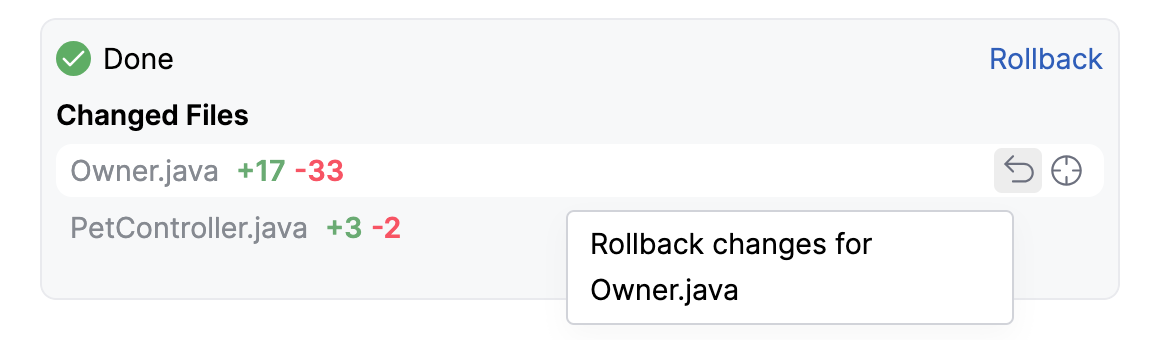
To roll back changes in a specific file, hover over it and click
 .
.
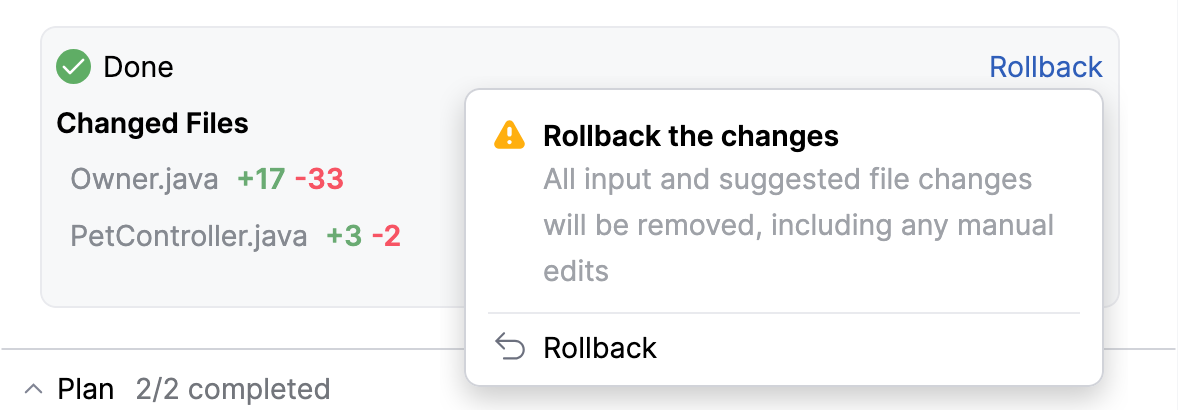
To roll back changes in all files, click Rollback.
Use /commands
Codex supports a subset of /commands that you can type directly in the chat to run actions such as checking the session status, managing the current session, or viewing the agent configuration.
To see the commands available in the current session, type / in the chat input field and select a command from the list.
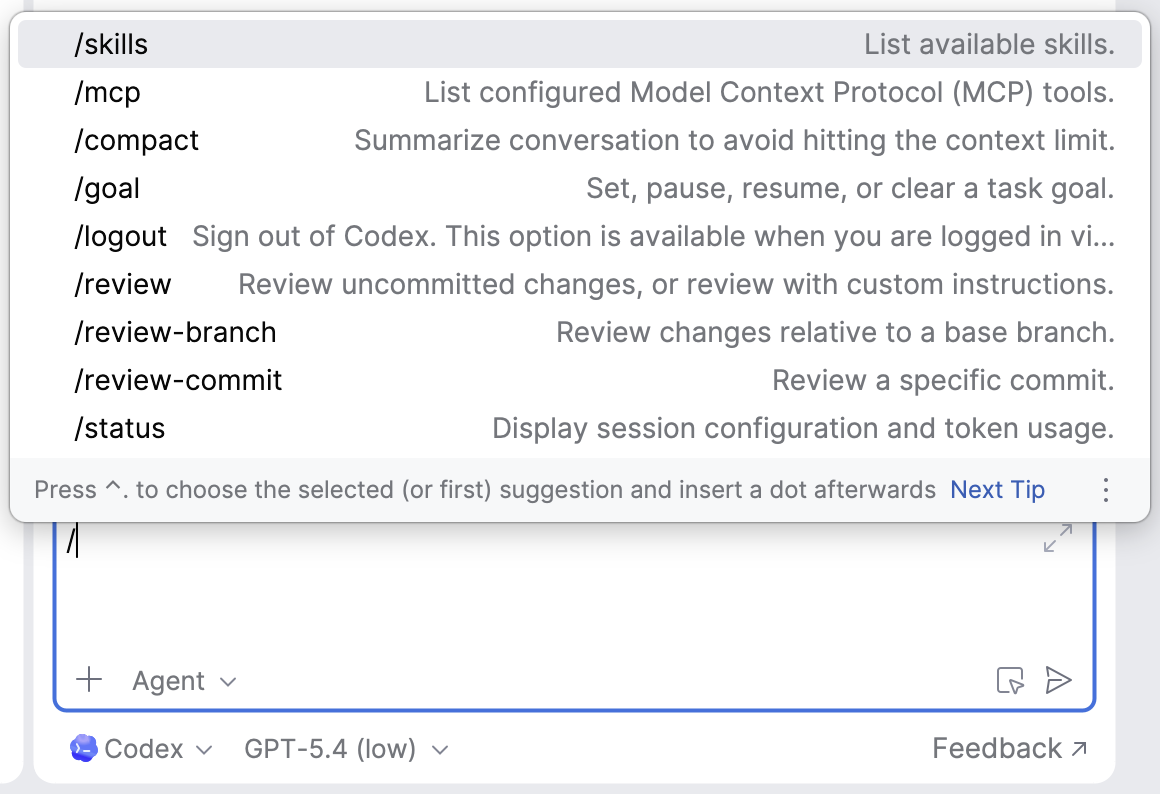
For details on specific commands, refer to the official Codex documentation.
Use Codex skills
Skills give Codex additional capabilities to handle specific tasks and structured workflows. Each skill consists of instructions, supporting resources, and scripts that define how the agent performs the task.
You can add skills in two ways:
Install curated skills from public repositories, such as openai/skills. They can be installed by invoking the
$skill-installerskill, which adds them to the Codex environment.Create custom skills by using the
$skill-creatorskill and describing the required functionality.
Once installed or created, skills can be invoked:
Automatically, when a skill is relevant to the task you describe.
Explicitly, by referencing a specific skill with the
$prefix in your prompt.
To view the skills currently available to Codex, use the /skills command.
Enable use of external tools
You can enable Codex to use tools provided by configured Model Context Protocol (MCP) servers, extending its capabilities to perform a wider range of tasks. The available tools can be invoked automatically when the agent considers them necessary, or you can call them manually when writing a request.
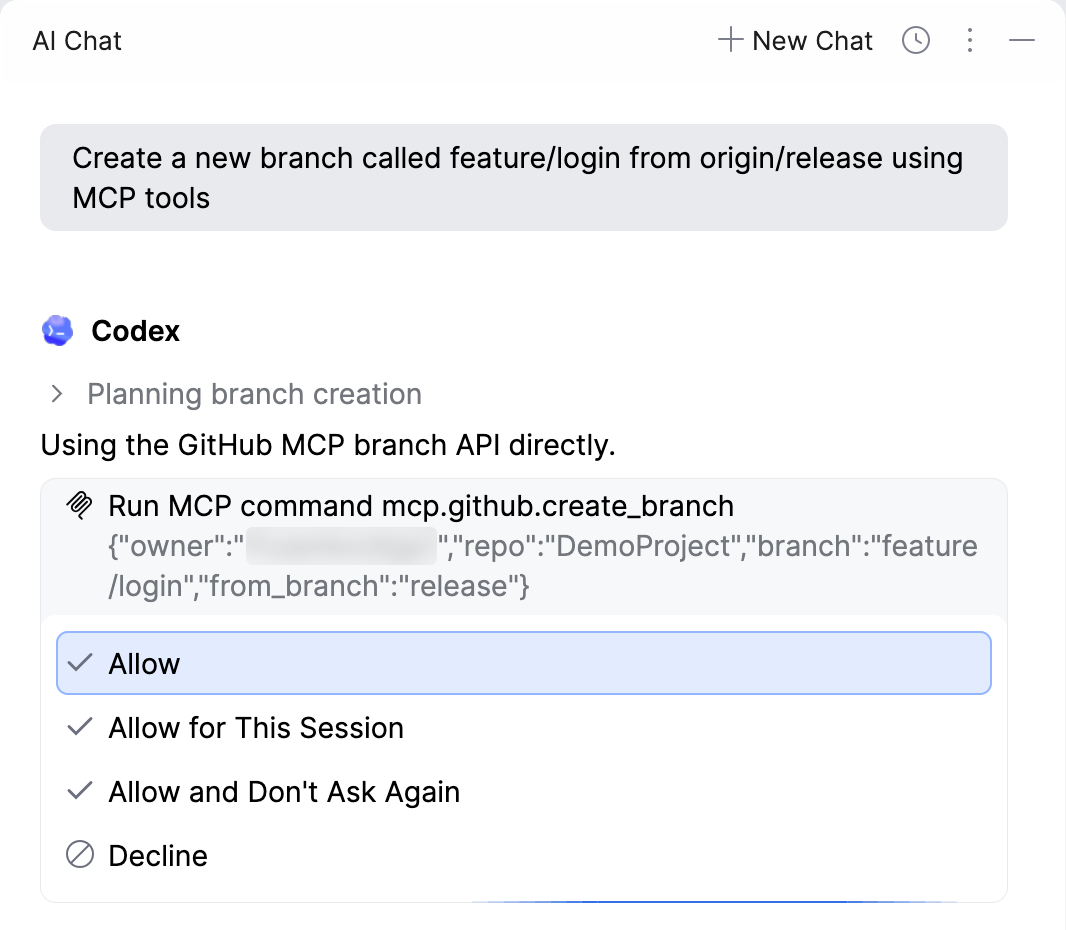
To enable Codex to use tools:
Make sure the MCP servers you want to expose to the agent are already configured in . For details on adding and configuring MCP servers, refer to Model Context Protocol (MCP).
In the IDE settings (Ctrl+Alt+S), go to .
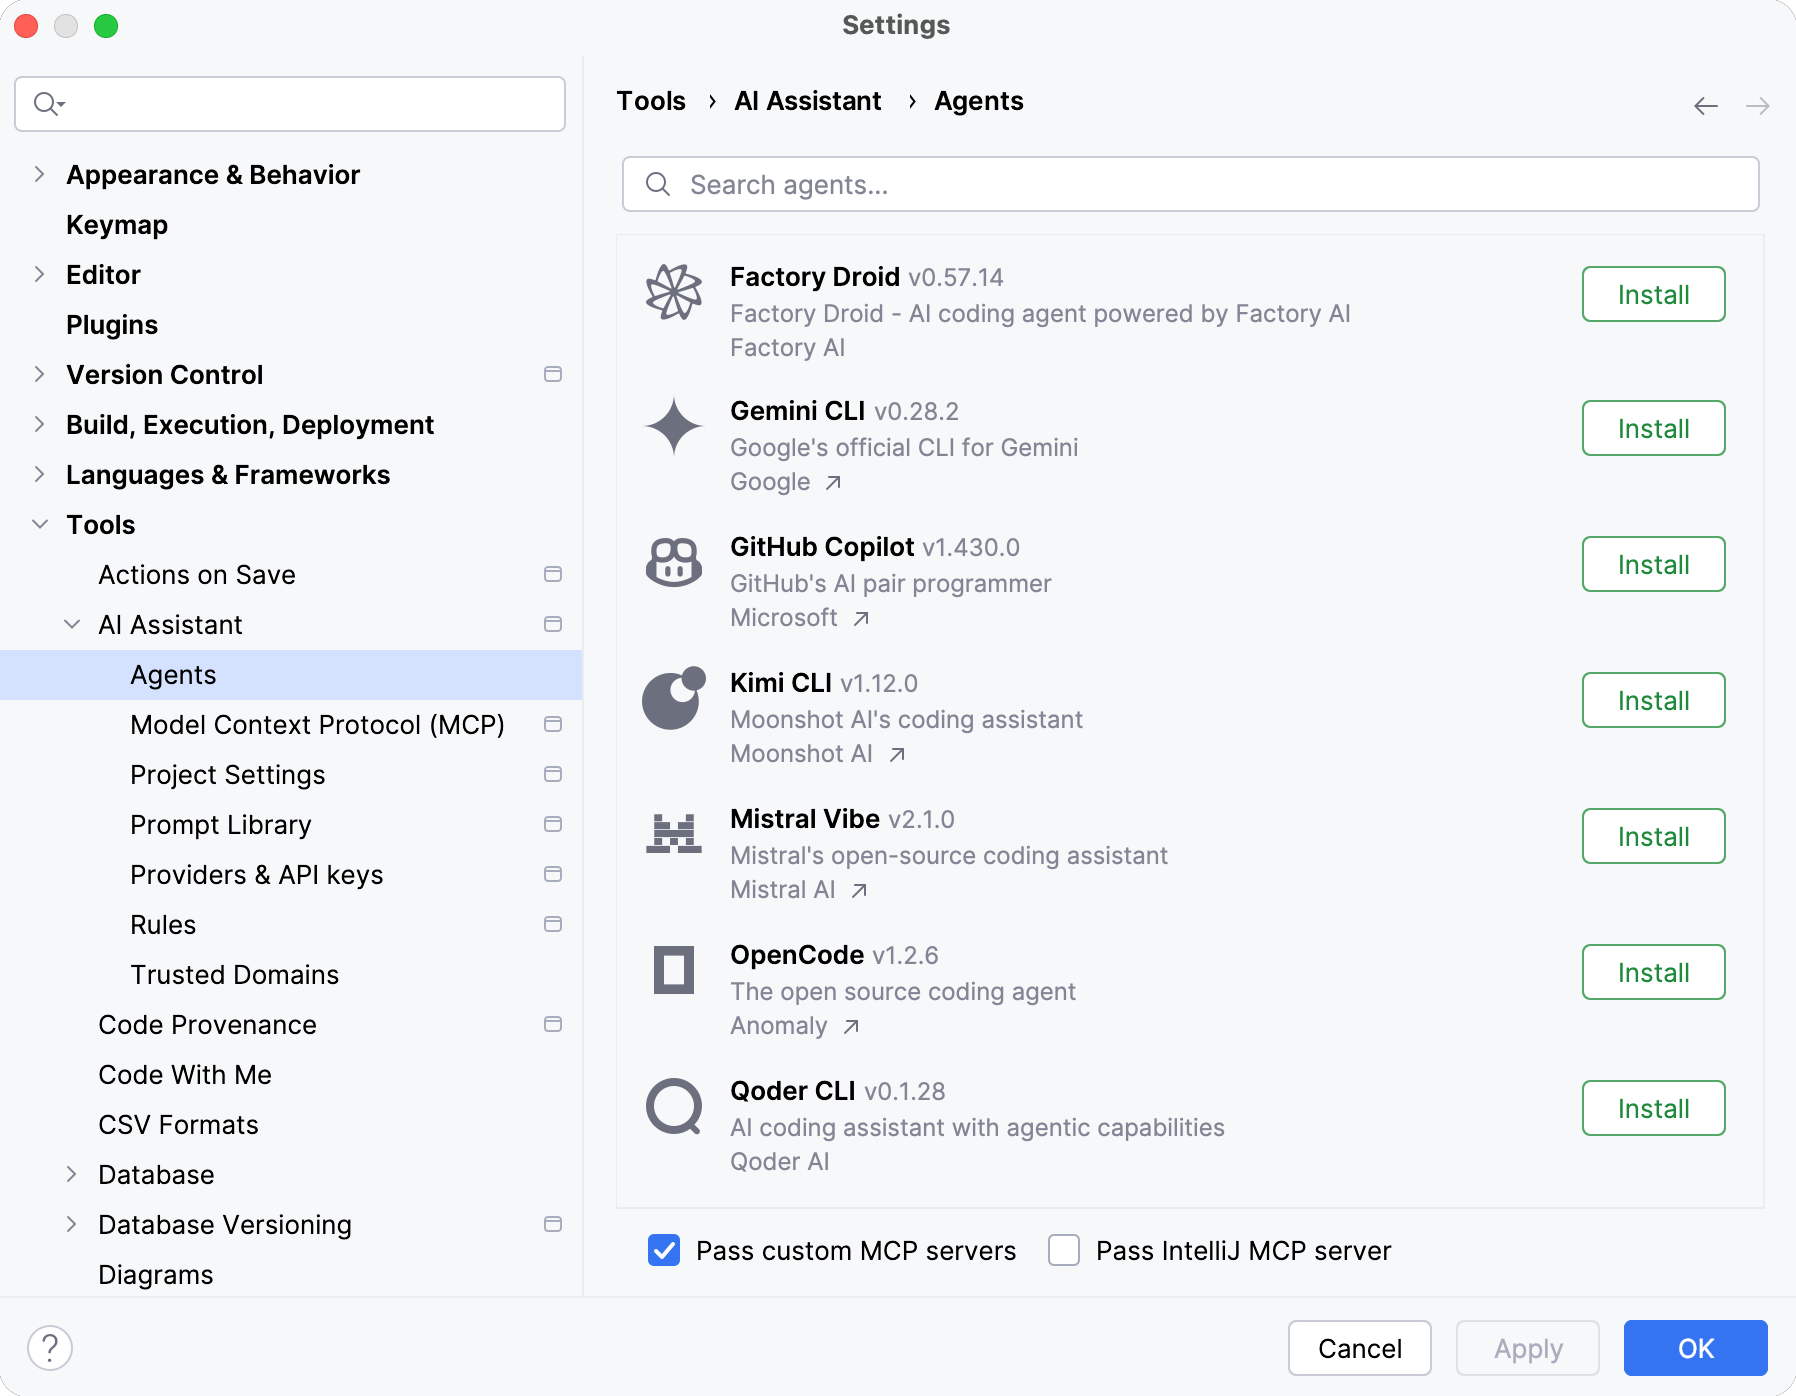
Enable the Pass custom MCP servers setting.
Click OK.
Use database-specific tools with Codex
Available in: DataGrip and IDEs with Database Tools and SQL plugin
Currently, Codex requires the following configuration to work with database-specific tools:
In , select the Enable MCP Server checkbox, confirm your action in the Enable MCP Server? dialog, then click Apply.
Click Copy HTTP Stream Config.
In , click Add.
In the New MCP Server dialog that opens, open the HTTP tab and paste the copied value as
idea-httpserver.The resulting JSON configuration is as follows:
{ "mcpServers": { "idea-http": { "type": "streamable-http", "url": "http://127.0.0.1:64344/stream", "headers": {} } } }The port number may vary. Make sure it matches the port configured for the server and shown in Tools | MCP Server in the Enable MCP Server setting.
Click Apply to save the configuration and close the New MCP Server dialog.
On the MCP Server page of the Settings dialog, click Auto-Configure under Codex to apply the new configuration.
Click OK to save the MCP server.
Add instructions
Instructions let you provide persistent, reusable context to the agent. Codex adds this context to every task it works on, so you don't have to repeat project-specific instructions in each prompt.
Codex reads instructions from the AGENTS.md file in the root project directory, so you can keep them under version control and reuse them across the project.
For more information about instruction files and their format, refer to Agent instructions.