Set up Air Teams
Air Teams is available to organizations. As an administrator, you enable it once, give it access to your organization repositories, and decide what your developers can do with AI. After that, developers sign in with their JetBrains Account and start working.
Organization access is managed through JetBrains Console and relies on the following:
Your organization has an account in JetBrains Console.
Your developers are members of that organization.
Each developer signs in with their JetBrains Account. They then use the AI agents your policies allow.
Enable Air Teams for your organization
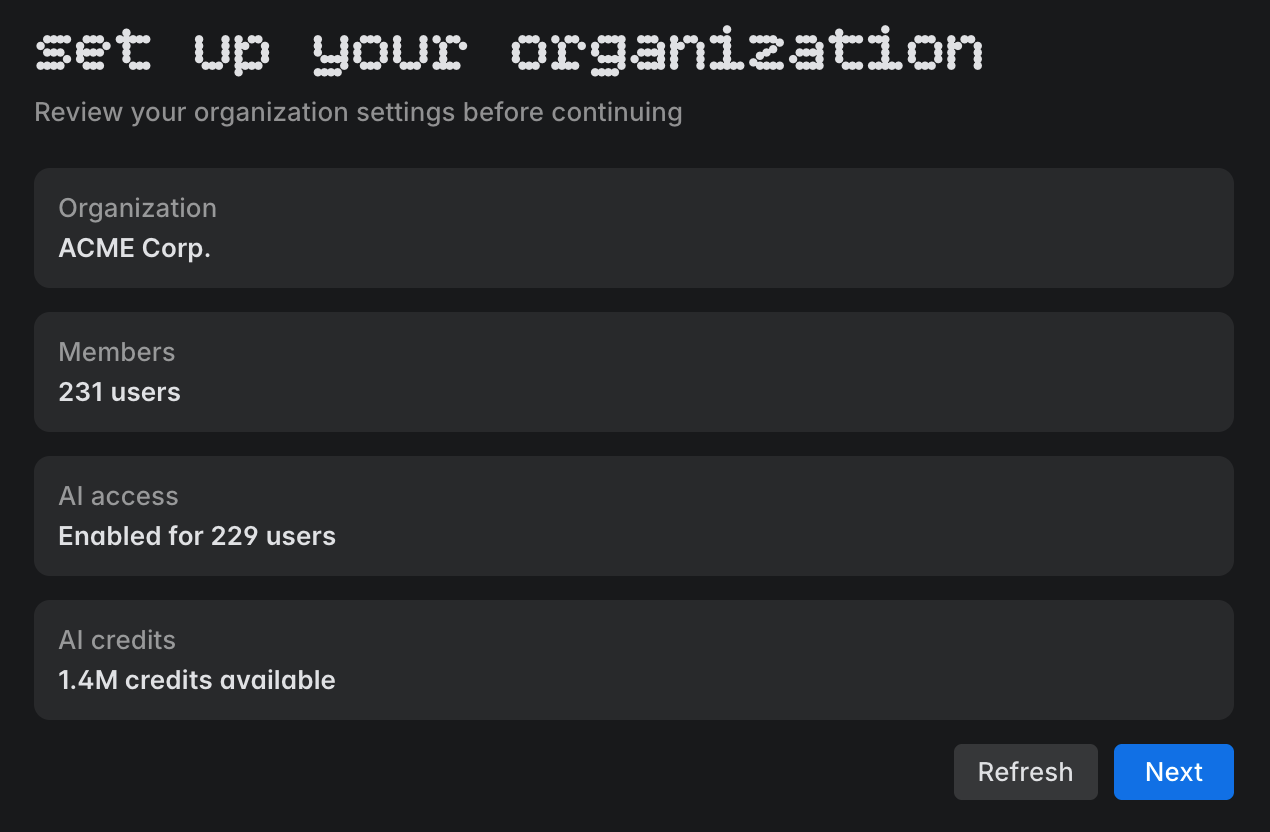
The first time you open Air Teams as an organization administrator, a setup wizard guides you through enabling it. After you finish the wizard, Air Teams becomes available to organization developers for tasks and automations.
Give Air Teams access to your repositories
Cloud environments don't have your project checked out, so developers can run tasks only on the repositories that Air Teams can reach in your VCS provider. What you set up depends on where those repositories are hosted:
GitHub – install the JetBrains Air connection app for the organization that owns the repositories, and grant it access to them. Only the repositories you grant here can appear in Air Teams.
GitHub Enterprise Server – register the instance in JetBrains Console, then install the generated app on your server and grant it repository access. Until you register it, developers don't see the instance at all.
– register the instance in JetBrains Console. There's nothing to install and no repository access to grant, but until you register it, developers don't see the instance at all.
GitLab – nothing to set up. Each developer authorizes access for themselves and works with the repositories they can already reach in GitLab.
For the steps, see Organization repository access.
Manage AI access for your organization
Once your developers sign in with their JetBrains Account, you control what they can do with AI from JetBrains Console, in the AI governance section. Those policies apply wherever a developer is signed in with their organization JetBrains Account – in Air Teams, in the Air app, and in AI Assistant in JetBrains IDEs.
You can open JetBrains Console directly at https://console.jetbrains.cloud/, or from Air Teams: open your account menu and select Organization Dashboard.
By default, every organization developer has AI access, can use all agents, and can run tasks in the cloud. The table below shows what each policy controls in Air Teams, and where to read about setting it:
What it controls | Where it's documented | |
|---|---|---|
AI access and credit limits | Whether a developer can use AI at all, and the monthly AI credit limit they get. | |
Available agents | Which AI providers and agents developers can select for a task. | |
Cloud tasks | Whether developers can run tasks in cloud environments. | |
Connectors | Whether connectors reach the cloud environment. Without this, they don't appear there. |
For the full policy reference, see Configure AI policies in the Air Governance documentation.