WSL
WSL is a compatibility layer that you can use to develop Linux applications under Windows. JetBrains Fleet provides WSL integration out of the box.
To work with WSL in JetBrains Fleet, make sure that:
WSL2 is installed on your computer.
There is a connection between WSL and your local environment. You may need to check firewall settings for that.
The required tools and runtimes are installed in the WSL environment. For building, running, and debugging applications, WSL will need its own setup rather than that of your host environment.
WSL setup
Configure WSL
Download and install a WSL distribution (for instance, Ubuntu) from Microsoft Store.
To work with WSL 2, your Windows version should be 10 build 18917 or later. Follow these instructions to switch the distributive.
Run the Linux distribution.
Upon the first launch, the system may prompt you to enable the Windows optional feature. In this case, you need to do the following:
Open Windows PowerShell as Administrator and run
Enable-WindowsOptionalFeature -Online -FeatureName Microsoft-Windows-Subsystem-LinuxRestart your computer.
Connect to WSL
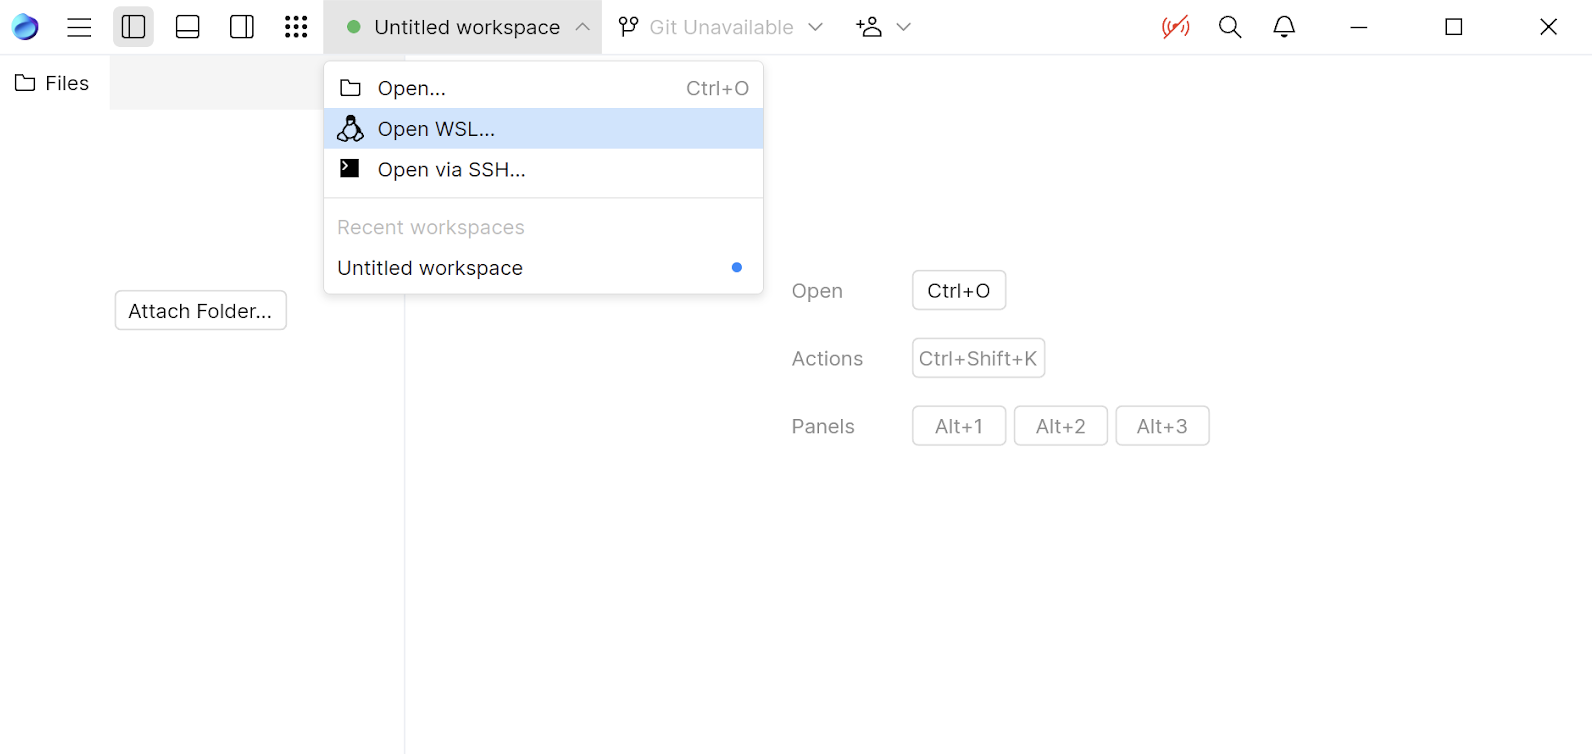
From the workspaces menu, select Open WSL, then select one of the installed Linux distributions.

Wait until the JetBrains Fleet installs its components in the WSL container. After that, you can start working with the WSL environment in the newly opened window.