Add items to your project
Once you have created a project, you can start adding new items: create directories and packages, add new classes, import resources, and extend your project by adding more modules.
Create new items
Create a new directory
In the Project tool window (Alt+1) , right-click the node in which you want to create a new directory and select .
Alternatively, select the node and click
 on the toolbar or press Alt+Insert. Then select Directory.
Name the new directory and press Enter.

Create a new package
Packages in Java are used for grouping classes that belong to the same category or provide similar functionality for structuring and organizing large applications with hundreds of classes.
In the Project tool window (Alt+1), right-click the node within the Sources Root
 or Test Sources Root
  in which you want to create a new package, and click .
Alternatively, select the node and click
on the toolbar or press Alt+Insert. Then select Package.Name the new package and press Enter.
Write package names in lowercase letters. There are some other naming conventions for packages in Java that you should follow.

Create a new empty file
In the Project tool window (Alt+1) , right-click the node in which you want to create a new file and click .
Alternatively, select the node and click
on the toolbar or press Alt+Insert. Then select File.Name the new file and specify its extension, for example: File.js, and press Enter.
If the extension you have specified is not associated with any of the file types recognized by IntelliJ IDEA, the Register New File Type Association dialog is displayed. In this dialog, you can associate the extension with one of the recognized file types.
Create a new Java class
In the Project tool window (Alt+1), right-click the node in which you want to create a new class and select .
Alternatively, select the node and click
on the toolbar or press Alt+Insert. Then select Java Class.Name the new class and press Enter.
Follow the Java naming convention as you create new classes.
Together with the file, IntelliJ IDEA automatically generates the class declaration.
This is done by means of file templates. Depending on the type of the file that you create, the IDE inserts initial code and formatting that is expected to be in all files of that type. For more information about how to use and configure templates, refer to File templates.
Create a new module
Modules allow you to combine several technologies and frameworks in one application. In IntelliJ IDEA, you can create several modules in one project and each of them can be responsible for its own framework.
Select the top-level directory in the Project tool window. Click
on the toolbar or press Alt+Insert. Then select Module.The New Module wizard opens.
From the list on the left, select the language that you want to use in your application.
If you want to use a language that is not available in IntelliJ IDEA out of the box (for example, Python or PHP), click More via plugins and select the necessary option.
The IDE will open a dialog in which you can select and install the necessary language plugin. After that, you can close the dialog and keep configuring the new project.
Name the new module.
Select the build system that you want to use in your project: the native IntelliJ builder, Maven, or Gradle.
For Gradle, you will also need to select a language for the build script: Groovy or Kotlin.
Select a JDK that you want to use from the JDK list. You can use the project SDK or specify a new one.
Click Create.
For more information about modules in IntelliJ IDEA, refer to Modules.
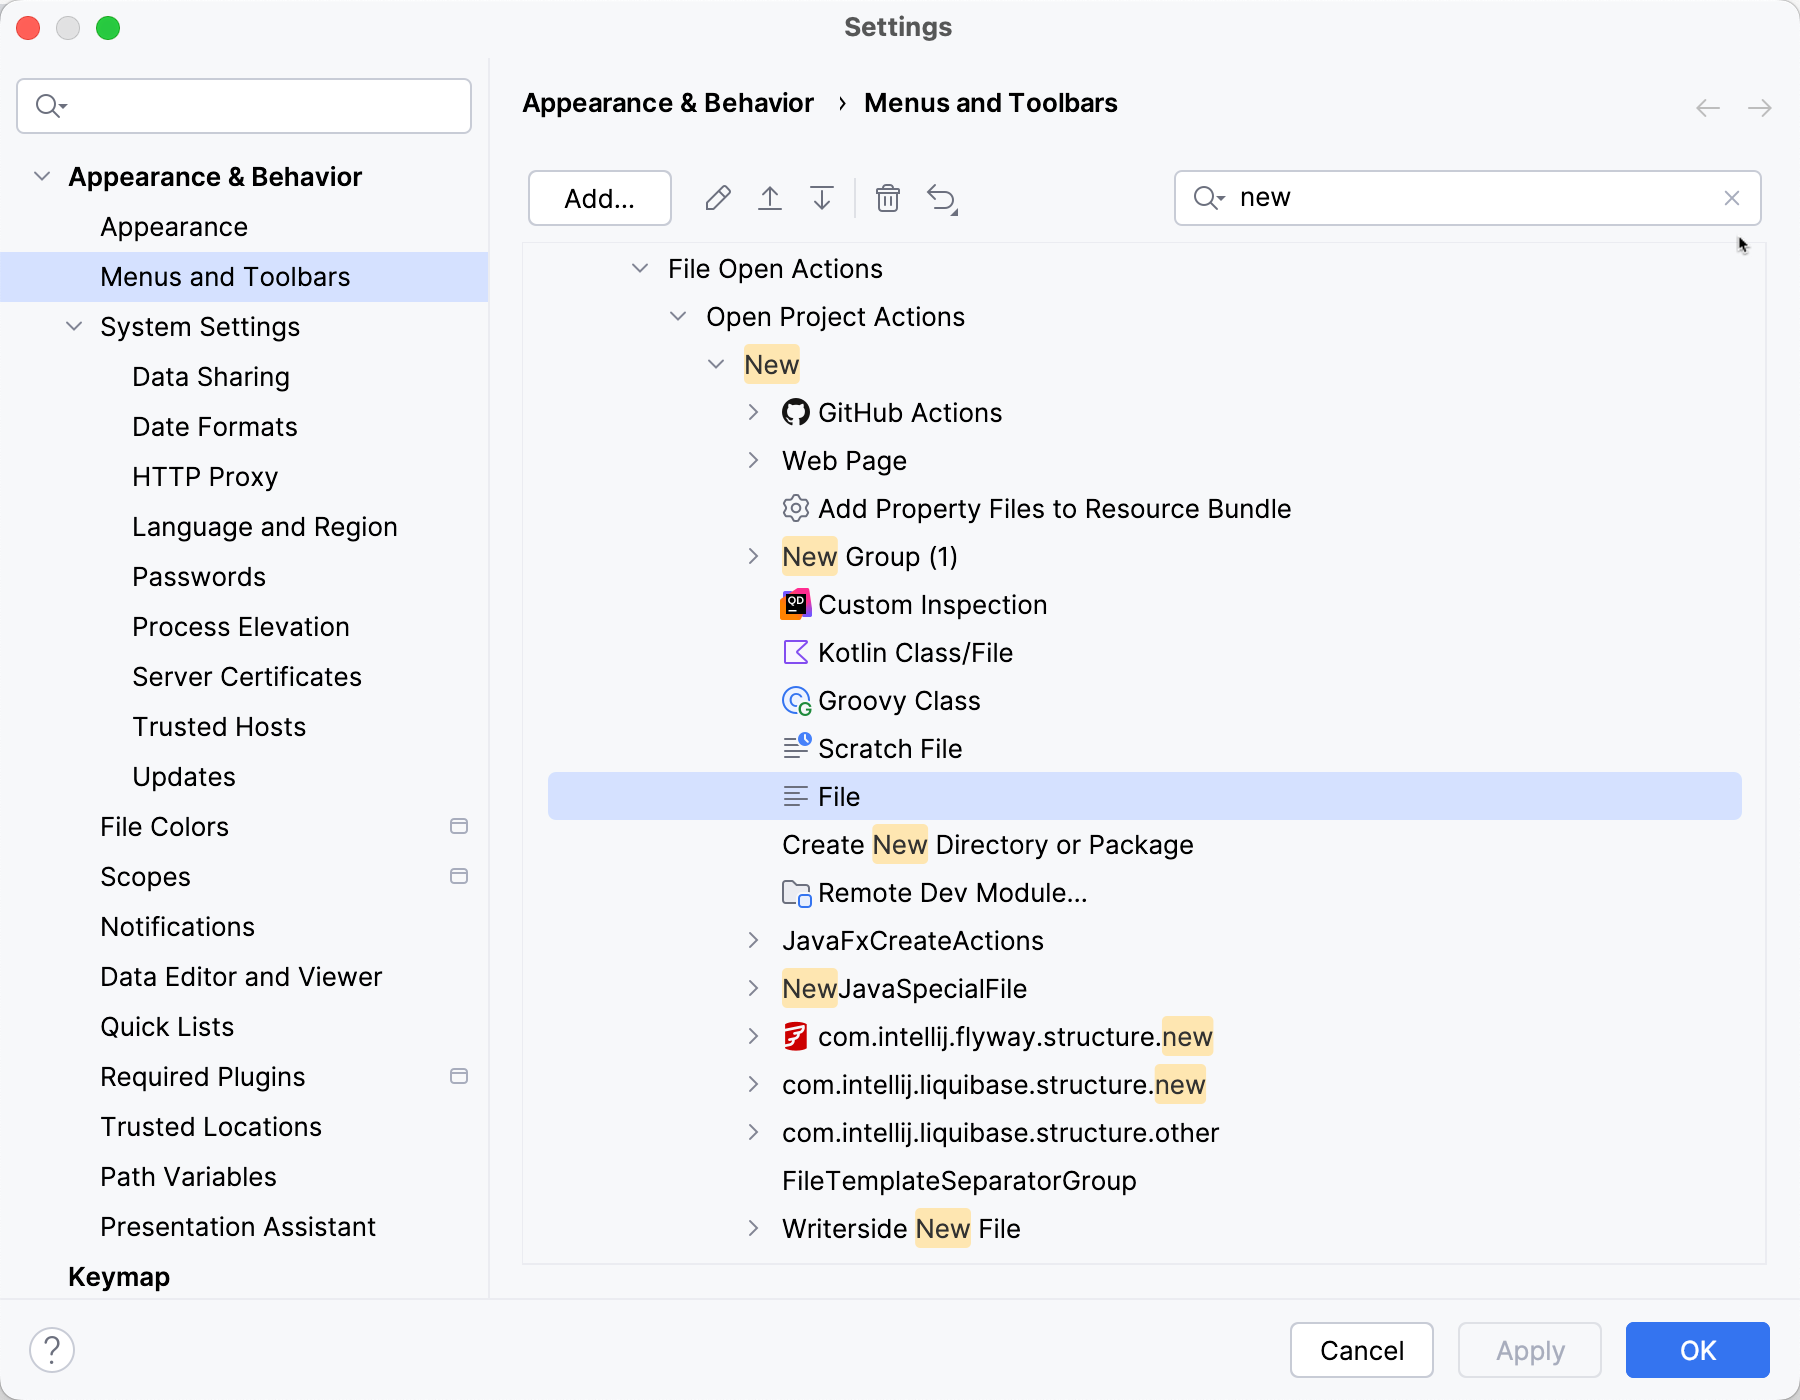
Customize the New File or Directory menu
Press Ctrl+Alt+S to open settings and then select .
Start typing
newin the right search bar.Reorder or remove items as you want them to appear in the New File or Directory menu and confirm the changes.
Import items
Import files
You can import files to your project using any of the following ways:
Drag the file from your system file manager to the necessary node in the Project tool window (Alt+1) .
Copy the file in the system file manager by pressing Ctrl+C and then paste in to the necessary node in the IDE Project tool window by pressing Ctrl+V.
Manually move the file to the project folder in your system file manager.
Import folders
To import a folder to your current project, drag the folder from your system file manager to the Project tool window (Alt+1) .
Import an existing module
You can import a module to your project by adding the .iml file from another project:
In the main menu, go to .
In the dialog that opens, specify the path the .iml file of the module that you want to import, and click Open.
By doing so, you are attaching another module to the project without physically moving any files. If you don't need the modules to be located in one folder, the module import is finished, and you can start working with the project normally.
For more information about modules in IntelliJ IDEA, refer to Modules.