Tutorial: Customize Editor
This tutorial covers the essential steps for customizing the IntelliJ IDEA editor. A personalized editor creates a more comfortable environment for focused work.
You will learn how to configure tab behavior, adjust fonts and color schemes, configure visual aids and line wrapping, and enable advanced appearance features like sticky lines and inlay hints. By the end of the tutorial, you will be able to customize your editor to suit your specific coding requirements and visual preferences.
To demonstrate all features described in this tutorial, we use a sample project that you can find on GitHub.
Configure editor tabs
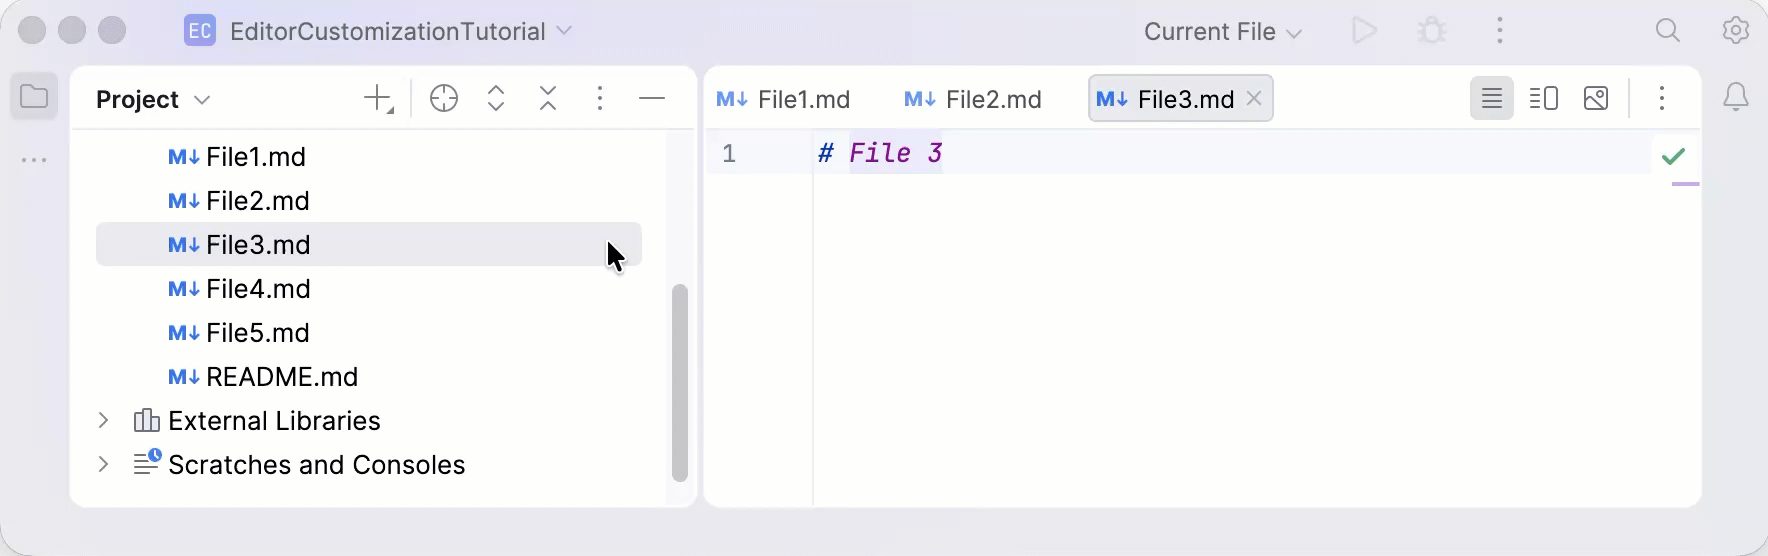
In IntelliJ IDEA, each file opens in a separate editor tab. You can control how editor tabs look and behave in Editor Tabs settings to make working with files in the editor convenient for your own needs and preferences.
Configure the tabs display
When too many project files are open, the tab bar can become overcrowded. Let's configure how IntelliJ IDEA handles tab display in these situations.
Open the Settings dialog (Ctrl+Alt+S) and go to .
In the Show tabs in options group, select one of the options:
One row, and if tabs don't fit: place all tabs in one row, and if the tabs do not fit:
Scroll the tabs panel: hover over the tab row and use the scroll bar that appears or the mouse wheel to scroll the tabs. Alternatively, use the drop-down list (
 ) on the right to open tabs that are outside the viewport.
Squeeze tabs: shrink tabs to fit them on the screen.
Multiple rows: place tabs in several rows.
Apply the changes and close the dialog.
As a result, the IDE displays editor tabs based on your selection:


Change the default tab limit
By default, IntelliJ IDEA limits the number of open editor tabs to 10. You can reduce context switching and stay focused only on the files you need right now by adjusting the tab limit and how IntelliJ IDEA handles extra tabs.
Open the Settings dialog (Ctrl+Alt+S) and go to .
In the Closing Policy section, enter the maximum number of tabs in the Tab limit field (for example,
3).For the When tabs exceed the limit option, specify which editor tab should be closed when the limit is reached and the user attempts to open a new file:
Close unchanged: IntelliJ IDEA examines the tabs in the order they were opened and closes the first tab that has not been modified.
Close unused: IntelliJ IDEA closes the tab with the less frequently modified content.
In this tutorial, we select the Close unchanged option.
For the When the current tab is closed, activate option, specify which tab the editor should activate after closing the current tab:
The tab on the left: activates the tab that was on the left from the closed one.
The tab on the right: activates the tab that was on the right from the closed one.
Most recently opened tab: activates the most recently opened tab.
In this tutorial, we select Most recently opened tab option.

Apply the changes and close the dialog.
Verify the results by opening more files than the specified tab limit.
In our example, opening a new file closes the oldest unchanged one, and closing a tab activates the most recently opened file.
To learn more about tabs and how to work with them, refer to Editor tabs.
Customize color scheme
IntelliJ IDEA uses two different ways to control its interface appearance:
Interface Theme: changes the look of the entire IDE (menus, buttons, and toolbars).
Color Scheme: changes the look of your code in the editor (syntax colors, fonts, and highlights).
This tutorial focuses on color schemes. Personalizing them helps you create a comfortable coding environment tailored to your preferences. You can select a predefined color scheme or customize it to your liking.
Select another color scheme
Open the Settings dialog (Ctrl+Alt+S) and go to .
From the Scheme list, select one of the predefined color schemes (for example, High Contrast).
Click Apply. If the selected color scheme does not match your interface theme, the IDE will prompt you to switch the theme in the Change IntelliJ IDEA Theme dialog. Select the necessary option and close the settings dialog.
The editor changes its appearance to the selected color scheme.

You can also customize any predefined color scheme. IntelliJ IDEA offers various settings that you can change, from global editor elements to language-specific syntax.
We will focus on the General color scheme settings, where you can customize core components such as basic text, hyperlinks, error indicators, and popups.
Customize a color scheme
Let's learn how to customize color scheme elements.
Open the Settings dialog (Ctrl+Alt+S) and go to .
In the settings page that opens, select the necessary settings node. In this tutorial, we will customize the appearance of unfollowed hyperlinks ().
Use the options in the right pane to experiment with the appearance of your color scheme:
Bold and Italic: apply formatting to the text.
Foreground: define the color of the text.
Background: set the background color behind the text.
Error stripe mark: assign a color to the marker on the scrollbar (the right-side gutter) to help you locate element quickly in long files.
Effects: add a visual decoration, such as an underline. You can select the effect style from the dropdown list and choose a custom color for it.

Apply the changes and close the dialog.
The appearance of the elements changes according to your settings.
Change editor font
By default, the IntelliJ IDEA editor uses the JetBrains Mono font, but you can change it or customize its individual settings.
IntelliJ IDEA allows you to configure fonts at two different levels:
Default Font: applies to all color schemes. Use it to maintain a consistent appearance across the editor.
Color Scheme Font: overrides the default font for a specific color scheme.
In this tutorial, we will customize the default editor font to ensure a uniform look across all color schemes.
Customize the default editor font
Open the Settings dialog (Ctrl+Alt+S) and go to .
From the Font list, select one of the fonts (for example,
Source Code Pro).Specify the font Size and Line height (for example,
14.0and1.0).
Apply the changes and close the dialog.
The selected font settings apply to all color schemes in the editor.

To learn how to set a different font for a specific color scheme, refer to Customize the color scheme font.
Configure visual aids
IntelliJ IDEA provides numerous options to customize your editor appearance. This tutorial covers visual aids - elements that highlight your code structure and provide extra context, helping you stay oriented without modifying the source code.
Enable structural aids
In the IntelliJ IDEA editor, you can enable visual elements that help you understand and navigate the structure of your source code without affecting it, such as:
Method separators: thin horizontal lines that visually separate methods and field declarations within a class.
Whitespaces: symbols (dots for spaces, arrows for tabs) that represent non-printing characters. They help verify indentation and identify unnecessary trailing spaces.
Indent guides: vertical lines that indicate indentation levels, making it easier to read and align deeply nested code blocks.
Let's configure these aids.
In the Project tool window, find and open the file with code (for example,
EditorVisualAids.java) in the editor.Open the Settings dialog (Ctrl+Alt+S) and go to .
In the list of settings that opens, find and enable the following options:
Show method separators
Show whitespaces. Additionally, select where whitespaces should be displayed:
Leading: add whitespaces before your code line.
Inner: display whitespaces inside the line of your code.
Trailing: display whitespaces after the code line.
Selection: display whitespaces in code fragments that you have selected in the editor.
Show indent guides
Apply the changes and close the dialog.
The visual aids now appear in the editor, providing a clearer structure for your code.


Enable informational aids
IntelliJ IDEA offers several types of informational aids that provide extra context without modifying the actual code:
Highlight occurrences of selected text: highlights all instances of a selected text (for example, a variable or method name) within the current file.
Lens mode: lets you preview your code without scrolling to it, which is useful when working with large files.
Let's learn how to enable and use these aids.
In the Project tool window, find and open the file with code (for example,
EditorInfoAids.java) in the editor.Open the Settings dialog (Ctrl+Alt+S) and go to .
In the list of settings that opens, find and select Highlight occurrences of selected text and Show code lens on scrollbar hover options. Apply the changes and close the dialog.
Select some text in the editor (for example,
resultvar name).IntelliJ IDEA highlights all occurrences of the selected fragment in the editor and displays colored stripe marks on the scrollbar.

Hover over the scrollbar in the editor in the area with appeared stripe marks and move along it without clicking. Lens mode displays the preview of your code, including highlighted occurrences of the selected text.

Click a code fragment in the Lens mode. IntelliJ IDEA will scroll the editor to that specific location.
Configure hard wraps
There are two types of line wrapping in IntelliJ IDEA:
Soft wrap: a visual-only break. The IDE wraps long lines to fit the editor width without adding line break characters. This allows you to read code without horizontal scrolling while the file itself remains unchanged.
Hard wrap: a physical break. It follows a defined margin, typically shown as a vertical line on the right side of the editor. When code reaches this margin, the IDE inserts a line break character, modifying the source file.
In this tutorial, we will configure hard wrapping, which helps maintain coding standards across the project and simplifies code reviews.
In the Project tool window, find and open the file with code (for example,
EditorHardWrap.java) in the editor.Open the Settings dialog (Ctrl+Alt+S) and go to .
In the list of settings that opens, find and select Show hard wrap and visual guides (configured in Code Style options).
Now you need to configure the hard wrap. Go to .
Select the code style Scheme that you want to configure: the Project scheme or one of the IDE-level scheme.
In this tutorial, we will configure the Project scheme.
In the Hard wrap at field, specify the maximum number of characters allowed per line (for example,
80).Select the Wrap on typing option to ensure that edited text always fits in the specified right margin.

Apply the changes and close the dialog.
A thin vertical line appears on the right side of the editor, defining the hard wrap margin.

In the main menu, go to (Ctrl+Alt+Shift+L). In the Reformat File dialog that opens, select the Whole file option and click Run.
IntelliJ IDEA reformats code according to the hard wrap value, automatically adding line breaks without affecting the logic of the code.

Now, in any project file, IntelliJ IDEA will automatically insert a line break and move you to a new line as you reach the hard wrap limit while typing.
Configure sticky lines
The sticky lines (or sticky scroll) feature enhances your coding experience by keeping parent elements visible as you scroll through the file, offering immediate context to your code. In files with complex hierarchies, it ensures that class and method signatures always remain pinned to the top of the editor.
Sticky lines are enabled by default in IntelliJ IDEA. Let's learn how to adjust the maximum number of sticky lines and customize their color settings.
Open the Settings dialog (Ctrl+Alt+S) and go to .
Select the Show sticky lines while scrolling option if it is not already selected.
By default, the maximum number of sticky lines is set to 5. In the Maximum number of lines field, enter the new limit for sticky lines (for example,
2).Choose the specific languages for which you want to enable sticky lines, or keep all languages selected by default.

Click Manage colors. IntelliJ IDEA opens the settings page. Select and configure the necessary settings:
Background: change the background color for the sticky lines.
Border: select the color for the line that separates sticky lines from the rest of the code.
Hovered: specify the background color that appears when you hover over a sticky line.
In the Project tool window, find and open the file with code (for example,
EditorStickyAndInlay.java) in the editor.Scroll down through the file. The IDE pins the current class and method signatures to the top of the editor, up to the maximum number you configured. They follow your specified color settings and indicate your current context.

Click one of the sticky lines to quickly jump to its corresponding declaration.
Configure inlay hints
Inlay hints are special markers that appear in the editor and provide additional information about your code, like the names of the parameters that a called method expects. Other types of hints inform you about annotations, code authors, usages, and so on (depending on the language).
Configure inlay hints settings
In the Project tool window, find and open the file with code (for example,
EditorStickyAndInlay.java) in the editor.Open the Settings dialog (Ctrl+Alt+S) and go to . Select the necessary options to hide or show the corresponding categories of inlay hints. You can also expand the nodes to configure specific settings for different types of inlay hints.
The Inlay Hints settings page provides descriptions for most hint types, allowing you to search for specific inlay hints and understand their purpose.
For this tutorial, we will enable all inlay hints except Code author and change the Position of Usages inlay hints to the Top.

The selected inlay hints now appear in the editor. While keeping them disabled maintains a minimalistic interface, enabling them simplifies working with code, ensuring that you can quickly understand the context of various functions without navigating away from your current line.


Change inlay hints appearance
You can customize the appearance of inlay hints in the editor. Let’s adjust their visual settings to match your preferences.
In the Project tool window, find and open the file with code (for example,
EditorStickyAndInlay.java) in the editor.Open the Settings dialog (Ctrl+Alt+S) and go to .
Expand the Inline hints node and select the specific hint types you want to modify. In this tutorial, we will customize the default appearance for all inlay hints and specific appearance for parameter hints.
In the right pane, configure the necessary settings.

Apply the changes and close the dialog.
The appearance of the selected inlay hints changes in the editor.

Summary
In this tutorial, you have learned how to:
Next steps
Learn how to set up your environment and create simple applications in IntelliJ IDEA from these tutorials:
For a full list of available tutorials, refer to IntelliJ IDEA tutorials.