Quarkus
Quarkus is a Kubernetes-native Java framework mainly aimed at building microservices.
IntelliJ IDEA provides the following:
A dedicated project creation wizard based on code.quarkus.io.
Create a new Quarkus project
Launch IntelliJ IDEA.
If the Welcome screen opens, click New Project.
Otherwise, go to in the main menu.
Select Quarkus from the left pane.
Click
to enter the URL of the service that you want to use, or leave the default one.
Specify a name and location for your project and configure project metadata: select a language, a build tool, and specify an artifact ID.
From the JDK list, select the JDK that you want to use in your project.
If the JDK is installed on your computer, but not defined in the IDE, select Add JDK and specify the path to the JDK home directory.
If you don't have the necessary JDK on your computer, select Download JDK.
Select the Add sample code option to create a REST endpoint named
ExampleResourcetogether with the project.
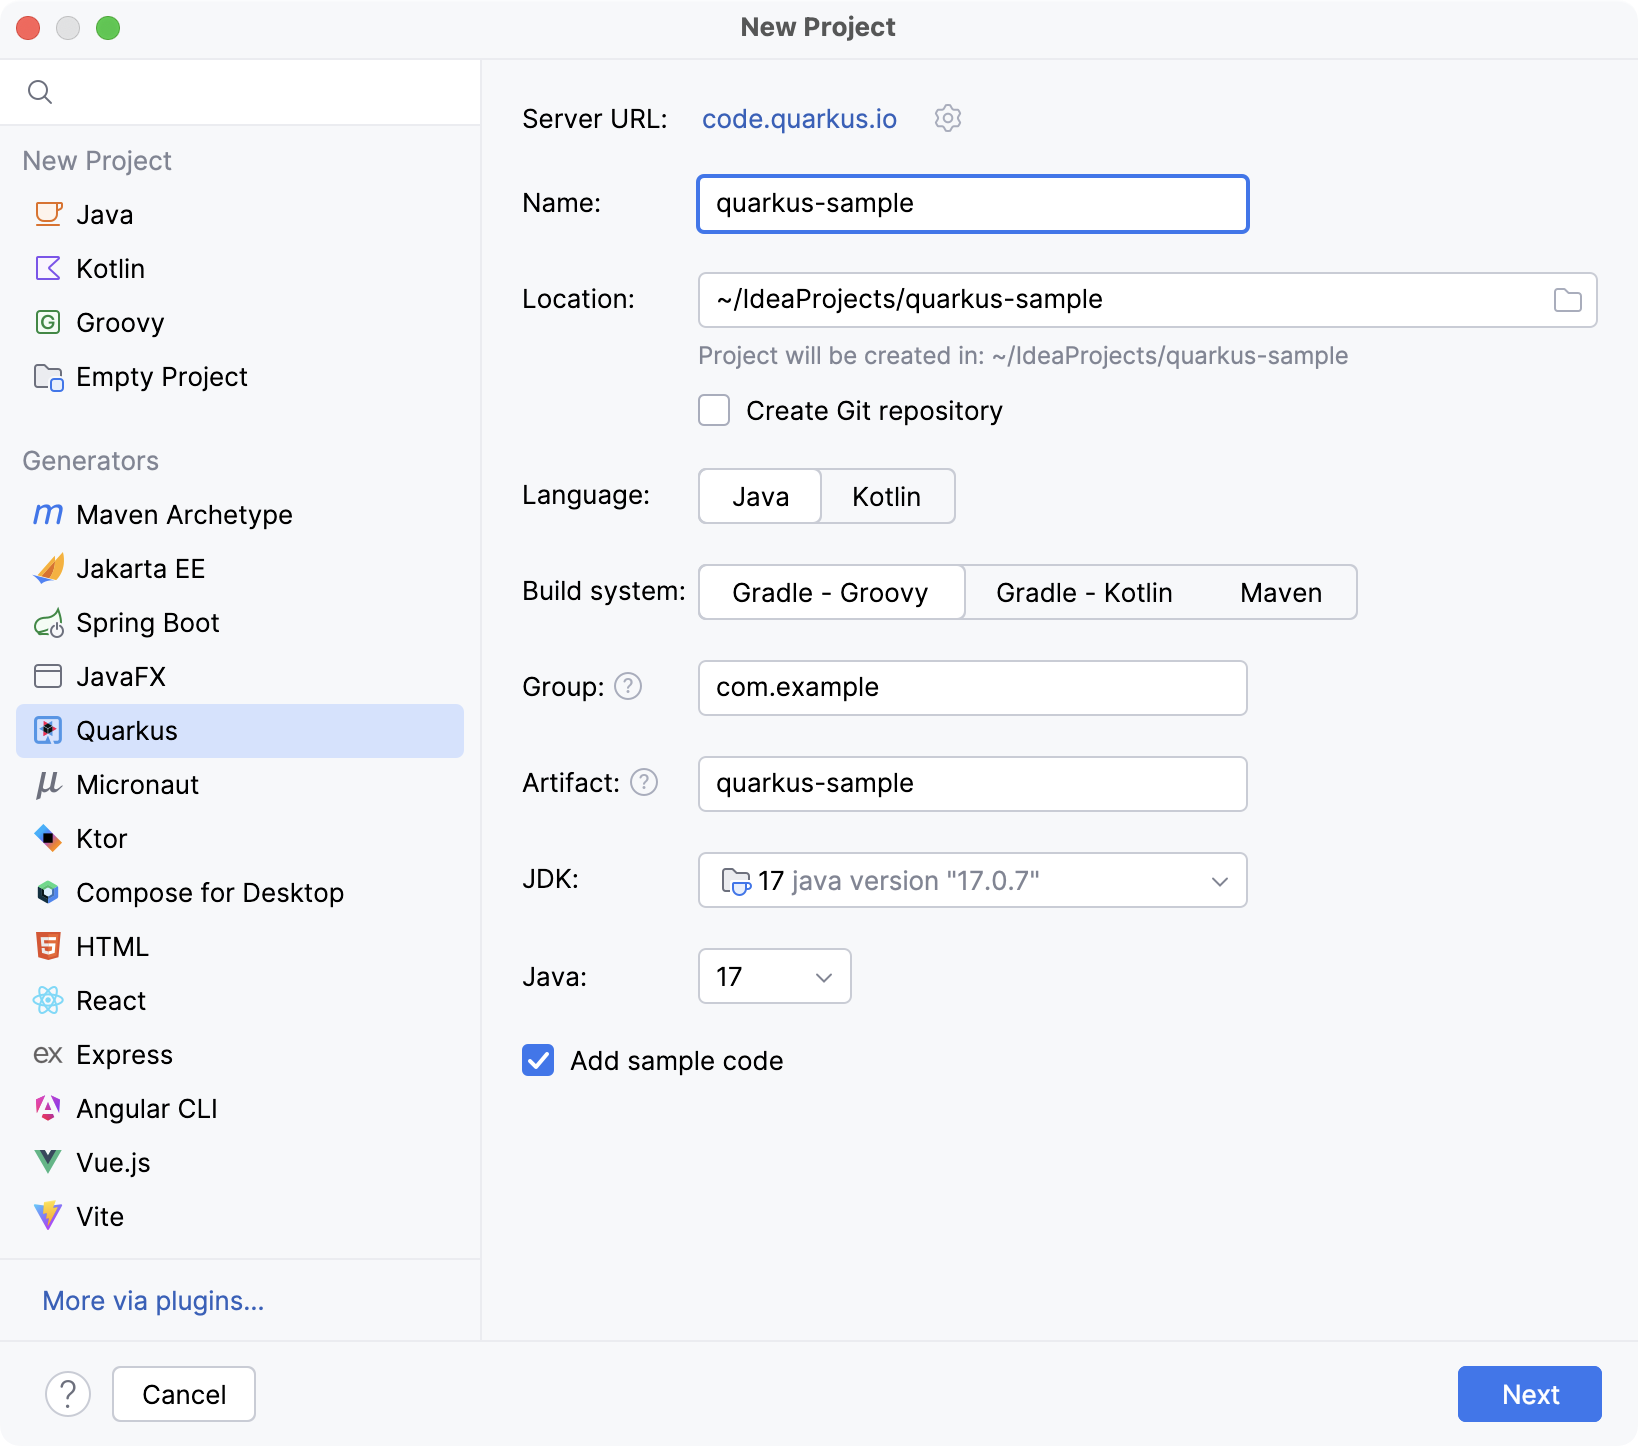
Click Next.
On the next step of the wizard, from the Extensions list, select the necessary options and click Create.
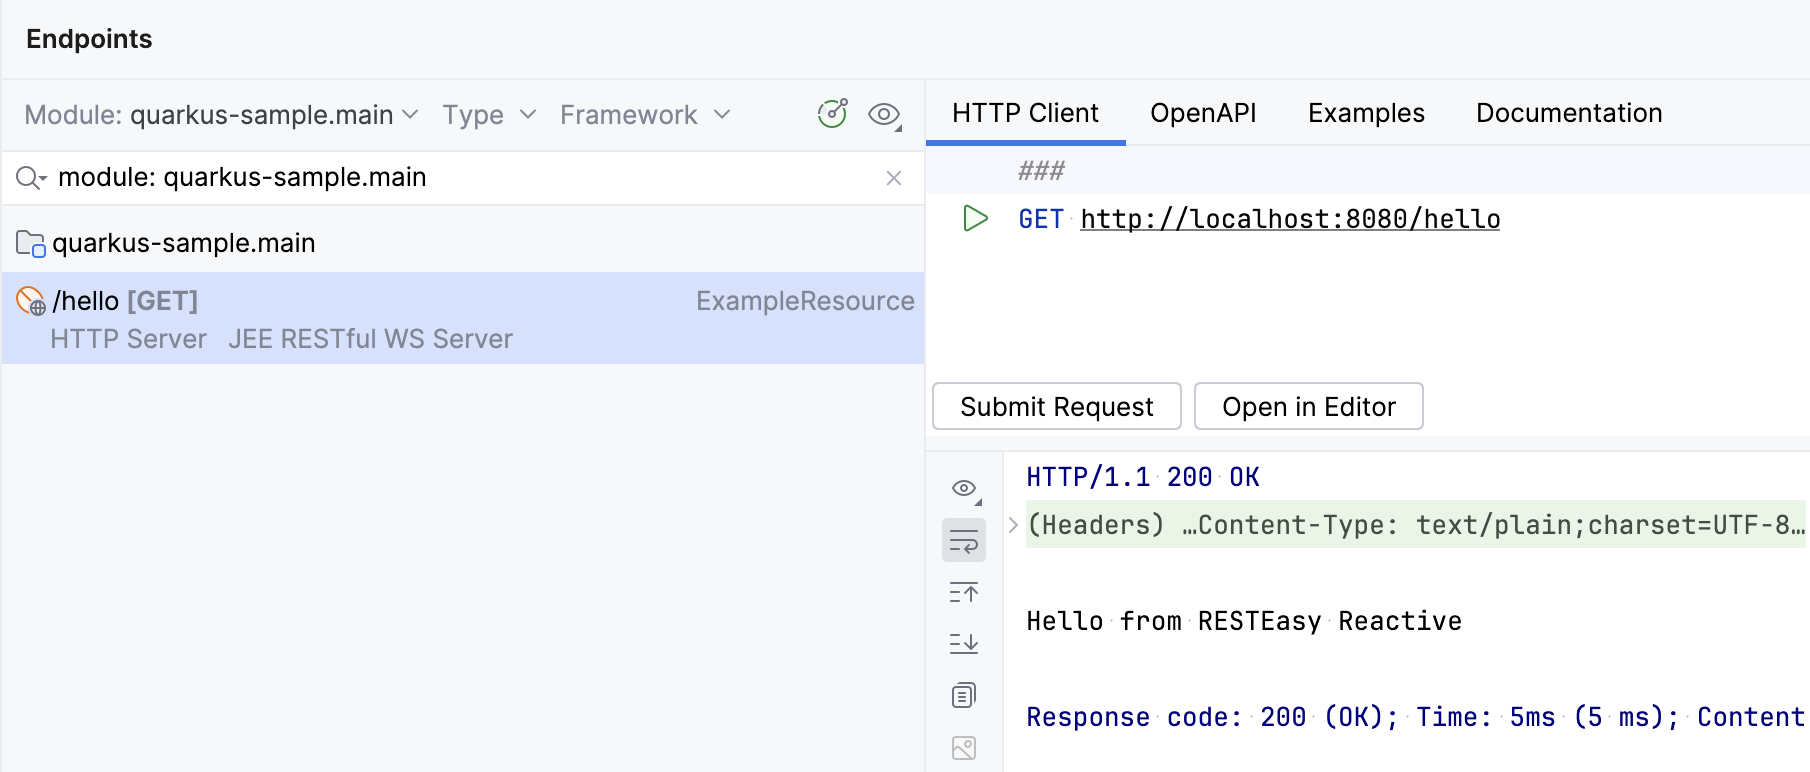
If you have selected the Add sample code option in the New Project wizard, the generated project will contain a REST endpoint named ExampleResource with the following code:
You can open the Endpoints tool window () and see this endpoint:
Run the Quarkus application
IntelliJ IDEA creates a Quarkus run configuration that executes the necessary Maven goal or Gradle task.
Select the Quarkus run configuration in the main toolbar and click
or press Shift+F10.
Alternatively, you can press Alt+Shift+F10 and select the necessary run configuration.
If successful, you should see the output log in the Run tool window.

By default, the application starts on http://localhost:8080. Open this address in a web browser to see the Quarkus landing page:
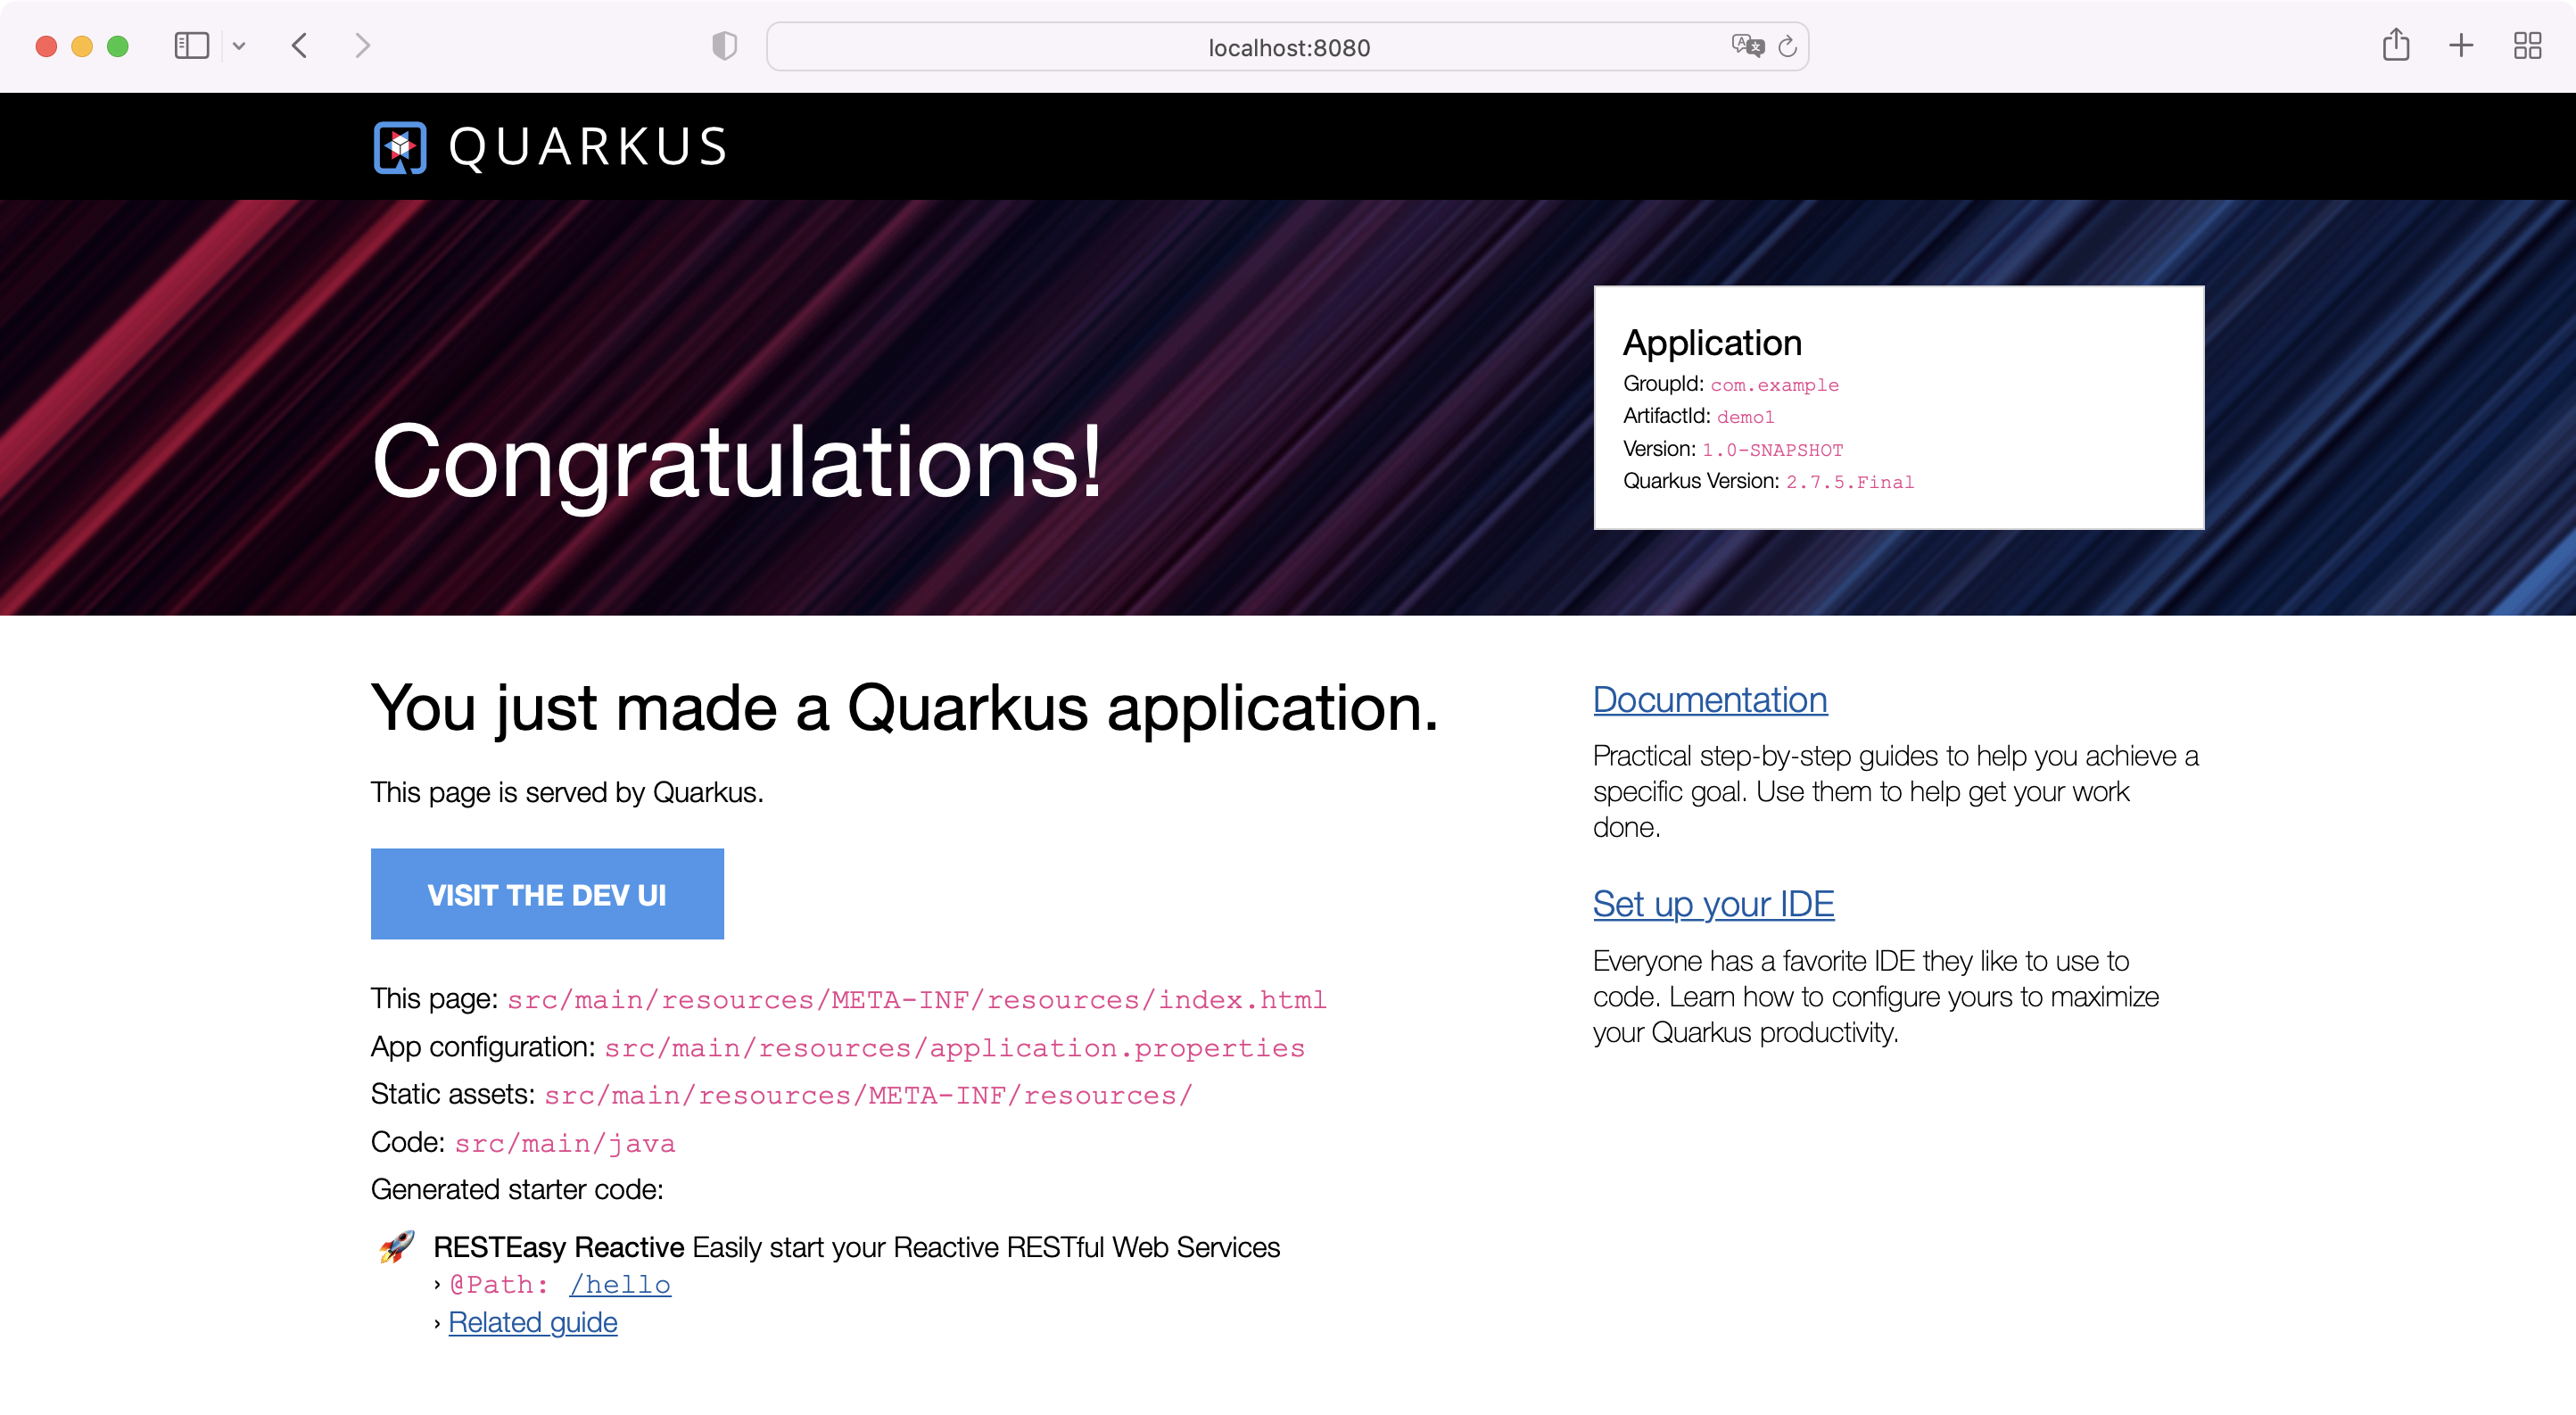
If you open the http://localhost:8080/hello endpoint, you will see the string Hello from RESTEasy Reactive.
The default configuration runs your Quarkus application in development mode, which enables background compilation. For example, you can change the string returned by the hello() method in the ExampleResource class to Hello from a modified Quarkus endpoint and you will see this new string after you refresh http://localhost:8080/hello without restarting your application.
Open Quarkus Dev UI
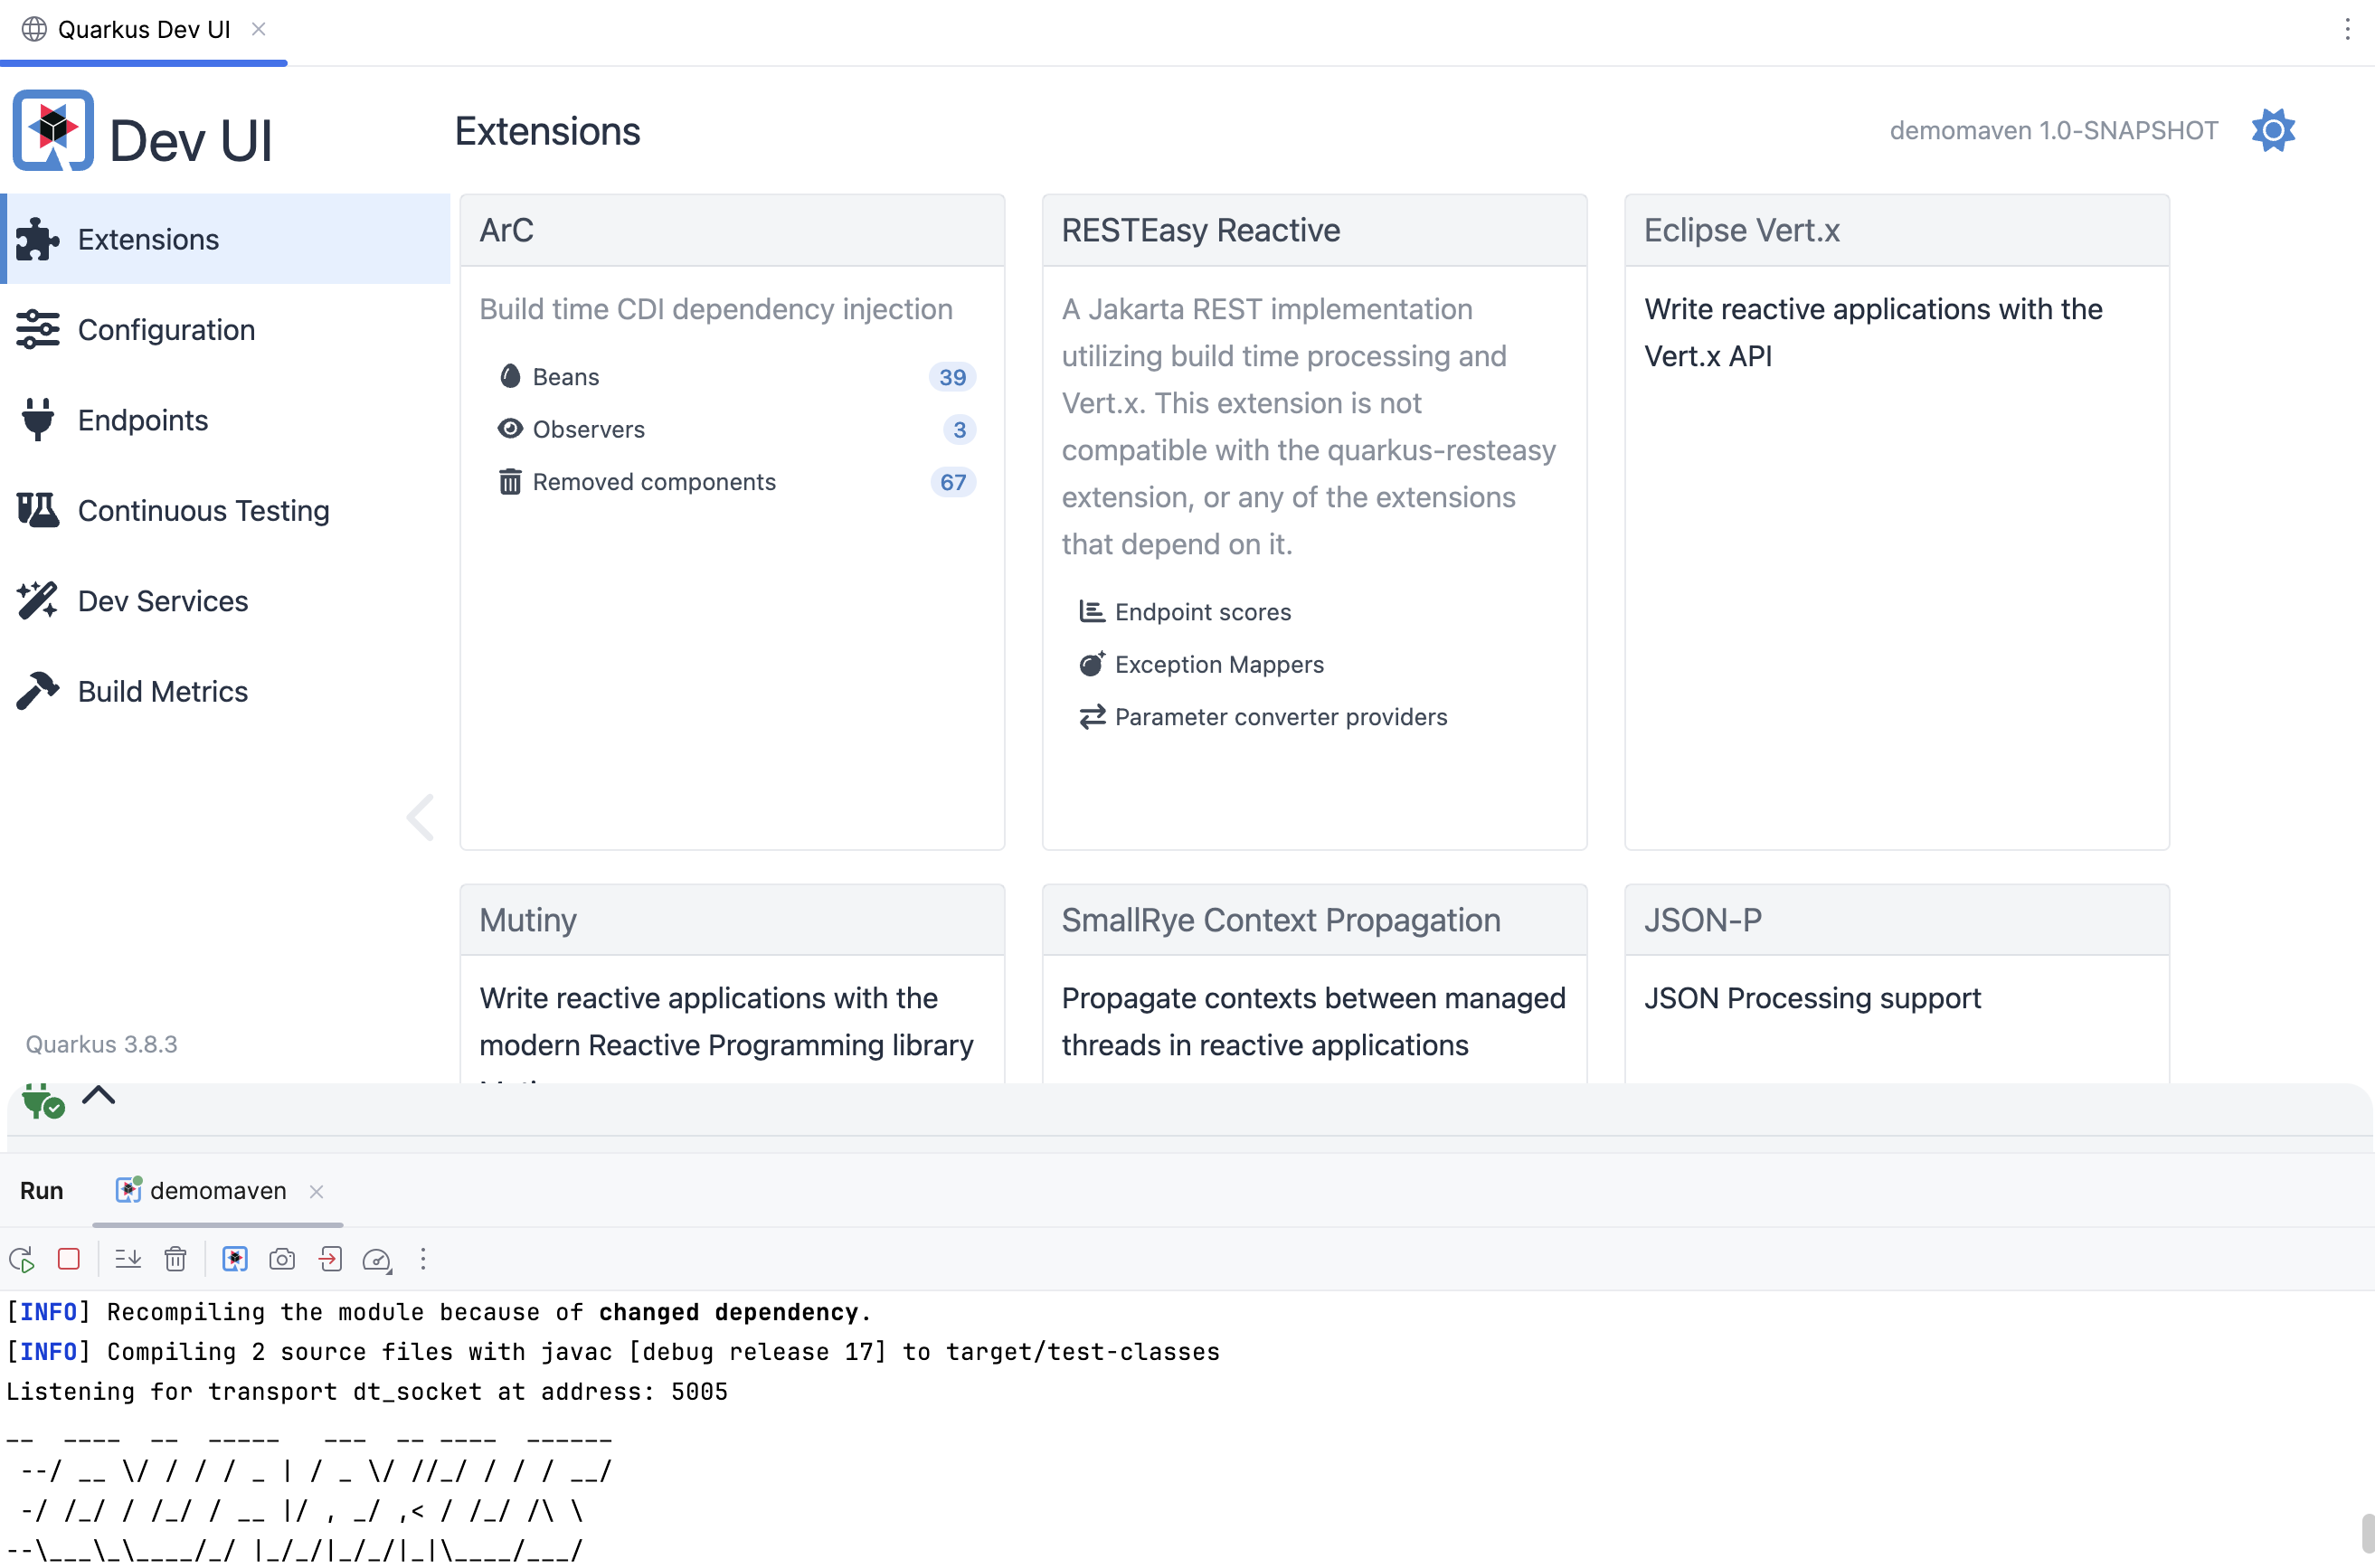
You can open the Quarkus Dev UI right in the IDE.
In the Run tool window, click
(Open Quarkus Dev UI).
This will open the Quarkus Dev UI in a new editor tab.
Add extensions to existing Quarkus projects
Quarkus extensions are pre-configured sets of your project dependencies.
When you create a new Quarkus project with IntelliJ IDEA, you can add extensions in the dedicated new project wizard. You can also add them to existing projects using Add Extensions inlay hints in your build files.
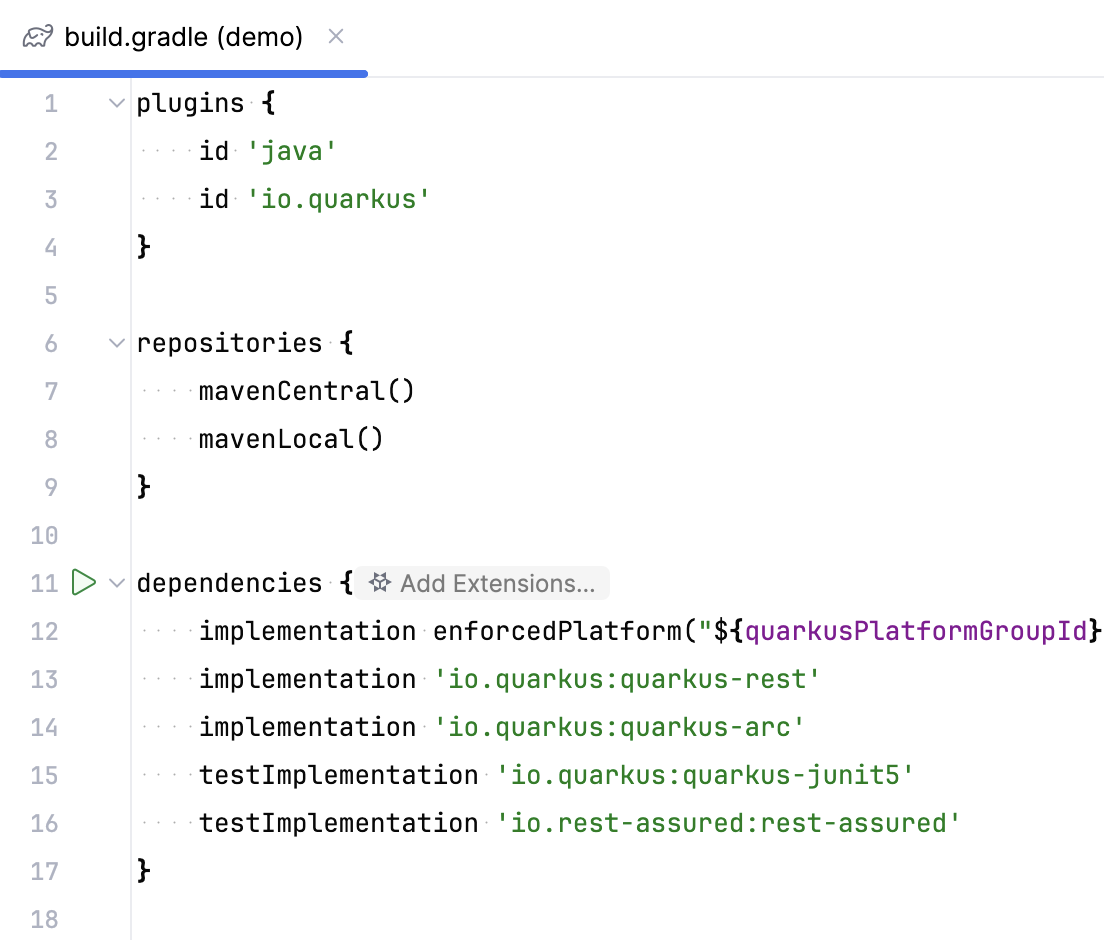
Open your pom.xml or build.gradle(.kts) file.
In the
dependenciesblock, clickAdd Extensions.
In the Add Extensions dialog that opens, select extensions that you want to add.
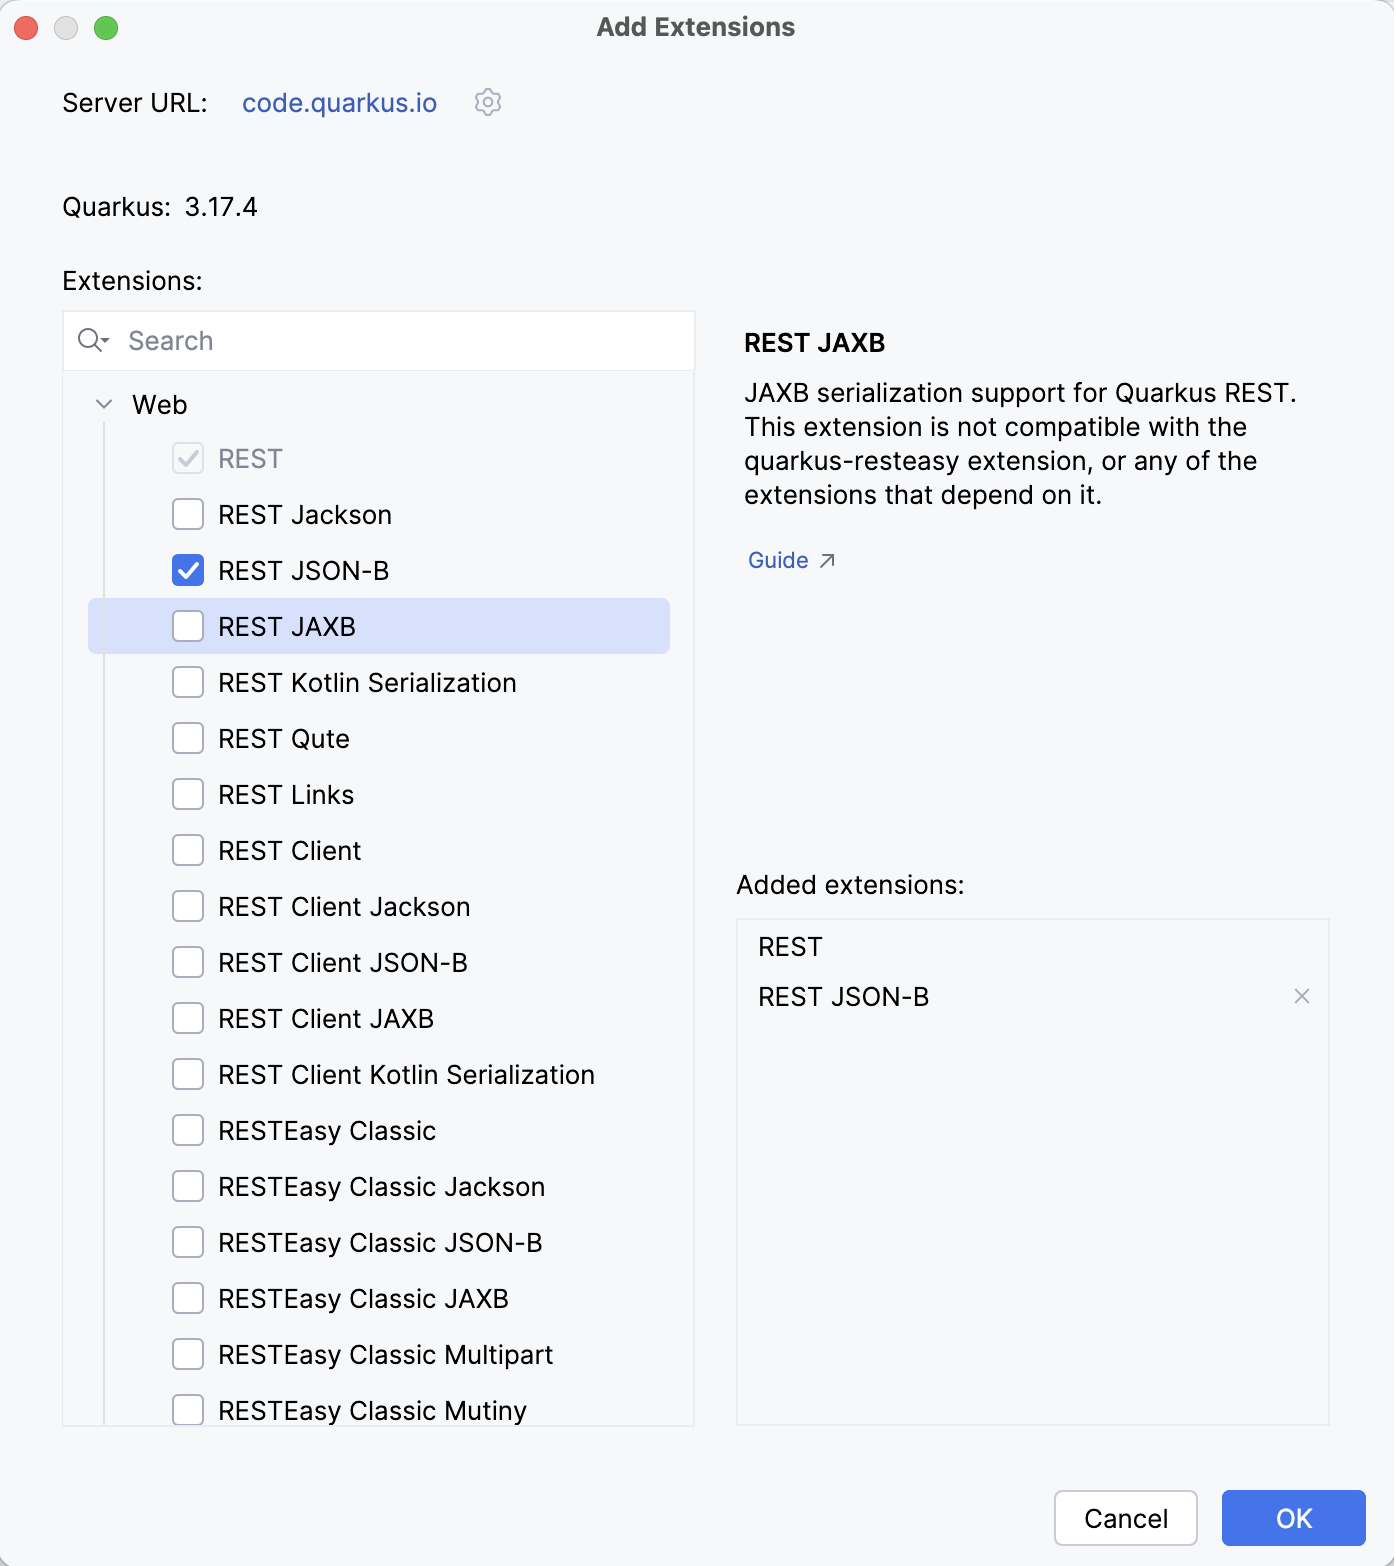
Your build file will be modified accordingly. When you add dependencies this way, IntelliJ IDEA considers your Quarkus version, saving you from the need to worry about compatible dependency versions.
You can disable and enable this inlay hint in the IDE settings (Ctrl+Alt+S), in , under Groovy, Kotlin, and XML.
Quickly create a connection to a database
Using the Database Tools and SQL plugin, IntelliJ IDEA lets you create and manage connections to databases.
In a Quarkus project, you can instantly create it from your application properties file.
Open an application.properties or application.yml file. If it contains datasource-related properties , the datasource icon
will be displayed in the gutter.
Click
. This will open the data source creation form with datasource parameters (such as URL, username, or database name) populated based on data from your configuration file.
If the data source is already configured, the datasource icon
is displayed instead. Click it to open the datasource in the Database tool window.
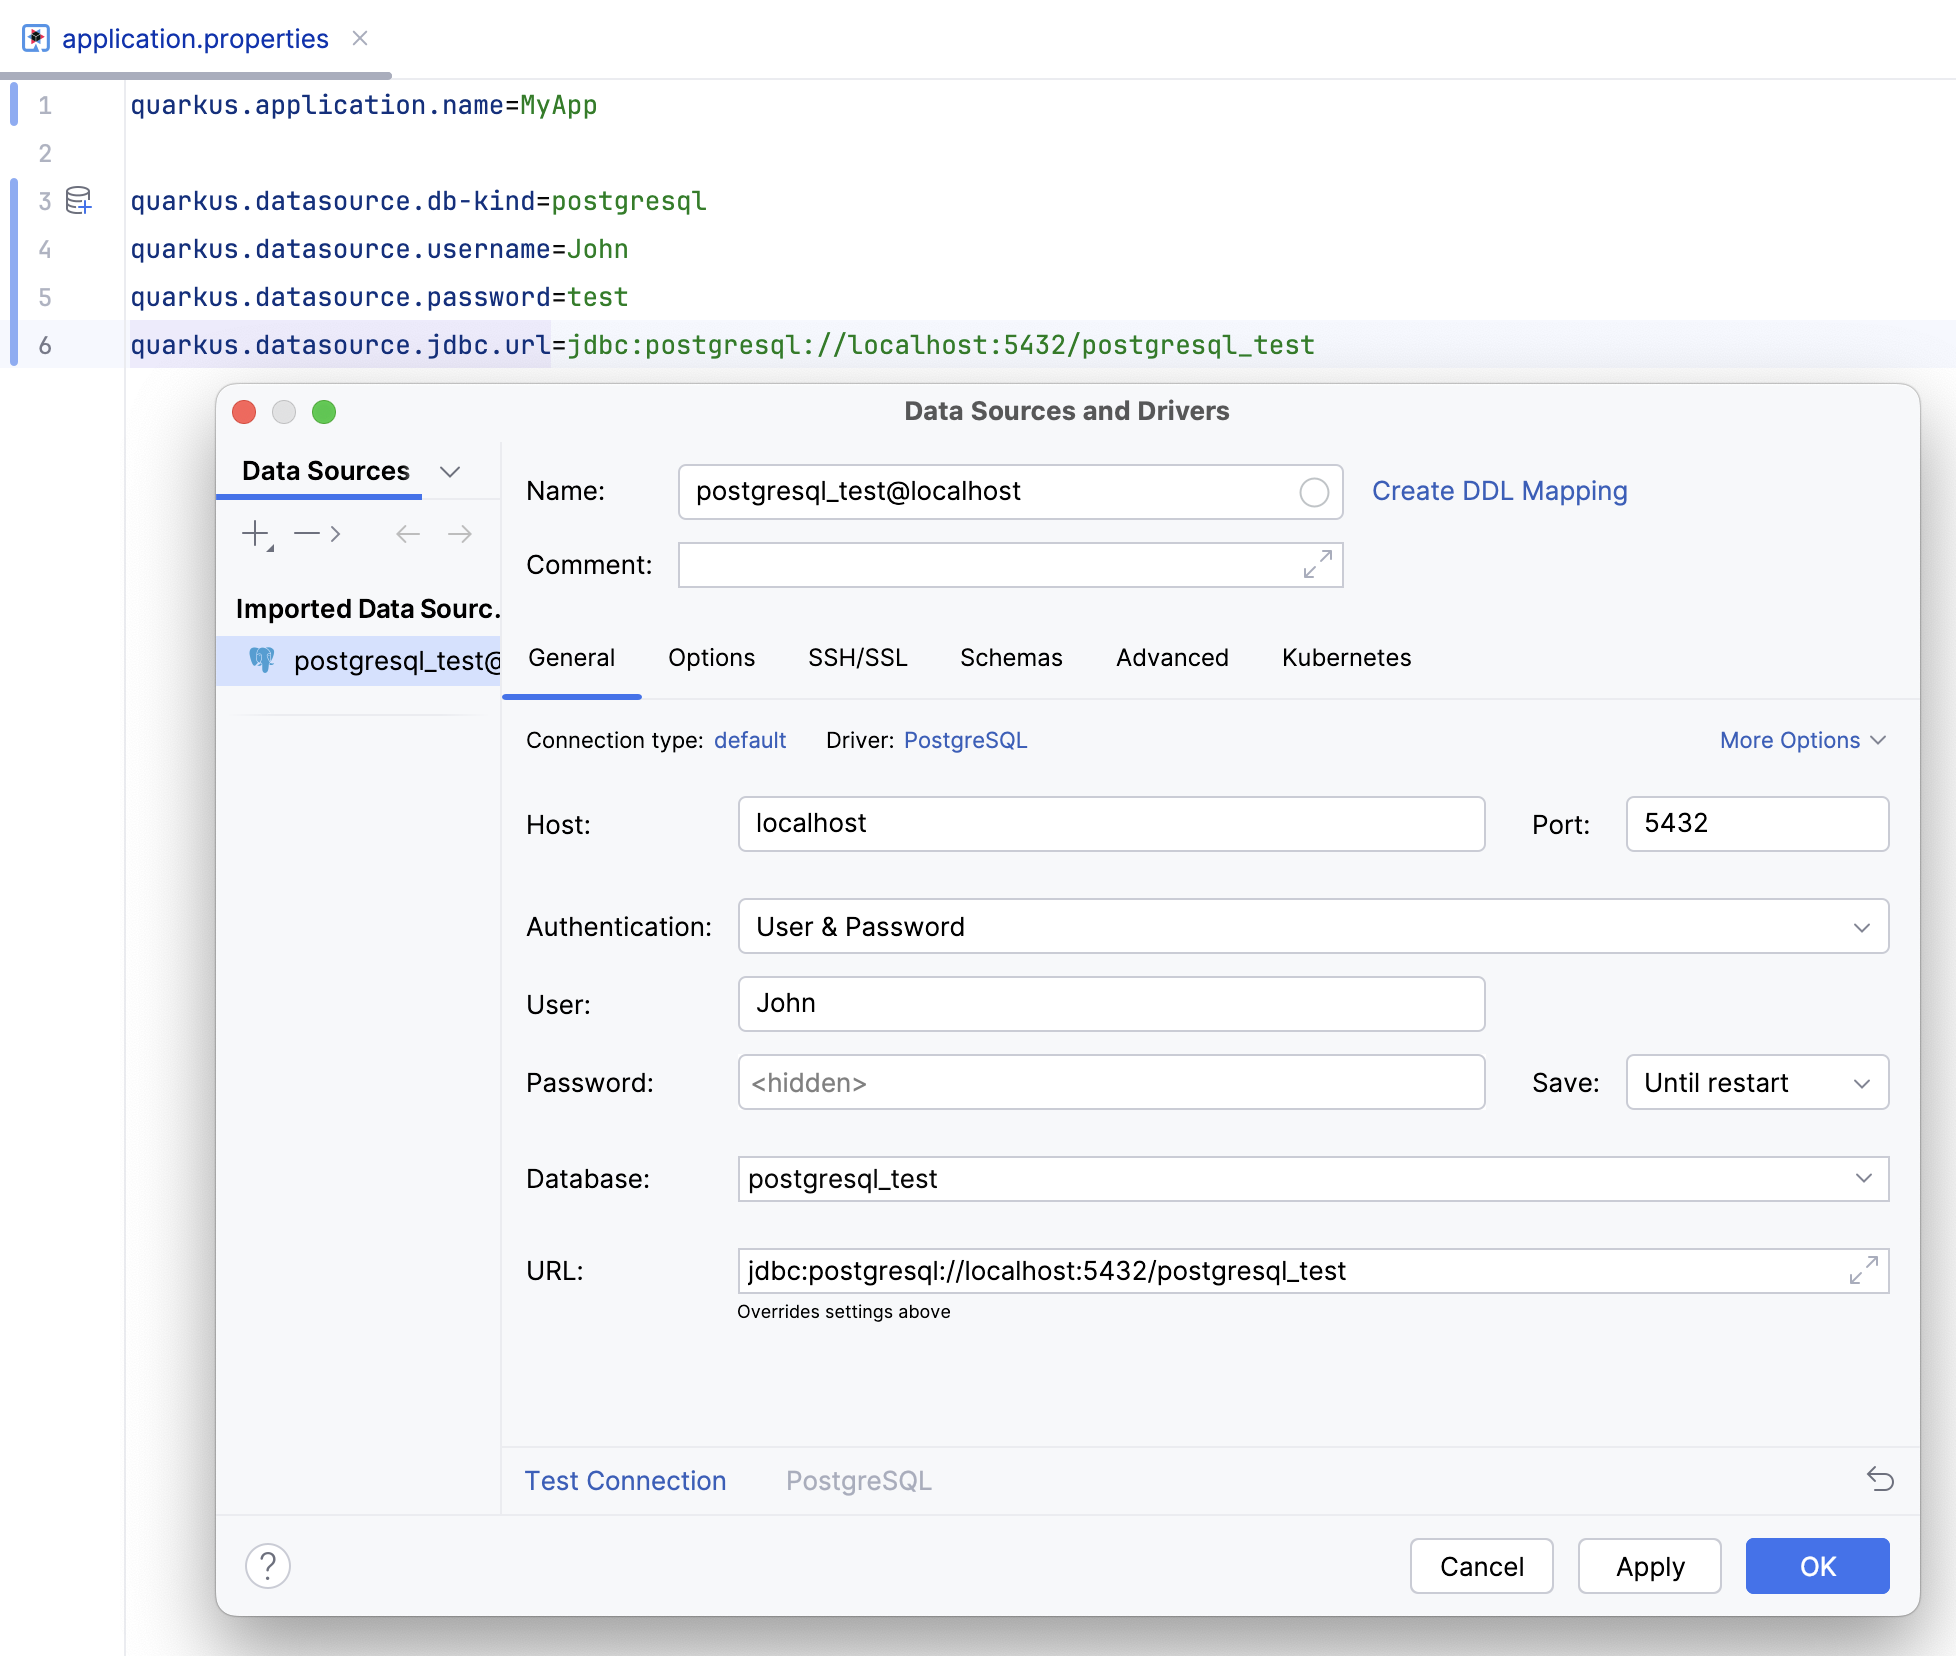
Below is the list of databases for which this action is available:
Amazon Redshift
Apache Cassandra
Apache Derby
Couchbase
H2
HSQLDB
IBM Db2
MariaDB
Microsoft SQL Server
MongoDB
MySQL
Oracle Database
PostgreSQL
Redis
SQLite
Sybase
For more details on data source parameters, refer to Data sources.
Debug the Quarkus application
To debug a running Quarkus application, attach the debugger to it.
Set a breakpoint in your code.
For example, you can set it on the line with the
returnstatement in thehello()method.In the main menu, go to .
From the list of Java processes, select the process of your Quarkus application.
If successful, IntelliJ IDEA will open the Debug tool window with the established debugger connection.
Now open http://localhost:8080/hello to call the
hello()method. The debugger should stop at the breakpoint just before returning the greeting string.In the Debug tool window, click
F9 to continue the execution and return the string to the web browser.
To detach the debugger, click Ctrl+F2. This does not stop the actual application process, only detaches the debugger from it.
Qute
Qute is a templating engine for Quarkus. IntelliJ IDEA provides support for Qute, such as code completion, syntax highlighting, finding usages, and more.
For files to be recognized as Qute templates, they must have the .html, .txt, .json, or .yaml extension and must be located in the src/main/resources/templates folder. Additionally, *.qute.* can be used before the extenstion, for example hello.qute.html.
Features provided by IntelliJ IDEA include:
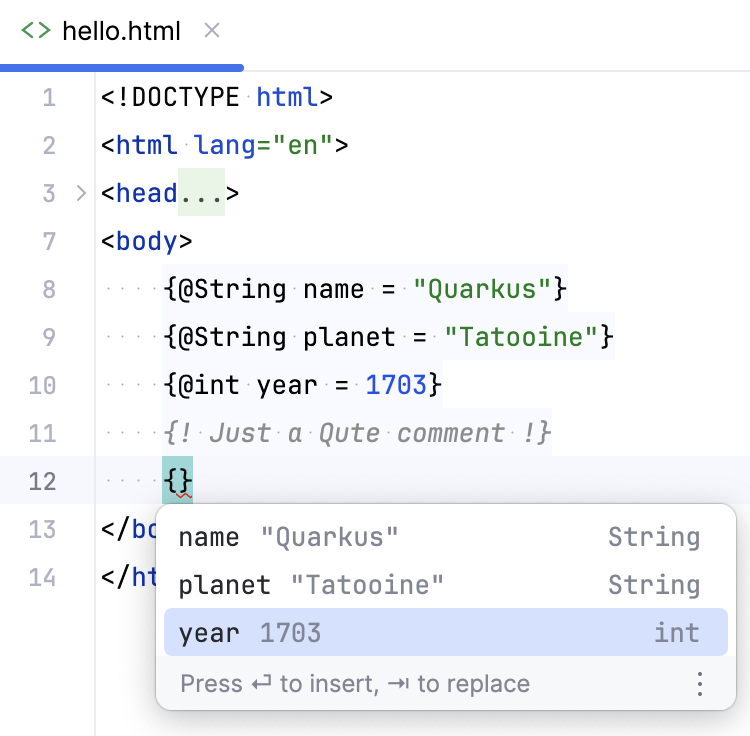
Coding assistance for the Qute syntax.
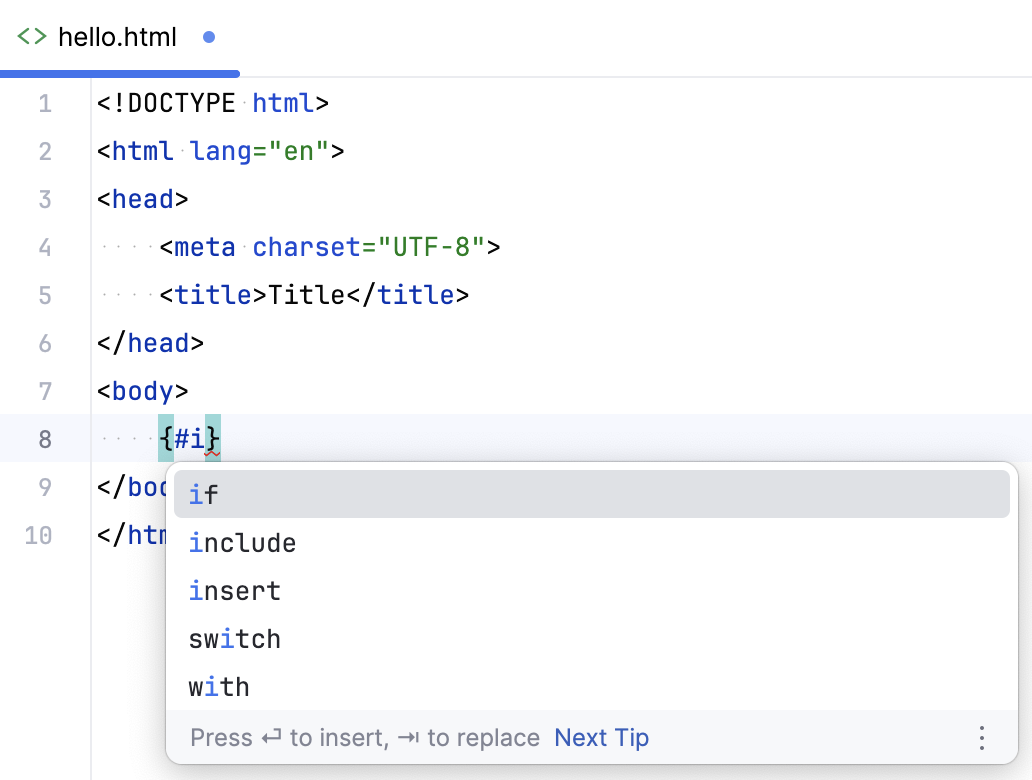
Completion for the names and methods of declared variables (Ctrl+Space), and navigation to their declarations (Ctrl+B).
Live templates: Type
qand press Ctrl+Space to view available Qute live templates.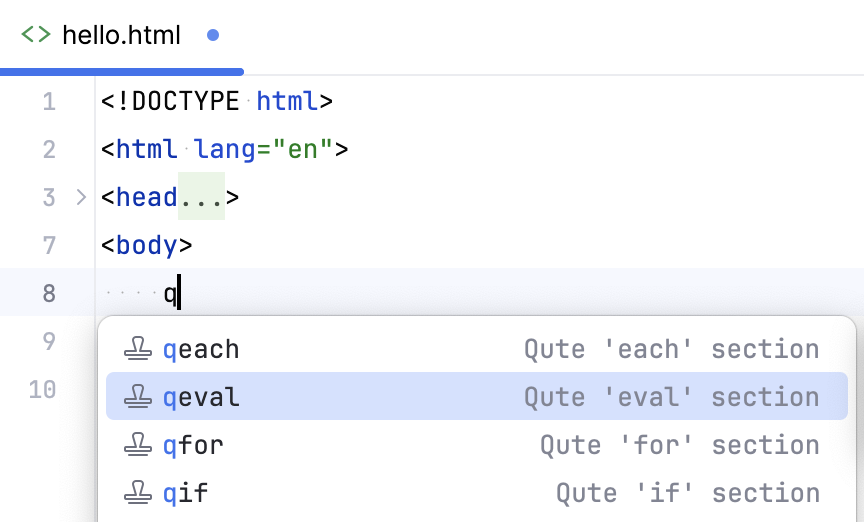
To configure Qute live templates or create new ones, open the IDE settings (Ctrl+Alt+S) and go to .
Navigate to Qute templates
IntelliJ IDEA enables quick navigation to Qute templates from locations in your code where they are referenced.
Open the section of code where you have referenced a Qute template.
This can be a class annotated with
@CheckedTemplate, a record that implementsio.quarkus.qute.TemplateInstance, or an injected template.In the gutter, click
(Navigate to Qute template).
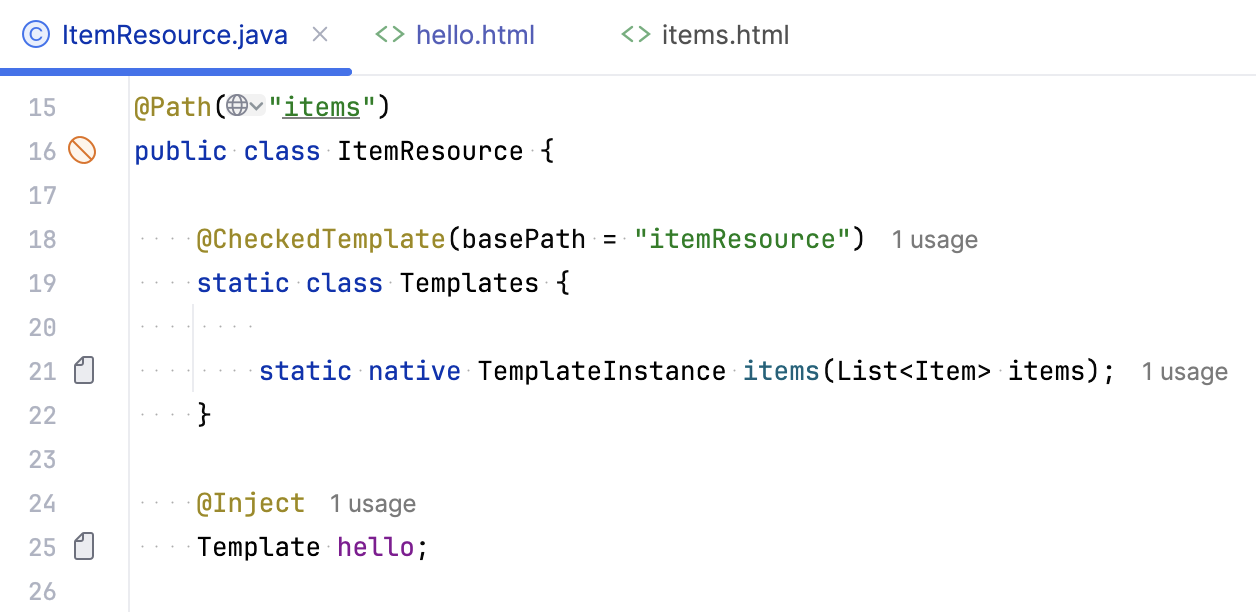
If the relevant Qute template exists, it will be opened in the new editor tab. IntelliJ IDEA takes into account the @Location annotation and the basePath attribute when determining the template location.