Install Java and Kotlin by IntelliJ IDEA in Visual Studio Code
Java and Kotlin by IntelliJ IDEA helps you develop Java and Kotlin code in Visual Studio Code, bringing intelligence features from JetBrains IntelliJ IDEA.
Install from the user interface
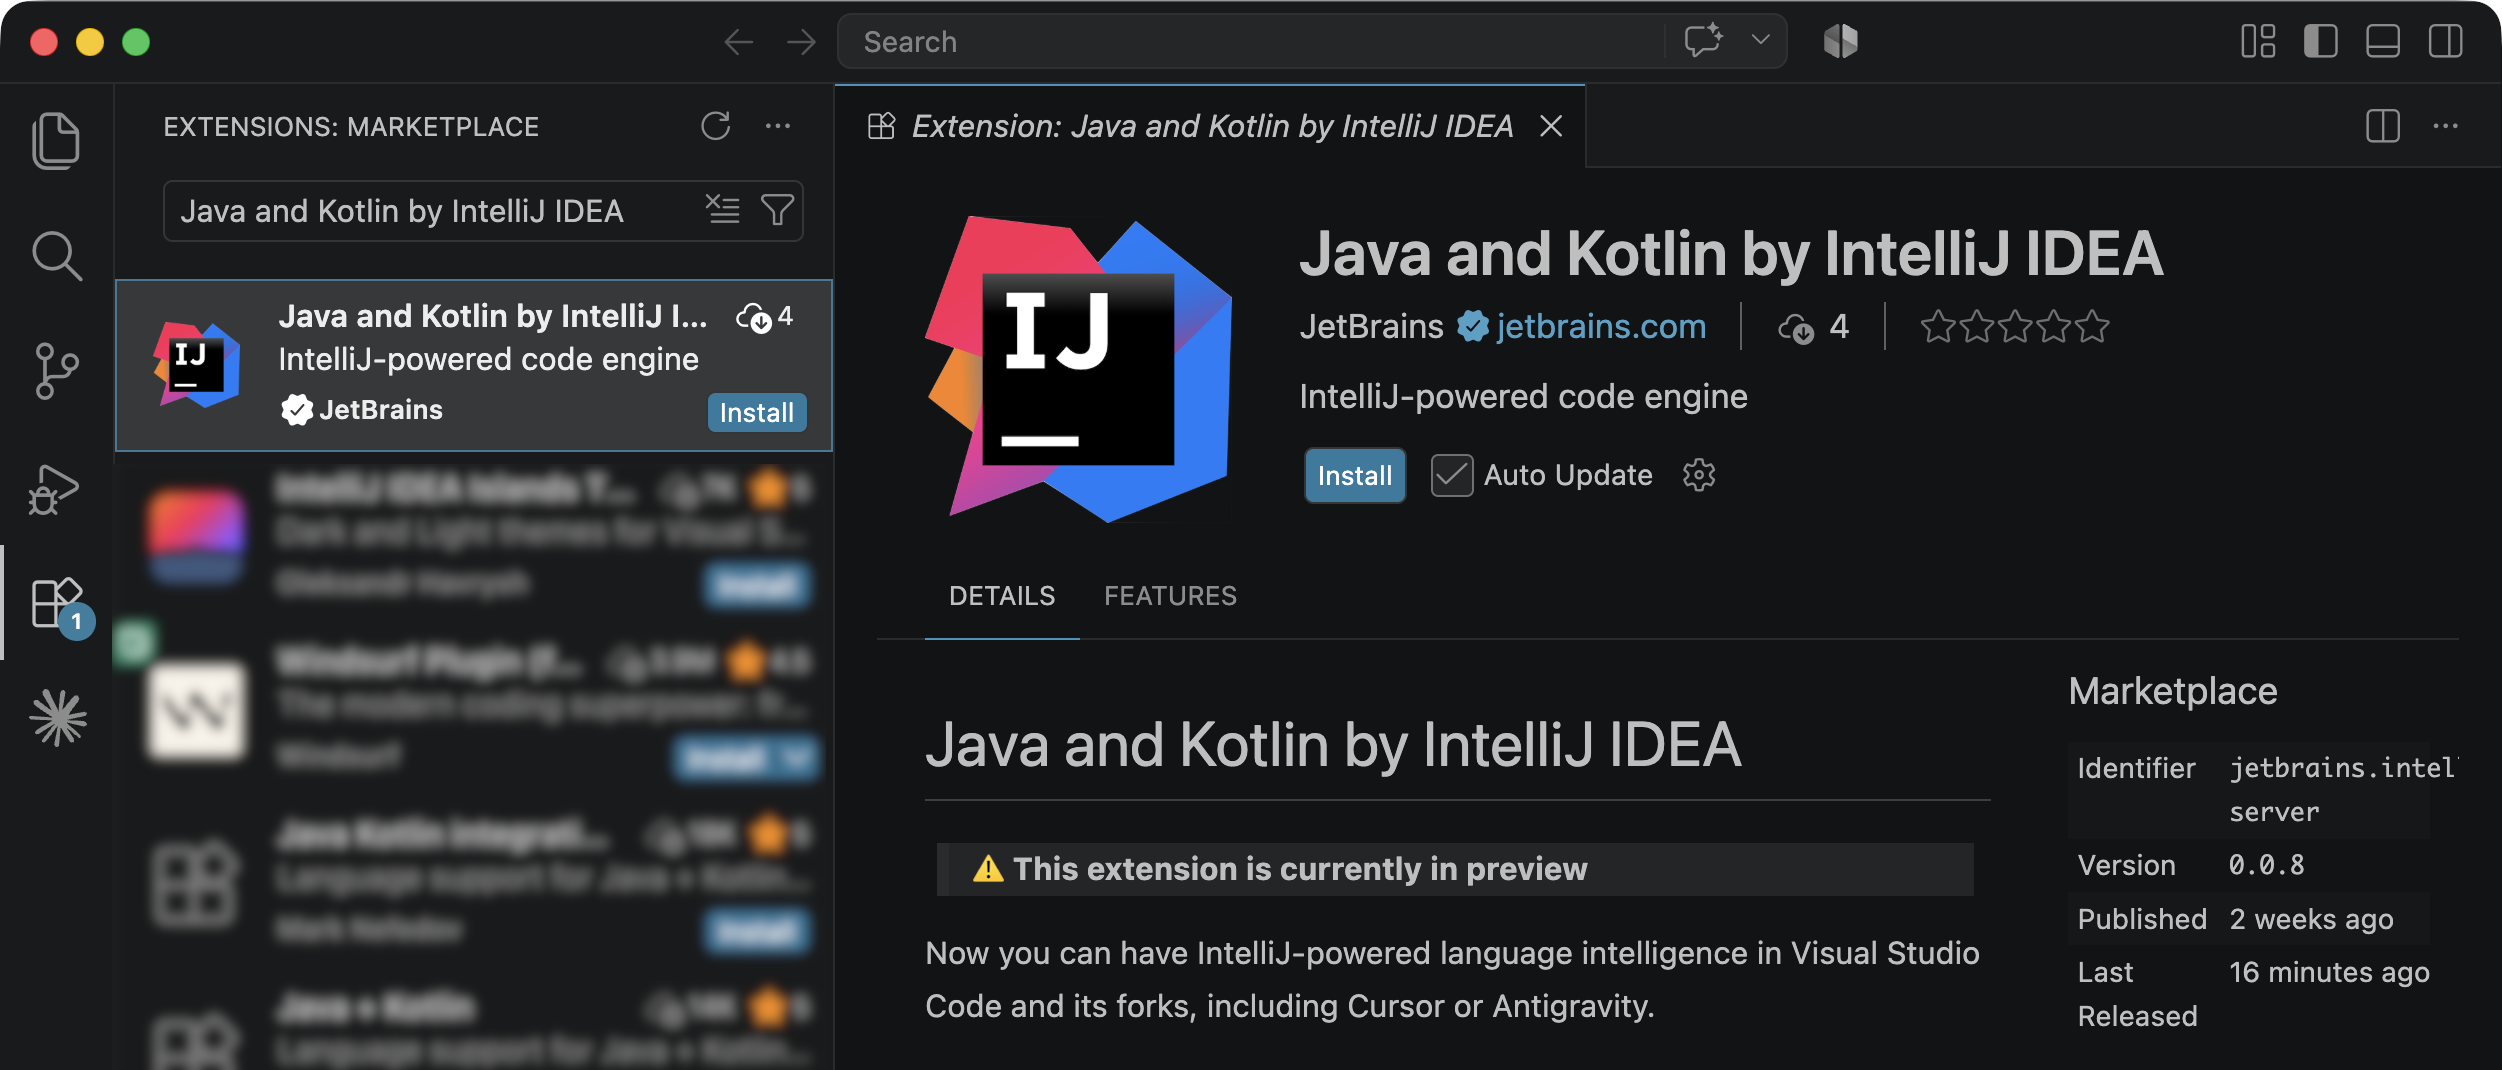
You can install the extension from the Visual Studio Code Marketplace: open the Extensions view, search for Java and Kotlin by IntelliJ IDEA, and click Install.
Install using the Quick Open menu
Open the Quick Open menu (Ctrl+E).
Enter the following command and press Enter:
ext install JetBrains.intellij-server
After installation
On successful installation, you are prompted to choose your region and accept the End User License Agreement (EULA) and the data sharing policy.
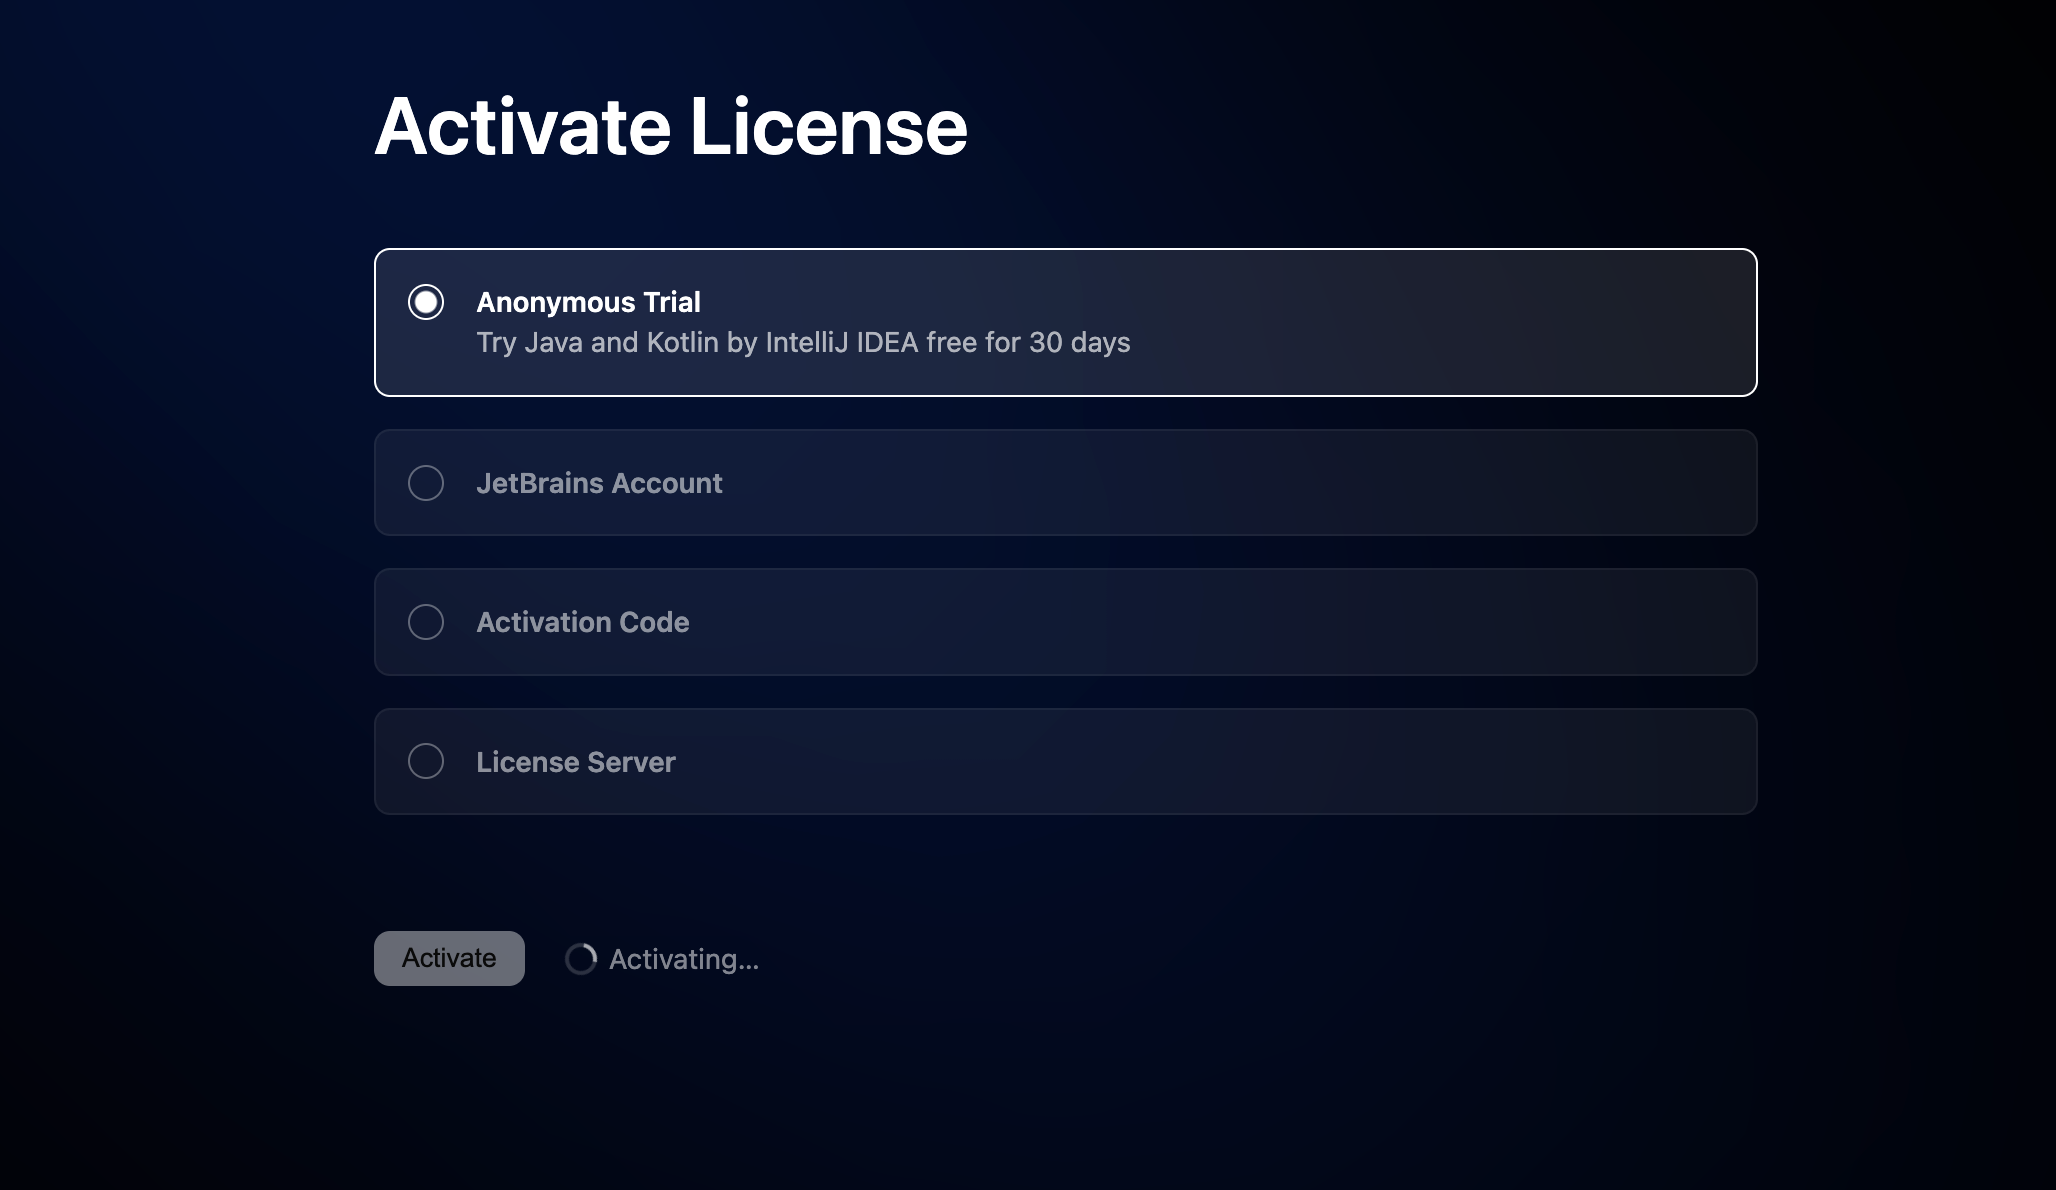
Then Java and Kotlin by IntelliJ IDEA opens the Activate License page. Select Anonymous Trial to start a free 30-day trial, or activate a license you already have with your JetBrains Account, an activation code, or a license server. For more details, refer to licensing and activation.
After the preview period, using the extension will require an Ultimate subscription.
First start
Java and Kotlin by IntelliJ IDEA initially integrates in the code editor by using a lightweight and cross-platform installer, and it does not load any modules to your code editor until it detects a supported project to import.
As soon as you open a directory that contains a supported Gradle, Maven, or Bazel build file, Java and Kotlin by IntelliJ IDEA launches project import and initiates the extension features.
After the project is imported, Java and Kotlin by IntelliJ IDEA creates and maintains indexes for the workspace. Depending on the project size and available system resources, initial indexing may take longer. Code insight features may be limited until indexing is complete. For more details, refer to Indexing limitations.
Open a workspace
Open a workspace with your Java or Kotlin project and check that code analysis and code insight features are working as expected.
Press Ctrl+O or select from the main menu.
Navigate to the required folder in your file system and select Open.
Once project import and indexing are complete, verify that valid code does not contain unresolved symbols or unexpected red code highlighting.
After opening, you can browse your workspace in the Explorer view.