Install PhpStorm
PhpStorm is a cross-platform IDE that provides a consistent experience on Windows, macOS, and Linux.
System requirements
Requirement | Minimum | Recommended |
|---|---|---|
RAM | 2 GB of free RAM | 8 GB of total system RAM |
CPU | Any modern CPU | Multi-core CPU. PhpStorm supports multithreading for different operations and processes making it faster the more CPU cores it can use. |
Disk space | 3.5 GB | SSD drive with at least 5 GB of free space |
Monitor resolution | 1024×768 | 1920×1080 |
Operating system | Officially released versions of the following:
Pre-release versions are not supported. | The latest versions of the following:
|
You do not need to install Java to run PhpStorm because JetBrains Runtime is bundled with the IDE (based on JBR 21).
Install using the Toolbox App
The JetBrains Toolbox App is the recommended tool to install JetBrains products. Use it to install and manage different products or several versions of the same product, including Early Access Program (EAP) and Nightly releases, update and roll back when necessary, and easily remove any tool. The Toolbox App maintains a list of all your projects to quickly open any project in the right IDE and version.
Install the Toolbox App
Download the installer .exe from the Toolbox App web page.
Run the installer and follow the wizard steps.
After you run the Toolbox App, click its icon
in the notification area and select which product you want to install.
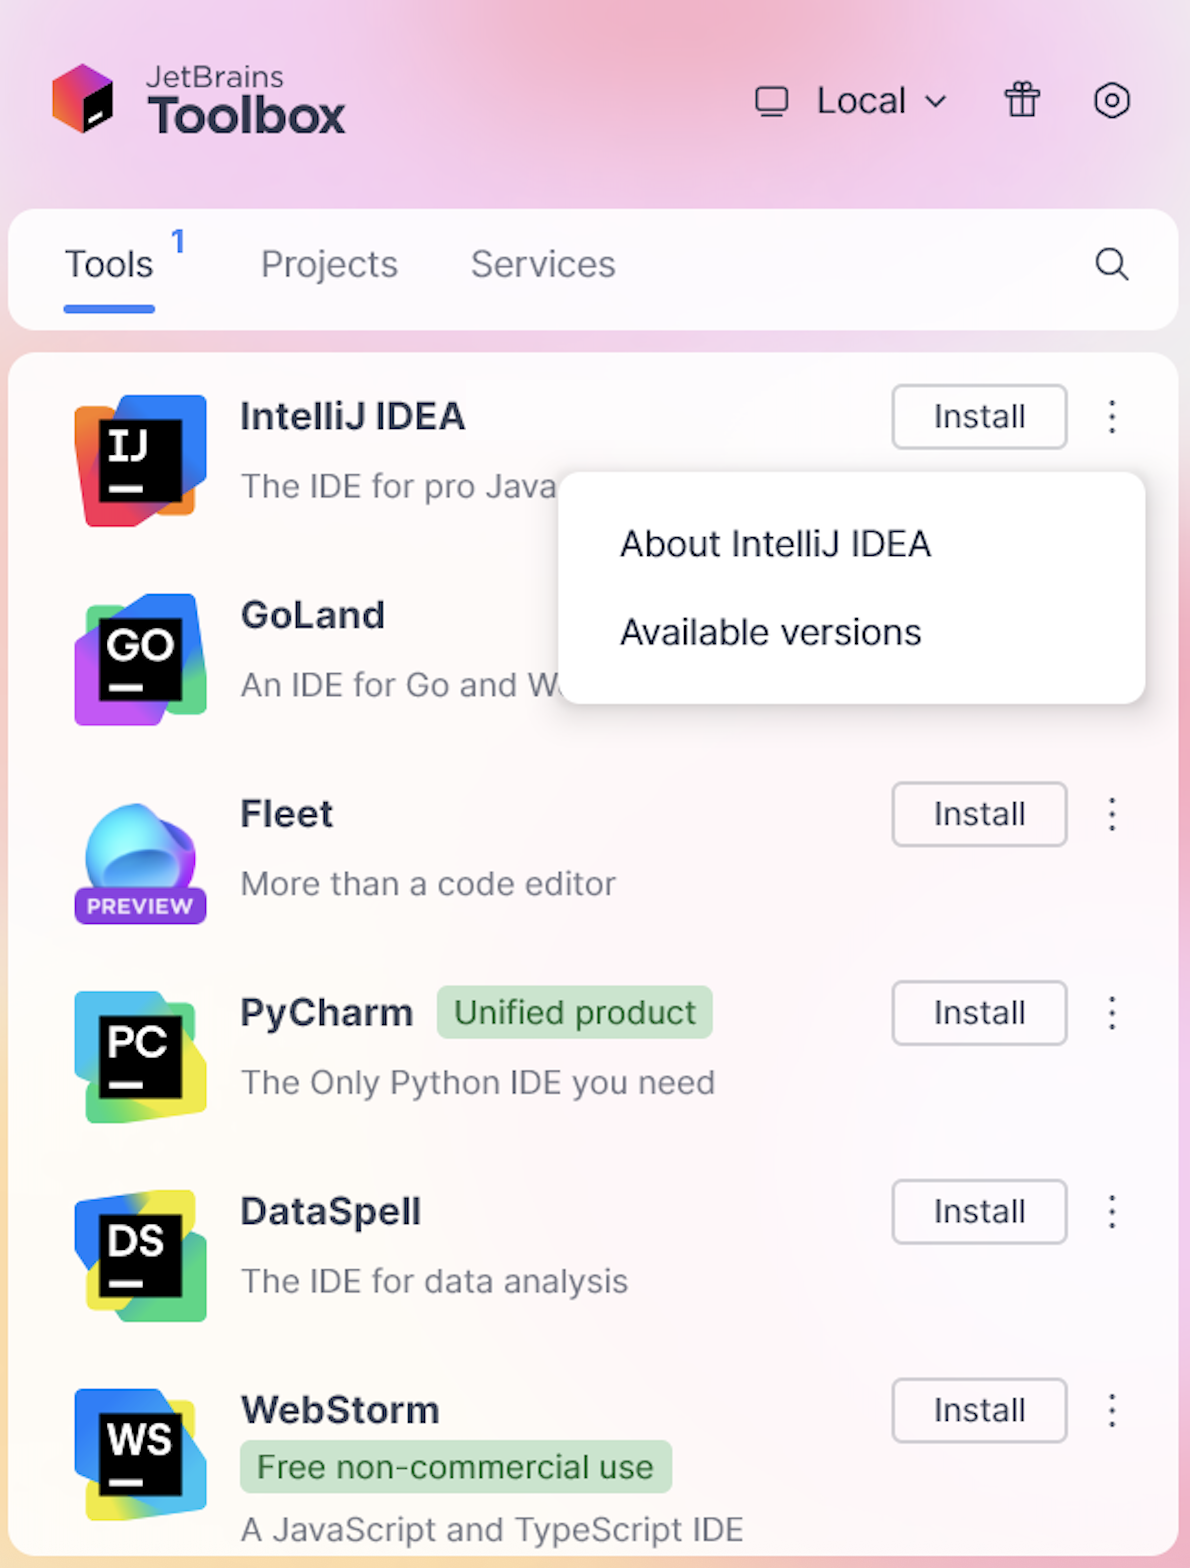
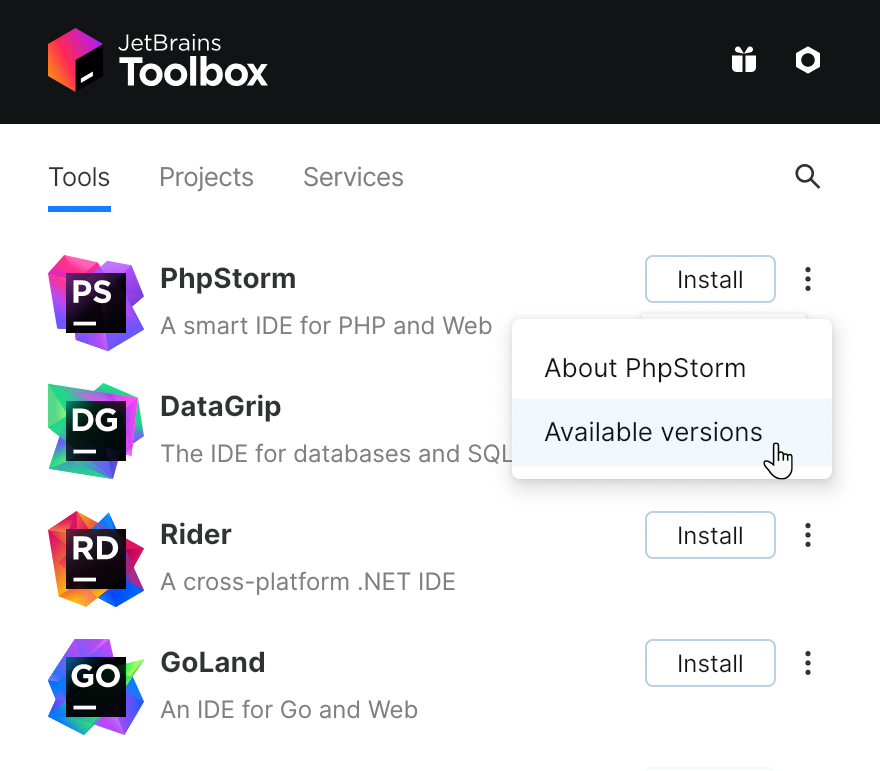
To install a specific version, click
and select Available versions.


Log in to your JetBrains Account from the Toolbox App, and it will automatically activate the available licenses for any IDE that you install.
Install the Toolbox App
Download the disk image .dmg from the Toolbox App web page.
Mount the image and drag the JetBrains Toolbox app to the Applications folder.
After you run the Toolbox App, click its icon in the main menu and select which product you want to install.
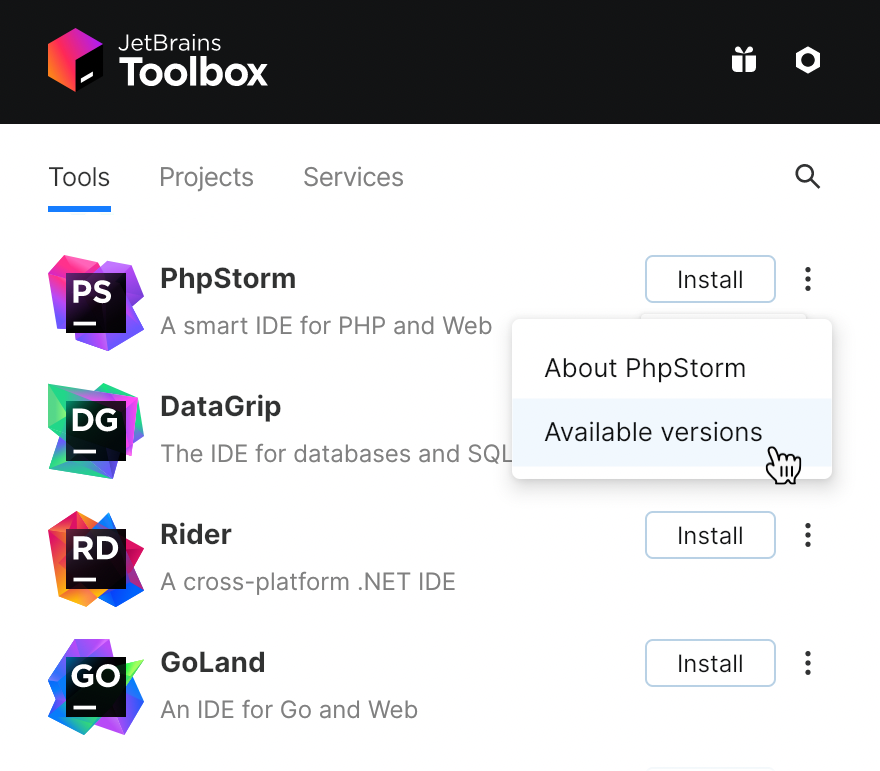
To install a specific version, click
and select Available versions.

Log in to your JetBrains Account from the Toolbox App, and it will automatically activate the available licenses for any IDE that you install.
Install the Toolbox App
x86_64:
glibc 2.17 (Ubuntu 18.04 or higher)
arm64:
glibc 2.29 (Ubuntu 20.04 or higher)
Download the tarball .tar.gz from the Toolbox App web page.
Extract the tarball and launch the executable:
tar -xzf jetbrains-toolbox-<build>.tar.gz && cd jetbrains-toolbox-<build>/bin && ./jetbrains-toolboxThe Toolbox App will install itself into
$HOME/.local/share/JetBrains/Toolbox/binand run from there.After you run the Toolbox App for the first time, it will automatically add the Toolbox App icon
to the main menu.
Select the product that you want to install.
To install a specific version, click
and select Available versions.

Log in to your JetBrains Account from the Toolbox App, and it will automatically activate the available licenses for any IDE that you install.
Standalone installation
Install PhpStorm manually to manage the location of every instance and all the configuration files. For example, if you have a policy that requires specific install locations.
Download the installer .exe.
Run the installer and follow the wizard steps.
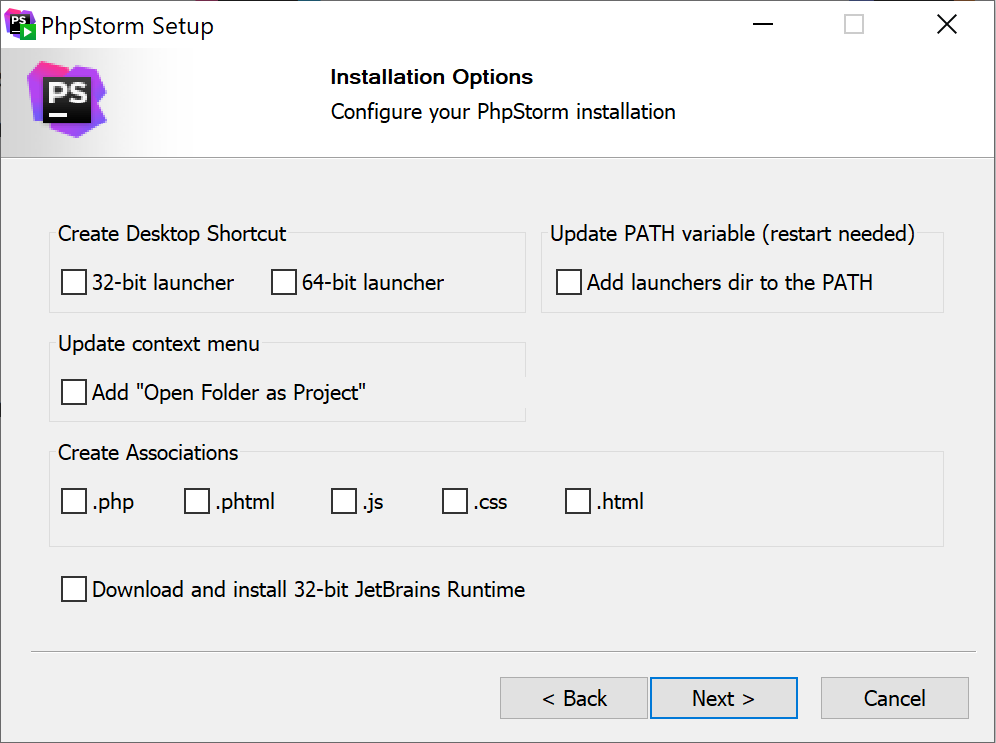
On the Installation Options step, you can configure the following:
Create a desktop shortcut for launching PhpStorm.
Add the directory with PhpStorm command-line launchers to the
PATHenvironment variable to be able to run them from any working directory in the Command Prompt.Add the Open Folder as Project action to the system context menu (when you right-click a folder).
Associate specific file extensions with PhpStorm to open them with a double click.

To run PhpStorm, find it in the Windows Start menu or use the desktop shortcut. You can also run the launcher batch script or executable in the installation directory under bin.
Mount the image and drag the PhpStorm app to the Applications folder.
Run the PhpStorm app from the Applications directory, Launchpad, or Spotlight.
Download the tarball .tar.gz.
Extract the tarball to a directory that supports file execution.
For example, to extract it to the recommended /opt directory, run the following command:
sudo tar -xzf PhpStorm-*.tar.gz -C /opt
Execute the ./bin/PhpStorm.sh script from the extracted directory to run PhpStorm.
Create a desktop entry
In the main menu, go to .
Click Activities in the top-left corner of the screen.
Click the grid button in the dash to show all applications.
To pin the app to the dash, right-click the PhpStorm icon and select Add to Favorites.
When you run PhpStorm for the first time, you can take several steps to complete the installation, customize your instance, and start working with the IDE.
For more information, refer to Run PhpStorm for the first time.
For more information about the location of the default IDE directories with user-specific files, refer to Directories used by the IDE.
Silent installation on Windows
Silent installation is performed without any user interface. It can be used by network administrators to install PhpStorm on a number of machines and avoid interrupting other users.
To perform silent install, run the installer with the following switches:
/S: Enable silent install/CONFIG: Specify the path to the silent configuration file/D: Specify the path to the installation directoryThis parameter must be the last in the command line, and it should not contain any quotes even if the path contains blank spaces.
/NCRC: Disable the CRC check if you want to suppress the Verifying Installer popup.
For example:
To check for issues during the installation process, add the /LOG switch with the log file path and name between the /S and /D parameters. The installer will generate the specified log file. For example:
Silent configuration file
You can download the default silent configuration file for PhpStorm at https://download.jetbrains.com/webide/silent.config
The silent configuration file defines the options for installing PhpStorm. With the default options, silent installation is performed only for the current user: mode=user. If you want to install PhpStorm for all users, change the value of the installation mode option to mode=admin and run the installer as an administrator.
The default silent configuration file is unique for each JetBrains product. You can modify it to enable or disable various installation options as necessary.
Install as a snap package on Linux
You can install PhpStorm as a self-contained snap package. Since snaps update automatically, your PhpStorm installation will always be up-to-date.
To use snaps, install and run the snapd service as described in the snapd installation guide.
On Ubuntu 16.04 LTS and later, this service is pre-installed.
PhpStorm is distributed via two channels:
The stable channel includes only stable versions. To install the latest stable release of PhpStorm, run the following command:
sudo snap install intellij-idea --classicsudo snap install phpstorm --classicThe
--classicoption is required because the PhpStorm snap requires full access to the system, like a traditionally packaged application.The edge channel includes EAP builds. To install the latest EAP build of PhpStorm, run the following command:
sudo snap install intellij-idea --classic --edgesudo snap install phpstorm --classic --edge
When the snap is installed, you can launch it by running the phpstorm command.
To list all installed snaps, run sudo snap list.
Install a specific version
To check the list of available versions, run the following command:
snap info intellij-ideasnap info phpstormTo install the version you want, run the following command:
sudo snap install intellij-idea --channel=2025.3/stable --classicsudo snap install phpstorm --channel=<version>/stable --classic
For more information about other snap commands, refer to the Snapcraft documentation.