Tutorial: Deploy a Rails app using Capistrano
Capistrano is a tool for deploying applications using deployment scripts. To perform deployments, you can use predefined tasks or create custom Rake tasks. RubyMine allows you to quickly run Capistrano tasks with double Ctrl and configure Capistrano run options using run configurations. You can customize run configurations to pass specific task arguments, select the desired stage, and so on.
In this tutorial, we'll show you how to deploy the sample Rails application to a remote server using Capistrano. As an application server, Passenger in combination with Nginx will be used.
Prerequisites
In this tutorial, we'll use two machines to demonstrate the application's deployment:
Local machine: Mac with macOS, with RubyMine installed and the created command-line launcher. The command-line launcher will be required to specify the editor when generating credentials.
Web server: The Ubuntu machine with enabled SSH access and Git installed. In this tutorial, the web server has the sample-web-server name and has the deploy user with sudo permissions.
Install rbenv and Ruby on the web server
First of all, we need to install the Ruby interpreter on our web server. We'll use rbenv along with the ruby-build plugin to do this. To perform the required actions on the server, we'll use the terminal emulator embedded into RubyMine.
Open the sample Rails application in RubyMine and follow the steps below.
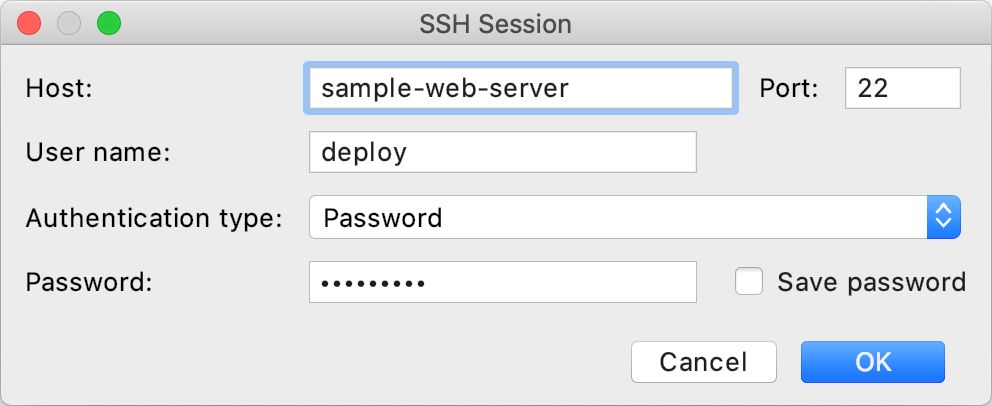
Go to . In the invoked dialog, specify the web server address and credentials for your deployment user. Click OK.
Install packages required for building Ruby from sources, installing Passenger, working with SQLite, and so on. Also, install Node.js and Yarn to manage JavaScript dependencies.
sudo apt-get update sudo apt-get install curl zlib1g-dev build-essential libssl-dev libreadline-dev libyaml-dev libsqlite3-dev sqlite3 libxml2-dev libxslt1-dev libcurl4-openssl-dev software-properties-common libffi-dev dirmngr gnupg apt-transport-https ca-certificates nodejs yarnInstall rbenv as described in the Basic GitHub Checkout chapter. Then, follow the instructions from Installation to install the ruby-build plugin required for compiling and installing Ruby.
Install the Ruby distribution used by the application by executing the following commands.
rbenv install 2.6.3 rbenv global 2.6.3Finally, install Bundler to manage the project gems.
gem install bundler
Install and configure Passenger & Nginx
As an application server, we'll use Passenger in combination with Nginx. Let's install them to our web server and adjust their configurations.
To install Passenger packages, execute the commands below.
#(a) Install the PGP key sudo apt-key adv --keyserver hkp://keyserver.ubuntu.com:80 --recv-keys 561F9B9CAC40B2F7 #(b) App the APT repository sudo sh -c 'echo deb https://oss-binaries.phusionpassenger.com/apt/passenger bionic main > /etc/apt/sources.list.d/passenger.list' sudo apt-get update #(c) Install Passenger and Nginx module sudo apt-get install -y libnginx-mod-http-passenger #(d) Make sure the configuration files exist if [ ! -f /etc/nginx/modules-enabled/50-mod-http-passenger.conf ]; then sudo ln -s /usr/share/nginx/modules-available/mod-http-passenger.load /etc/nginx/modules-enabled/50-mod-http-passenger.conf ; fi sudo ls /etc/nginx/conf.d/mod-http-passenger.confNow we need to point Passenger to the correct version of Ruby. Open the mod-http-passenger.conf configuration file with Nano.
sudo nano /etc/nginx/conf.d/mod-http-passenger.confThen change the passenger_ruby option in the following way.
passenger_ruby /home/deploy/.rbenv/shims/ruby;Save the mod-http-passenger.conf file and close it.
Let's remove the default Nginx server ...
sudo rm /etc/nginx/sites-enabled/default... and add one for our sample application.
sudo nano /etc/nginx/sites-enabled/sample_rails_appIn the opened sample_rails_app file, specify the following configuration.
server { listen 80; listen [::]:80; server_name _; root /home/deploy/sample_rails_app/current/public; passenger_enabled on; passenger_app_env staging; }Finally, start the Nginx service.
sudo service nginx start
Install Capistrano gems
Now we are ready to bundle Capistrano to our application.
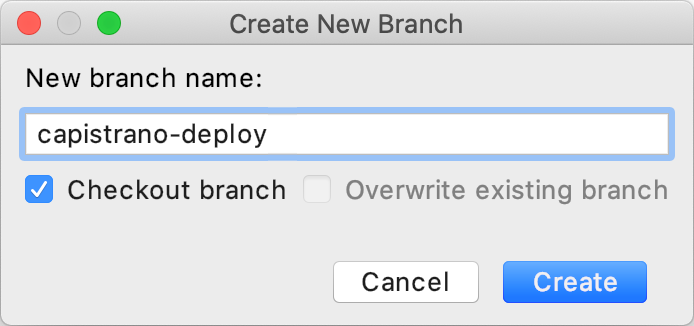
First, we'll create a separate branch used to deploy our application. Press Alt+`, select Branches in the invoked popup, and then choose New Branch. In the Create New Branch dialog, specify the branch name (capistrano-deploy in our case) and click Create.
Open the project Gemfile and add the following Capistrano gems.
gem 'capistrano', '3.11.2' gem 'capistrano-rails', '1.4.0' gem 'capistrano-rbenv', '2.1.4 ' gem 'capistrano-passenger', '0.2.0'Place the caret at any of the highlighted gems and press Alt+Enter to install them using Bundler.

Capify the application
In this part, we'll initialize Capistrano and configure deployment scripts.
To capify the application, select from the main menu. The following files will be added to the project.
Capfile
config/deploy.rb
staging.rb and production.rb in the config/environments directory
Note that executes the
cap installcommand. After running this command, RubyMine creates the run configuration for executing theinstalltask. If necessary, you can customize this configuration to pass specific arguments.Open the Capfile and add the following lines to load the required dependencies.
require "capistrano/rails" require "capistrano/rbenv" require "capistrano/passenger"In the same file, specify the following settings for rbenv.
set :rbenv_type, :user set :rbenv_ruby, '2.6.3'Before configuring deployment settings, commit and push changes to a remote repository. In our tutorial, it will be the capistrano-deploy branch of the sample Rails application.
Open the config/deploy.rb file. Here you need to specify the Git repository details and the deployment path on our web server.
set :application, "sample_rails_app" set :repo_url, "https://github.com/JetBrains/sample_rails_app" set :branch, "capistrano-deploy" set :deploy_to, "/home/deploy/#{fetch :application}" append :linked_files, "config/master.key"Finally, open config/deploy/staging.rb and modify it in the following way to point to our web server's address.
server "sample-web-server", user: "deploy", roles: %w{app db web}
Provide custom credentials
Since we are using the staging configuration for deployment, we need to add the staging environment in our Rails application. Then, we should provide custom credentials.
Create the staging environment as described in Creating Rails Environments. In our example, the created configuration (config/environments/staging.rb) replicates the development configuration, except the following line.
config.require_master_key = trueThis option specifies that the master key used to decrypt credentials should be available on our web server.
Now we need to generate the encrypted credentials.yml.enc file and master.key for encryption/decryption. Open the local terminal by selecting from the main menu and execute the following commands.
rails secret EDITOR="mine" bin/rails credentials:editThe config/master.key and config/credentials.yml.enc files will be generated. Add the config/credentials.yml.enc file to VCS as described in Add files to Git.
Since the config/master.key file should be placed outside VCS, we need to create a custom task to upload this file to our web server. Open the lib/capistrano/tasks directory in the Project view Alt+1 and create a new setup.rake file with the following content.
namespace :deploy do namespace :check do before :linked_files, :set_master_key do on roles(:app), in: :sequence, wait: 10 do unless test("[ -f #{shared_path}/config/master.key ]") upload! 'config/master.key', "#{shared_path}/config/master.key" end end end end endCommit and push changes to the remote repository.
Deploy your app
After all the steps above, we are ready to deploy our Rails app to the web server.
Press Ctrl twice and type
cap staging deployin the invoked popup. Press Enter to start deploying.
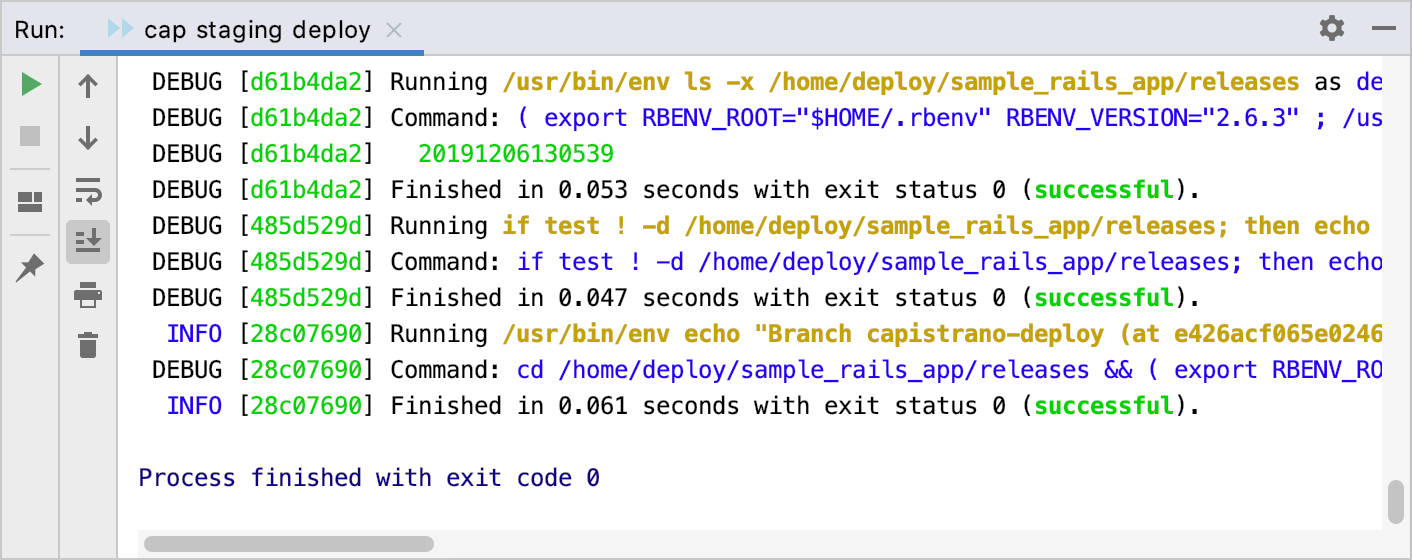
Wait until Capistrano makes all the steps required to deploy the application. You can see the progress in the Run tool window Alt+4.
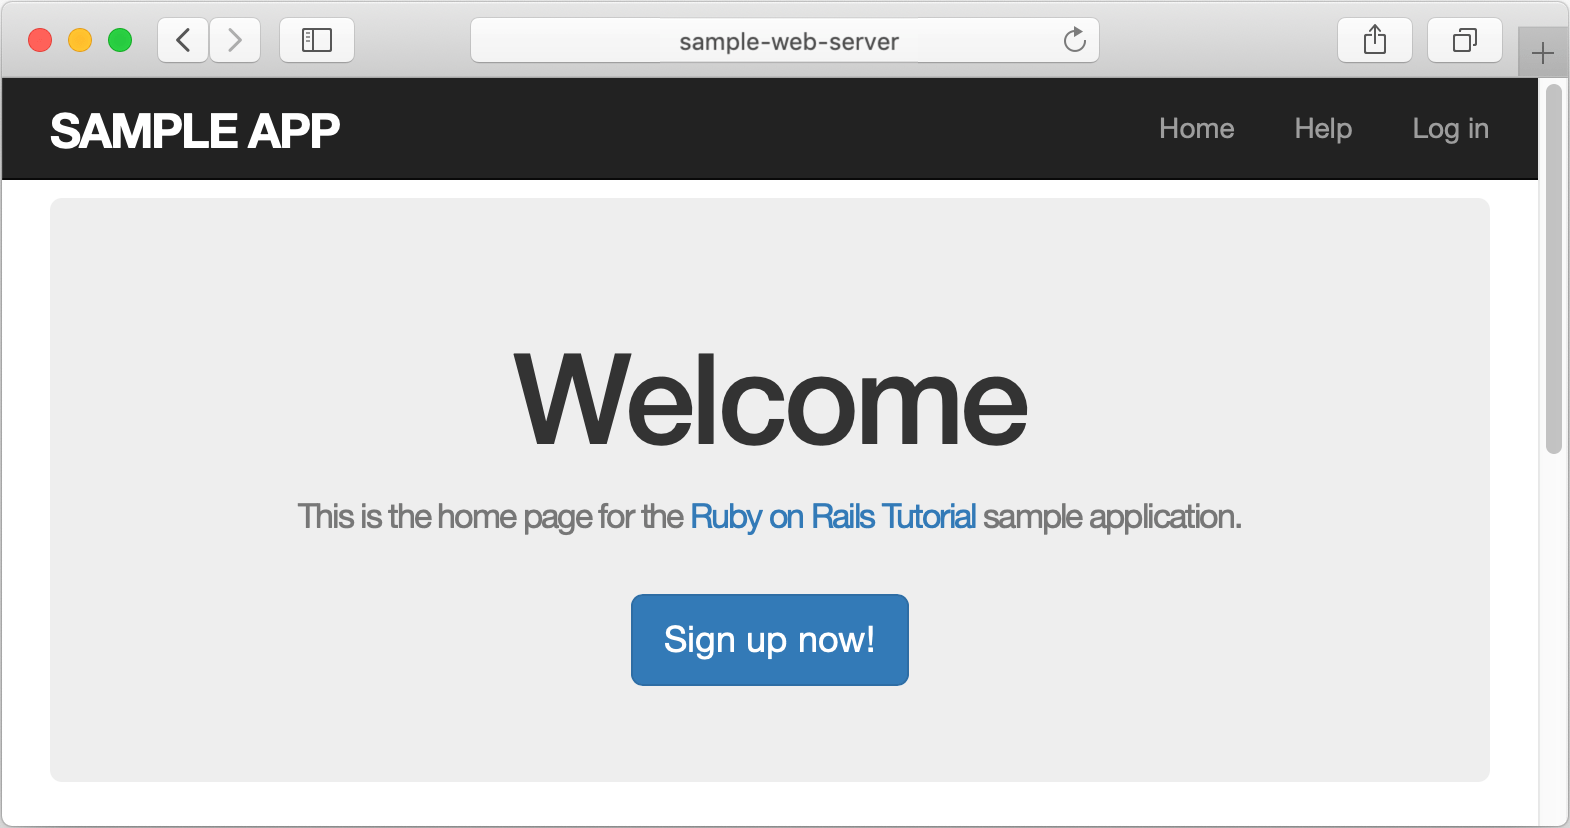
Open the browser and specify the application address. In our case, it will be http://sample-web-server.
After you've run a Capistrano task, RubyMine automatically creates a special profile - a temporary run/debug configuration. You can customize settings of this configuration, for example, you can pass task arguments, specify environment variables, and so on. Then, you can save the customized configuration to quickly run this configuration in the future.
Capistrano run/debug configuration
When you run a Capistano task (for example, install or deploy), RubyMine automatically creates a corresponding Capistrano temporary configuration, which can be saved. If necessary, you can create the Capistrano run/debug configuration manually from the predefined template.
To customize the Capistrano run/debug configuration, do the following:
Open the Run/Debug Configuration dialog in one of the following ways:
Select from the main menu.
With the Navigation bar visible (), choose from the run/debug configuration selector.
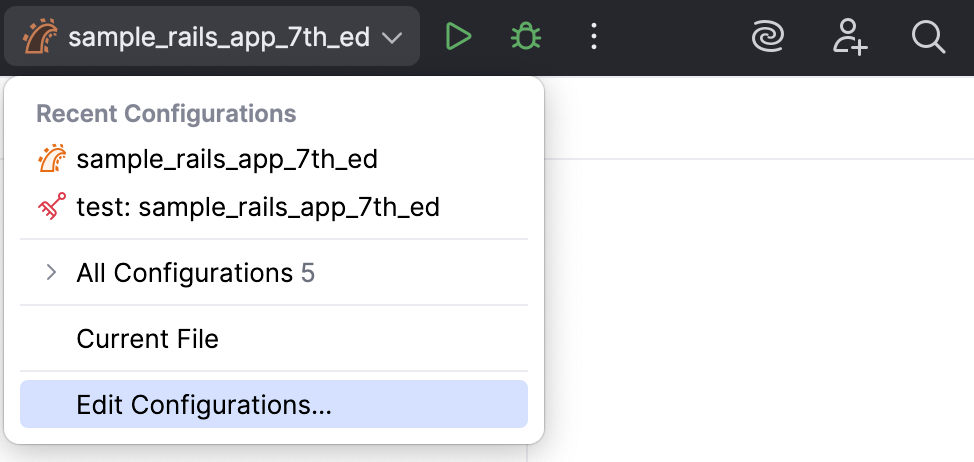
Press Alt+Shift+F10 and then press 0.
In the opened Run/Debug Configurations dialog, select the required configuration in the Capistrano group, and specify its settings.
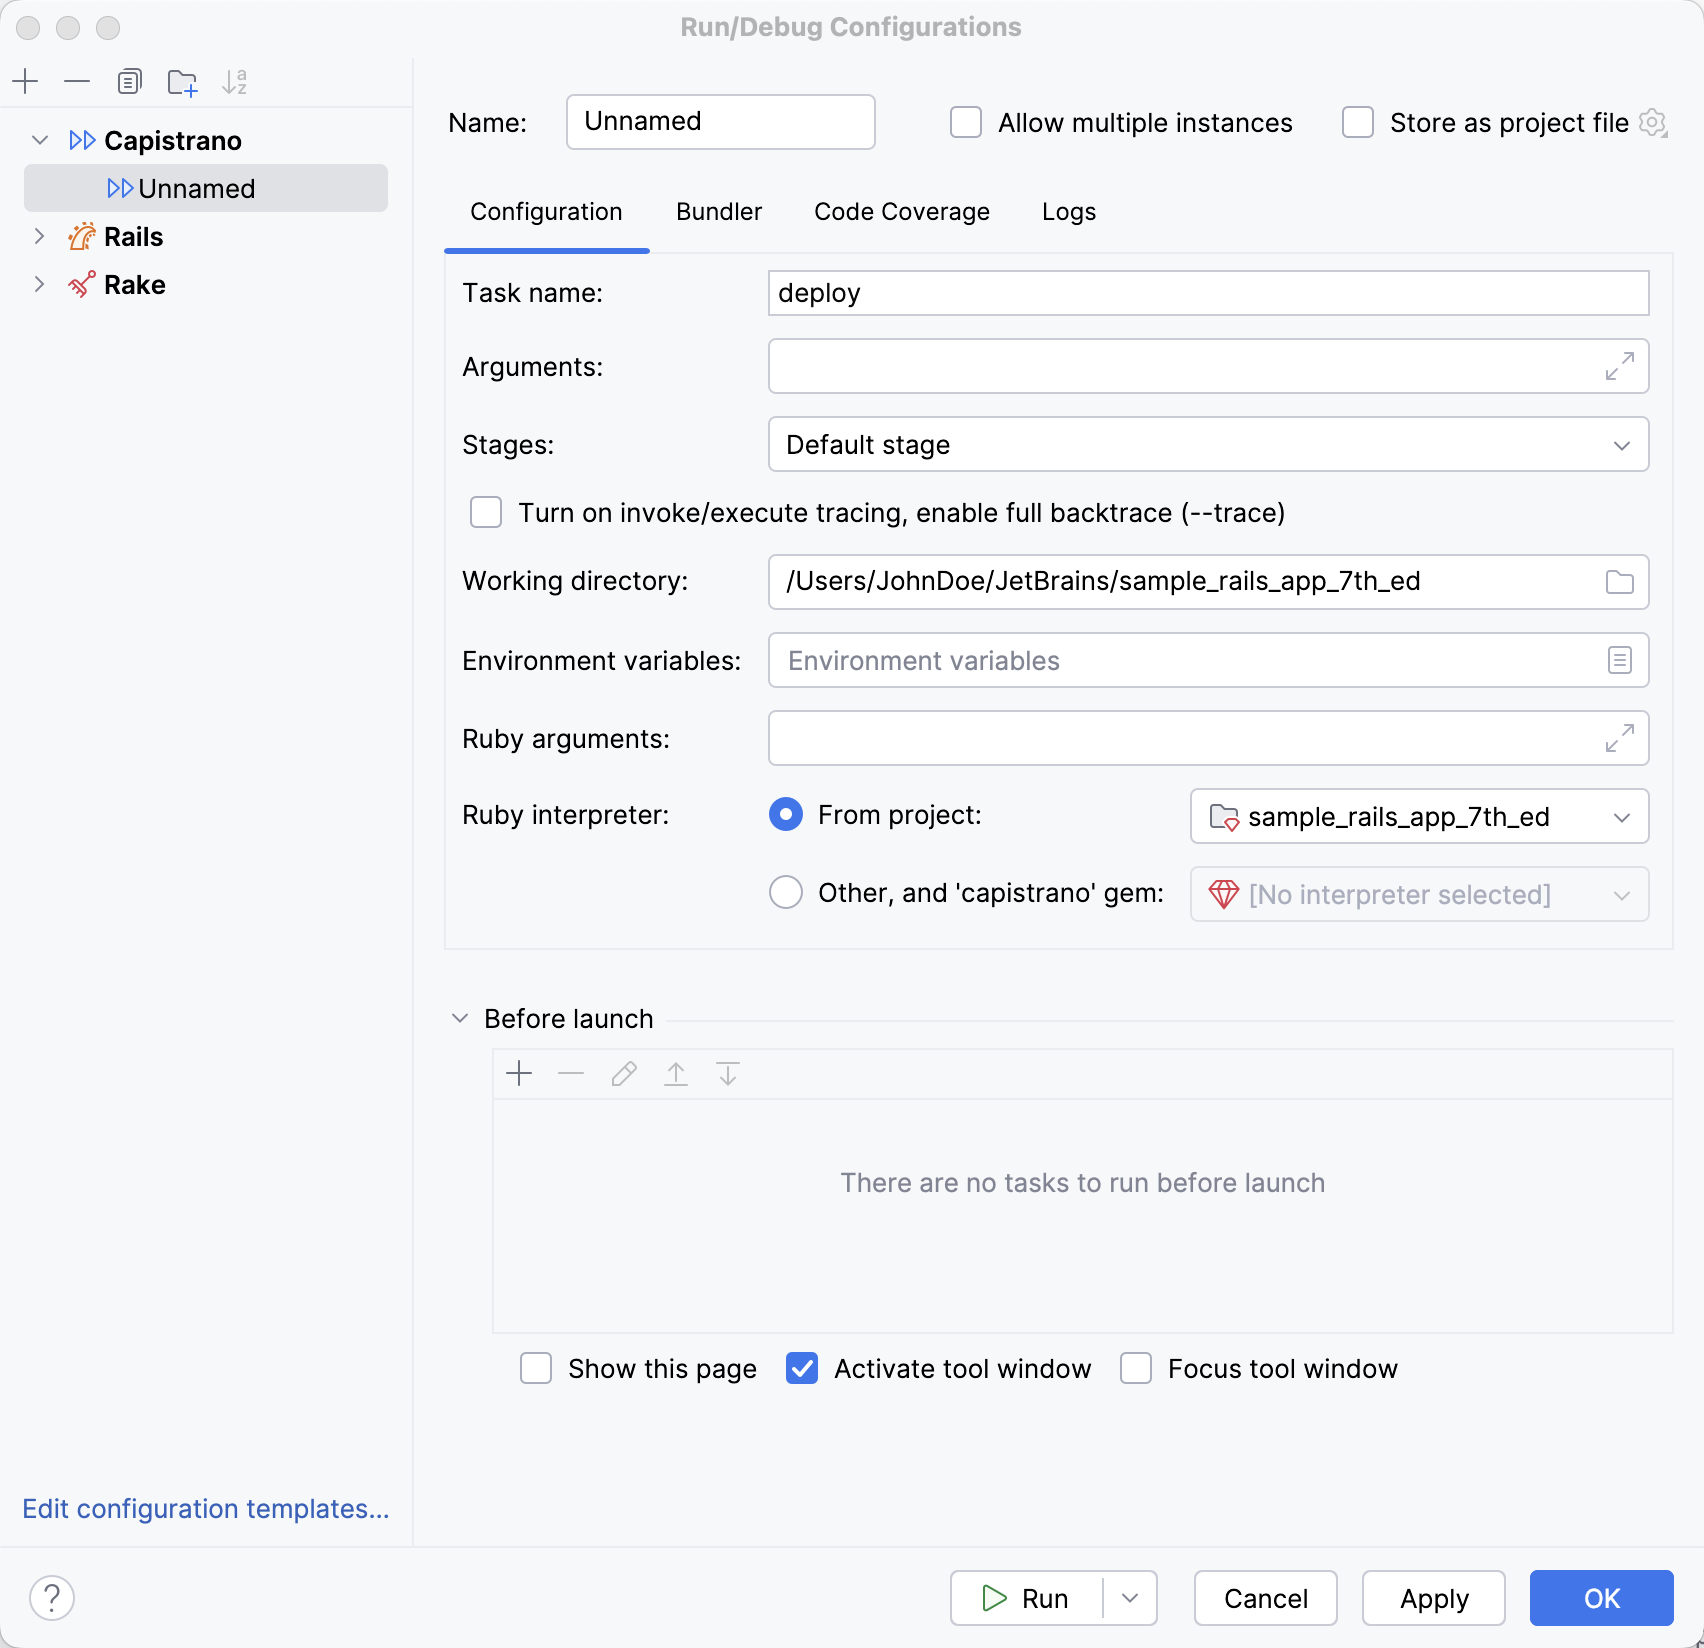
For example, you can specify the following settings in the Configuration tab:
Option
Description
Task name
Specify the name of the Capistrano task to be executed. Note that you can use autocompletion Ctrl+Space to see the available tasks.
Examples:
deploy,installArguments
Specify arguments to be passed to the Capistrano task. The arguments should be separated with spaces.
Examples:
--roles=app,web,--hosts=web-server-1,web-server-2Stages
Select the desired stage. Stages can be configured in the config/deploy.rb file that appears after capifying an application.
Examples:
staging,productionTurn on invoke/execute tracing, enable full backtrace (--trace)
Enable the
--traceCapistrano command-line option.Working directory
Specify the working directory used by the running task.
Environment variables
Specify the list of environment variables as the name-value pairs, separated with semi-colons. Alternatively, click the ellipsis button to create variables and specify their values in the Environment Variables dialog.
Ruby arguments
Specify the command-line arguments to be passed to the Ruby interpreter.
Ruby interpreter
Specify the Ruby interpreter used to run a task. You can choose the project default Ruby interpreter, or select a different one from the list of configured Ruby interpreters.