Tutorial: Dockerize a full-stack TypeScript application
In this tutorial, we will:
Create a Weather Dashboard full-stack application with React/Vite TypeScript frontend and Express TypeScript backend.
Write Dockerfile for both parts of the application.
Run and debug the application locally to check that it works as expected.
Create a docker-compose.yml file to connect the frontend and the backend.
Run the docker-compose.yml file to create an image and build a container with the application.
Run and debug the application running in the Docker container.
Before you start
Make sure the JavaScript Debugger, Node.js, Node.js Remote Interpreter, and Docker required plugins are enabled on the Settings | Plugins page, tab Installed. For more information, refer to Managing plugins.
Download, install, and configure Docker as described in Docker.
Create a Weather Dashboard application
Click New Project on the Welcome screen or select from the main menu.
In the dialog that opens, select Empty Project in the left-hand pane.
Specify the location of the application and its name, for example,
weather_dashboard.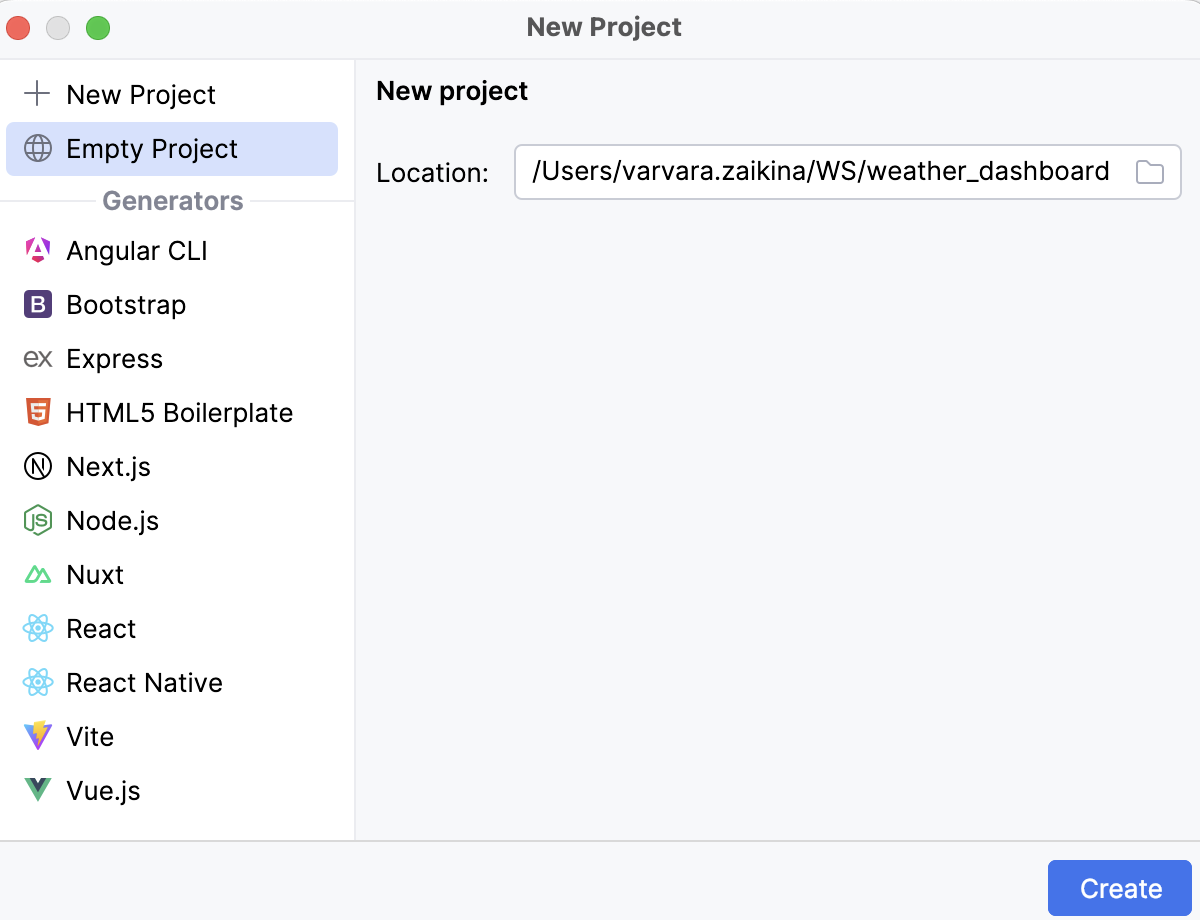
Click Create.
WebStorm generates a project stub and opens it in the editor.
Populate the application
We need to expand the project stub with a couple of folders and files, so the project finally looks as follows:
Create the backend and the frontend folders
Open the Project tool window Alt+1, right-click the project folder, select from the context menu, and then select from the list.
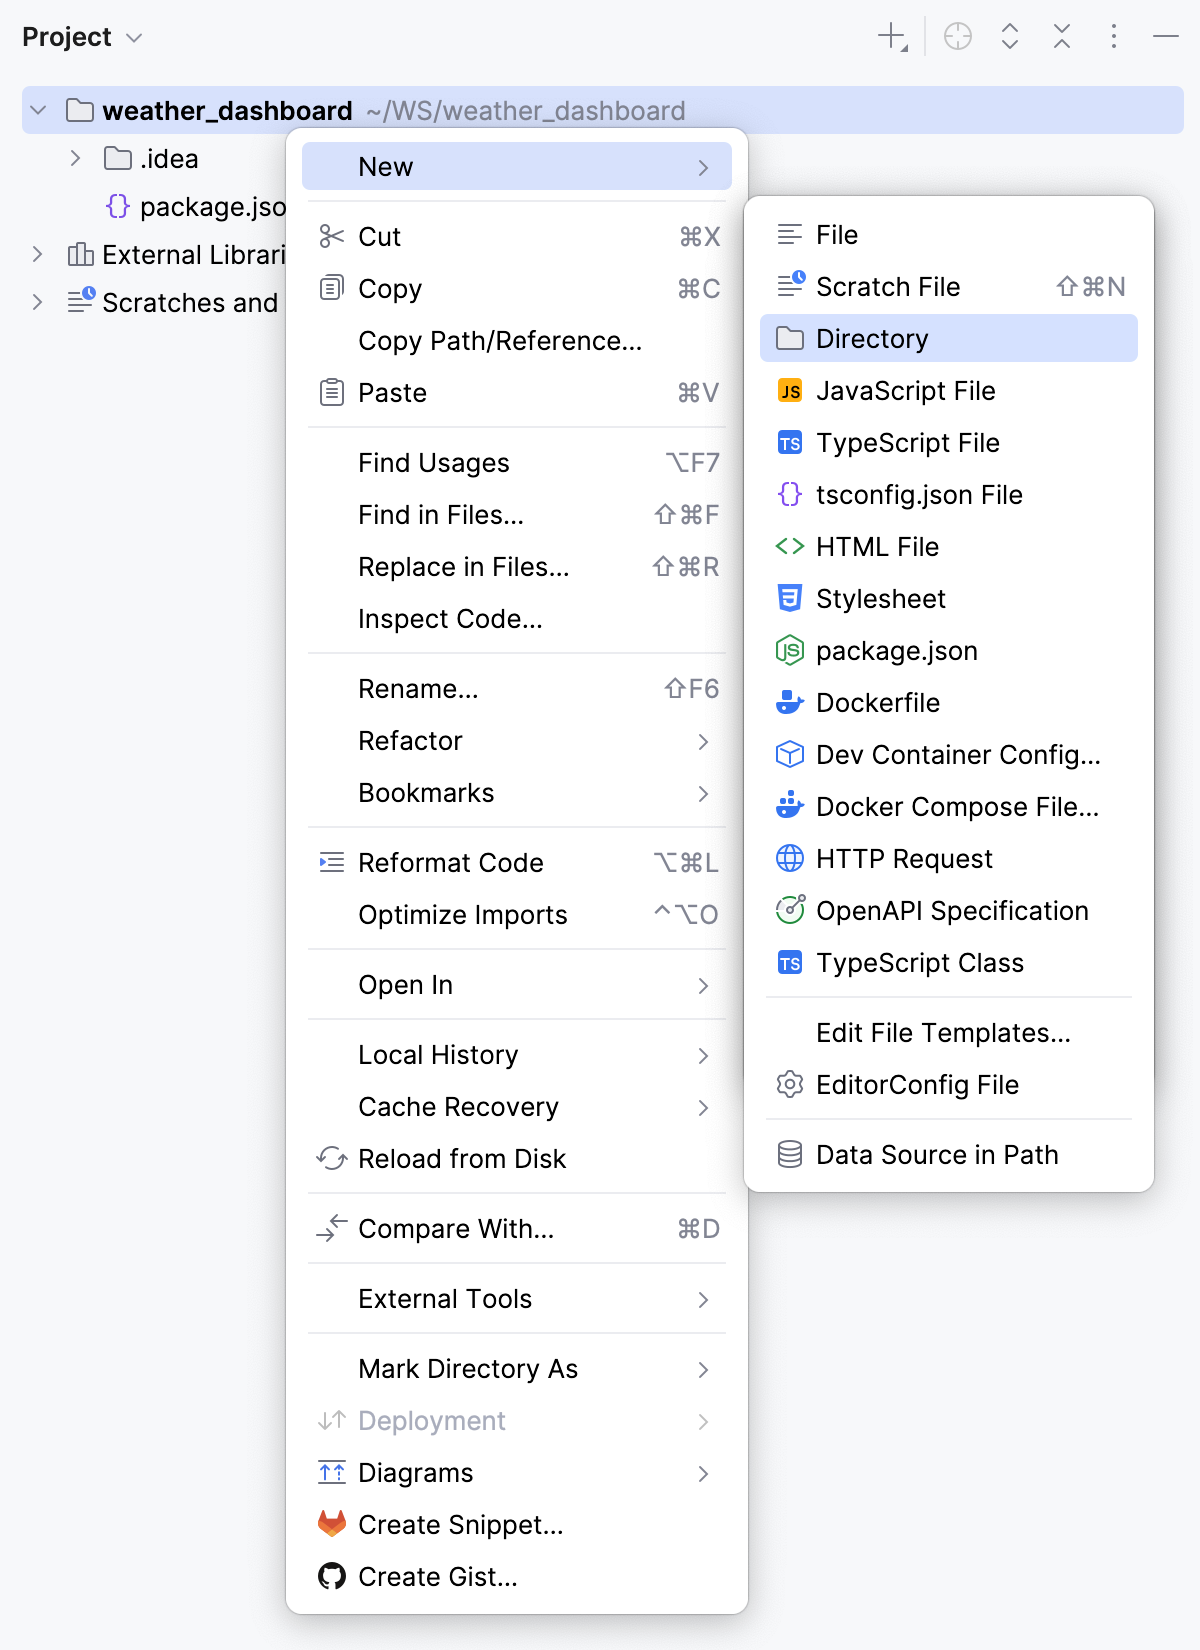
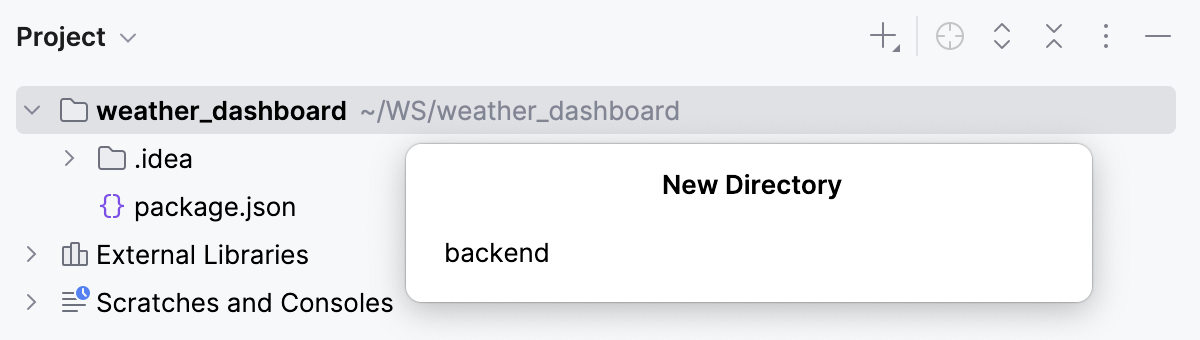
In the popup dialog that appears, specify the name of the folder, in our case it should be backend.
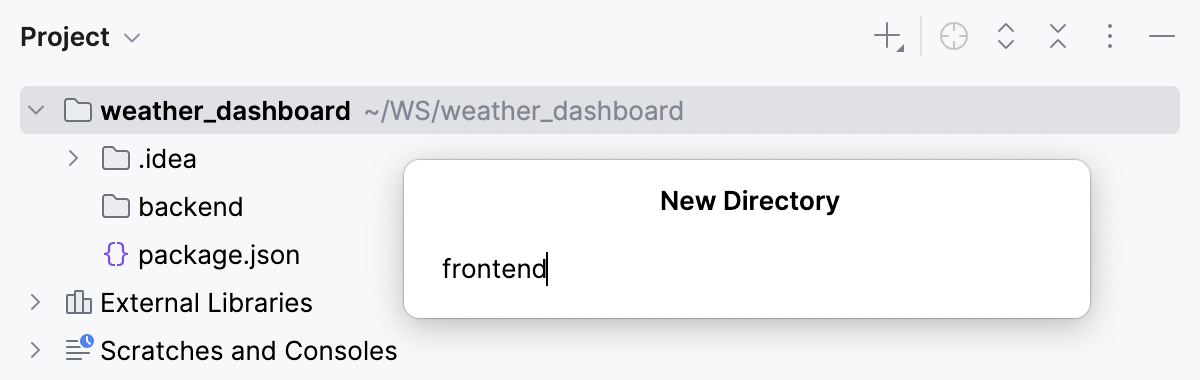
In the same way, create a frontend folder.
Populate the backend folder
Create a backend/package.json file. To do that, select from the context menu of the backend folder, then select from the list, and then type the following code in the package.json file that is created and opened in the editor:
{ "scripts": { "dev": "tsx watch src/index.ts", "build": "tsc", "start": "node dist/index.js" }, "dependencies": { "cors": "^2.8.5", "express": "^4.18.3" }, "devDependencies": { "@types/cors": "^2.8.17", "@types/express": "^4.17.21", "tsx": "^4.7.1", "typescript": "^5.4.5" } }To install the dependencies, select from the context menu of backend/package.json.
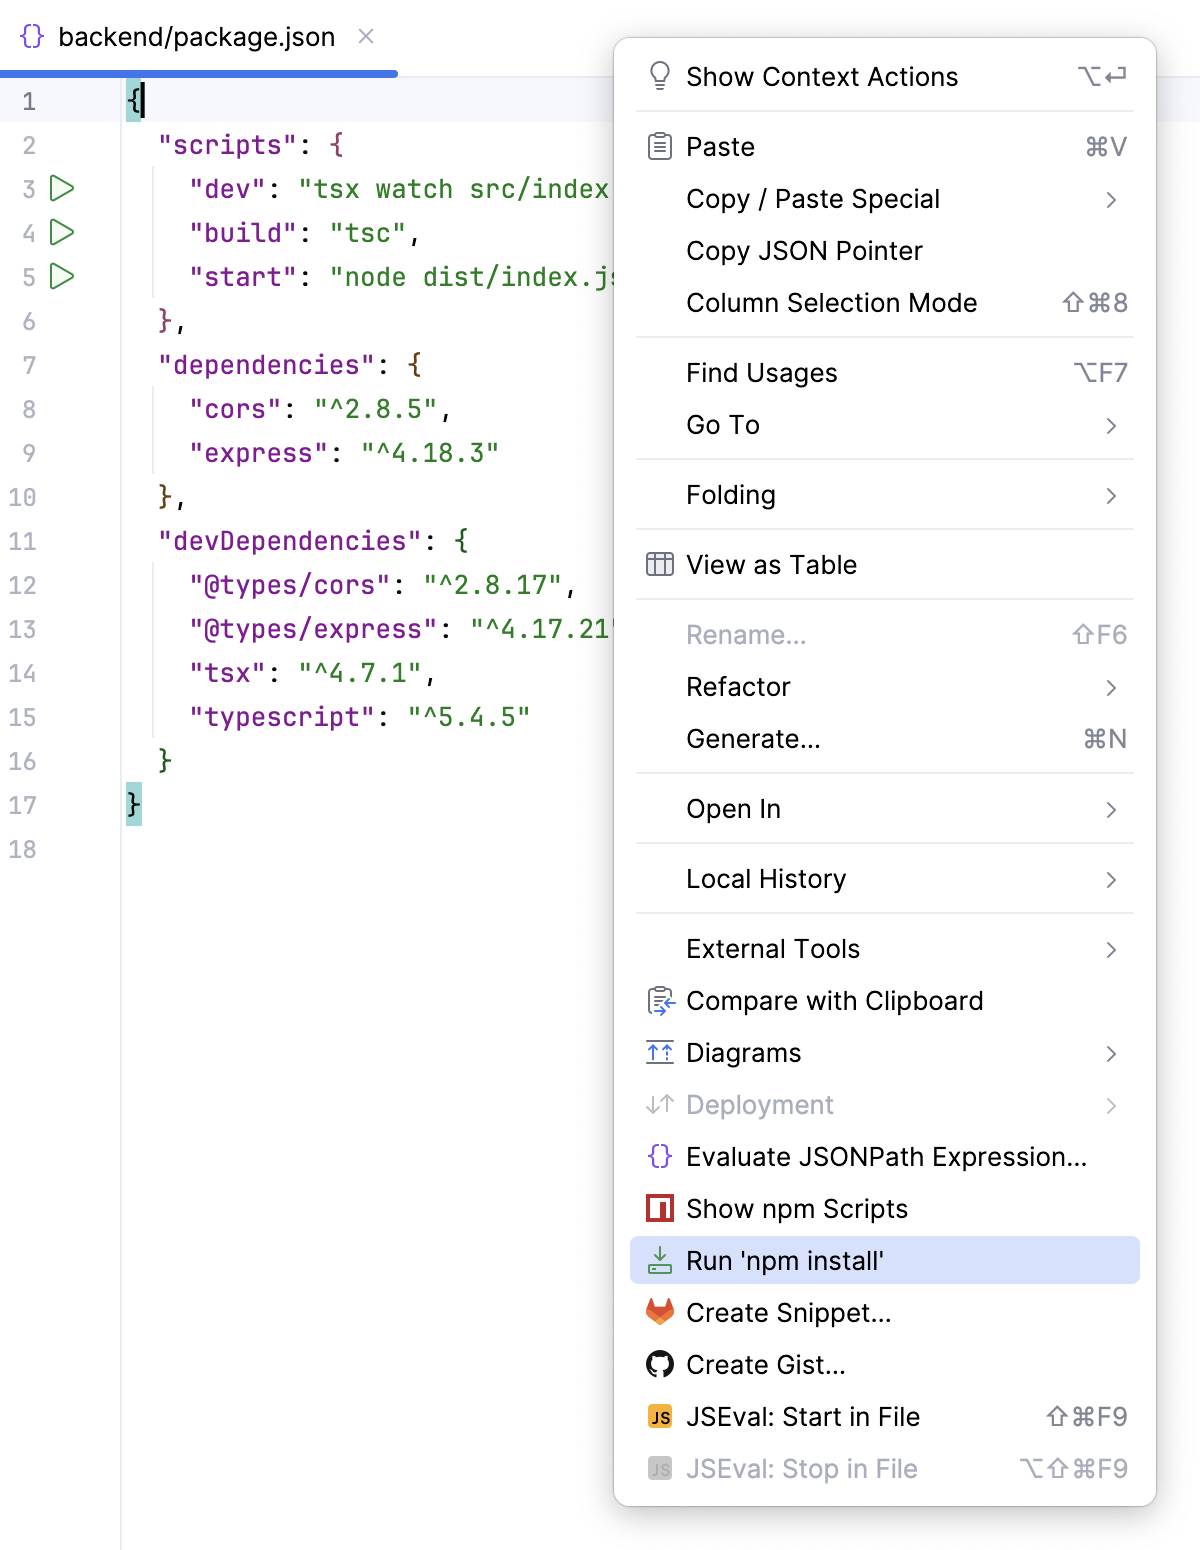
Create a backend/tsconfig.json file. To do that, select from the context menu of the backend folder, then select from the list, and then paste the following code in the backend/tsconfig.json file that is created and opened in the editor:
{ "compilerOptions": { "target": "ES2022", "module": "NodeNext", "moduleResolution": "NodeNext", "outDir": "dist", "strict": true, "esModuleInterop": true }, "include": ["src"] }Create a backend/src folder.
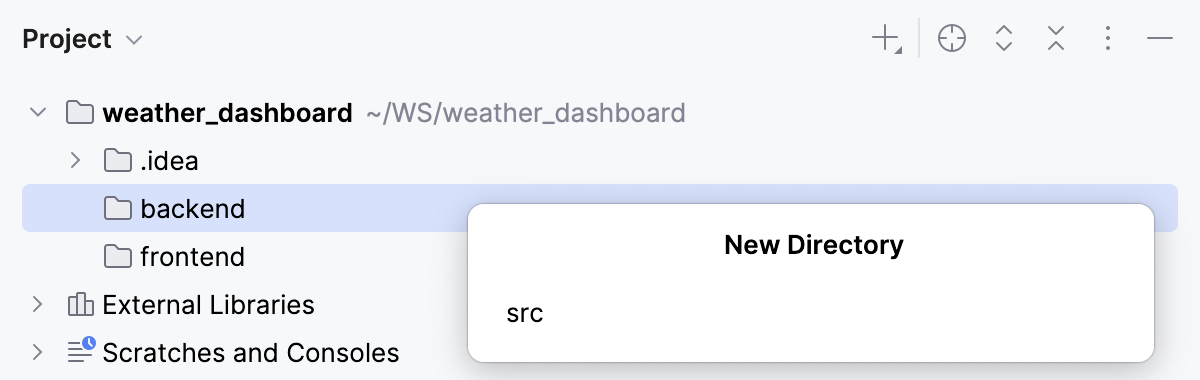
In the backend/src folder, create an index.ts file. To do that, right-click the backend/src folder, select from the context menu, and then select .
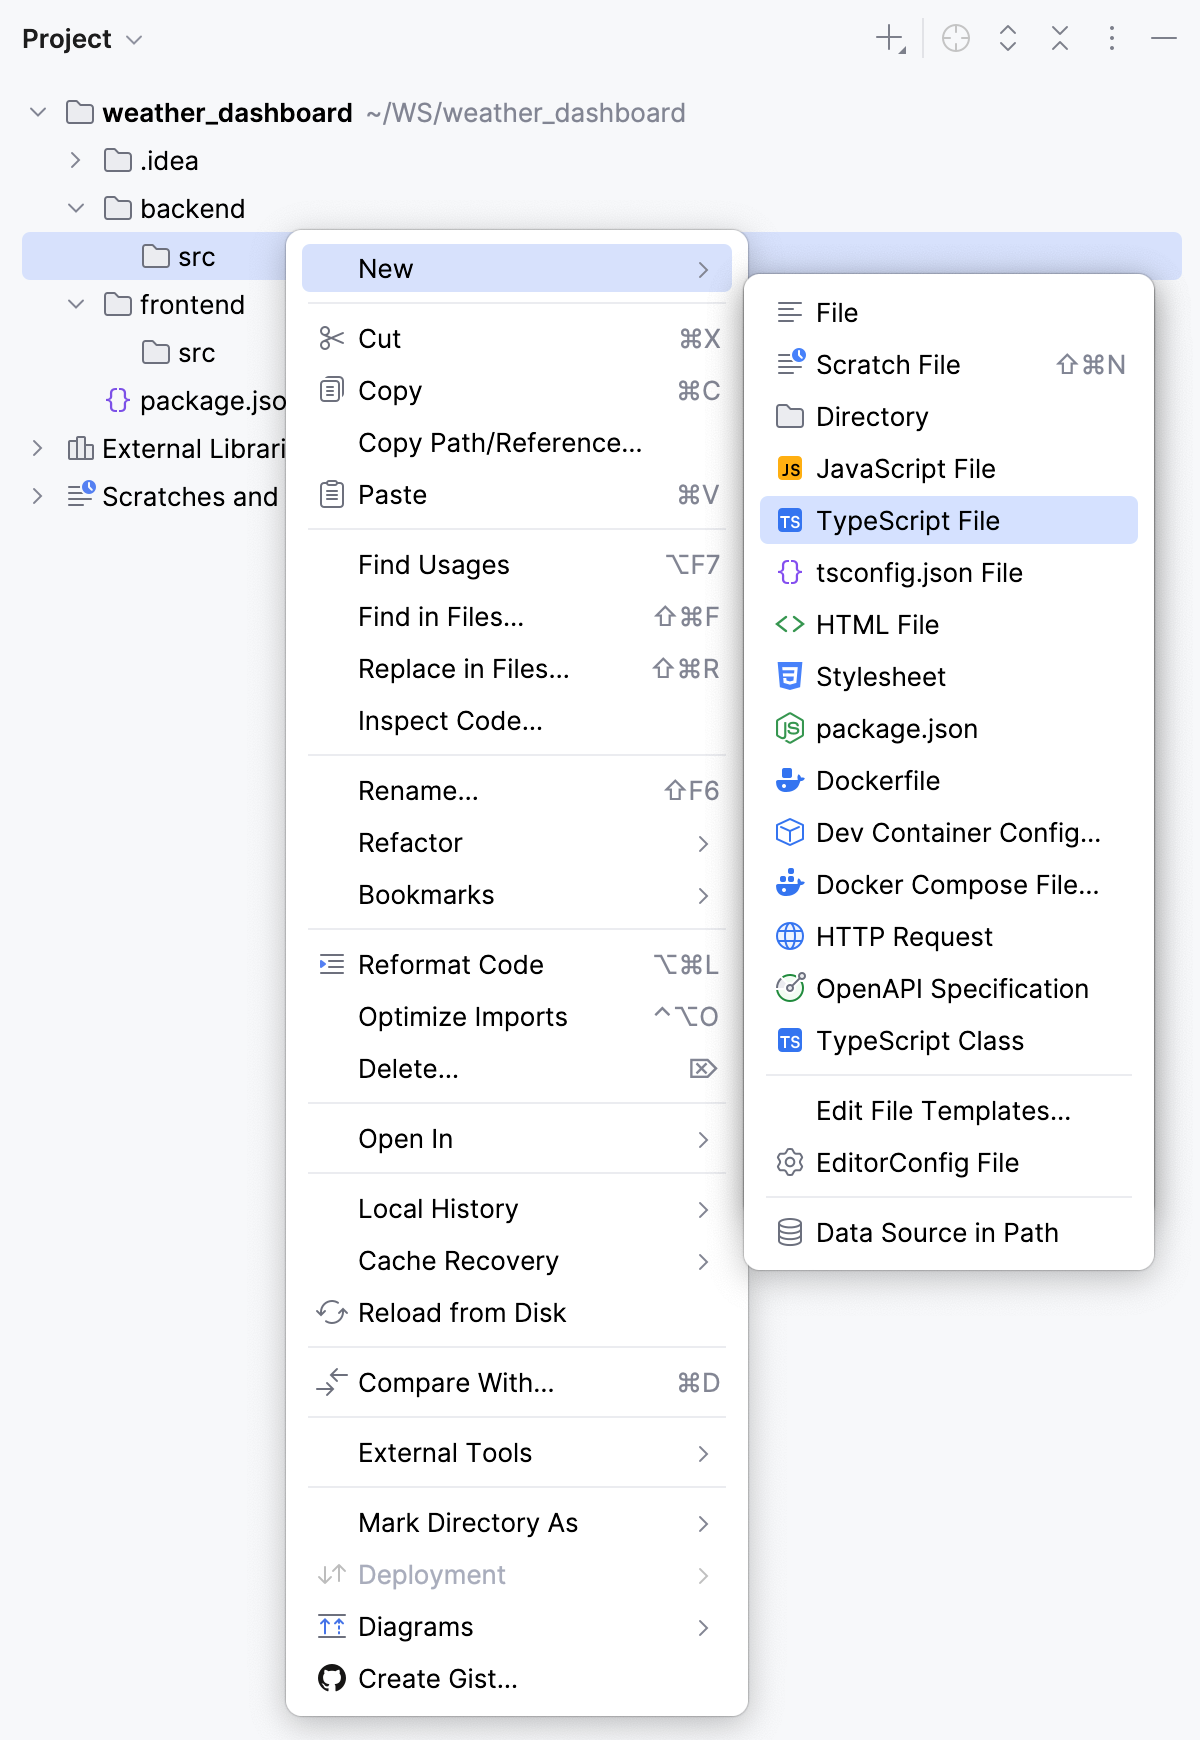
In the popup dialog that opens, select TypeScript File from the list and specify the file name, in our case it is index.
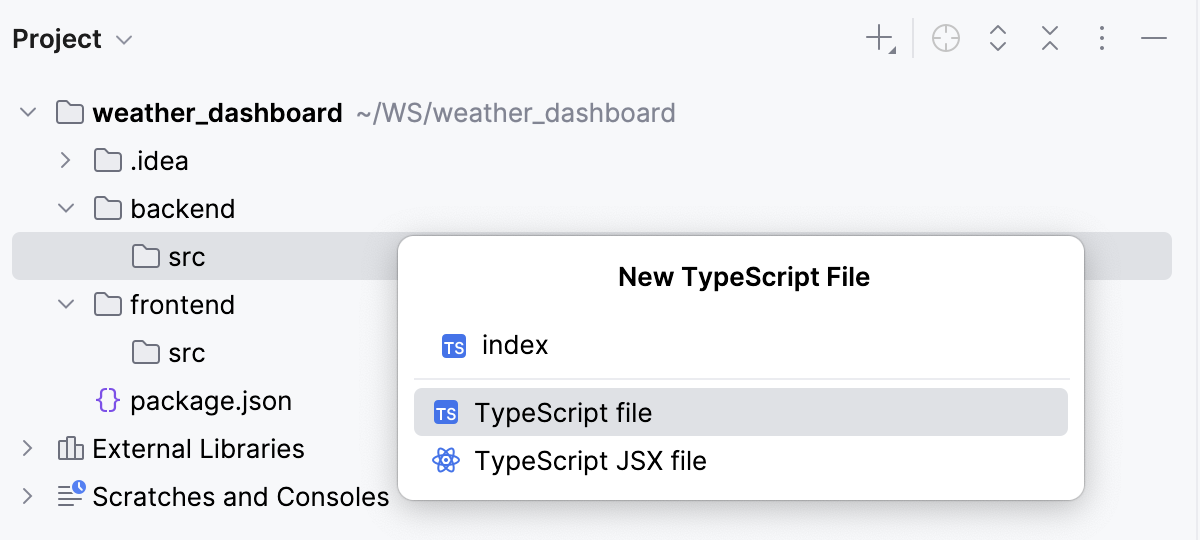
Open the index.ts file in the editor and paste the following code in it:
import express from "express"; import cors from "cors"; const app = express(); const port = process.env.PORT || 3000; app.use(cors()); const weather = [ { city: "Amsterdam", temperature: 18, condition: "Cloudy", humidity: 72, wind: 14 }, { city: "Berlin", temperature: 21, condition: "Sunny", humidity: 55, wind: 10 }, { city: "London", temperature: 16, condition: "Rainy", humidity: 80, wind: 18 } ]; app.get("/api/weather", (_req, res) => { res.json(weather); }); app.get("/api/health", (_req, res) => { res.json({ status: "ok" }); }); app.listen(port, () => { console.log(`Backend running on http://localhost:${port}`); });
Populate the frontend folder
Create a frontend/package.json file. To do that, select from the context menu of the frontend folder, then select from the list, and then type the following code in the frontend/package.json file that is created and opened in the editor:
{ "scripts": { "dev": "vite --host 0.0.0.0", "build": "tsc && vite build", "preview": "vite preview --host 0.0.0.0" }, "dependencies": { "@vitejs/plugin-react": "^6.0.2", "vite": "latest", "typescript": "^5.4.5", "react": "^18.2.0", "react-dom": "^18.2.0" }, "devDependencies": { "@types/react": "^18.2.66", "@types/react-dom": "^18.2.22" } }Create a frontend/tsconfig.json file. To do that, select from the context menu of the frontend folder, and then select from the list.
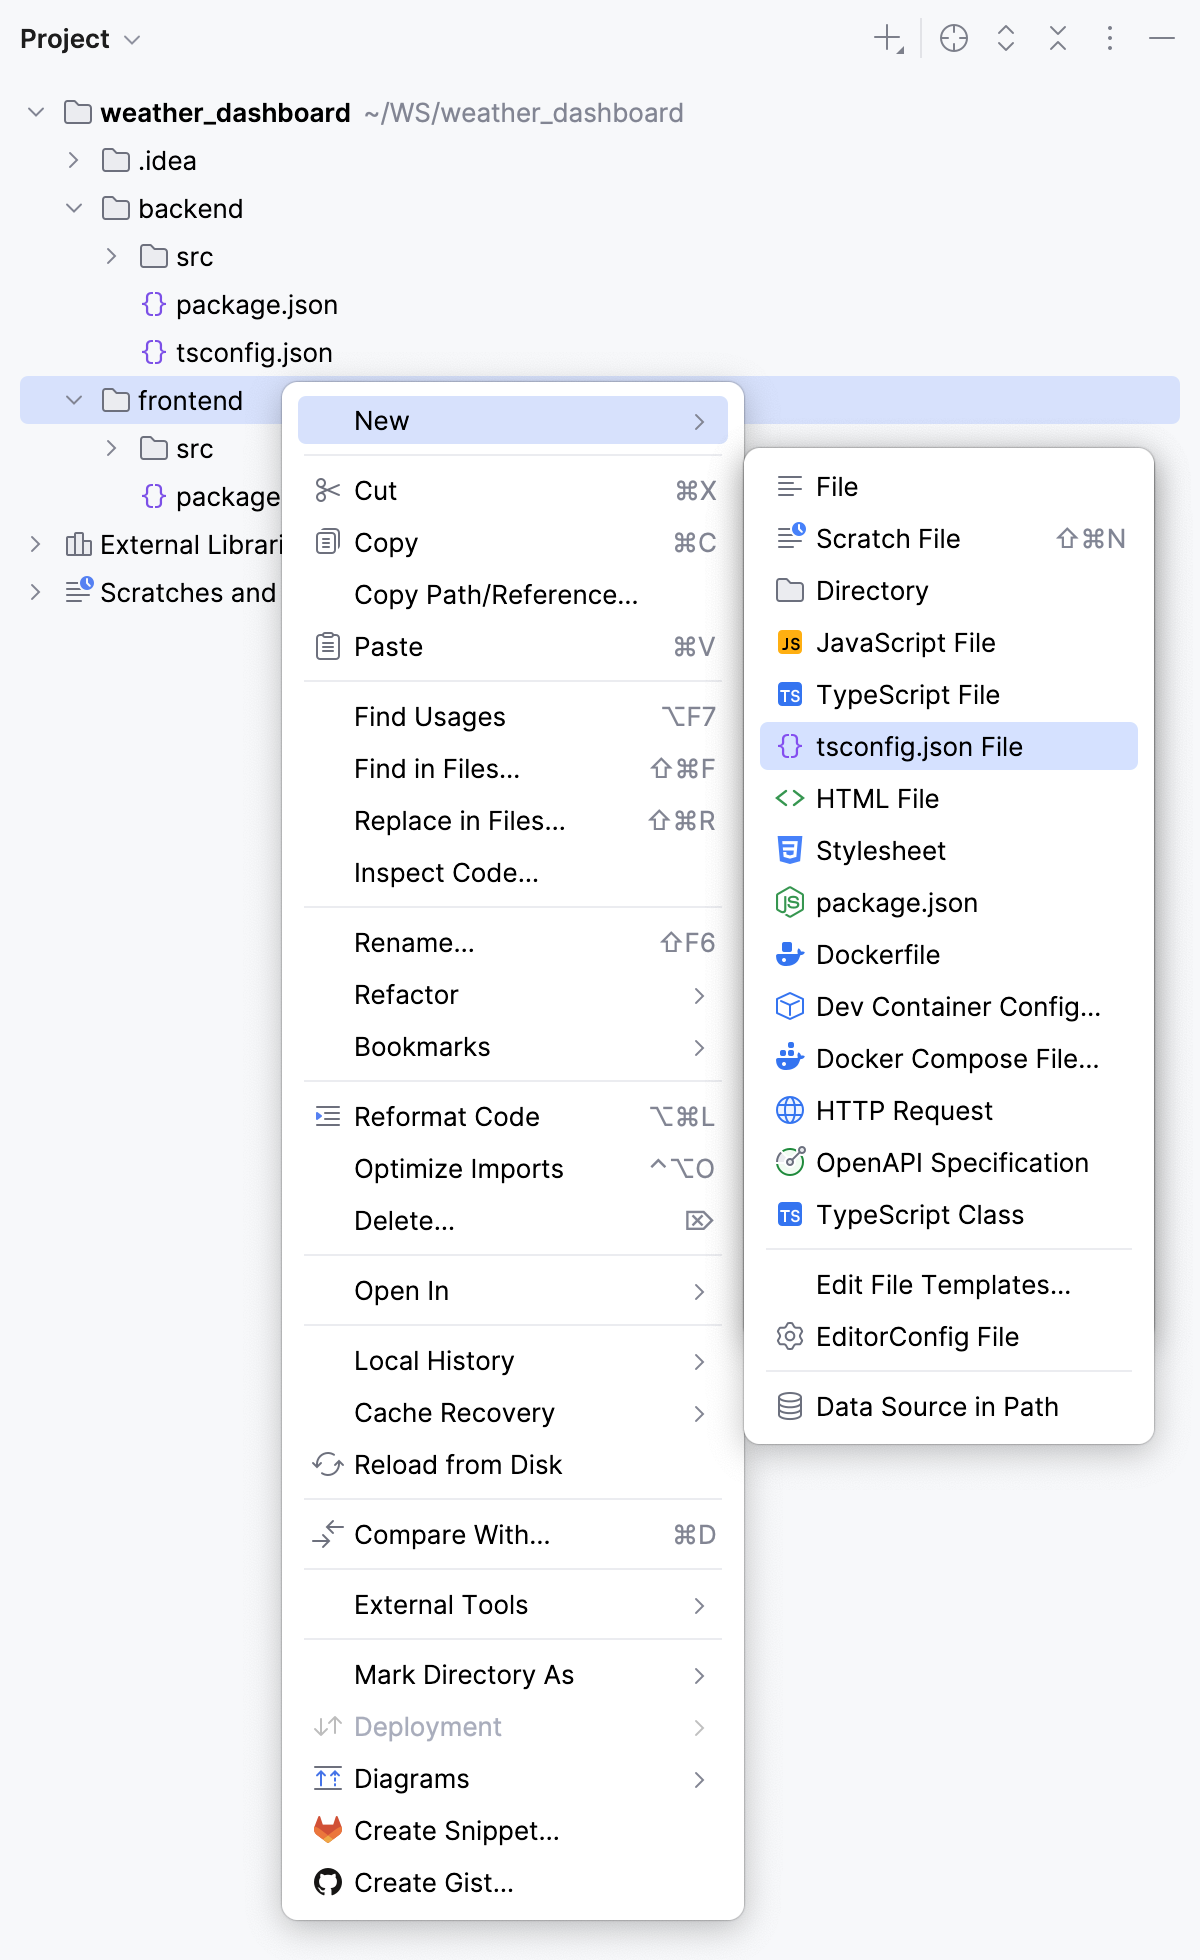
Then paste the following code in the frontend/tsconfig.json file that is created and opened in the editor:
{ "compilerOptions": { "target": "ES2022", "useDefineForClassFields": true, "lib": ["DOM", "DOM.Iterable", "ES2022"], "allowJs": false, "skipLibCheck": true, "esModuleInterop": true, "allowSyntheticDefaultImports": true, "strict": true, "module": "ESNext", "moduleResolution": "Bundler", "resolveJsonModule": true, "isolatedModules": true, "jsx": "react-jsx", "noEmit": true }, "include": ["src"] }Create a frontend/src folder.
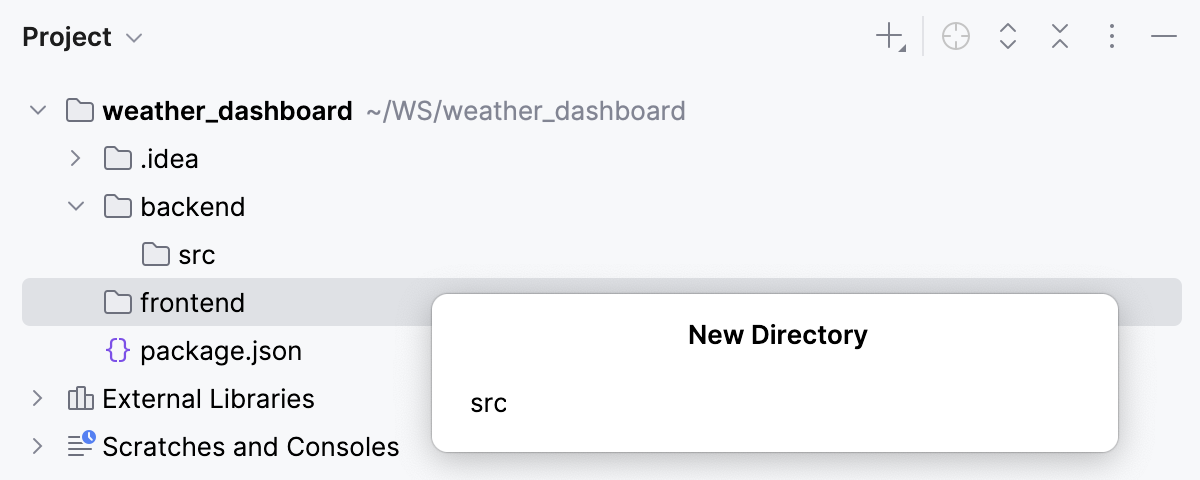
In the frontend/src folder, create two files - App.tsx and main.tsx.
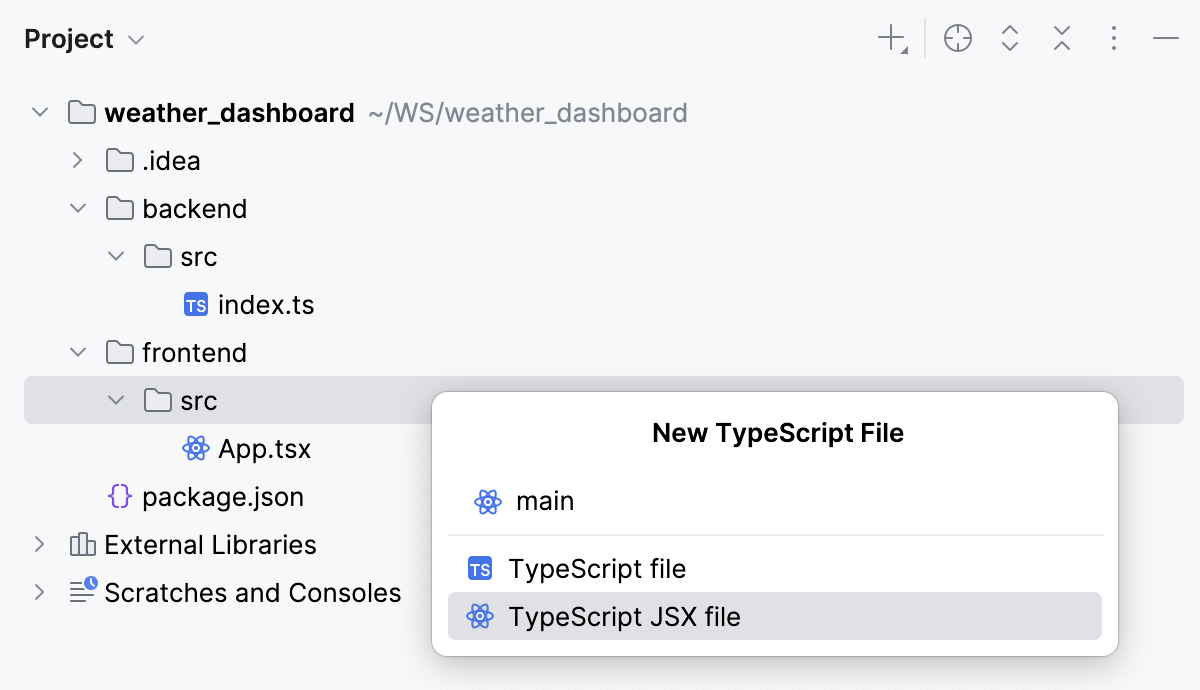
Open the frontend/src/App.tsx file in the editor and paste the following code:
import { useEffect, useState } from "react"; type Weather = { city: string; temperature: number; condition: string; humidity: number; wind: number; }; // @ts-ignore const API_URL = import.meta.env.VITE_API_URL || "http://localhost:3000"; export default function App() { const [weather, setWeather] = useState<Weather[]>([]); const [loading, setLoading] = useState(true); useEffect(() => { fetch(`${API_URL}/api/weather`) .then((response) => response.json()) .then((data) => setWeather(data)) .finally(() => setLoading(false)); }, []); return ( <main style={{ fontFamily: "Arial", padding: "2rem" }}> <h1>Weather Dashboard</h1> {loading && <p>Loading weather data...</p>} <div style={{ display: "flex", gap: "1rem", flexWrap: "wrap" }}> {weather.map((item) => ( <section key={item.city} style={{ border: "1px solid #ddd", borderRadius: "8px", padding: "1rem", width: "220px" }} > <h2>{item.city}</h2> <p>{item.temperature}°C</p> <p>{item.condition}</p> <p>Humidity: {item.humidity}%</p> <p>Wind: {item.wind} km/h</p> </section> ))} </div> </main> ); }Open the frontend/src/main.tsx file in the editor and paste the following code:
import React from "react"; import ReactDOM from "react-dom/client"; import App from "./App"; ReactDOM.createRoot(document.getElementById("root")!).render( <React.StrictMode> <App /> </React.StrictMode> );Create a frontend/index.html file. To do that, right-click the frontend folder, select from the context menu, then select from the list, and then specify the file name, in our example, it is index.
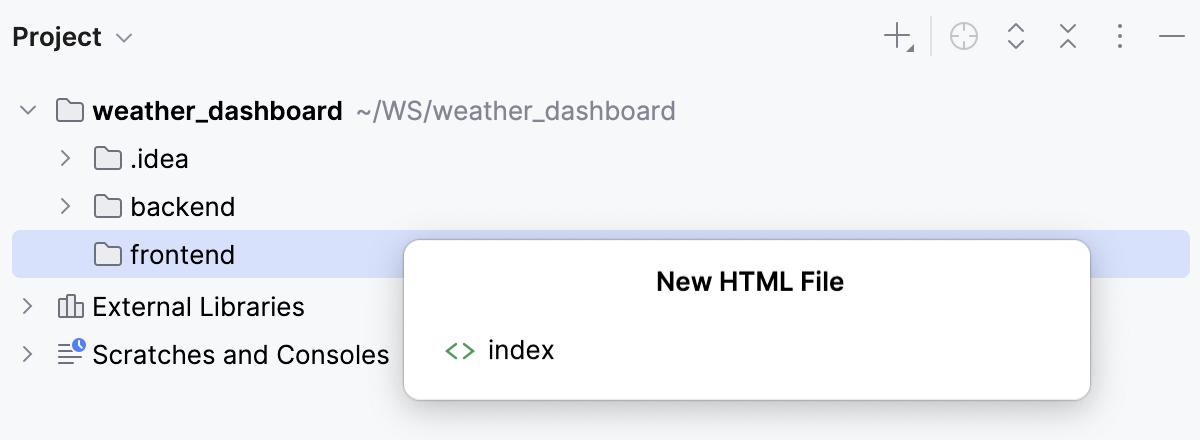
In the frontend/index.html file, type the following code:
<!doctype html> <html lang="en"> <head> <meta charset="UTF-8" /> <title>Weather Dashboard</title> </head> <body> <div id="root"></div> <script type="module" src="./src/main.tsx"></script> </body> </html>
Run and debug the application locally
To make sure our application works, let's run and debug it locally.
Run the application locally
First, launch the backend of the application in the development mode. To do that, open the backend/package.json file, click
 in the gutter at line 3, next to the
 devscript, and select Run 'dev' from the list.Open the frontend/package.json file, click
in the gutter at line 3, next to the devscript, and select Run 'dev (1)' from the list.In the Run tool window, click the link to open the application in the browser.
Debug the application locally
Open the frontend/src/App.tsx file and set a breakpoint next to the
returnstatement.Launch the backend of the application in the development mode. To do that, open the backend/package.json file, click
in the gutter at line 3, next to the devscript, and select Run 'dev' from the list.Open the frontend/package.json file, click
in the gutter at line 3, next to the devscript, and select Run 'dev (1)' from the list.Create a run/debug configuration of the type JavaScript Debug.
Select from the context menu of the Run widget.
In the Run/Debug Configurations dialog that opens, click
 on the toolbar and select JavaScript Debug from the list.
Specify the name of the configuration, for example,
weather_frontend.Specify the URL at which the frontend of your application is running. In this example, it is
http://localhost:5173.
Select the newly created run/debug configuration from the list under the Run widget and click
 next to it.
The page with the frontend of the application opens in the browser. Refresh the page for the debugger to connect.
In the Debug tool window, proceed as usual: step through the program, stop and resume program execution, examine it when suspended, explore the call stack and variables, set watches, evaluate variables, view actual HTML DOM, and so on.
Containerize the application
We need to create separate Dockerfiles for the backend and for the frontend and then create a docker-compose.yml file to connect the backend and the frontend.
It is also recommended that you create backend/.dockerignore and frontend/.dockerignore files and add the node_modules folders to them.
Create a backend/Dockerfile. To do that, go to the Project tool window, select from the context menu of the backend folder, and then select from the list.
Open the backend/Dockerfile in the editor and paste the following code in it:
# Start from the official Node.js 24.5.0 image based on Alpine Linux FROM node:22-alpine # Set the working directory inside the container to /app # If the directory doesn't exist, Docker should create it # All subsequent commands (COPY, RUN, CMD, etc.) are executed # relative to this directory WORKDIR /app # Copy the files that match package*.json from the backend folder # to /app. In our project these are backend/package.json # and backend/package-lock.json COPY package*.json ./ # Run npm install inside the container # Download and install dependencies from backend/package.json # Create an /app/node_modules folder RUN npm install # Copy the source code and the configuration files # from the backend folder into /app. # Skip the files that are listed in .dockerignore, # in our case that is the node_modules folder COPY . . # Expose the container's port EXPOSE 3000 # Specify the default commands to execute when the container starts CMD ["npm", "run", "dev"]Create a backend/.dockerignore file. To do that, go to the Project tool window, select from the context menu of the backend folder, select from the list, and then type
.dockerignorein the popup dialog that appears.Open the newly created backend/.dockerignore file in the editor and add
node_modulesto it.Create a frontend/Dockerfile. To do that, go to the Project tool window, select from the context menu of the frontend folder, and then select from the list.
Open the frontend/Dockerfile in the editor and paste the following code in it:
# Start from the official Node.js 22.0.0 image based on Alpine Linux FROM node:22-alpine # Set the working directory inside the container to /app # If the directory doesn't exist, Docker should create it # All subsequent commands (COPY, RUN, CMD, etc.) are executed # relative to this directory WORKDIR /app # Copy the files that match package*.json from the frontend folder # to /app. In our project these are frontend/package.json # and frontend/package-lock.json COPY package*.json ./ # Run npm install inside the container # Download and install dependencies from frontend/package.json # Create an /app/node_modules folder RUN npm install # Copy the source code and the configuration files # from the frontend folder into /app. # Skip the files that are listed in .dockerignore, # in our case that is the node_modules folder COPY . . # Expose the container's port EXPOSE 5173 # Specify the default commands to execute when the container starts CMD ["npm", "run", "dev"]Create a frontend/.dockerignore file. To do that, go to the Project tool window, select from the context menu of the frontend folder, select from the list, and then type
.dockerignorein the popup dialog that appears.Open the newly created frontend/.dockerignore file in the editor and add
node_modulesto it.Create a docker-compose.yml file. To do that, go to the Project tool window, select from the context menu of the project folder weather_dashboard, and then select from the list.
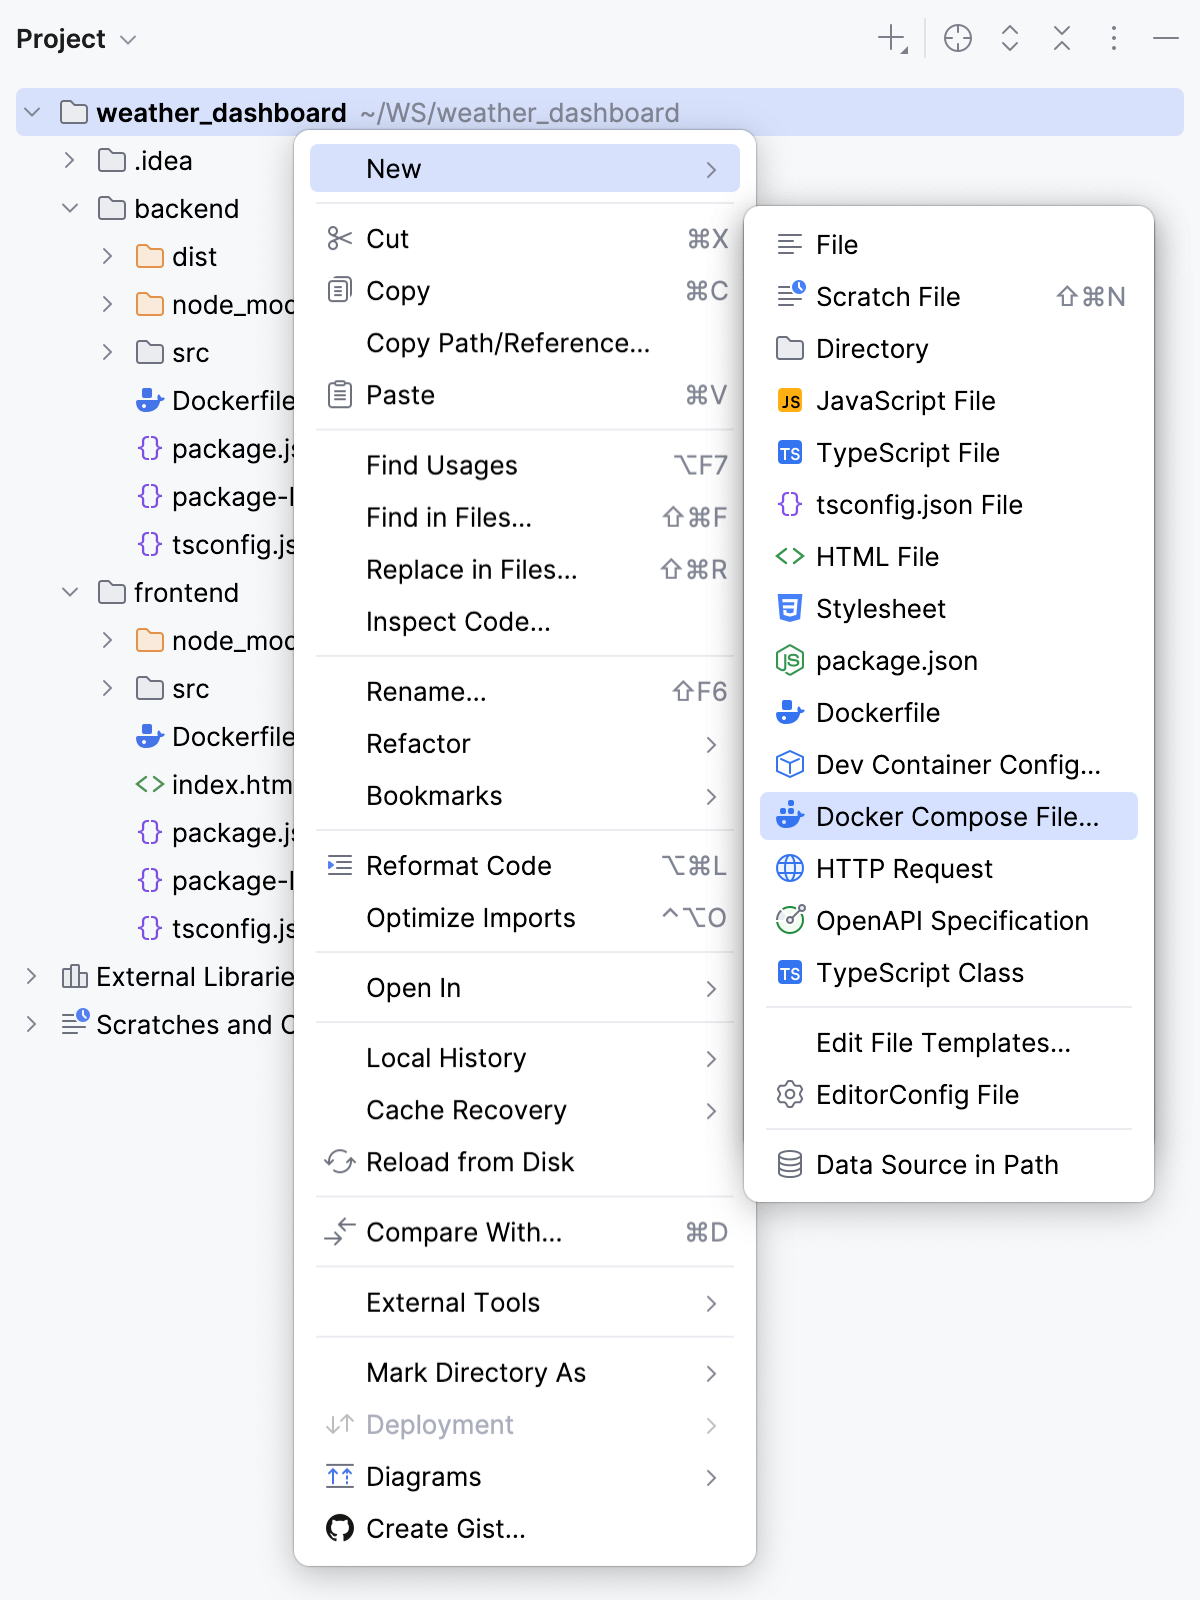
In the popup dialog that appears, type
docker-compose.yml.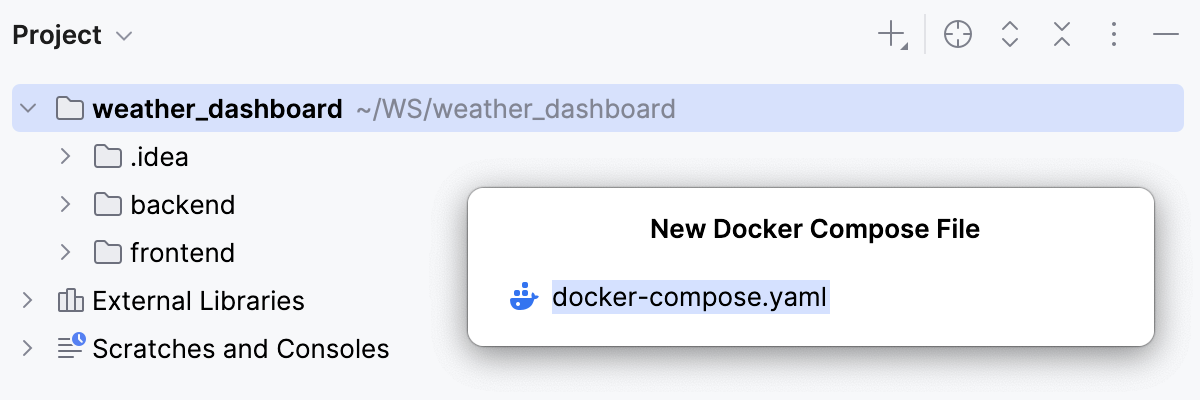
The docker-compose.yml file should ensure the following:
Build a backend image from ./backend
Builds a frontend image from ./frontend
Start the backend and the frontend containers
Connect the backend and the frontend containers
Open the newly created docker-compose.yml file in the editor and paste the following code in it:
services: # Define a service backend backend: # Build an image from the Dockerfile in the backend folder build: ./backend # Map the container's port 3000 to the host's port 3000 ports: - "3000:3000" # Bind mount between the folders on the host and in the container volumes: - ./backend:/app # Keep /app/node_modules inside Docker # Suppress replacing it with the host version - /app/node_modules # Define a service frontend frontend: # Build an image from the Dockerfile in the frontend folder build: ./frontend # Map the container's port 5173 to the host's port 5173 ports: - "5173:5173" # Set an environment variable inside the frontend container: environment: - VITE_API_URL=http://localhost:3000 # Bind mount between the folders on the host and in the container volumes: - ./frontend:/app # Keep /app/node_modules inside Docker # Suppress replacing it with the host version - /app/node_modules # Define a dependency on the backend service, which means: # Start the backend first # Then start the frontend depends_on: - backend
Run the application in the container
In the docker-compose.yml file, click
 next to
 servicesand select from the context menu.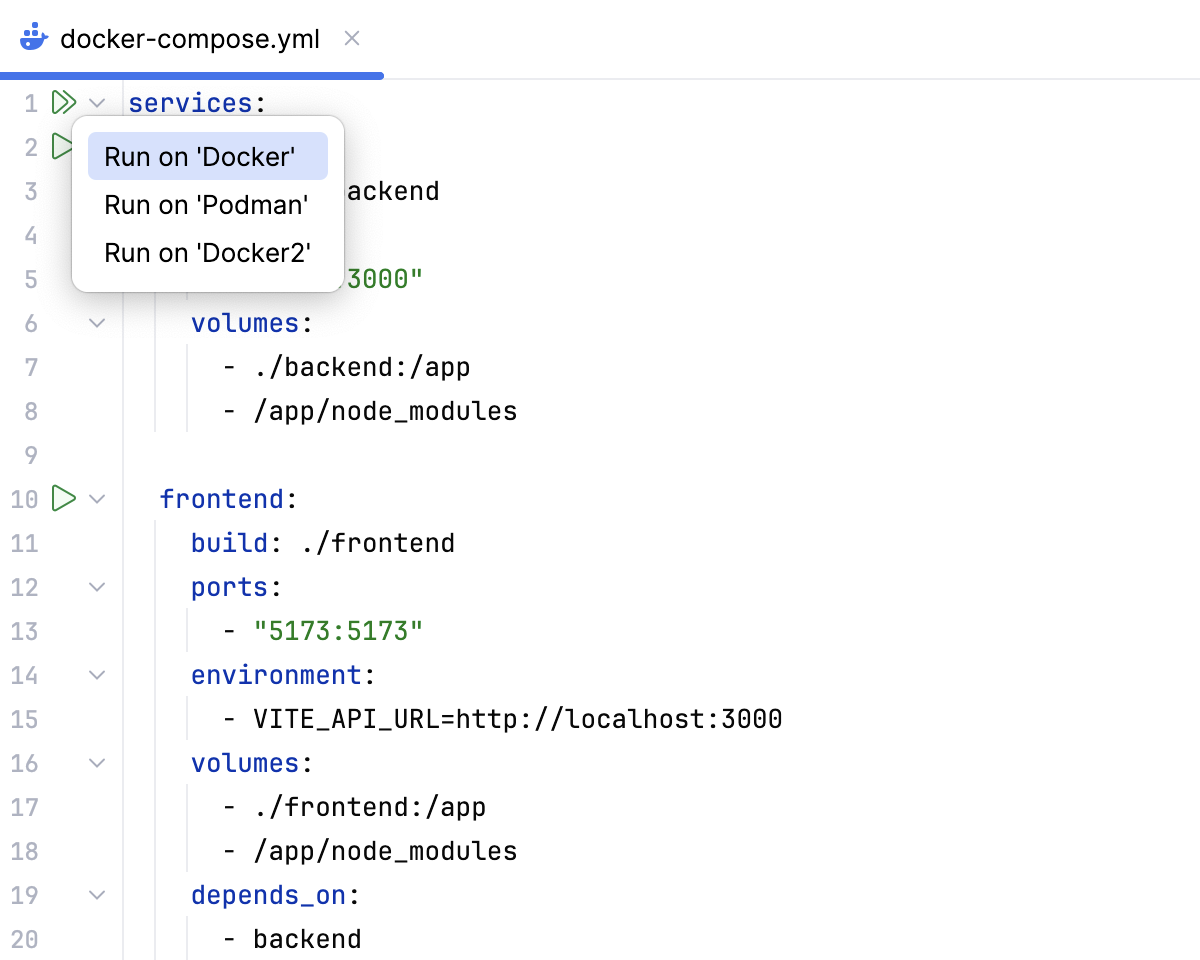
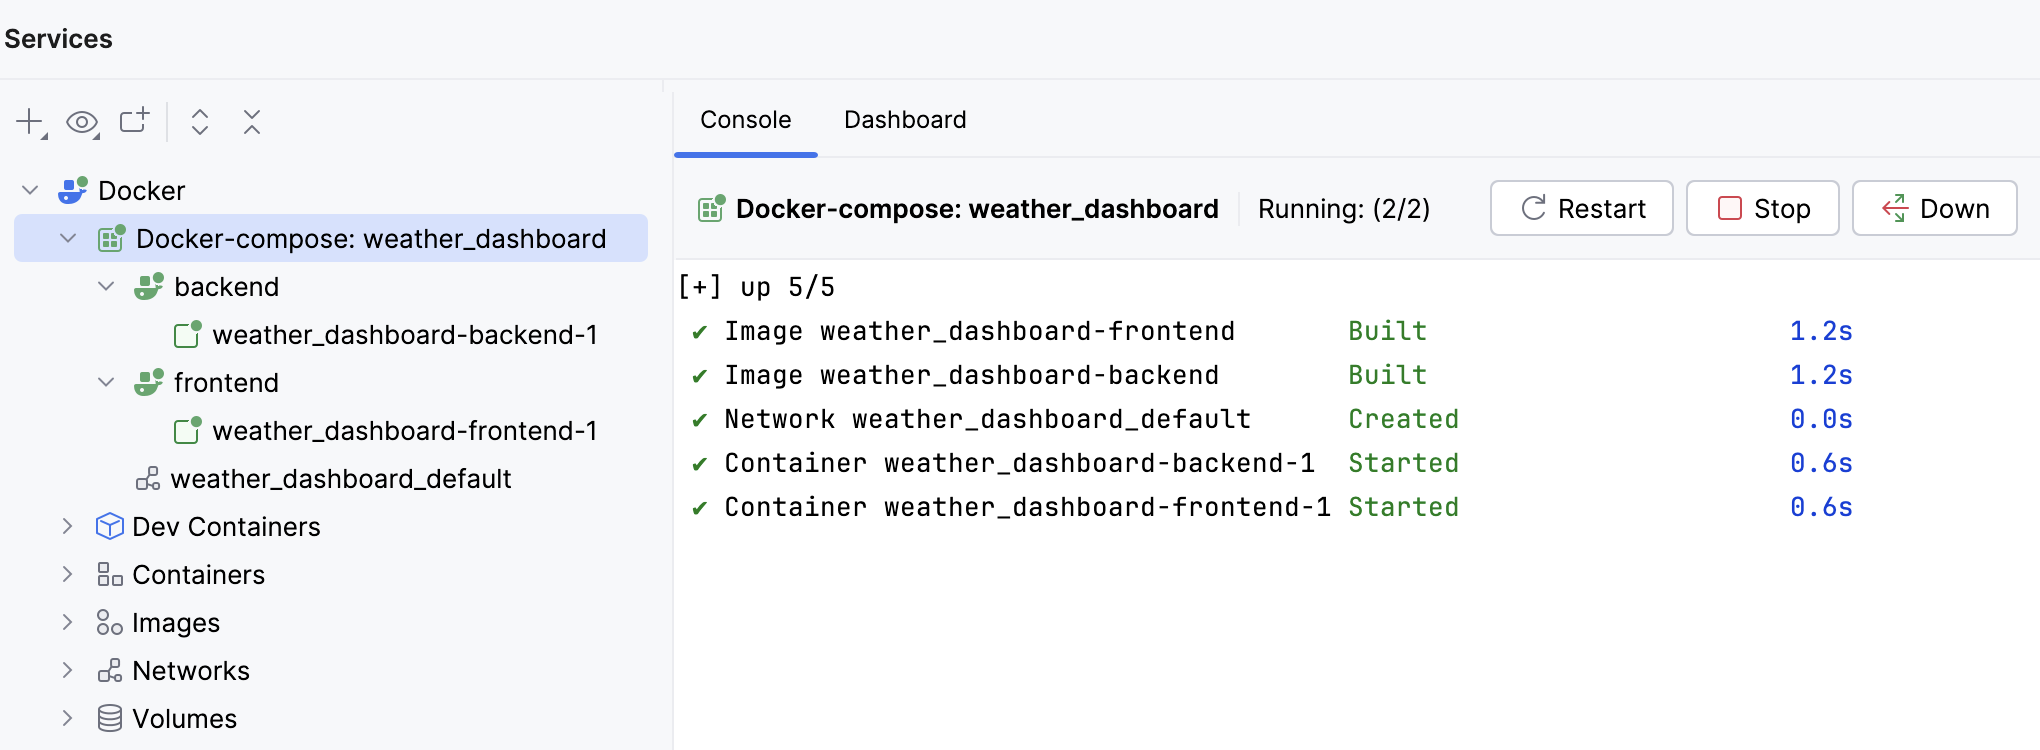
If everything is correct, you should see the following in the Services tool window:
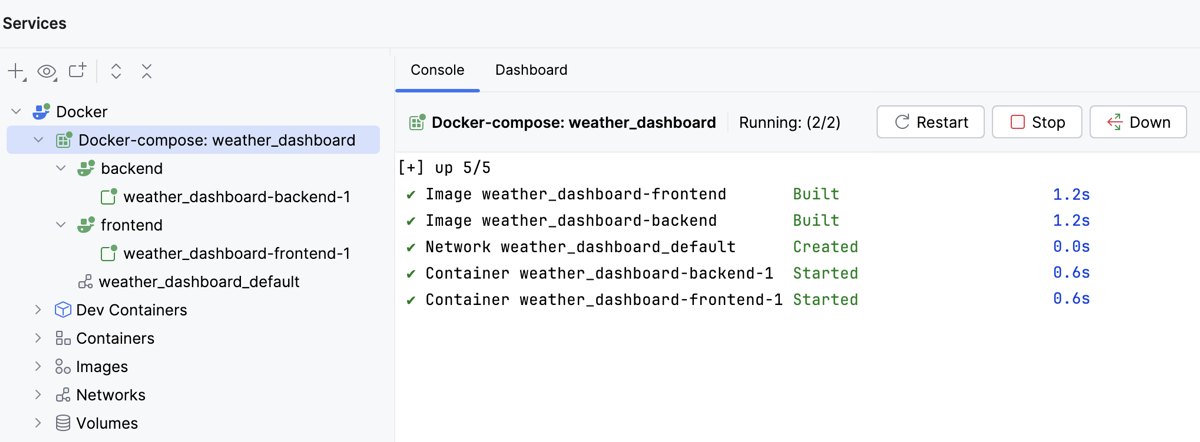
Open your browser at
http://localhost:5173/to see the application running: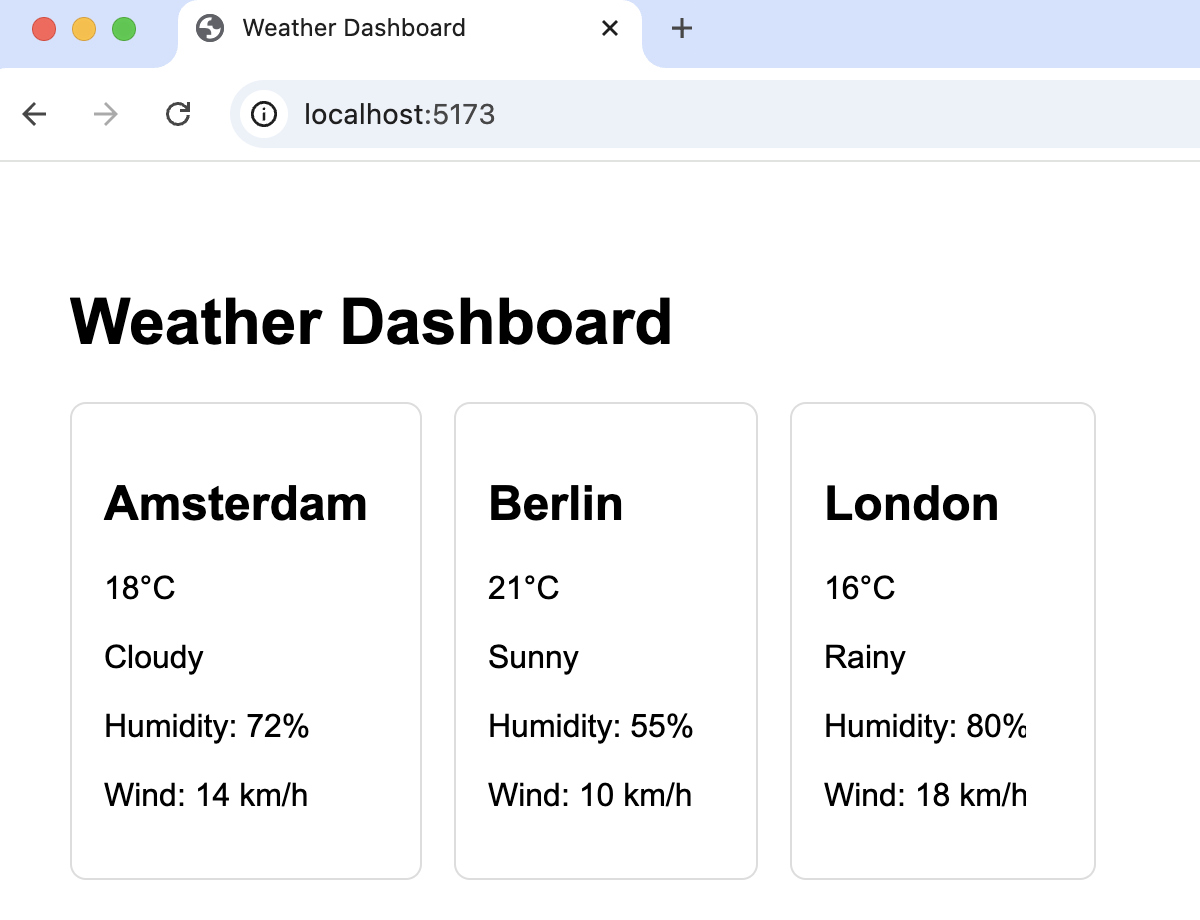
Debug the application in the container
To enable debugging our containerized application from WebStorm, we need mainly to update the backend part to expose the Node.js debug port.
Update the Dockerfiles and the docker-compose.yml file
Open the backend/Dockerfile in the editor and update it as follows:
Below the
EXPOSE 3000line, addEXPOSE 9229.Add the
debugcommand as follows:CMD ["npm", "run", "dev", "debug"].
As a result, your backend/Dockerfile should look as follows:
FROM node:22-alpine WORKDIR /app COPY package*.json ./ RUN npm install COPY . . EXPOSE 3000 EXPOSE 9229 CMD ["npm", "run", "dev", "debug"]Open the backend/package.json file and add a
debugscript, so thescriptsproperty looks as follows:"scripts": { "dev": "tsx watch src/index.ts", "build": "tsc", "start": "node dist/index.js", "debug": "node --inspect=0.0.0.0:9229 src/index.ts" }The
--inspect=0.0.0.0:9229flag allows WebStorm to connect to Node.js inside the container and thus enables debugging on port9229.Open the docker-compose.yml file in the editor and add
- "9229:9229"to theportsproperty underbackendas follows:ports: - "3000:3000" - "9229:9229"
Start debugging the application in the container
Because we have updated the package.json and Dockerfiles, open the Services tool window and make sure the application is not running in the container. If it is, click Down.
Open the frontend/src/App.tsx file and set a breakpoint next to the
returnstatement.In the docker-compose.yml file, click
next to servicesand select from the context menu.Create a run/debug configuration of the type JavaScript Debug.
Select from the context menu of the Run widget.
In the Run/Debug Configurations dialog that opens, click
on the toolbar and select JavaScript Debug from the list.Specify the name of the configuration, for example,
weather_frontend_docker.Specify the URL at which the frontend of your application is running. In this example, it is
http://localhost:5173.
Select the newly created run/debug configuration from the list under the Run widget and click
next to it.In the Debug tool window, proceed as usual: step through the program, stop and resume program execution, examine it when suspended, explore the call stack and variables, set watches, evaluate variables, view actual HTML DOM, and so on.