チュートリアル:フルスタック TypeScript アプリケーションの Docker 化
このチュートリアルでは、以下を行います:
React/Vite TypeScript フロントエンドと Express TypeScript バックエンドを用いた Weather Dashboard フルスタックアプリケーションを作成します。
アプリケーションの両方の部分に対して Dockerfile を記述します。
アプリケーションをローカルで実行・デバッグして、期待どおりに動作するか確認します。
フロントエンドとバックエンドをつなぐための docker-compose.yml ファイルを作成します。
docker-compose.yml ファイルを実行してイメージを作成し、アプリケーションを含むコンテナーをビルドします。
Docker コンテナーで実行されるアプリケーションを実行・デバッグします。
始める前に
Weather Dashboard アプリケーションを作成
Welcome 画面で 新規プロジェクト をクリックするか、メインメニューから を選択してください。
開いたダイアログで、左側のペインで 空のプロジェクト を選択します。
アプリケーションの場所と名前(例:
weather_dashboard)を指定します。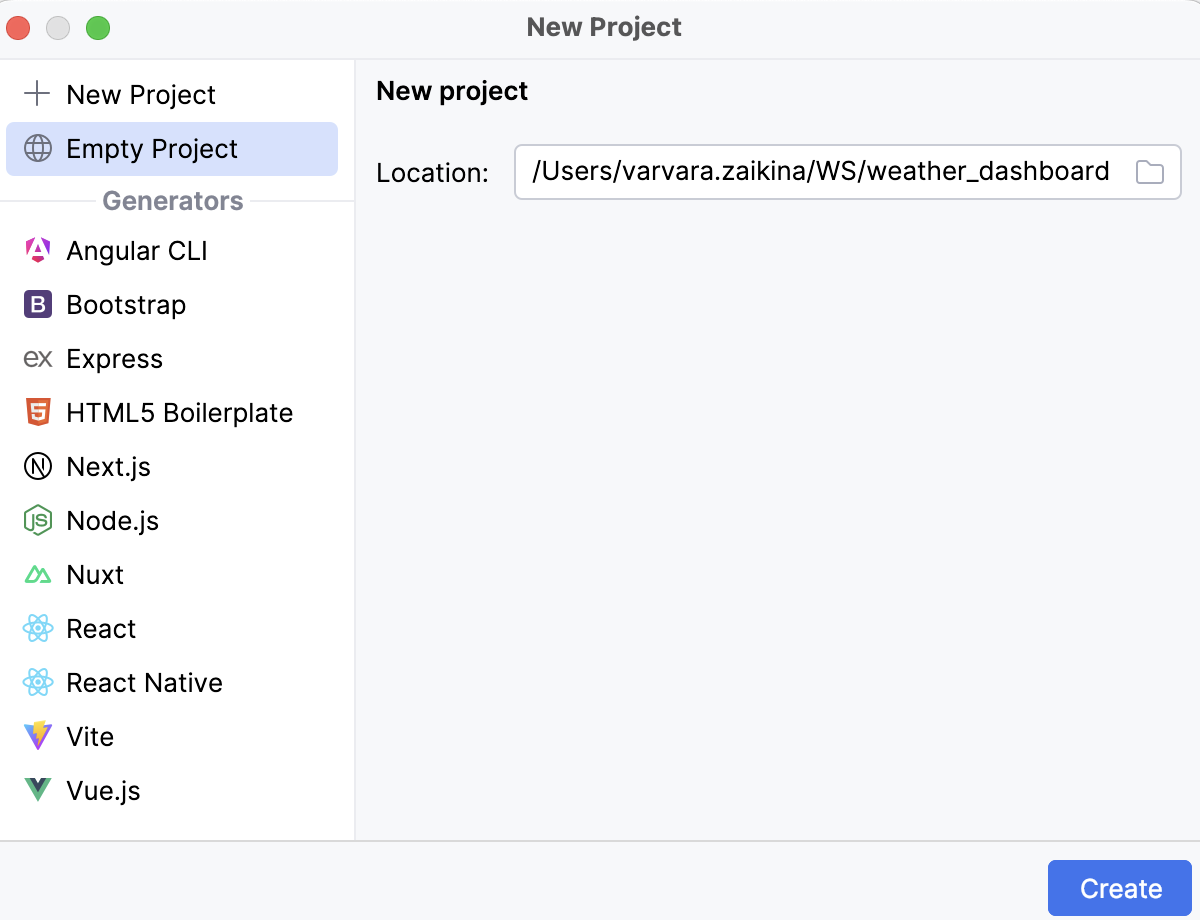
作成 をクリックしてください。
WebStorm はプロジェクトスタブを生成し、エディターで開きます。
アプリケーションを実装する
プロジェクトスタブをいくつかのフォルダーとファイルで拡張し、最終的にプロジェクトが次のようになるようにします:
バックエンドおよびフロントエンド用のフォルダーを作成
プロジェクト ツールウィンドウ Alt+1 を開き、プロジェクトフォルダーを右クリックし、コンテキストメニューから を選択し、 を選択します。
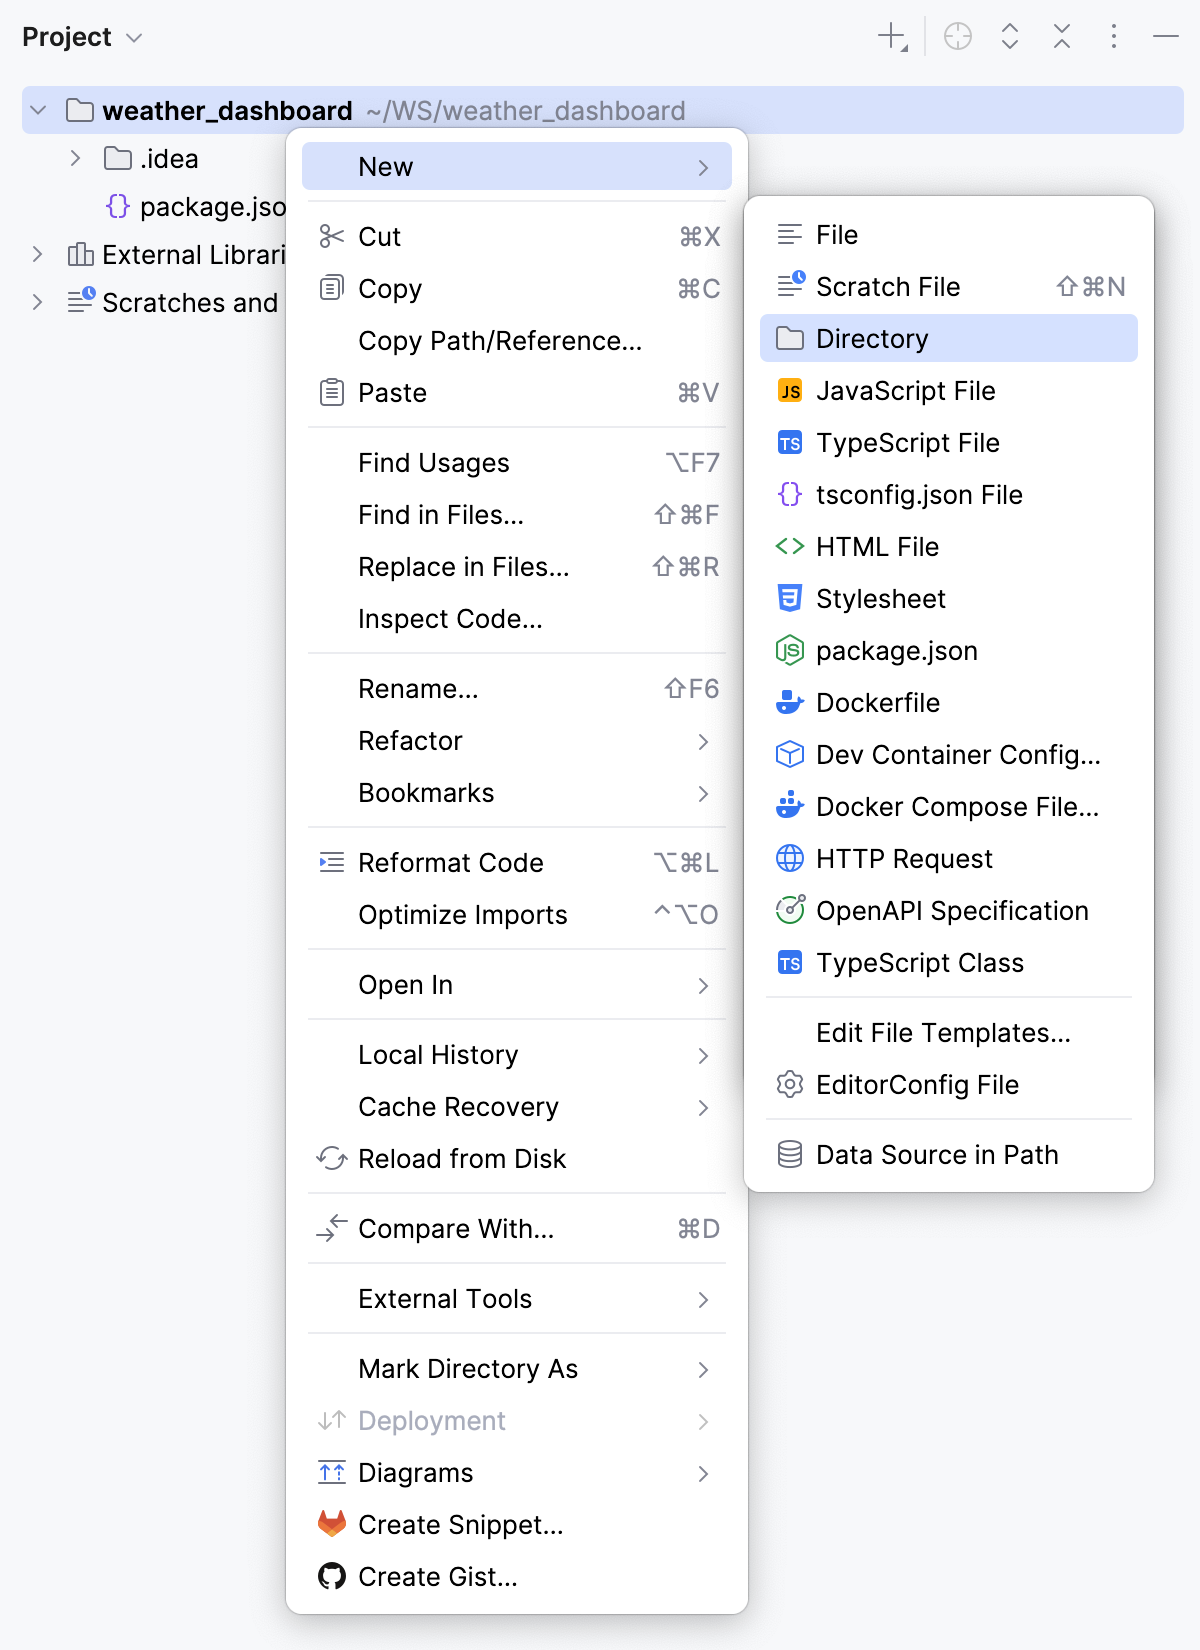
表示されるポップアップダイアログで、フォルダー名を指定します。今回の場合は backend です。
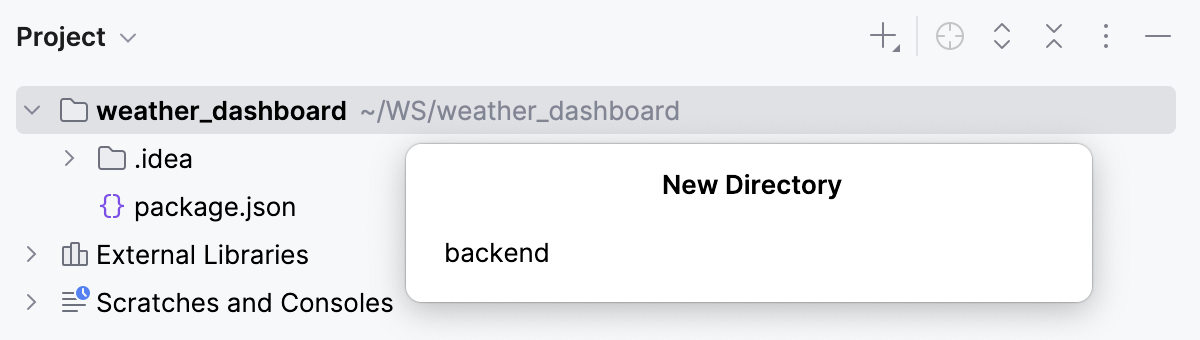
同様にして、 frontend フォルダーを作成します。
バックエンド用フォルダーを作成して内容を追加
backend/package.json ファイルを作成します。 そのためには、 を backend フォルダーのコンテキストメニューから選択し、リストから を選択し、作成してエディターで開かれる package.json ファイルに次のコードを入力します:
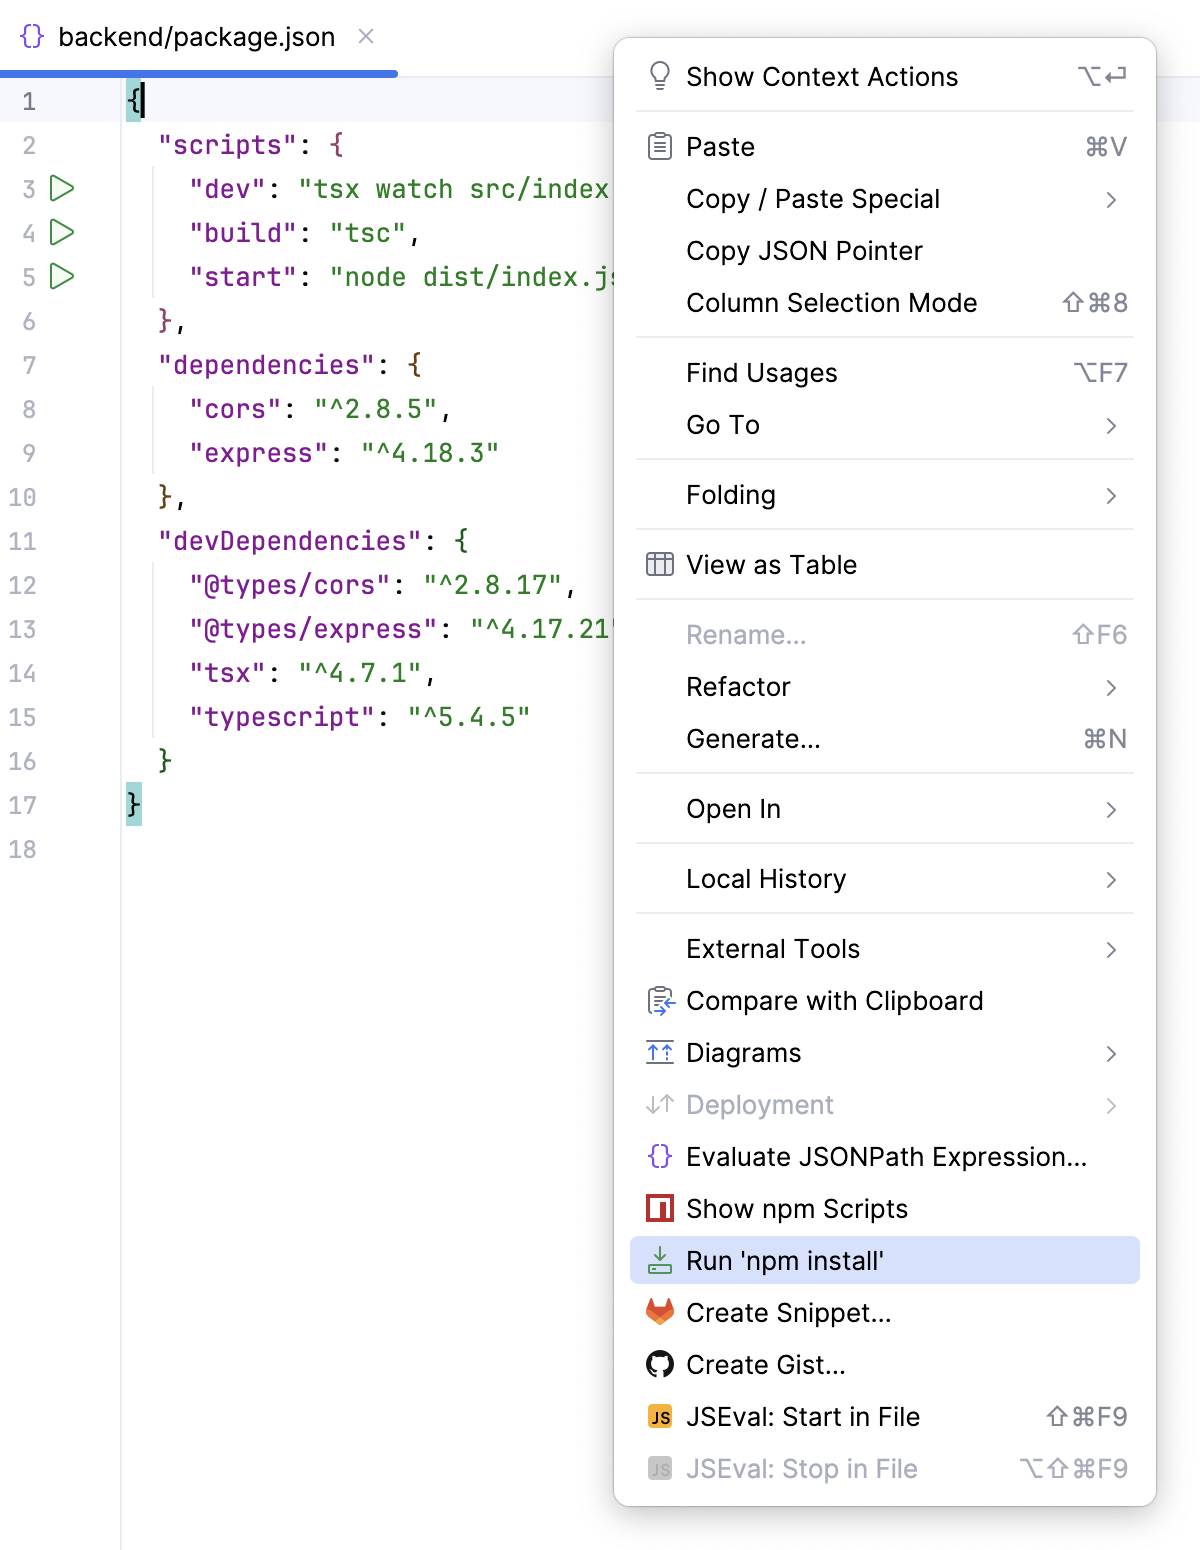
{ "scripts": { "dev": "tsx watch src/index.ts", "build": "tsc", "start": "node dist/index.js" }, "dependencies": { "cors": "^2.8.5", "express": "^4.18.3" }, "devDependencies": { "@types/cors": "^2.8.17", "@types/express": "^4.17.21", "tsx": "^4.7.1", "typescript": "^5.4.5" } }依存関係をインストールするには、 backend/package.json のコンテキストメニューから を選択します。
backend/tsconfig.json ファイルを作成します。 そのためには、 を backend フォルダーのコンテキストメニューから選択し、リストから を選択し、作成してエディターで開かれる backend/tsconfig.json ファイルに次のコードを貼り付けます:
{ "compilerOptions": { "target": "ES2022", "module": "NodeNext", "moduleResolution": "NodeNext", "outDir": "dist", "strict": true, "esModuleInterop": true }, "include": ["src"] }backend/src フォルダーを作成します。
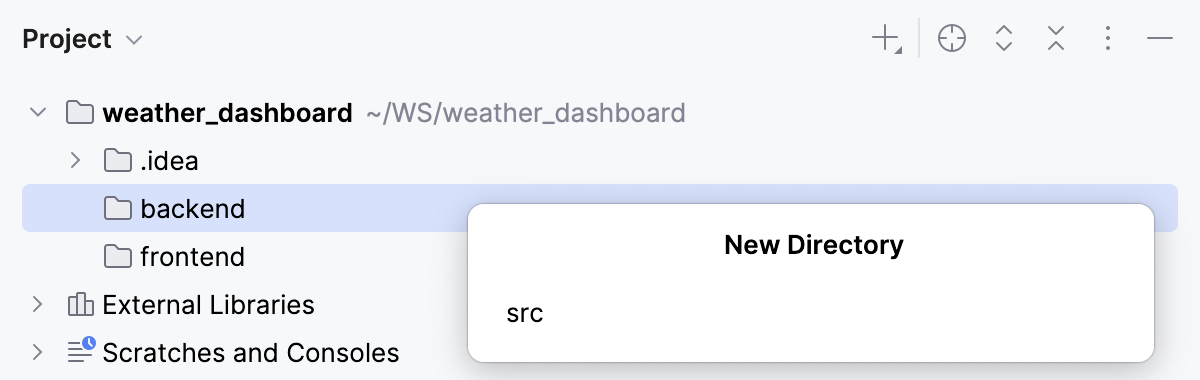
backend/src フォルダー内に index.ts ファイルを作成します。 backend/src フォルダーのコンテキストメニューから、 を選択し、 を選択します。
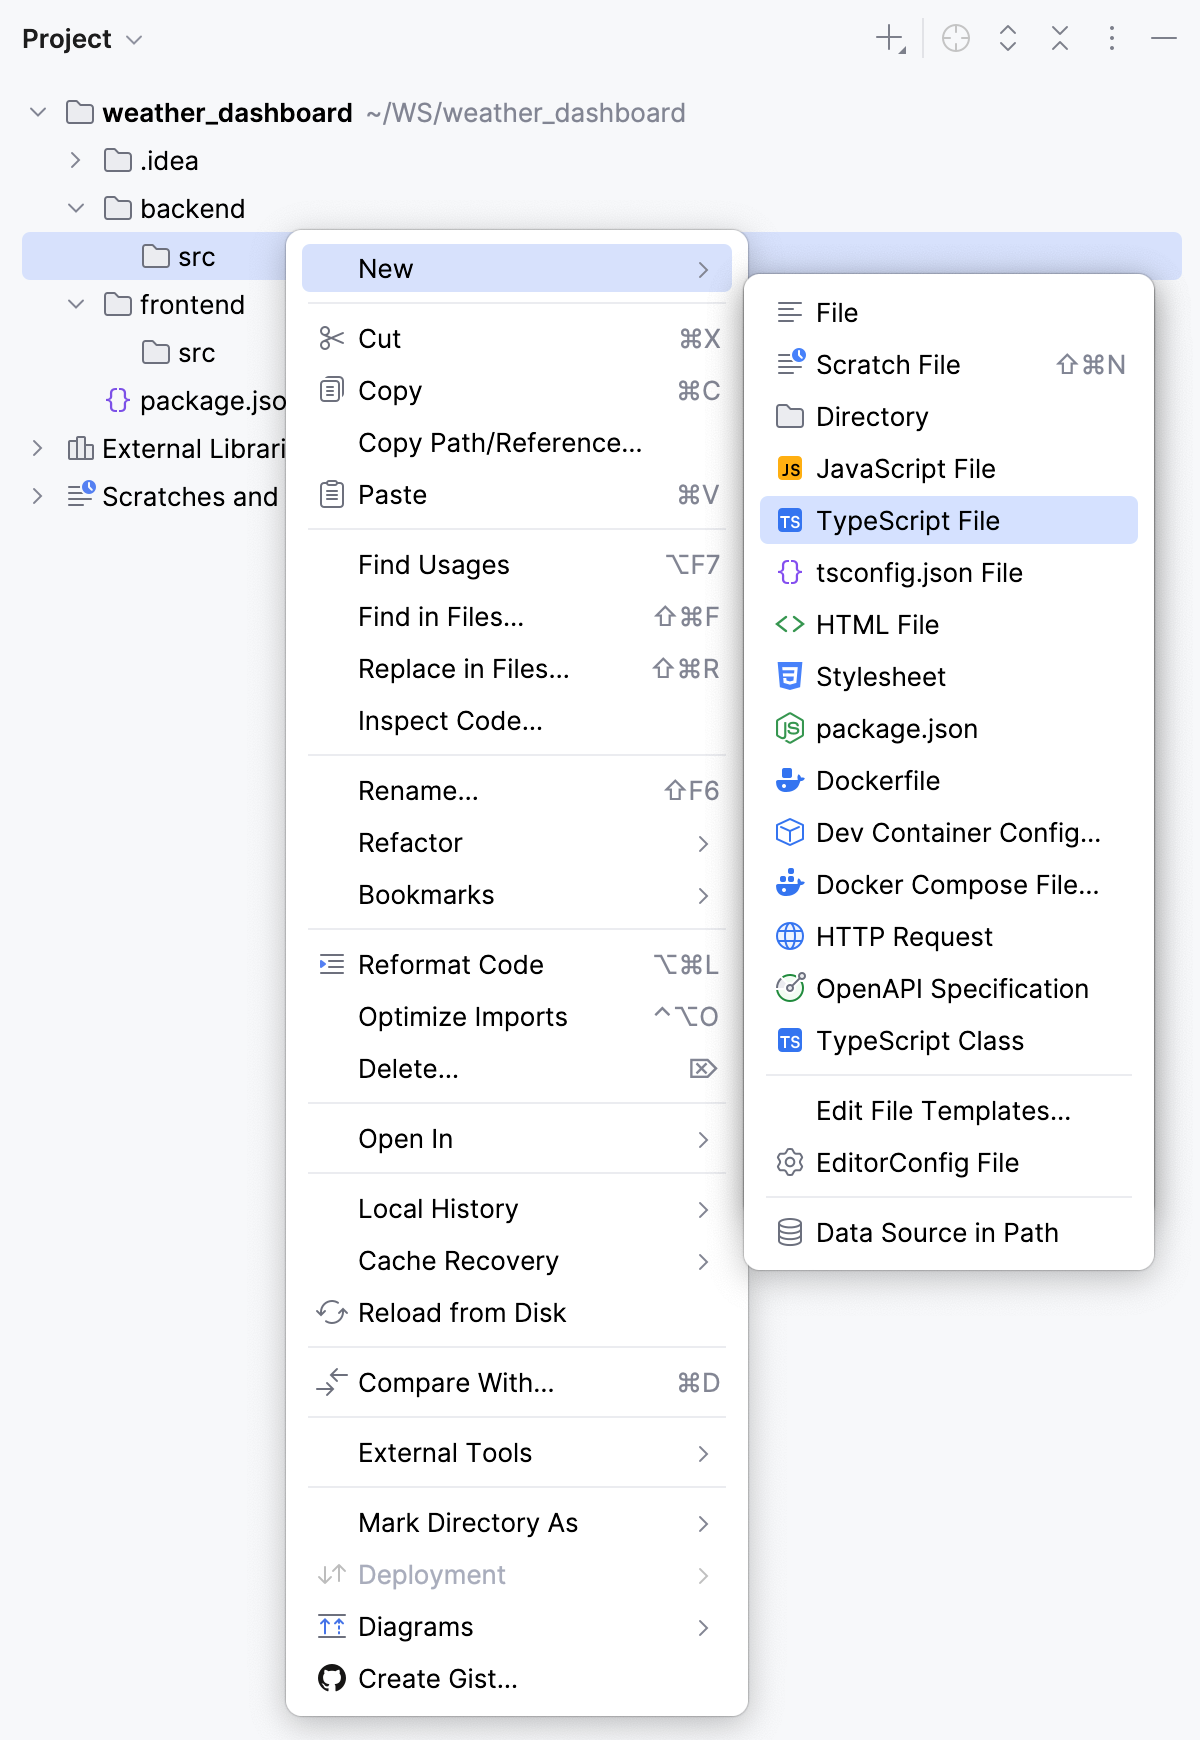
表示されるポップアップダイアログで、リストから TypeScript ファイル を選択し、ファイル名を指定します。今回の場合は index です。
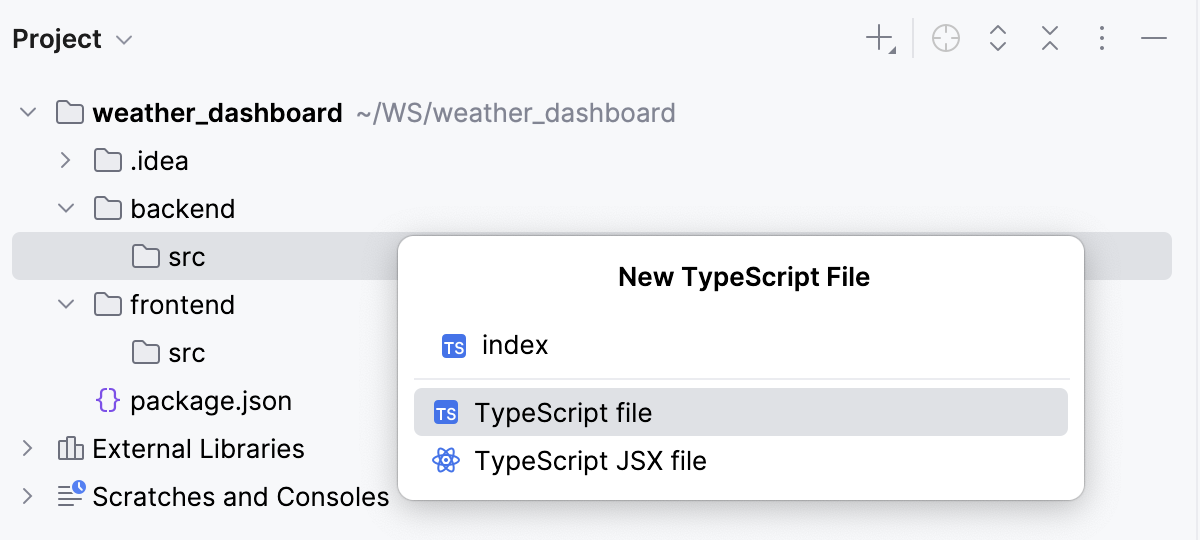
index.ts ファイルをエディターで開き、次のコードを貼り付けます:
import express from "express"; import cors from "cors"; const app = express(); const port = process.env.PORT || 3000; app.use(cors()); const weather = [ { city: "Amsterdam", temperature: 18, condition: "Cloudy", humidity: 72, wind: 14 }, { city: "Berlin", temperature: 21, condition: "Sunny", humidity: 55, wind: 10 }, { city: "London", temperature: 16, condition: "Rainy", humidity: 80, wind: 18 } ]; app.get("/api/weather", (_req, res) => { res.json(weather); }); app.get("/api/health", (_req, res) => { res.json({ status: "ok" }); }); app.listen(port, () => { console.log(`Backend running on http://localhost:${port}`); });
フロントエンド用フォルダーを作成して内容を追加
frontend/package.json ファイルを作成します。 そのためには、 を frontend フォルダーのコンテキストメニューから選択し、リストから を選択し、作成してエディターで開かれる frontend/package.json ファイルに次のコードを入力します:
{ "scripts": { "dev": "vite --host 0.0.0.0", "build": "tsc && vite build", "preview": "vite preview --host 0.0.0.0" }, "dependencies": { "@vitejs/plugin-react": "^6.0.2", "vite": "latest", "typescript": "^5.4.5", "react": "^18.2.0", "react-dom": "^18.2.0" }, "devDependencies": { "@types/react": "^18.2.66", "@types/react-dom": "^18.2.22" } }frontend/tsconfig.json ファイルを作成します。 そのためには、 を frontend フォルダーのコンテキストメニューから選択し、リストで を選択します。
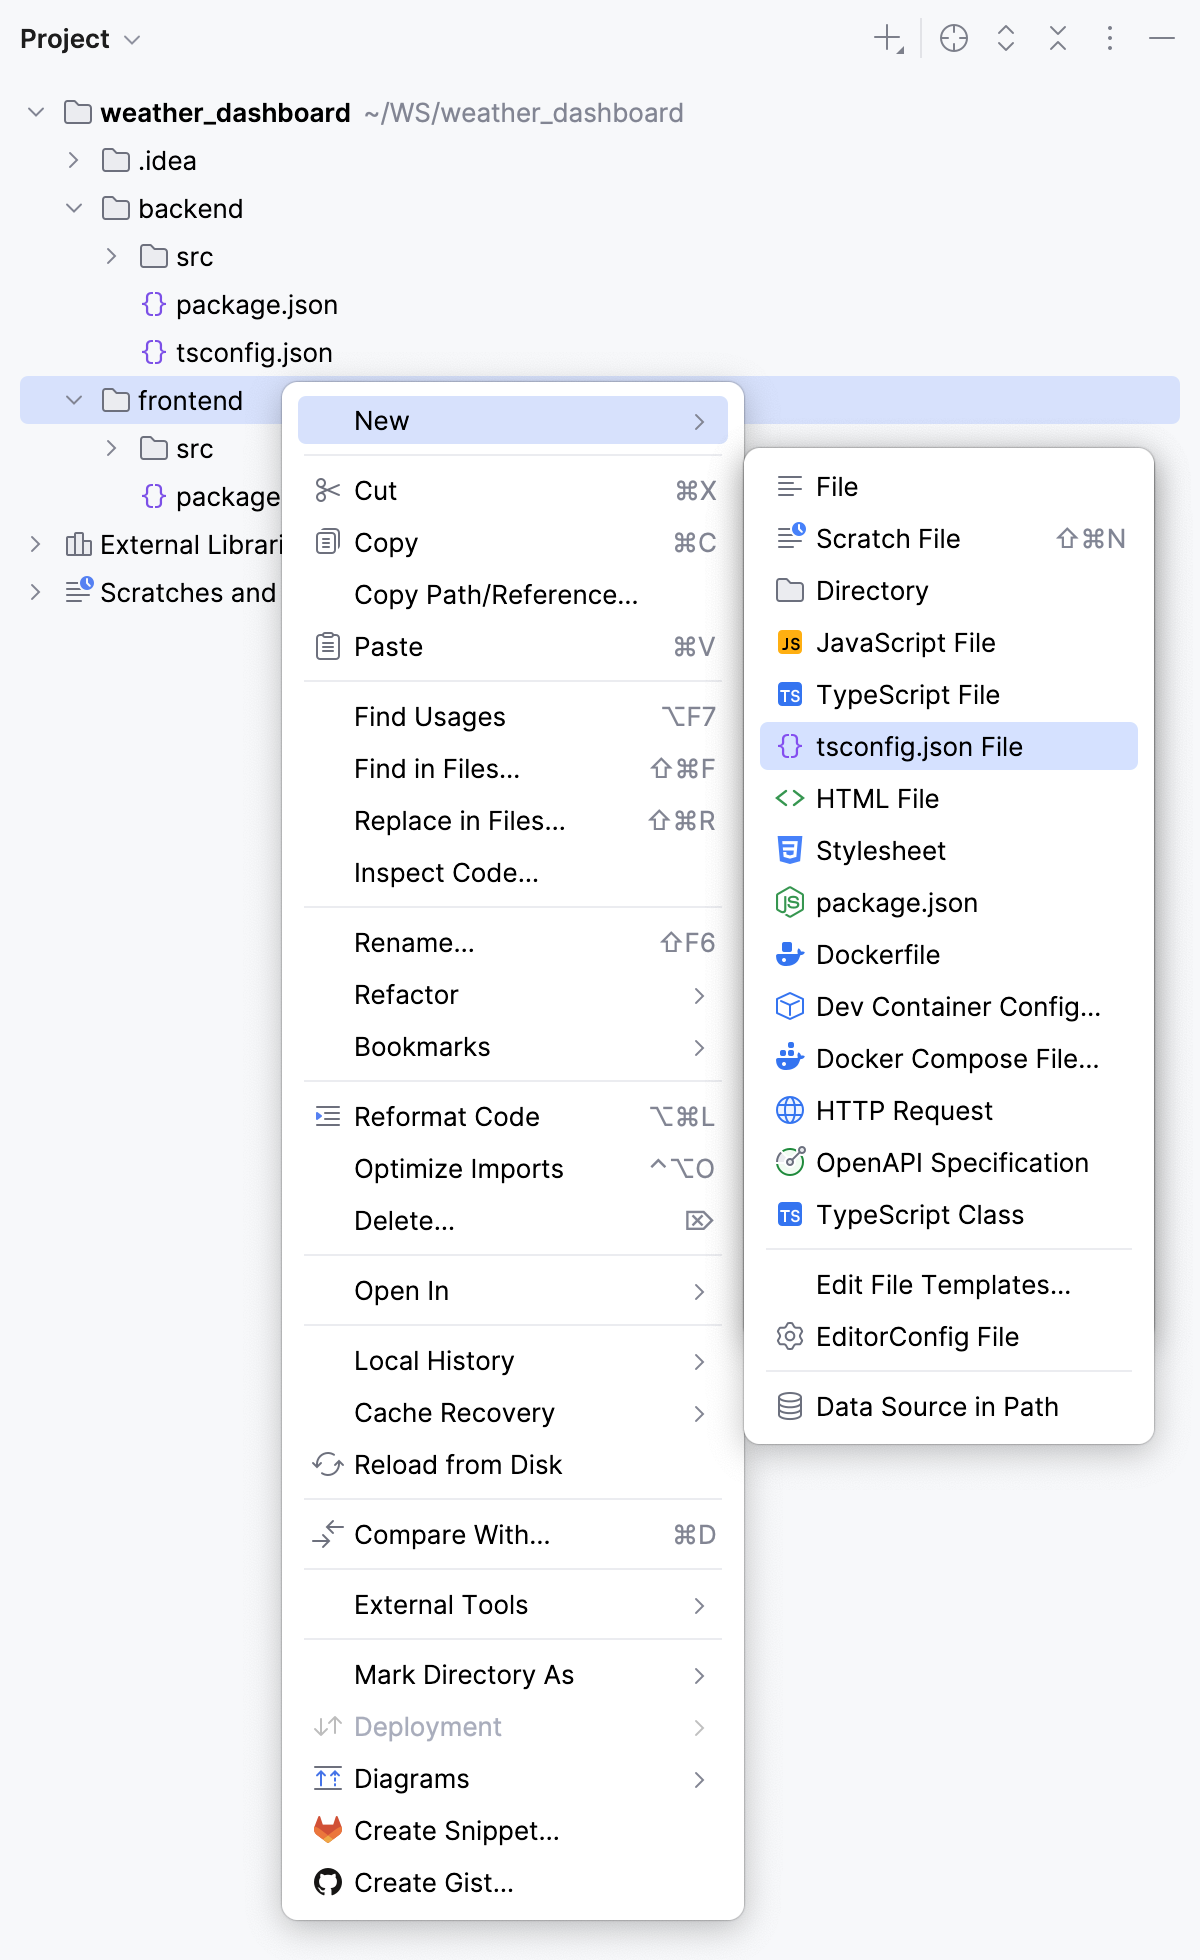
作成してエディターで開かれる frontend/tsconfig.json ファイルに次のコードを貼り付けます:
{ "compilerOptions": { "target": "ES2022", "useDefineForClassFields": true, "lib": ["DOM", "DOM.Iterable", "ES2022"], "allowJs": false, "skipLibCheck": true, "esModuleInterop": true, "allowSyntheticDefaultImports": true, "strict": true, "module": "ESNext", "moduleResolution": "Bundler", "resolveJsonModule": true, "isolatedModules": true, "jsx": "react-jsx", "noEmit": true }, "include": ["src"] }frontend/src フォルダーを作成します。
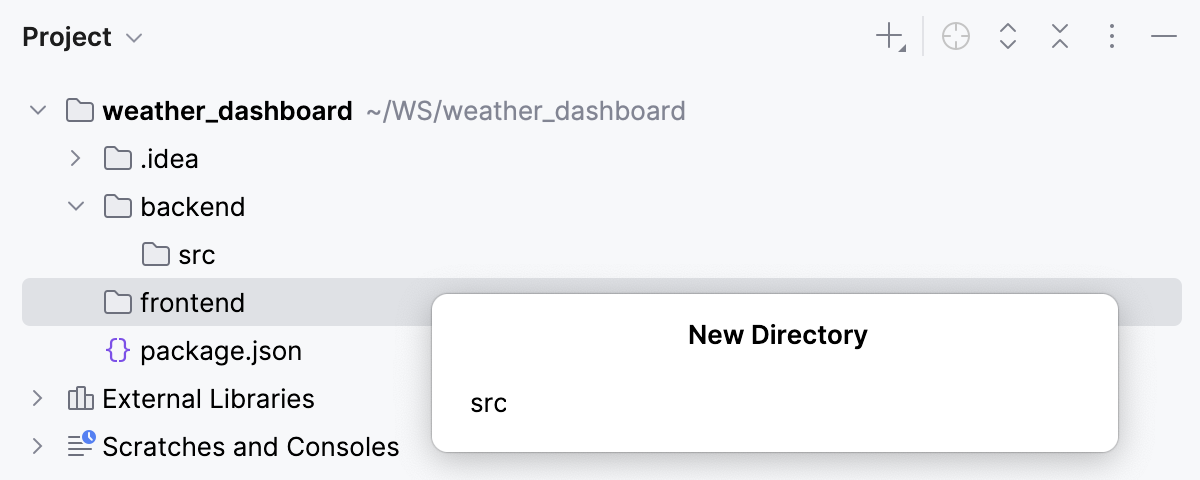
frontend/src フォルダーで、 App.tsx と main.tsx の 2 つのファイルを作成します。
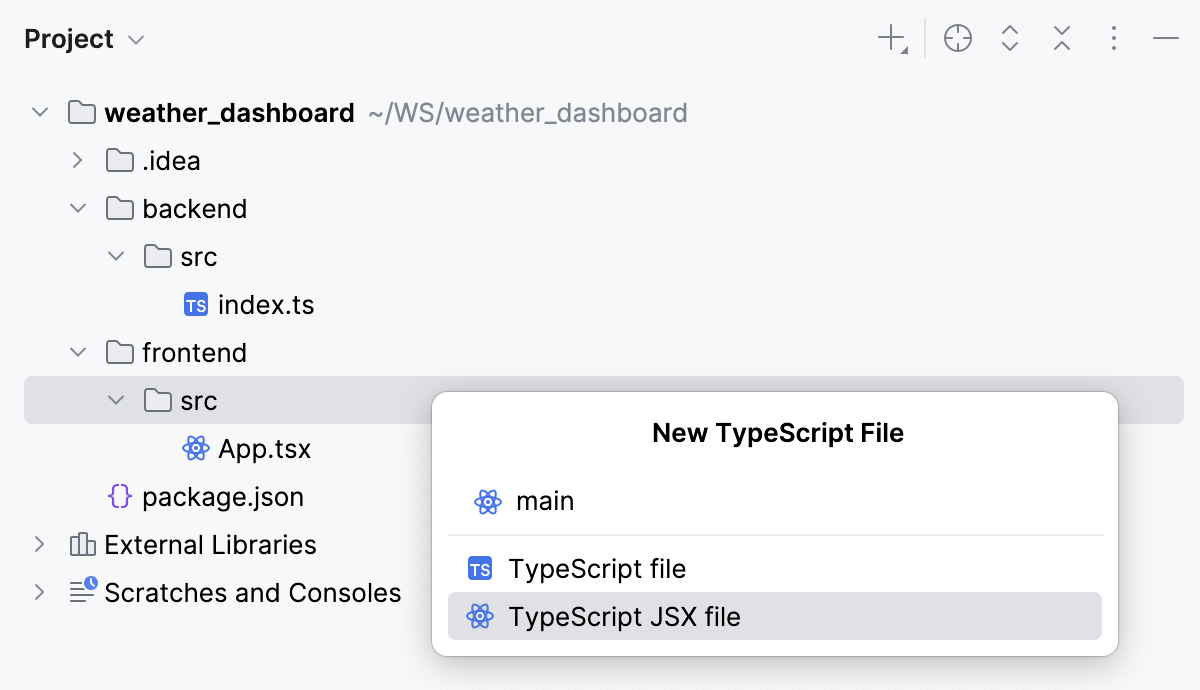
frontend/src/App.tsx ファイルをエディターで開き、次のコードを貼り付けます:
import { useEffect, useState } from "react"; type Weather = { city: string; temperature: number; condition: string; humidity: number; wind: number; }; // @ts-ignore const API_URL = import.meta.env.VITE_API_URL || "http://localhost:3000"; export default function App() { const [weather, setWeather] = useState<Weather[]>([]); const [loading, setLoading] = useState(true); useEffect(() => { fetch(`${API_URL}/api/weather`) .then((response) => response.json()) .then((data) => setWeather(data)) .finally(() => setLoading(false)); }, []); return ( <main style={{ fontFamily: "Arial", padding: "2rem" }}> <h1>Weather Dashboard</h1> {loading && <p>Loading weather data...</p>} <div style={{ display: "flex", gap: "1rem", flexWrap: "wrap" }}> {weather.map((item) => ( <section key={item.city} style={{ border: "1px solid #ddd", borderRadius: "8px", padding: "1rem", width: "220px" }} > <h2>{item.city}</h2> <p>{item.temperature}°C</p> <p>{item.condition}</p> <p>Humidity: {item.humidity}%</p> <p>Wind: {item.wind} km/h</p> </section> ))} </div> </main> ); }frontend/src/main.tsx ファイルをエディターで開き、次のコードを貼り付けます:
import React from "react"; import ReactDOM from "react-dom/client"; import App from "./App"; ReactDOM.createRoot(document.getElementById("root")!).render( <React.StrictMode> <App /> </React.StrictMode> );frontend/index.html ファイルを作成します。 そのためには、 frontend フォルダーを右クリックし、 をコンテキストメニューから選択し、リストから を選択し、ファイル名を指定します。例では index です。
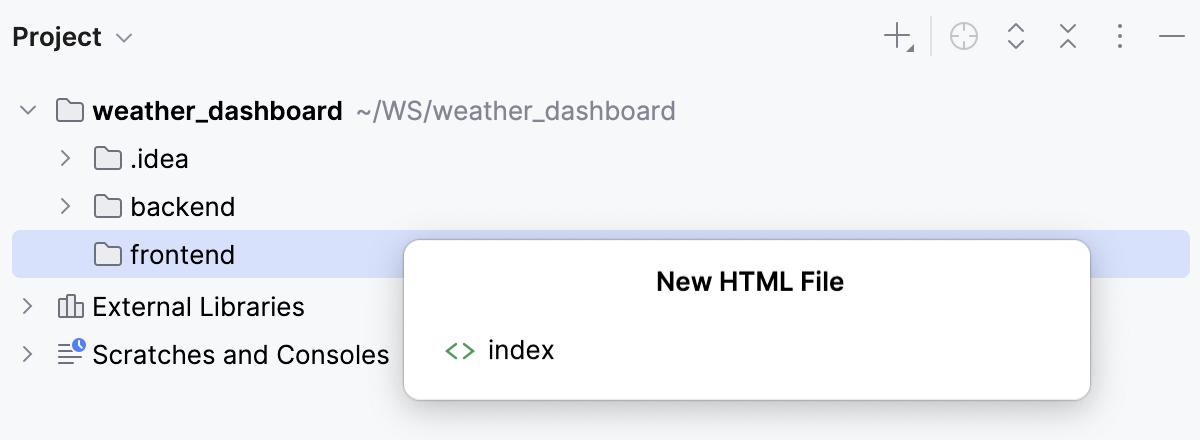
frontend/index.html ファイルで次のコードを入力します:
<!doctype html> <html lang="en"> <head> <meta charset="UTF-8" /> <title>Weather Dashboard</title> </head> <body> <div id="root"></div> <script type="module" src="./src/main.tsx"></script> </body> </html>
アプリケーションをローカルで実行してデバッグする。
アプリケーションが正しく動作するか確認するため、ローカルで実行しデバッグします。
アプリケーションをローカルで実行する
まず、アプリケーションのバックエンドを開発モードで起動します。 そのためには、 backend/package.json ファイルを開き、ガターで3行目の
devスクリプトの横にある をクリックし、リストから 「dev」を実行 を選択します。
frontend/package.json ファイルを開き、ガターで3行目の
devスクリプトの横にある をクリックし、リストから 「dev (1)」を実行 を選択します。実行 ツールウィンドウでリンクをクリックすると、アプリケーションがブラウザーで開きます。
アプリケーションをローカルでデバッグする
frontend/src/App.tsx ファイルを開き、
returnステートメントの横にブレークポイントを設定します。アプリケーションのバックエンドを開発モードで起動します。 そのためには、 backend/package.json ファイルを開き、ガターで3行目の
devスクリプトの横にある をクリックし、リストから 「dev」を実行 を選択します。frontend/package.json ファイルを開き、ガターで3行目の
devスクリプトの横にある をクリックし、リストから 「dev (1)」を実行 を選択します。タイプ JavaScript デバッグの実行/デバッグ構成を作成します。
を 実行 ウィジェットのコンテキストメニューから選択します。
開いた 実行 / デバッグ構成 ダイアログで、ツールバーの
 をクリックし、リストから JavaScript デバッグ を選択します。
構成名を指定します。例えば、
weather_frontend。アプリケーションのフロントエンドが実行されている URL を指定します。 この例では、
http://localhost:5173です。
実行 ウィジェットの下のリストから新しく作成した実行/デバッグ構成を選択し、その横の
 をクリックします。
ブラウザーでアプリケーションのフロントエンドのページが開きます。 デバッガーが接続するためにページをリフレッシュしてください。
デバッグ ツールウィンドウで、通常どおり操作してください: プログラムをステップ実行、 実行の停止および再開、 中断時に調査 、コールスタックや変数の確認、ウォッチの設定、変数の評価、 HTML DOM の確認などができます。
アプリケーションをコンテナ化する
バックエンドとフロントエンドそれぞれの Dockerfiles を作成し、その後両方をつなぐ docker-compose.yml ファイルを作成する必要があります。
また、 backend/.dockerignore と frontend/.dockerignore ファイルを作成し、 node_modules フォルダーをそれらに追加することを推奨します。
backend/Dockerfile を作成します。 そのためには、 プロジェクト ツールウィンドウに移動し、 backend フォルダーのコンテキストメニューから を選択し、リストから を選択します。
backend/Dockerfile をエディターで開き、次のコードを貼り付けます:
# Start from the official Node.js 24.5.0 image based on Alpine Linux FROM node:22-alpine # Set the working directory inside the container to /app # If the directory doesn't exist, Docker should create it # All subsequent commands (COPY, RUN, CMD, etc.) are executed # relative to this directory WORKDIR /app # Copy the files that match package*.json from the backend folder # to /app. In our project these are backend/package.json # and backend/package-lock.json COPY package*.json ./ # Run npm install inside the container # Download and install dependencies from backend/package.json # Create an /app/node_modules folder RUN npm install # Copy the source code and the configuration files # from the backend folder into /app. # Skip the files that are listed in .dockerignore, # in our case that is the node_modules folder COPY . . # Expose the container's port EXPOSE 3000 # Specify the default commands to execute when the container starts CMD ["npm", "run", "dev"]backend/.dockerignore ファイルを作成します。 そのためには、 プロジェクト ツールウィンドウに移動し、 backend フォルダーのコンテキストメニューから を選択してリストから を選び、ポップアップダイアログで
.dockerignoreと入力します。新しく作成された backend/.dockerignore ファイルをエディターで開き、
node_modulesを追加します。frontend/Dockerfile を作成します。 そのためには、 プロジェクト ツールウィンドウに移動し、 frontend フォルダーのコンテキストメニューから を選択し、リストから を選択します。
frontend/Dockerfile をエディターで開き、次のコードを貼り付けます:
# Start from the official Node.js 22.0.0 image based on Alpine Linux FROM node:22-alpine # Set the working directory inside the container to /app # If the directory doesn't exist, Docker should create it # All subsequent commands (COPY, RUN, CMD, etc.) are executed # relative to this directory WORKDIR /app # Copy the files that match package*.json from the frontend folder # to /app. In our project these are frontend/package.json # and frontend/package-lock.json COPY package*.json ./ # Run npm install inside the container # Download and install dependencies from frontend/package.json # Create an /app/node_modules folder RUN npm install # Copy the source code and the configuration files # from the frontend folder into /app. # Skip the files that are listed in .dockerignore, # in our case that is the node_modules folder COPY . . # Expose the container's port EXPOSE 5173 # Specify the default commands to execute when the container starts CMD ["npm", "run", "dev"]frontend/.dockerignore ファイルを作成します。 そのためには、 プロジェクト ツールウィンドウに移動し、 frontend フォルダーのコンテキストメニューから を選択してリストから を選び、ポップアップダイアログで
.dockerignoreと入力します。新しく作成された frontend/.dockerignore ファイルをエディターで開き、
node_modulesを追加します。docker-compose.yml ファイルを作成します。 そのためには、 プロジェクト ツールウィンドウに移動し、プロジェクトフォルダー weather_dashboard のコンテキストメニューから を選択し、リストで を選択します。
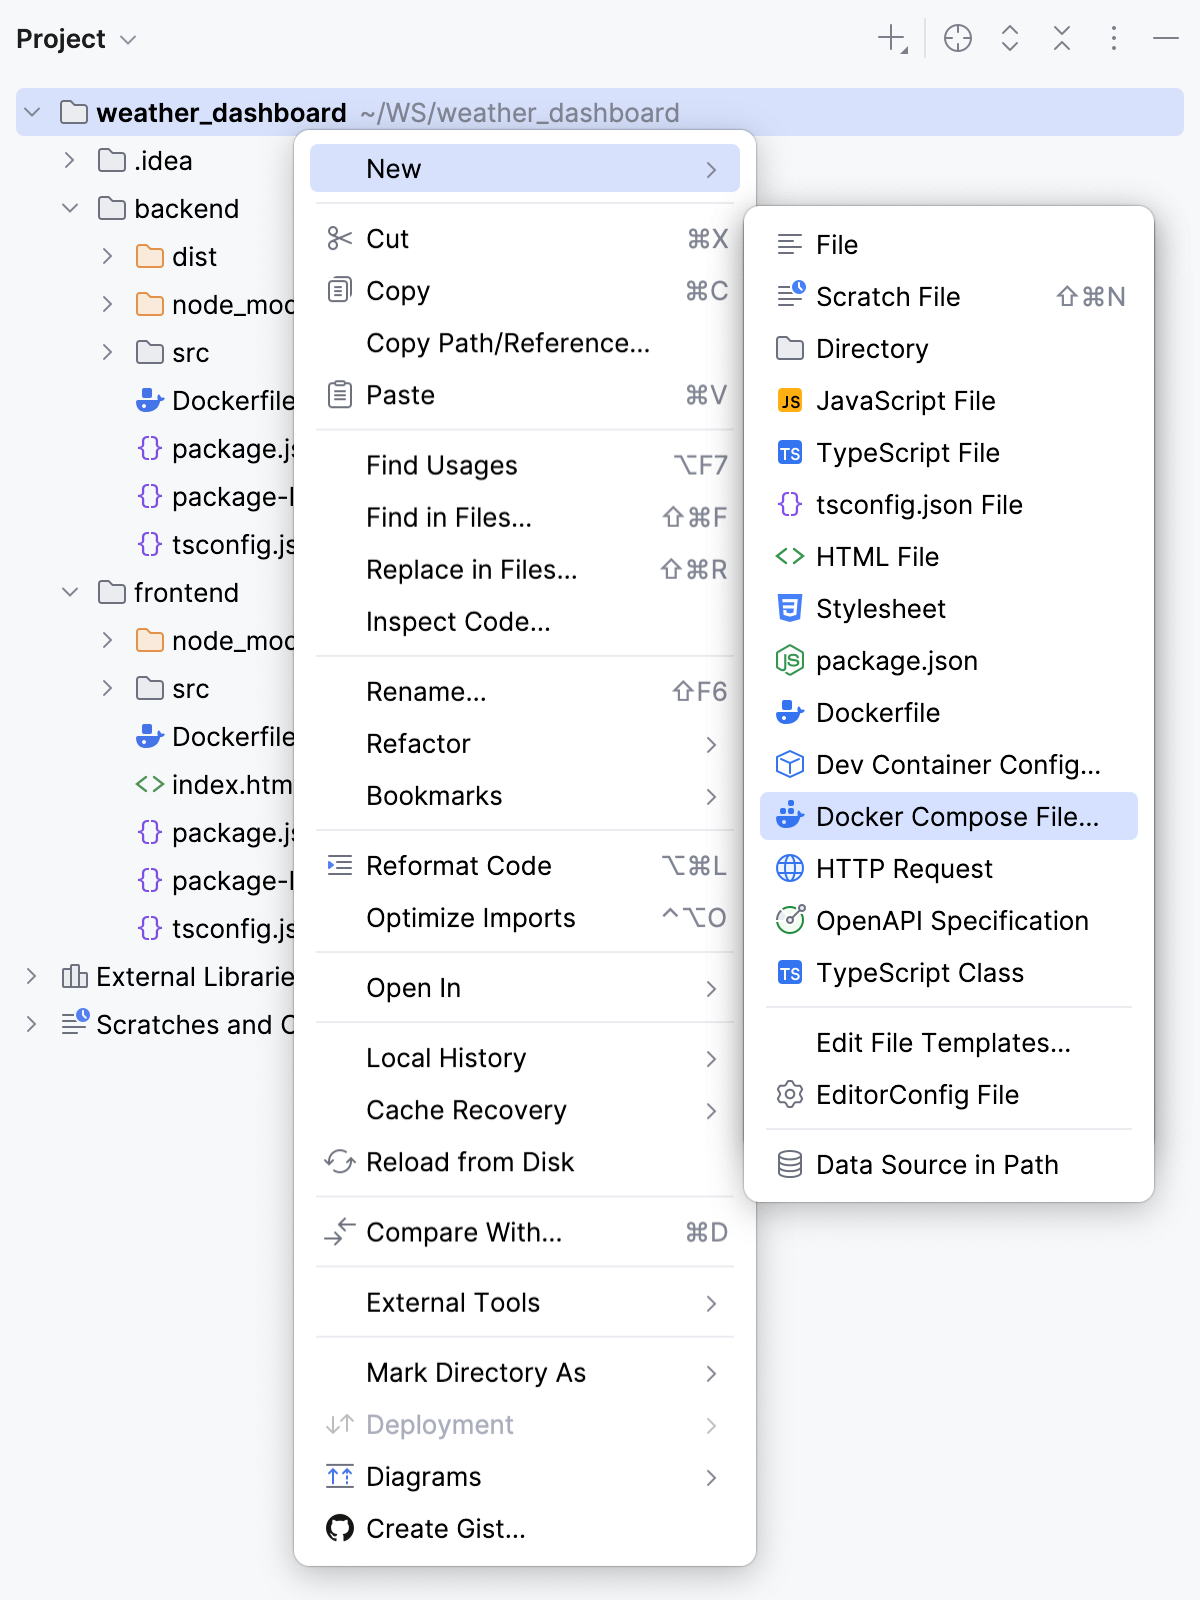
表示されるポップアップダイアログで
docker-compose.ymlを入力します。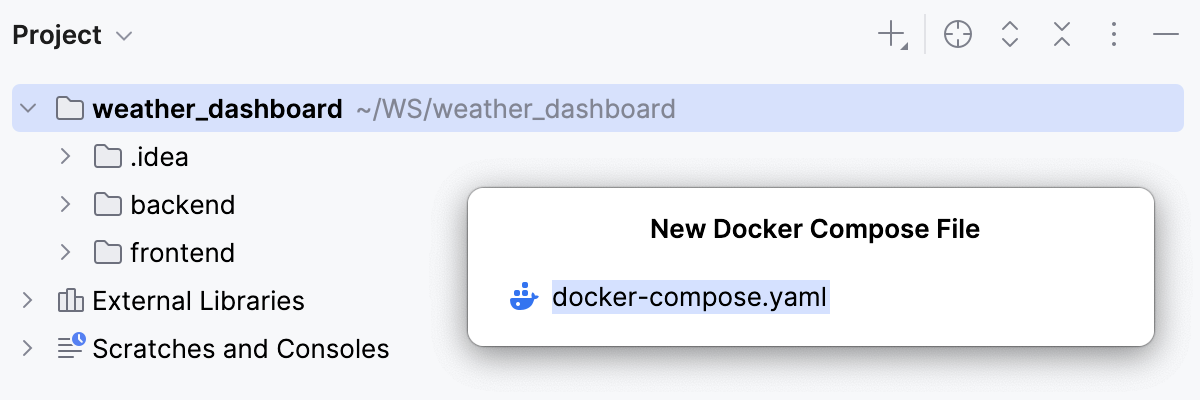
docker-compose.yml ファイルで次のことを確認します:
./backend からバックエンドイメージをビルド
./frontend からフロントエンドイメージをビルド
backend と frontend コンテナーを起動
backend と frontend コンテナーを接続
新しく作成された docker-compose.yml ファイルをエディターで開き、次のコードを貼り付けます:
services: # Define a service backend backend: # Build an image from the Dockerfile in the backend folder build: ./backend # Map the container's port 3000 to the host's port 3000 ports: - "3000:3000" # Bind mount between the folders on the host and in the container volumes: - ./backend:/app # Keep /app/node_modules inside Docker # Suppress replacing it with the host version - /app/node_modules # Define a service frontend frontend: # Build an image from the Dockerfile in the frontend folder build: ./frontend # Map the container's port 5173 to the host's port 5173 ports: - "5173:5173" # Set an environment variable inside the frontend container: environment: - VITE_API_URL=http://localhost:3000 # Bind mount between the folders on the host and in the container volumes: - ./frontend:/app # Keep /app/node_modules inside Docker # Suppress replacing it with the host version - /app/node_modules # Define a dependency on the backend service, which means: # Start the backend first # Then start the frontend depends_on: - backend
コンテナー内でアプリケーションを実行
docker-compose.yml ファイルで、
servicesの横にある をクリックし、コンテキストメニューから を選択する。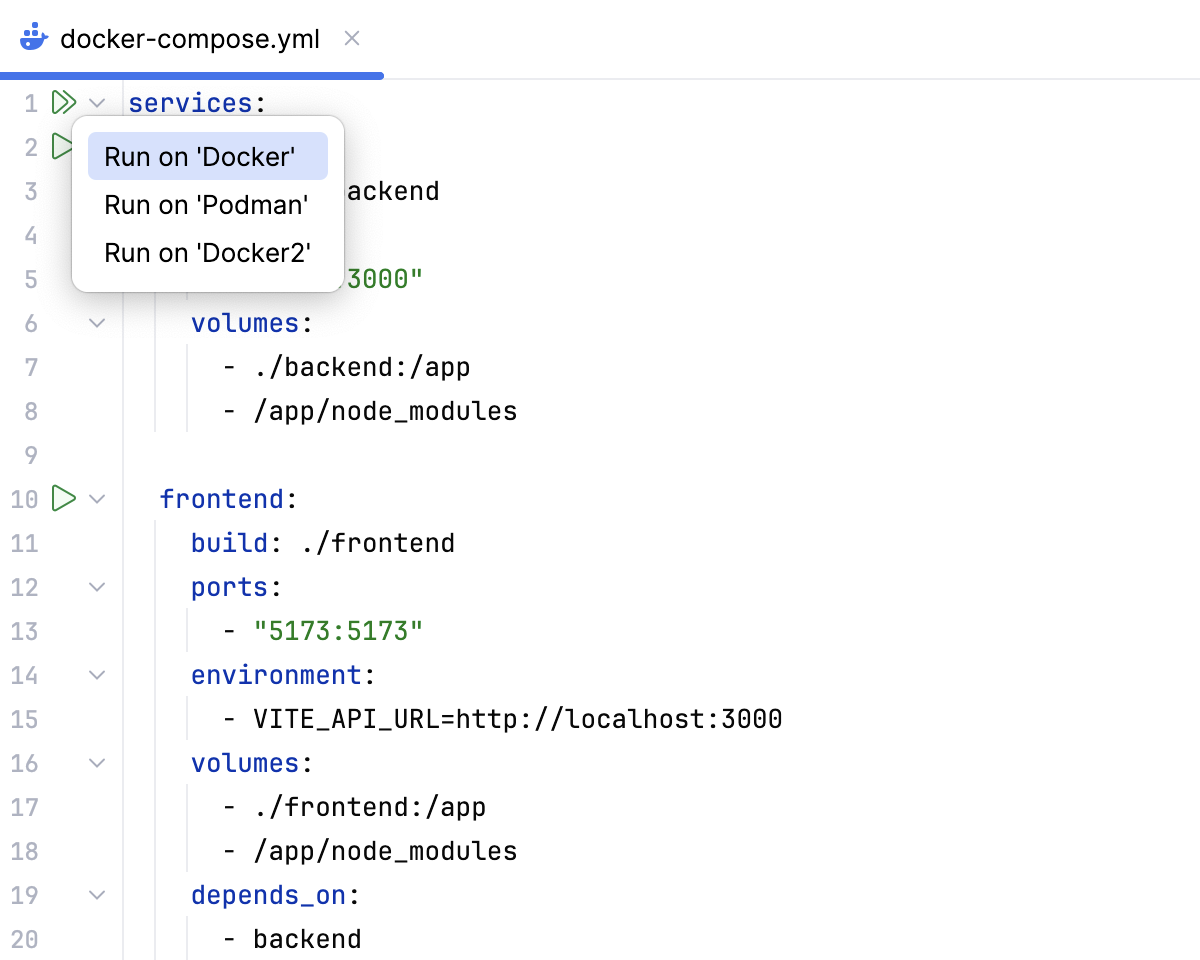
すべてが正しければ、 サービス ツールウィンドウに次の内容が表示されます:
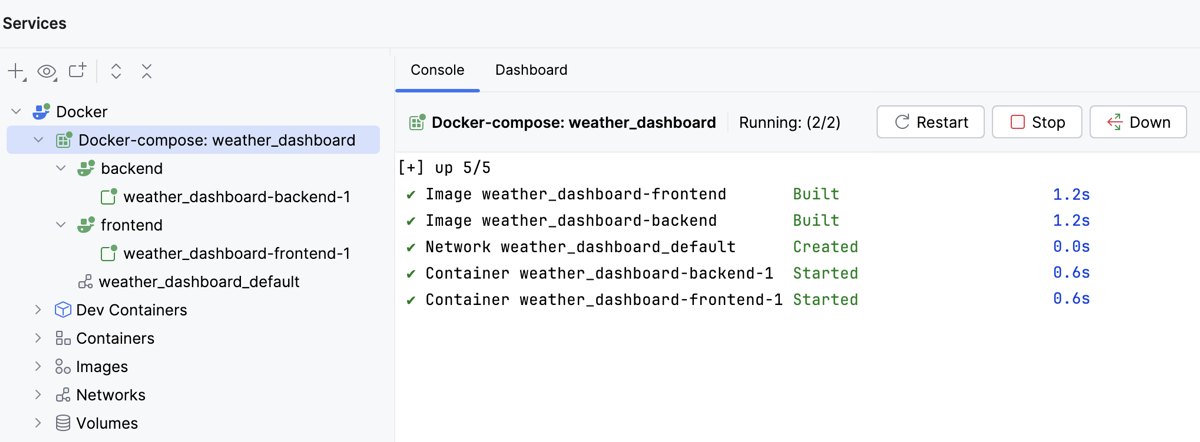
http://localhost:5173/をブラウザーで開くと、アプリケーションが実行されていることを確認できます: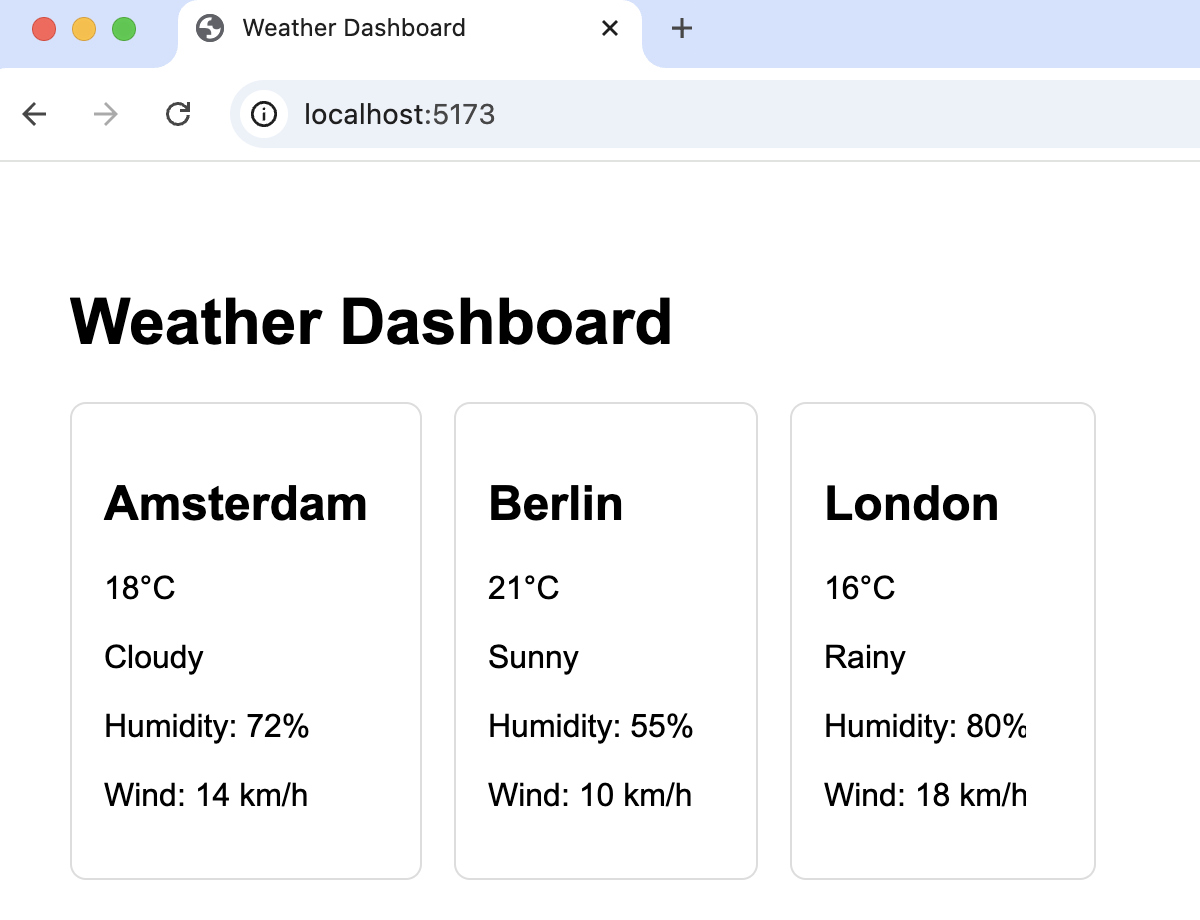
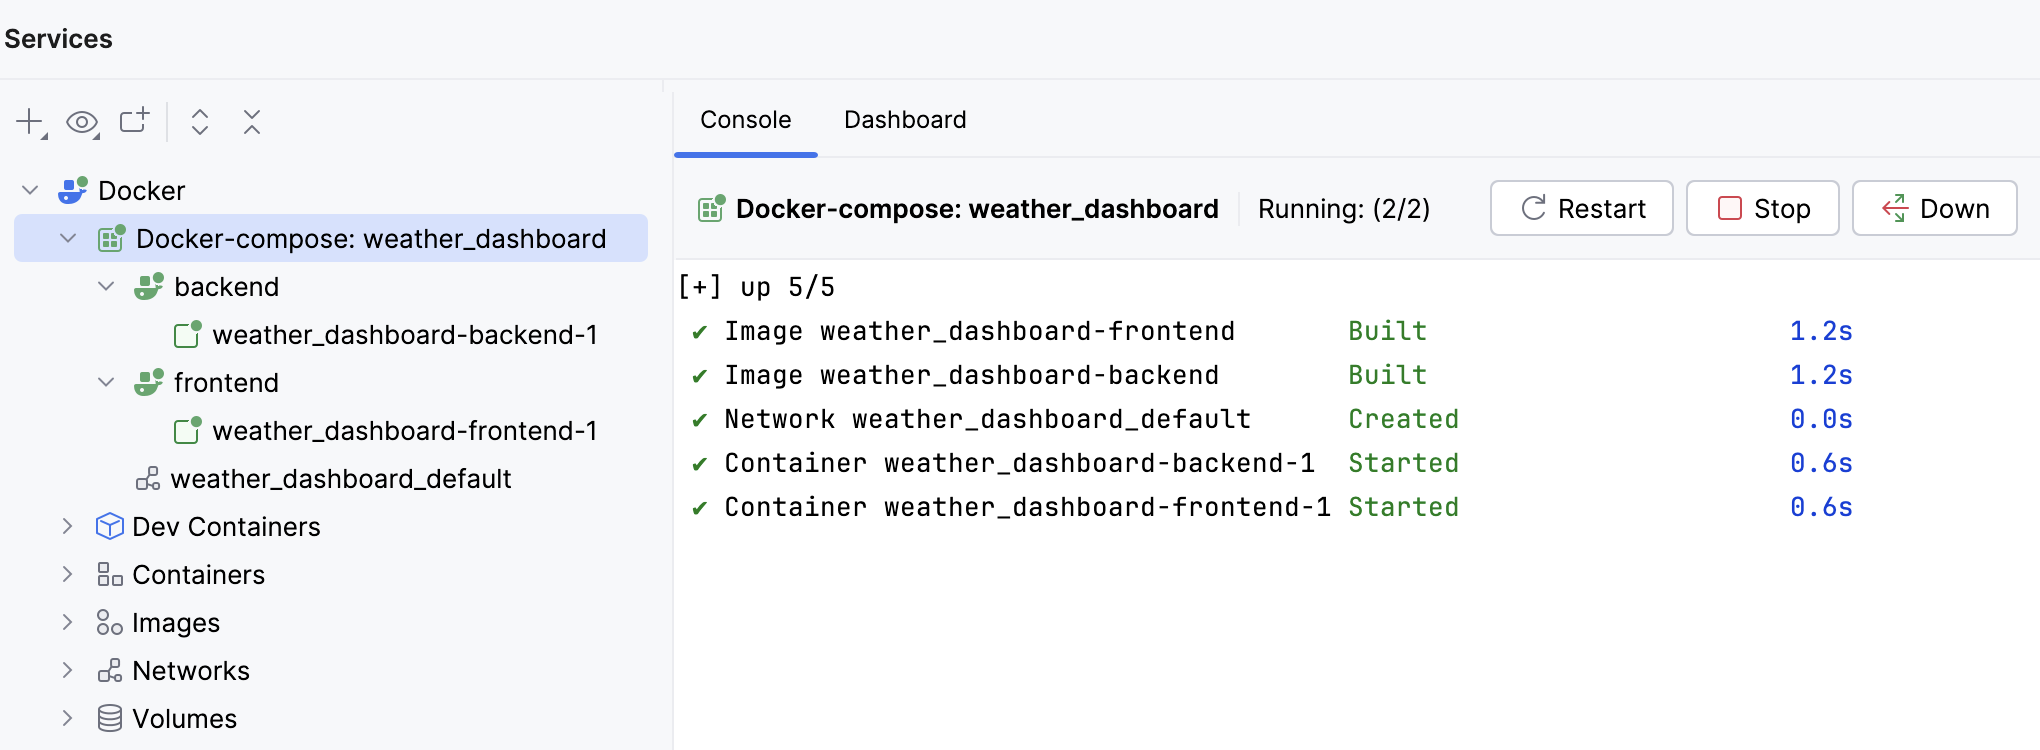
コンテナー内でアプリケーションをデバッグする
WebStorm からコンテナー化されたアプリケーションをデバッグできるようにするには、主にバックエンド部分を更新して Node.js のデバッグポートを公開する必要があります。
Dockerfile と docker-compose.yml ファイルを更新する
エディターで backend/Dockerfile を開き、次のように更新する:
EXPOSE 3000行の下に、EXPOSE 9229を追加します。debugコマンドを次のように追加します:CMD ["npm", "run", "dev", "debug"]。
その結果、 backend/Dockerfile は次のようになる:
FROM node:22-alpine WORKDIR /app COPY package*.json ./ RUN npm install COPY . . EXPOSE 3000 EXPOSE 9229 CMD ["npm", "run", "dev", "debug"]backend/package.json ファイルを開き、
debugスクリプトを追加して、scriptsプロパティが次のようになるようにする:"scripts": { "dev": "tsx watch src/index.ts", "build": "tsc", "start": "node dist/index.js", "debug": "node --inspect=0.0.0.0:9229 src/index.ts" }--inspect=0.0.0.0:9229フラグにより、WebStorm はコンテナー内の Node.js に接続でき、9229ポートでデバッグが有効になります。エディターで docker-compose.yml ファイルを開き、
backend配下のportsプロパティに- "9229:9229"を次のように追加する:ports: - "3000:3000" - "9229:9229"
コンテナー内でアプリケーションのデバッグを開始する
package.json と Dockerfiles を更新したので、 サービス ツールウィンドウを開き、アプリケーションがコンテナー内で実行されていないことを確認します。 もし実行されている場合は、 下へ移動 をクリックします。
frontend/src/App.tsx ファイルを開き、
returnステートメントの横にブレークポイントを設定します。docker-compose.yml ファイルで、
servicesの横にある をクリックし、コンテキストメニューから を選択する。タイプ JavaScript デバッグの実行/デバッグ構成を作成します。
を 実行 ウィジェットのコンテキストメニューから選択します。
開いた 実行 / デバッグ構成 ダイアログで、ツールバーの
をクリックし、リストから JavaScript デバッグ を選択します。構成名を指定します。例えば、
weather_frontend_docker。アプリケーションのフロントエンドが実行されている URL を指定します。 この例では、
http://localhost:5173です。
実行 ウィジェットの下のリストから新しく作成した実行/デバッグ構成を選択し、その横の
をクリックします。デバッグ ツールウィンドウで、通常どおり操作してください: プログラムをステップ実行、 実行の停止および再開、 中断時に調査 、コールスタックや変数の確認、ウォッチの設定、変数の評価、 HTML DOM の確認などができます。