What Is a CI/CD Pipeline?
What exactly is a continuous integration/continuous delivery pipeline? And how do you make one?
If you’ve been reading up on continuous integration and delivery and deployment (collectively known as CI/CD), you’ve almost certainly come across the term “automated pipeline” and learned about how it plays a central role in implementing these practices.
CI/CD is a DevOps practice that helps you deliver software faster without compromising on quality. CI/CD involves committing changes frequently, testing these updates rigorously, and addressing feedback promptly. Having an automated CI/CD pipeline is essential to this way of working.
CI/CD Pipelines Explained
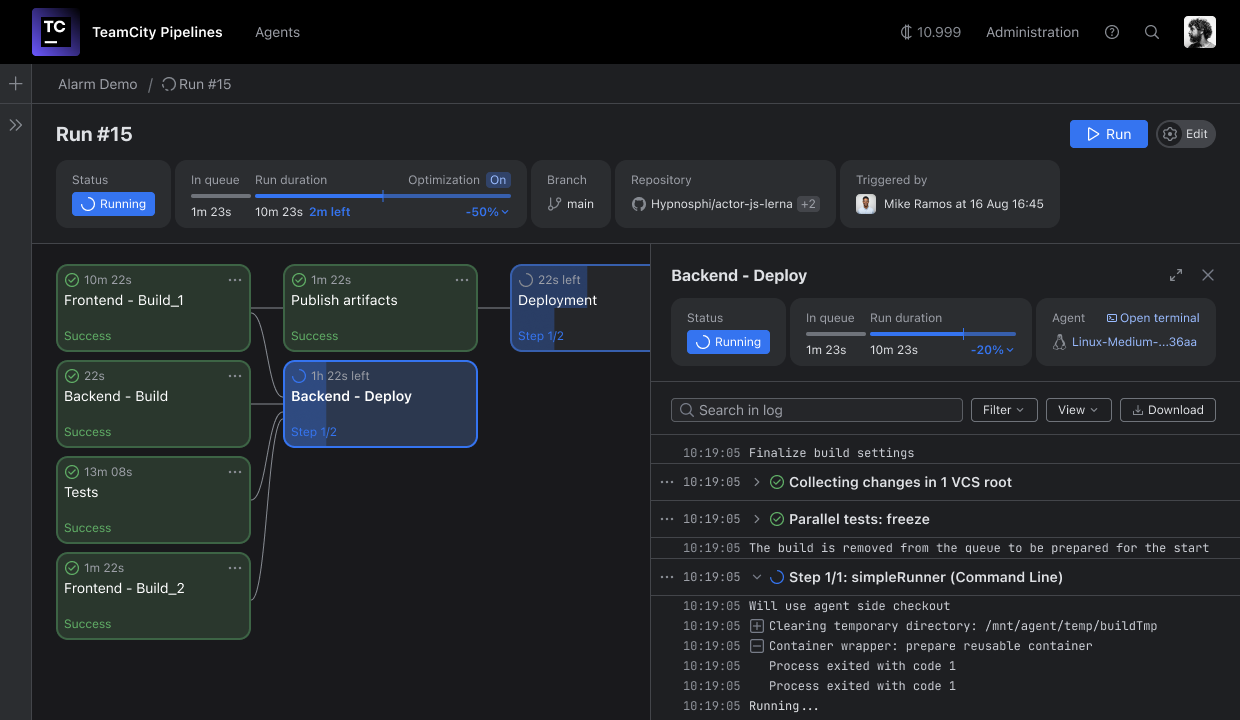
When we talk about a CI/CD pipeline, we’re referring to the process that takes code from your development environment through various steps like testing and staging, ultimately delivering it into your users’ hands.
The aim of CI/CD is to execute this process regularly – multiple times per day or even per hour – so it’s essential to automate as much of your CI/CD pipeline as possible. If a step completes successfully, it should trigger the next one automatically. If a step fails, that feedback should be communicated quickly so the problem can be fixed.

Automating your CI/CD pipelines not only speeds up the overall process of building, testing, and deploying software, but it also ensures that each step is performed consistently and reliably.
The stages of a build pipeline
Although the exact shape of your CI/CD pipeline will depend on your product and your organization, there is a general pattern that all pipelines tend to follow:
- The process begins with a commit to main (or whichever branch you’ve nominated as the CI branch), which triggers either a build or an initial set of unit tests. The results are typically visible on a dashboard. The pipeline can be designed to halt on build or test failures, allowing you to address any issue before continuing. Once a fix is committed, the pipeline automatically restarts from the beginning to ensure everything is working as intended. Alternatively, you can configure the pipeline to continue while flagging failures for investigation.
- The next stage involves a series of automated tests, with feedback provided after each round of testing. Tests are usually structured so that the quickest tests are run first, thereby providing feedback as early as possible. Resource-intensive tests run last, but only if all preceding steps have completed successfully. Again, if any test fails, you might stop the pipeline and start over, or continue while raising the issue for investigation.
- Once automated tests have completed, the software is typically deployed to a series of staging environments. Some of these may be used for further manual testing while others may be used for training, support, and customer previews.
- The final stage of the CI/CD pipeline architecture involves making the changes live. The release can either be triggered manually (in the case of continuous delivery) or automatically (as with continuous deployment).
Let’s dive deeper into some key considerations for each of these stages.
Flags and branches
The first step in adopting continuous integration is to get your entire codebase into a version control system or VCS (aka source control management or SCM), such as Git, Mercurial, or Perforce, and then to get everyone on your team into the habit of committing their changes frequently. Each commit to main initiates the continuous integration pipeline, building and testing the code to provide rapid feedback on the latest changes.
While frequent commits are an important practice in the CI/CD pipeline, if you’re working on a larger feature that will take several days or weeks to complete, then committing periodically during that process can feel slightly counterproductive.
On the one hand, pushing your changes through the pipeline in regular increments provides you with rapid feedback. It also makes complex merge conflicts less likely than if you wait until you’ve completed the feature.
On the other hand, pushing unfinished features through the pipeline might not be ideal. Sharing incomplete work with users, even in staging environments, might not be desirable either.
Feature flags and feature branches offer ways around this issue. With feature flags, you specify the environments in which your code is visible to users. Your changes are still committed to main and visible to your team, but you decide when the functionality becomes available in staging and production.
Feature branches allow you to develop your feature in a separate branch without losing out on the benefits of automated builds and tests. By triggering the CI/CD pipeline on each commit to a feature branch, just as you would with a commit to main, you can get rapid feedback on what you’ve built.
Build and test
Having triggered an instance of your pipeline with a commit, the next stages are building and testing. If you have automated unit tests, these are usually run before the build, alongside linting and static analysis checks.
The build tool you use (such as Ant or Maven), and the details of the build steps will depend on the language and framework you’re working with. By running the automated build on a dedicated build server, you can avoid issues further down the line caused by missing dependencies – the classic “works on my machine” problem.
The build step produces the application artifacts, which can include installers, binaries, or containers. These artifacts are then deployed to testing environments and integrated with other system components to run higher-level automated tests: integration tests, component tests, and end-to-end tests, as well as non-functional testing, such as performance and security analysis.
These tests may be run in parallel to speed up the pipeline and provide you with feedback faster.
Containers vs. VMs
For the results of your automated tests to be reliable, you need to ensure they run consistently.
Ideally, your test environments should be configured to resemble production as closely as possible, and they should be reset between test runs to avoid environmental inconsistencies disrupting your test results.
Virtual machines (VMs) have long been a popular choice for running test environments, as you can script the process of refreshing them for each new build under test.
However, tearing down and spinning up new VMs takes time, while your scripts will need to include configuration for each virtual environment to provide all the dependencies the software needs to run. When new dependencies are added, the environment scripts will need to be updated – an easy detail to miss until you’re wondering why your build won’t run.
You can avoid these issues by packaging your code in a container as part of the initial build step. A container includes all the dependencies that the software needs to run, making it highly portable and easier to deploy to different environments.
If you’re hosting your CI/CD pipelines on your own infrastructure, you’ll still need VMs to deploy the containers to, but there is less work involved in preparing the test environments. If you’re running your pipeline in the cloud, using containers means you can take advantage of managed services and offload the infrastructure management to your cloud provider.
Pre-production environments
The number of testing and staging environments in your pipeline architecture will depend on what you’re building and the needs of the different stakeholder groups in your organization. Examples include exploratory testing, security reviews, user research, sales demos, training environments, and sandboxes for support staff to replicate customer issues.
Automating the creation of and deployment to these environments is more efficient than refreshing them manually. You can also configure different pipeline triggers for different environments.
For example, while your test environments might be updated with every build, you may decide to refresh staging environments less frequently – perhaps once a day or once a week with the latest successful build.
Deploy
Once your code changes have passed each of the previous pipeline stages successfully, they are ready for release to production. This final step can be either manual or automatic.
Releasing manually (continuous delivery) is useful if:
- You want to control when new features or functionality are made available.
- Your deployment process involves downtime for your users.
- Users need to install your product, and you want to batch up changes for delivery on a regular release schedule.
With continuous deployment, the release is automatic. Changes go live providing they have passed all previous stages. For larger teams that commit frequently, this can mean deploying updates to users dozens of times per day – a feat that is practically impossible without an automated pipeline.

Understanding CI/CD pipelines in a nutshell
CI/CD is a DevOps practice that uses automation to provide rapid feedback on each stage of the software development life cycle. Discovering issues introduced by your latest code changes makes software development more efficient. By shifting left (moving interactions earlier and getting feedback sooner), you are empowered to fail fast, and building an automated pipeline helps put these techniques into practice.
When it comes to designing your own CI/CD process, it’s a good idea to build it up in stages, starting with continuous integration. The exact stages of the pipeline and the logic determining when each stage is triggered depend on your product and your organization.
Choosing a CI/CD platform that provides the flexibility to configure your pipeline for your unique requirements, while still being easy to manage, will help you forge a dependable release process and improve the quality of your software.
How TeamCity can help
Our TeamCity Pipelines solution helps automate your existing CI/CD processes.
With support for all leading version control systems and integration with popular build, test and package management tools, TeamCity Pipelines can transform your development workflows into efficient, automated pipelines.
Flexible trigger options and a visual pipeline editor make it easy to configure pipelines for any workflow. Configurations are automatically stored as code, giving you the freedom to build and manage your pipelines in the GUI while enjoying the benefits of configuration-as-code.
TeamCity’s On-premise and cloud-native deployment options give you the flexibility to run your pipelines where you want and scale up on demand. Features like test parallelization and real-time feedback help you to fail fast for a more productive developer experience.
Still have questions? Learn more in our FAQ section.