Building and Testing Java With Gradle
This guide shows you how to build Java and Gradle projects with TeamCity, and it is recommended for developers completely new to TeamCity.
Prerequisites
We recommend that you have a basic understanding of Java and the Gradle framework. For more information, see the Getting Started with Gradle guide in the Gradle documentation.
Step 1 – Create a TeamCity project
-
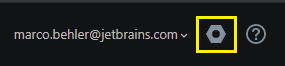
Click the Administration cog in the top right-hand corner of the TeamCity page.
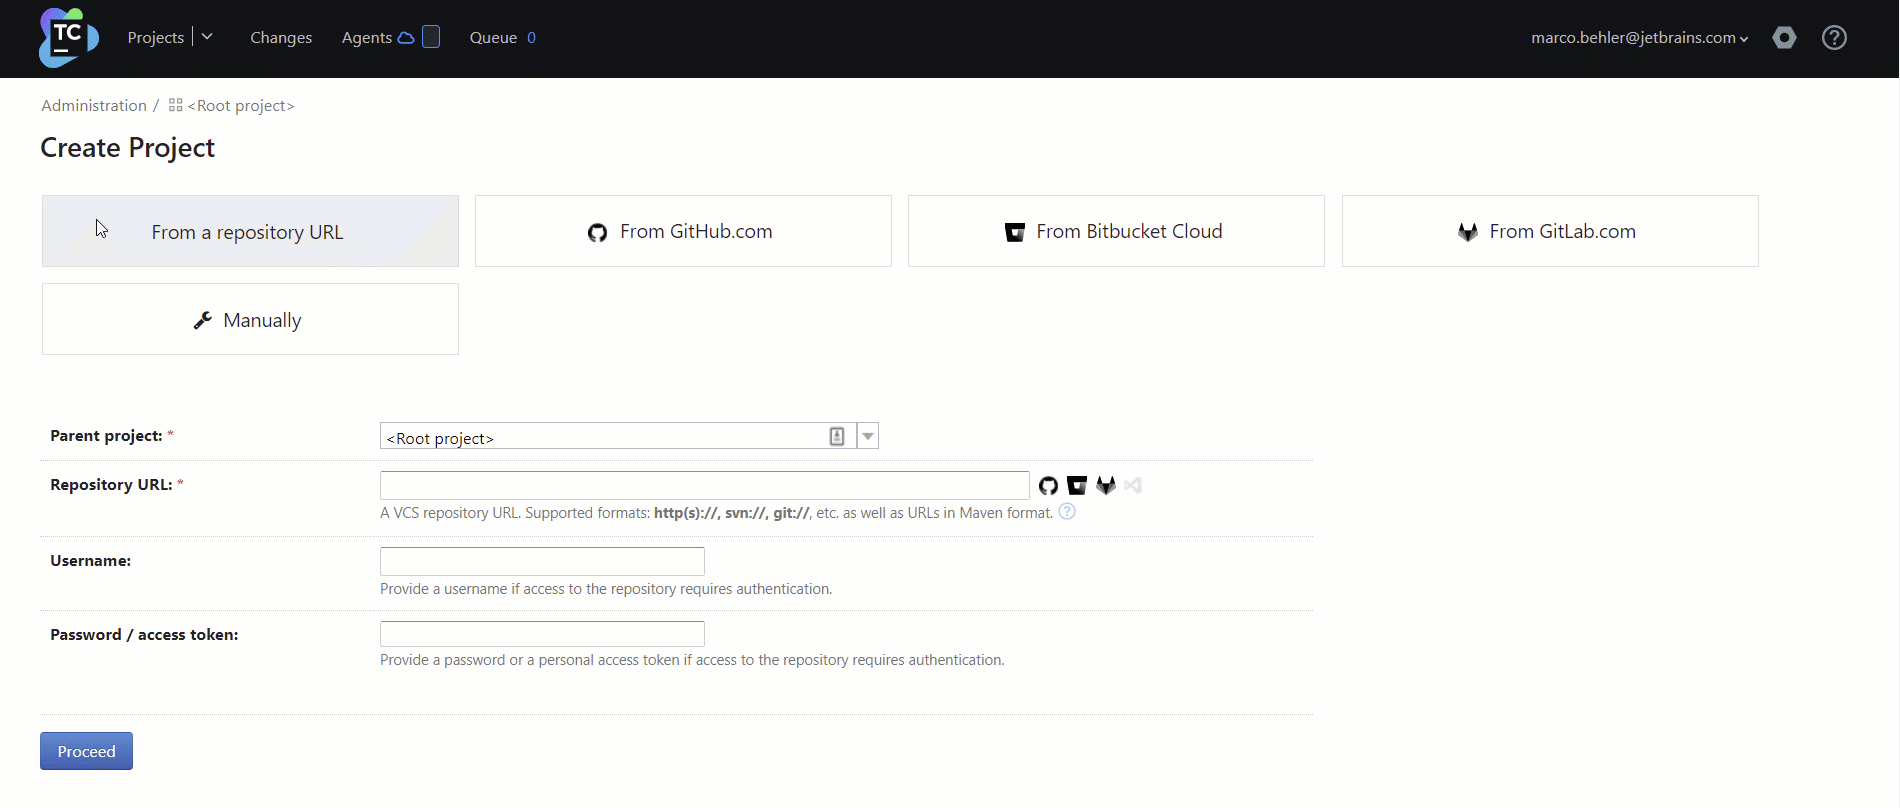
- Click + Create Project and select the From a repository URL tab. In the Repository URL field, enter your repository, for example: https://github.com/marcobehlerjetbrains/teamcity-gradle.git. TeamCity handles all popular version control systems out of the box: Git, Subversion, Mercurial, Perforce, and TFS (TeamCity Cloud + On-Premises). CVS, StarTeam, and Visual SourceSafe support is only available in TeamCity On-Premises.
- If your repository requires authentication, enter your username and password / access token.
- Click Proceed.
If TeamCity successfully connects to your repository, you will see the following dialog.
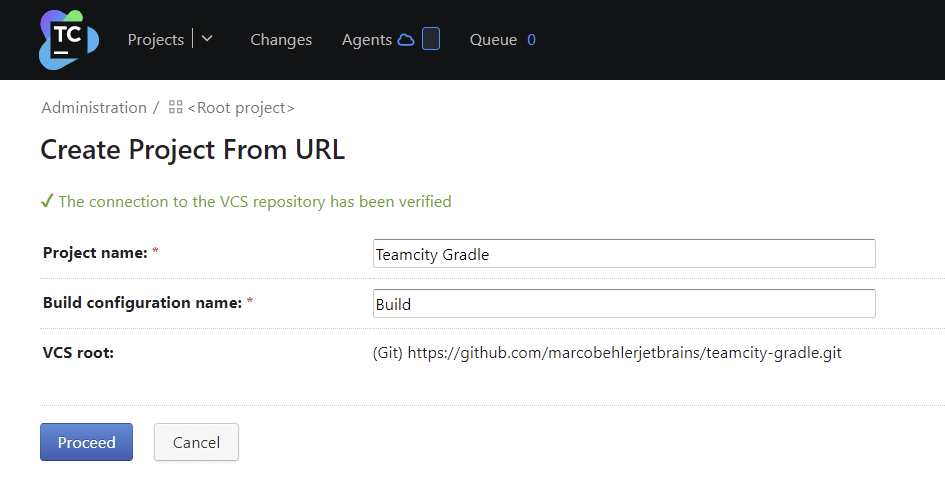
In the Create Project From URL dialog you have the option to change the project name and initial build configuration name.
Note: In newer versions of TeamCity you will also see the default branch and branch specification fields, which allow you to specify which branches TeamCity should build. Ignore those for now.
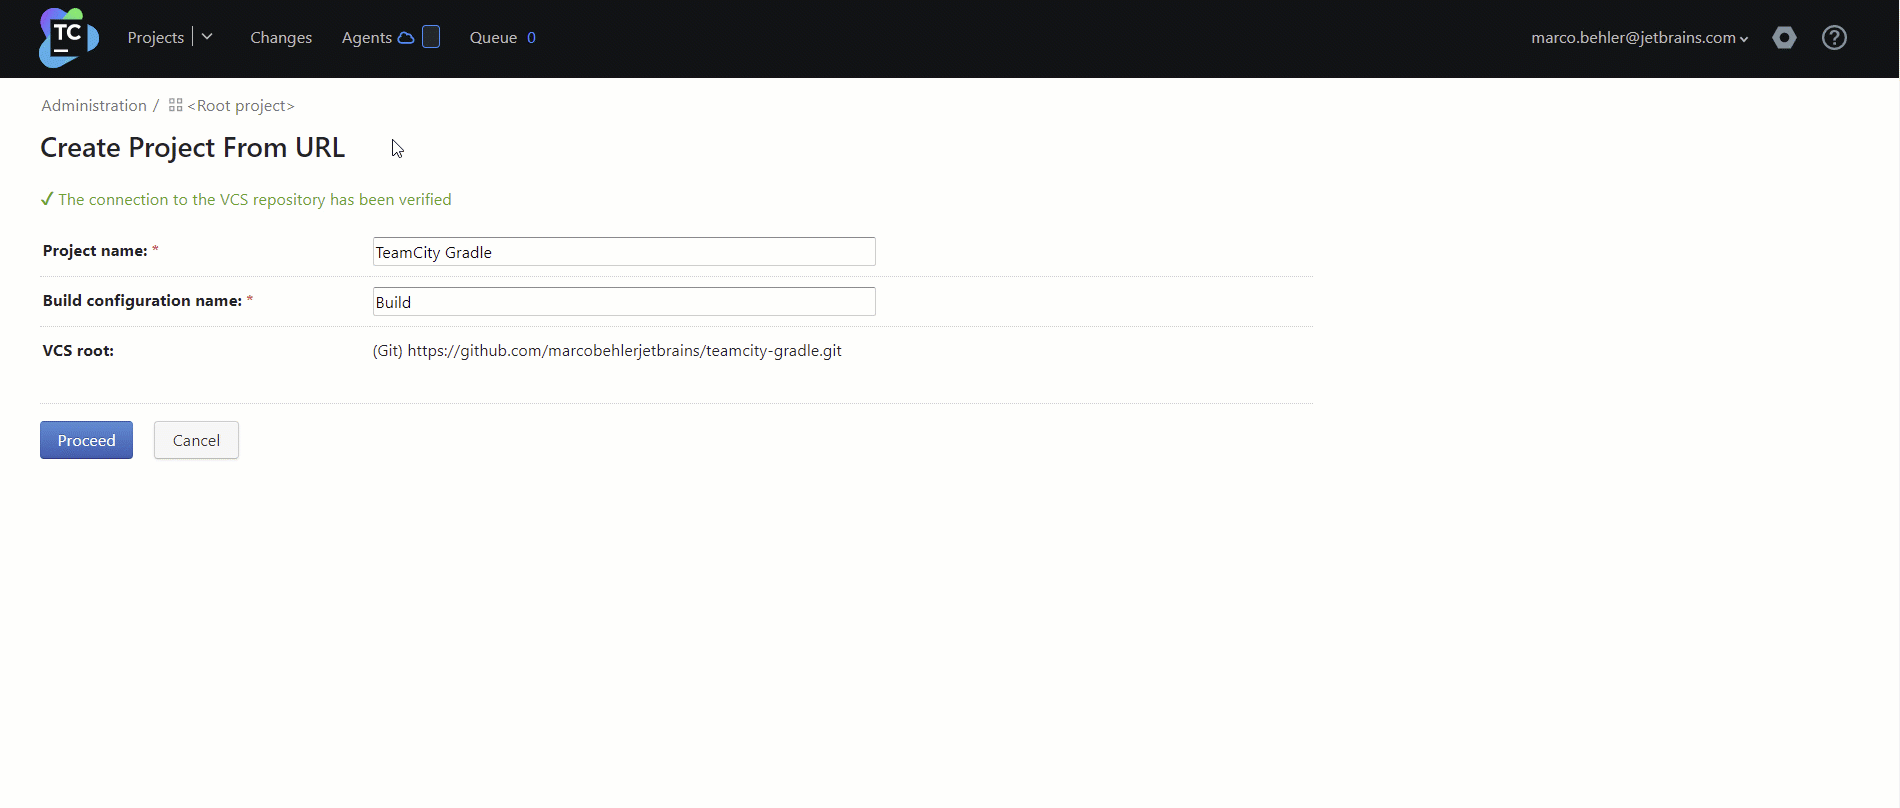
- TeamCity will suggest a default project name, but you can choose a more suitable name for your project if you wish.
- TeamCity will also suggest a default build configuration name. It’s fine to leave the default here, and you can change it later if you need to. (Every TeamCity project consists of at least one build configuration, which contains all the steps needed to build your project. TeamCity’s build configurations are often called jobs in other CI systems.)
- Click Proceed.
After you click Proceed, TeamCity automatically scans your version control repository for supported technologies, in this case Java and Gradle.
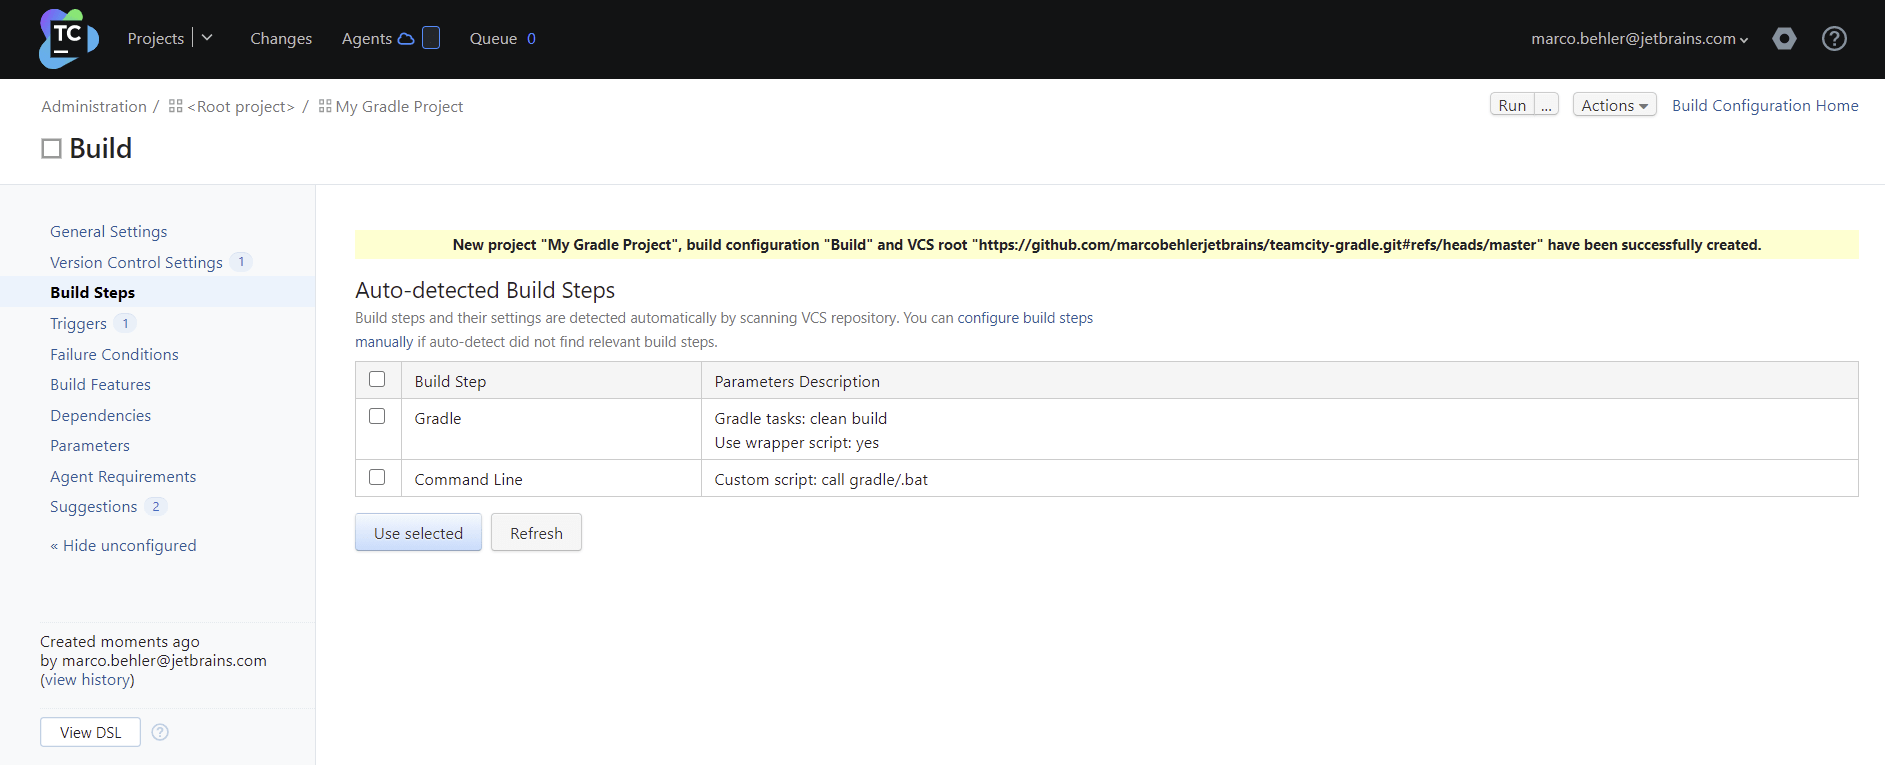
If TeamCity detects a build.gradle file in your repository, it will automatically
suggest a
build step for your project that involves compiling
your Gradle project and running its tests by executing a gradle clean build.
Build steps should not be confused with a build configuration. A build configuration can potentially contain many build steps.
- Select the checkbox adjacent to the Gradle build step.
- Click Use selected.
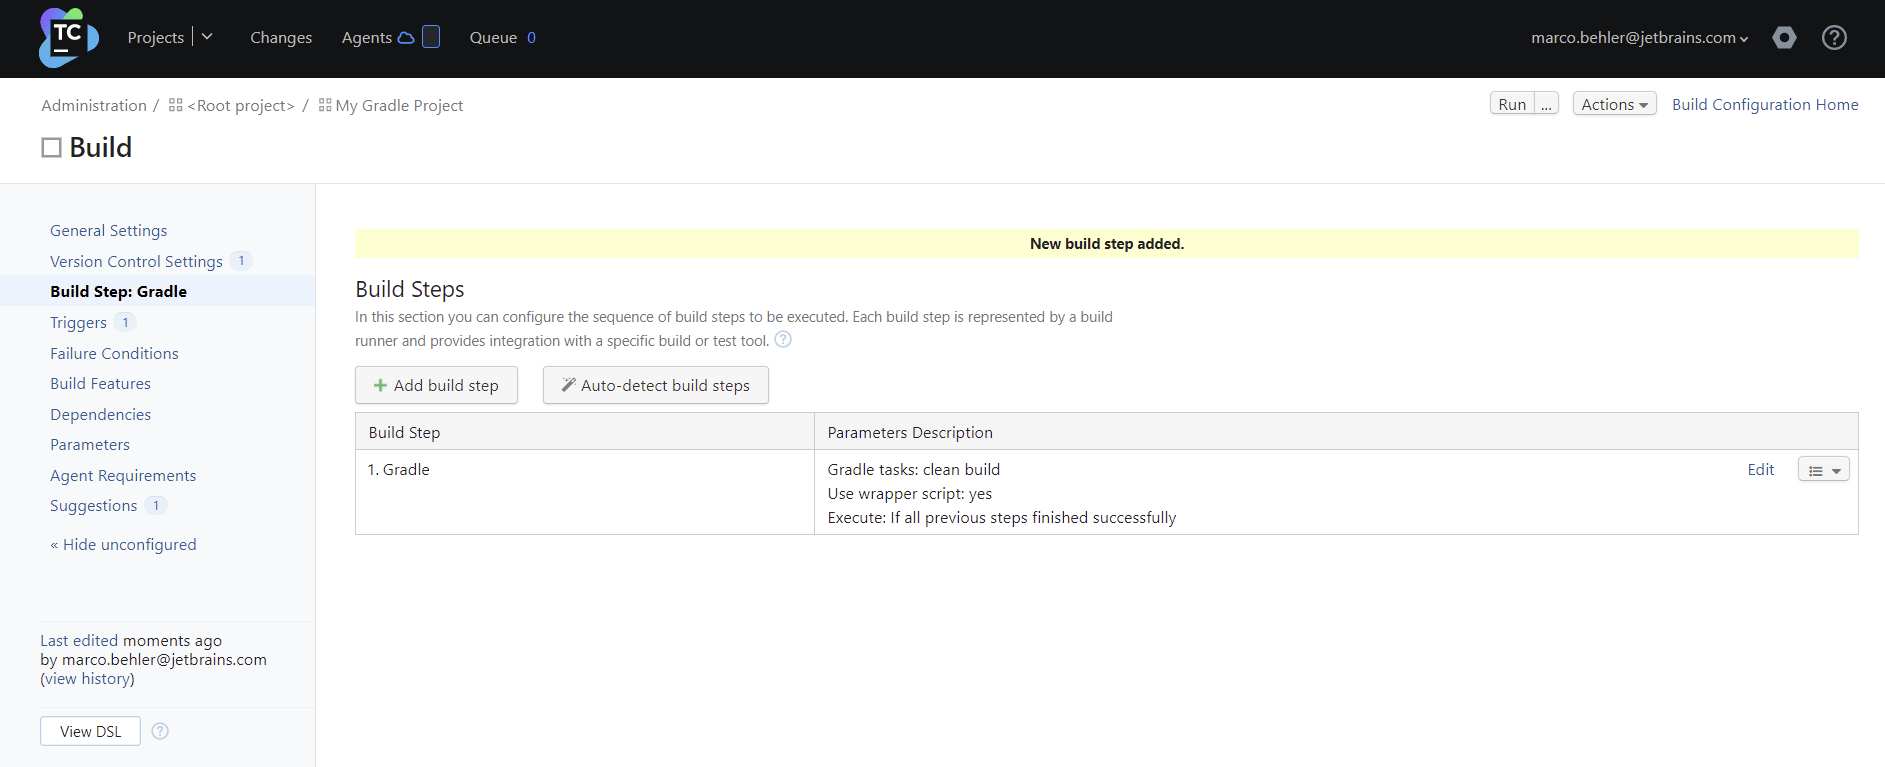
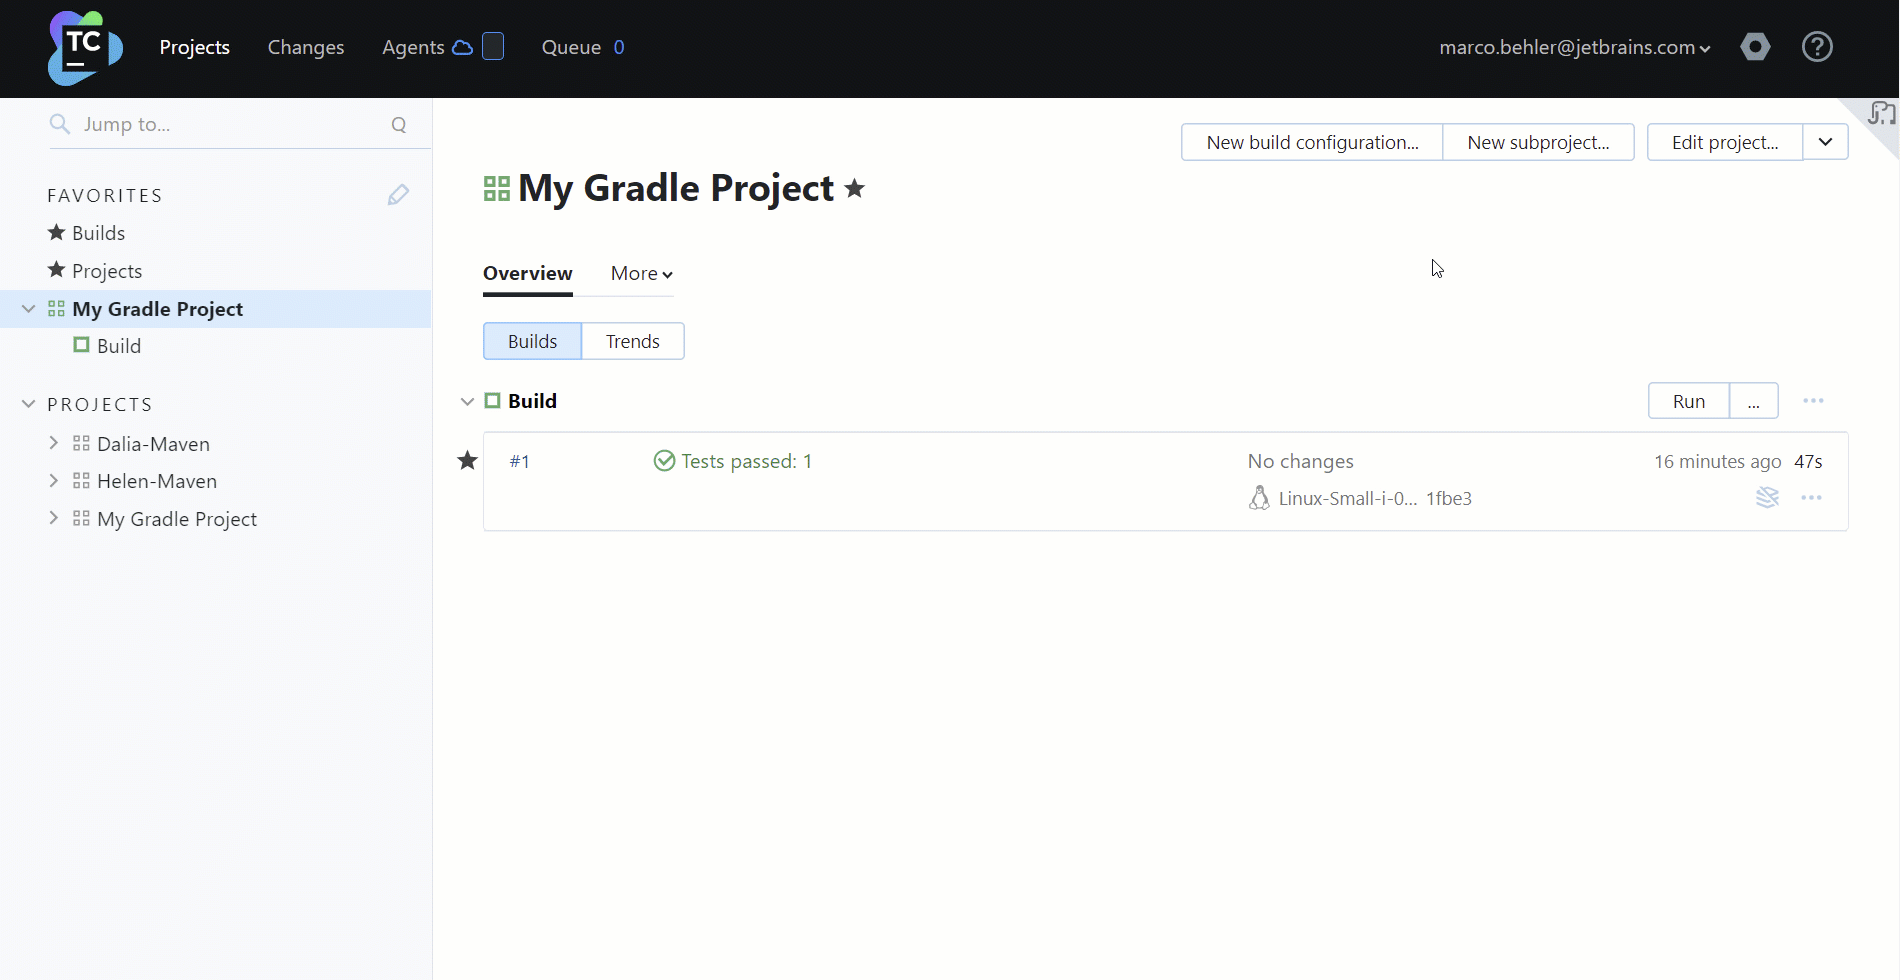
You have now successfully configured your Gradle repository with TeamCity:
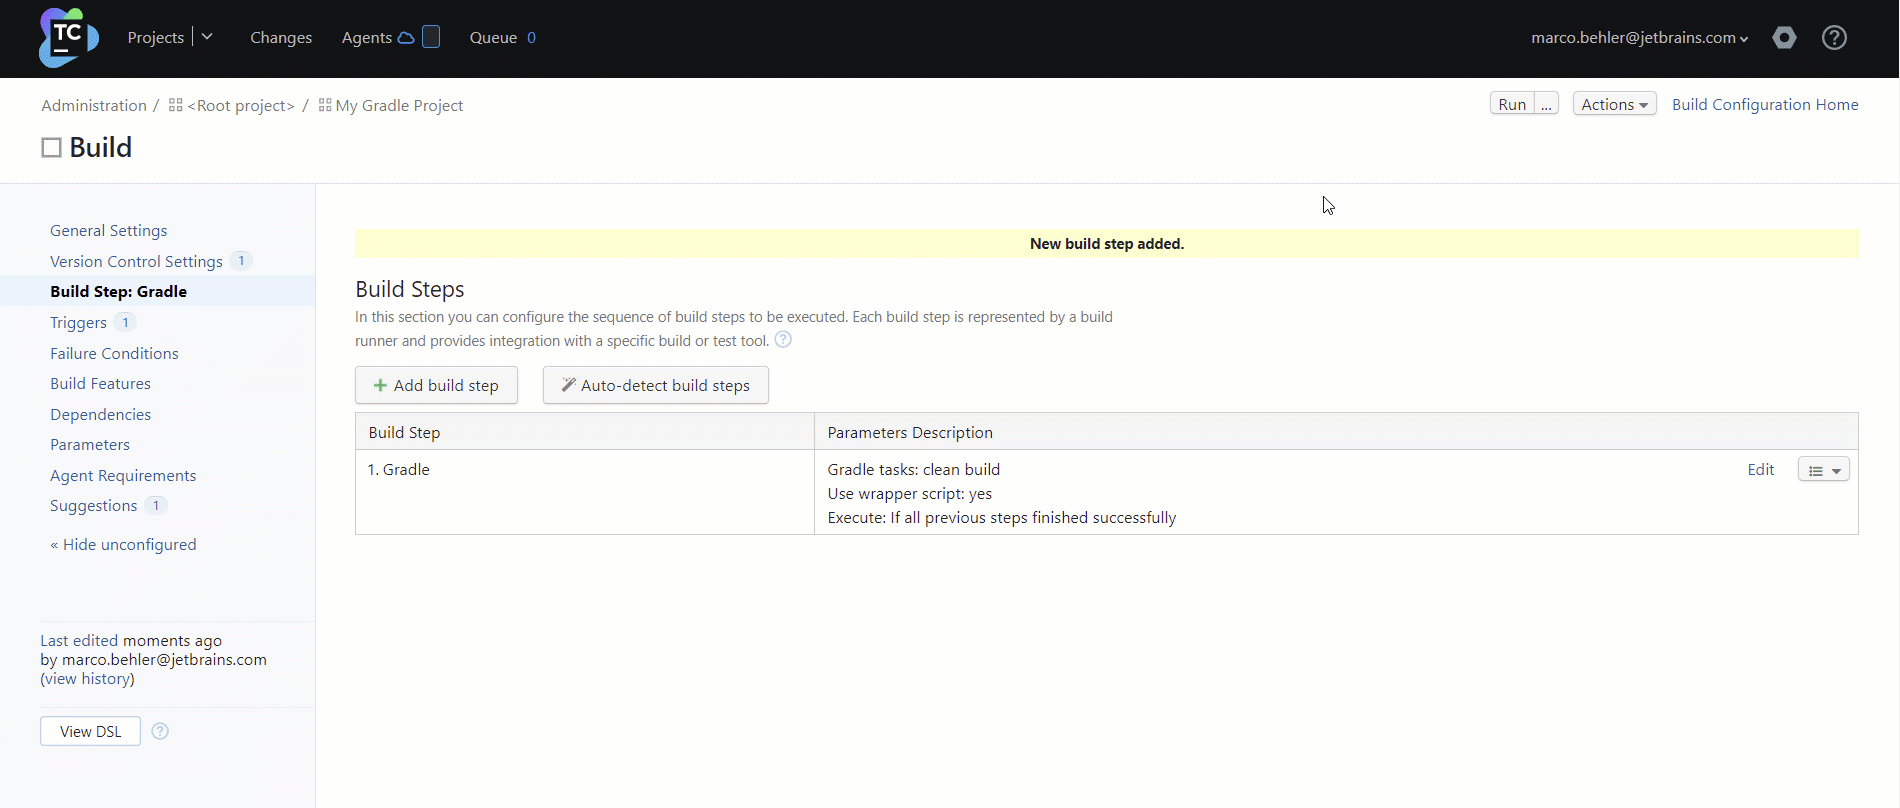
Step 2 – Run your first build
You can now run your first builds.
- Click the Run button in the top right-hand corner of the window, as shown here:
Note: If you are using TeamCity Cloud, it could take up to a couple of minutes for a build agent to become available. During this time, your build will wait in the queue until it is picked up by an available agent.
If you are using TeamCity On-Premises with local build agents, your build will start immediately.
Once your build starts, you will be redirected to the build’s overview page with the Build Log tab open, which displays real-time data related to your build. After the build has finished running, you can take a look at your test results or browse the complete build log.
Step 3 – Configuring your Gradle TeamCity project
Now that your Gradle repository is connected to TeamCity, you can continue to develop and push your code to your repository.
By default, TeamCity will poll the main branch of your VCS repository every 60 seconds for incoming changes and trigger one (combined) build for all detected commits.
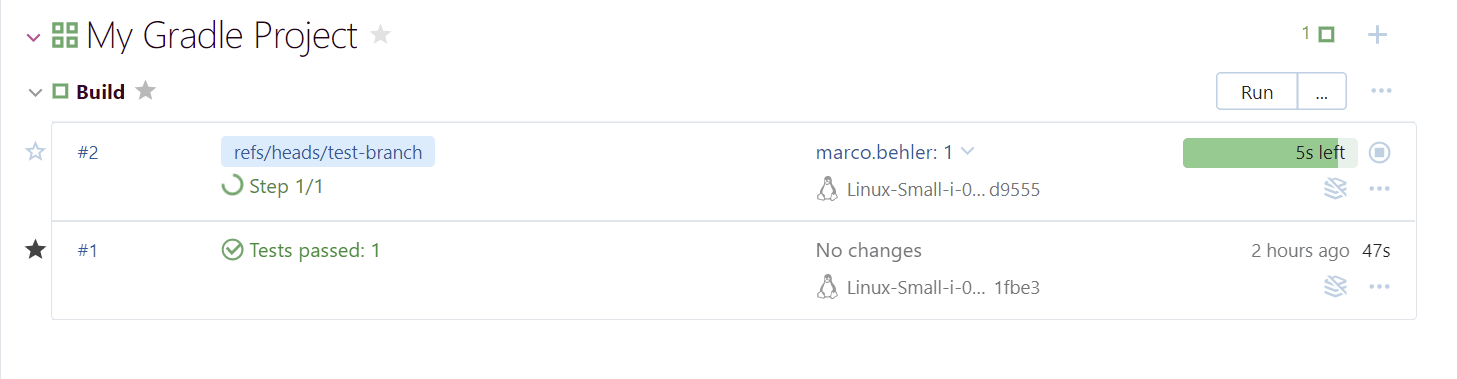
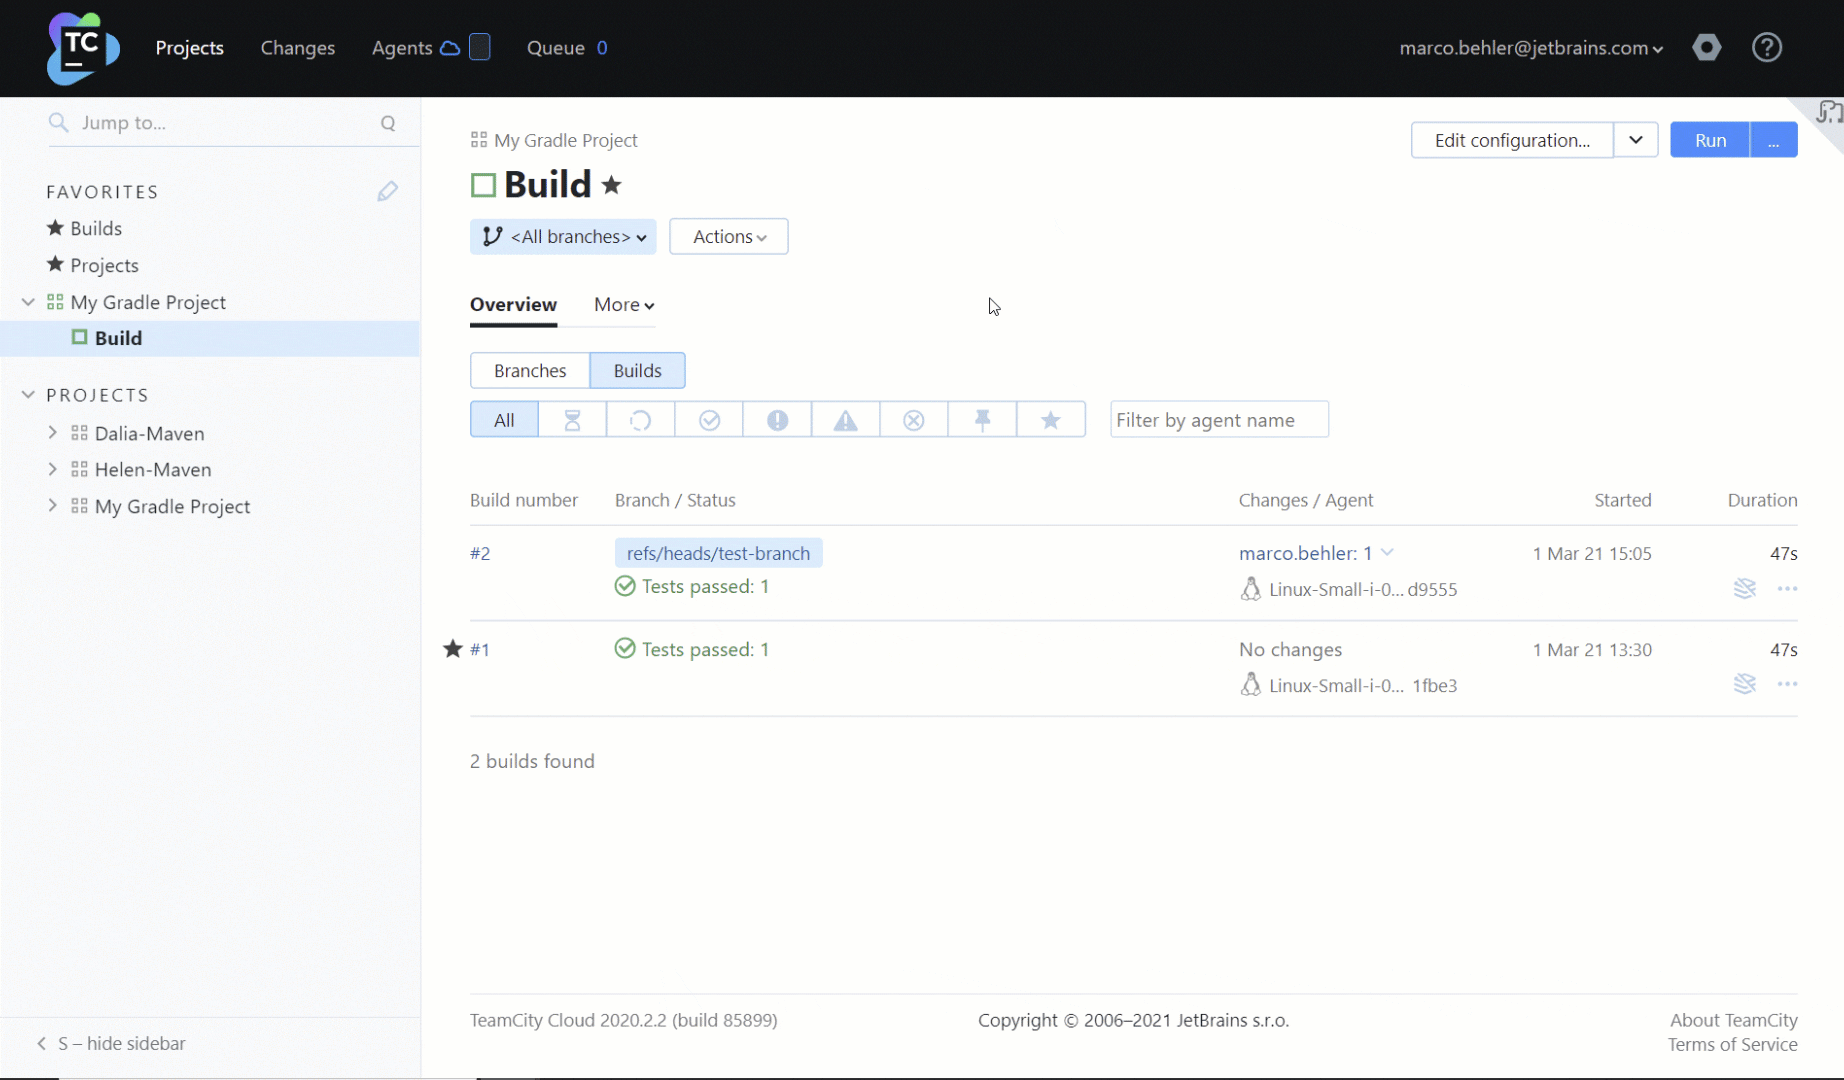
Building branches
If you want to trigger a build for every change to any branch in your repository, not just the main branch, add a wildcard branch specification to your VCS Root settings. Note that VCS settings belong to the TeamCity project, not to a single build configuration. Hence, any changes you make will be applied to all build configurations that use the same VCS root.
- On the project’s overview page, click Edit Project. Alternatively, if you have the Build build configuration open, click Edit Configuration.
- Navigate to VCS Roots (Version Control Systems) and edit your VCS Root.
- Fill out the Branch Specification input field and click Save. If you cannot see the Branch Specification input field, click Show Advanced first.
Example branch specifications:
-
+:refs/heads/*– TeamCity will check for changes in all the branches of your projects, but it won’t check pull-requests on platforms like GitHub, as they matchrefs/pull/*. -
+:*– TeamCity will check for any incoming changes on any branch. - Your own custom branch specification.
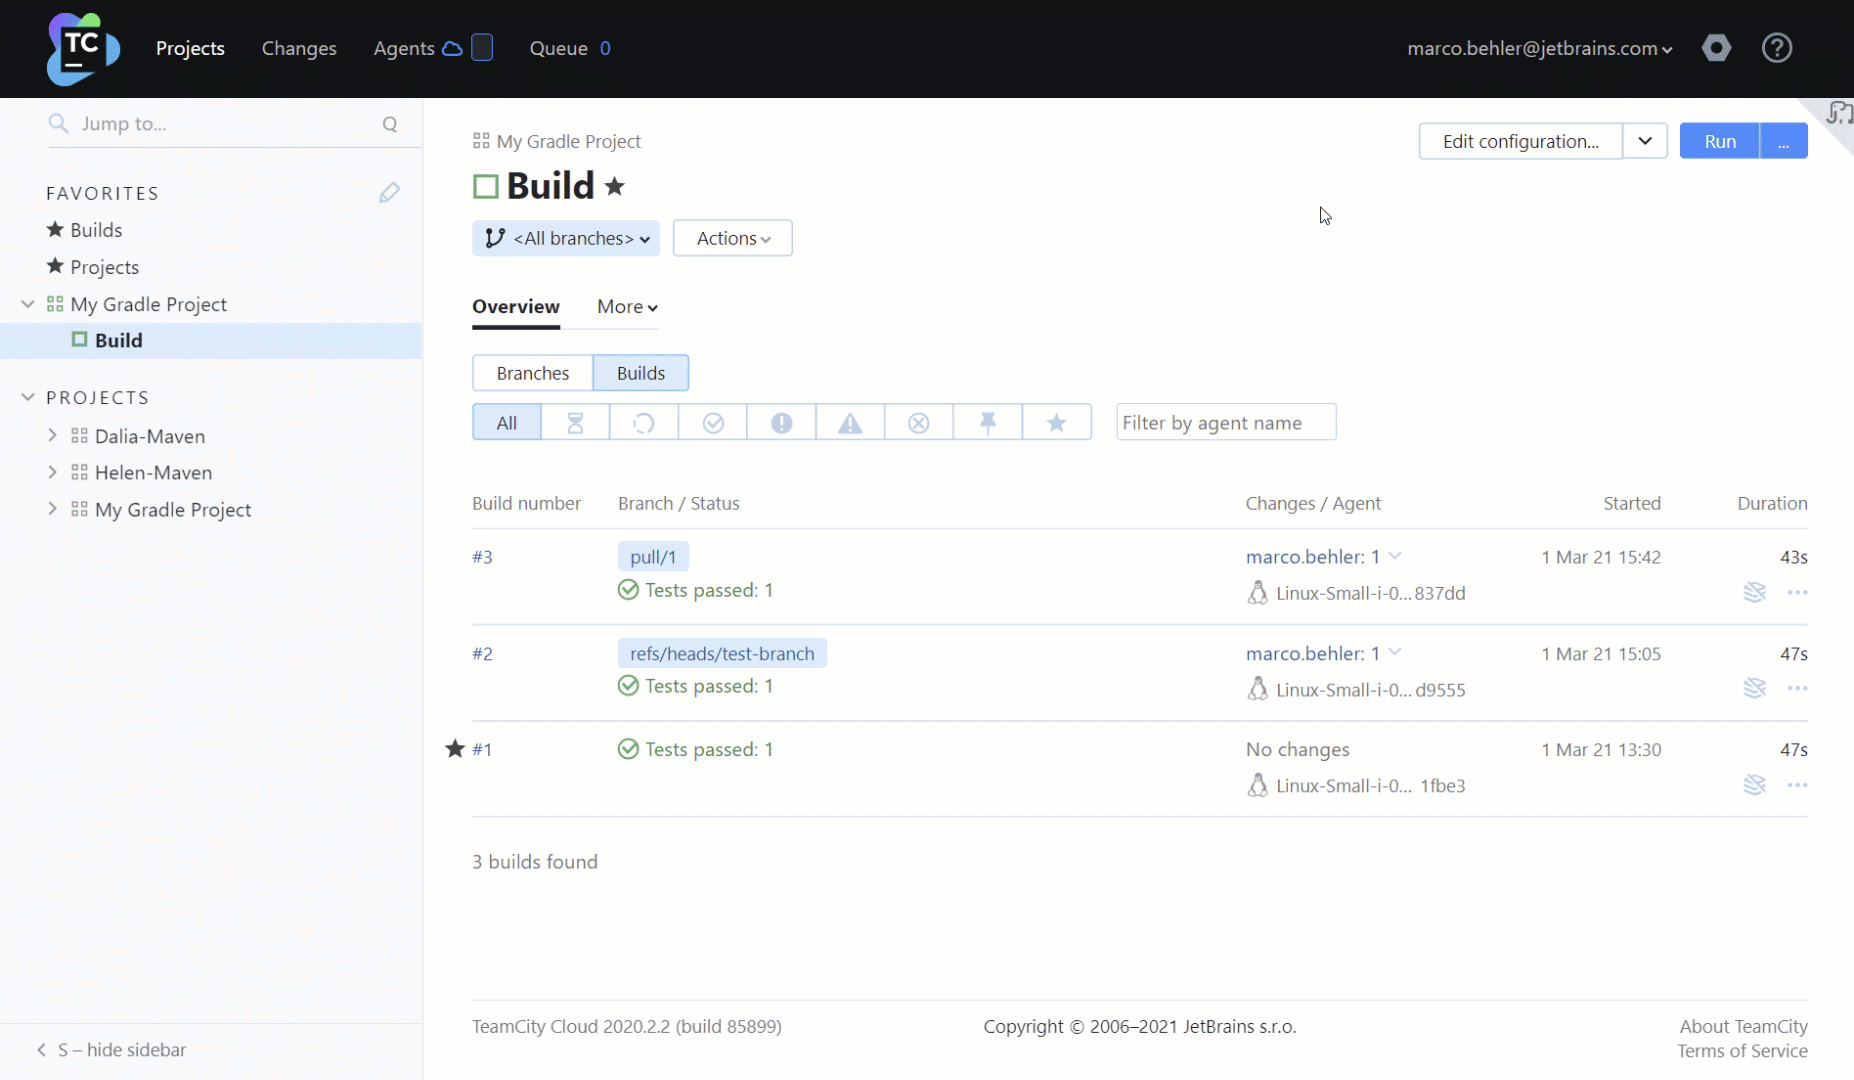
TeamCity will now monitor all the branches that conform to your branch specification and are pushed to your repository, checking for incoming changes, and it will run builds accordingly.
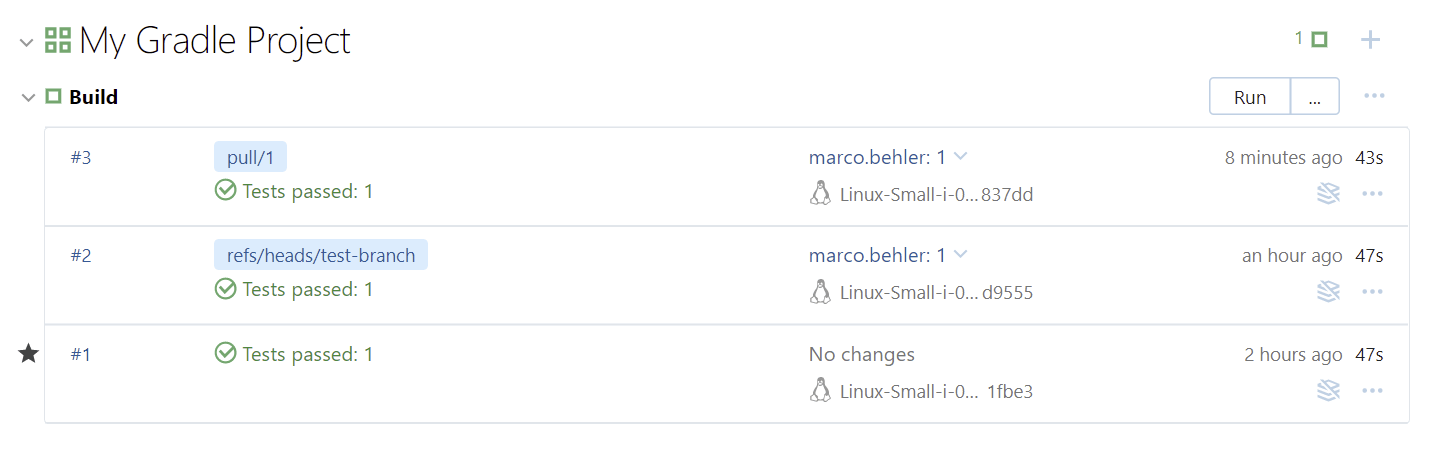
Building pull requests
If you want TeamCity to automatically build pull requests that are made against your repository, you can add the Pull Request build feature to your build configuration.
- Open your build configuration and click Edit Configuration.
- Navigate to Build Features and click Add Build Feature. If you cannot see the Build Features link, click Show More.
- Select Pull Requests from the dropdown and choose your repository, as well as the repository provider (GitHub, GitLab, or similar).
- Optionally, apply Pull Request Filtering, by author or branch name.
Note: The Pull Request build feature transparently expands the branch specification
(see the previous step for more information). For example, in the case of GitHub, the pull
request feature will (invisibly) add +:refs/pull/* to your branch specification.
We recommend ensuring that pull request branches are not included in your general branch specification when the pull request feature is used, because otherwise pull request-related features will not be available in TeamCity.
TeamCity will now check the external platform for pull requests and trigger a build for those matching your configuration rules.
Note: You should use this feature with caution on public repositories, as anyone could push harmful code to the repository (which you wouldn’t want to build).
Commit Status Publishers
When using the pull requests feature in combination with Azure DevOps, Bitbucket Server, GitHub, or GitLab, it also makes sense to use the Commit Status Publisher build feature. This feature will update the pull request’s status on the corresponding platform with the build results.
To set TeamCity up to report build results back to GitHub, you’ll need to follow these steps:
- Open your build configuration and click Edit Configuration.
- Navigate to Build Features and click Add Build Feature.
- Select Commit Status Publisher from the dropdown and choose your repository and a publisher (GitHub, GitLab, or similar).
- Provide an access token with sufficient rights to publish commit statuses.
- Click Save.
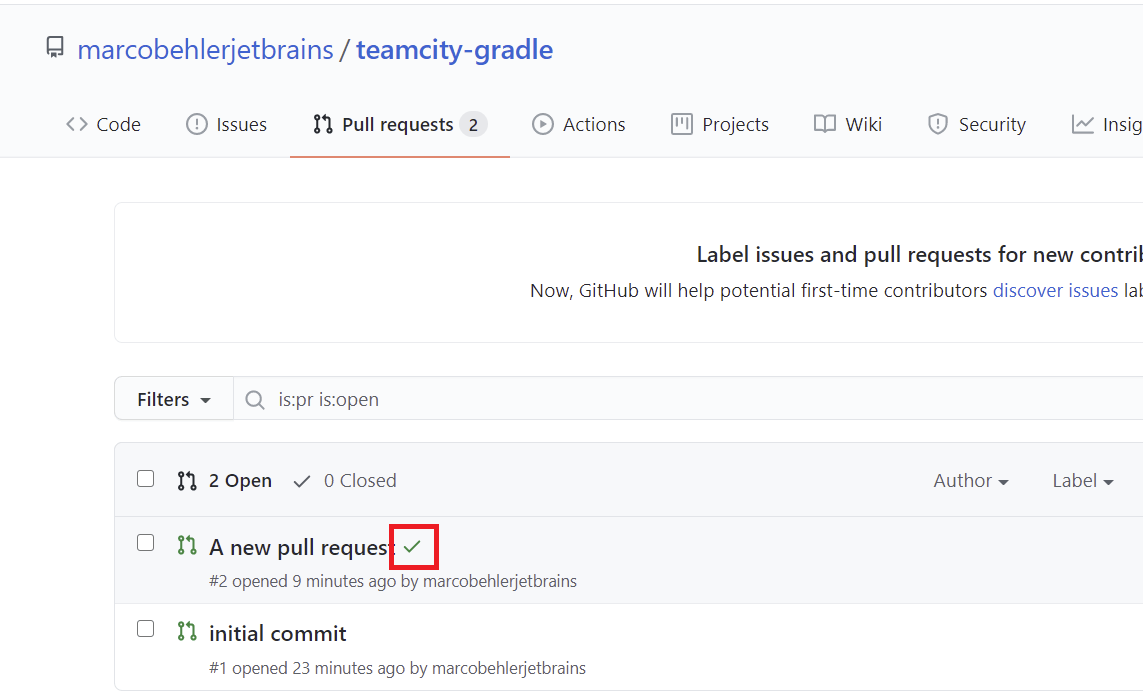
After TeamCity runs a build, you will now easily see if the changes caused a build failure right from the Pull Request tab on GitHub (green check mark).