STM32CubeMX projects
CLion integrates with STM32CubeMX for embedded projects targeting STM32 boards. Before working with these projects in the IDE, you need to install STM32CubeMX and STM32CubeCLT. Then, you can open an existing STM32CubeMX project or create a new one.
CLion also supports Cube CLI, the bundle manager from ST. It lets you download only the tools you need, such as CMake, the ST-LINK GDB server, or GNU tools, and manage your development bundles in the IDE (see details in the chapter below). To use Cube CLI, make sure that cube is installed on your machine.
Work with STM32CubeMX projects
Open a project
When you launch CLion, click Open on the Welcome screen.
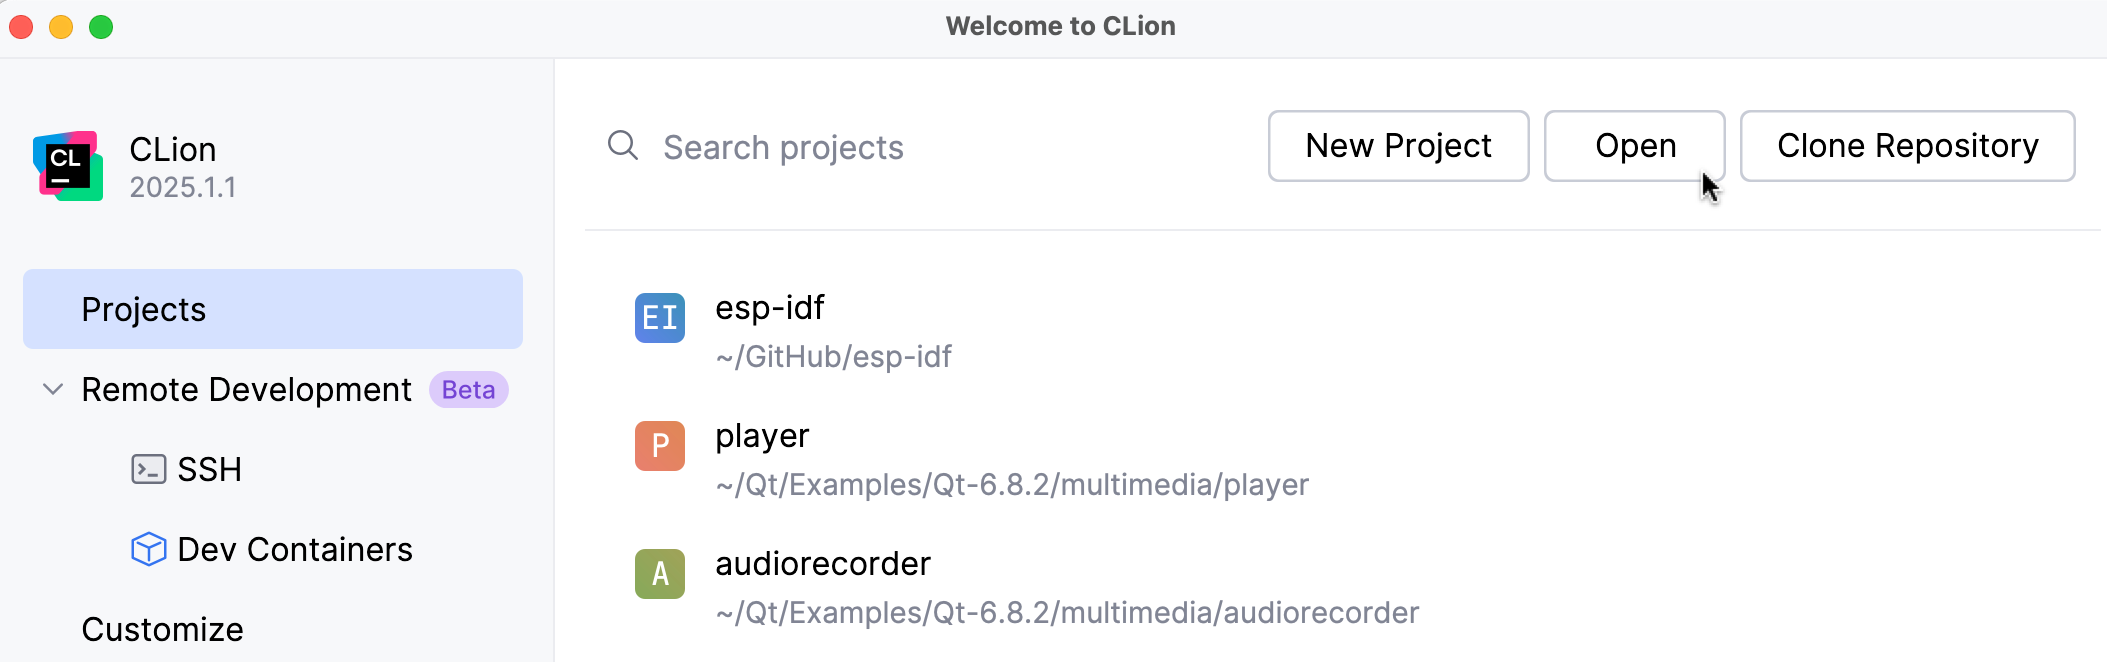
Then, navigate to your project folder, select it, and click Open. CLion then will open your project as a CMake one.
You can also select the .ioc file in the project folder and then click Open as Project. Make sure that the name of the .ioc file does not contain spaces, non-latin symbols, or other special characters.
If CLion is already run, navigate to and open the project folder or the .ioc file.
Create a new project
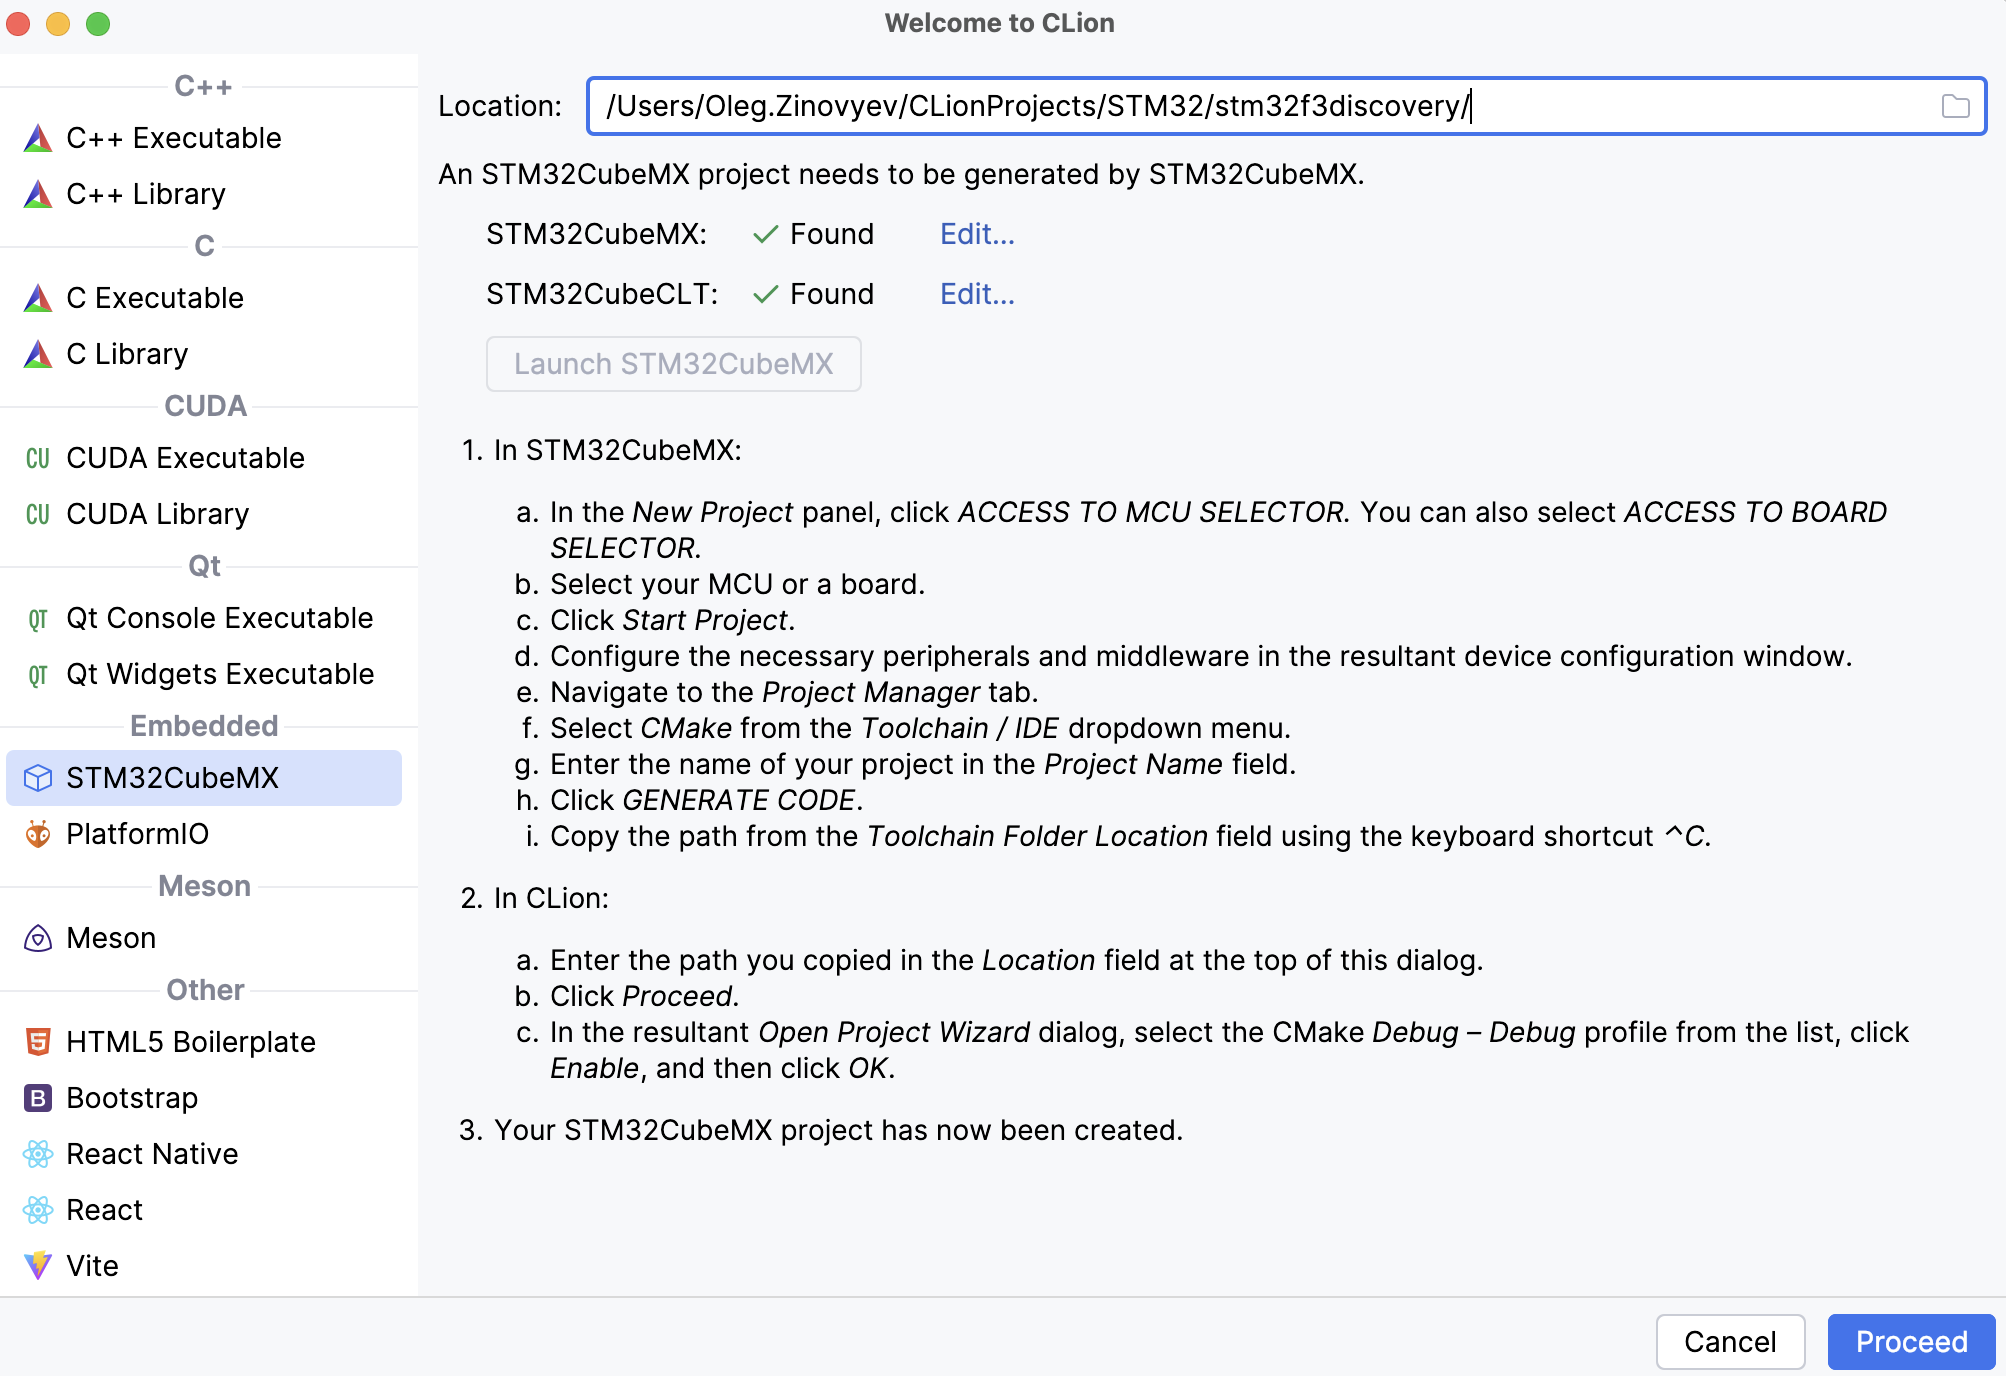
In CLion, navigate to and select STM32CubeMX as your project type:
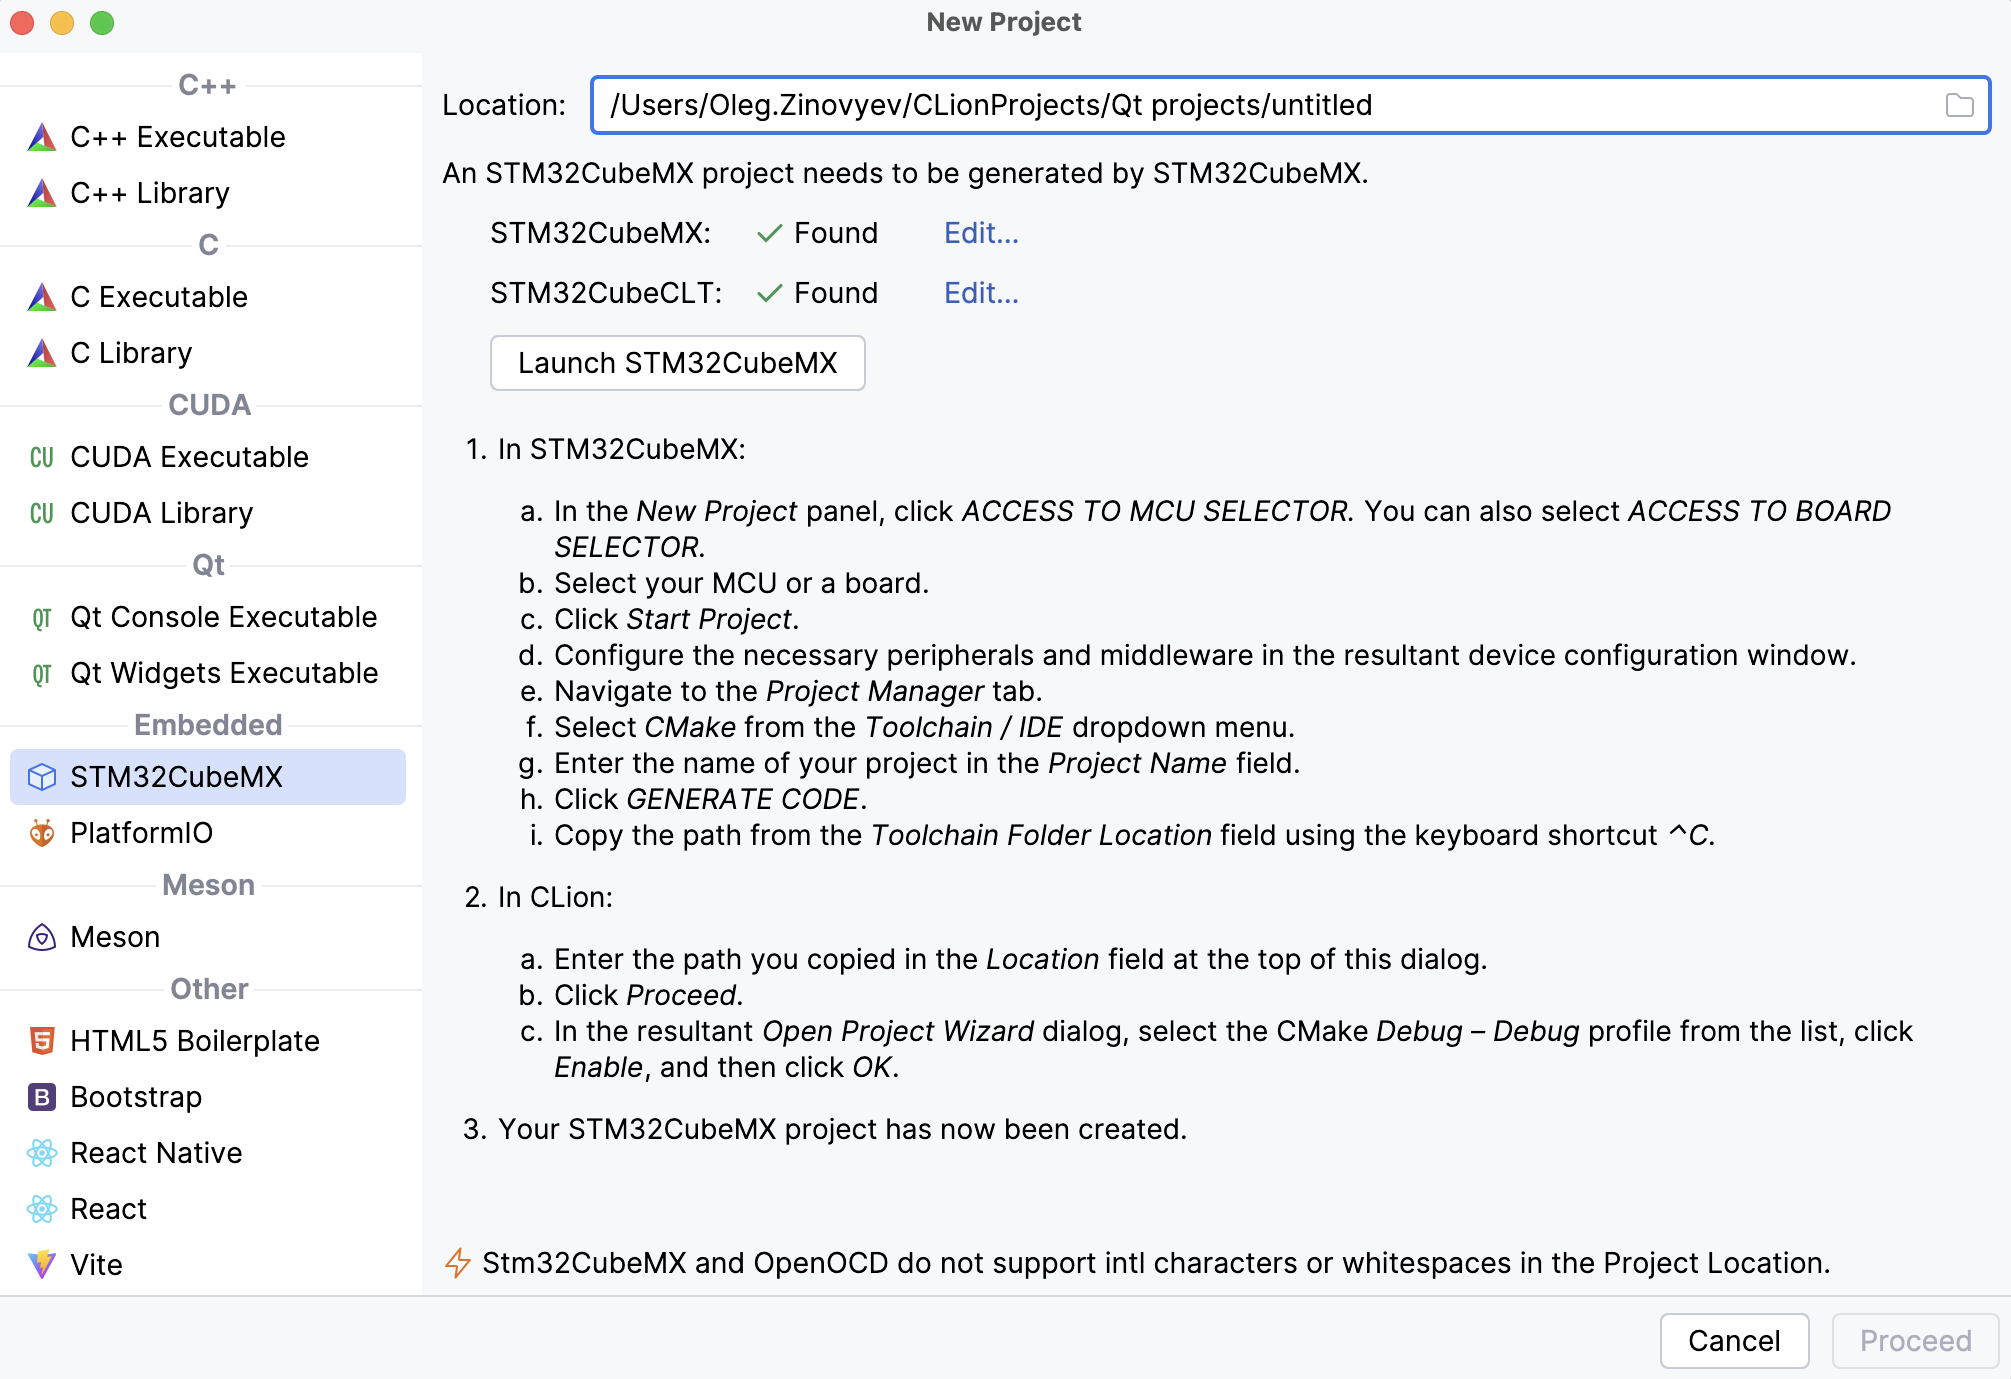
You can then follow the steps shown on the New Project screen or the more detailed instructions below.
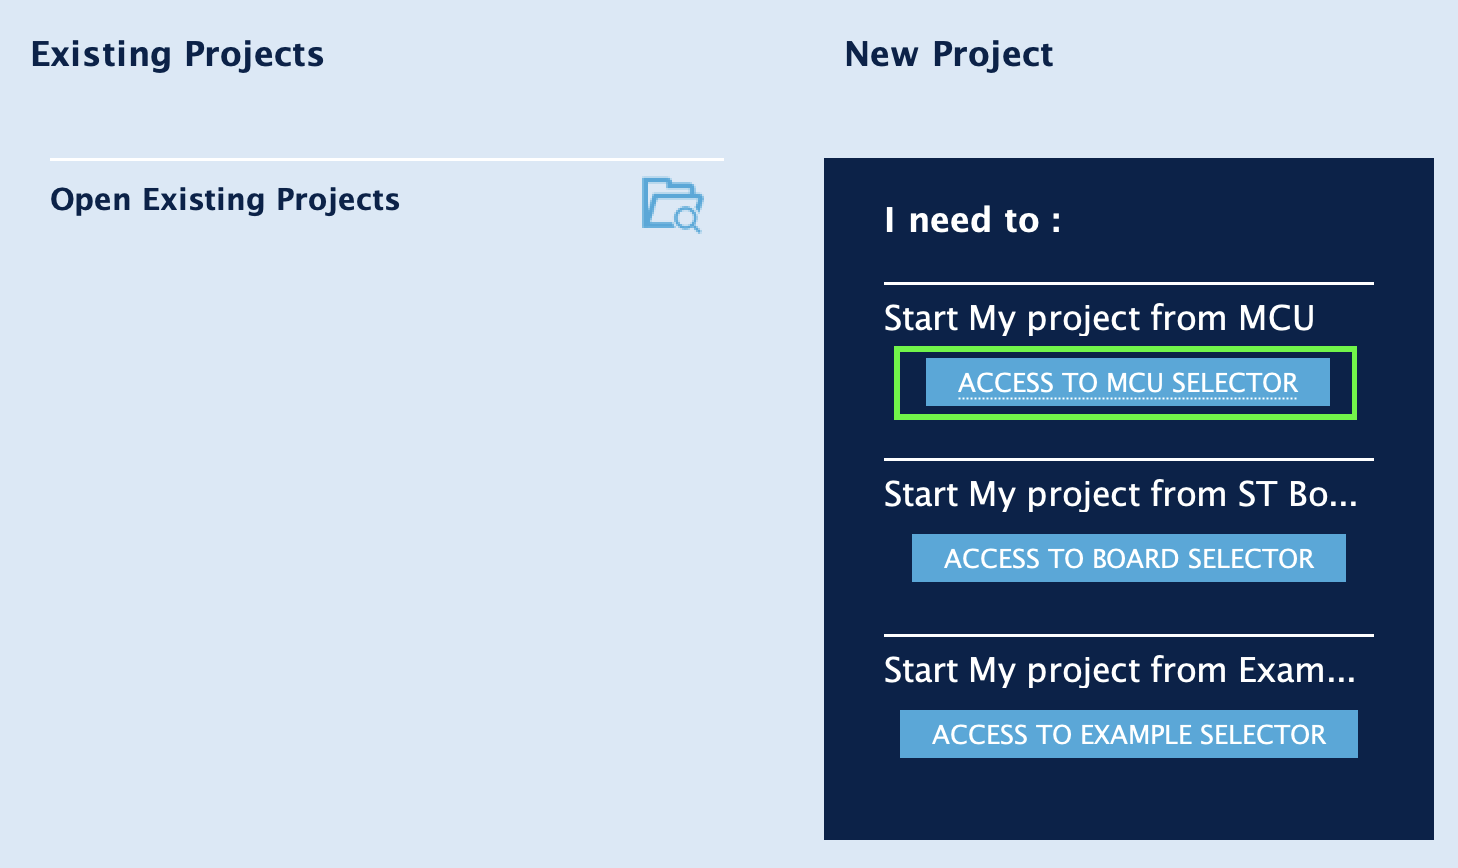
Launch STM32CubeMX. In the window that opens, click ACCESS TO MCU SELECTOR. You can also select ACCESS TO BOARD SELECTOR.
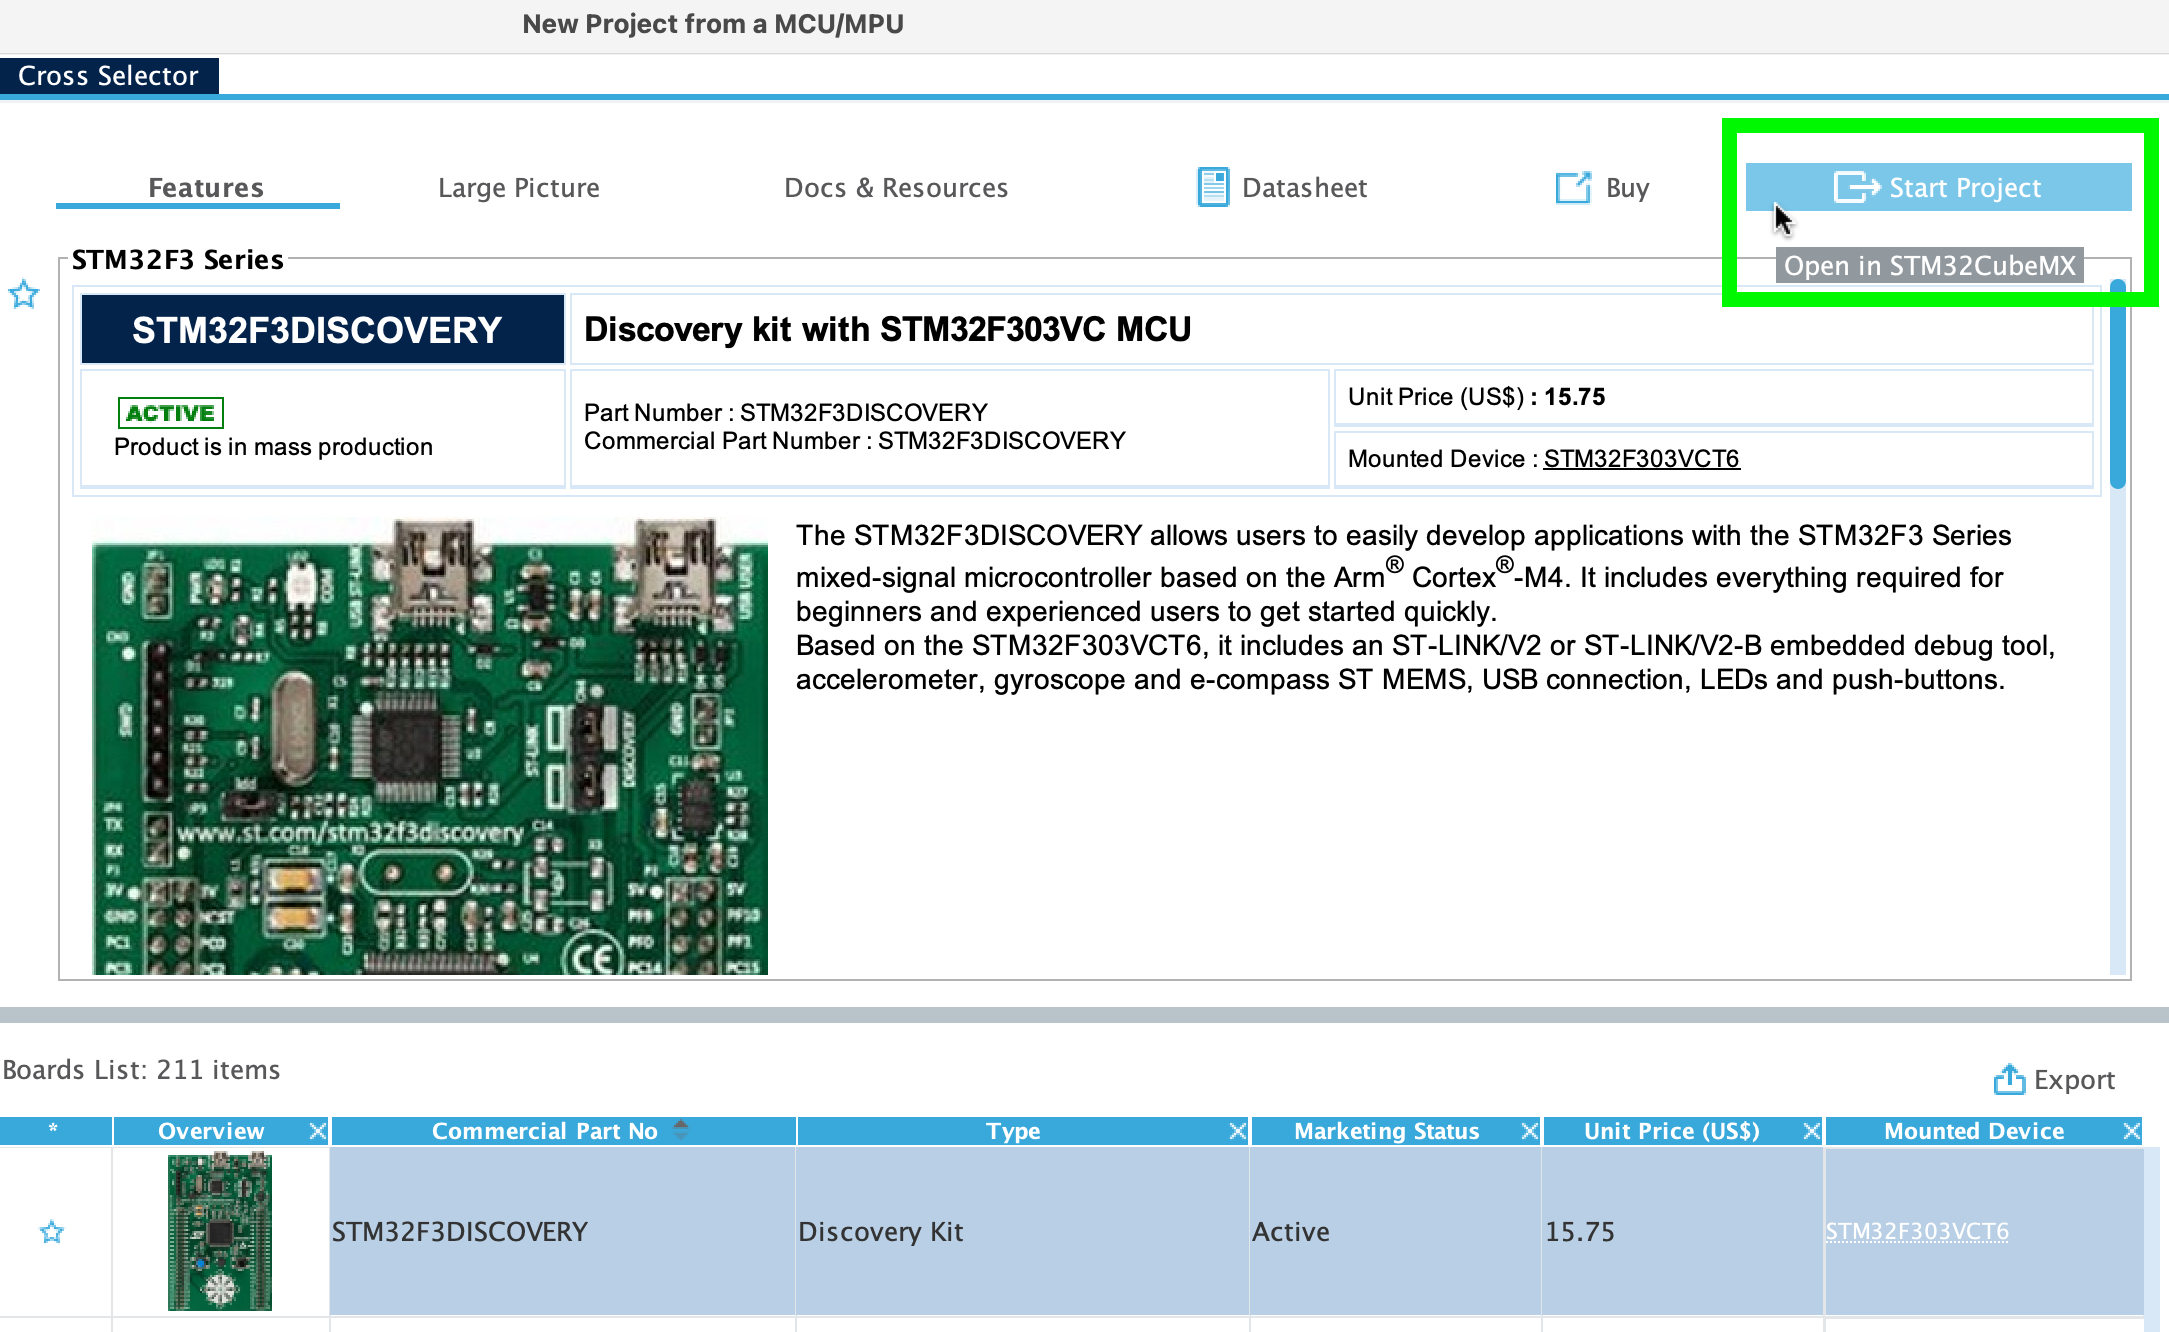
Find your MCU or board in the list, then click Start Project in the upper right corner:
The Pinout & Configuration tab will open. From there, you can change the default settings displayed in Pinout view, configure additional parameters, or install middleware if necessary.
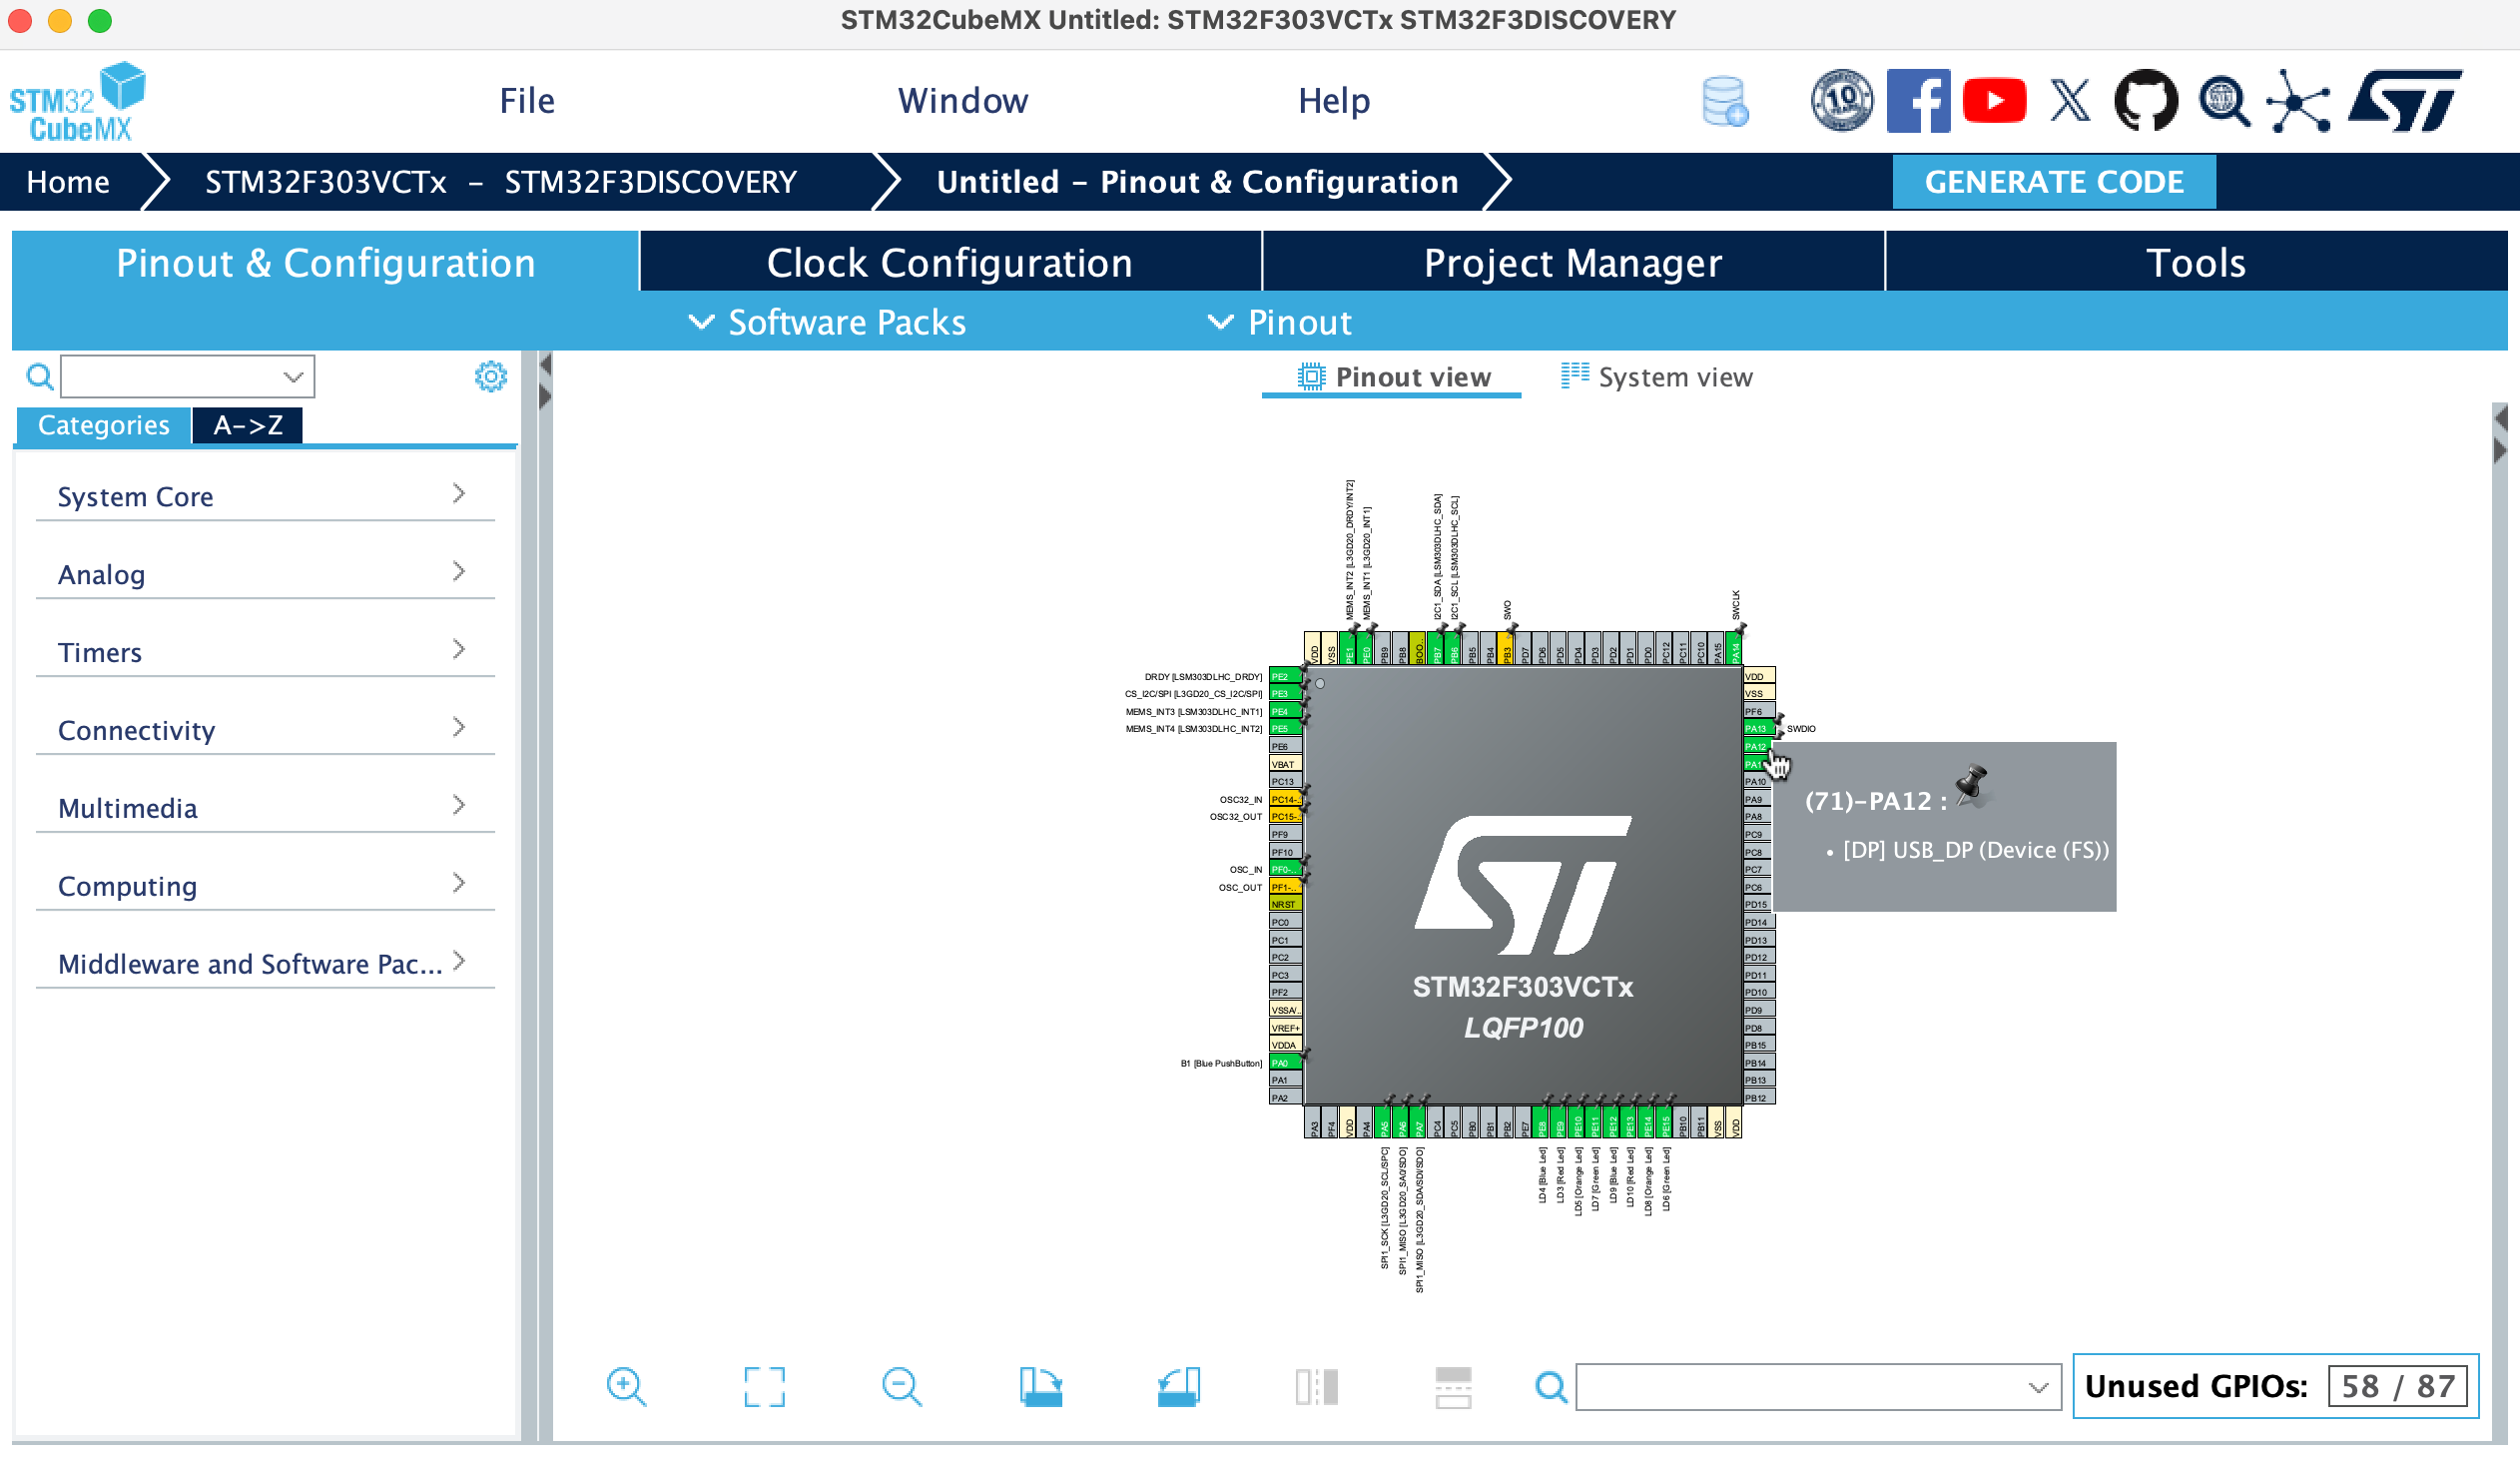
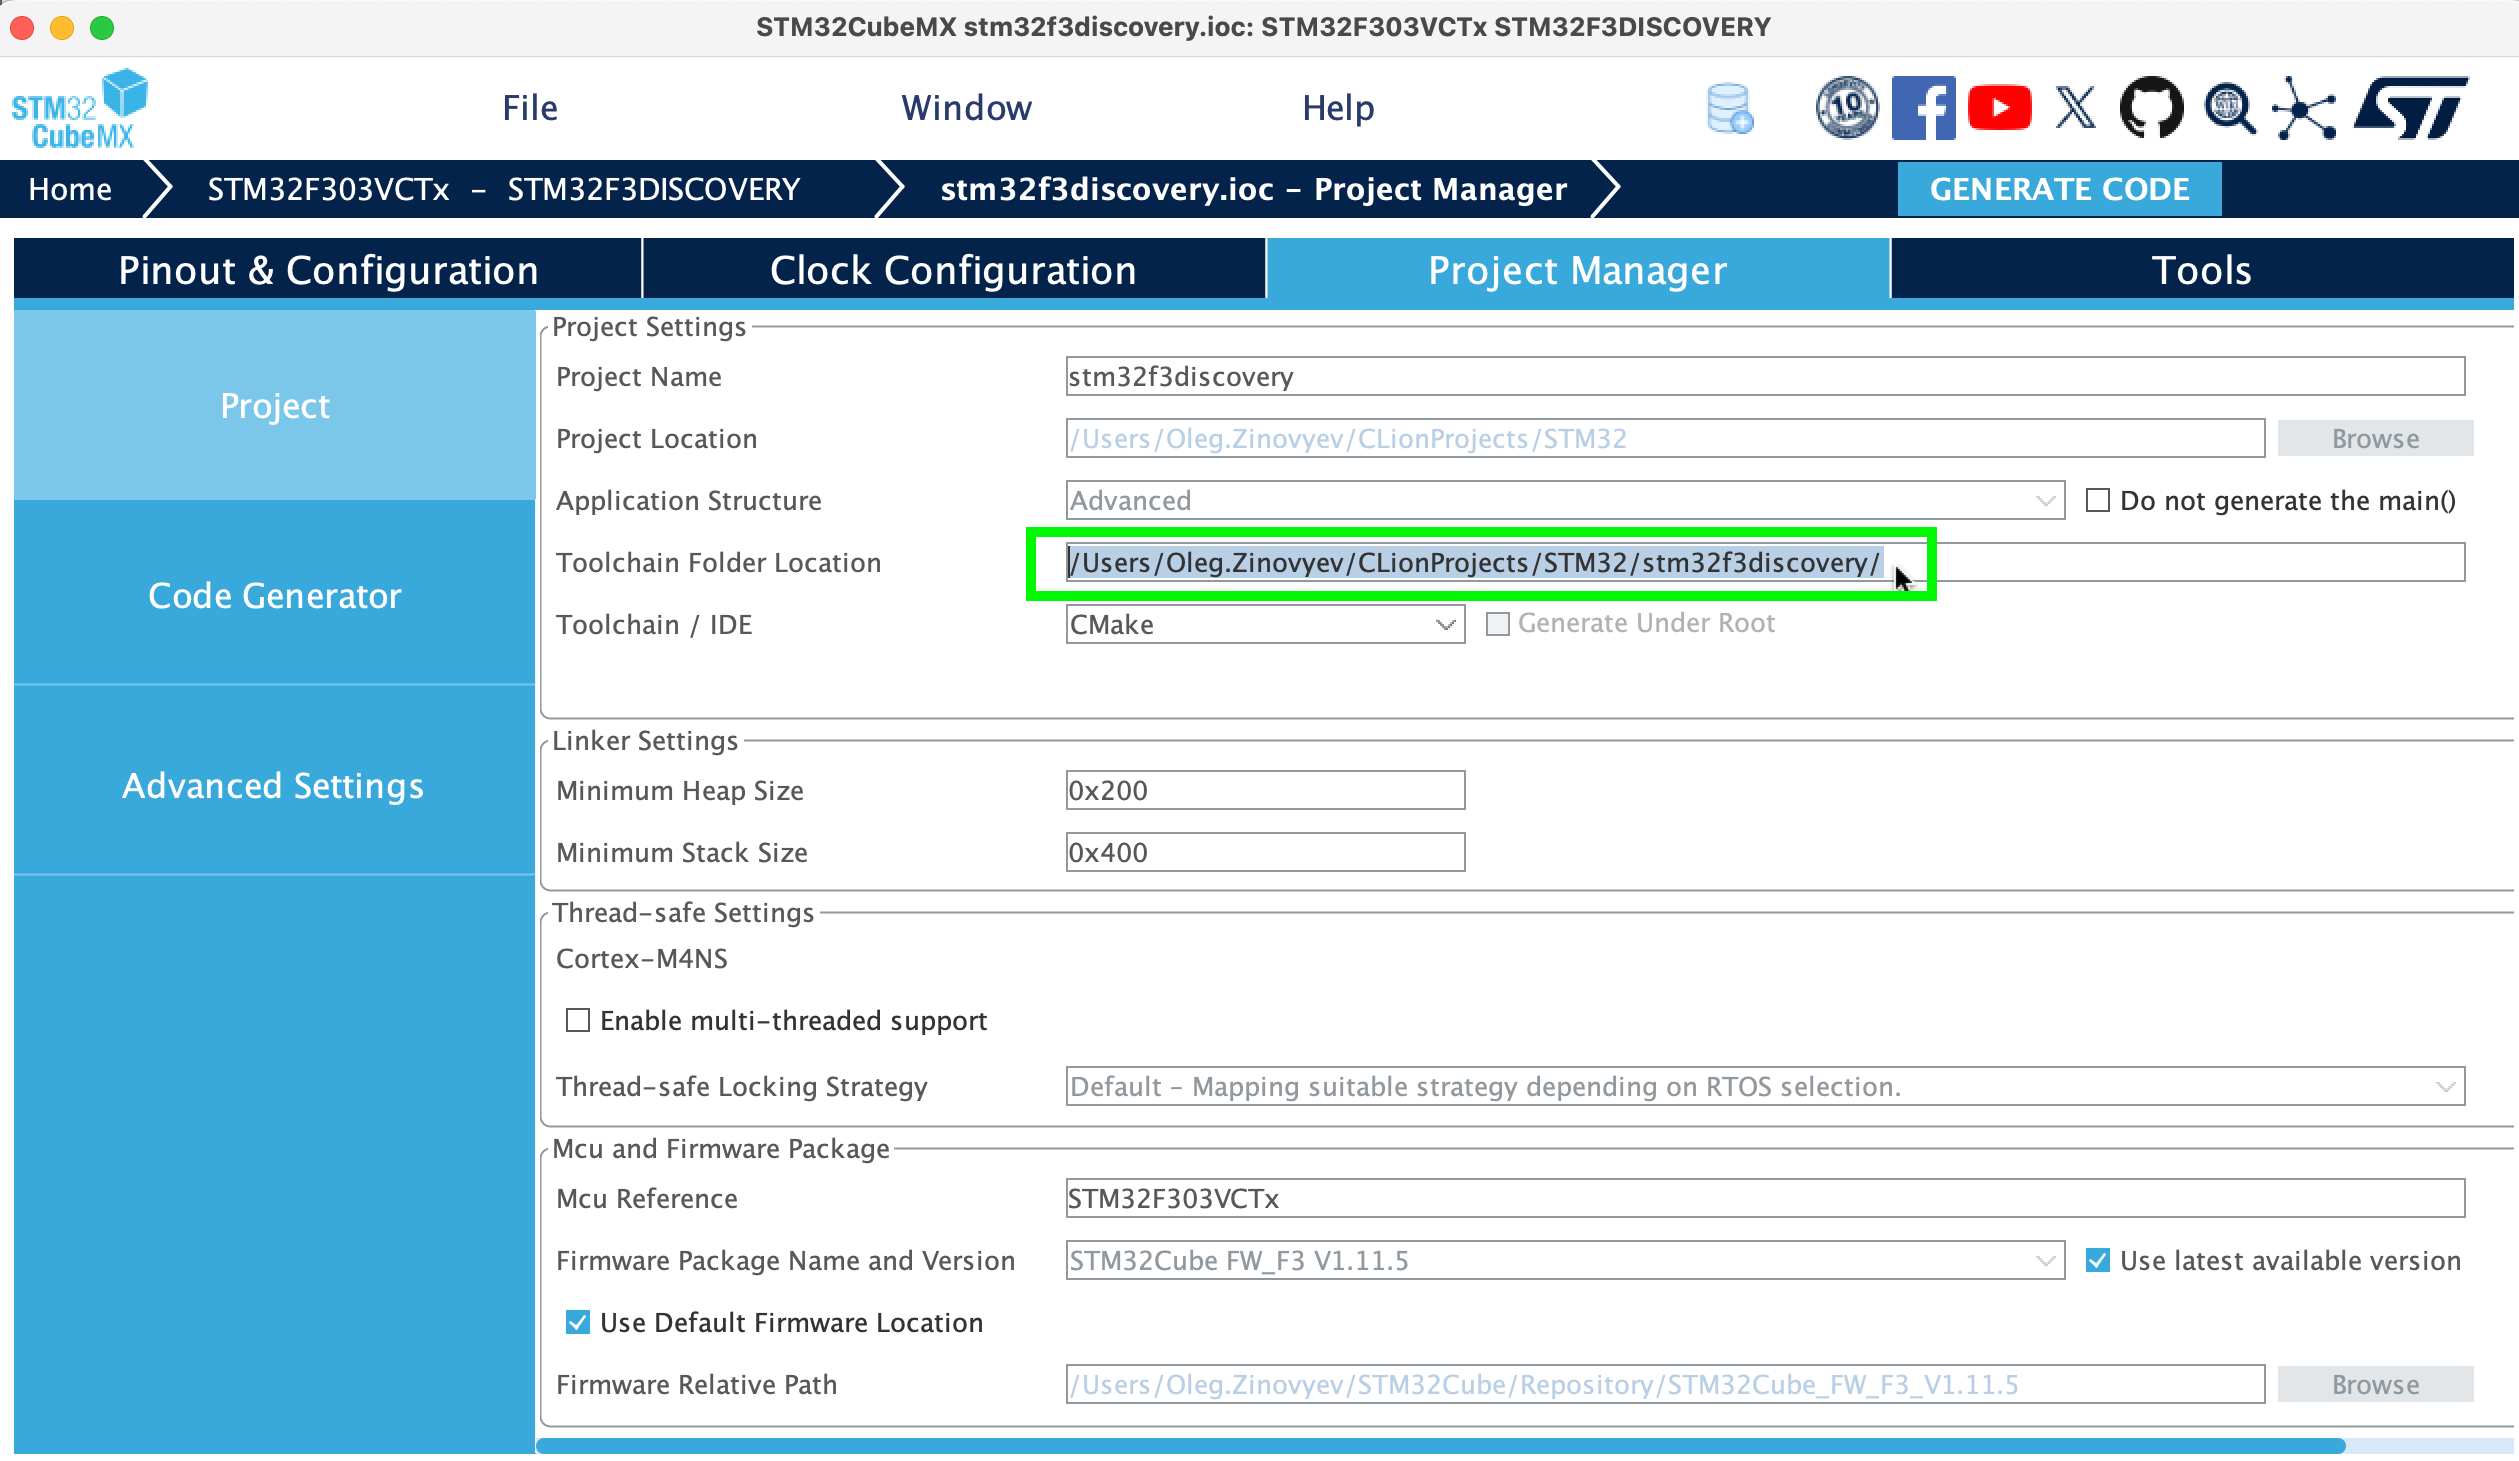
Click the Project Manager tab.
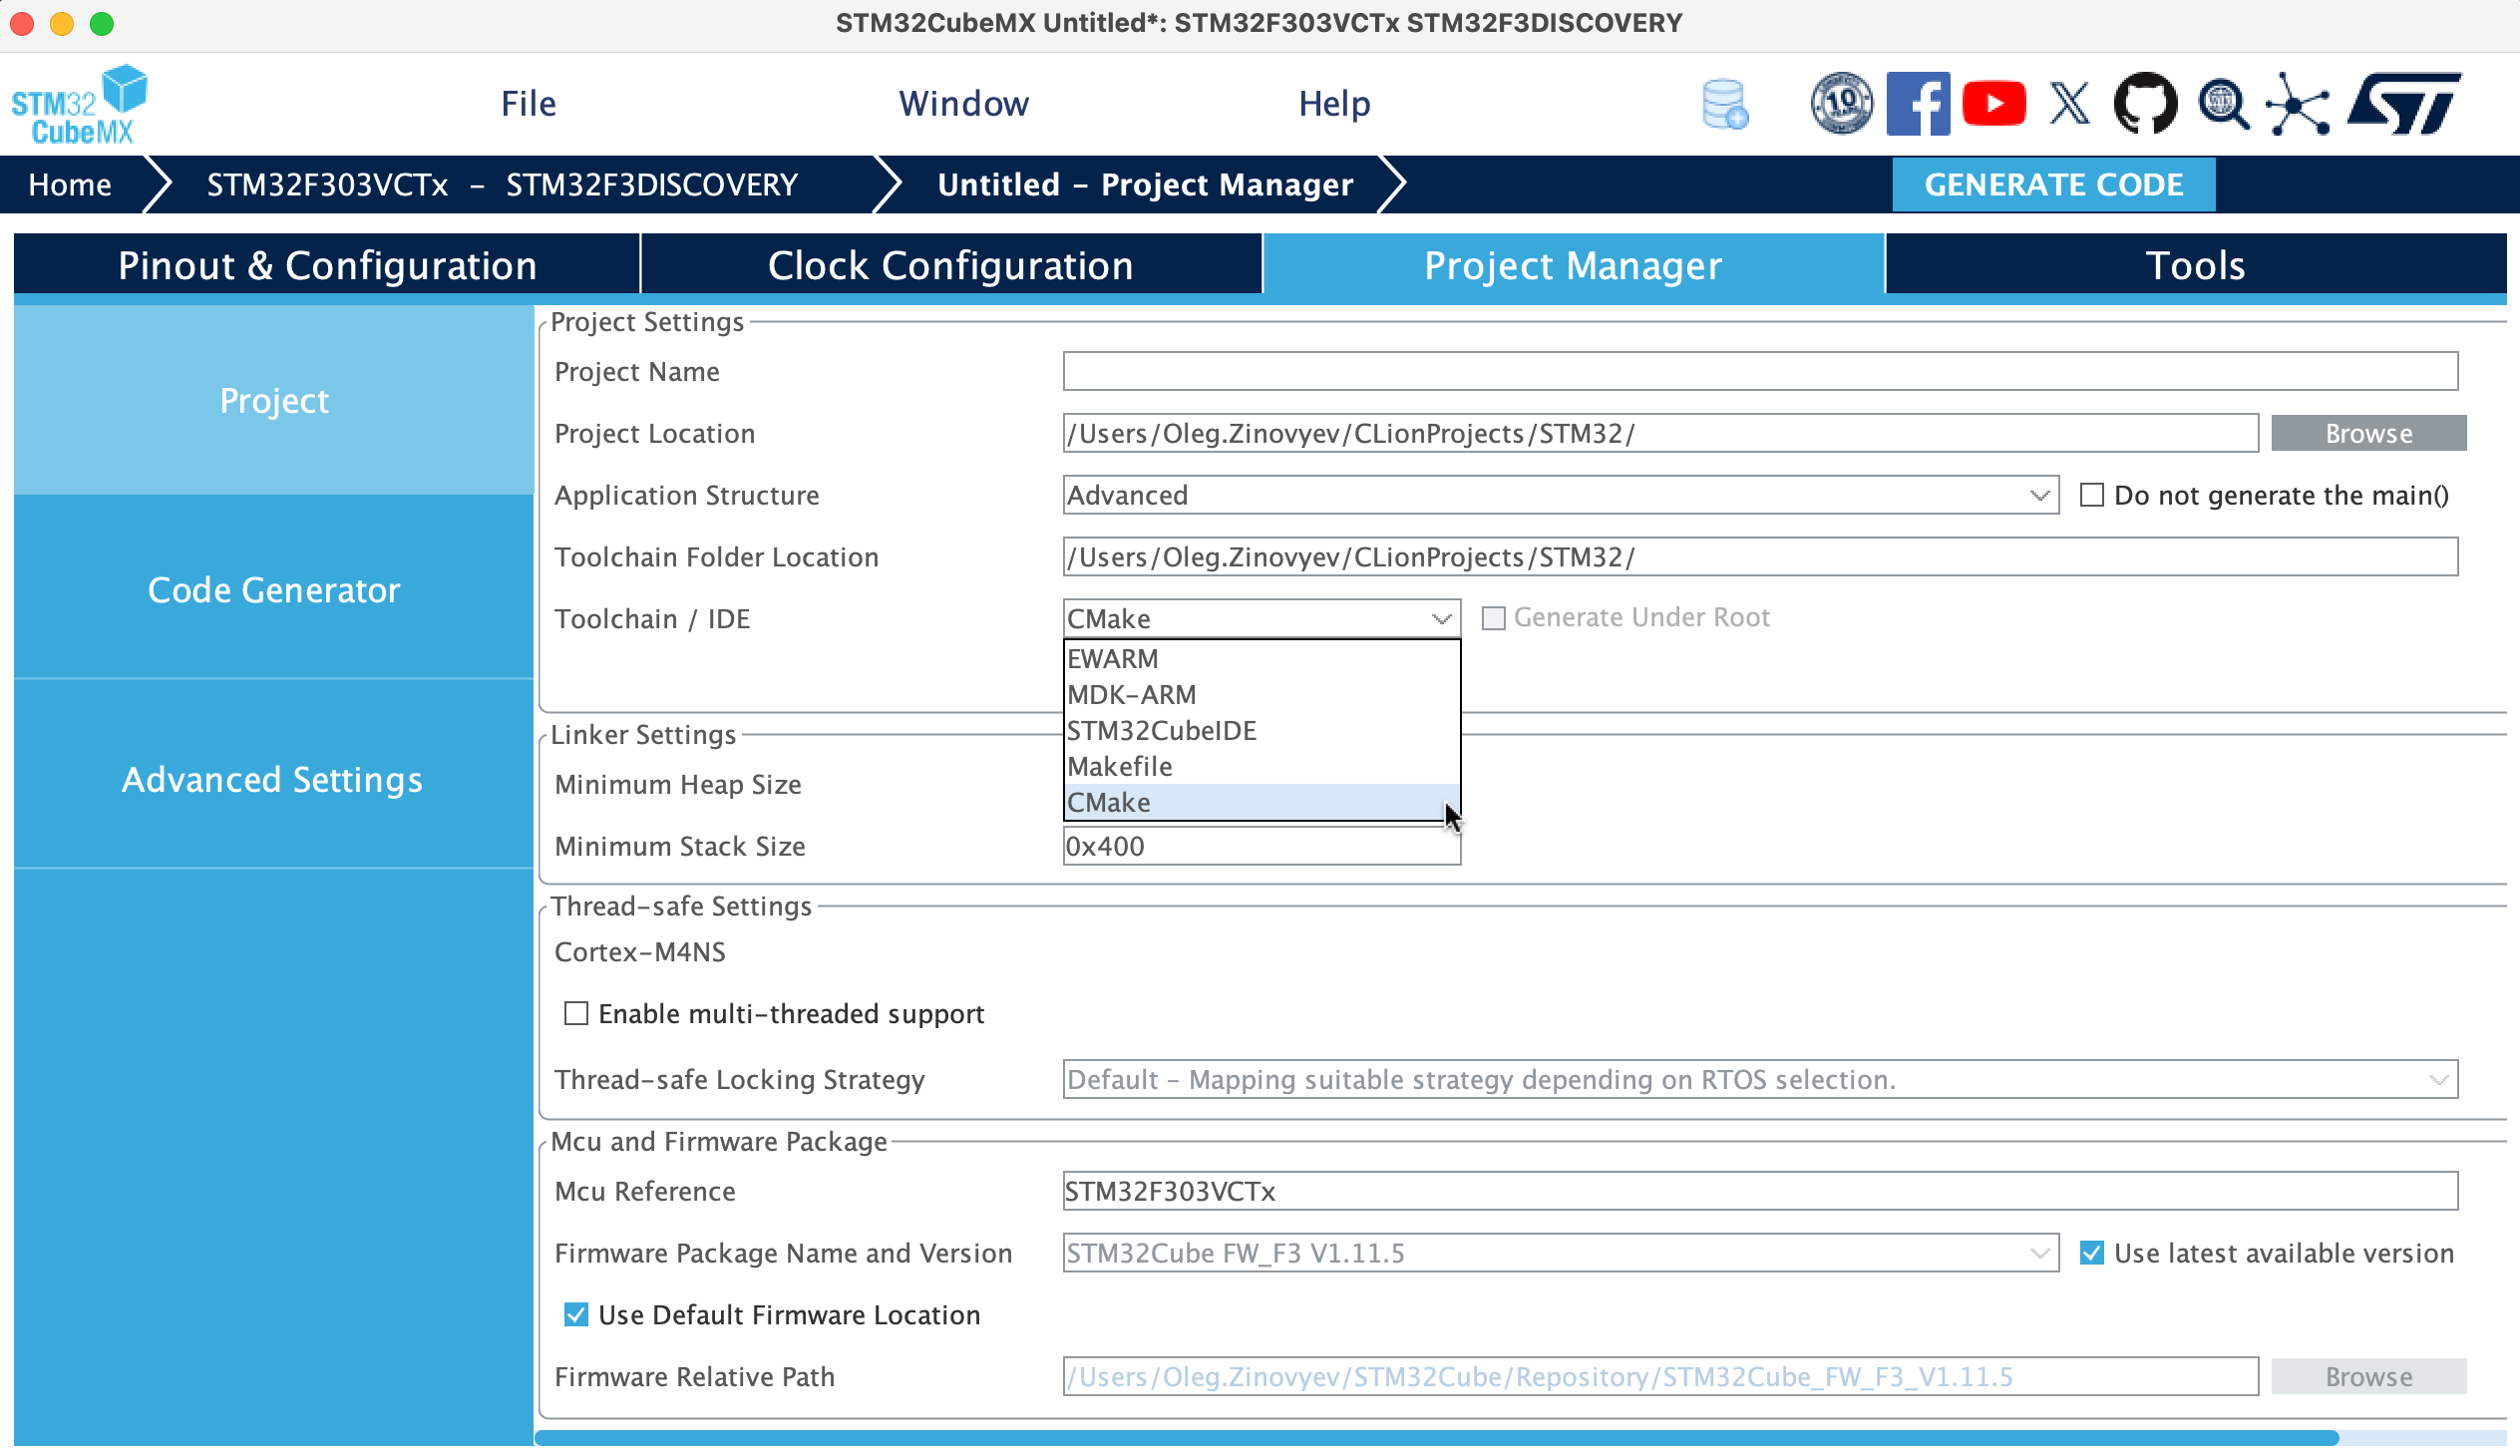
From the Toolchain / IDE dropdown menu, select CMake:
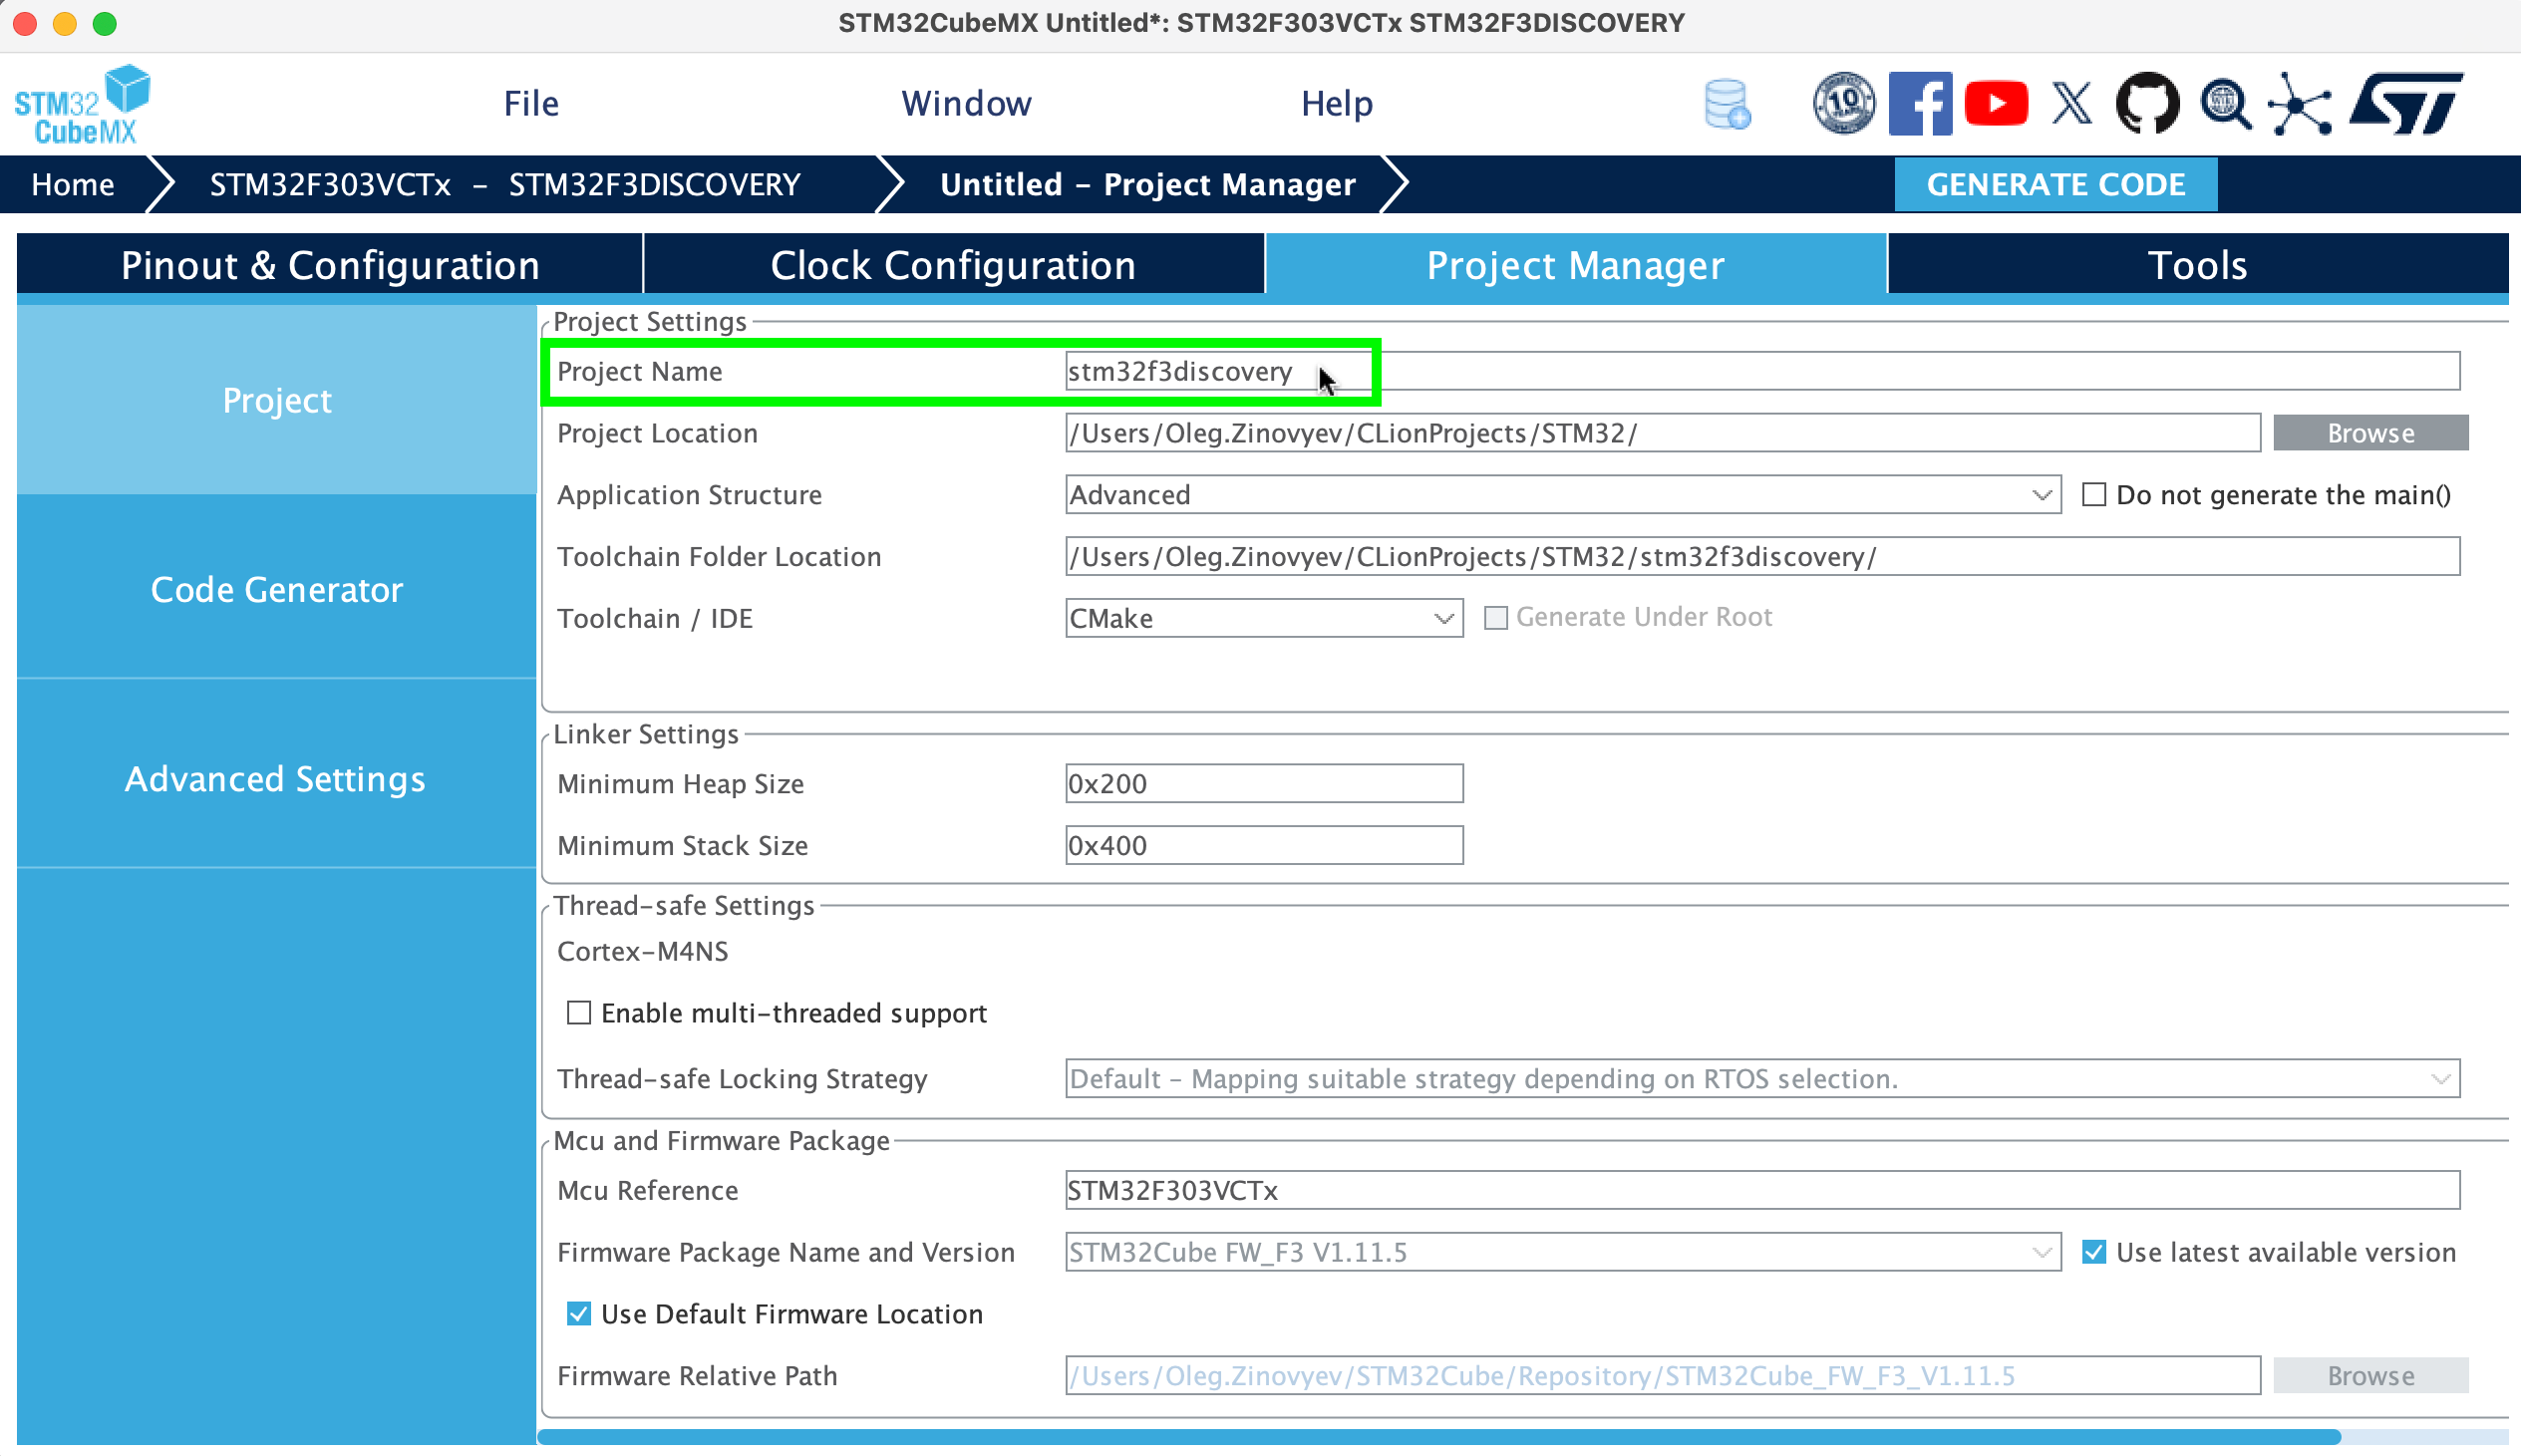
In the Project Name field, enter the name of your project:
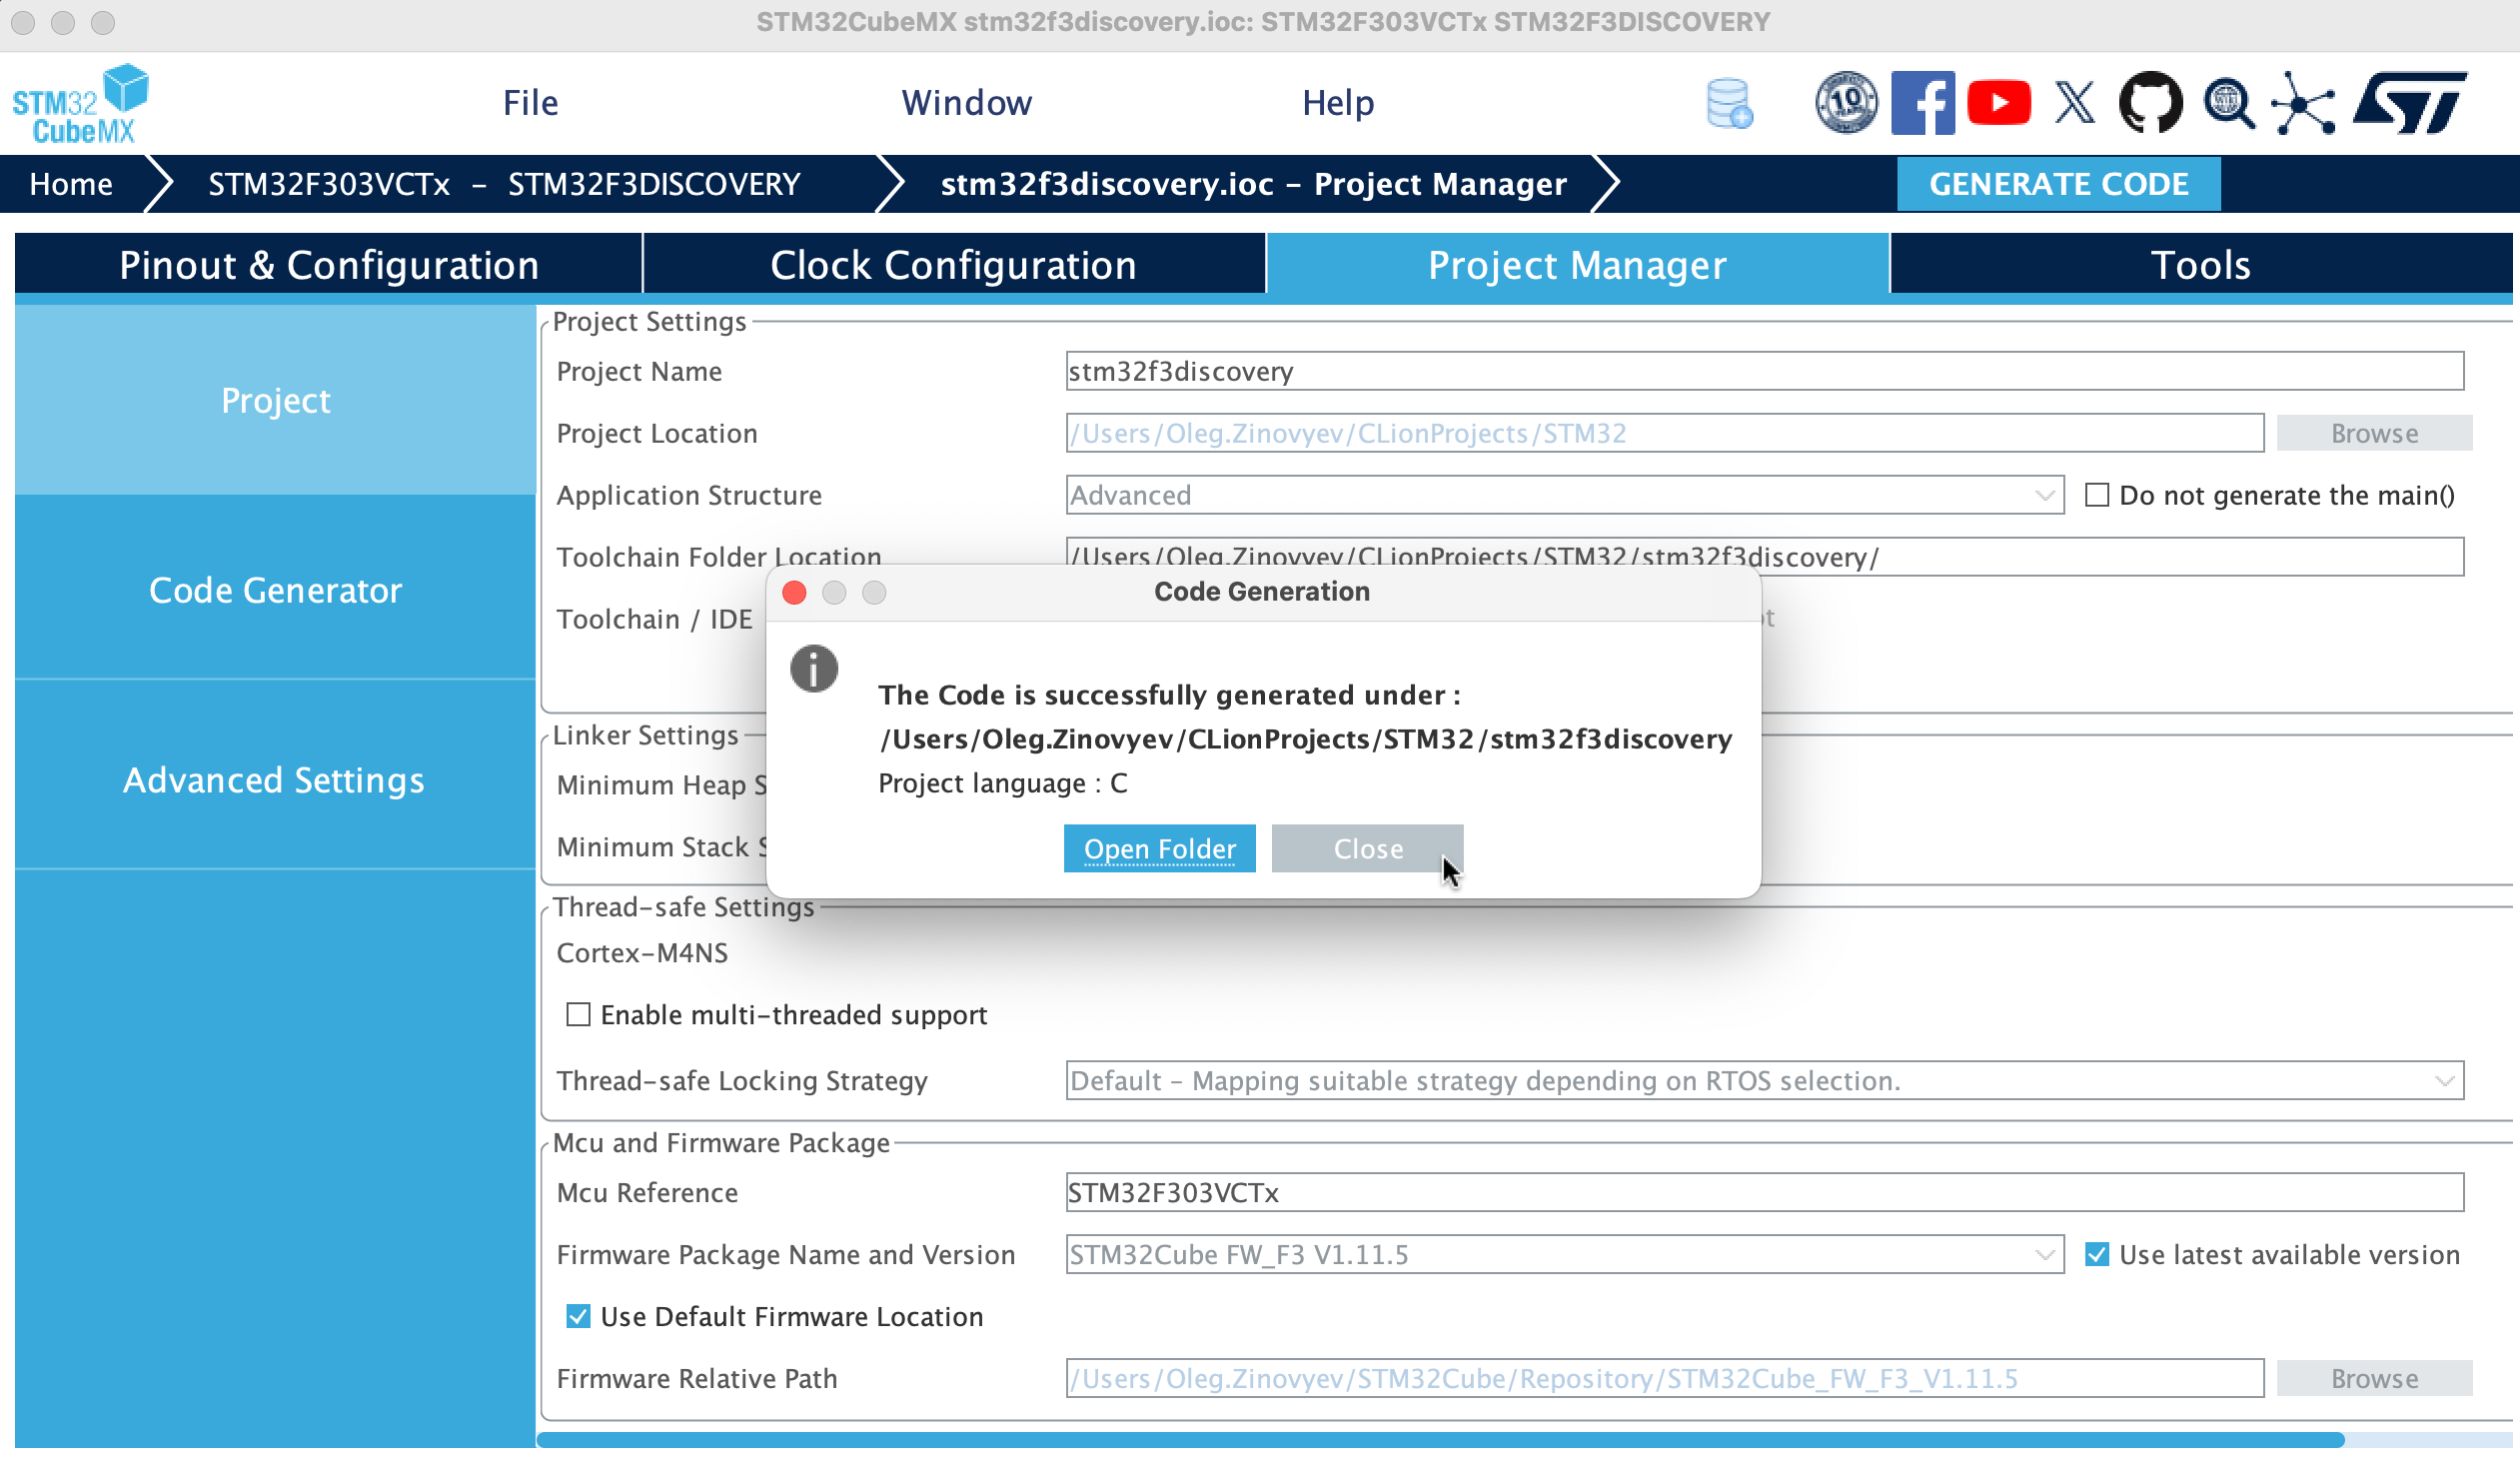
In the upper right corner, click Generate Code.
Once generation is finished, close the Code Generation window:
Copy the path from the Toolchain Folder Location field using the keyboard shortcut: ^C on macOS or Ctrl + C on Windows/Linux:
Switch back to the CLion New Project window. Enter the path you copied in the Location field at the top of this dialog, then click Proceed:
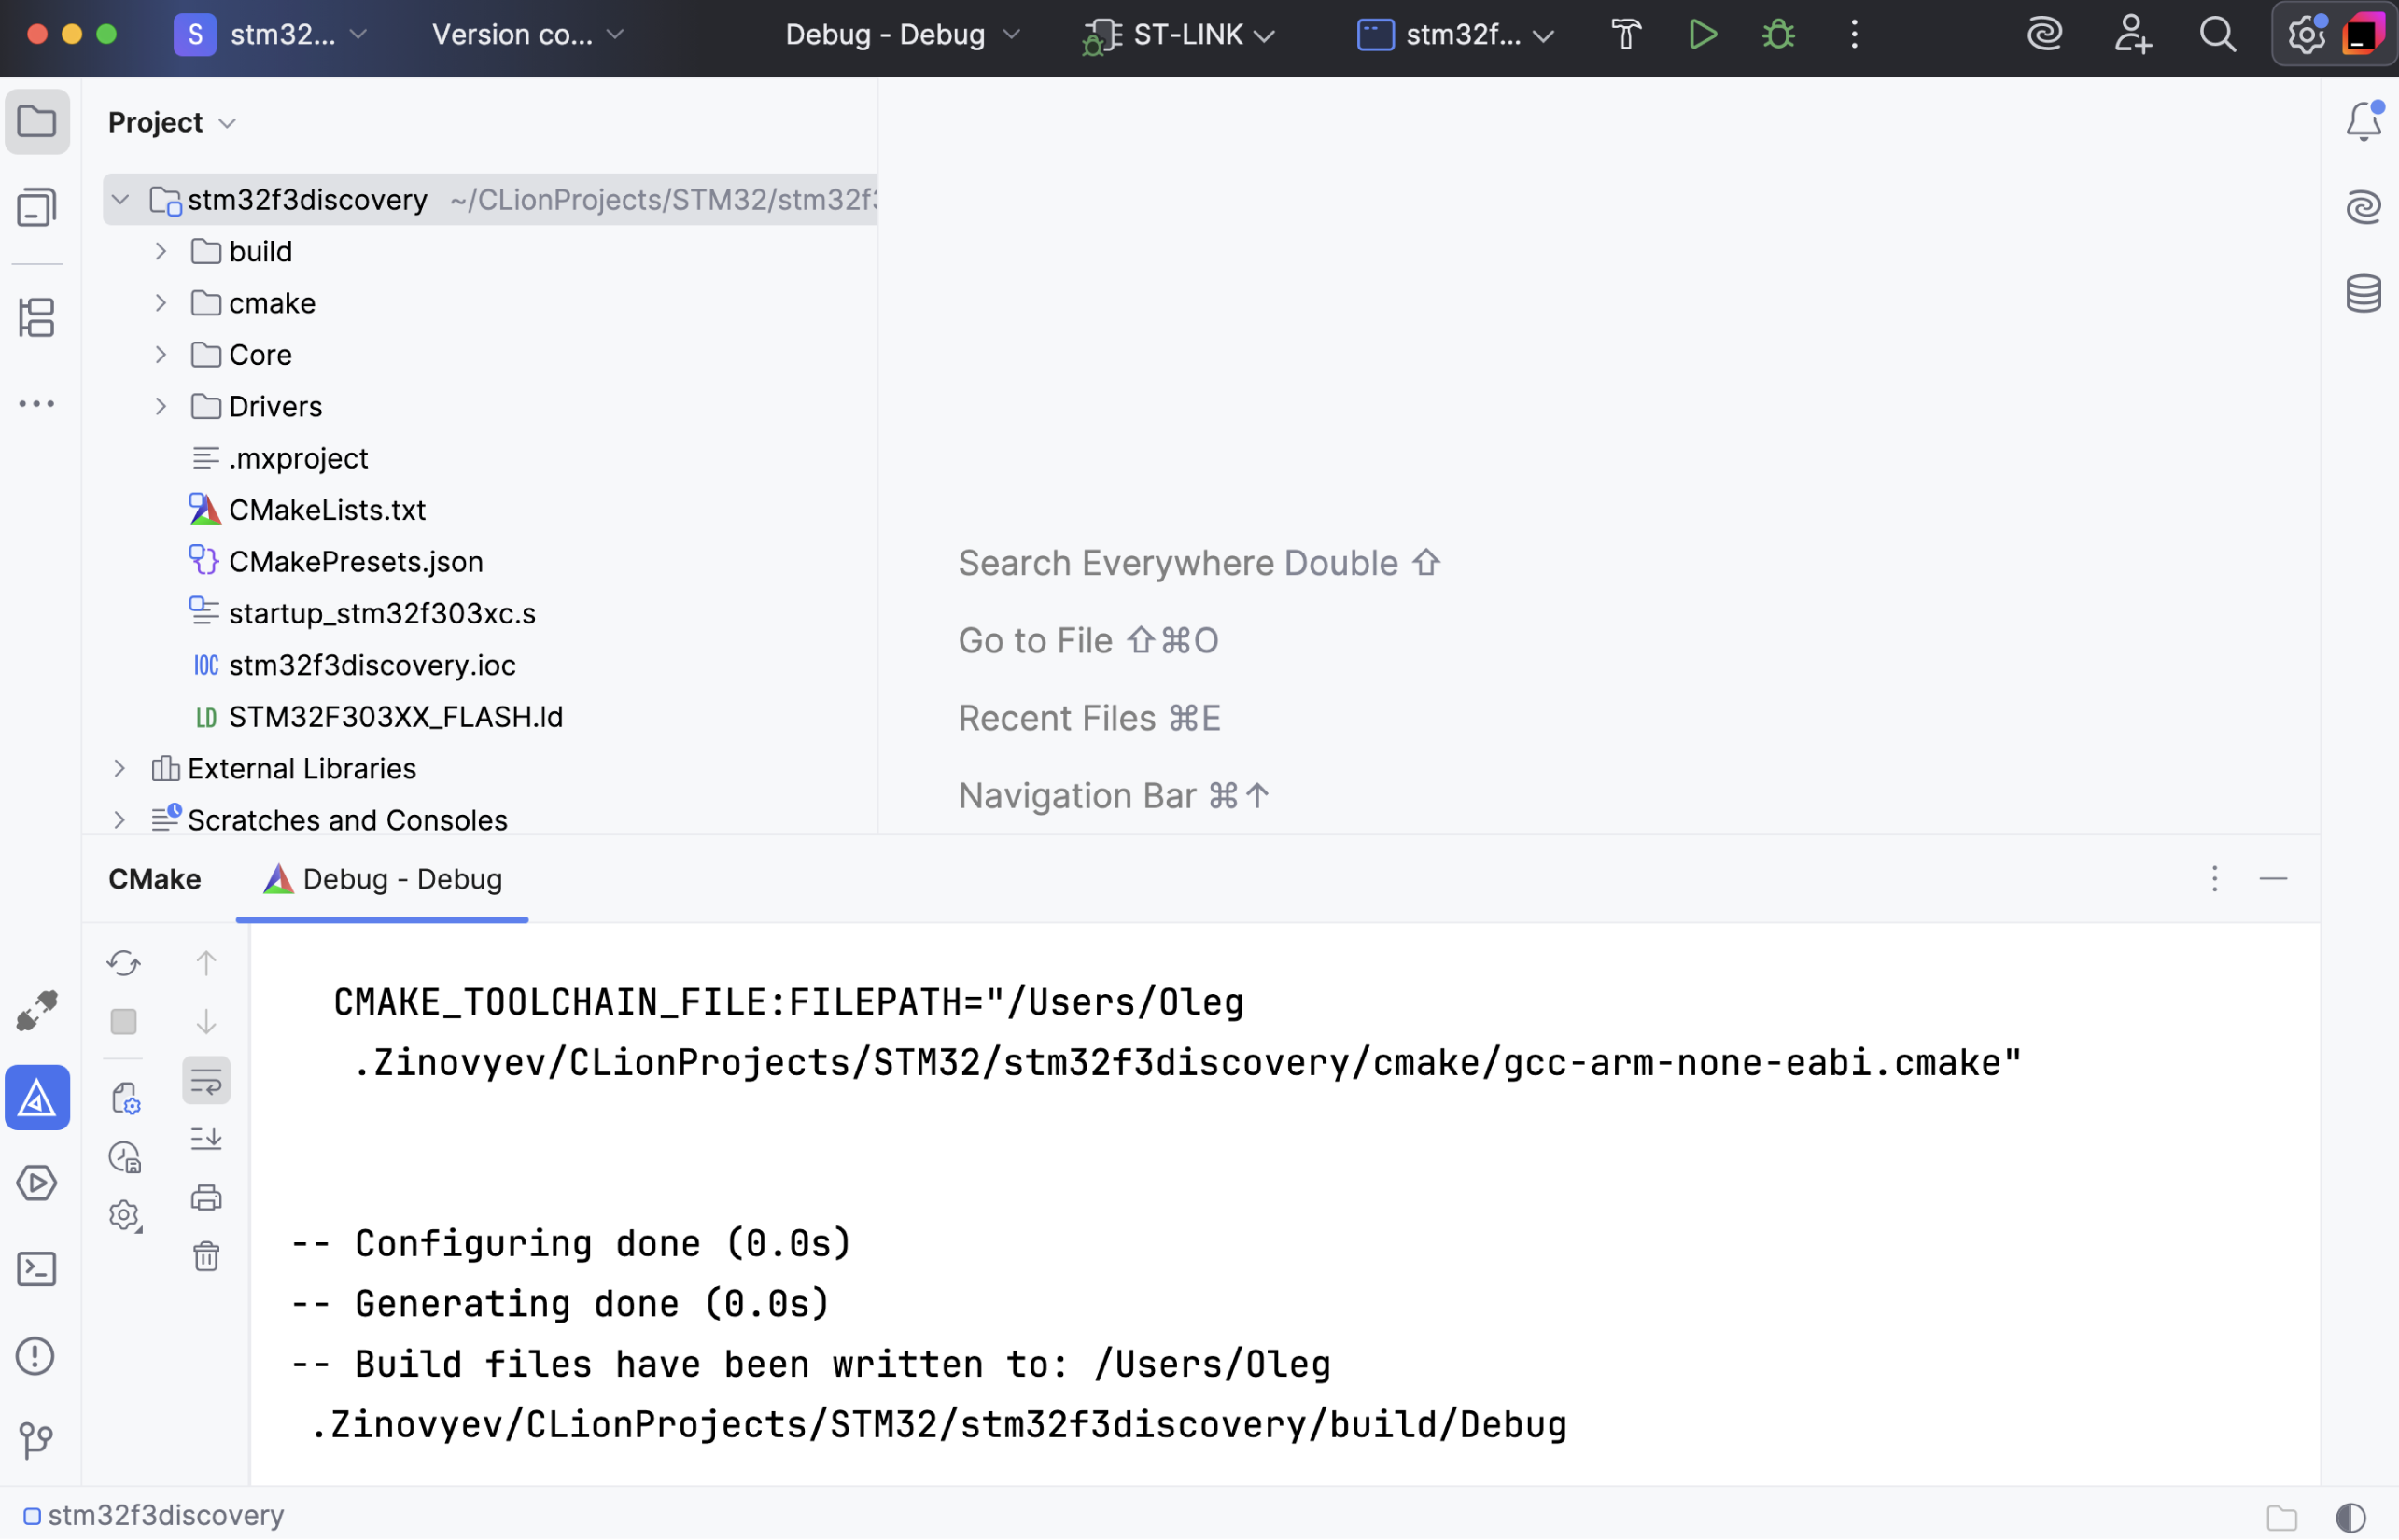
Your STM32CubeMX project will be created:
Build a project
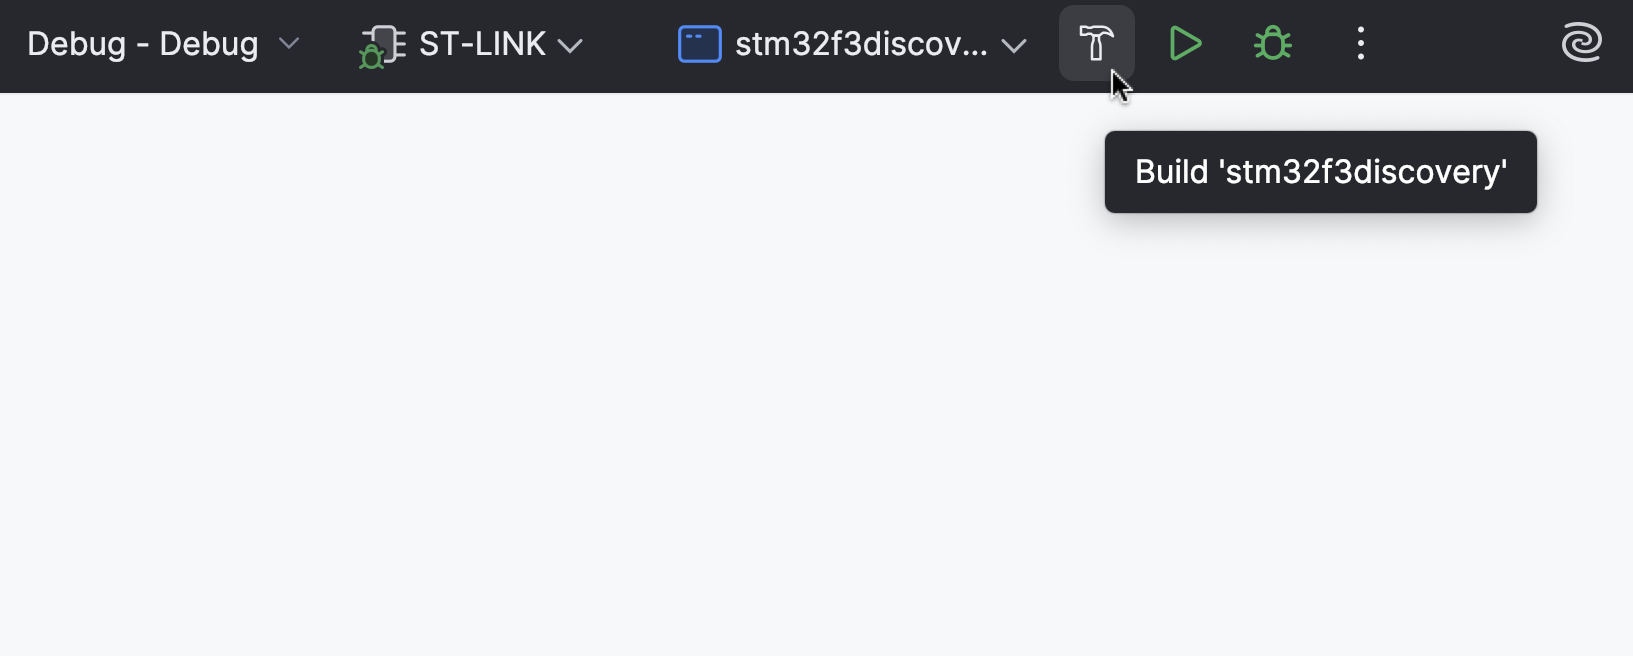
To build your project, click the  button on the main toolbar:
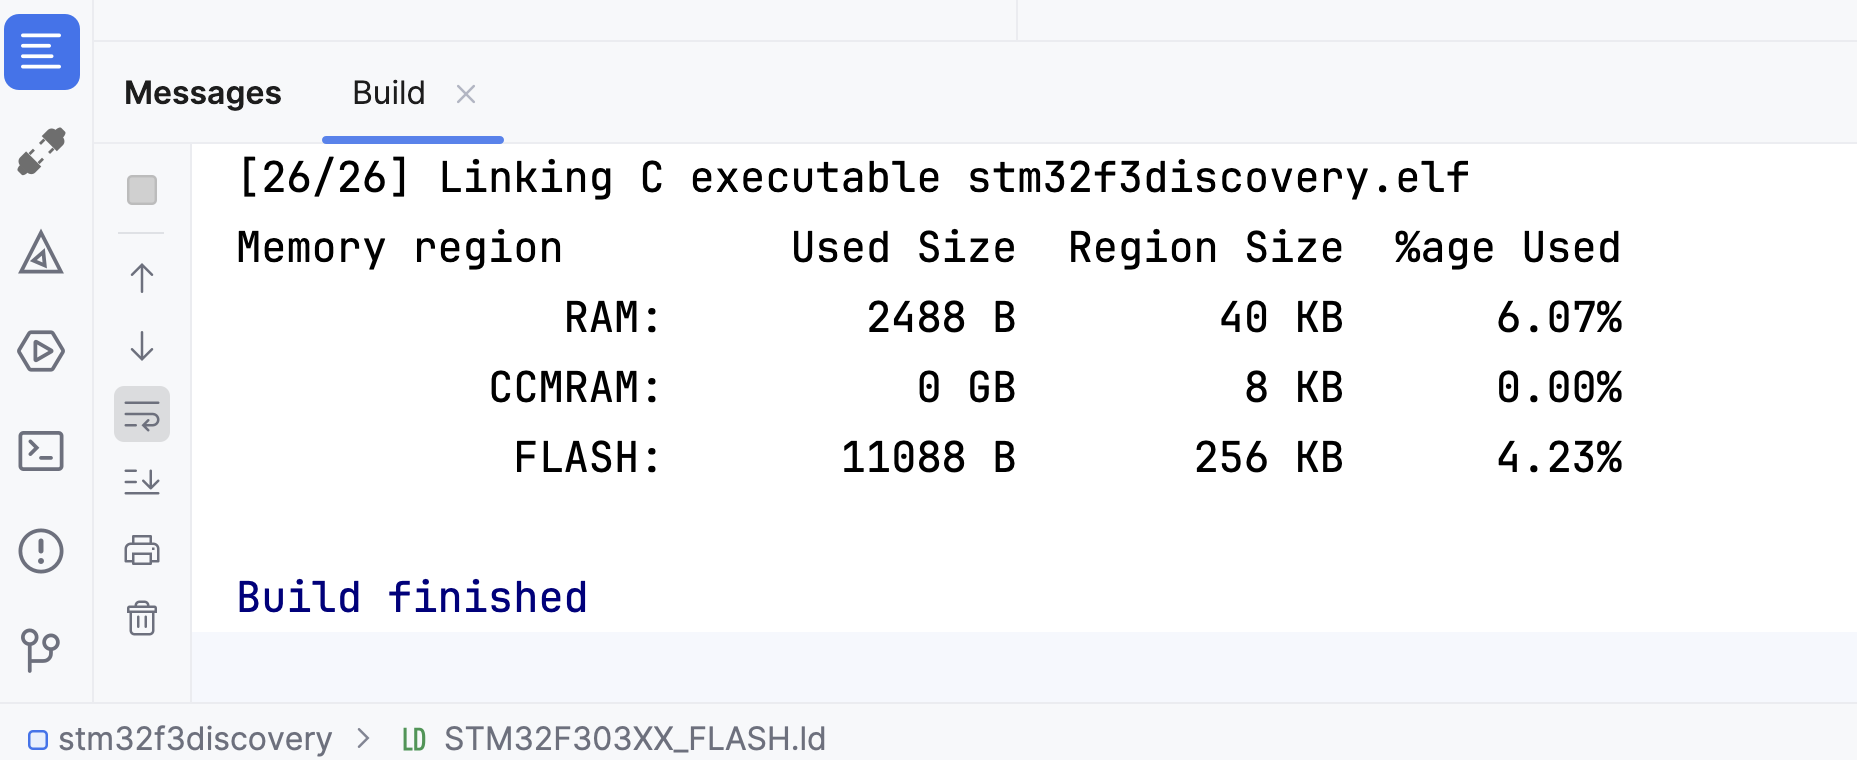
If everything works correctly, you will see Build finished in the Messages window:
Debug a project
Ensure that you have configured the appropriate run/debug configuration and the ST-LINK debug server. If it is a new STM32CubeMX project, you can use the default settings that CLion pre-configures.
Set a breakpoint in your source code, then click the
 button on the main toolbar: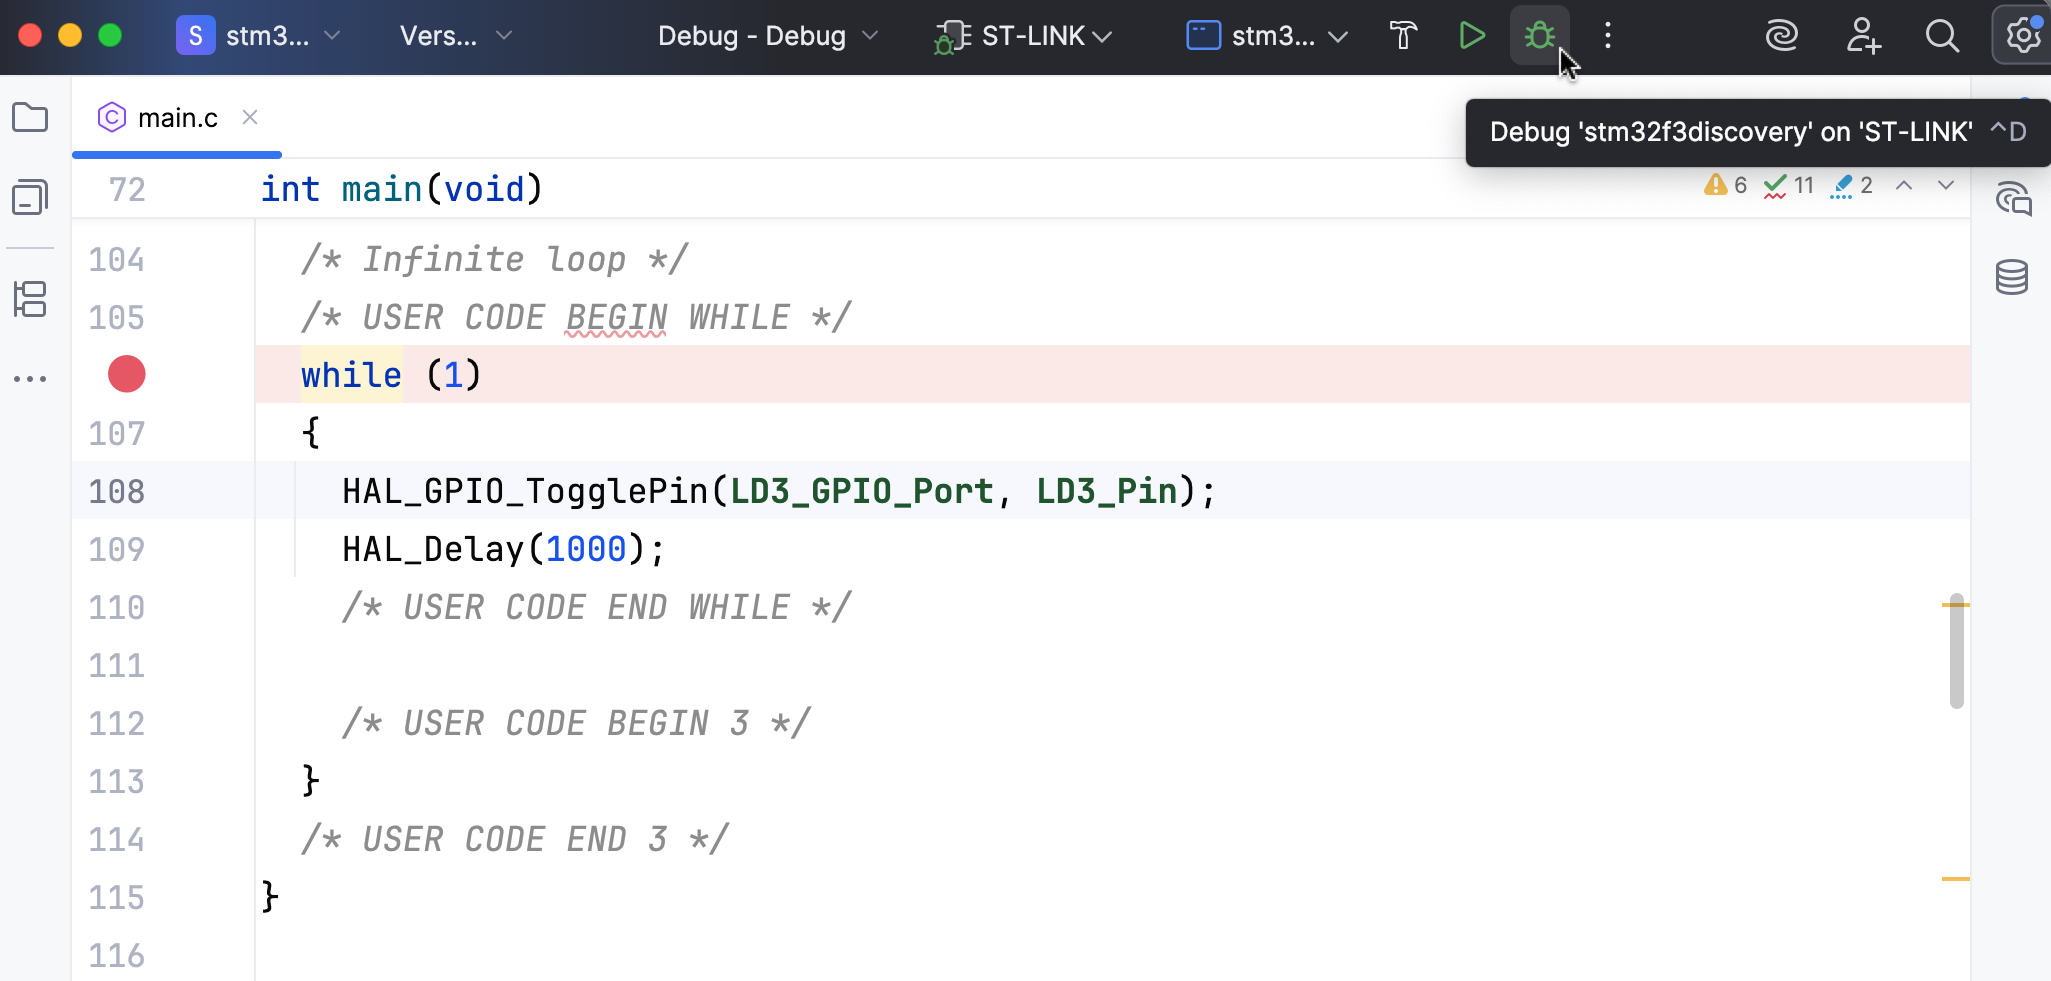
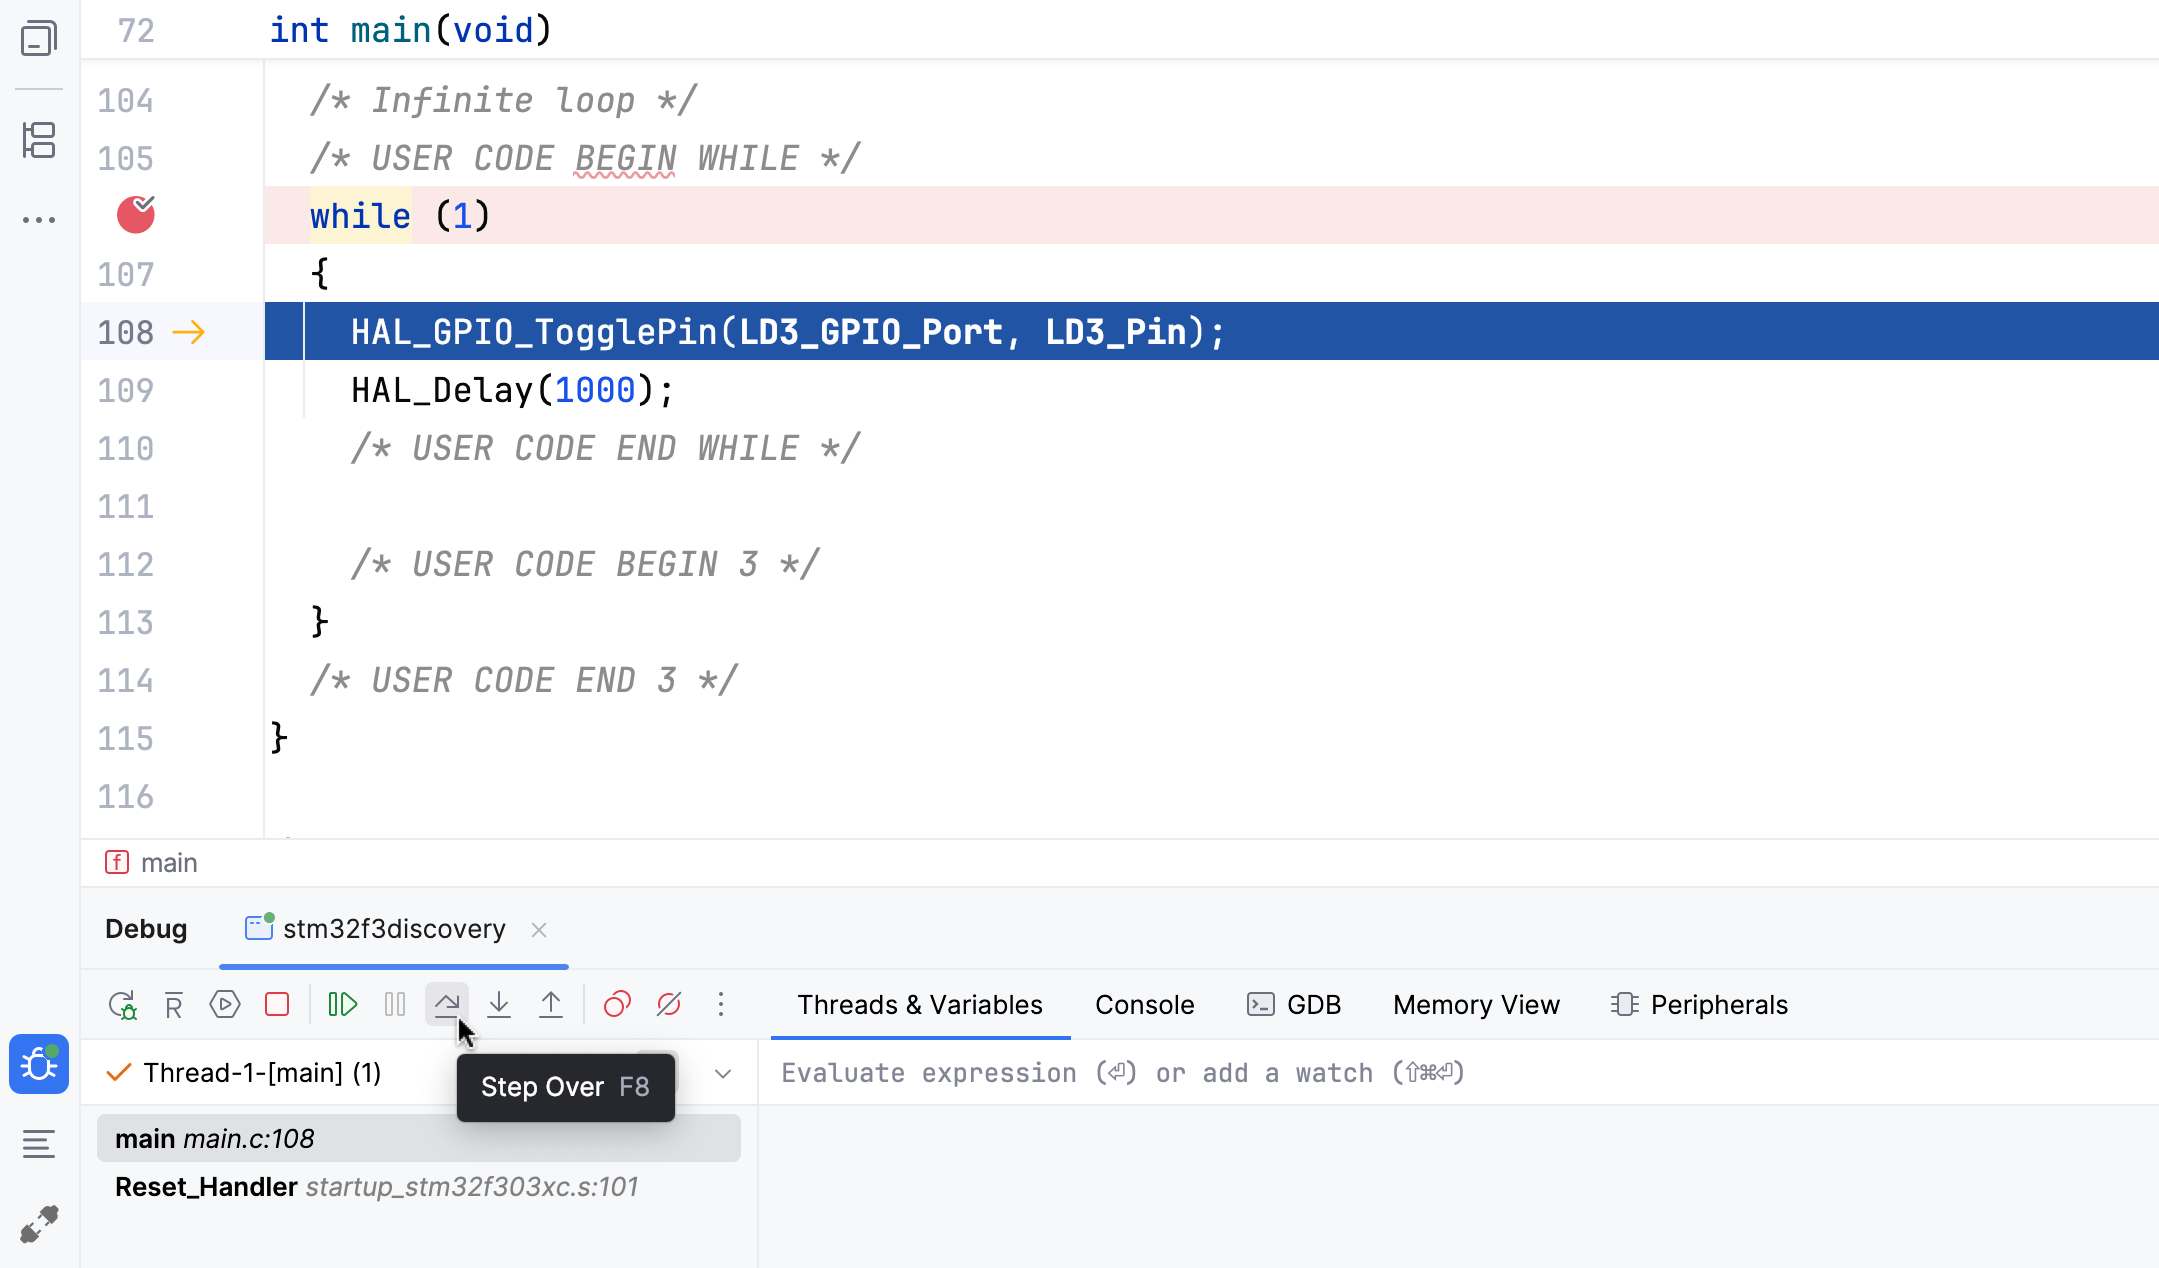
If everything works correctly, you will see the message in the debugger tab:
Debugger connected to ST-LINK.Once your program has been suspended, you can perform various actions, such as:
View the registers and peripherals defined in .svd files. For STM32 MCUs, these files are located in the STMicroelectronics_CMSIS_SVD directory within the STM32CubeCLT installation directory.
Use live watches to monitor global variables in real time.
Debug disassembled code.
View raw memory of running processes.
Edit source code
While editing the files generated by STM32CubeMX, always enclose your code in the
/* USER CODE BEGIN ... */and/* USER CODE END ... */pseudo comments. Here is an example:/* Infinite loop */ /* USER CODE BEGIN WHILE */ while (1) { HAL_GPIO_TogglePin(LD3_GPIO_Port, LD3_Pin); HAL_Delay(1000); /* USER CODE END WHILE */This will protect your code from being overwritten by STM32CubeMX during code regeneration.
If you add source or header files, place them in the Src and Inc directories. Also, extract pieces of code into separate .c or .h files.
Manage bundles with Cube CLI
Cube CLI distributes development tools as bundles: CMake, compilers, the ST-LINK GDB server, GNU tools, and other components. In a Cube project, the bundles and their versions are locked in the project files so that every environment that builds the project uses the same set of tools.
Configure Cube CLI
Install
cubeas described in the ST documentation.CLion detects the
cubeexecutable automatically. To check the detected path or set it manually for the current default toolchain, open and use the Cube CLI Command field.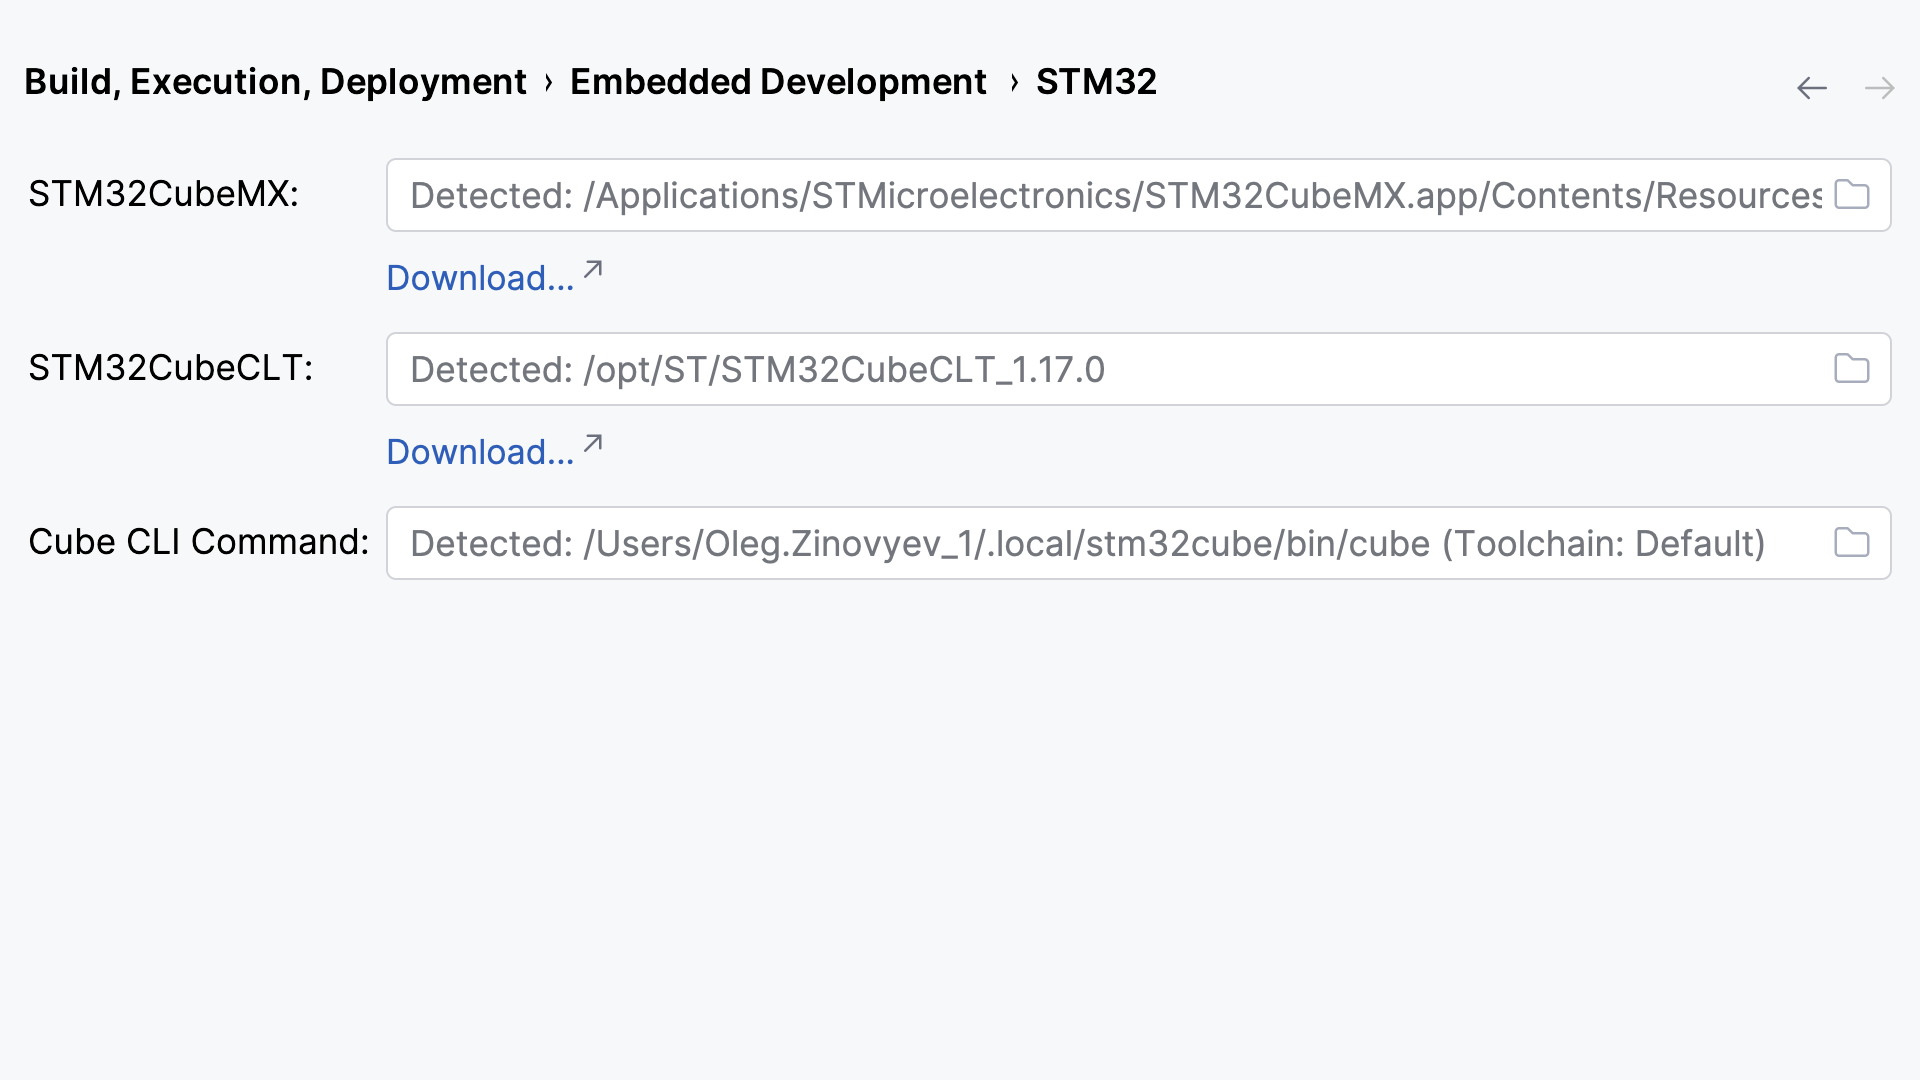
Cube CLI extends the environment of your CMake profiles with the bundles locked in the project. This feature is enabled by default. To turn it off, clear the Use STM32 Cube CLI to extend CMake's environment checkbox under STM32 in advanced settings.
Convert a project to a Cube project
When your project is not a Cube project yet, contains two actions: Convert to STM32 Cube Project and Open STM32 Cube CLI Terminal. For the terminal action, refer to Run Cube CLI commands.
Go to .
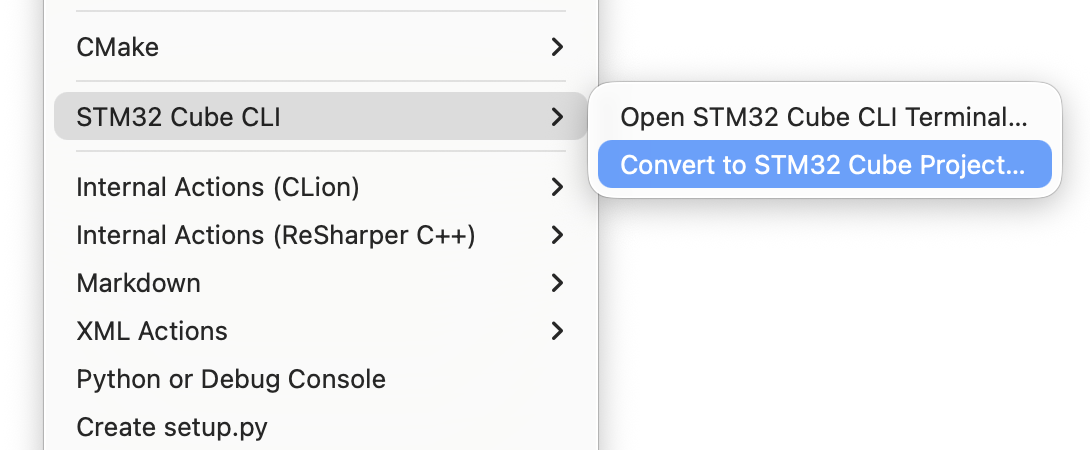
CLion initializes the Cube project and locks the tools that the project already uses, such as CMake and the compilers. The locked tools are stored in the project root, in .settings/bundles.store.json and .settings/bundles-lock.store.json.
Install project bundles
In a Cube project, two more actions become available in :
- Install Project Bundles
Installs the bundles that are locked by Cube CLI but missing on your machine.
- Install Project Bundles to All Environments
Installs the missing bundles on every machine that your project uses. This action appears when the CMake profiles target different machines, for example a local and a remote toolchain.
A missing bundle does not necessarily break the CMake reload: Cube CLI looks for an equivalent tool and uses it instead. In this case, the CMake reload terminal shows a warning with a quick-fix that installs the required bundles.
Run Cube CLI commands
To manage the bundles of an existing project, use the Cube CLI commands. Go to to open a terminal in which cube is available for the environment of the selected CMake profile. You can also open it from the tab drop-down list in the Terminal tool window.
- cube bundle list-online
Lists the bundles available for download and their versions.
- cube bundle show
cube bundle show <bundle>shows the details of a bundle: the environment variables that it sets, its entries in thePATHvariable, and the commands that it provides.- cube bundle init
cube bundle init --project <bundles>converts the current project into a Cube project and locks the specified bundles in it.- cube bundle install
cube bundle install --project <bundles>installs the specified bundles and locks them in the project. Omit--projectto install the bundles globally.- cube bundle remove
cube bundle remove --project <bundles>removes the specified bundles from the tools locked in the project. Omit--projectto uninstall the bundles globally.
In these commands, <bundles> uses the bundle_name@version format. For example, gnu-tools-for-stm32@14.3.1+st.2.