Namespaces
A namespace is a logical entity that groups together related resources like Git repositories, secrets, dev environment templates, and other settings. All work in CodeCanvas is done within namespaces. Think of a namespace as a container for all the resources that are related to a specific project or team. For example, you might have a namespace for your team's project with the project's Git repository, a dev environment template (with the specific Docker image, tooling, and environment variables), and project secrets (like API keys or database passwords). Learn more about how ordinary users access namespace resources
After the CodeCanvas installation, you should:
Create namespaces for the organization's projects.
You can do it yourself or allow other users in the organization to create namespaces. See Namespace creation policies.
Assign a namespace administrator.
The namespace administrator is responsible for managing the namespace and its preliminary configuration: connecting repositories, creating dev environment templates, and so on.
Who creates namespaces
There are two main policies for creating namespaces in CodeCanvas:
Default (system admin creates namespaces)
By default, only system administrators can create namespaces.
It is your responsibility as a system administrator to create namespaces for the organization's projects. After you create a namespace and assign a namespace administrator, they can start configuring the namespace.
Self-service (users create namespaces)
Alternatively to the default policy, you can allow other users in the organization to create namespaces. As a system administrator, you can:
Create a custom role and grant it the Create namespaces permission. Assign this role to specific users or groups.
Grant the Create namespaces permission to the Member role. In this case, all CodeCanvas users will be able to create namespaces.
Create a namespace
On the sidebar, select Namespaces
On the top right, click New namespace.
Specify namespace settings:
Name: Come up with the namespace name, at least two characters long.
Key: A short unique namespace identifier that will be used in links to the namespace entities.
Tags (Optional): A tag to attribute a namespace to some group of related namespaces. It can be in the form of a slash-separated virtual path. Select an existing tag from the list, or create a new one.
Description (Optional): A short description of your namespace that will be displayed under the namespace name.
Click Create.
You will be prompted to the namespace's home page. Now you can add a repository and specify who will have access to this namespace.
Assign namespace administrators
On the sidebar, select Namespaces
Click the namespace you want to assign an administrator to.
On the sidebar menu, select Access.
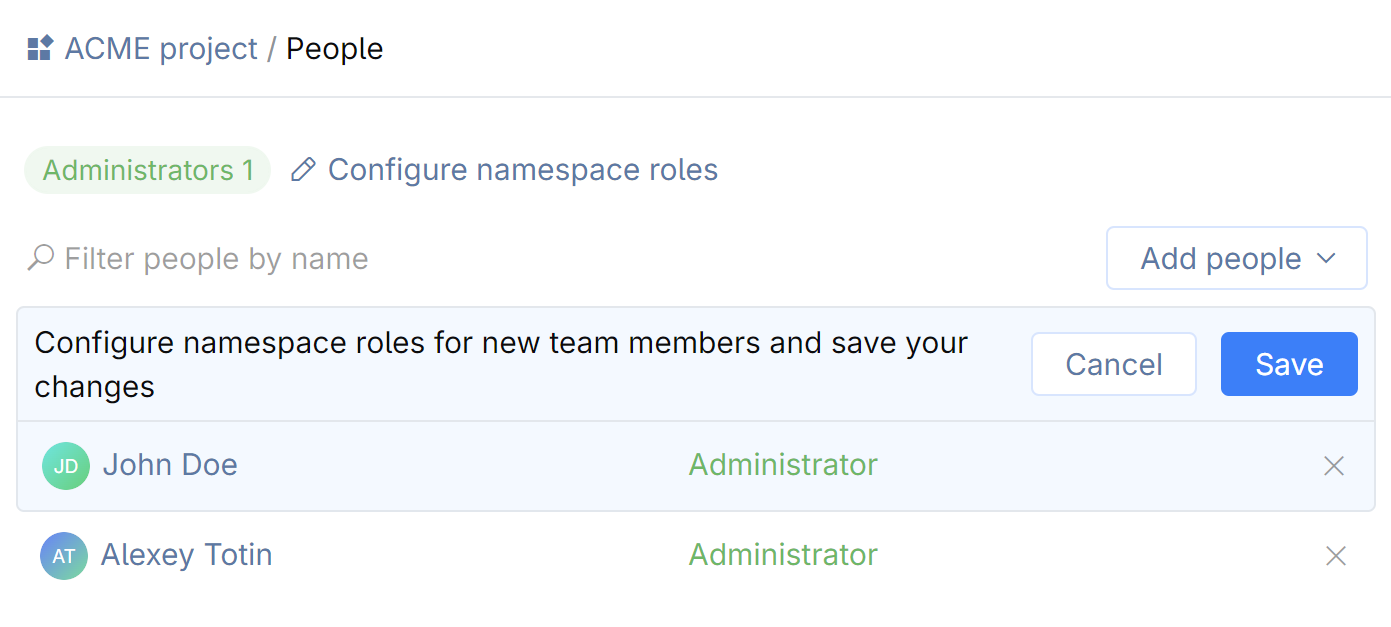
Click Add people and select the users or user groups you want to assign as administrators.
Ensure that the added users or groups have the Administrator role.
Click Save.
