Manage workspaces
Workspace is a collection of notebooks with a variety of shared resources, such as data sources, SSH keys, or environment variables. The Home page of Datalore is where you manage your workspaces.
- Workspaces you own
This category includes the default Private workspace and the workspaces you create. Private workspace is enough to learn the basics of Datalore and work on your first and simple projects. Unlike other workspaces, you cannot share Private workspace.
- Workspaces shared with you
This category includes other users' own workspaces that are shared with you. Your managing options can be restricted by the access type granted to you.
- Team workspace (for Cloud plan users only)
This is a shared workspace created automatically and shared by all team members using the Cloud plan license.
- Team members' workspace (for Cloud plan license holder only)
This category includes the own workspaces of all team members and available to the team admin only. As a team admin, you can access and manage these workspaces with edit access rights.
Workspace structure
All workspaces in Datalore have the same structure, which consists of the following components:
Name | Description |
|---|---|
| List of all notebooks the workspace contains. |
| List of reports published from notebooks in this workspace. |
| List of all data sources (files, databases, cloud storage connections) added to this workspace. Each such data source is shared with all notebooks in the workspace. Find more details in this section. |
| Section that includes:
|
Create a workspace
Create a workspace to store a specific project in it or share it with other users.
Click the New workspace button in the lower left corner of the Home page.
In the New workspace dialog, provide a title for workspace and click the Create workspace button to finish the procedure.
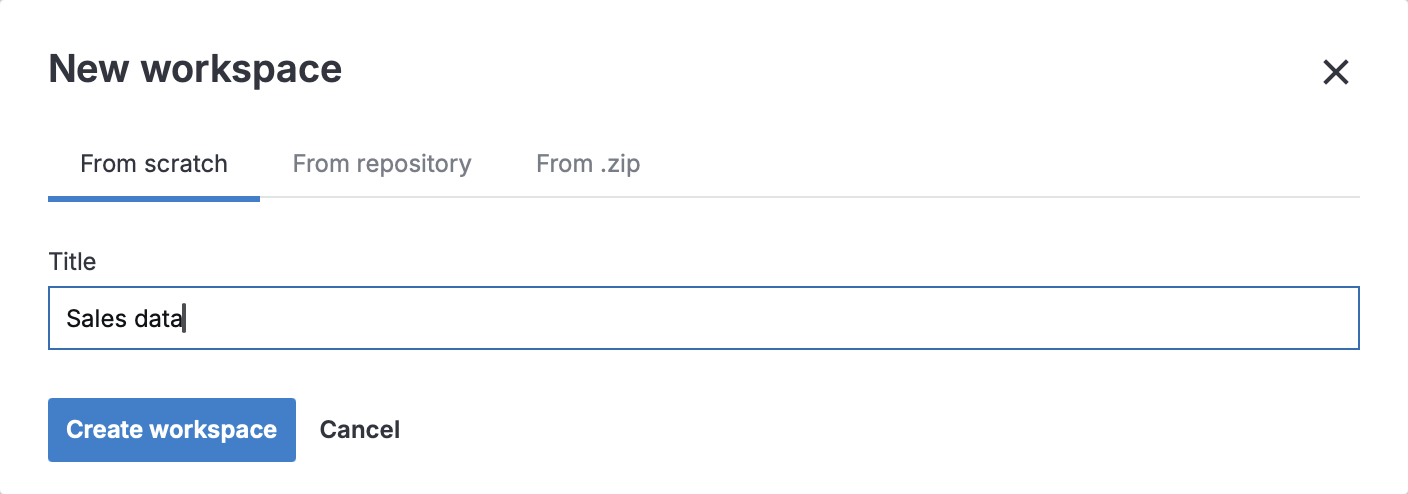
Results
The new workspace is added to the Workspaces you own category.
You will be forwarded to the
Notebooks menu of the new workspace.
Edit a workspace
You can edit a workspace you created or a workspace shared with you with edit rights.
In the sidebar, click
(Settings) for the workspace you want to edit.
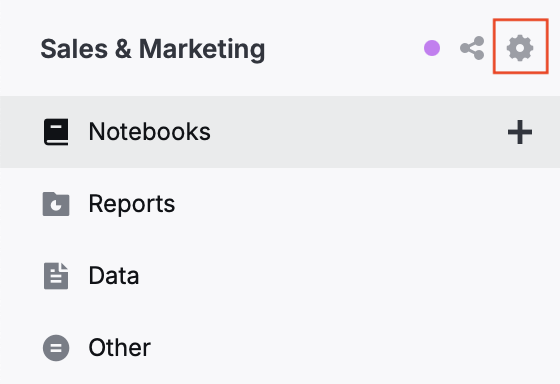
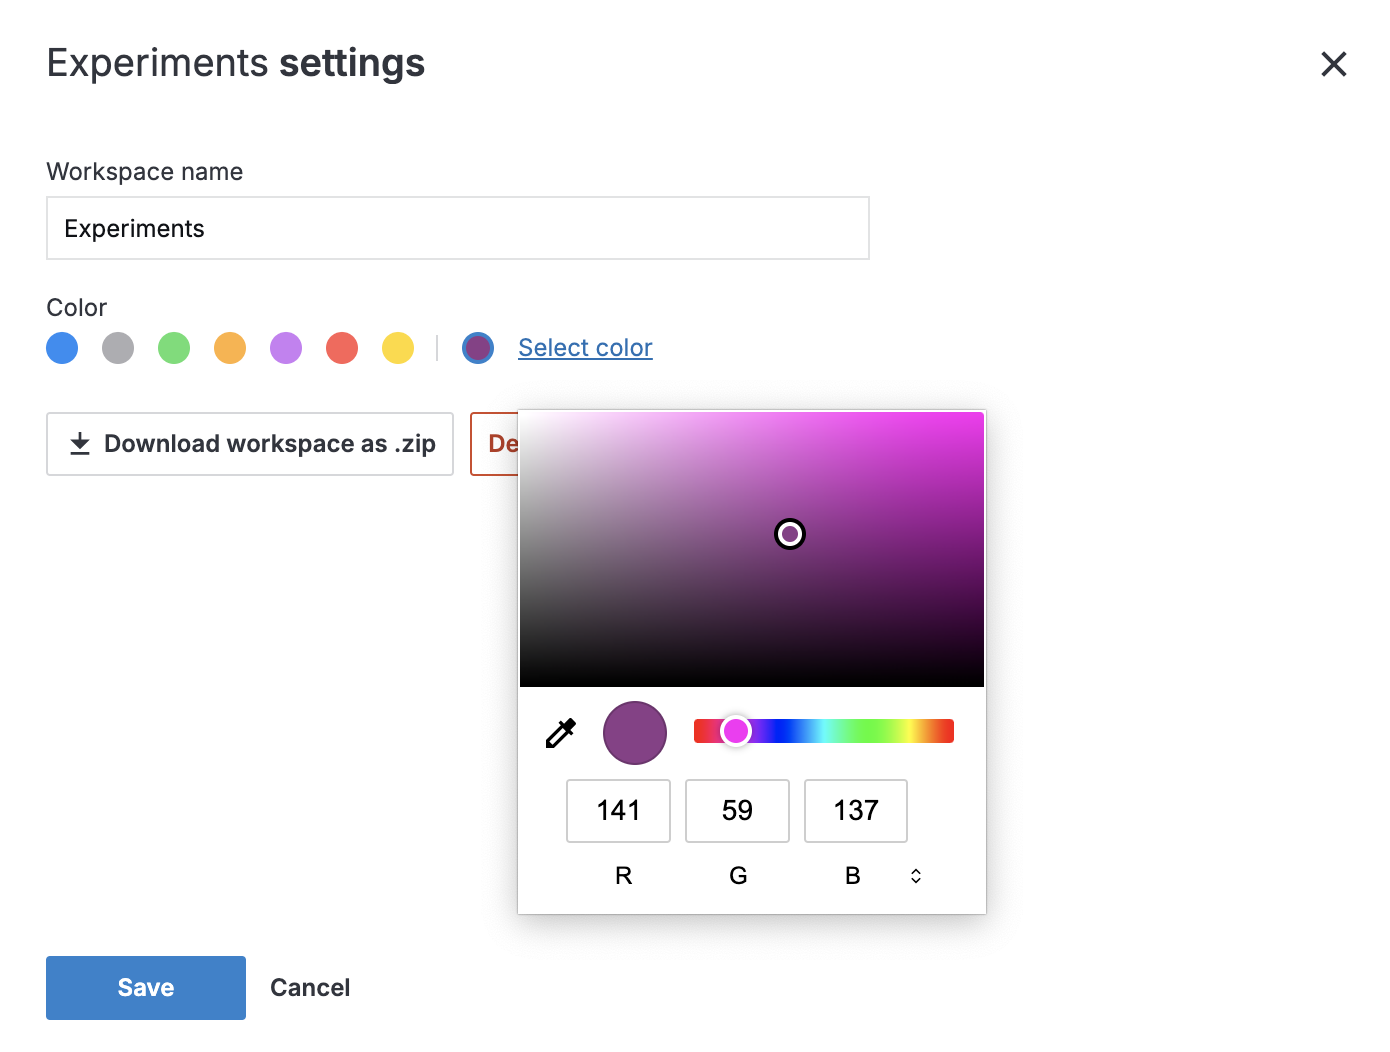
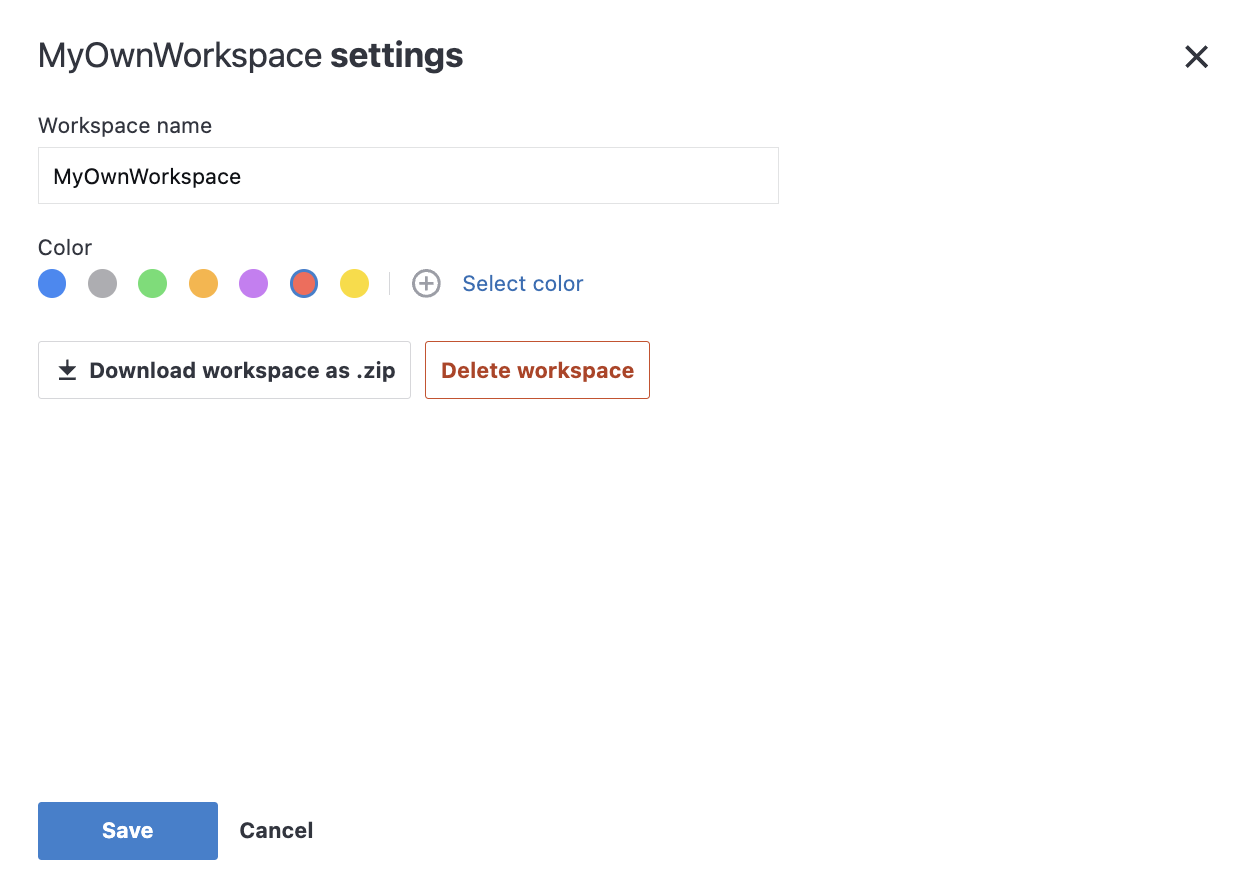
To change the general settings of the workspace, you can use the following options in the [workspace_title] Settings dialog:
Rename the workspace using the Workspace name text field.
Change the avatar color: click Select color and pick the color from the popup palette.
Click the Save button to apply the changes.
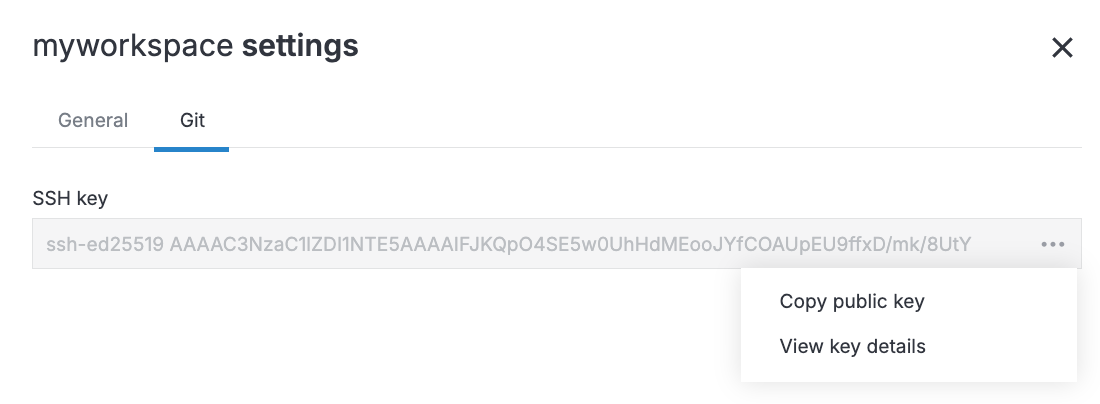
(Optional) If the workspace is an imported Git repository, you can also do the following:
Switch to the Git tab (available for this type of workspaces only).
Click the ellipsis and select from the two options: Copy public key or View key details.
Export a workspace
This procedure explains how to export a workspace by downloading it as a .zip file containing the workspace attachments, workspace notebooks, and reports made from those notebooks (if available).
In the sidebar, click
(Settings) for the workspace you want to export.

In the Settings dialog, click the Download workspace as .zip button.
To learn how to import exported workspaces, see Import a workspace from a ZIP file.
Delete a workspace
You can delete a workspace you created.
In the sidebar, click
(Settings) for the workspace you want to delete.

In the Settings dialog, click the Delete workspace button.
In the confirmation dialog, click the Delete button.
Share a workspace
Sharing workspaces is an option aimed at facilitating teamwork.You can share workspaces you create or workspaces shared with you with edit rights.
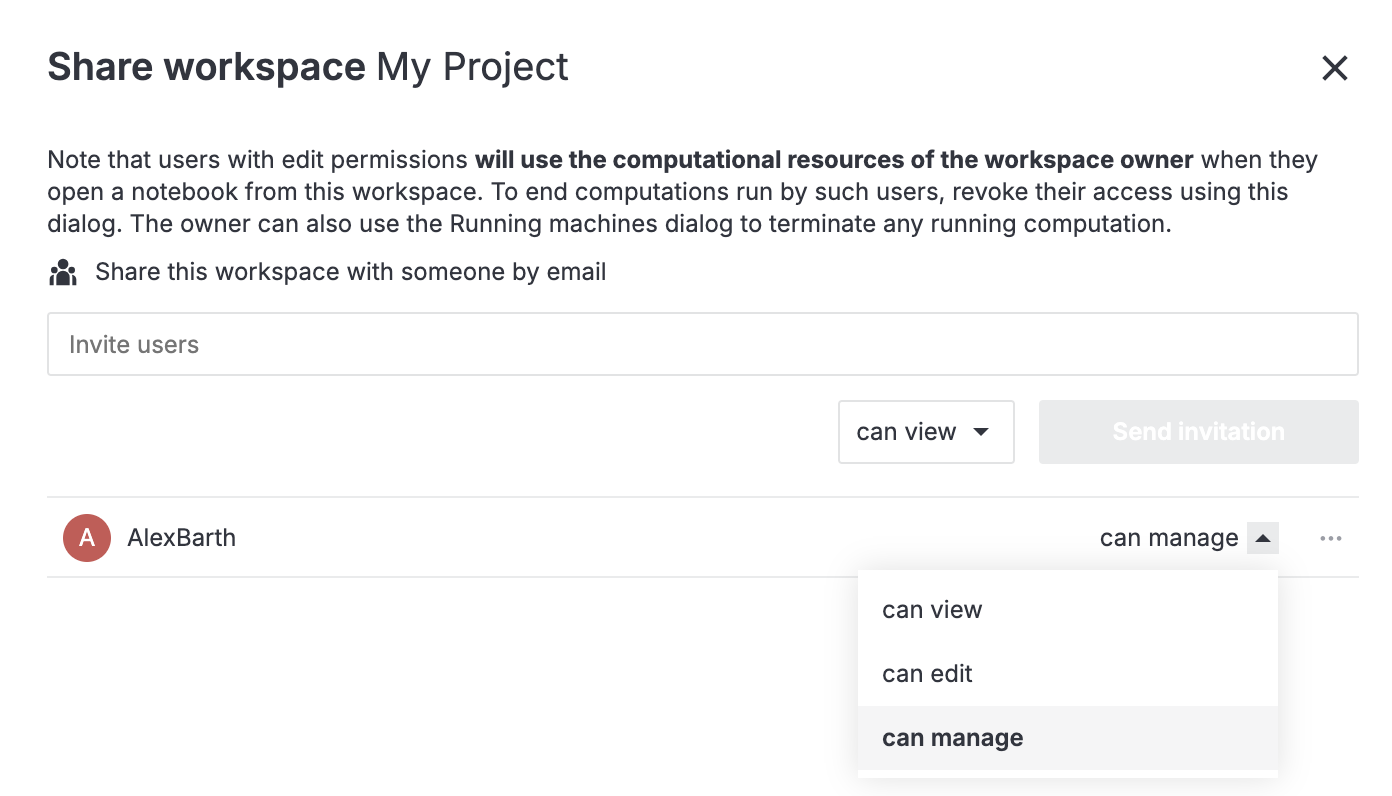
When sharing a workspace, you grant a selected type of access: view or edit. This will determine how the invited users can manage the shared workspace and the notebooks in it.
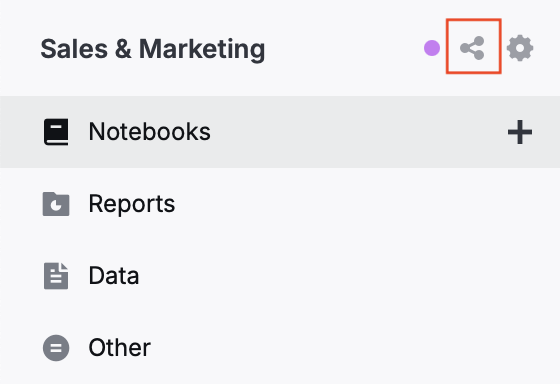
In the sidebar, click
(Share) for the workspace you want to share.
In the Share [workspace_name] dialog, enter the email addresses of the users you want to invite to work on the workspace.
Select an access type for the invited users.
Click Send invitation.
Find more information about permission types and workspace sharing in Share a workspace.
Keywords
Home page, Datalore overview, about Datalore, Datalore basic information, Datalore workspaces, workspace management