Spring Boot REST API tutorial, part 1: Create and run a project
1: Create and run a Spring Boot project
In the first part of this tutorial, generate a Spring Boot project, arrange its packages, and add a controller that responds to a browser request.
Create a project with Spring Initializr
Spring projects are generated by Spring Initializr. You can use the website, but IntelliJ IDEA has the same generator built into the New Project wizard, which saves downloading and unpacking an archive.
On the Home screen, click New Project. If another project is already open, go to in the main menu.
Select Spring Boot from the Generators list.
Name the project
photos-demoand select Java as the Language.Select Maven as the Type.
Maven and Gradle both work. If you already use one of them, keep to it. If you are choosing for the first time, Maven has less to learn before the project builds, and this tutorial uses it.
Fill in the coordinates that identify the project.
Group names the organization that owns the code, normally written as a domain name in reverse. This tutorial uses
com.jetbrains; in your own projects, use your company or personal domain.Artifact identifies this one project inside that group. Enter
photos-demo. Together with the group, it is what a build tool resolves when another project depends on yours.Package name is the root package for your Java sources, and IntelliJ IDEA builds a suggestion from the two fields above. Set it to
com.jetbrains.photos.demo. Every class you write in this tutorial goes into this package or below it, which matters later: Spring scans the package holding the application class and its subpackages, and finds nothing outside it.Select a JDK from the JDK list, then select the same version from the Java list. Unless you have a reason to stay on an older release, use the latest one available.
If a JDK is installed but IntelliJ IDEA does not list it, select Add JDK and point to its home directory. If none is installed, select Download JDK.
Leave Jar selected as the packaging type and leave the remaining fields at their defaults. Click Next.
Select these dependencies:
Spring Web: HTTP request handling, JSON conversion, and an embedded web server.
Spring Data JDBC: maps Java objects to database rows in the final part.
H2 Database: a database that runs with the application without a separate installation.
Click Create and wait for IntelliJ IDEA to generate and import the project.
Set up the package structure
The generated project contains pom.xml for Maven dependencies, src/main/java for Java code, and src/main/resources for application.properties and static files.
The generator puts the application class in one package. Before adding more classes, create subpackages for their different responsibilities so that each new class has a place in the project.
In the Project tool window, right-click the package containing your application class (in this tutorial, it is com.jetbrains.photos.demo) and select .
Create three subpackages:
web: controllers that handle HTTP requests.
service: application logic and photo storage.
model: classes that represent photo data.
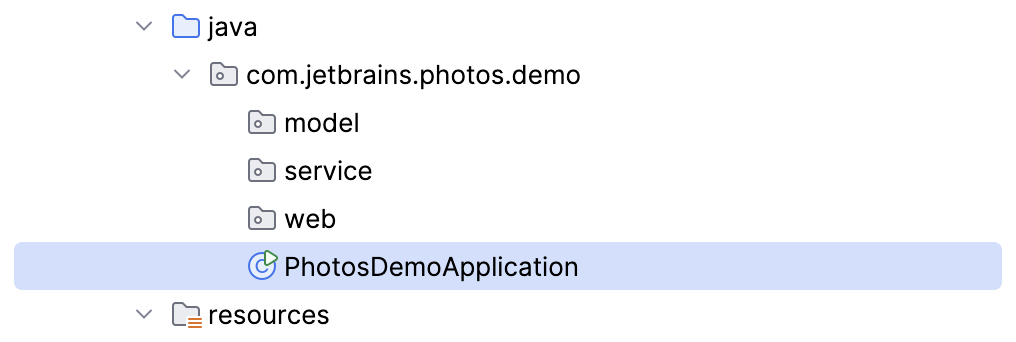
Keep
PhotosDemoApplicationin the root package. Spring scans that package and its subpackages to find the controllers and services you add.
Create a REST controller
A REST controller connects an incoming HTTP request to a Java method. Start with a method that returns a greeting: seeing it in the browser confirms that requests reach your code before you add the photo API.
Right-click the web package and select . Name the class
PhotosController.Add the greeting method and annotations shown below. As you type
@RestControllerand@GetMapping, accept them from the completion list to add their imports. Press Ctrl+Space if the list does not appear.@RestController public class PhotosController { @GetMapping("/") public String hello() { return "Hello World"; } }The two annotations divide the work.
@RestControllertells Spring that this class handles requests, so Spring creates an instance at startup.@GetMapping("/")maps GET requests for/tohello(). The returned string becomes the response body that the browser displays.
Run the Spring Boot application
Open
PhotosDemoApplicationand click Run in the gutter next to
main(), or press Shift+F10.In the Run tool window, look for the message that Tomcat started on port 8080.
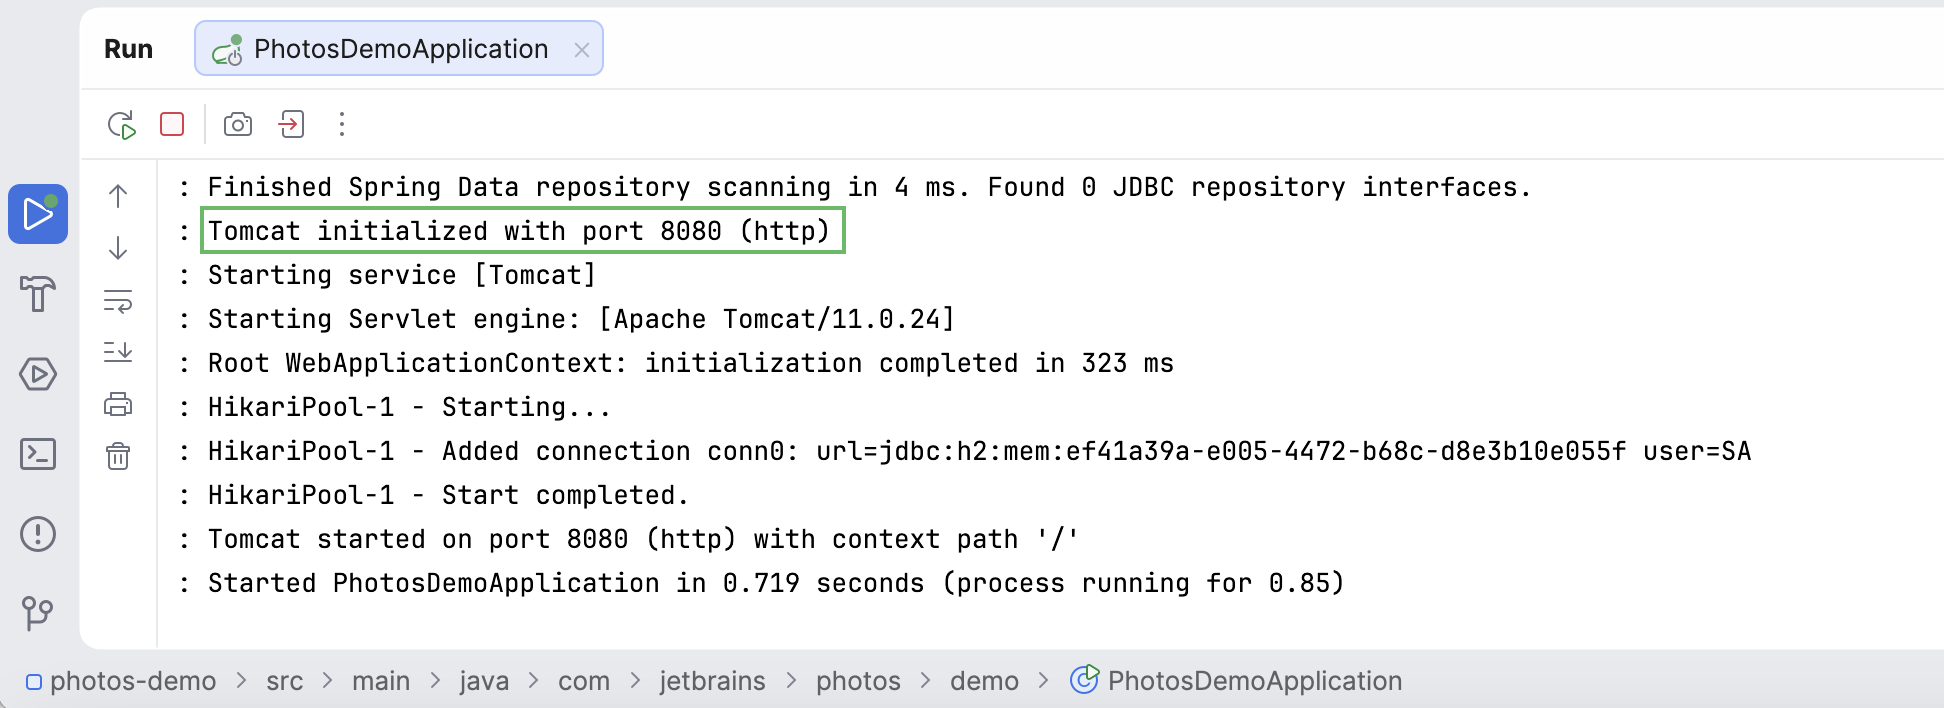
Open
http://localhost:8080/in your browser. The page displaysHello World.