Invite Users. Create User Accounts
In Space, user accounts can be created in several ways:
A system administrator can invite people to register.
People can register themselves with their email.
People can register in Space with third-party credentials.
For each registered person a user account and a personal profile are created.
Invite users to register
When you invite a user, the user information (first, last names, username) is provided by the user upon their initial login, and the user account and profile are created afterwards based on the information provided.
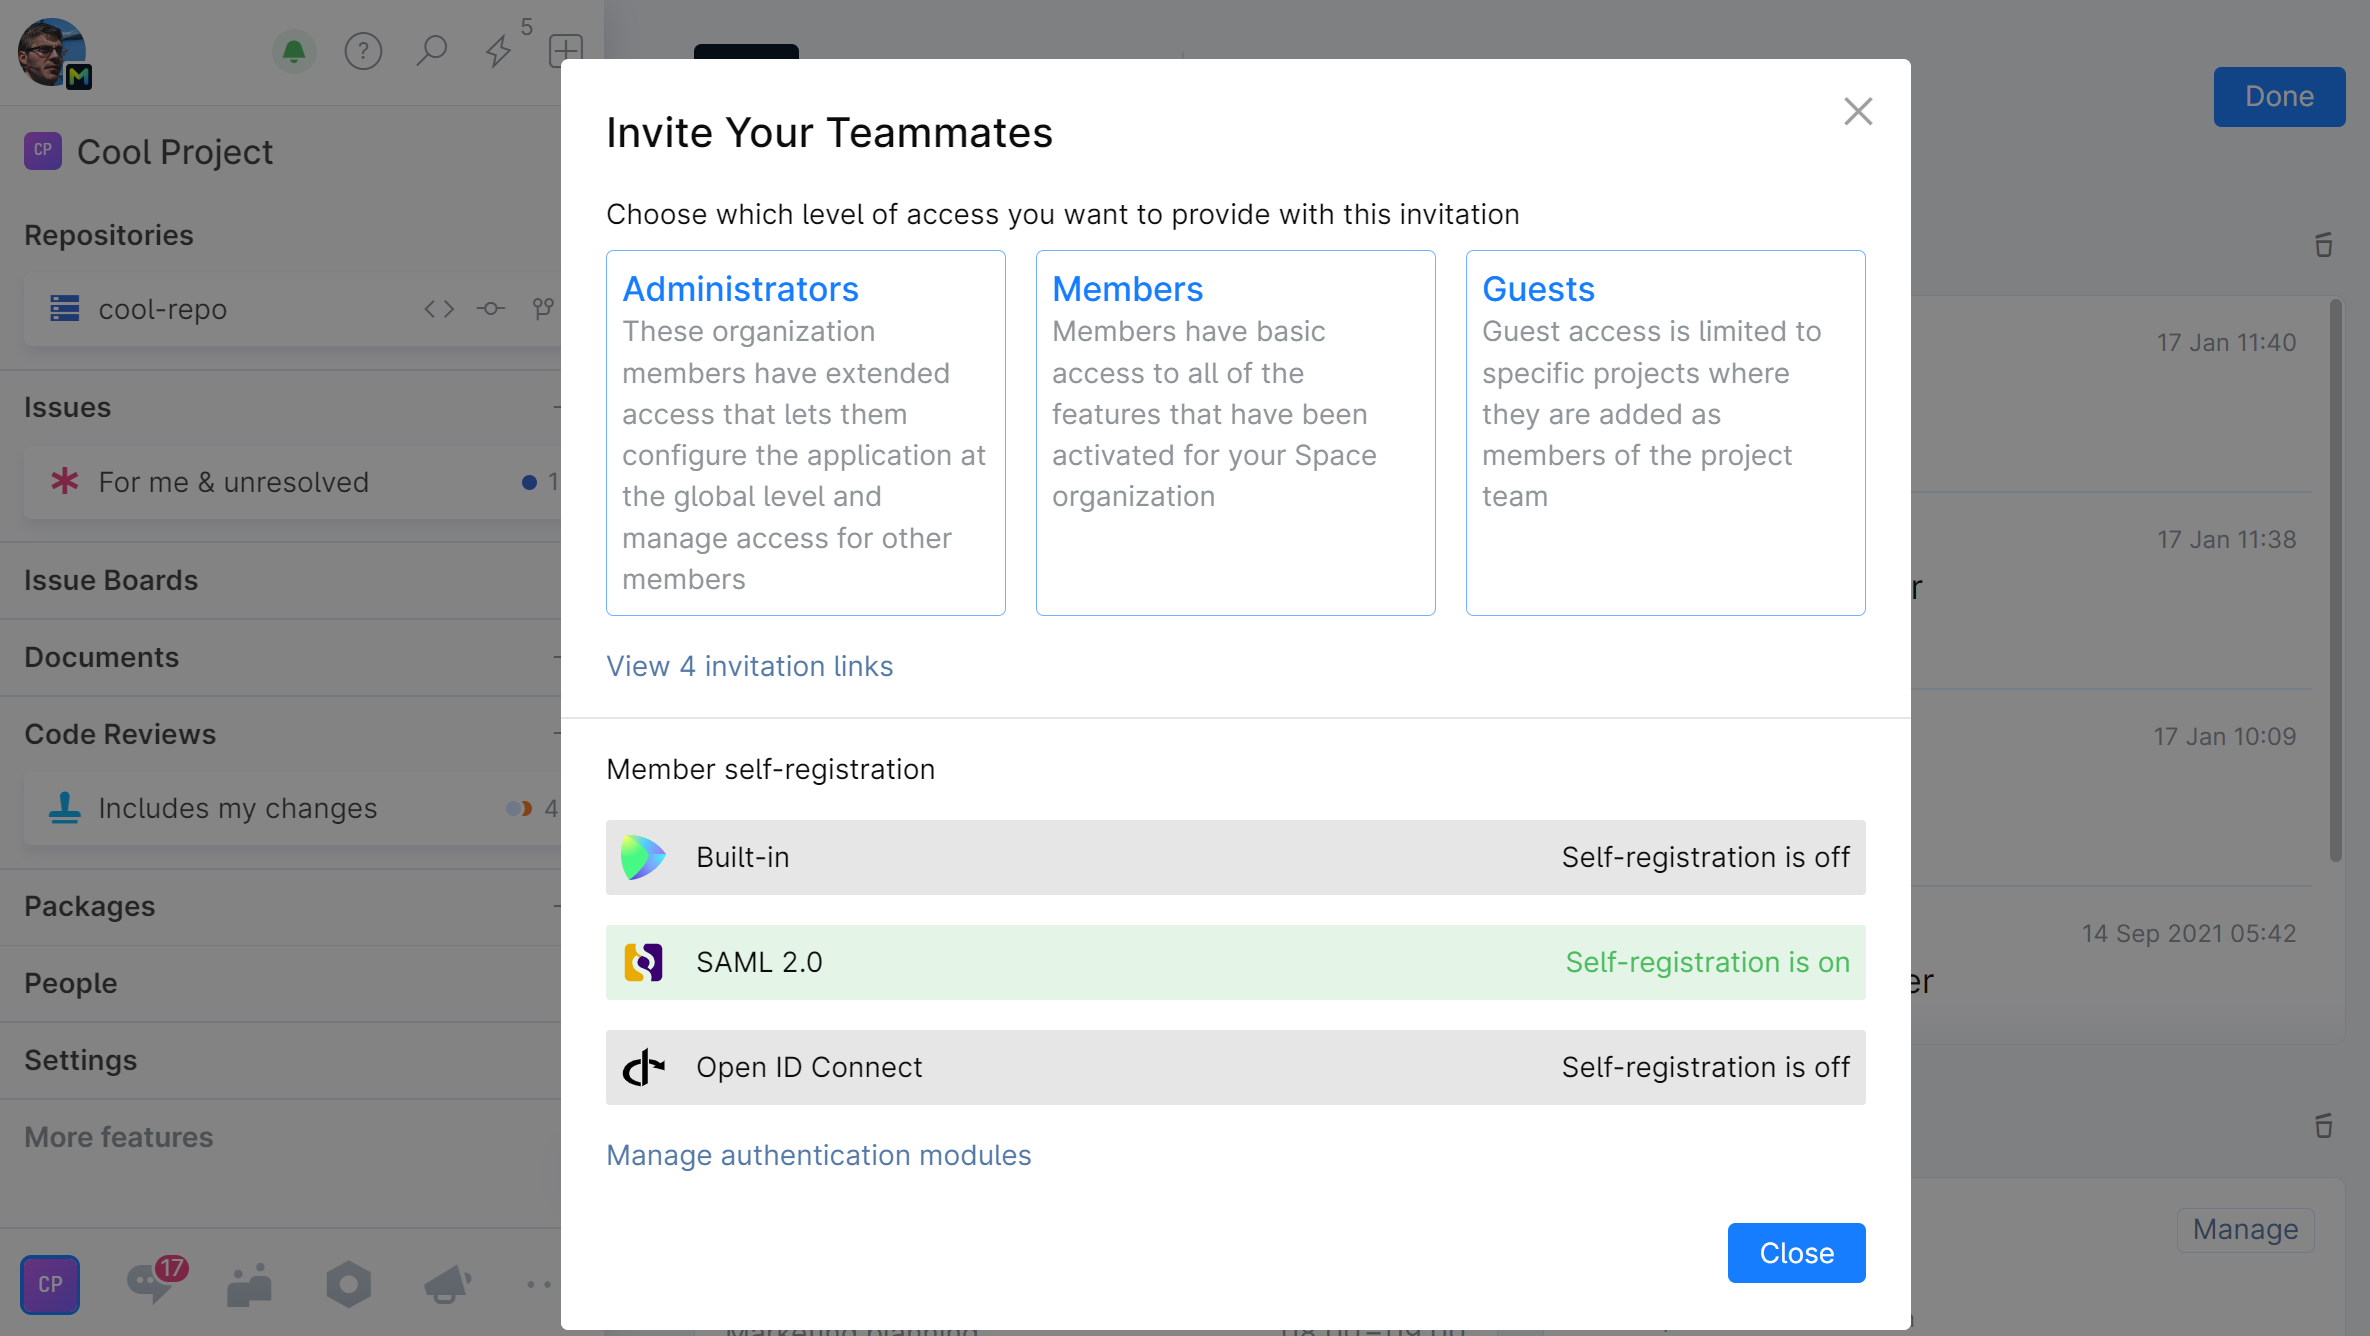
When inviting users, you can choose the level of access you want to provide with the invitation. Each level defines a Role that will be initially assigned to the user upon their registration:
Administrators (System Admin role) — is intended for system administrators; allows to manage global organization settings and access for other users.
Members (Member role) — is intended for regular users - members of your organization, employees; includes basic permissions across the organization.
External Users (Collaborators and Guests) — are intended for people outside your organization which you nevertheless want to participate in certain projects on limited basis:
Collaborator — can be granted access to multiple projects and chat channels. Within each project they are added to, a Collaborator can be provided access to all non-administrative project features.
Guest— can only be granted access to a single project and one chat channel. Within a project they are added to, a Guest can be provided access to a limited set of features: Documents, Issues, Issue boards.
Please note that External Users cannot be assigned additional roles, and therefore they cannot be granted additional organization-level permissions. External Users can be only provided additional permissions on individual basis within the project they've been added to.
If you want to grant an external user more rights, you can however convert them to a regular member.
You can invite users in two ways:
Send them Space-generated emails containing an invitation link. Space lets you send several emails at once.
Create a link and send it to the users yourself via a messenger, email, etc. This option lets you quickly invite a big number of users using corporate messengers or mailing lists. Keep in mind, though, that anyone who gets a hold of an invitation link will be able to register and log in to Space.
Send invitation emails
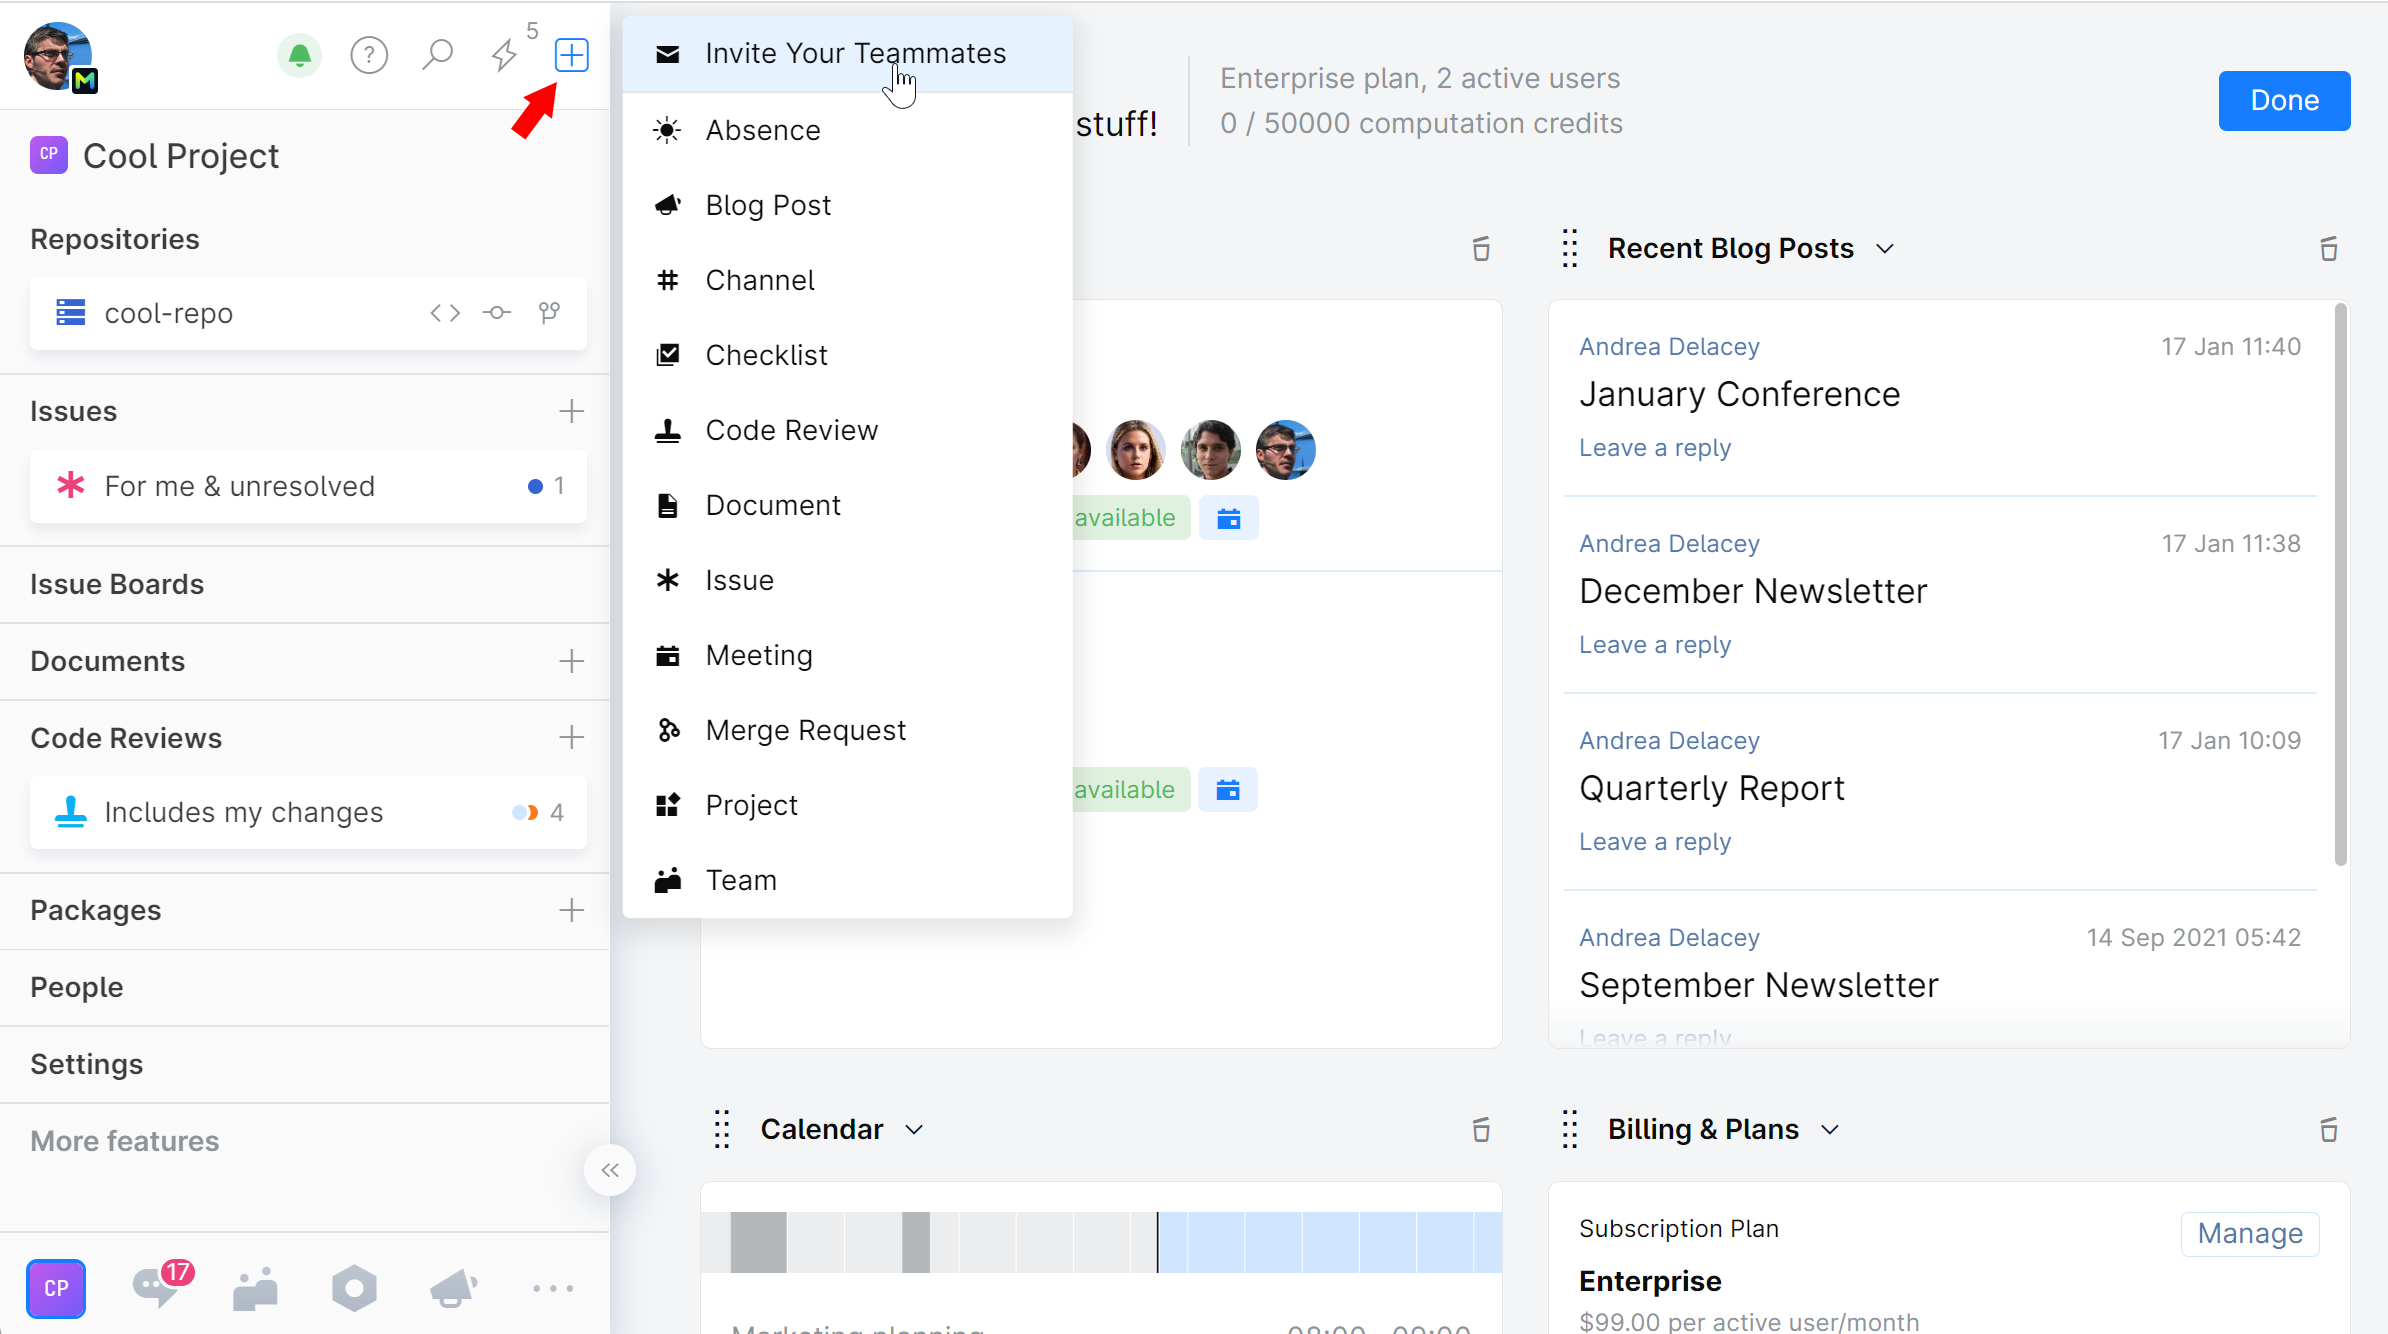
Click
 and choose Invite Your Teammates:
Choose which level of access the invited user(s) will have: Administrators, Members, or External Users:

If External Users selected, choose the exact Role: Collaborator or Guest.
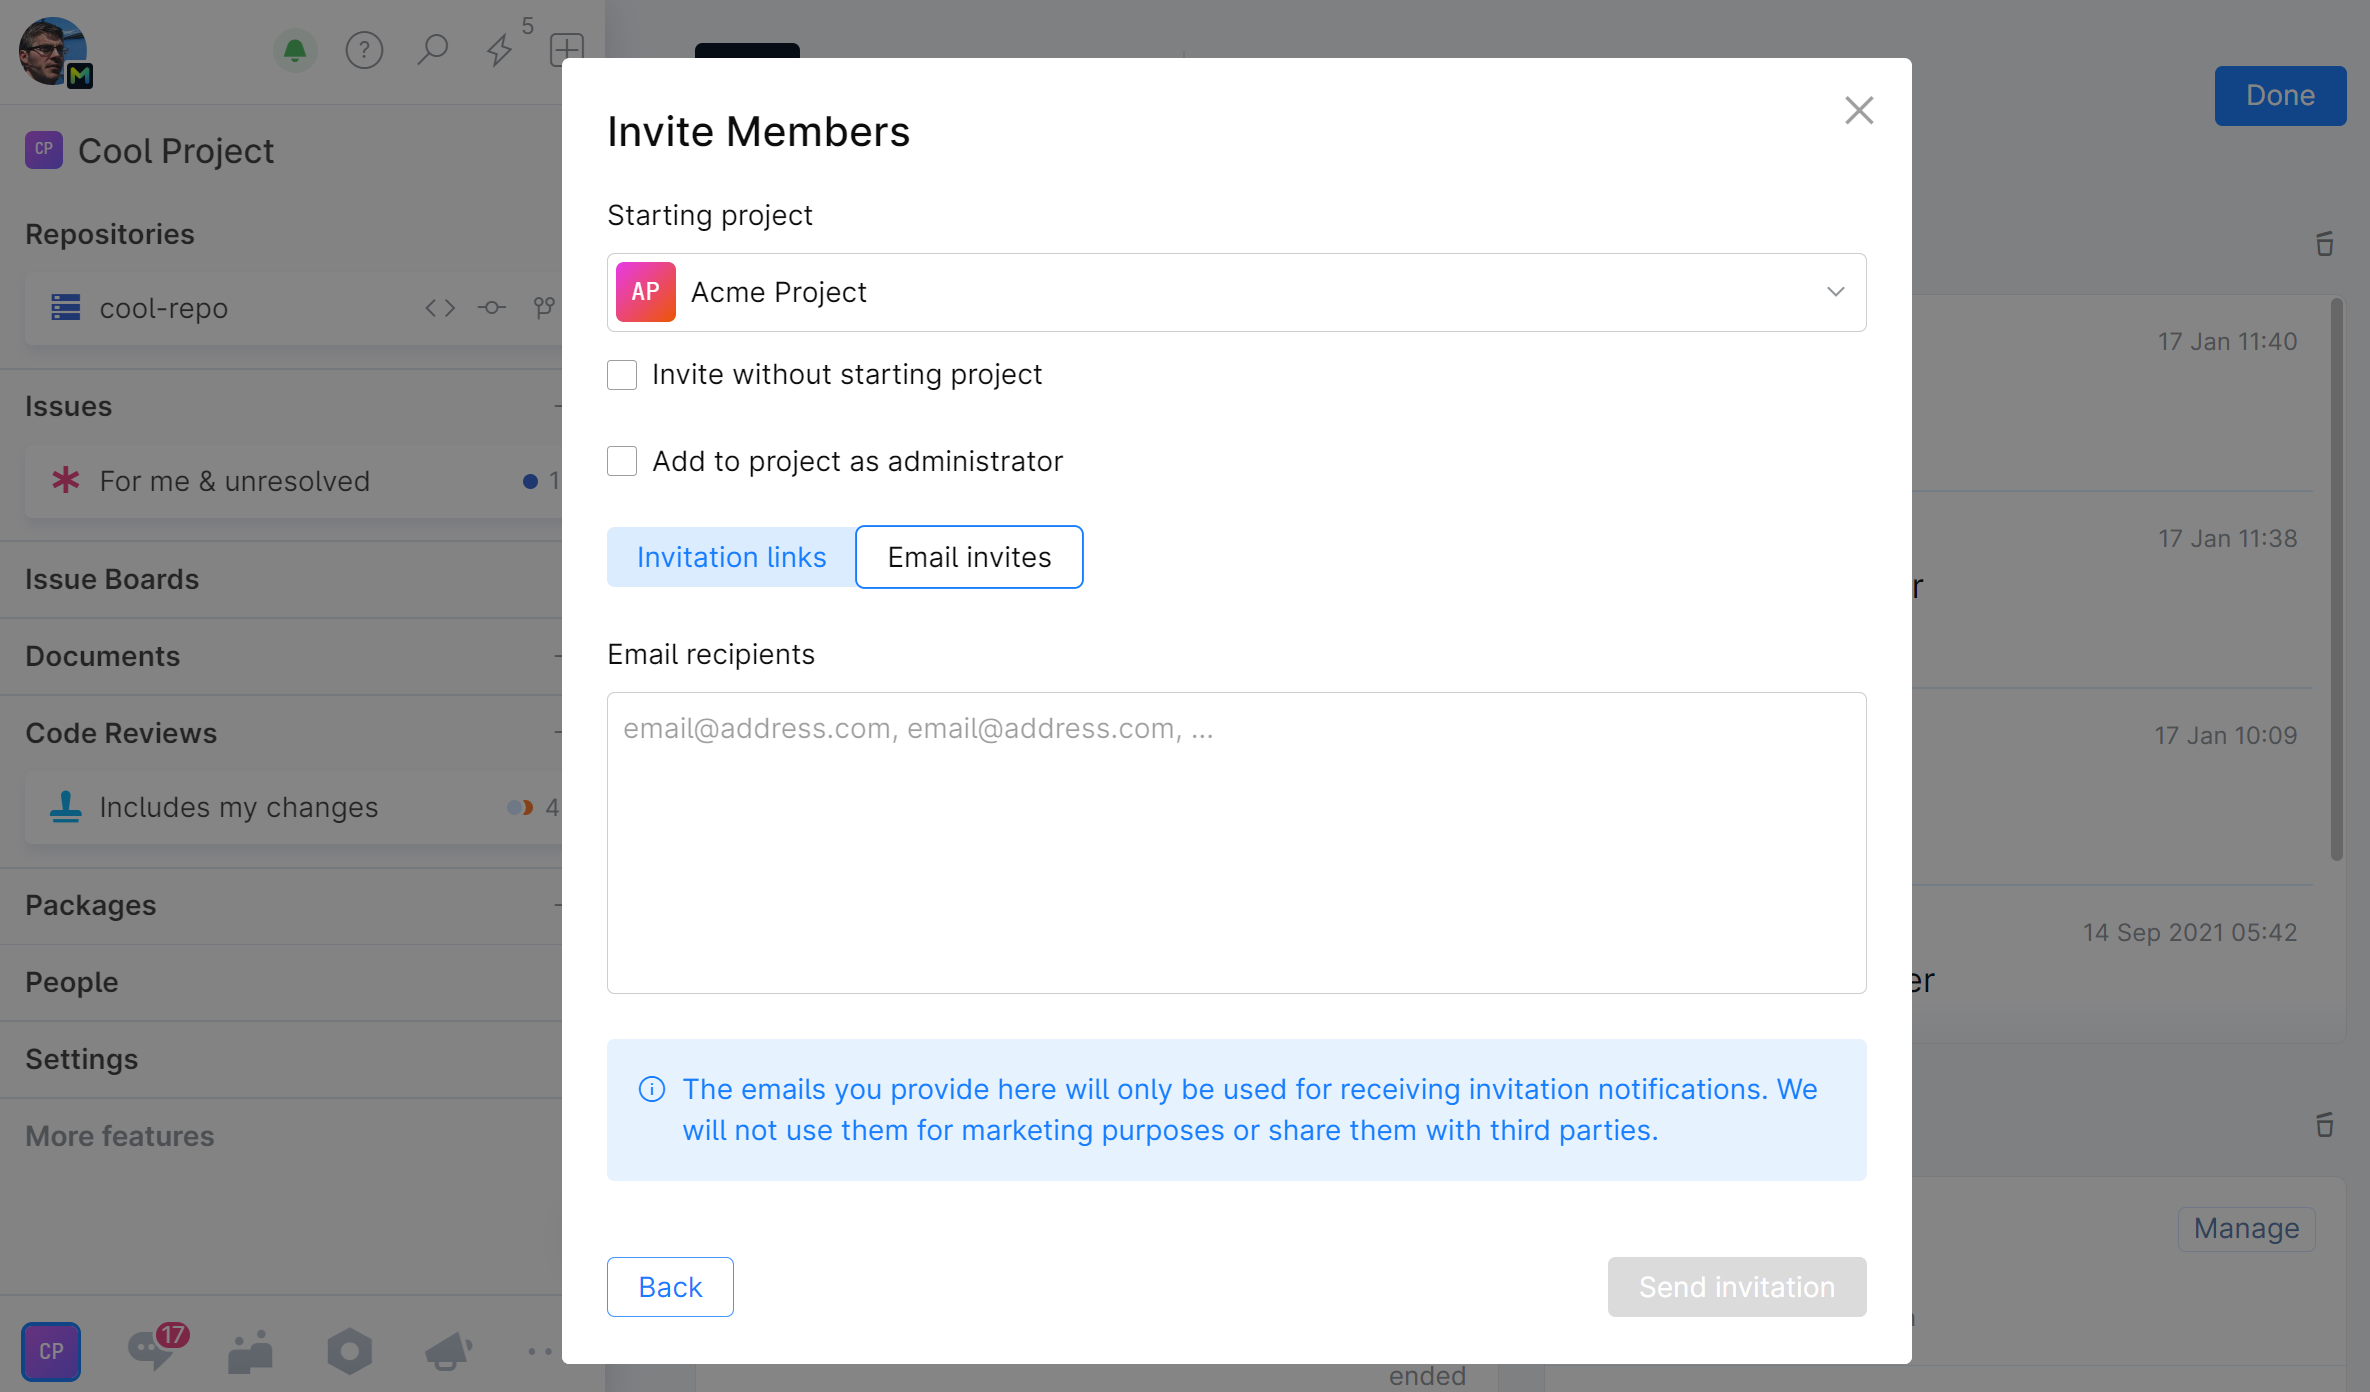
Choose the project which the invited user(s) will be added to. If you don't want to grant them access to any project, select Invite without starting project.
Choose Email invites.
Enter email addresses of the people you want to invite and click the Send .. invitation button:

The users will receive an invitation email with a link to the login page.
Upon the initial login, the user can edit his/her last and first name, create username and password.
When the user submits the information, a user account and profile will be created.
The users will be assigned a Role according to the access level you specified.
Create an invitation link
Click
 and choose Invite Your Teammates:
Choose which level of access the invited user(s) will have: Administrators, Members, or External Users:

If External Users selected, choose the exact Role: Collaborator or Guest.
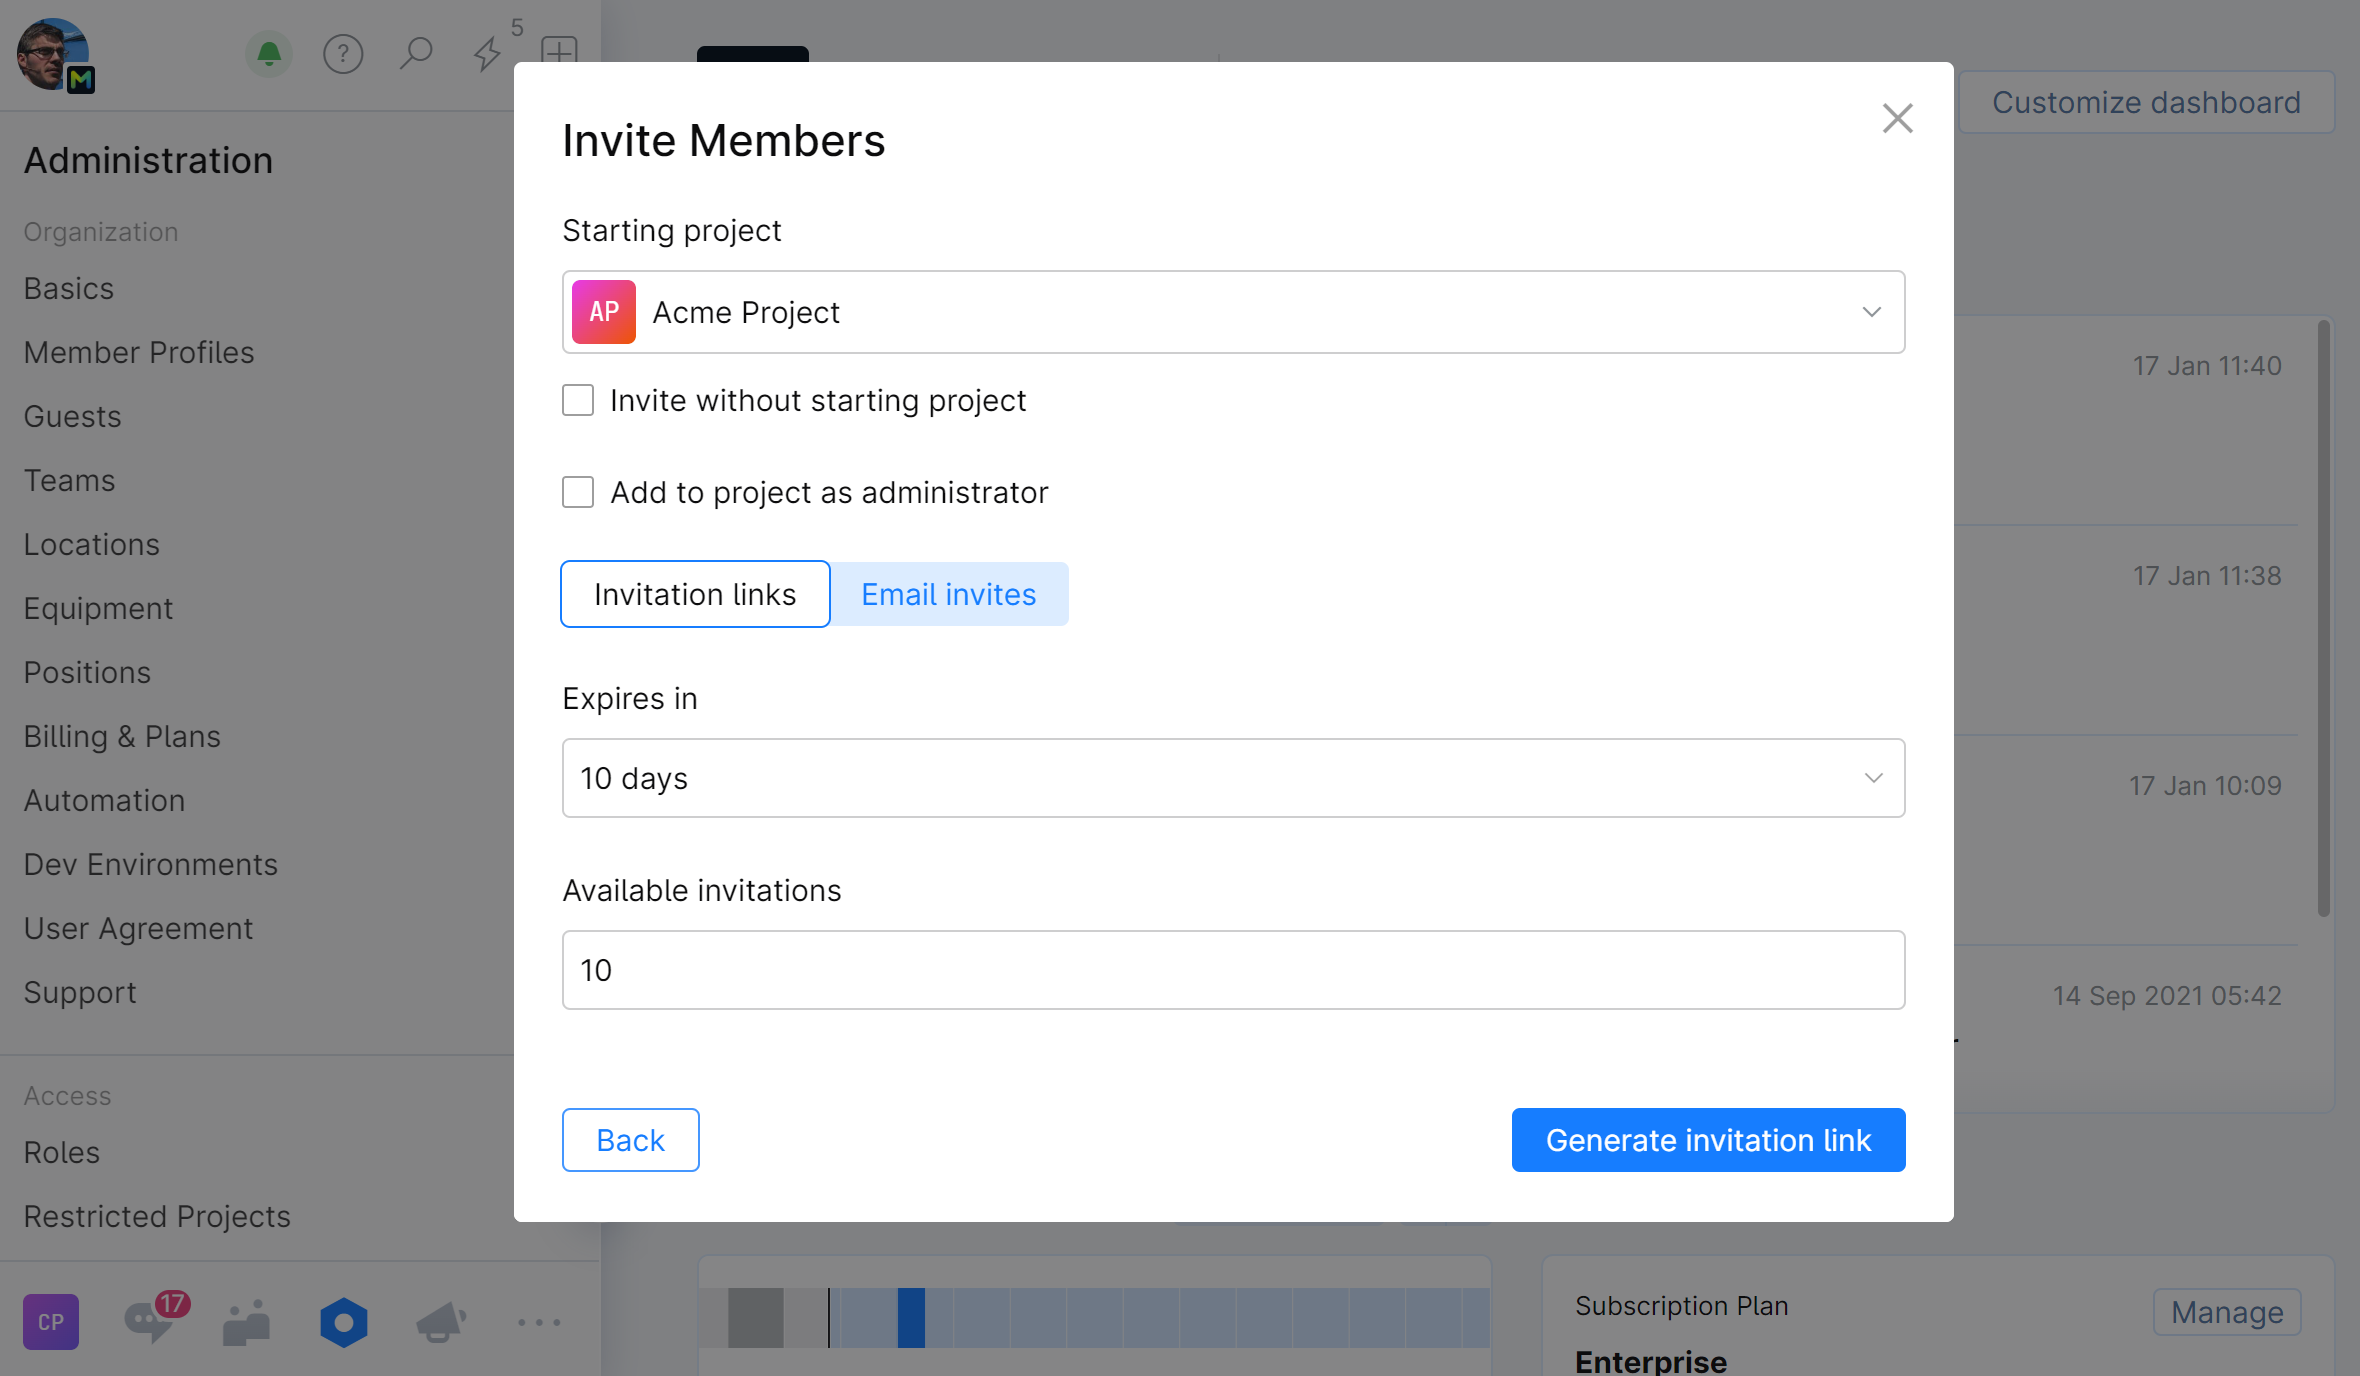
Choose the project which the invited user(s) will be added to. If you don't want to grant them access to any project, select Invite without starting project.
Choose Invitation links.
Specify:
expiration period for this link (or leave the default 10 days).
maximum number of people allowed to use this link (or leave the default 10).
Click Generate invitation link:

An invitation link will be generated and displayed.
Copy the link and share it with the people you want to invite.
To view all the invitations — active and expired:
On the main menu, click
 Administration
On the Administration sidebar, choose Invitations.
The list of invitation emails and links will be displayed.
Let users register in Space with their email
You can allow people to sign up to your Space organization with their email at the login page. To prevent unauthorized access, you can allow only users with specified email domains.
Self-registering users will be asked to provide their email, first and last name, and create a username. When a user submits the information, a profile will be created.
To let users register in Space with their email, you need to enable the corresponding option in the Built-in Authentication Module and specify the allowed email domains.
Let users register in Space with third-party credentials.
Space comes with a number of authentication modules that allow users to register and log in with an account from an external provider, such as Google, GitHub, or an Open LDAP source.
Users registering with external accounts will be asked to provide their information upon registration. When a user submits the information, a profile will be created.
To let users register in Space with their external accounts, you need to configure and enable the corresponding authentication module. The configuration options let you set up restricted access to allow only users with specified email domains. Please read User Authentication for details.