Cloning a Project
Cloning your project from GitHub.
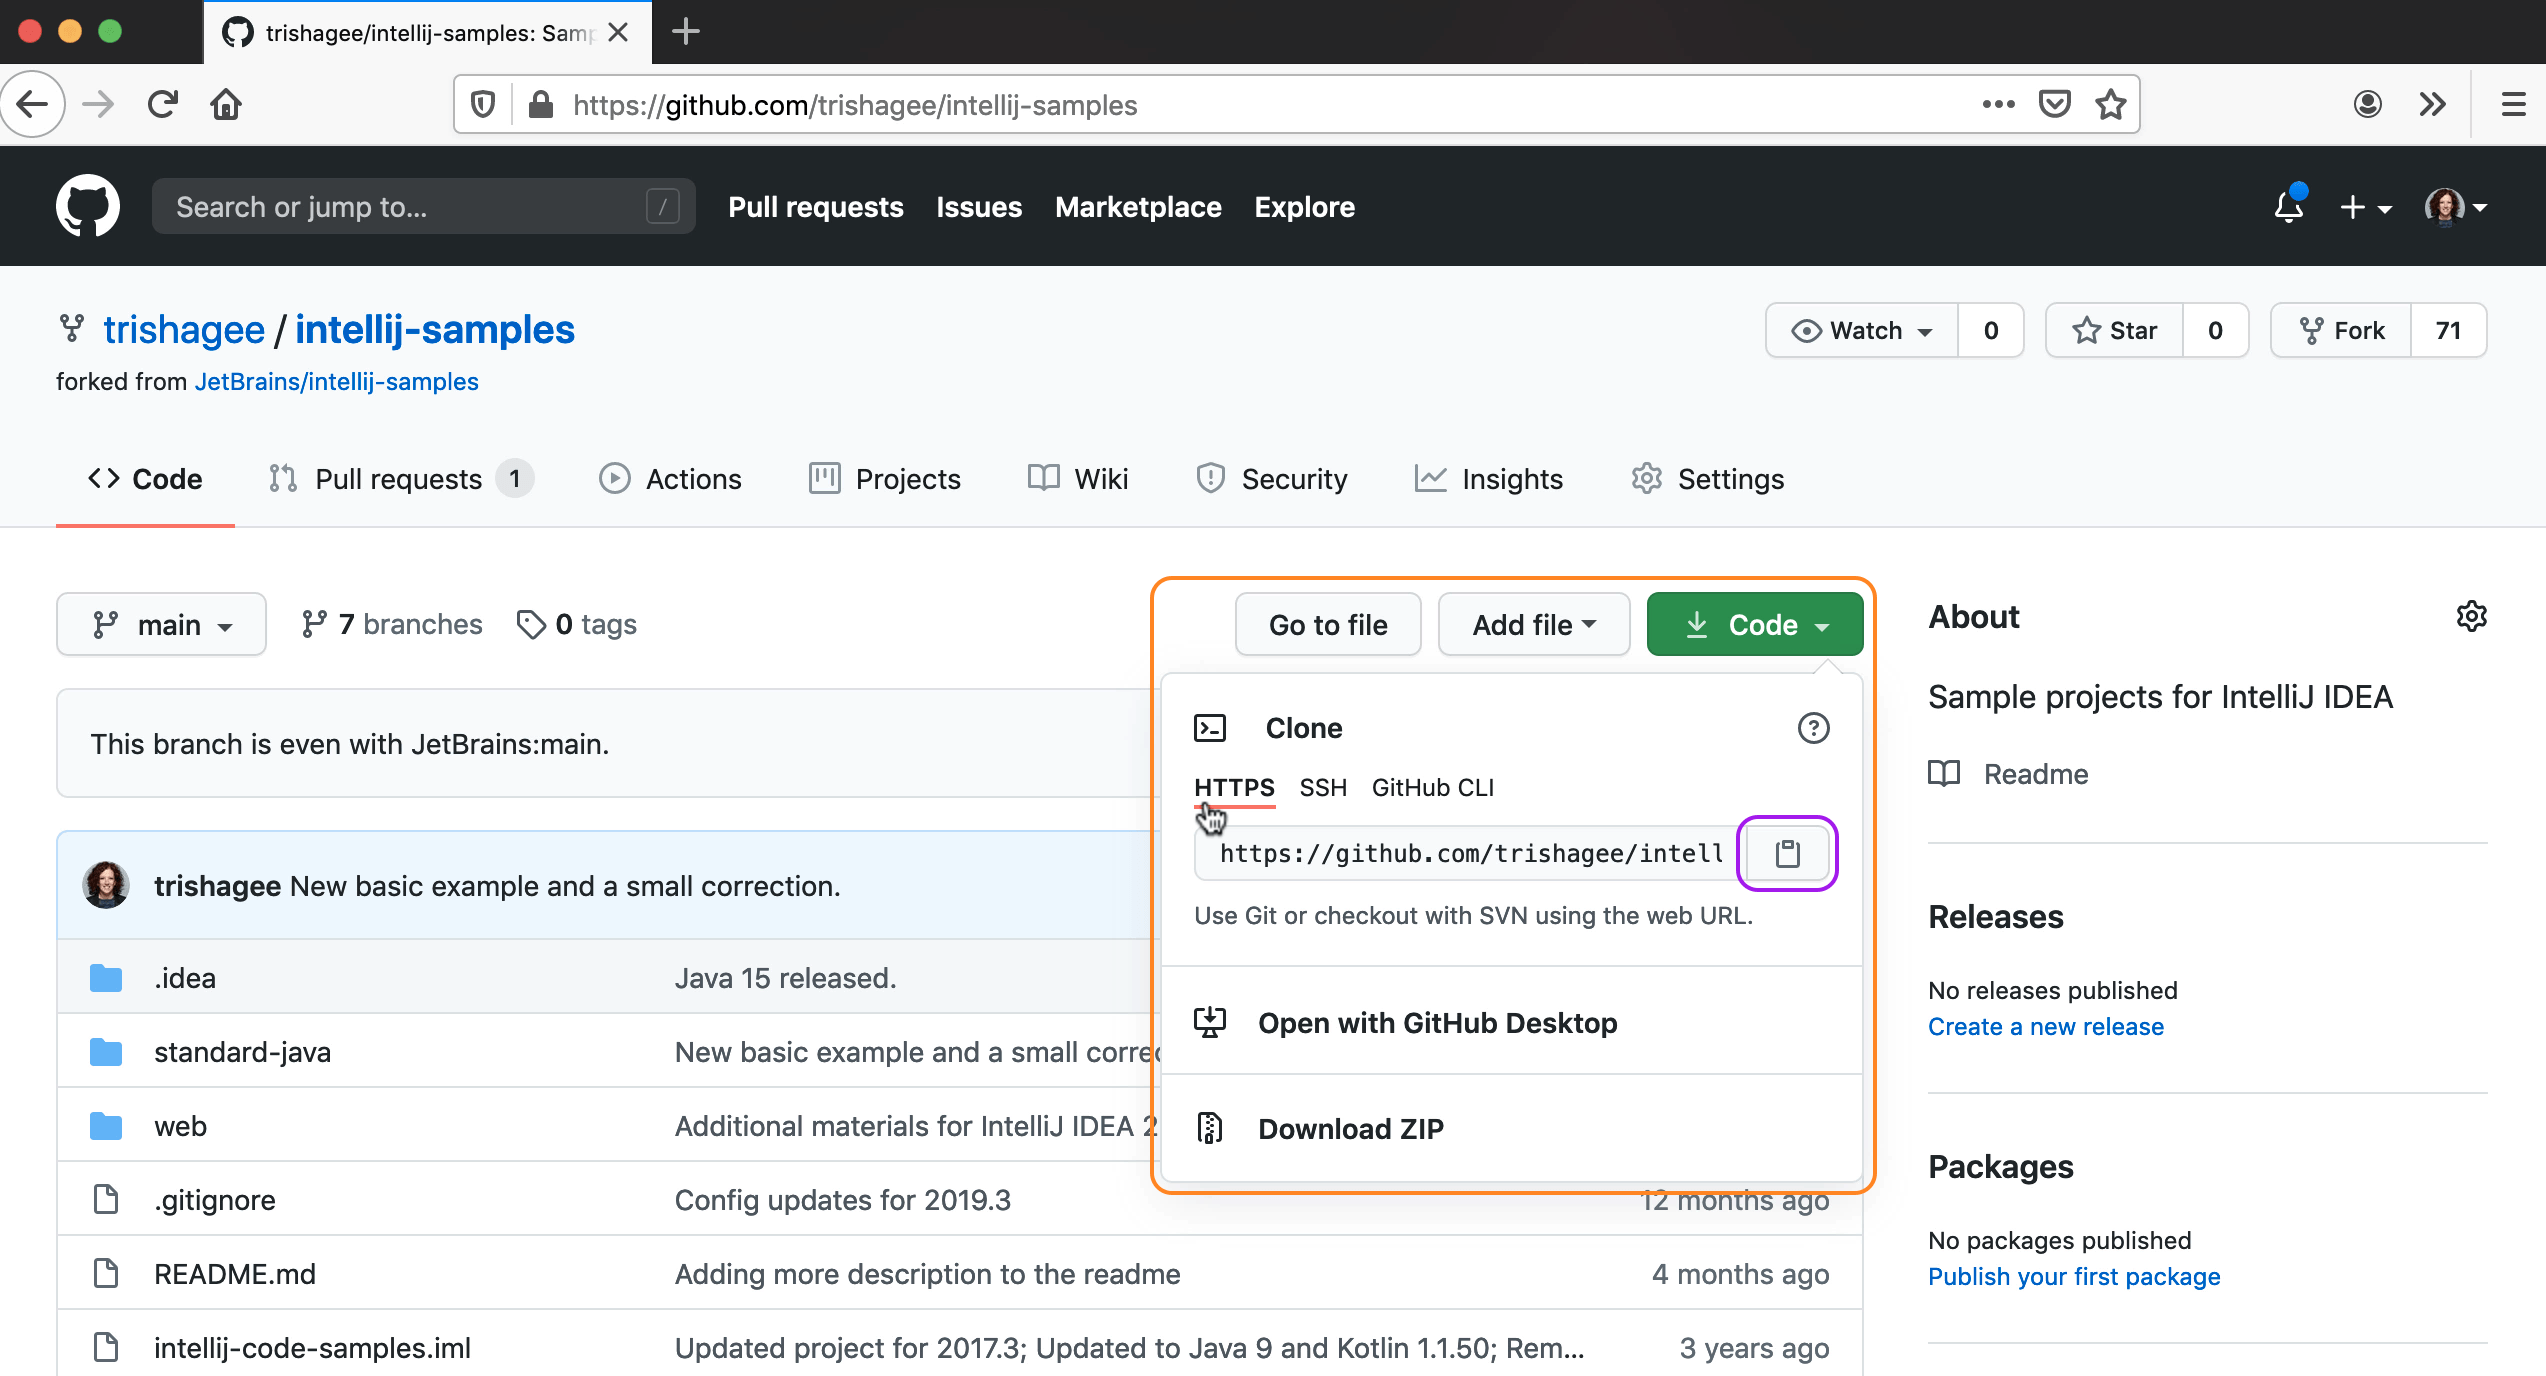
The first thing we need to do is to clone the repository to our local machine. You need to navigate to the code in GitHub that you want to clone to IntelliJ IDEA. In this tutorial we will use the intellij-samples project.

When you press the green Code button, you can see that there are a few ways to do this. We're going to use HTTPS as it can be the simplest option. From the HTTPS tab, click the clipboard icon, this copies the URL to your clipboard.
Now you've got the link from GitHub, you need to open IntelliJ IDEA. If you don't have any projects option, you'll see the Welcome Screen. You will see an option here to Get from Version Control (or similar depending on the version of IntelliJ IDEA). If you do have a project open already, you can do the same action from the File | New | Project from Version Control menu. In older versions of IntelliJ IDEA, you can also use go to VCS | Get from Version Control. This menu option was renamed to Git | Clone in newer versions (when you have an existing Git project open).

When you press this button, you will get an option to select your Version Control location, GitHub in this instance, and then to enter the URL that's on your clipboard into the URL field.

Press Enter or Clone to clone the GitHub repository to the directory you selected. IntelliJ IDEA will also pick up common build tools like Gradle or Maven, and automatically download the required dependencies and build the project.
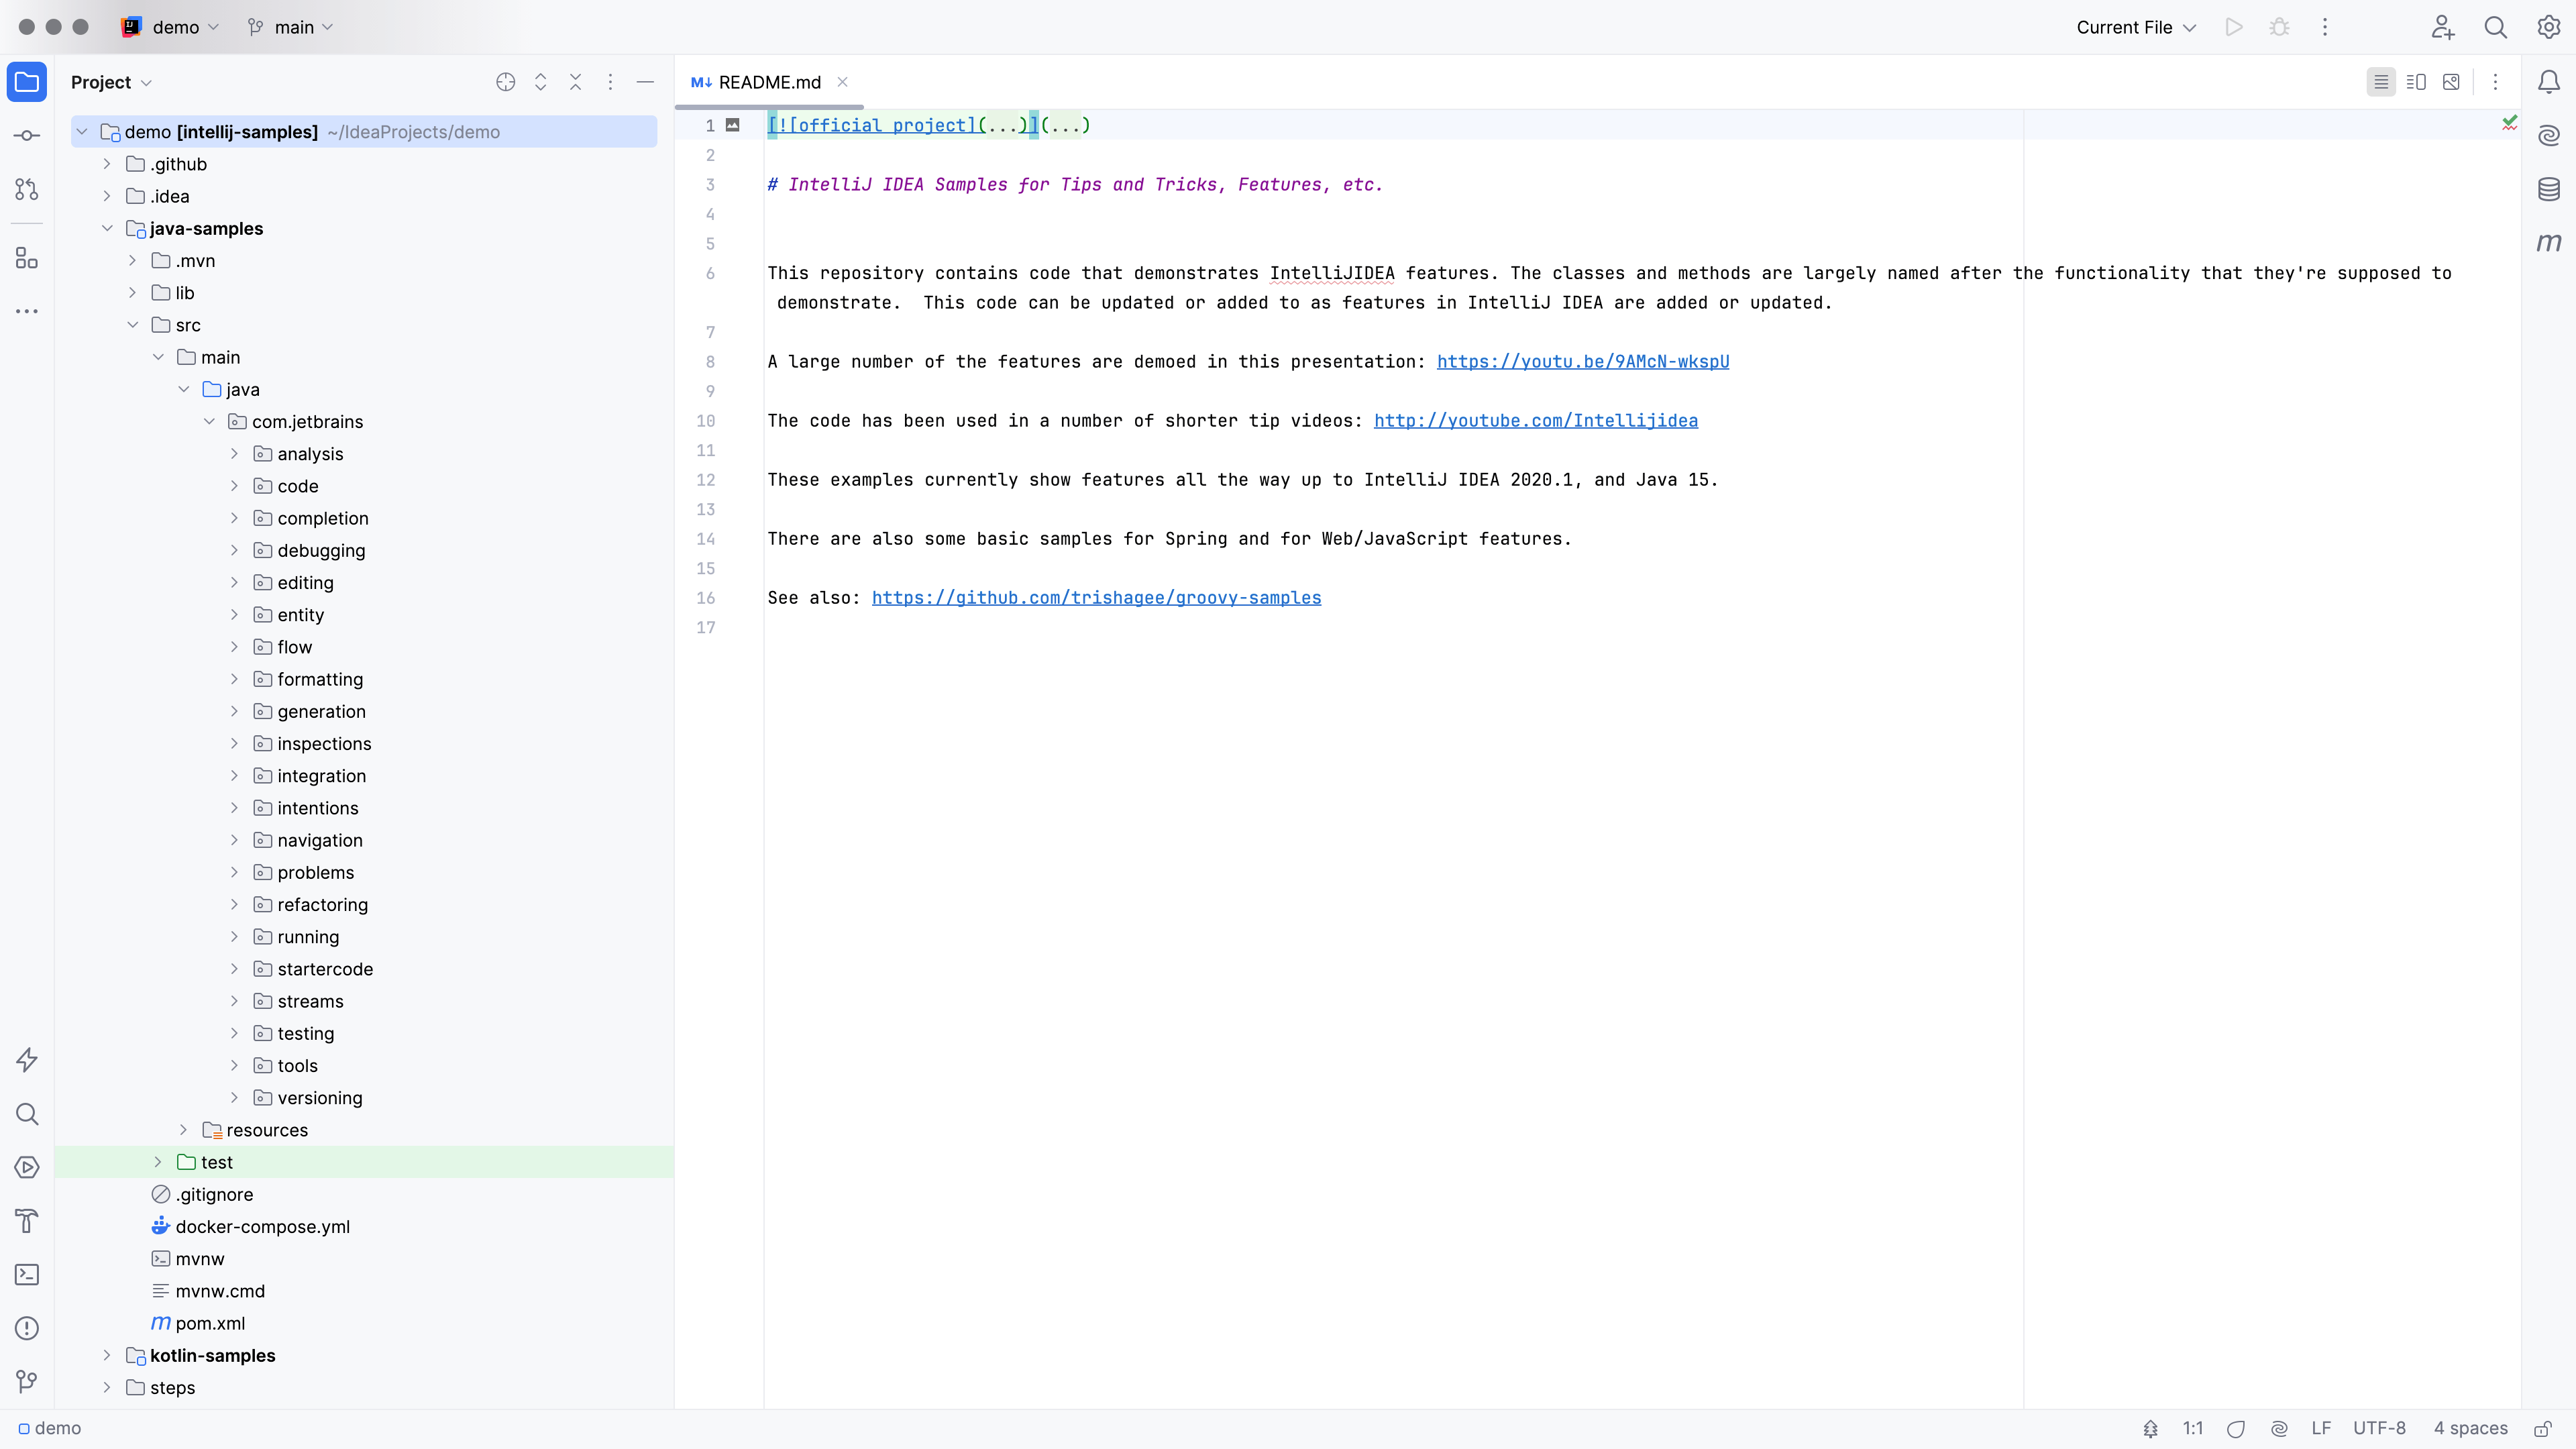
When you open up the project window, you'll also see that IntelliJ IDEA has detected the modules in the project, and correctly set up the test, main and resources folders in a Maven project like this one.