
Creating the package and class
Use IntelliJ IDEA to create a new package and class.
We recommend putting IntelliJ IDEA into full screen to give you the maximum amount of space for your new Hello World project.
The project window shows all the directories and the files that make up our projects.
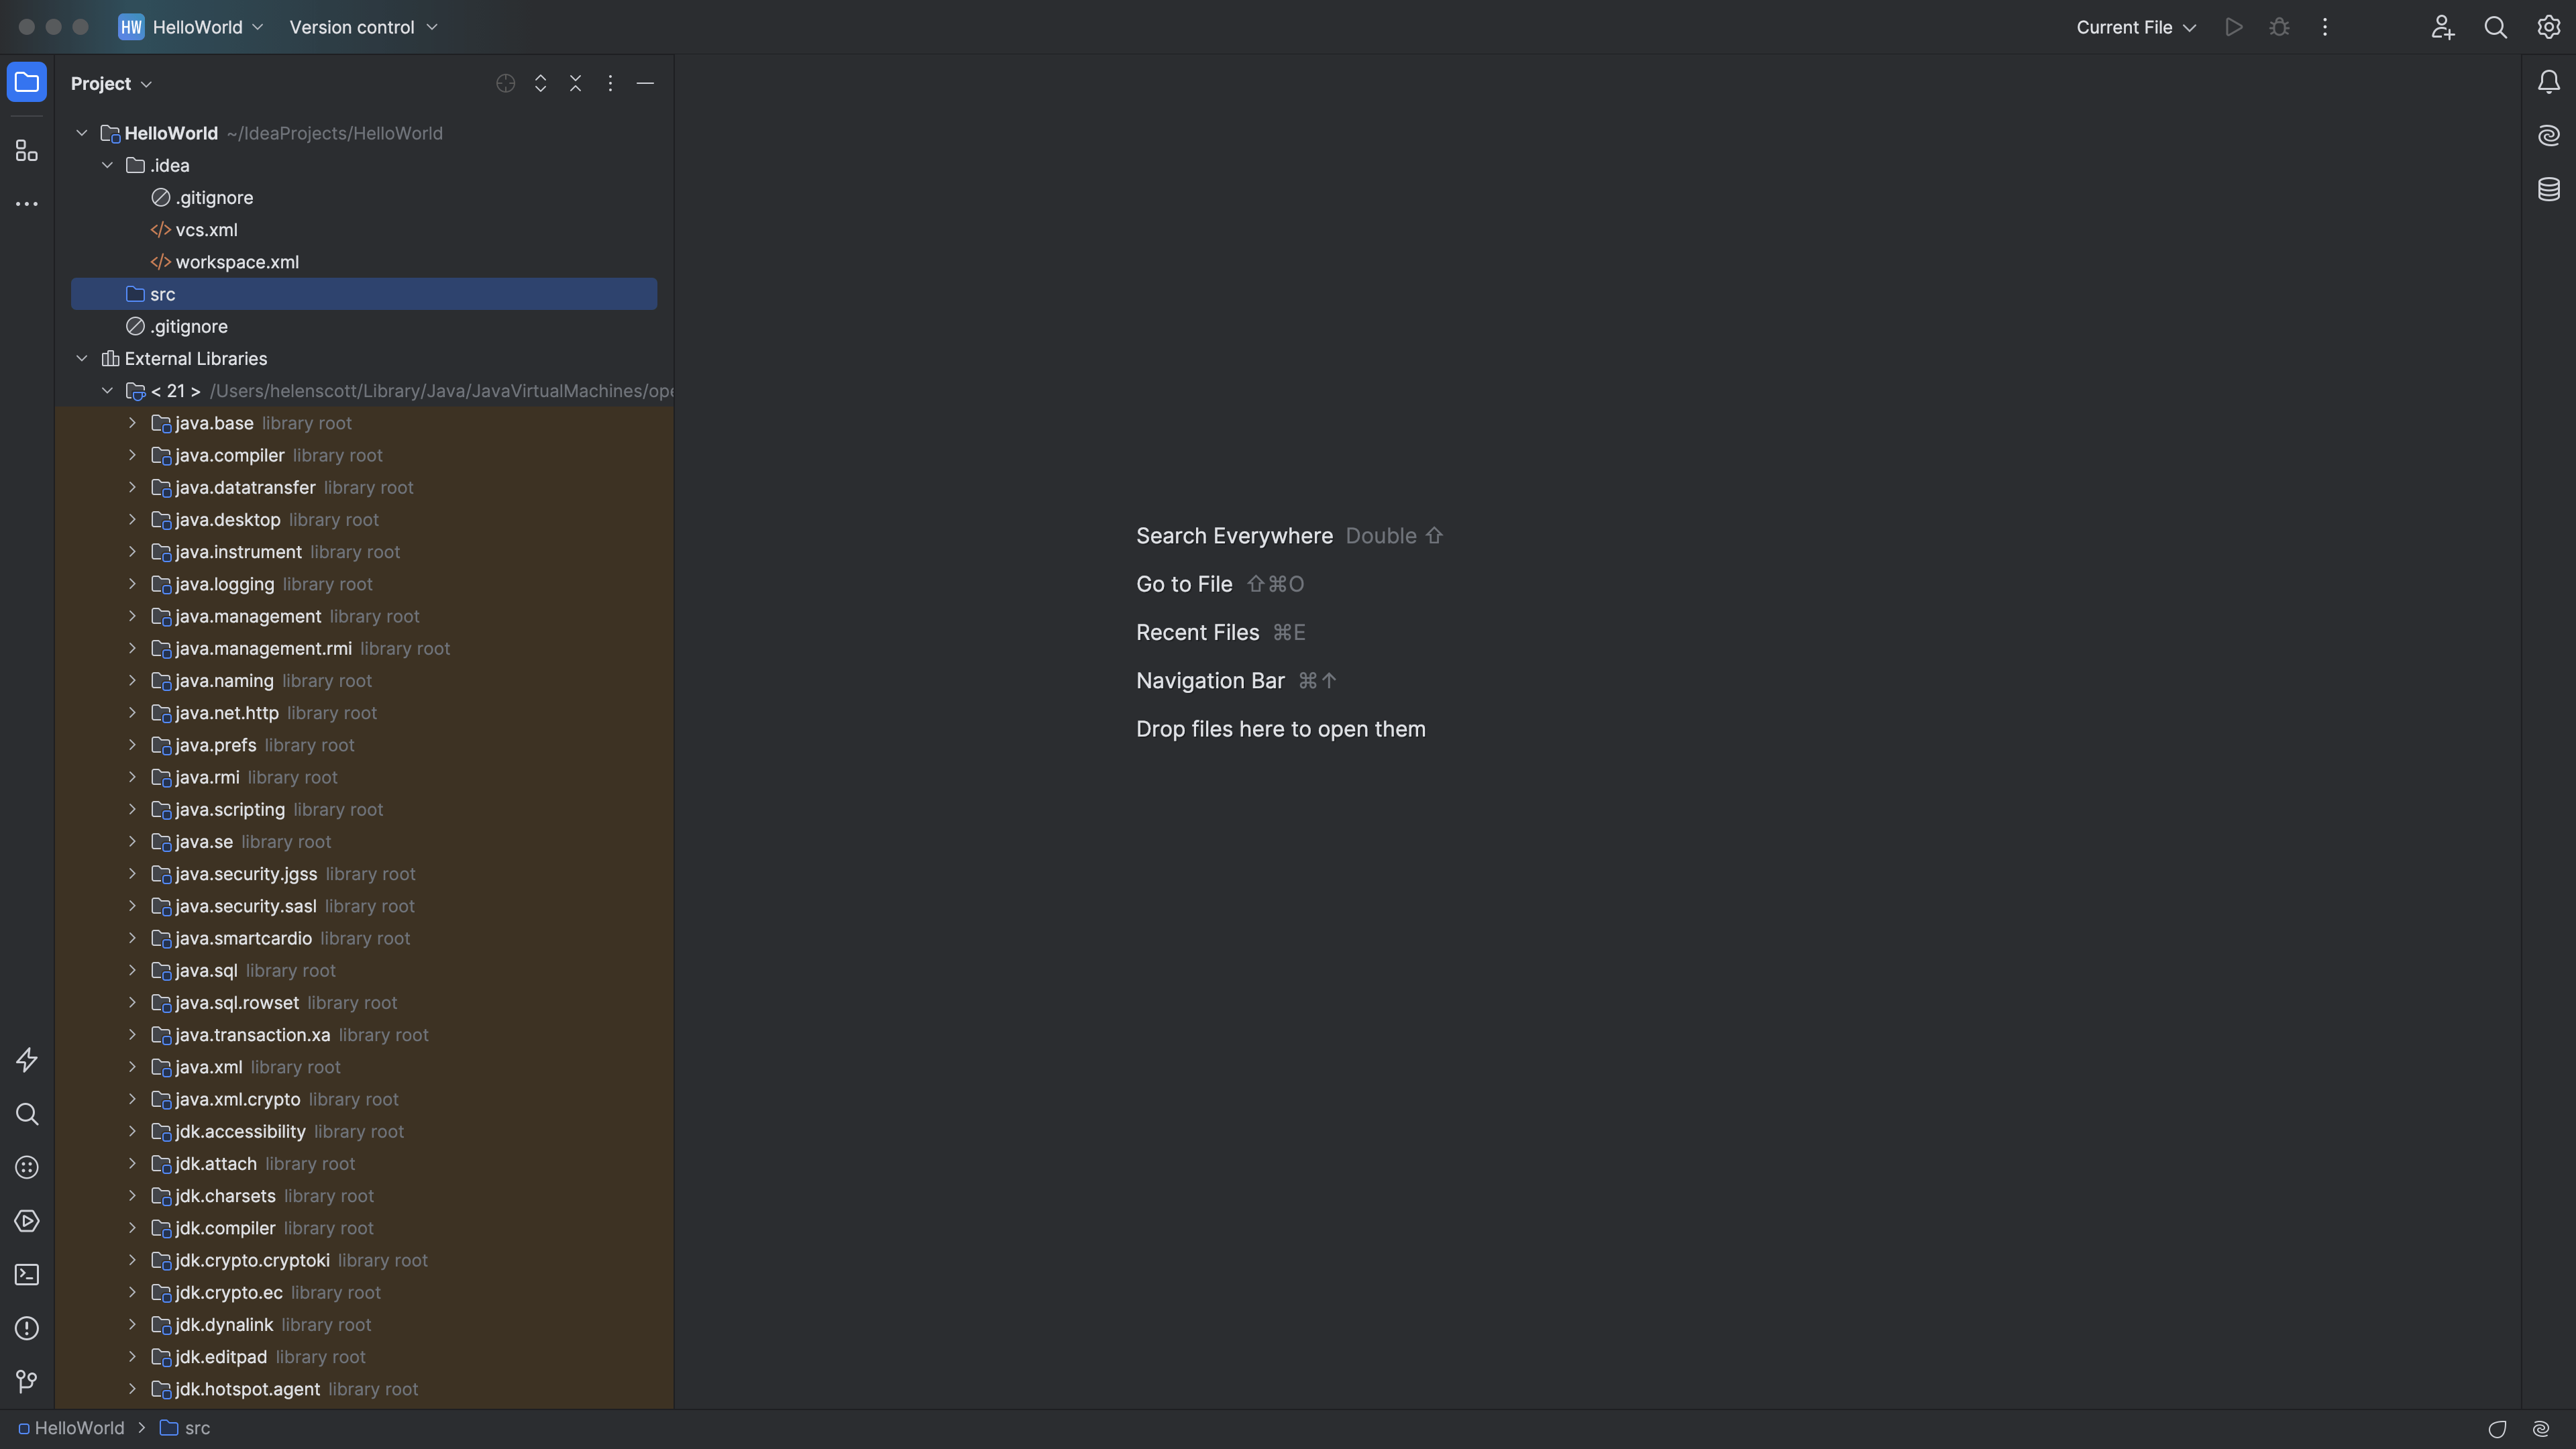
Of course, you can use the mouse to navigate the Project window, but you can also use the arrow keys. You can also toggle the display of this tool window with ⌘1 (macOS) / Alt+1 (Windows/Linux).
Creating Your Package and Class
Next, you're going to create the package and the class. Application packages are used to group together classes that belong to the same category or provide similar functionality. They are useful for organising large applications that might have hundreds of classes.
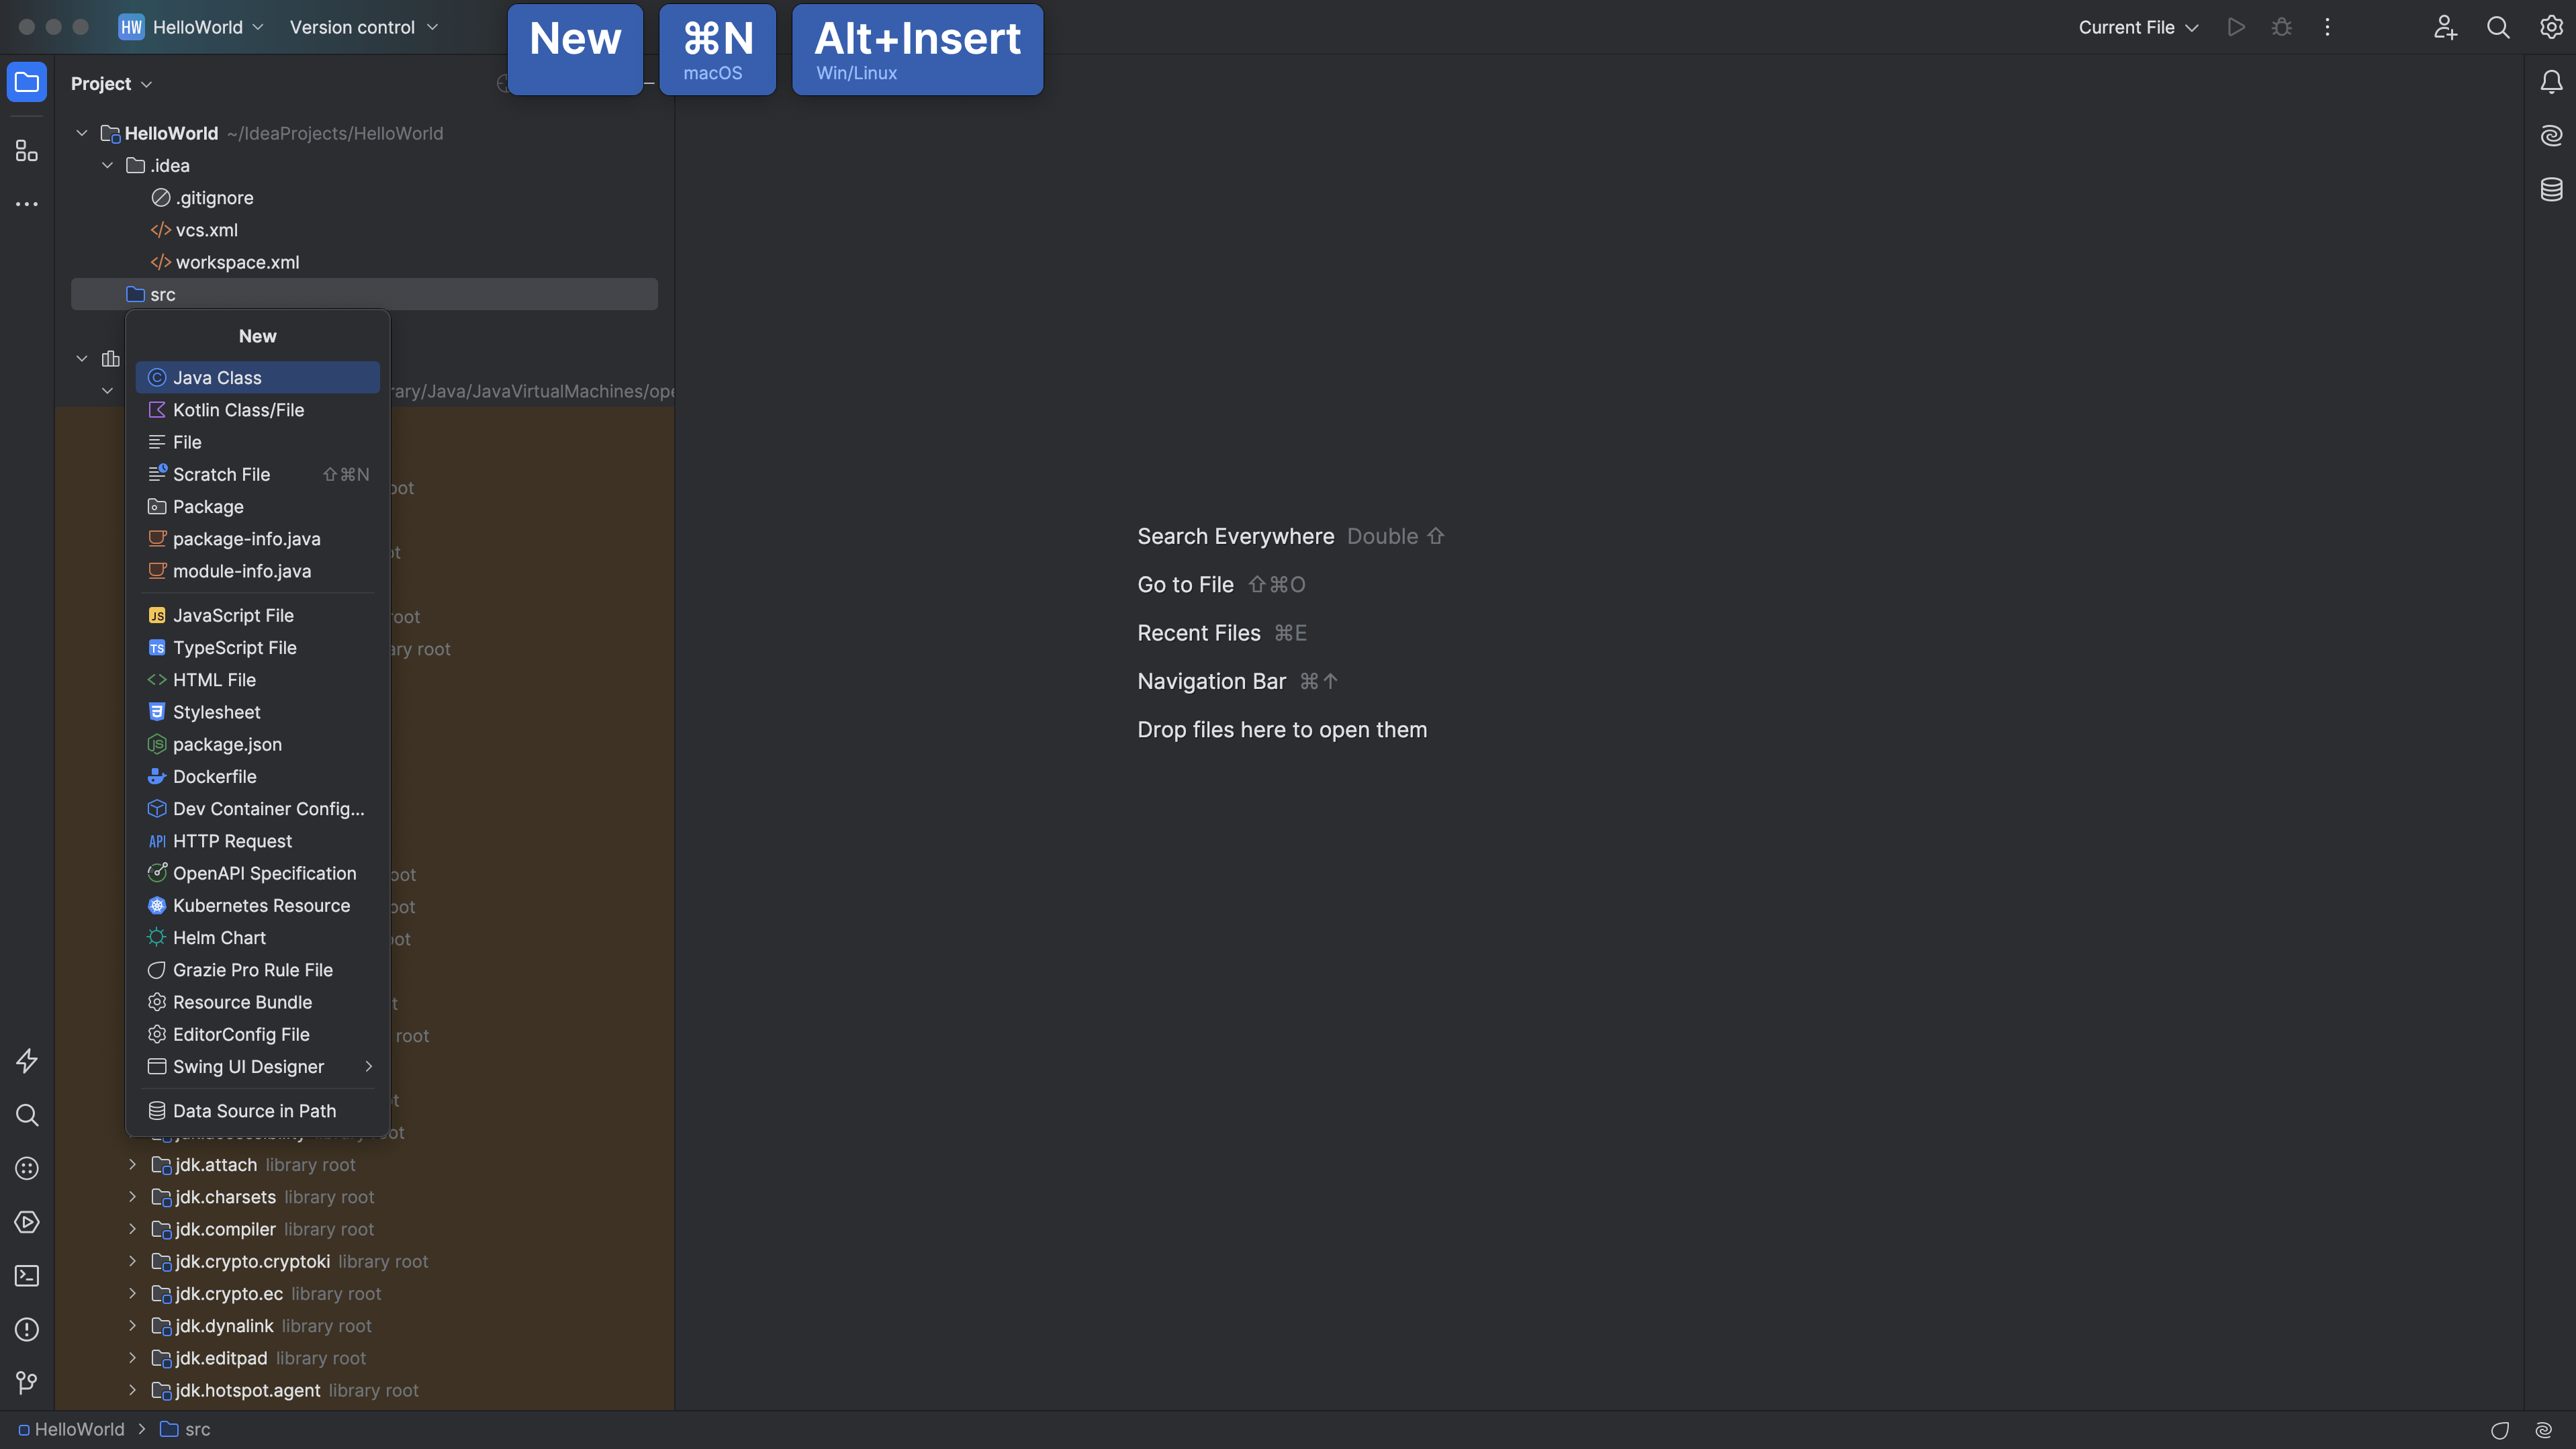
- To create a new class, select the blue src folder and press ⌘N (macOS) / Alt+Insert (Windows/Linux). Select Java Class from the popup.
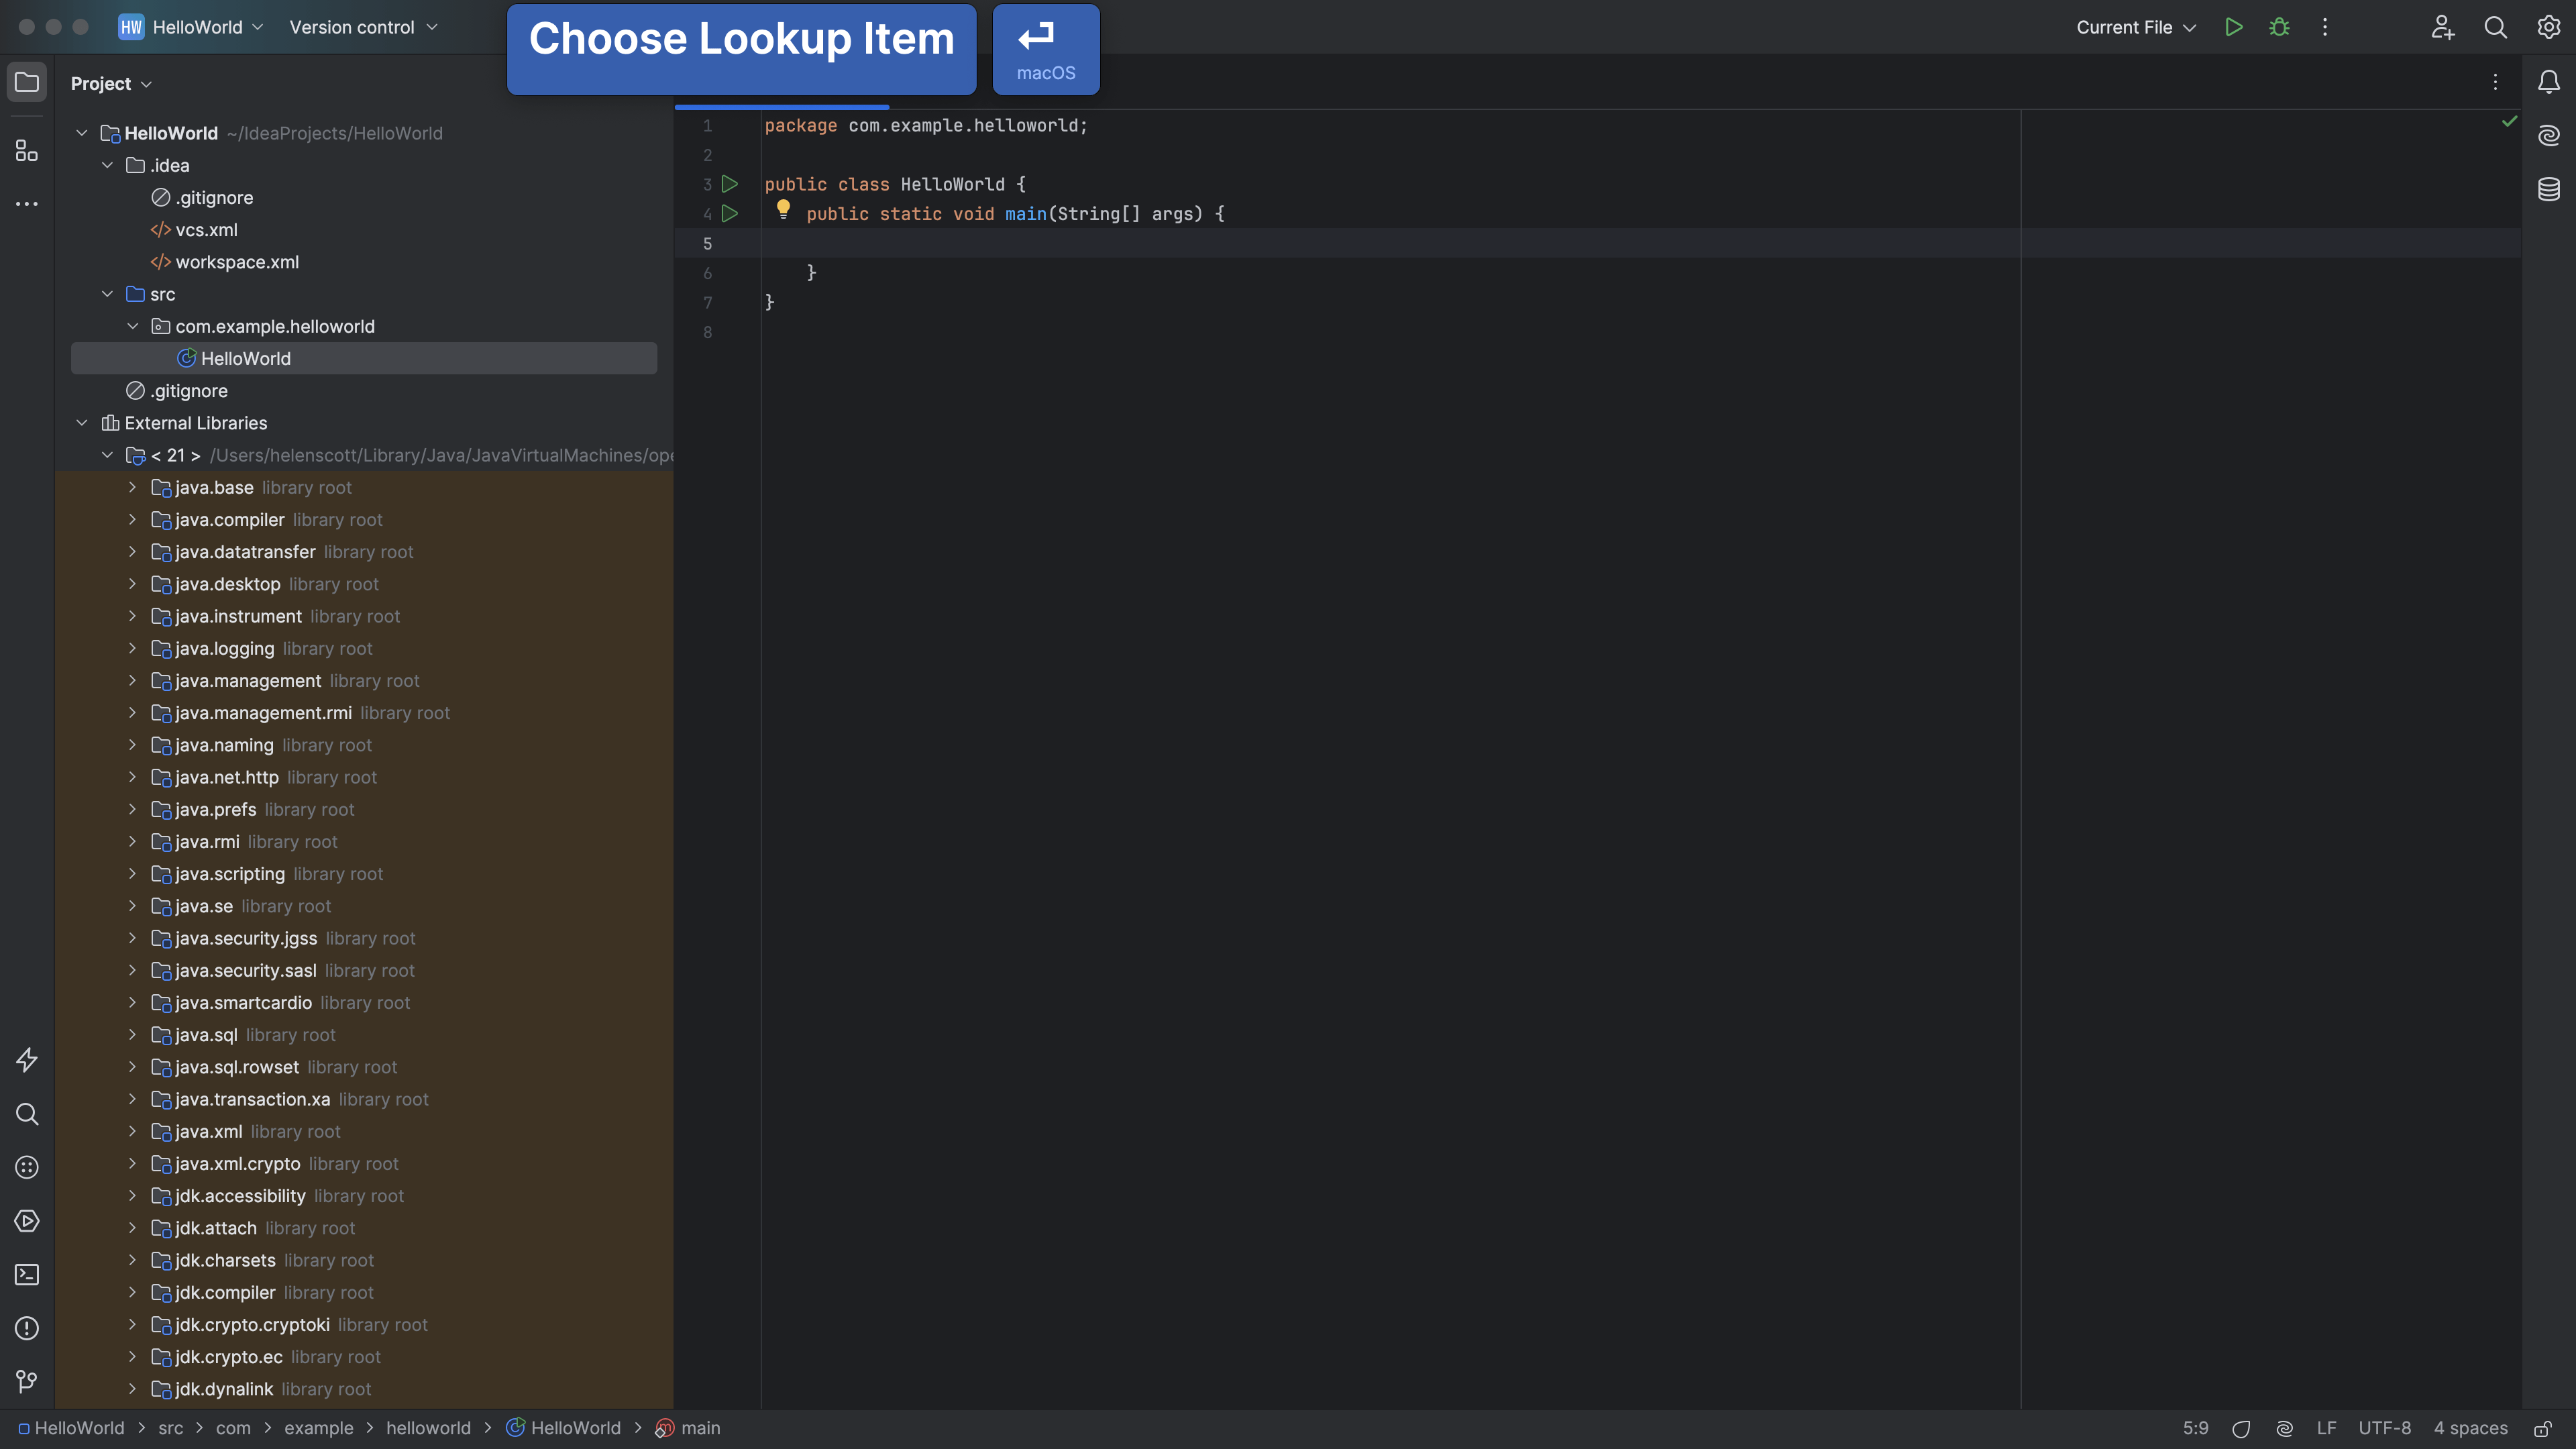
You can type a simple class name in here, but if you want to create a new class in a particular package, you can type the whole package path separated by dots, followed by the class name. For example com.example.helloworld.HelloWorld.

Here, example might be your preferred domain and HelloWorld is the name of your Java class that IntelliJ IDEA will create.
When you press Enter IntelliJ IDEA will create the package you wanted, and the correct directory structure for this package that you specified. It has also created a new HelloWorld.java file and generated the basic contents of this class file. For example, the package statement and class declaration, the class has the same name as the file.

Coding Your HelloWorld Class
-
You can move on to the next line in a class file by pressing ⇧⏎ (macOS) / Shift+Enter (Windows/Linux). This moves the caret to the next line in the correct position and won't break the previous line.
-
To create the standard Java main method, type
main. IntelliJ IDEA displays a live template that you can use to generate the full code construct and save a lot of time. You can also use ⌘J (macOS) / Ctrl+J (Windows/Linux) to see all the Live Templates in IntelliJ IDEA that are valid for the current context.
Note: Pressing ␛ (macOS) / Escape (Windows/Linux) will always close a drop-down or dialogue without making any changes.

- Press Enter to select it. IntelliJ IDEA will generate the rest of the code for you.
- Now, you need to call a method that prints some text to the standard system output.
IntelliJ IDEA offers you code completion. If you type Sy you will see a drop-down of likely classes you might want to call. You want System so you can press Control+dot on the highlighted option.

Note: It's case-sensitive, typing in sy rather than Sy will give you different results!
-
Now type
oIntelliJ IDEA will suggest you want to useoutas the next function. IntelliJ IDEA is showing you a list of accessible fields and methods on theSystemclass. Those that start with the letteroare listed first, followed by other methods and fields that contain the lettero. -
press ⌃. (macOS) / Ctrl+Period (Windows/Linux) and this time IntelliJ IDEA will suggest
println. Press ⏎ (macOS) / Enter (Windows/Linux) to select it. -
IntelliJ IDEA will also place the caret in the brackets, so you can provide the argument to the method. Type in a quote mark
"and IntelliJ IDEA will close the quote mark for you. You can now type your text,Hello Worldin between the quotes.

Note: Instead of the above steps, you can also type sout to see a live template that will create the code construct for you as well, however we wanted to show you code completion!
Congratulations, you've just created your first Java application! Java files like this one can be compiled into bytecode and run in IntelliJ IDEA. Let's take a look at that in the next step.