Running Gradle tasks

There are several convenient ways to run Gradle tasks from IntelliJ IDEA.

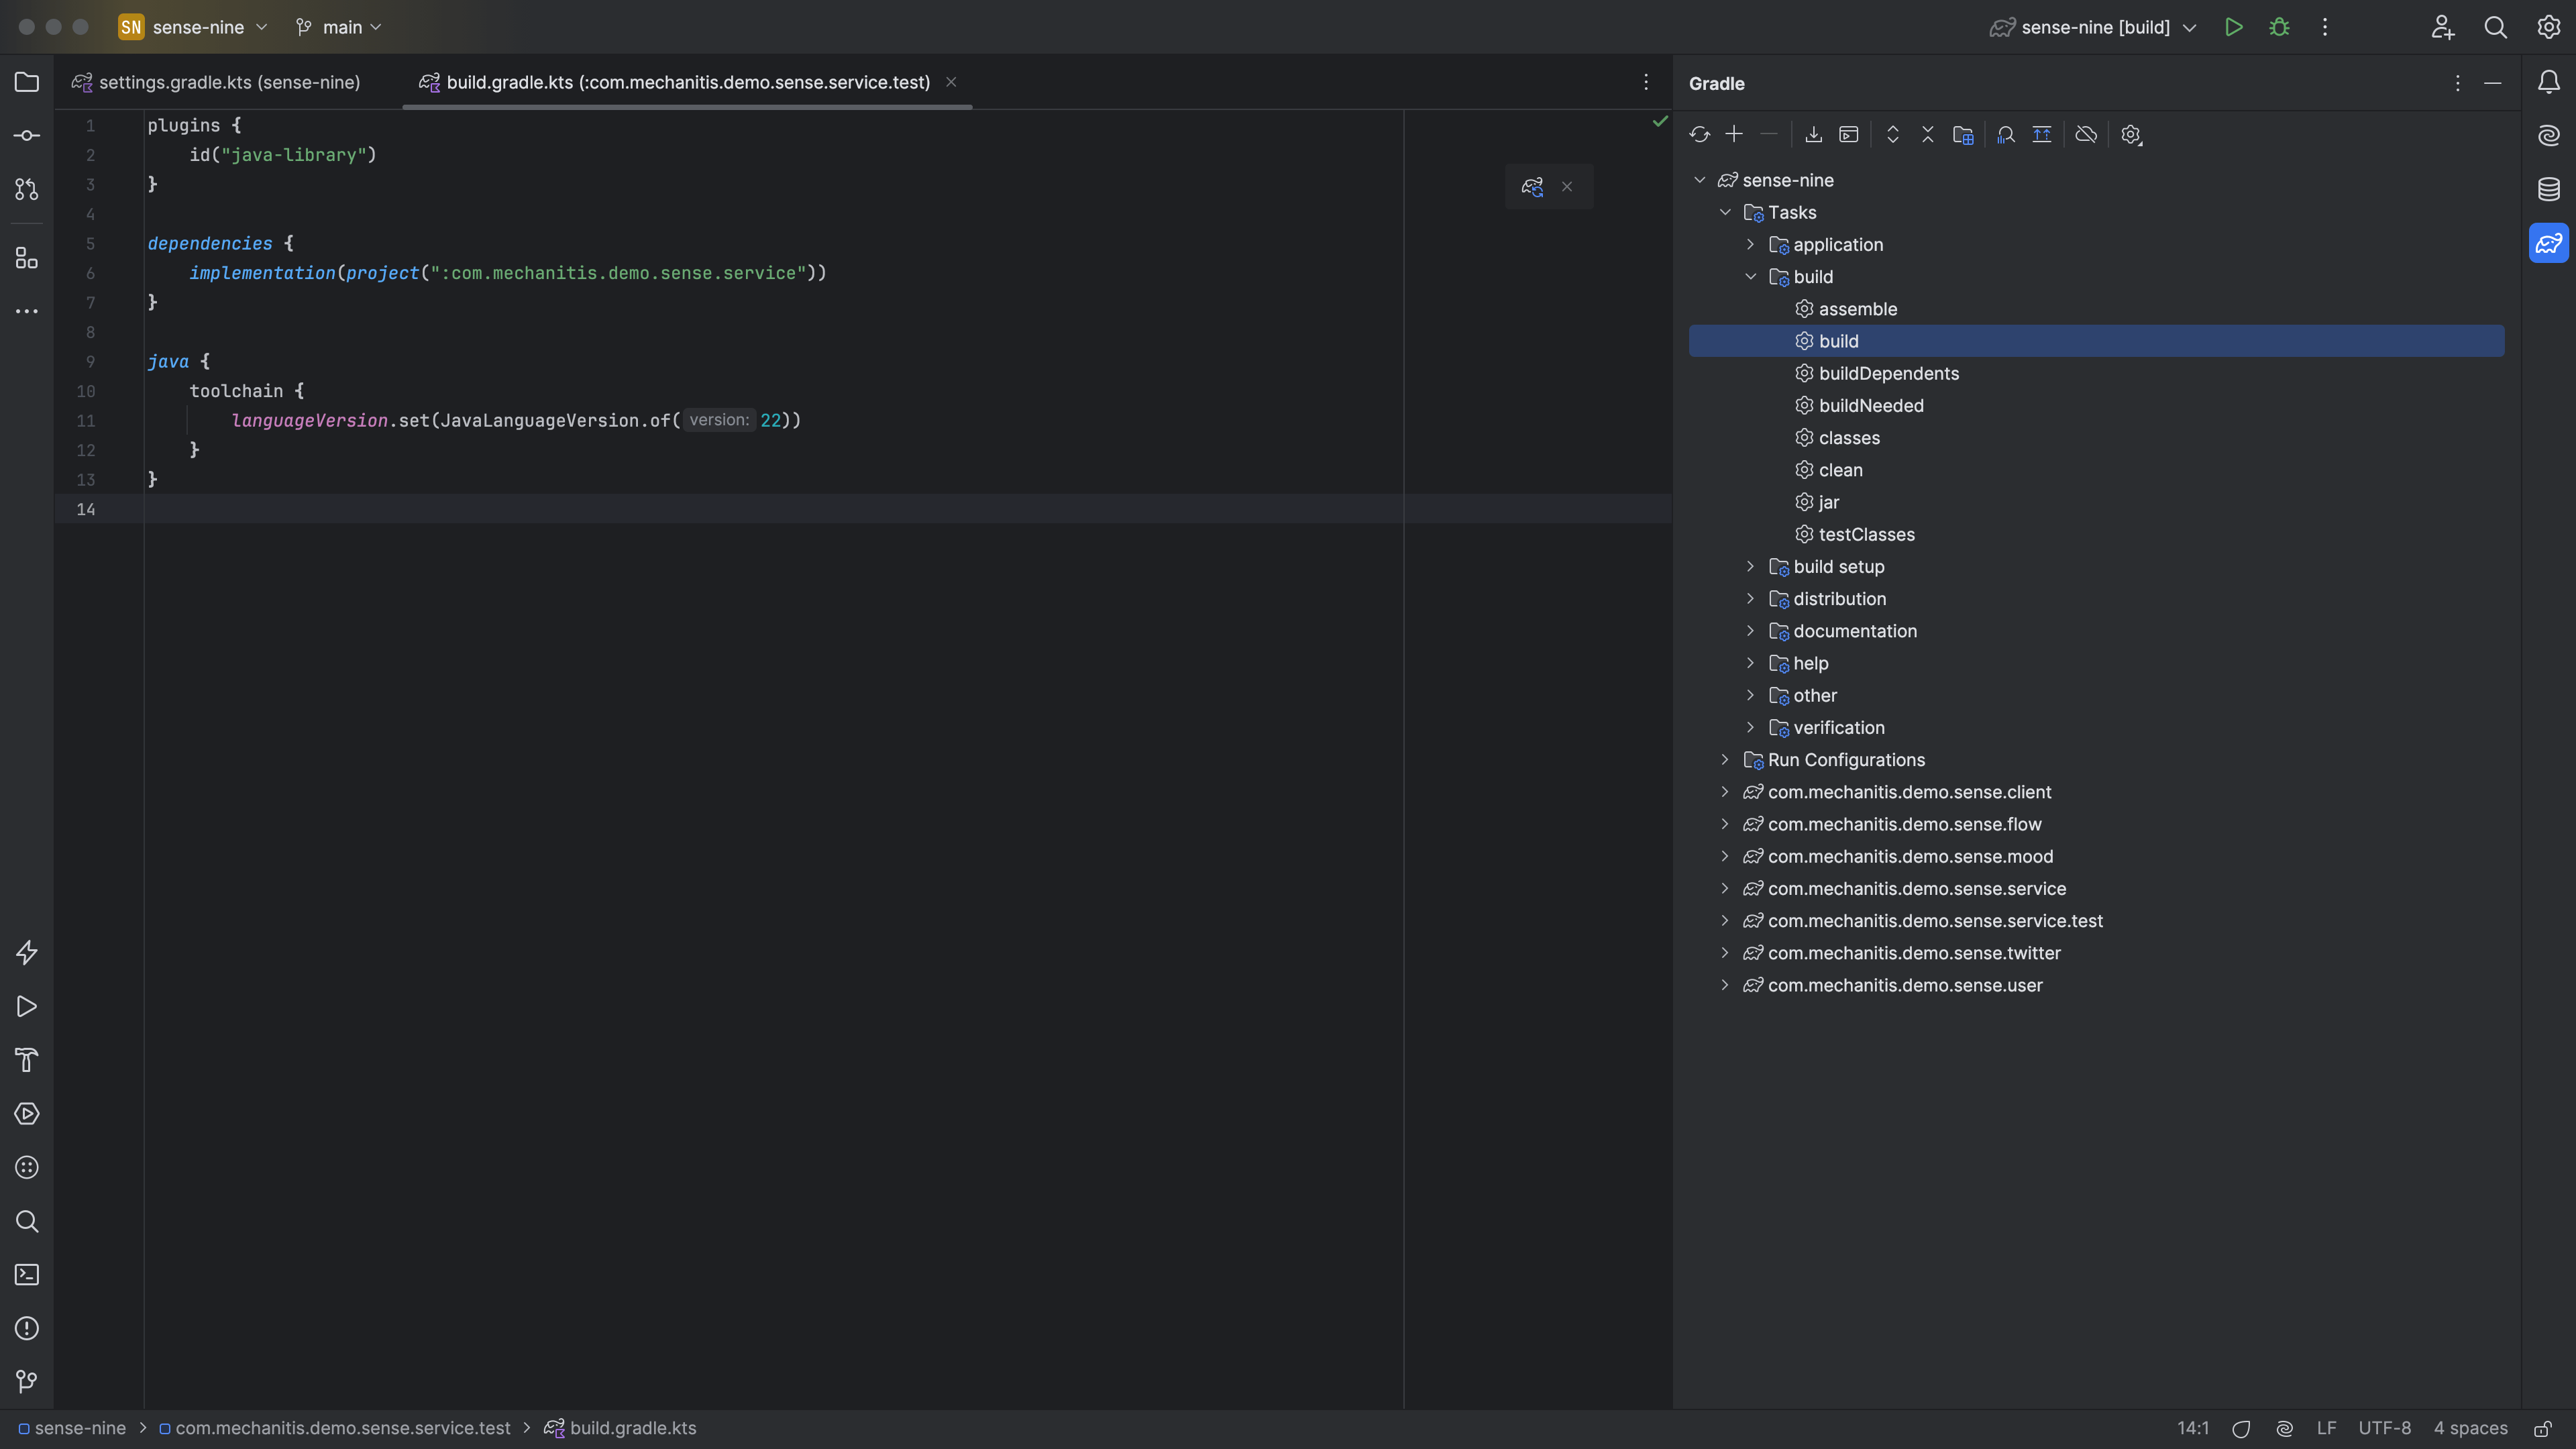
We saw earlier that we can navigate to a specific Gradle task in a specific Gradle project in the Gradle Tool Window, and we can double-click that task to get IntelliJ IDEA to run it.

Select a Gradle task to run it

We can also click on the elephant at the top of the Gradle tool window to run any Gradle task.

Gradle elephant button

IntelliJ IDEA populates this with common Gradle tasks and ones we've run recently.

Run Gradle command

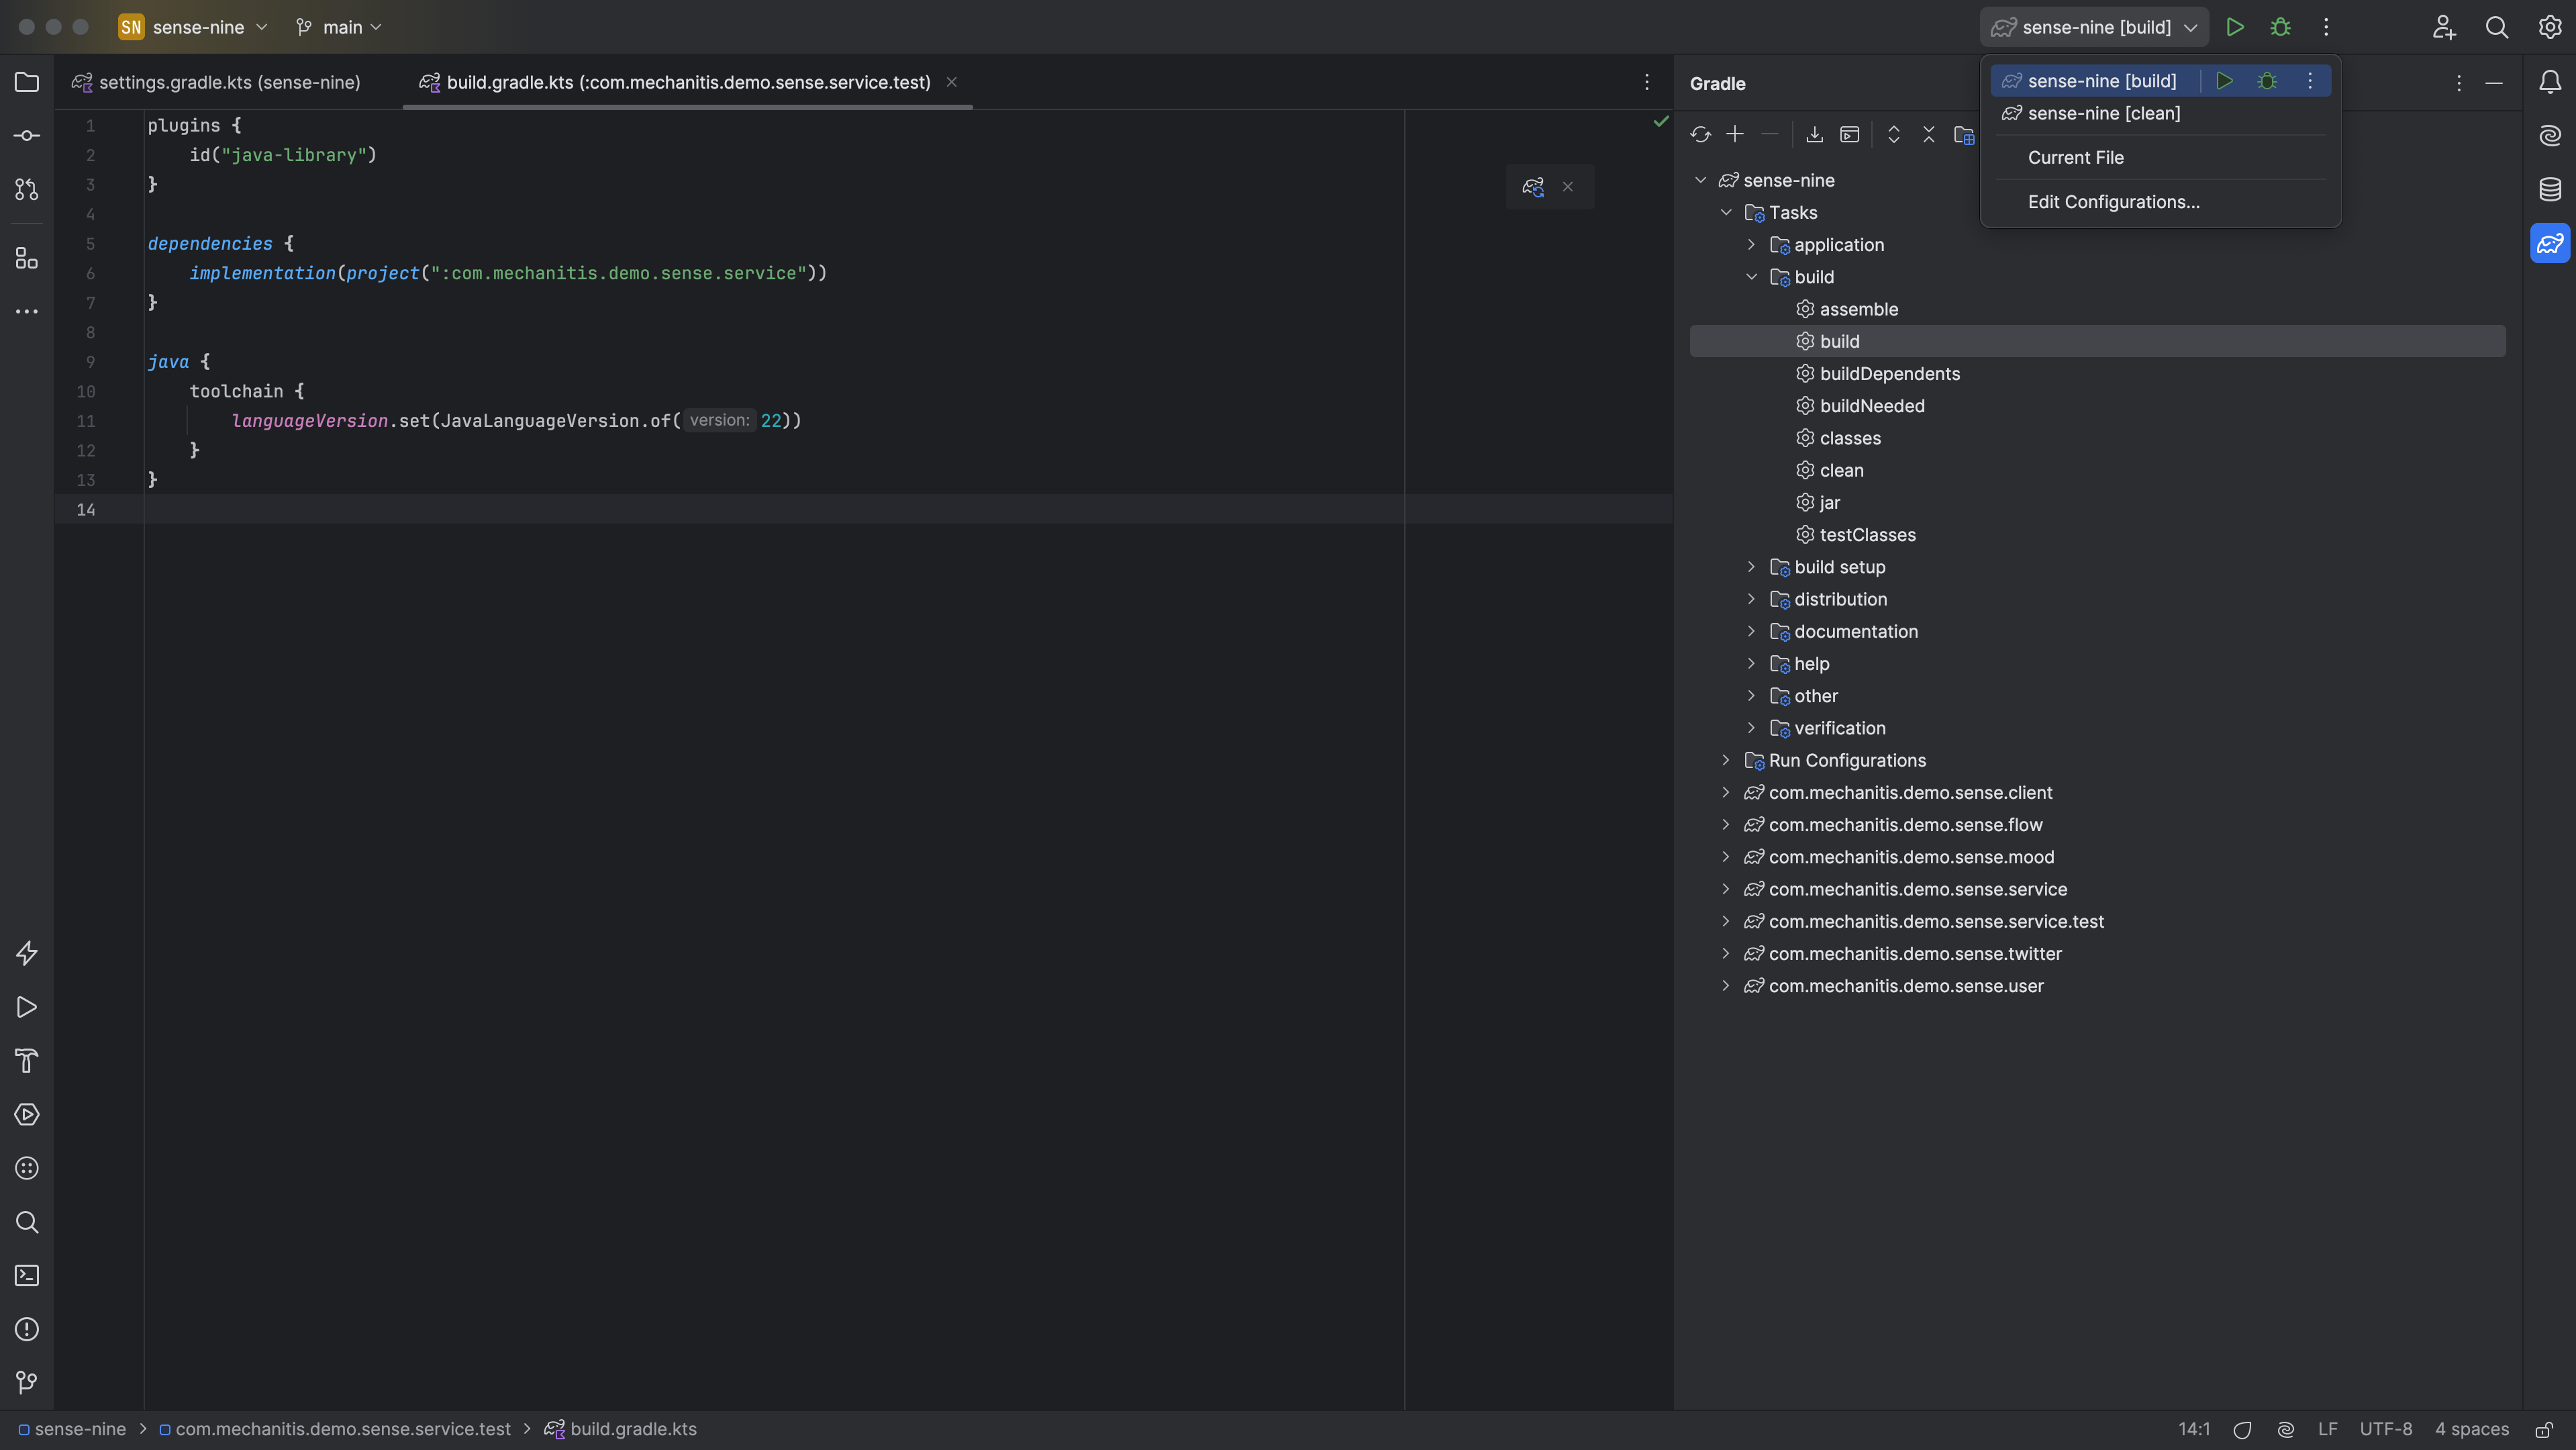
This can be a good way to run multiple gradle tasks, like you would from the command line. For example, running gradle clean build to make sure everything is working as expected before committing changes.

You may have noticed this actually uses the Run Anything dialog, which we can bring up by pressing ⌃⌃ (macOS) / Ctrl+Ctrl (Windows/Linux), then type "gradle" followed by the gradle task name or names.

We can, of course, run Gradle commands from the terminal window inside IntelliJ IDEA. Open this with ⌥F12 (macOS) / Alt+F12 (Windows/Linux).

Open the terminal window

If we type a Gradle command, IntelliJ IDEA highlights it. This means that this is a command that can be run inside the IDE, it doesn't have to be run from the command line.

Terminal command highlighted

If we press (macOS) / Enter (Windows/Linux), it will be run from the command line like we expect. If we press ⌘⏎ (macOS) / Ctrl+Enter (Windows/Linux), this command will be run in IntelliJ IDEA. In this case, the Run tool window is opened and the command is run there. We see the results the same way we would have if we'd run the command from the Gradle tool window.

Gradle task in run window

Next, let's look at some tips for working with Gradle in IntelliJ IDEA.