
Importing a Maven project
IntelliJ IDEA understands projects that use Maven and can import them with minimal configuration.
While it's possible you may want to create your own Maven project, it's much more likely you'll import an existing one. This is very straightforward in IntelliJ IDEA. Select Open from the Welcome Screen, or the File menu, and navigate to the location of the code.
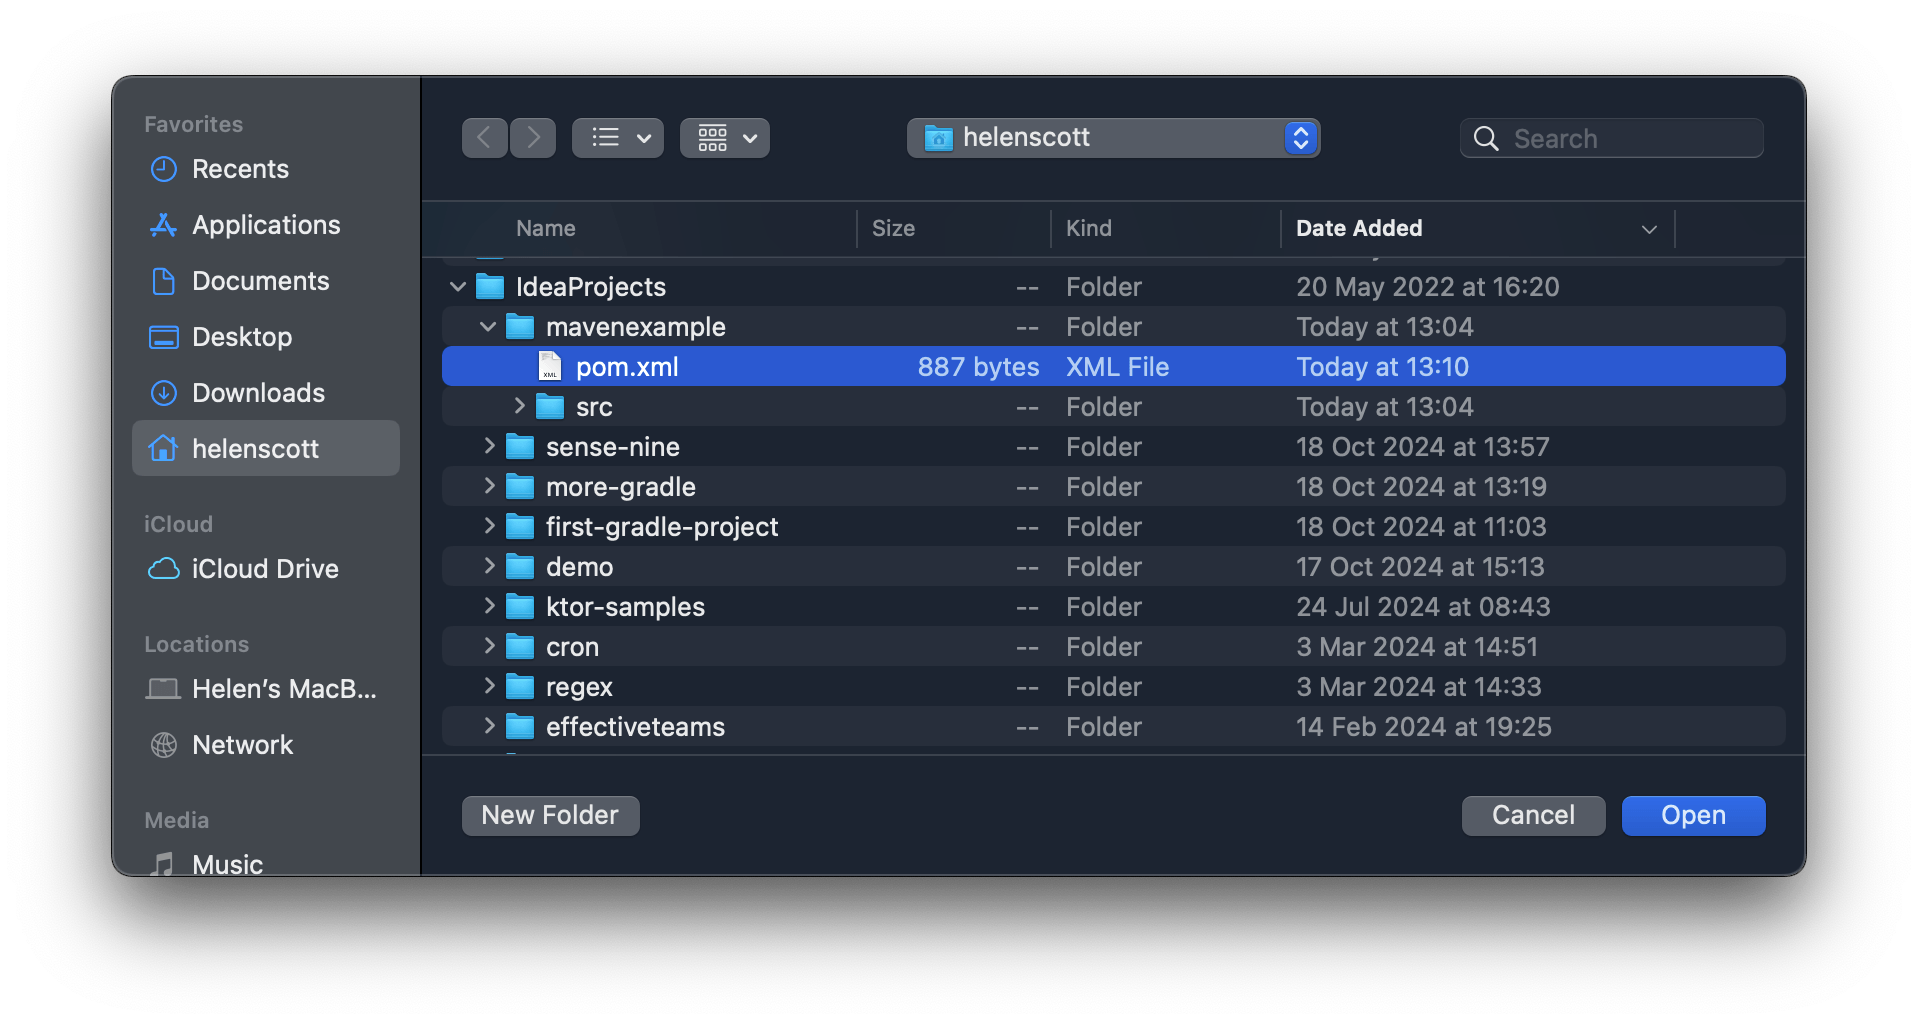
You can select the root of the project and IntelliJ IDEA will figure out how to import the project, but if you specifically know this is a Maven project, and you want to use this model for your project structure, it's simplest to select the top-level pom.xml file, and the IDE will know you mean to import a Maven project.
Depending upon the version of IntelliJ IDEA you're using, you be shown specific options for importing a Maven project - generally, we'll want to keep the default settings. In the current version of IntelliJ IDEA (2021.2 at the time of writing) you may be shown a series of dialogs:
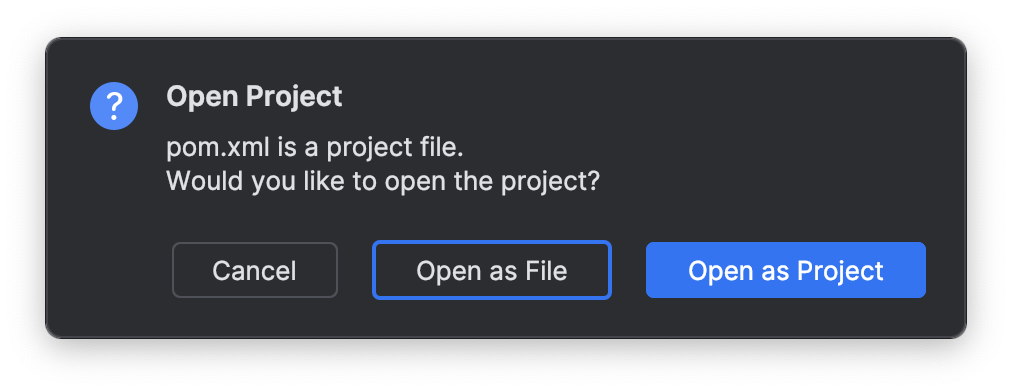
If you selected the pom.xml file to open the project (rather than the top level folder), IntelliJ IDEA will ask if you want to open just the file, or import the whole project. In this tutorial, we want to Open as Project.
If you're opening a project that's not yours (e.g. cloned from GitHub), you may not want to trust the project as it's running code you don't know on your machine. However, if you know the project, and you believe the code and the dependencies it downloads are safe, select Trust Project.
IntelliJ IDEA will use the Maven definition to figure out the structure of the application, and of course download all the required dependencies and add them to the project.