Install AI Assistant in a JetBrains IDE
The AI Assistant plugin is not bundled and is not enabled in JetBrains IDEs by default[1].
AI Assistant will not be active and will not have access to your code unless you install the plugin, acquire a JetBrains AI Service license and give your explicit consent to JetBrains AI Terms of Service and JetBrains AI Acceptable Use Policy while installing the plugin.
System requirements
By default, AI Assistant relies on cloud-hosted LLMs, so there is no load on your local hardware. The same applies to energy consumption – cloud models do not increase your machine's power usage. Therefore, you can refer to the system requirements of the specific IDE in which you use AI Assistant:
However, if you plan to use local models, you will need to assess the hardware requirements and energy consumption yourself, as these third-party models are not provided by JetBrains. AI Assistant simply enables integration with the local models of your choice.
Prerequisites
Before installing the AI Assistant plugin, make sure the following conditions are met:
IDE Version
AI Assistant requires IDE version 2023.3 or later.
For Community Edition IDEs, version 2024.1.1 or later is required (version 2025.1 or later for PyCharm Unified).
To use an organizational JetBrains AI subscription with a Community Edition IDE, update to version 2024.2.1 or later. Earlier Community Edition versions (2024.1.1 – 2024.2) support only individual subscriptions.
Organizational access
If you are using a commercial IDE license provided by your employer, make sure that JetBrains AI is enabled in your organization.
JetBrains AI subscription
Verify that your JetBrains AI subscription is listed in your JetBrains Account among your available licenses.
Install AI Assistant
You can install AI Assistant with a single click from JetBrains AI widget,
AI Chat tool window, or JetBrains Marketplace:
In the JetBrains AI widget located in the window header, click Let's Go.

The plugin installation and license activation will be performed automatically.
In the AI Chat tool window, click Install Plugin.

The plugin installation and license activation will be performed automatically.
Open and type AI Assistant in the search field.

Click Install.
After installation, AI Assistant checks your license status:
If you already have an active JetBrains AI license, it will be automatically verified and activated.
If your previous JetBrains AI license has expired, you will receive the AI Free license tier with a possibility to upgrade to a different tier at any time.
If you are an owner of All Products Pack or dotUltimate, you will receive the AI Pro license tier.
If you are a new user and do not have a JetBrains AI license yet, you are eligible for a 30-day trial of AI Pro license tier. The free trial will be linked to your JetBrains Account and activated automatically.
Once the license is successfully activated, you can start using AI Assistant.
Manage plugin
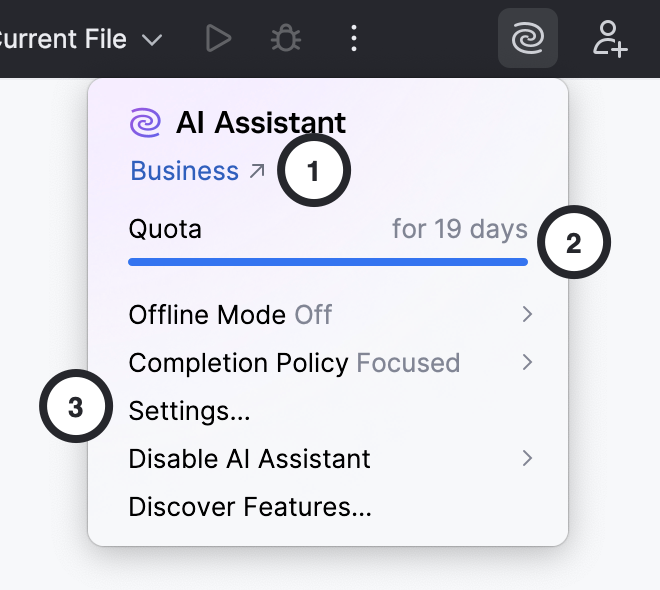
Once the plugin is installed, you can control its key settings in the JetBrains AI widget.

Using this widget, you can:
Check your current subscription plan, which may be one of the following:
Trial – a 30-day trial license tier (can also be Pro Trial or Business Trial).
Free – the AI Free license tier.
Pro – the AI Pro license tier.
Business – the AI Pro license tier for organizations.
Ultimate – the AI Ultimate license tier (both for personal use and organizations).
Enterprise – the AI Enterprise license tier.
Track your quota and Top-up AI Credits usage:
The monthly credits left counter shows how many AI Credits you have left out of your subscription quota. The progress bar reflects overall usage and decreases as you use cloud-based features. The date under the progress bar indicates when the monthly quota resets.
The top-up credits counter shows how many Top-up AI Credits you currently have, with an option to add more, if needed.
Configure AI Assistant settings:
Open AI Assistant's settings.
Disable AI Assistant either for the project or permanently.
Check available AI Assistant's features.
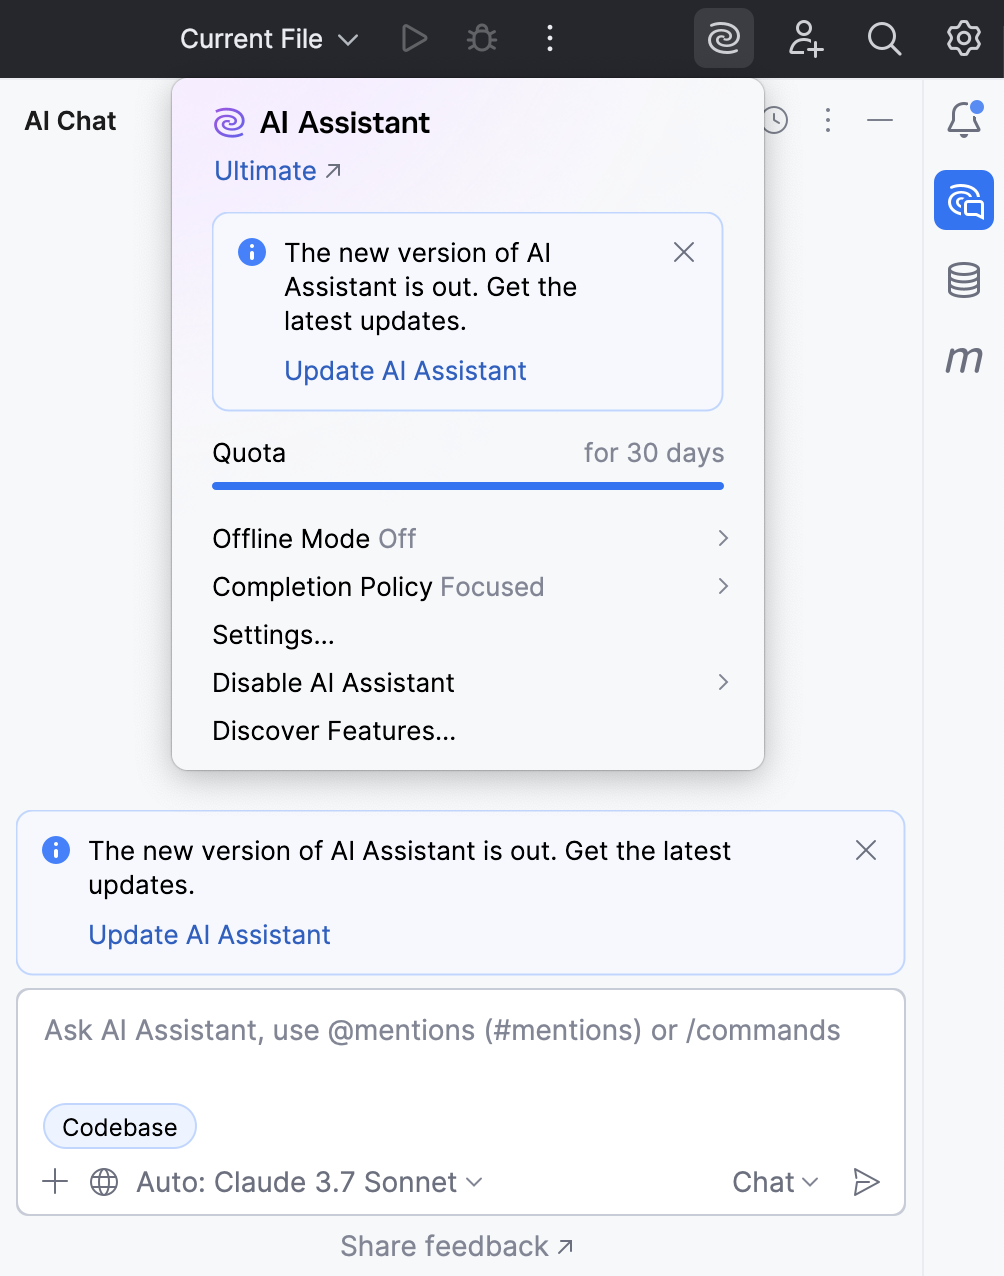
Additionally, if your quota is nearly used up, your subscription is about to expire, or there is an issue that requires your attention, you will receive a corresponding notification in this widget.
Here are a couple of examples of what such notifications may look like:


Update AI Assistant plugin
When a new version of the AI Assistant plugin becomes available, you will receive a notification in the AI Chat or
JetBrains AI widget.

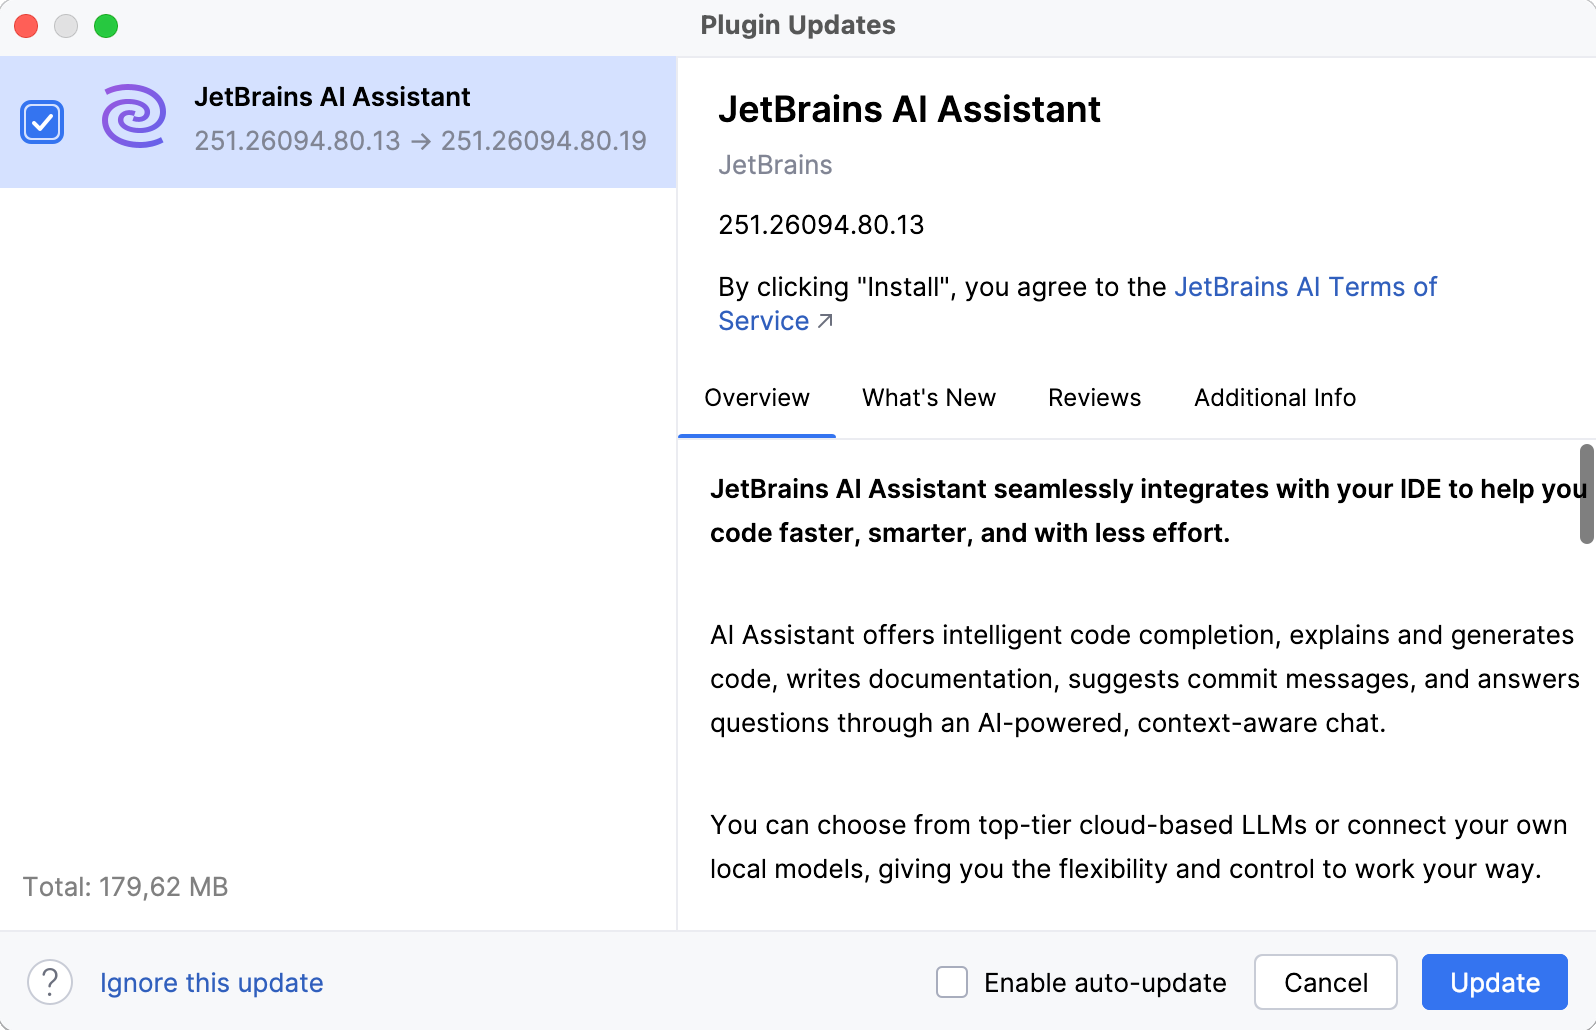
To install a new version:
Click Update AI Assistant in the notification.
In the Plugin Updates dialog, click Update.
