Manage automations
On the Automations page, you can browse automations, inspect their runs, and manage them from the options menu.
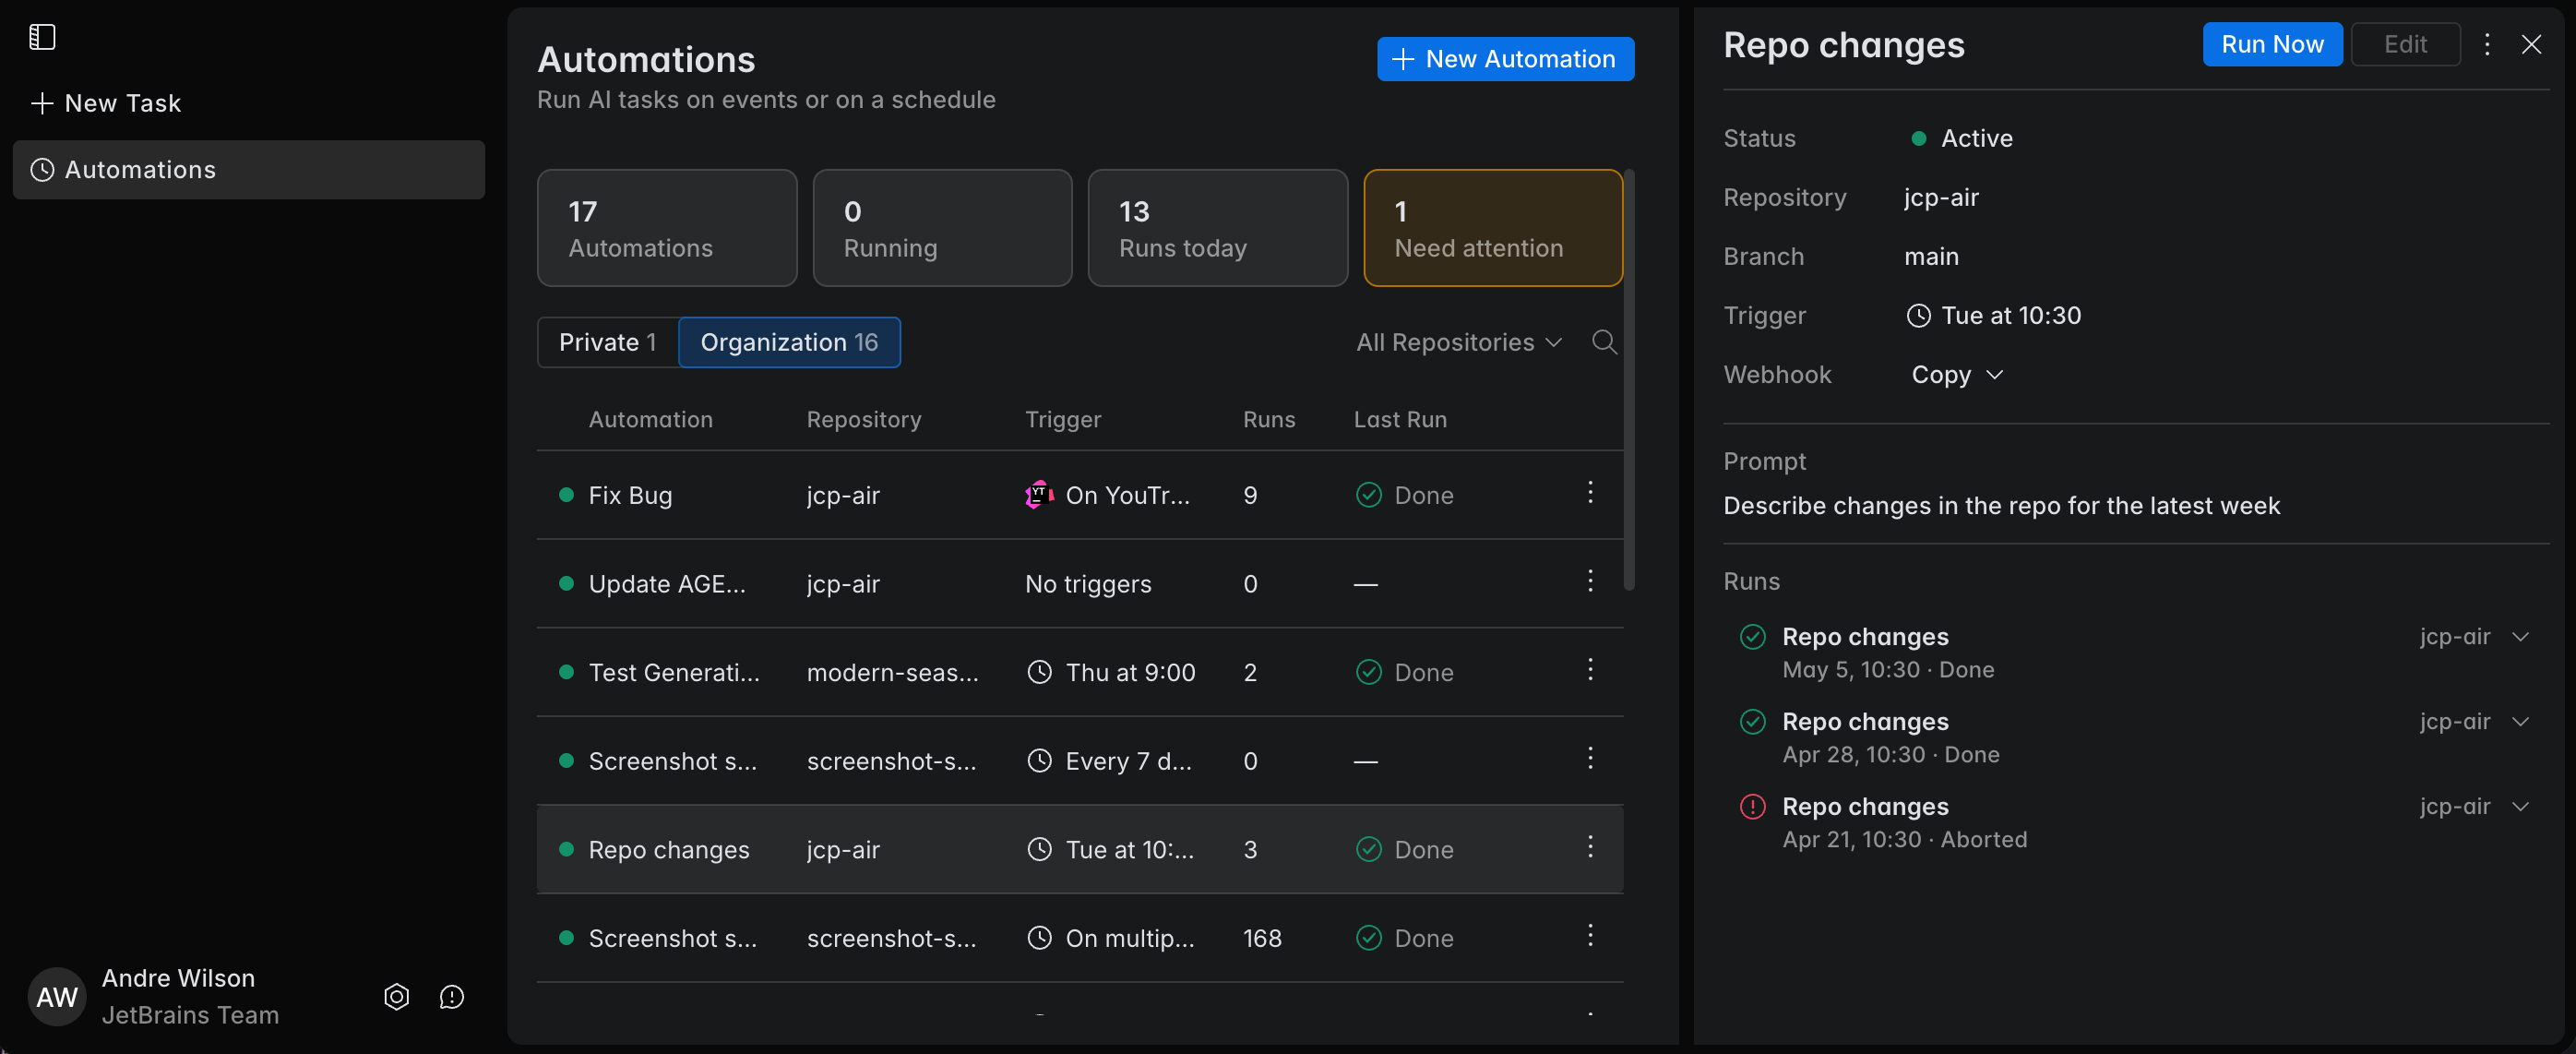
Browse automations and their runs
Log in to https://air.jetbrains.cloud with your JetBrains Account.
Open the Automations page.
In the main list, choose which automations to show:
Project for automations shared within a project
Personal for your personal automations
To make the list easier to browse, group and sort it:
Group by Project, Group by Repository, or Group by Status – splits the list into collapsible groups. Select No Grouping for a flat list.
Sort by Name or Sort by Last Run – sets the order inside each group.
Select an automation in the list. This will open the page with automation details and the list of its runs.
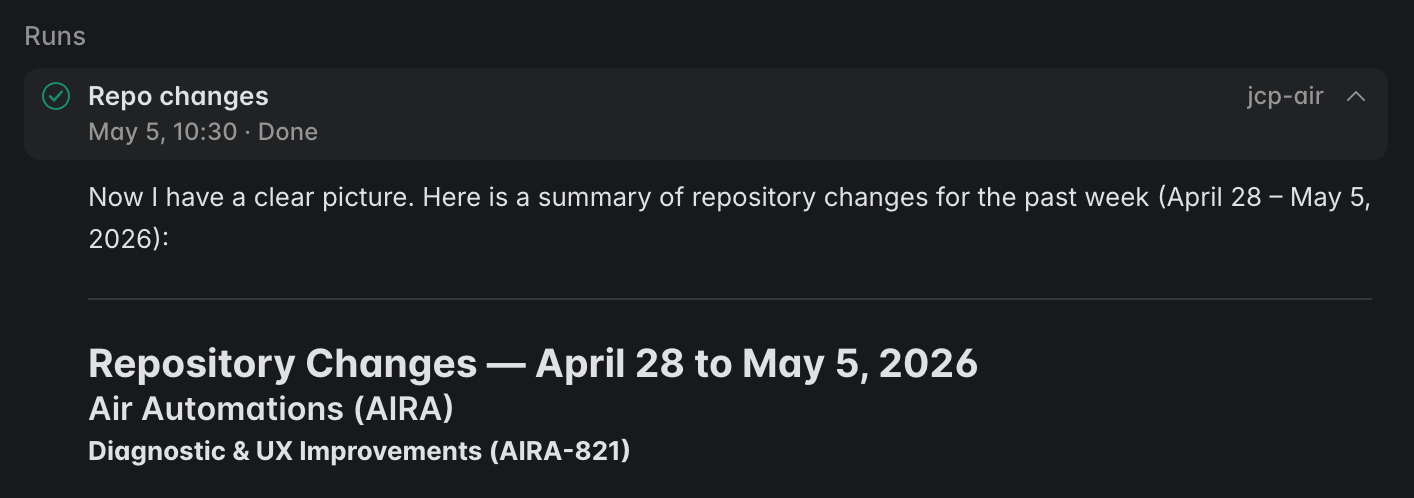
To inspect a specific run, click it in the Runs section.
The run opens with its summary and links. Depending on how the trigger handled the run's changes, you can read the run's full chat, open a pull request, continue the run in a new task, or repeat it with the same input – see Work with automation run results.
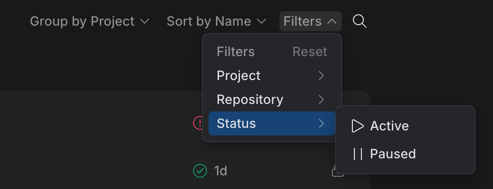
Filter and search the automation list
Use filters and search to quickly find the automations you need.
On the Automations page, choose which automations to show:
Project for automations shared within a project
Personal for your personal automations
Click Filters and narrow the list down by Project, Repository, or Status – Active or Paused. Click Reset to clear every filter at once.
To search by automation name, click the search icon and type your query.
Edit an automation
You can always edit your personal automations. To edit a project automation, you need to be an admin in that project and have access to its repository in the VCS provider.
Open the Automations page and select the automation.
Start editing in one of the following ways:
click Edit in the automation header
open the automation menu and click Edit
Change the automation settings.
Click Save.
Run an automation manually
Use this to test an automation, start it without waiting for a trigger, or run an automation that has no triggers.
Open the Automations page and select the automation.
Start the run in one of the following ways:
select the automation and click Run Now on its details page
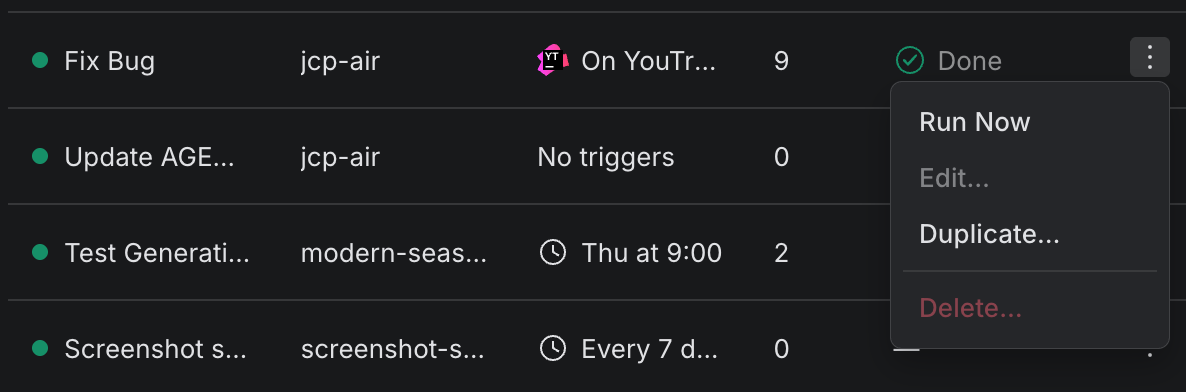
open the automation menu and click Run Now
In the Test Automation Manually dialog, set up the run:
Select the branch to check out.
Select what the run does with the changes it produces – see What to do with the changes.
Optionally, enter Context for the run. The context stands in for the data a trigger would normally provide, such as an issue link, a pull request, or event details. Leave it empty to run the automation with no payload.
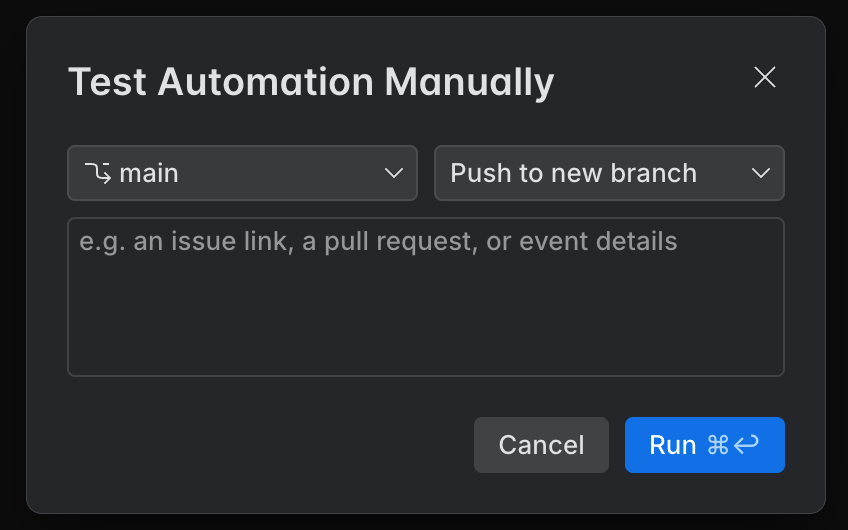
Click Run.
Stop a run in progress
Stop a run that is still in progress if you no longer need its result or started it by mistake.
Open the Automations page and select the automation.
In the Runs section, find the run that is still in progress and click the stop icon
 next to it.
Pause and resume an automation
If you want an automation to stop reacting to its triggers for a while, pause it instead of deleting it. When you want it to run again, resume it.
Open the Automations page and select the automation.
Open the automation menu and click Pause. The automation stays in the list in the Paused state but no longer starts when its triggers fire.
To resume, open the automation menu and click Resume. The automation reacts to its triggers again.
Move an automation to a project
Move an automation to a project so project admins can manage it and project members can use it. The project decides whether its runs spend the project's AI credits or the creator's – see AI credits for project automations. You can change the project at any time.
Open the Automations page and select the automation.
Click Edit in the automation header.
Open the scope selector under the automation name and choose a project. Choose Personal to make the automation personal again.
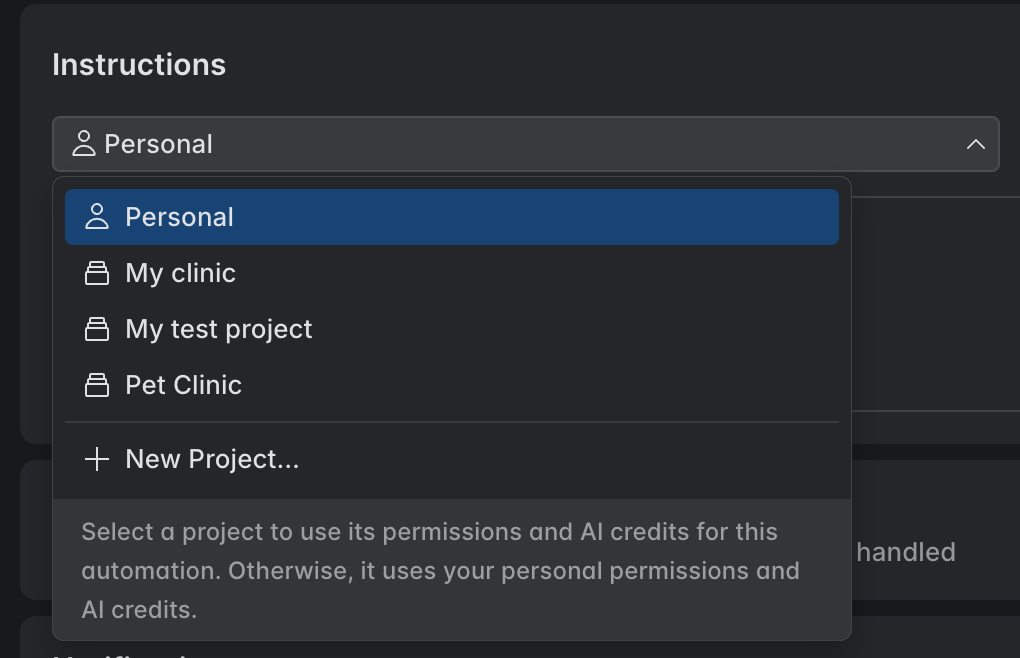
Click Save.
If the project runs its automations on its own AI credits, the run stops acting as you and starts acting as the project – so it reaches the repository through the project's access rather than yours. See How automation runs reach the repository. On a GitLab repository, the automation is paused until the project has a GitLab token – see When Air Teams pauses an automation.
Duplicate an automation
Use this to create a new automation based on the existing one.
Open the Automations page and select the automation.
Open the automation menu and click Duplicate.
Update the copied automation settings if needed.
Click Save.
Delete an automation
Use this to remove an automation you no longer need.
Open the Automations page and select the automation.
Open the automation menu and click Delete.
Confirm deletion.
When Air Teams pauses an automation
Air Teams pauses a project automation itself when it can no longer reach the repository. This happens on projects that run their automations on the project's own AI credits, when the GitLab token in project settings is missing, invalid, or has no access to that repository. The automation shows as Paused with a warning icon that says which case it is.
You can't run, pause, or resume an automation paused this way. A project admin fixes the token in project settings – see Set up GitLab access for project automations – and the automation starts reacting to its triggers again.