MCP servers
MCP servers extend agents with additional tools. They are commonly used in agentic workflows to fetch data and perform actions in external systems. For example, you can paste a YouTrack issue link into a task and let the agent fetch the issue details through a YouTrack MCP server.
In the Air app, you add MCP servers in Settings, and the app stores them in a mcp.json file. Where that file lives is what the three scopes below decide.
In the cloud there is no settings screen, so a task's MCP configuration comes from a .mcp.json file in the repository or from a connector you set up in Air Teams – see MCP.
Add an MCP server in the Air app
Open Settings and go to .
Make sure Enable MCP support is turned on.
Click Add Global MCP Server to add a server available in all your projects. Use the drop-down menu to choose Add Local MCP Server or Add Workspace MCP Server.
Global – available in all projects on your machine. Use it for personal integrations you use everywhere.
Local – available only in the current project and stored along with other Air app settings in
.air/mcp.jsonin the project root. Use it for project-specific configuration.Workspace – uses the standard
.mcp.jsonfile in the project root. Use it when your repository already contains MCP configuration, and you want the Air app to reuse it.If you want the Air app to use
.mcp.jsonfrom the repository, make sure Launch workspace MCP servers is enabled.
Paste the JSON configuration and save it. For example:
{ "mcpServers": { "youtrack": { "url": "https://youtrack.example.com/mcp", "headers": { "Authorization": "Bearer token-goes-here" } } } }Rather than writing a token into the file, you can reference an environment variable as
${VARIABLE}and let the Air app substitute its value when it connects.The Air app then tries to connect to the server. What happens next depends on the authentication the server requires:
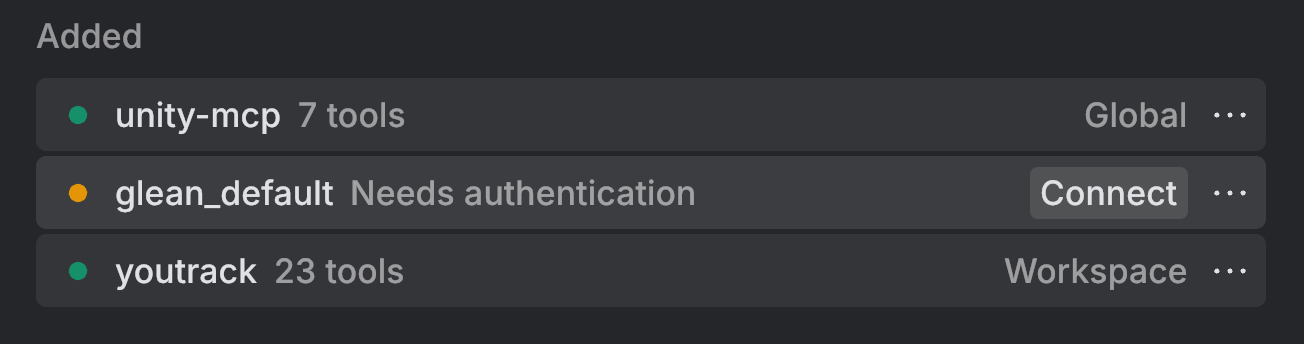
No authentication or bearer token – the connection is established immediately. When the connection succeeds, the server appears in the Added list with a green status indicator and the number of discovered tools.
OAuth – the server appears in the Added list with a Connect button. Click it to open the provider's authorization page and approve the connection.