Working with Multiple Databases in a JetBrains IDE
Working with multiple databases and database types in your JetBrains IDE.
Rather than needing to work out the CLI commands for connecting to and viewing the contents of each specific database, you can use the IDE’s Database tool window to easily access and explore a huge range of different databases. In this video, we’ll also see how the IDE can help you with querying and managing the results from each database, including the built-in code completion for specific SQL dialects.
The Problem
You’ve just found out that your next project needs data from both a MySQL and a PostgreSQL database.
You’re now stuck setting up the connection through the command line to two different database types including solving the idiosyncratic problems that come from working with each of them, and for databases like MySQL, this can be a real pain.
Once you’ve connected, you need to then run a bunch of commands to even find out what’s in the databases, and these commands are different for each database.
And once you get to querying the databases, you’ll need to copy and paste the data from the terminal into a CSV parser to start exploring the results.
The Solution
With the IDE’s Database tool window, we can do just that. The IDE supports connections to a huge range of databases, from embedded databases like SQLite and H2, to massive cloud databases like Redshift and Snowflake, and even new and esoteric databases like DuckDB.
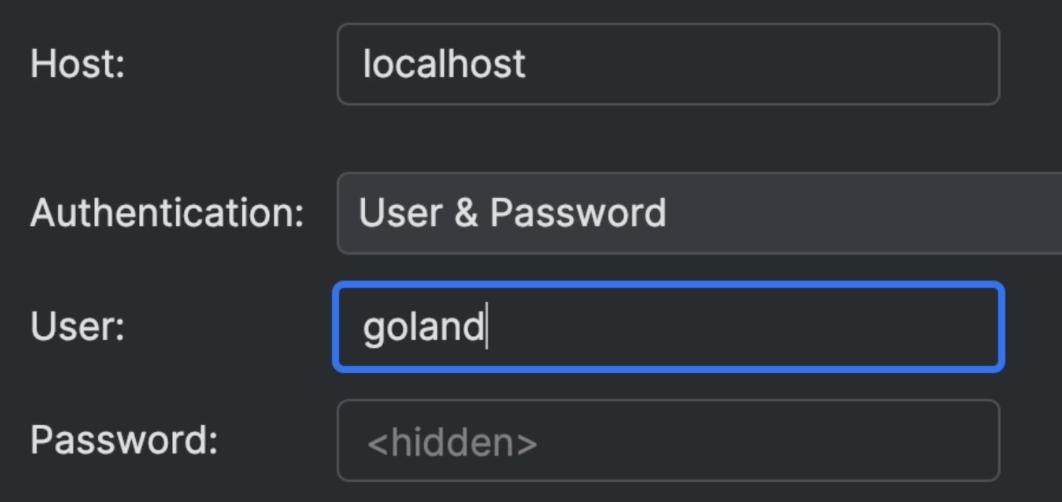
Let’s see how easy it is to connect to a PostgreSQL database using the IDE. All we need to do is select the PostgreSQL data source, enter our connection name, username, password, and database name. The IDE even takes care of downloading the drivers for us at a click! Now, we just need to click OK and we’re in!
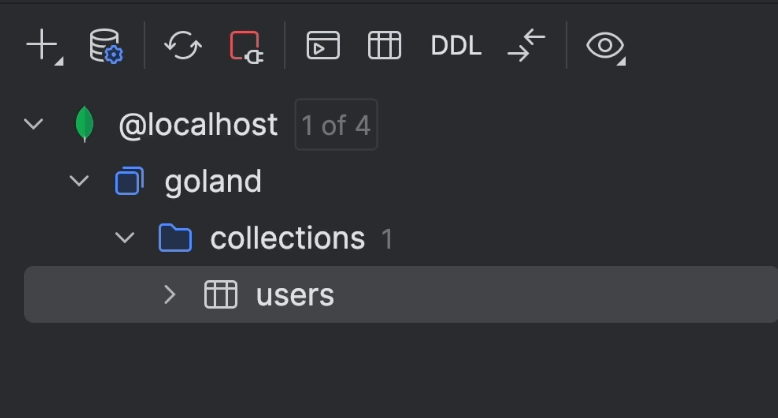
We can see that not only have we connected to our database, we can also see the whole contents at a glance!
Connecting to the MySQL database is similarly easy. We just need to pick the MySQL data source. Enter the specific database credentials for our MySQL database. And again, let the IDE take care of downloading the drivers for us.
And there we have it, both of our databases connected, with their contents ready for us to browse right there in the UI. And if we needed to add any other database types to our project, we can connect in a similar way, with the IDE only needing our credentials and taking care of the drivers for each one.
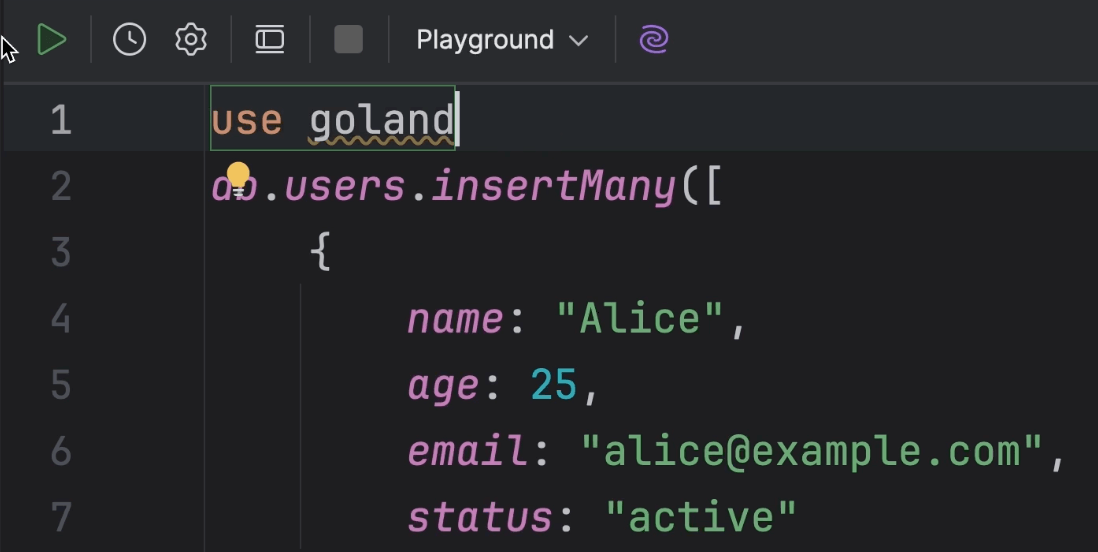
I’m glad you asked … of course it is! We can open dedicated console windows against each of the databases where we can write our queries. You can see that the IDE really helps us out here with code completion and inspections for each database’s specific SQL dialect.
Once we’re done querying, we can check out our results in lovely interactive tables - no copying, pasting or parsing needed!
The IDE even separates these tables by database to make sure we can keep track of where the results have come from!