Getting started
This is a quick tour of JetBrains Fleet that shows how to perform basic tasks to help you get started. All you need is to have JetBrains Fleet installed on your computer.
You will learn how to launch JetBrains Fleet and personalize your environment. Then, you will use JetBrains Fleet as a text editor and explore its editing, search, and navigation features. You will also learn how to version your project files using Git.
Prerequisites
Download and install JetBrains Toolbox
Download and install JetBrains Toolbox.
For macOS, you can also download the installer that matches your processor type: Apple Silicon or Intel. Ensure you select the correct option based on your system's processor.
Download and install JetBrains Fleet
In JetBrains Toolbox, click Install next to the JetBrains Fleet icon.
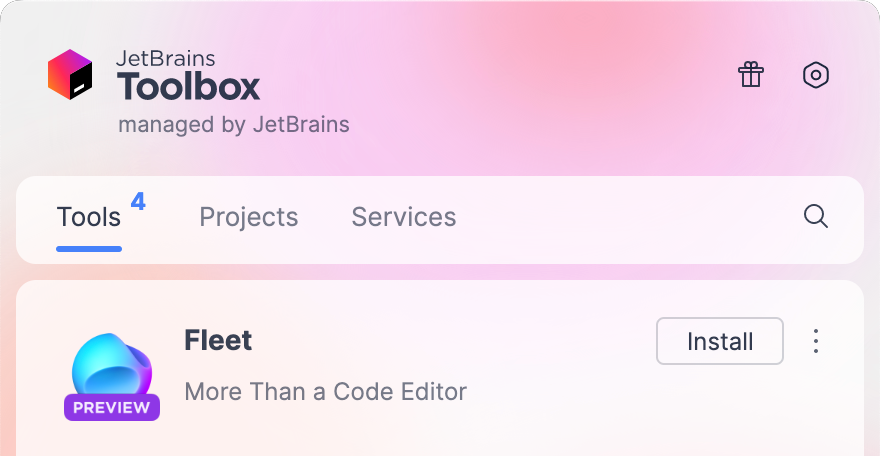
After installing JetBrains Fleet, you can launch it from JetBrains Toolbox. You can also launch it from the command line.
Select color themes
You can customize the appearance of JetBrains Fleet to match your preferences.
Press ⌘ ⇧ K, then type
Theme selection.
For more customization options, refer to Settings.
Tools and panels
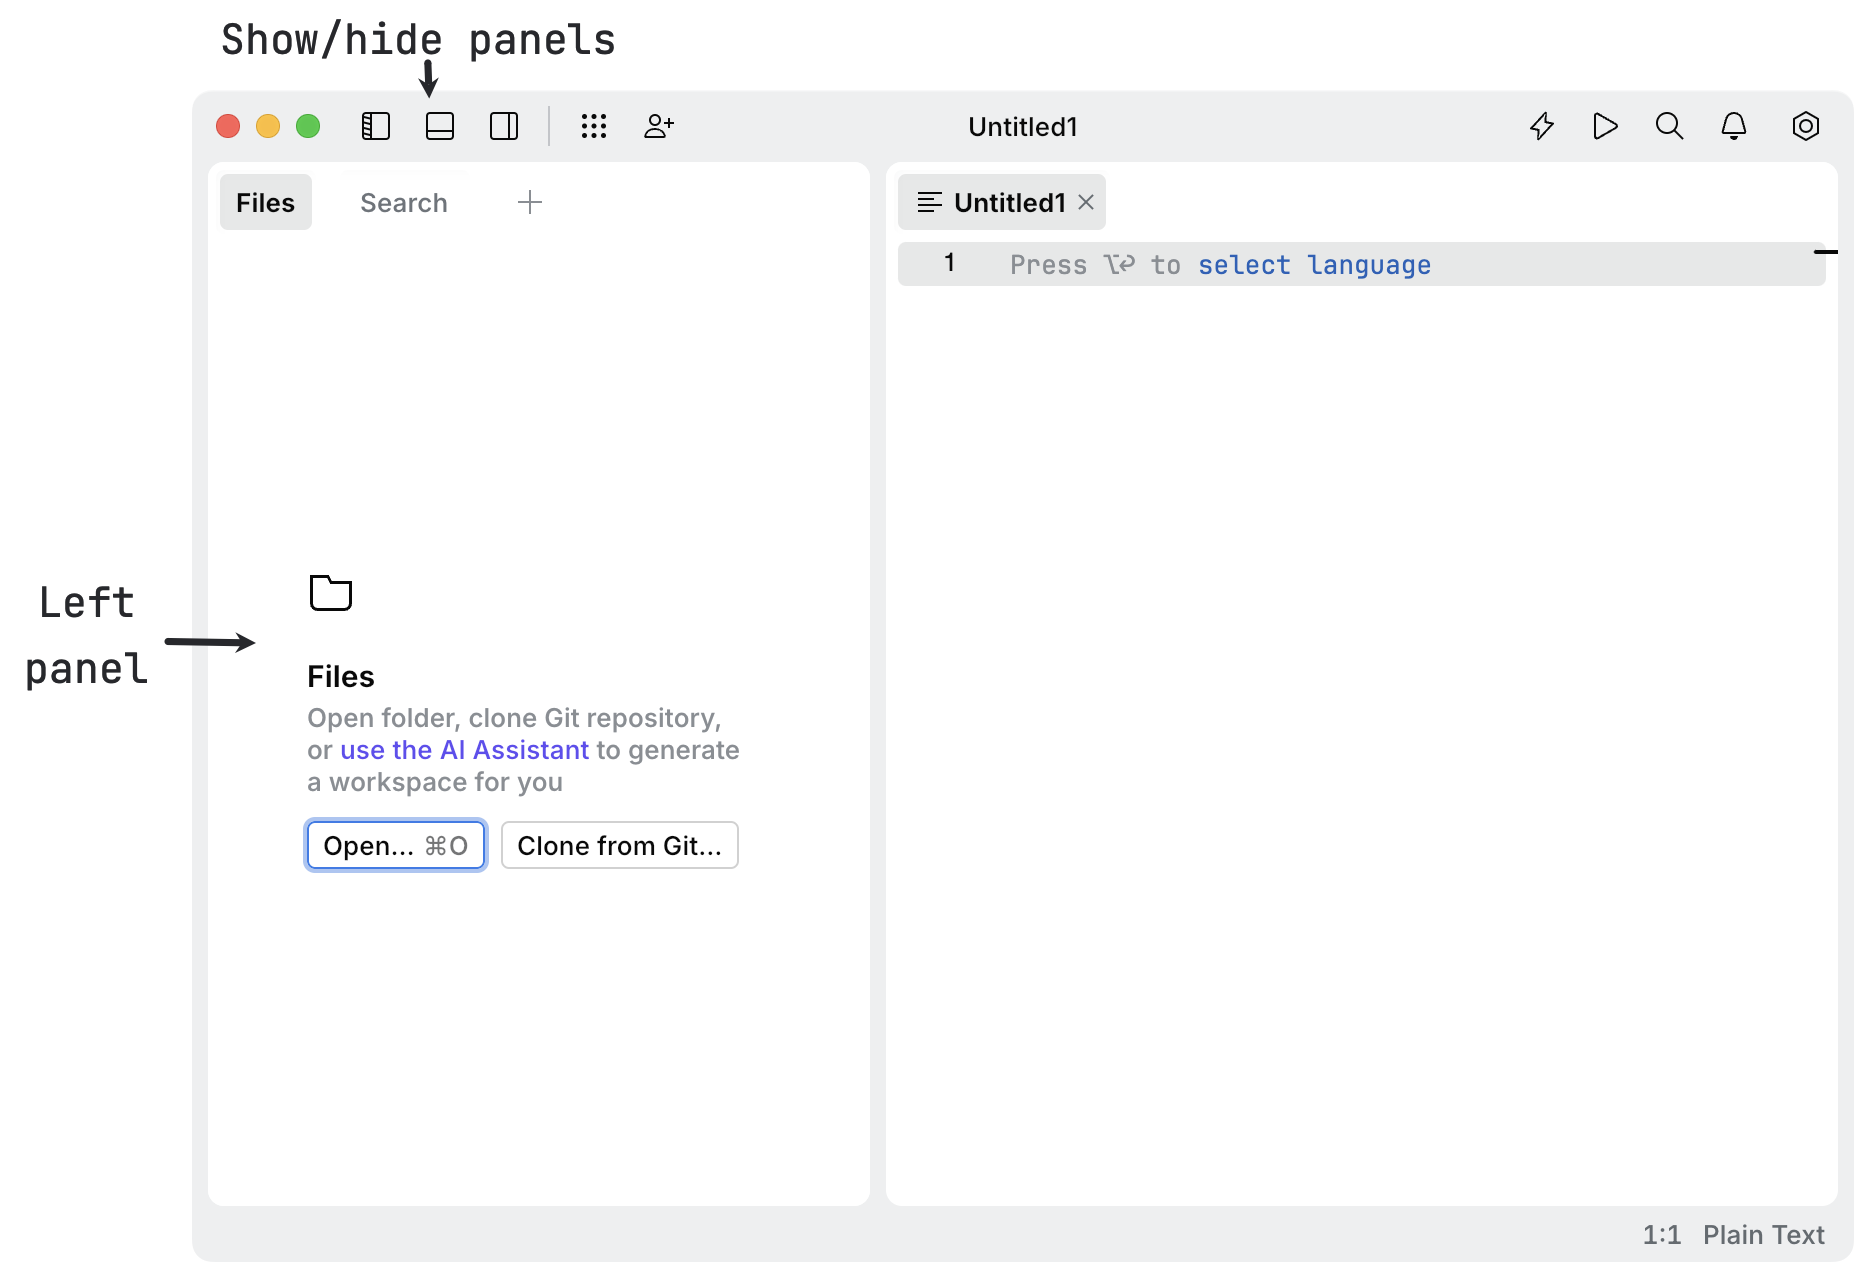
All JetBrains Fleet tools are organized into panels. Whenever you need to use a tool—such as the terminal or debugger—you can open it in one of the panels.
Open a tool
Press ⌘ T or select from the main menu.
Type the name of the tool or select one from the suggestion list.
Hide and show a tool panel
Use the buttons in the top-left corner of the window, or press ⌘ 1, ⌘ 2, or ⌘ 3 to toggle the left, bottom, or right panel, respectively.
Work with files and folders
In JetBrains Fleet, you do not need to create projects for all your code. Instead, you can work with any folder or individual file, just like in a typical text editor.
Open a folder
From the workspaces menu, select Open and navigate to the directory you want to open.

Alternatively, click in the main menu and navigate to the desired directory.

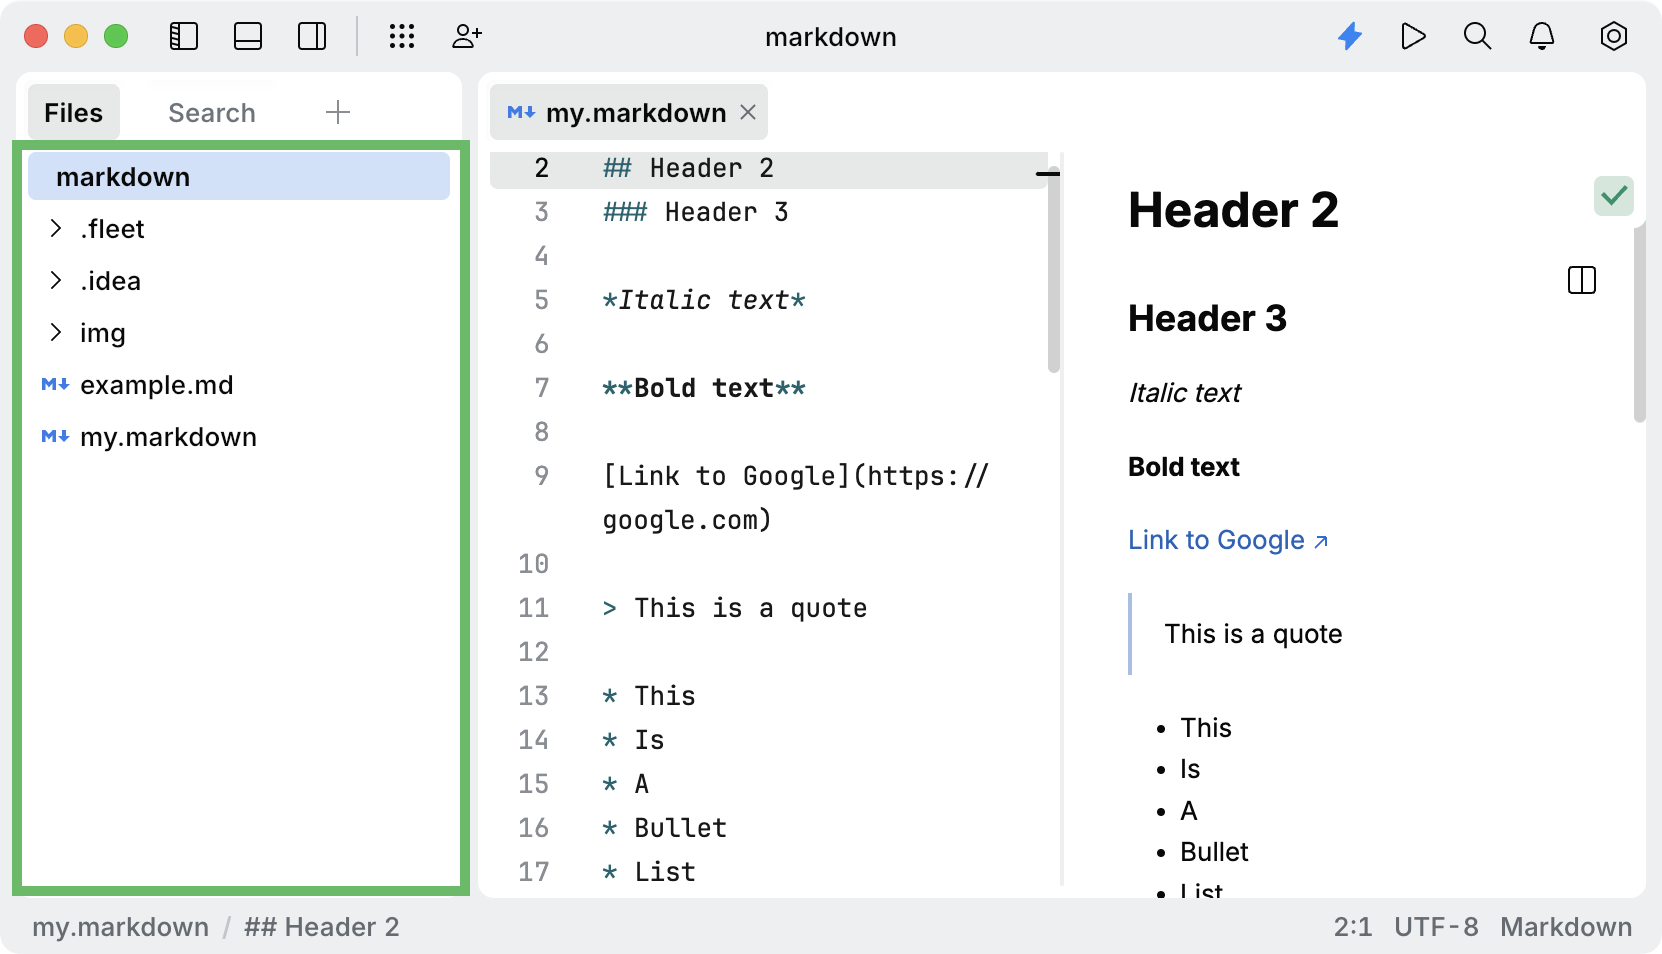
When you open a directory, it becomes the root of a workspace. You can view its contents in the Files view.
Create a file
Select a directory in the Files view and press ⌘ N. Alternatively, right-click the directory and select New file.
Type a name for the file along with its extension.

Edit text
At its core, JetBrains Fleet is a lightweight text editor, ideal for viewing and editing individual text files. Let's take a look at some of the editor features available in JetBrains Fleet:
Split view
It is often helpful to work in multiple tabs side-by-side. To do this, drag a tab to the side of the editor for a vertical split, or to the top or bottom for a horizontal split.
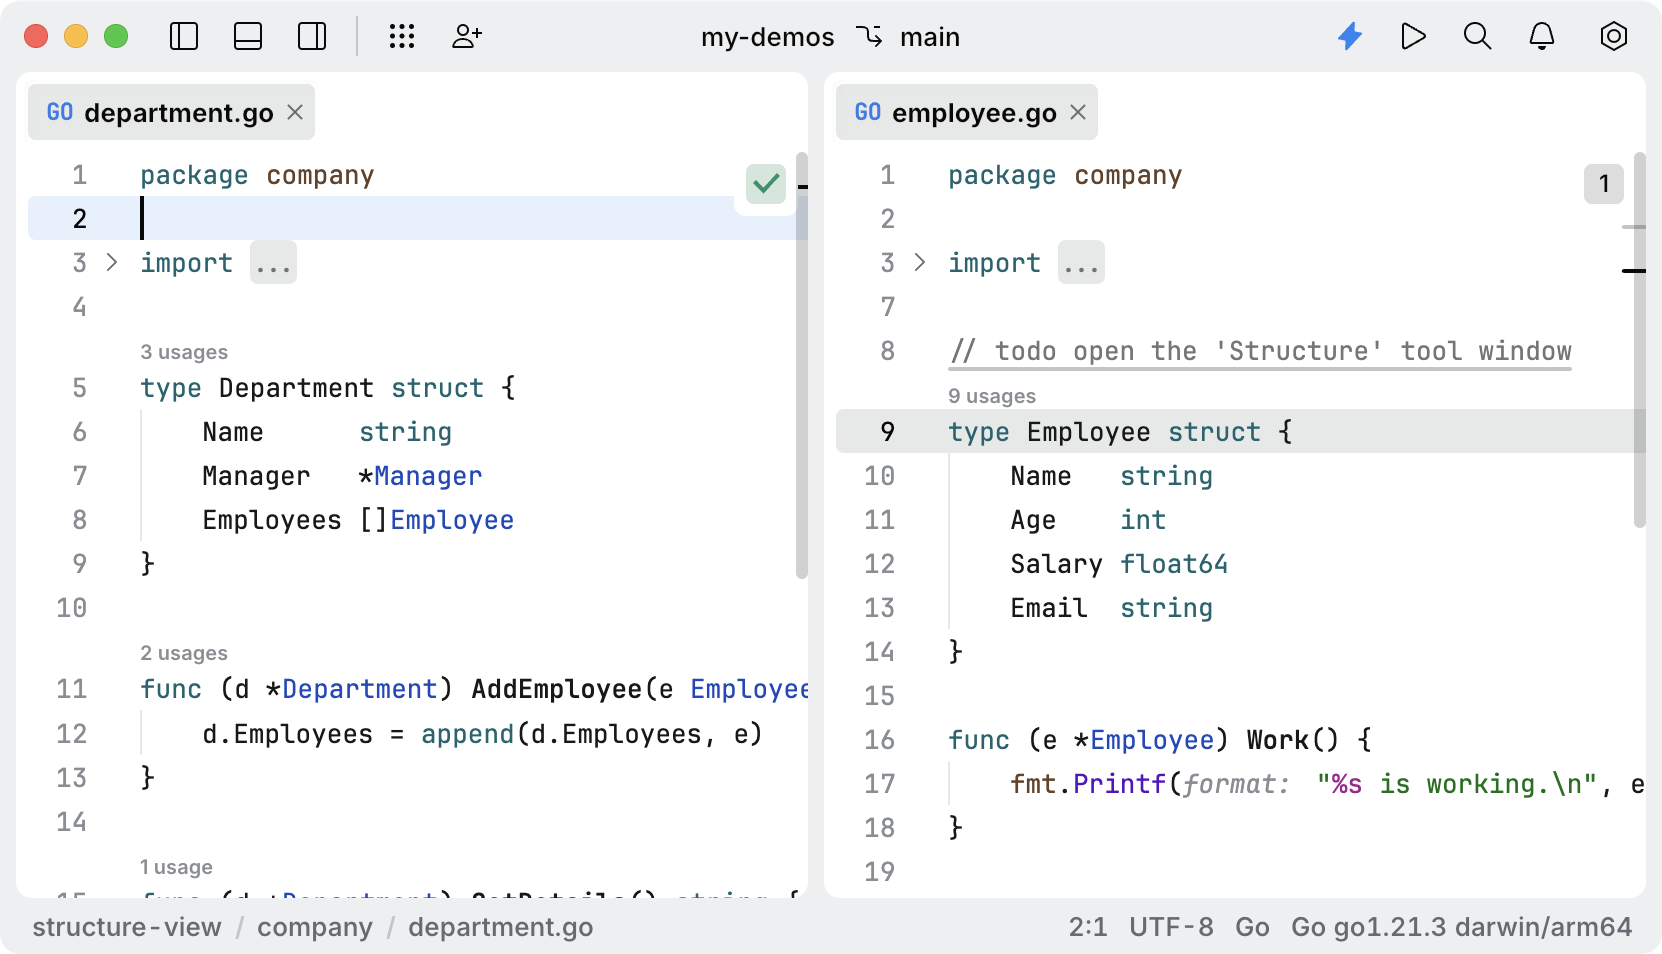
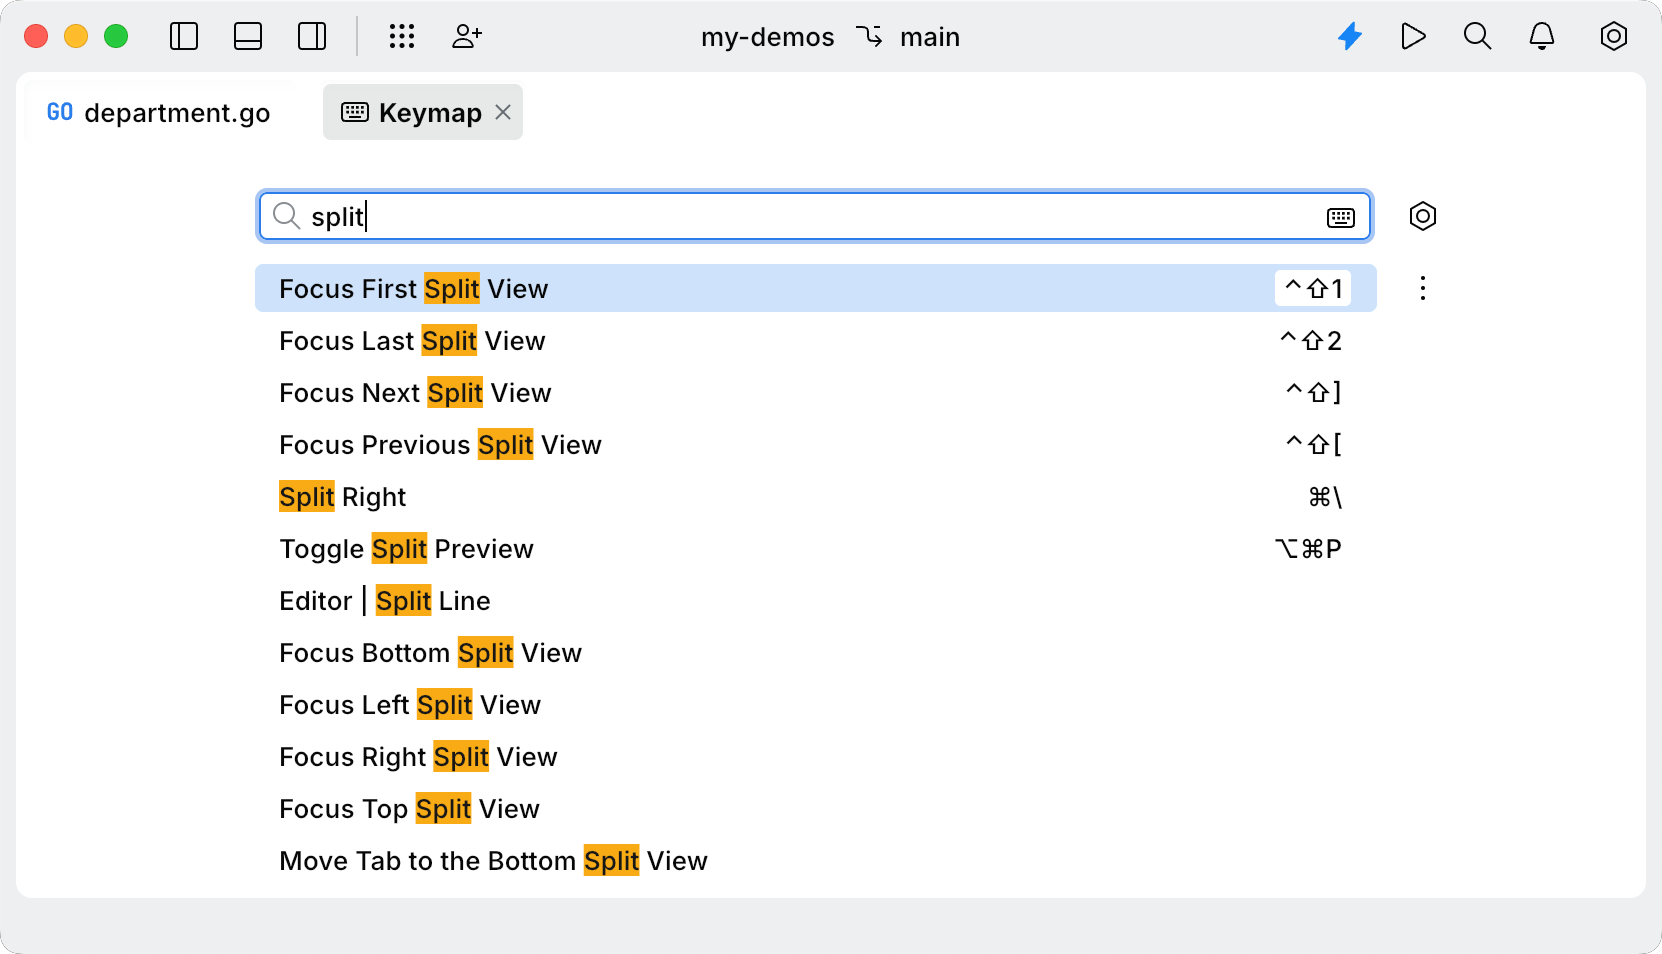
Press ⌘ ⇧ K and start typing
split. Select the split action you want to perform.You can also use the following preconfigured shortcuts:
Split Right: ⌘ \
Focus First Split: ⌃ ⇧ 1
Focus Last Split: ⌃ ⇧ 2
Focus Next Split: ⌃ ⇧ ]
Focus Previous Split: ⌃ ⇧ [
To configure additional shortcuts for split actions, refer to Review and edit key bindings.
Multiple carets
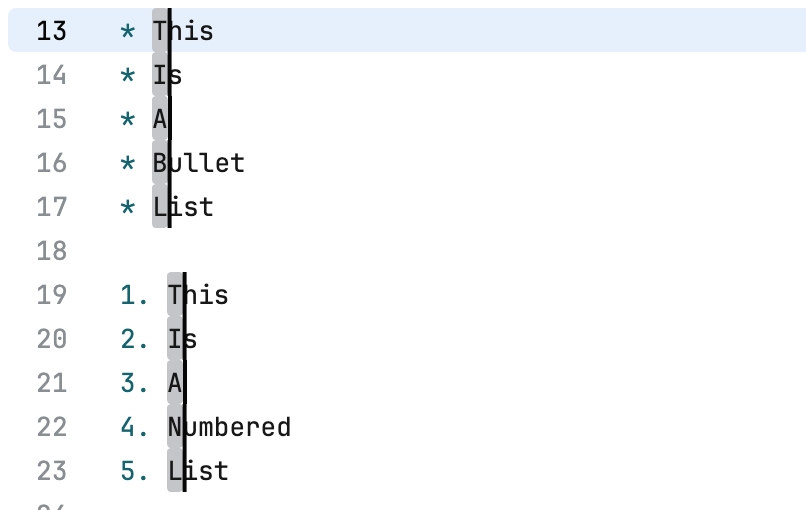
You can make changes in several places at once using multiple carets. To add additional carets, do one of the following:
Press ⌘ ⌥ ↑ or ⌘ ⌥ ↓ to add carets above or below the current one.
Hold Alt+Shift and click the places where you want to add carets.
Position the caret on a repeated word or text fragment, then press ⌘ ⇧ L to add carets to all occurrences in the file.
With multiple carets, you can type, copy, paste, complete code, and more—just like with a single caret.
Expand and shrink selection
You can expand or shrink the selection at the caret based on the surrounding text or code structure.
Use ⌥ ⇧ ↑ to expand the selection to the outer scope, or ⌥ ⇧ ↓ to shrink it to the inner scope.
Search
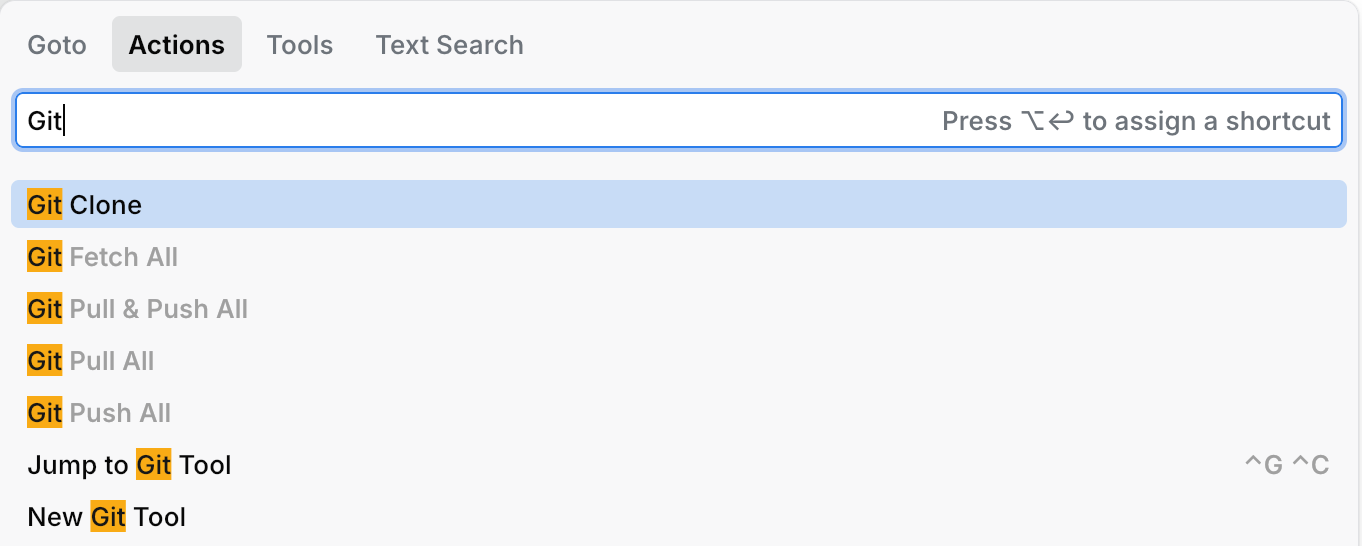
Whether you want to perform a full-text search, navigate to a file or class, or simply cannot remember how to do something in JetBrains Fleet, the Go to dialog is the right tool.
Press ⌘ K and select the relevant tab.
Version control
You can commit changes and manage your Git repository directly from JetBrains Fleet.
Commit changes locally
Open the Git tool or press ⌃ G,⌃ C.
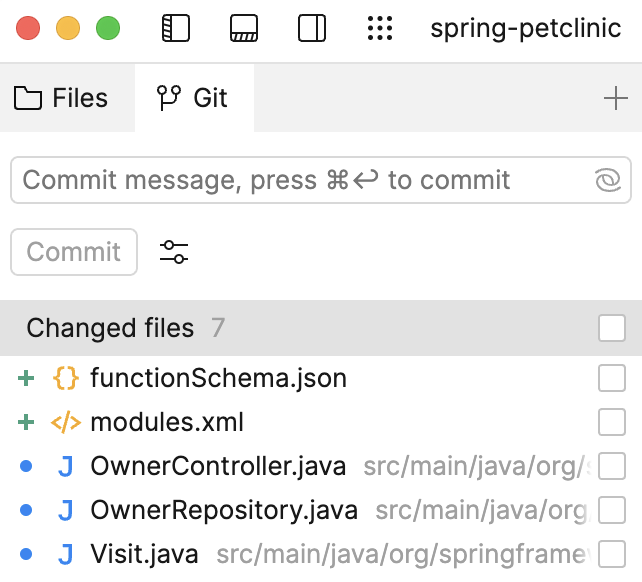
If you want to group the list of changed files by directory, click the Settings icon and select .
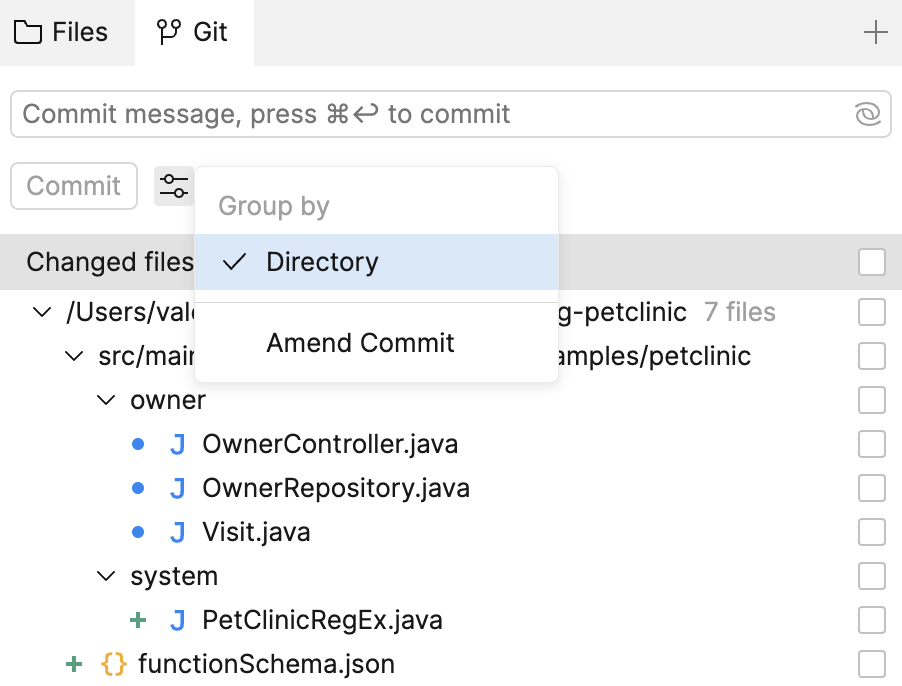
In the Changed files list, select the files you want to commit.
Enter the commit message and click Commit.
Push your changes
From the main menu, choose Git | Push or press ⌃ G,⌃ P.
In the Git Push dialog that opens, click Push.
To push the changes to the remote branch, you now need to log in to your GitHub, GitLab, or Bitbucket account.
For GitLab and Bitbucket, enter your credentials and click Log in.
For GitHub, enter your personal access token and click Log in. If you do not have a token, follow the Generate link to generate a new personal access token in your GitHub settings.
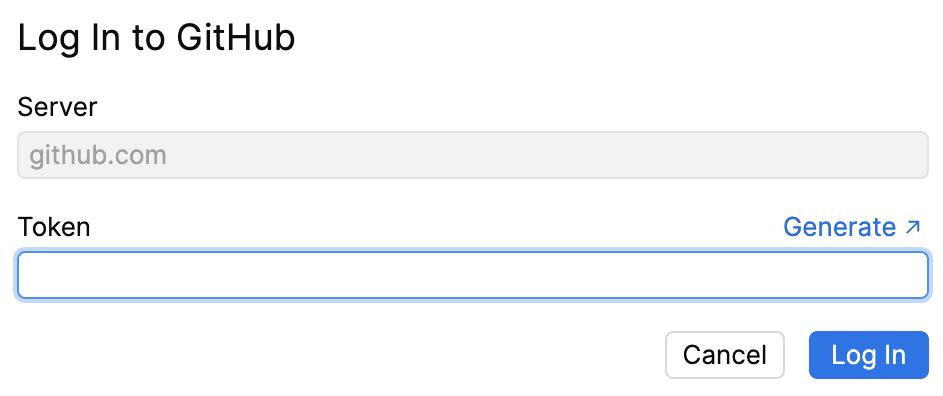
After the successful login JetBrains Fleet pushes the local changes to the remote branch.
You can view commit details and file diffs in the History tab:

Work with code
With Smart Mode enabled, JetBrains Fleet becomes a polyglot code editor. To get started, refer to the following tutorials for working with supported languages: