
Gradle Settings
Where to change IntelliJ IDEA's settings fo Gradle.
Let's look at some more useful Gradle settings in IntelliJ IDEA.

We can get to the settings from the Gradle Tool Window, or from the usual Settings/Preferences dialog ⌘, (macOS) / Ctrl+Alt+S (Windows/Linux) and navigating to Build, Execution, Deployment | Build Tools | Gradle. Generally these settings are fine for most projects, and don't need changing.
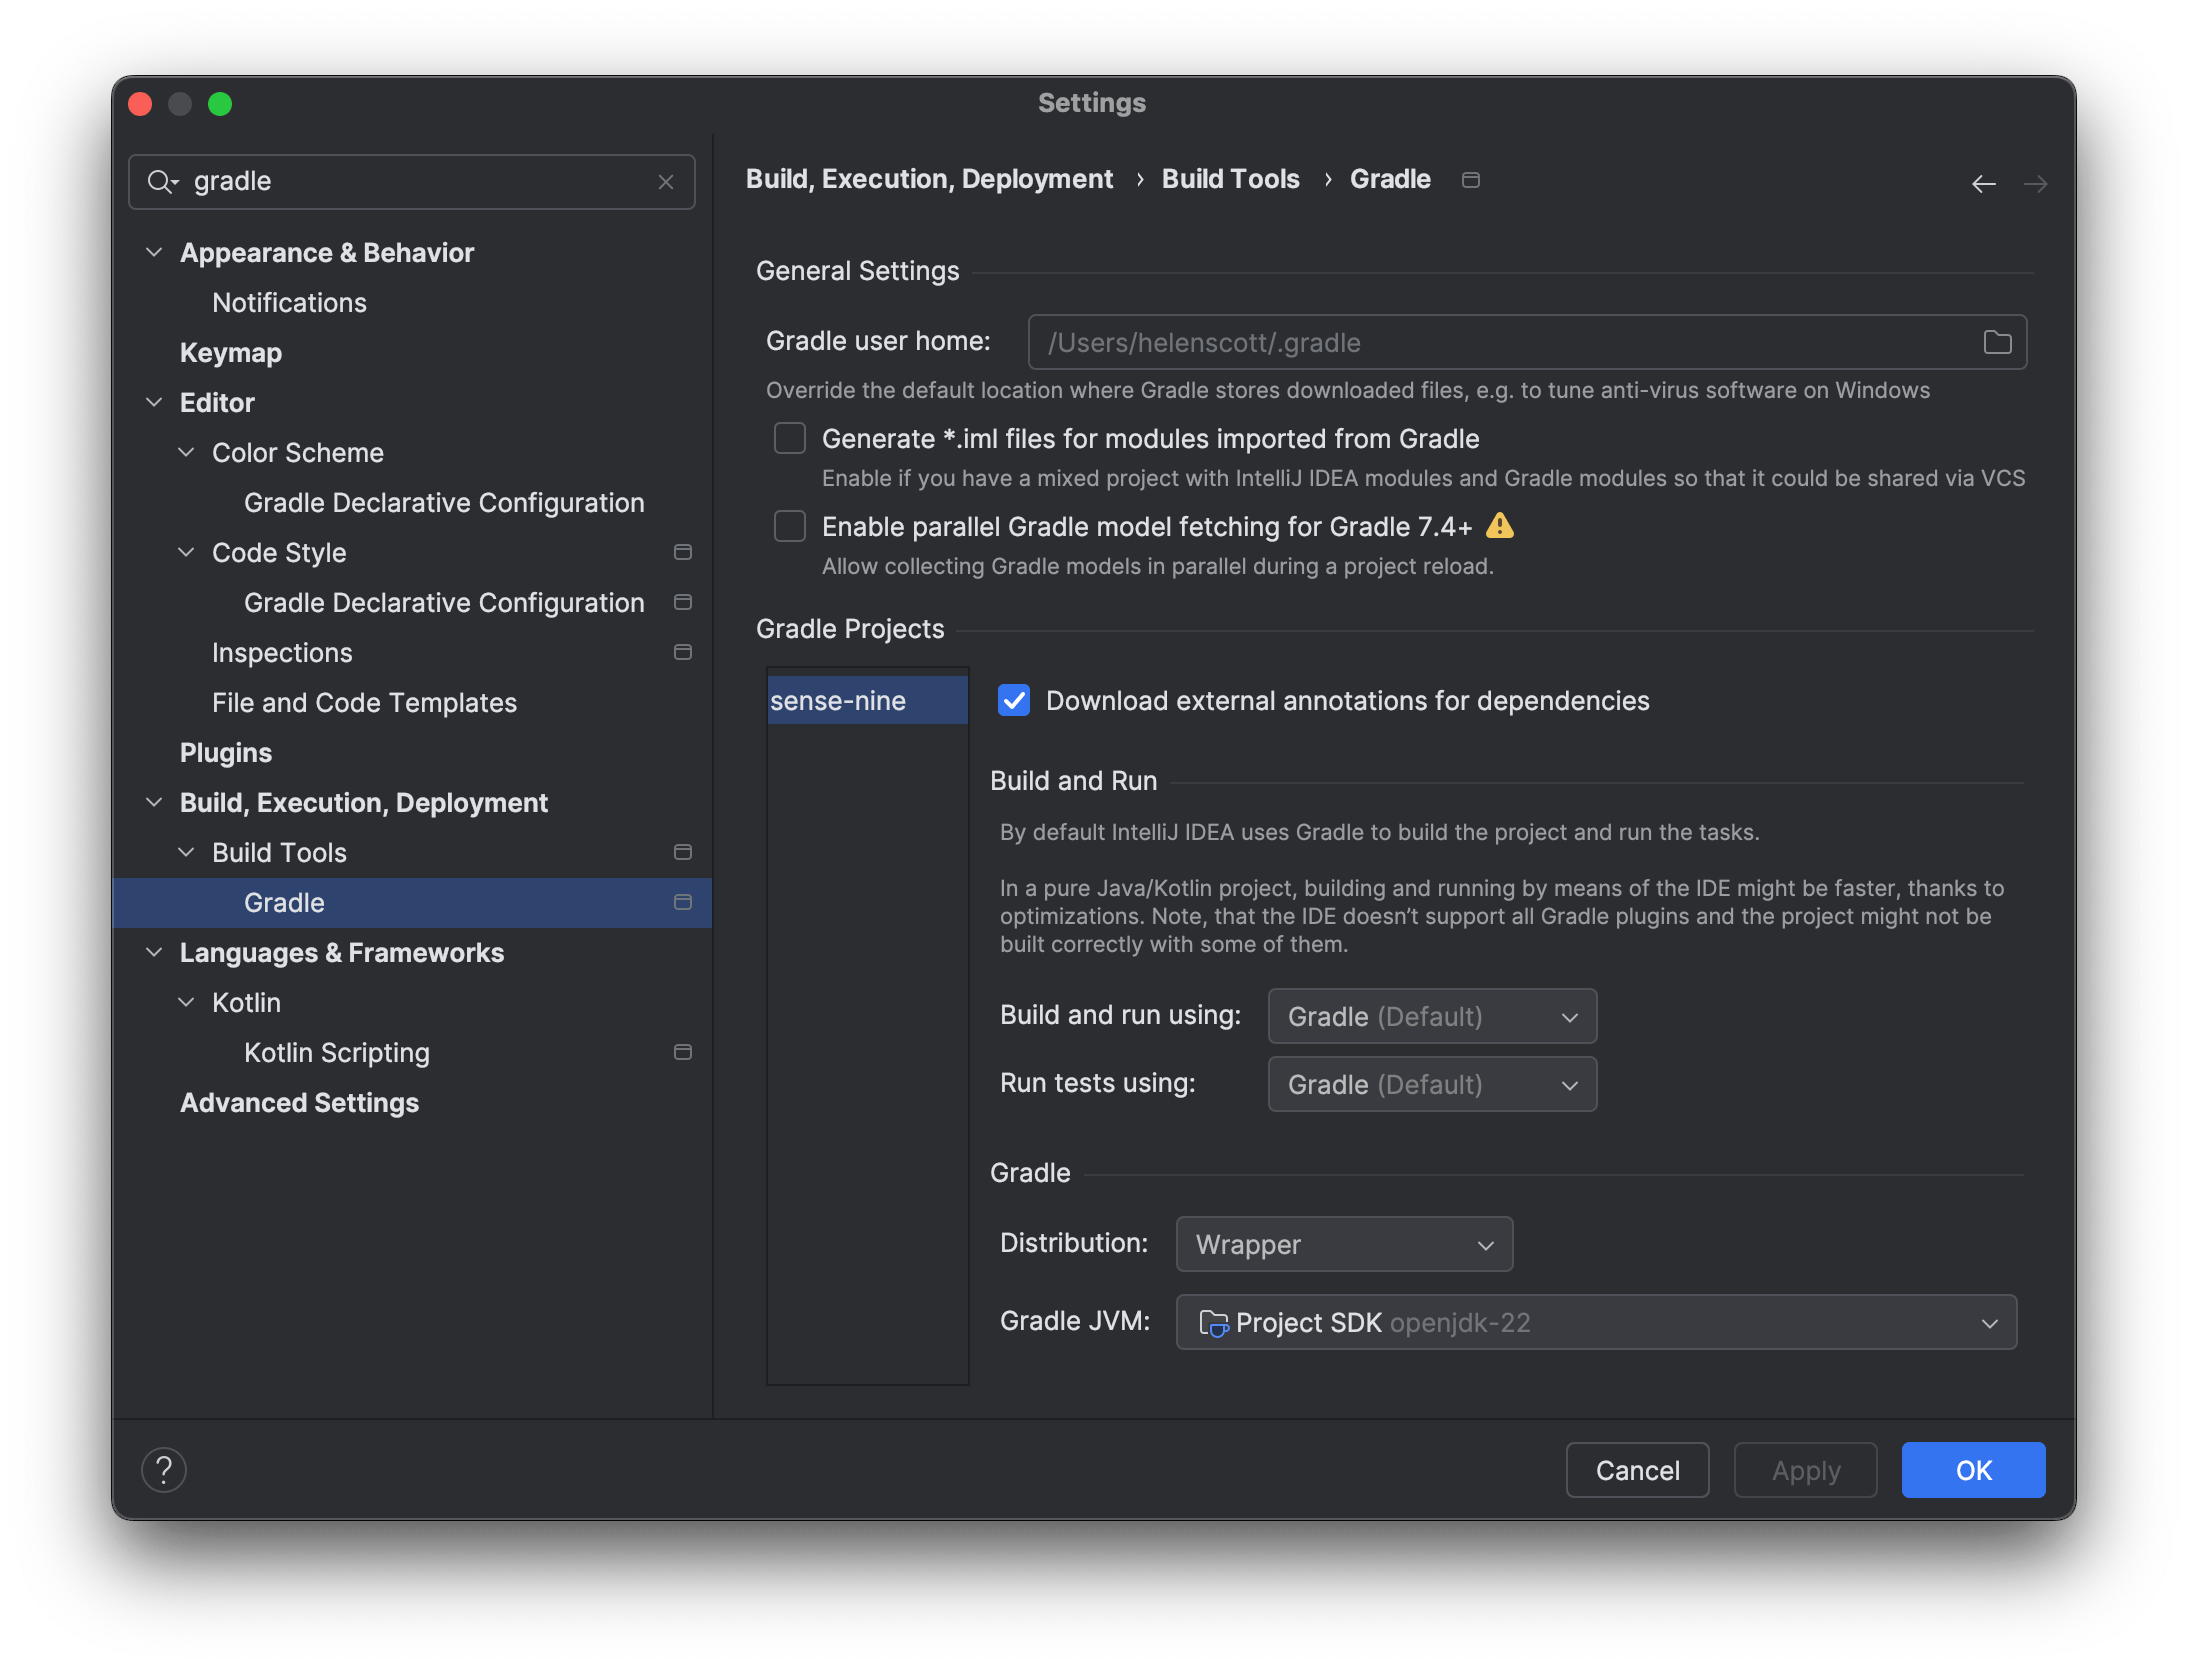
Notice that IntelliJ IDEA has selected a specific JVM to use to run Gradle. We can use a different JVM to the project JVM if we want. If we set this JVM to be the same as the project JVM, we can assume exactly the same version of Java for running things both from Gradle and from inside the IDE. However, sometimes we might want to set it to a different version, especially if we want to test compatibility across versions.
The "Use Gradle from" dropdown is how we can configure using the Gradle wrapper to run Gradle. By default, IntelliJ IDEA uses the version of Gradle defined in gradle-wrapper.properties.
We can say whether we want IntelliJ IDEA to run applications and tests via Gradle or use IntelliJ IDEA to run them. By default, if the project is a Gradle project, IntelliJ IDEA will use Gradle to run the applications and tests in that project. This is a good way to make sure we get the same results whether we run things from the IDE or via the build tool. Sometimes using IntelliJ IDEA to run tests can be faster for running unit tests than using Gradle. However, since Gradle also has some optimisations for running applications, this is not always the case.
In the next section, we're going to look at the Gradle Wrapper.