
Tour of a Gradle project
Take a look around a standard Gradle project to understand it better.
Let's take a look at our Gradle project.
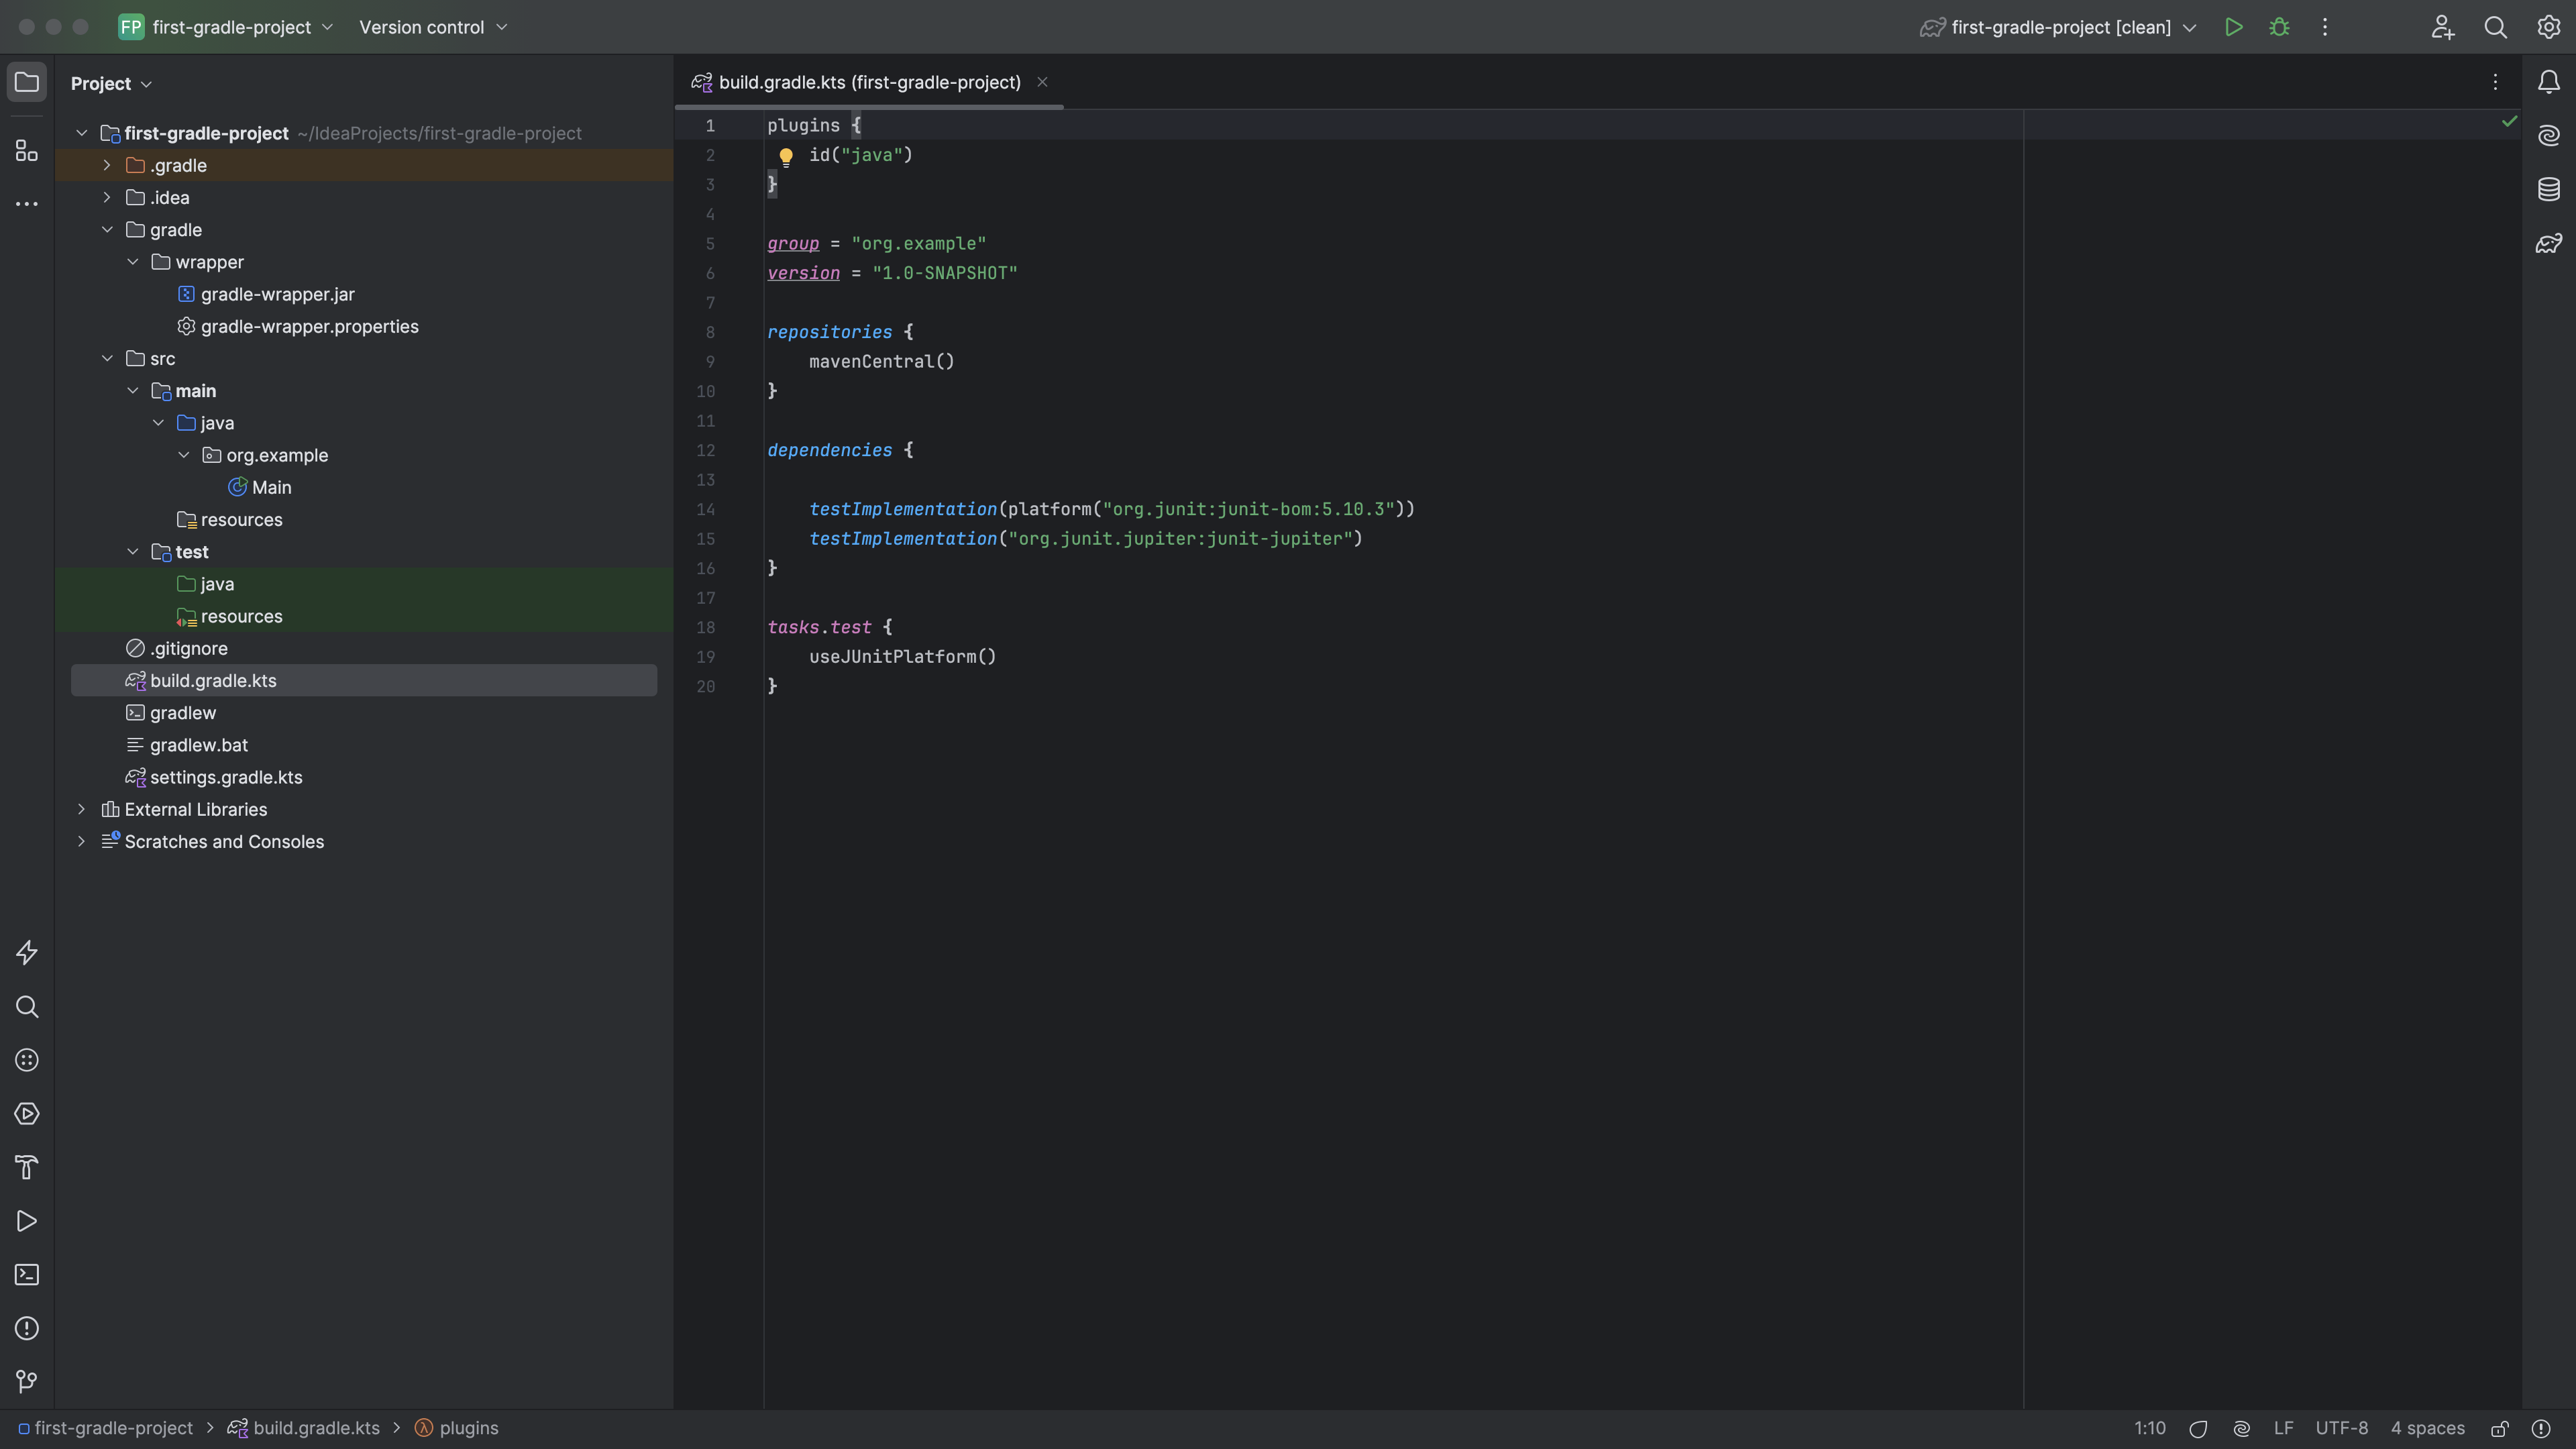
The project window shows the standard Gradle directory structure, with a src folder with main and test subfolders. Because this is a Java project, these both have java and resources sub-folders. IntelliJ IDEA automatically configures the folders in main to be production code (they appear blue), and the folders in test to be test code (with green backgrounds).
You'll also see a .gradle folder, which IntelliJ IDEA uses for its gradle builds, this can safely be ignored by us, and we should set our version control to ignore this directory too.
There's a gradle folder with a wrapper sub-folder. These are the settings for the Gradle Wrapper, which IntelliJ IDEA uses by default when creating Gradle projects. We'll look at how to configure this later.
The project window also shows external libraries that our project depends upon. In this project, these libraries are here because our gradle build file has declared dependencies upon them. IntelliJ IDEA marks these as coming from Gradle. These have been added in our build.gradle.kts file as dependencies.
The build.gradle.kts file is the main configuration for the project's build and dependencies. IntelliJ IDEA created this minimal build file when it created this project. We'll look at this in more detail in the next step.
The last key piece to understanding your Gradle project in IntelliJ IDEA is the Gradle tool window. We can open this via the quick access button in the top right-hand corner.

The Gradle tool window shows us all the project's tasks and its dependencies. This dependencies list is different from the project window, it shows the dependencies grouped by configuration, and it shows their own dependencies nested underneath. This can be helpful for figuring out where a specific transitive dependency came from.
The Tasks section shows all the Gradle build tasks, grouped by type. We don't have much to build right now as this basic project doesn't have any code yet, but we can run the clean task to show what happens by double clicking it.
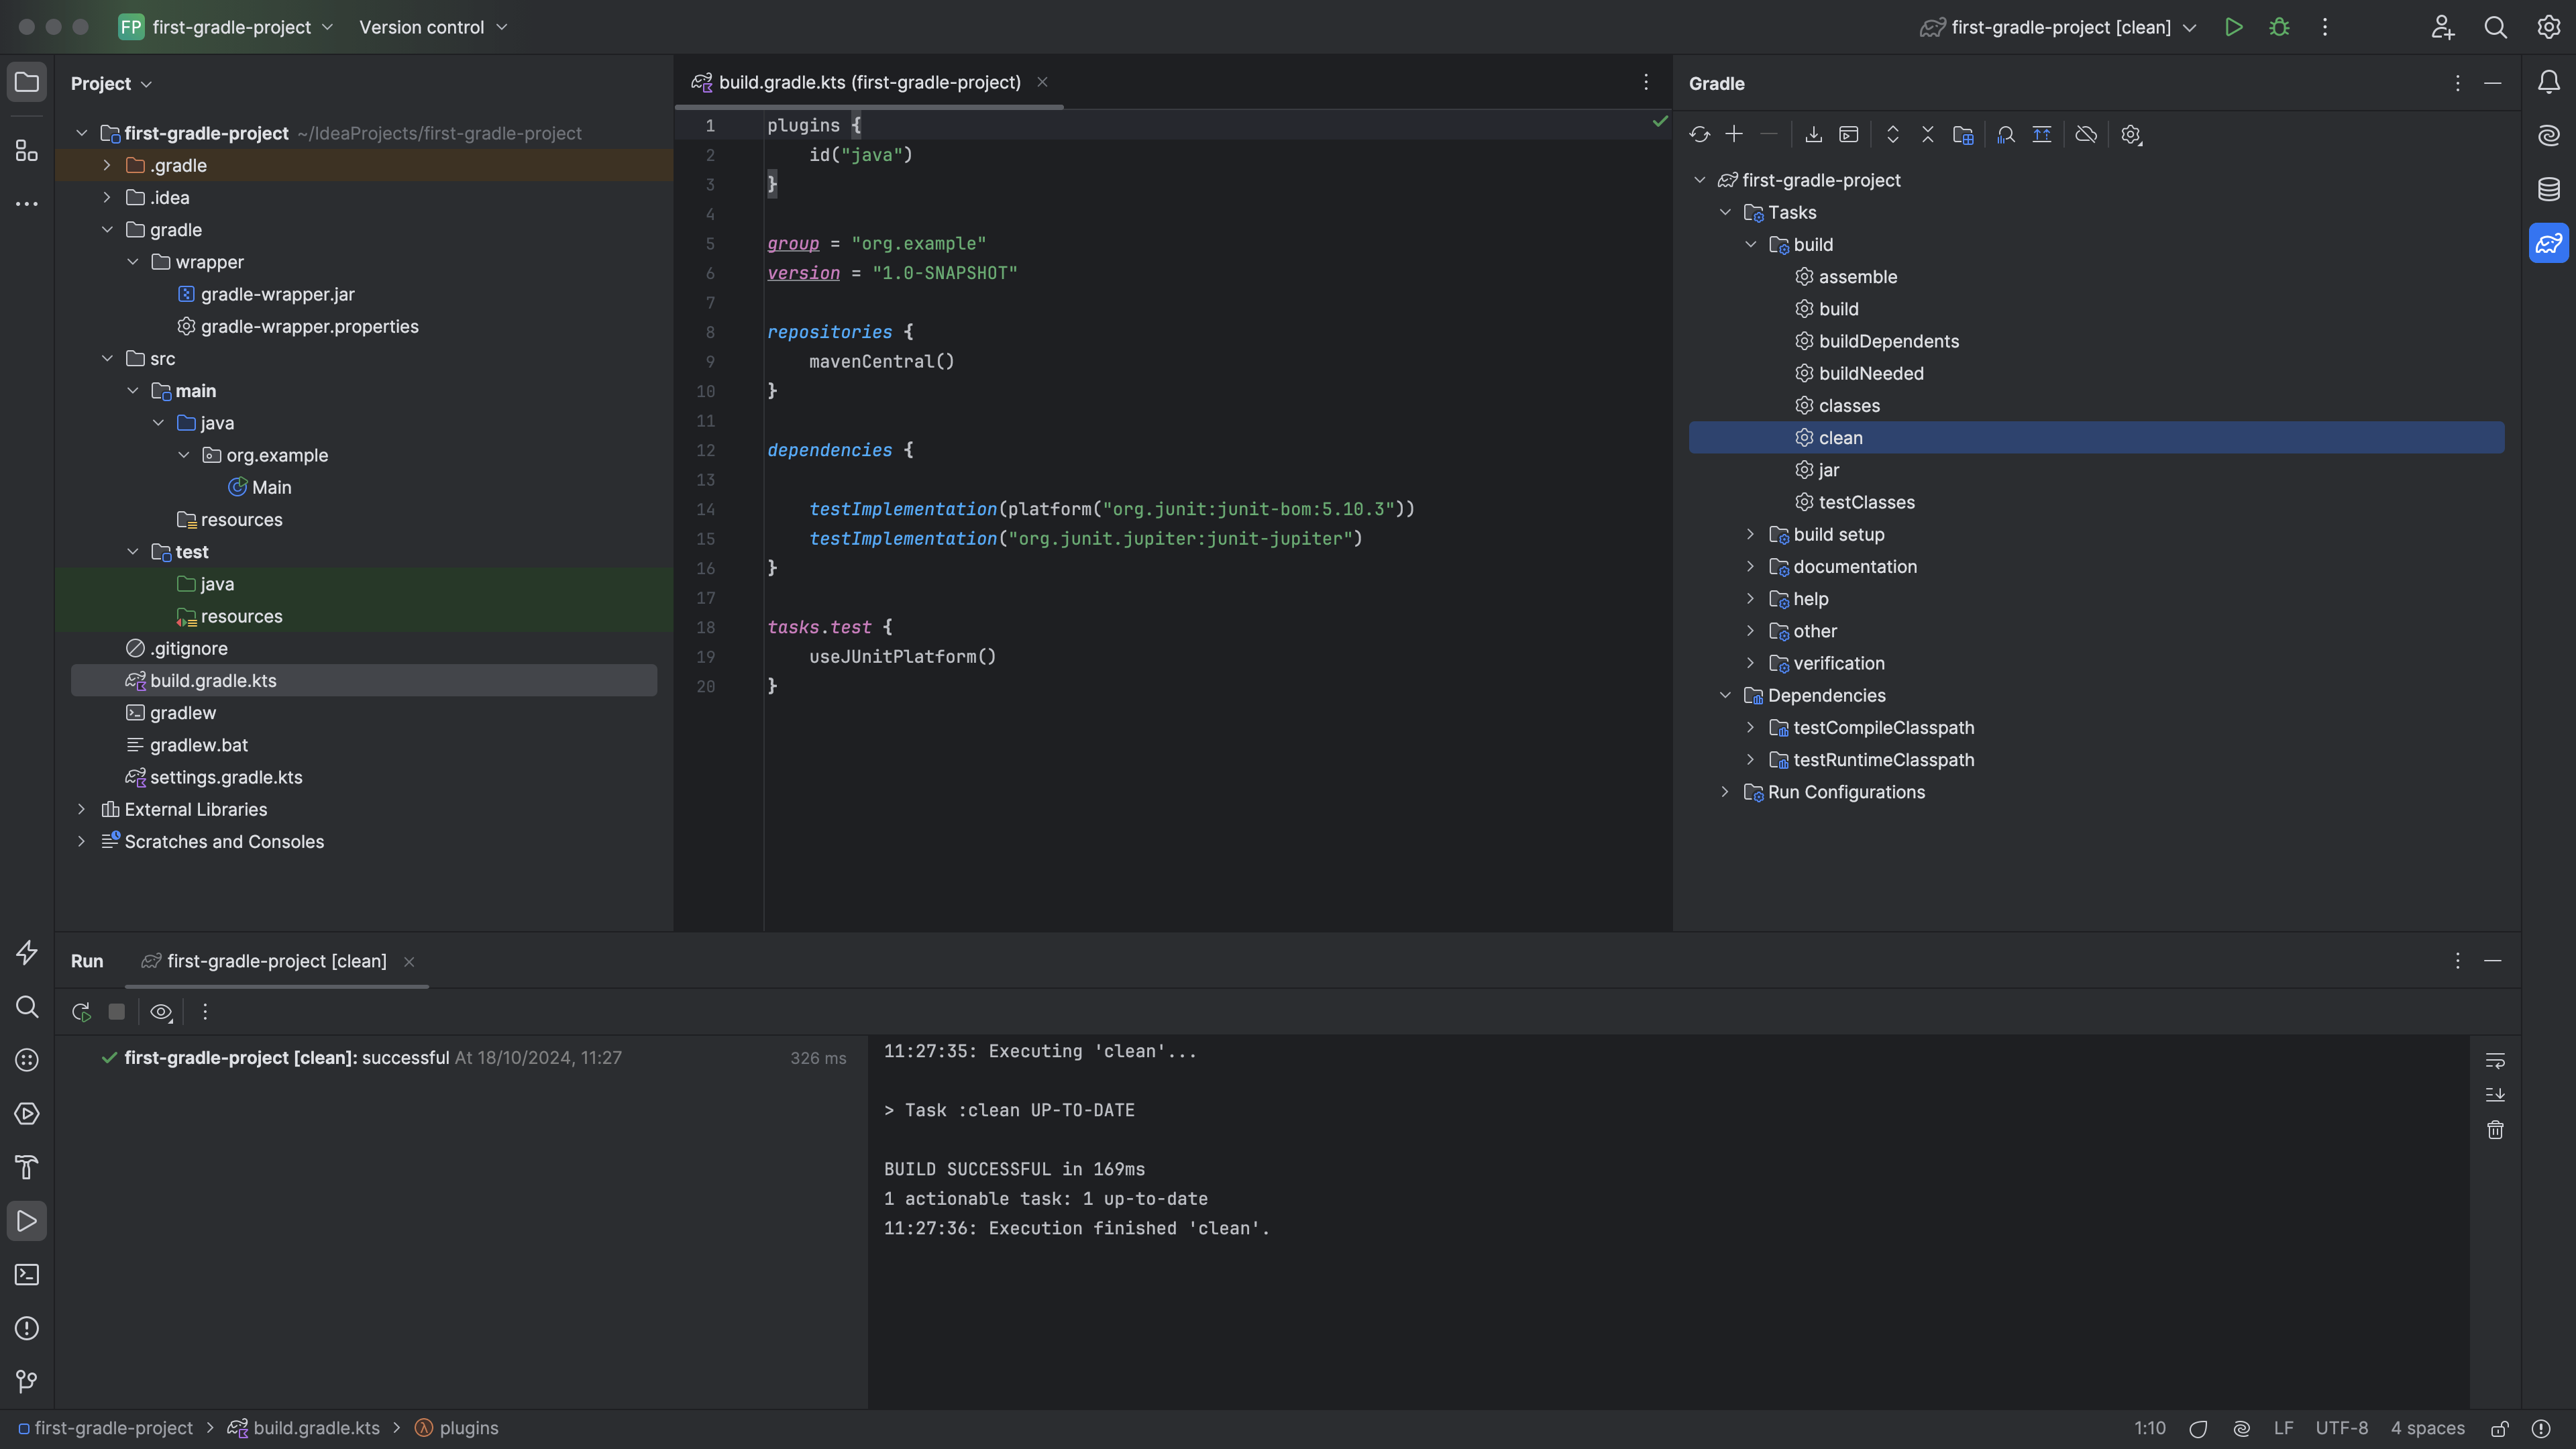
The Run tool window opens, and we see the results of the clean task, including all the Gradle output, so we can see what was run and what the results were. We can use this to help us debug problems if there are any issues.
Next, let's look at that build.gradle.kts file in more detail.