
Configuring a Local Python Interpreter
How to set up a local Python interpreter for your project.
In the previous step, we customized the IDE. In this step we're going to learn how to set up a Python interpreter using PyCharm.
New Interpreter
When we're talking about local interpreters, PyCharm lets us configure them in two main ways:
- You can select and use your system interpreter
- Or you can create a virtual environment using virtualenv, Pipenv, Conda, or Poetry
You just need to have a Python installation already setup on your local machine. PyCharm lets you select your interpreter at three different points.
Firstly, you can select the interpreter when you create a new project. We already covered how to create a new project, but we skimmed the Python interpreter configuration.
When you create a new project, you need to choose between creating a new interpreter or selecting a previously configured interpreter. Let's create a new one.
The first thing you will need to define is what kind of Python packaging manager you want to use. PyCharm comes with support for virtualenv, Pipenv, Conda and Poetry out of the box. Let's use virtualenv. PyCharm will automatically identify the location where the venv folder will be created.
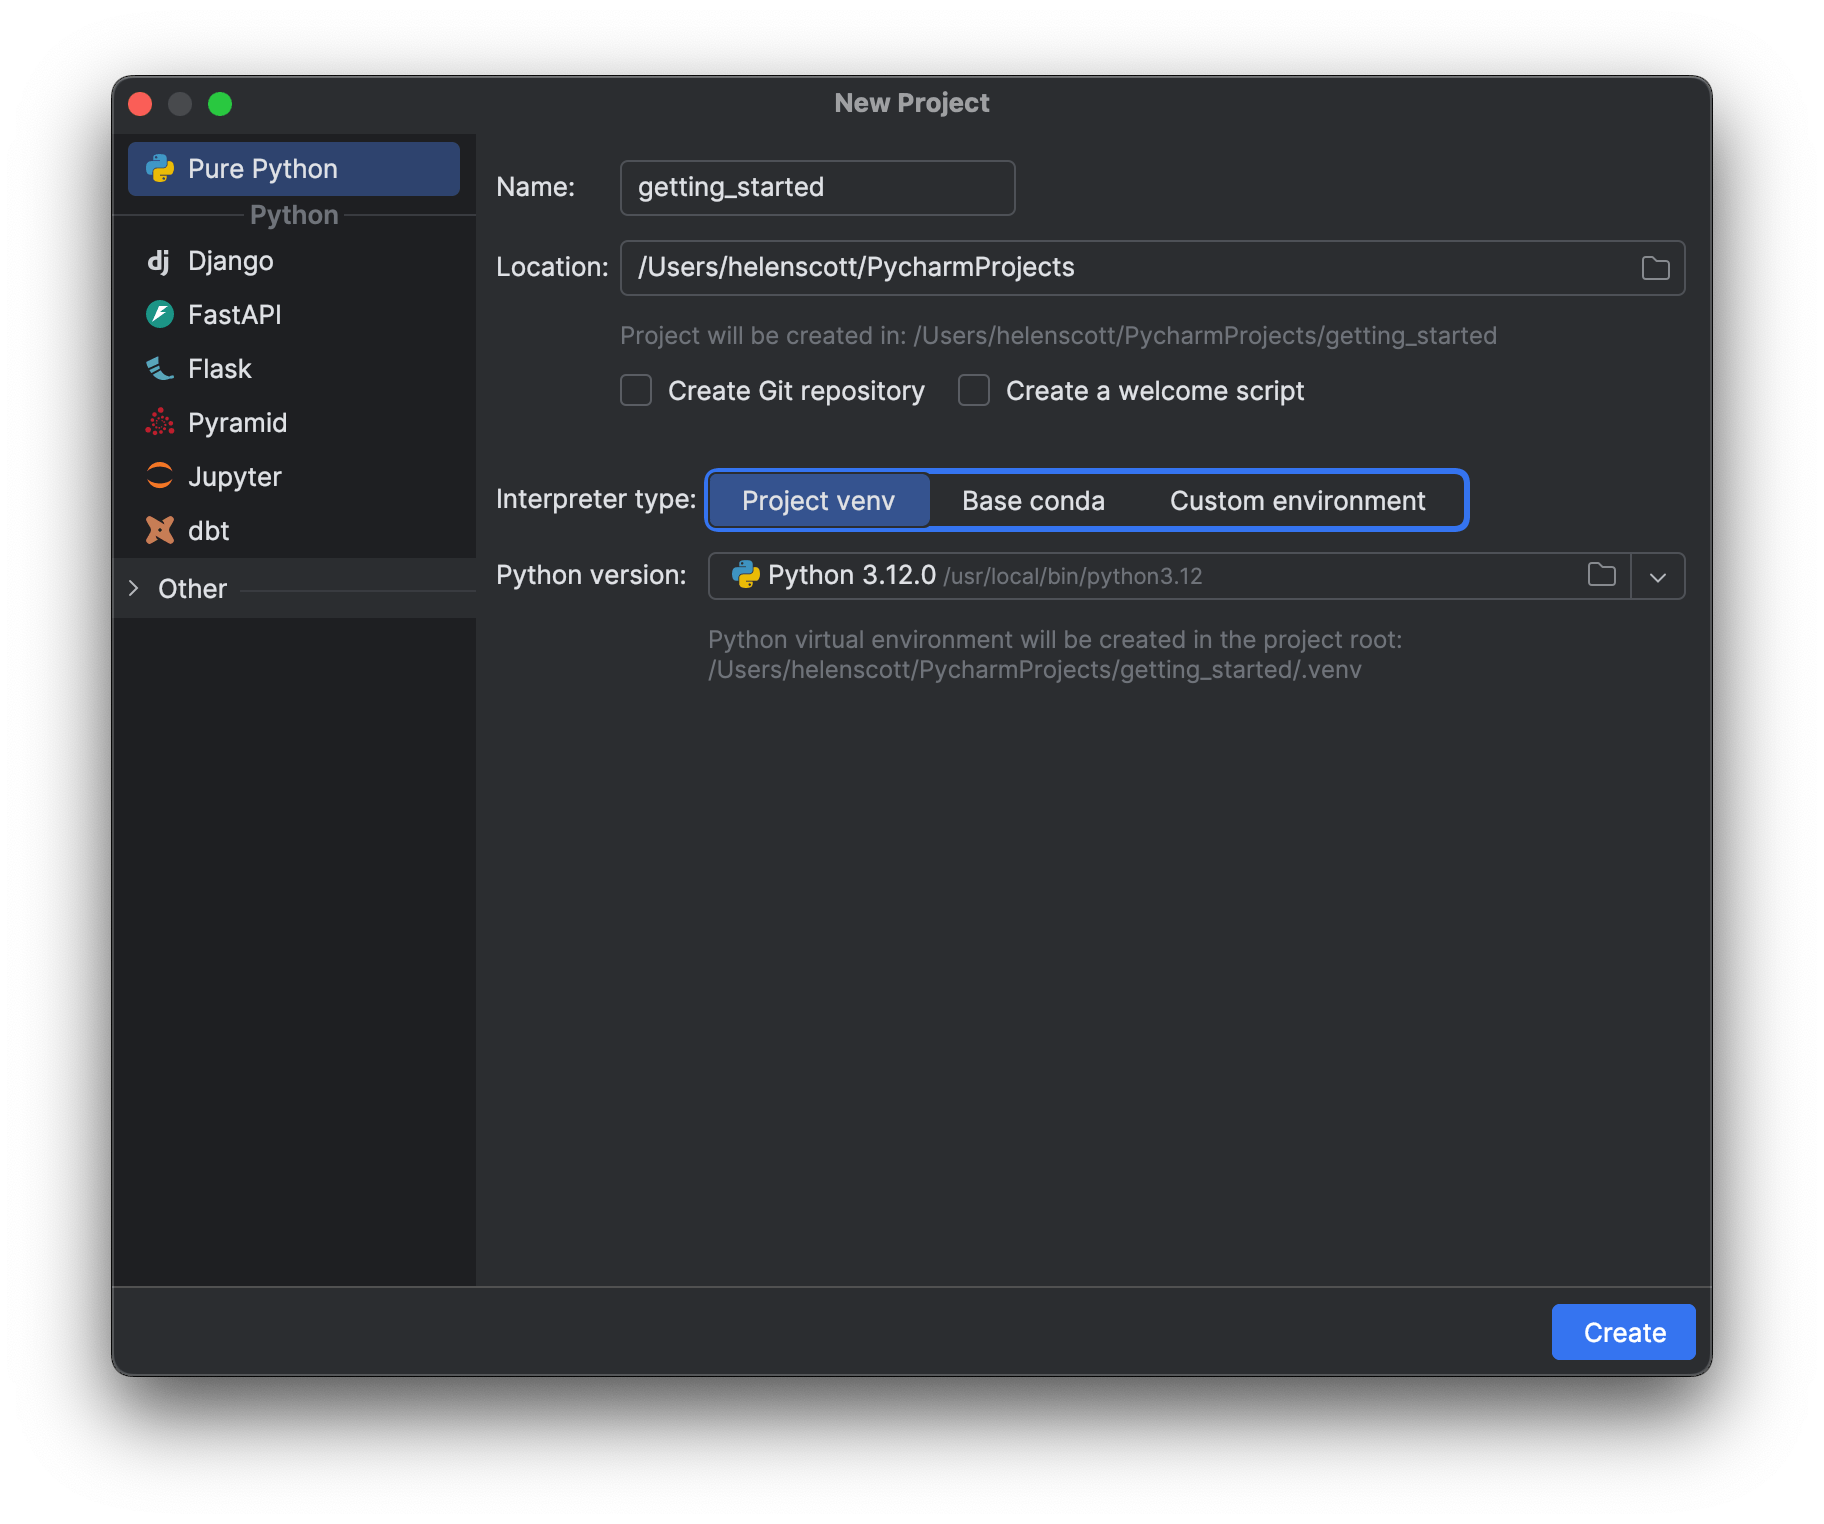
This new interpreter will be based on an existing one. In my case, this is Python 3.12. You can also choose another base interpreter from the list, or click the three dots to find another Python executable in your file system.
Secondly You can also create a virtualenv using Pipenv. Getting Pipenv installed on your system is an extra step. Once setup and visible to PyCharm, you can select it from the drop-down.
Finally, you can also create a virtual environment using Conda. Make sure that Anaconda or Miniconda is downloaded and installed on your computer then pick Conda from the dropdown, check if the location is correct. Select the Python version, then ensure that the Conda executable path is correct. The environment will be automatically created within your Anaconda installation.
We just saw making a new interpreter and the various Python standards for doing so.
Existing Interpreter
That’s how you create a new virtual environment in PyCharm when setting up a new project, but we can also select an existing Python project, that we haven’t yet opened as a PyCharm project.
From the New Project screen, click Custom Environment and then choose Select existing. If you already have interpreters previously configured you can just pick the one you would like to use from this dropdown.
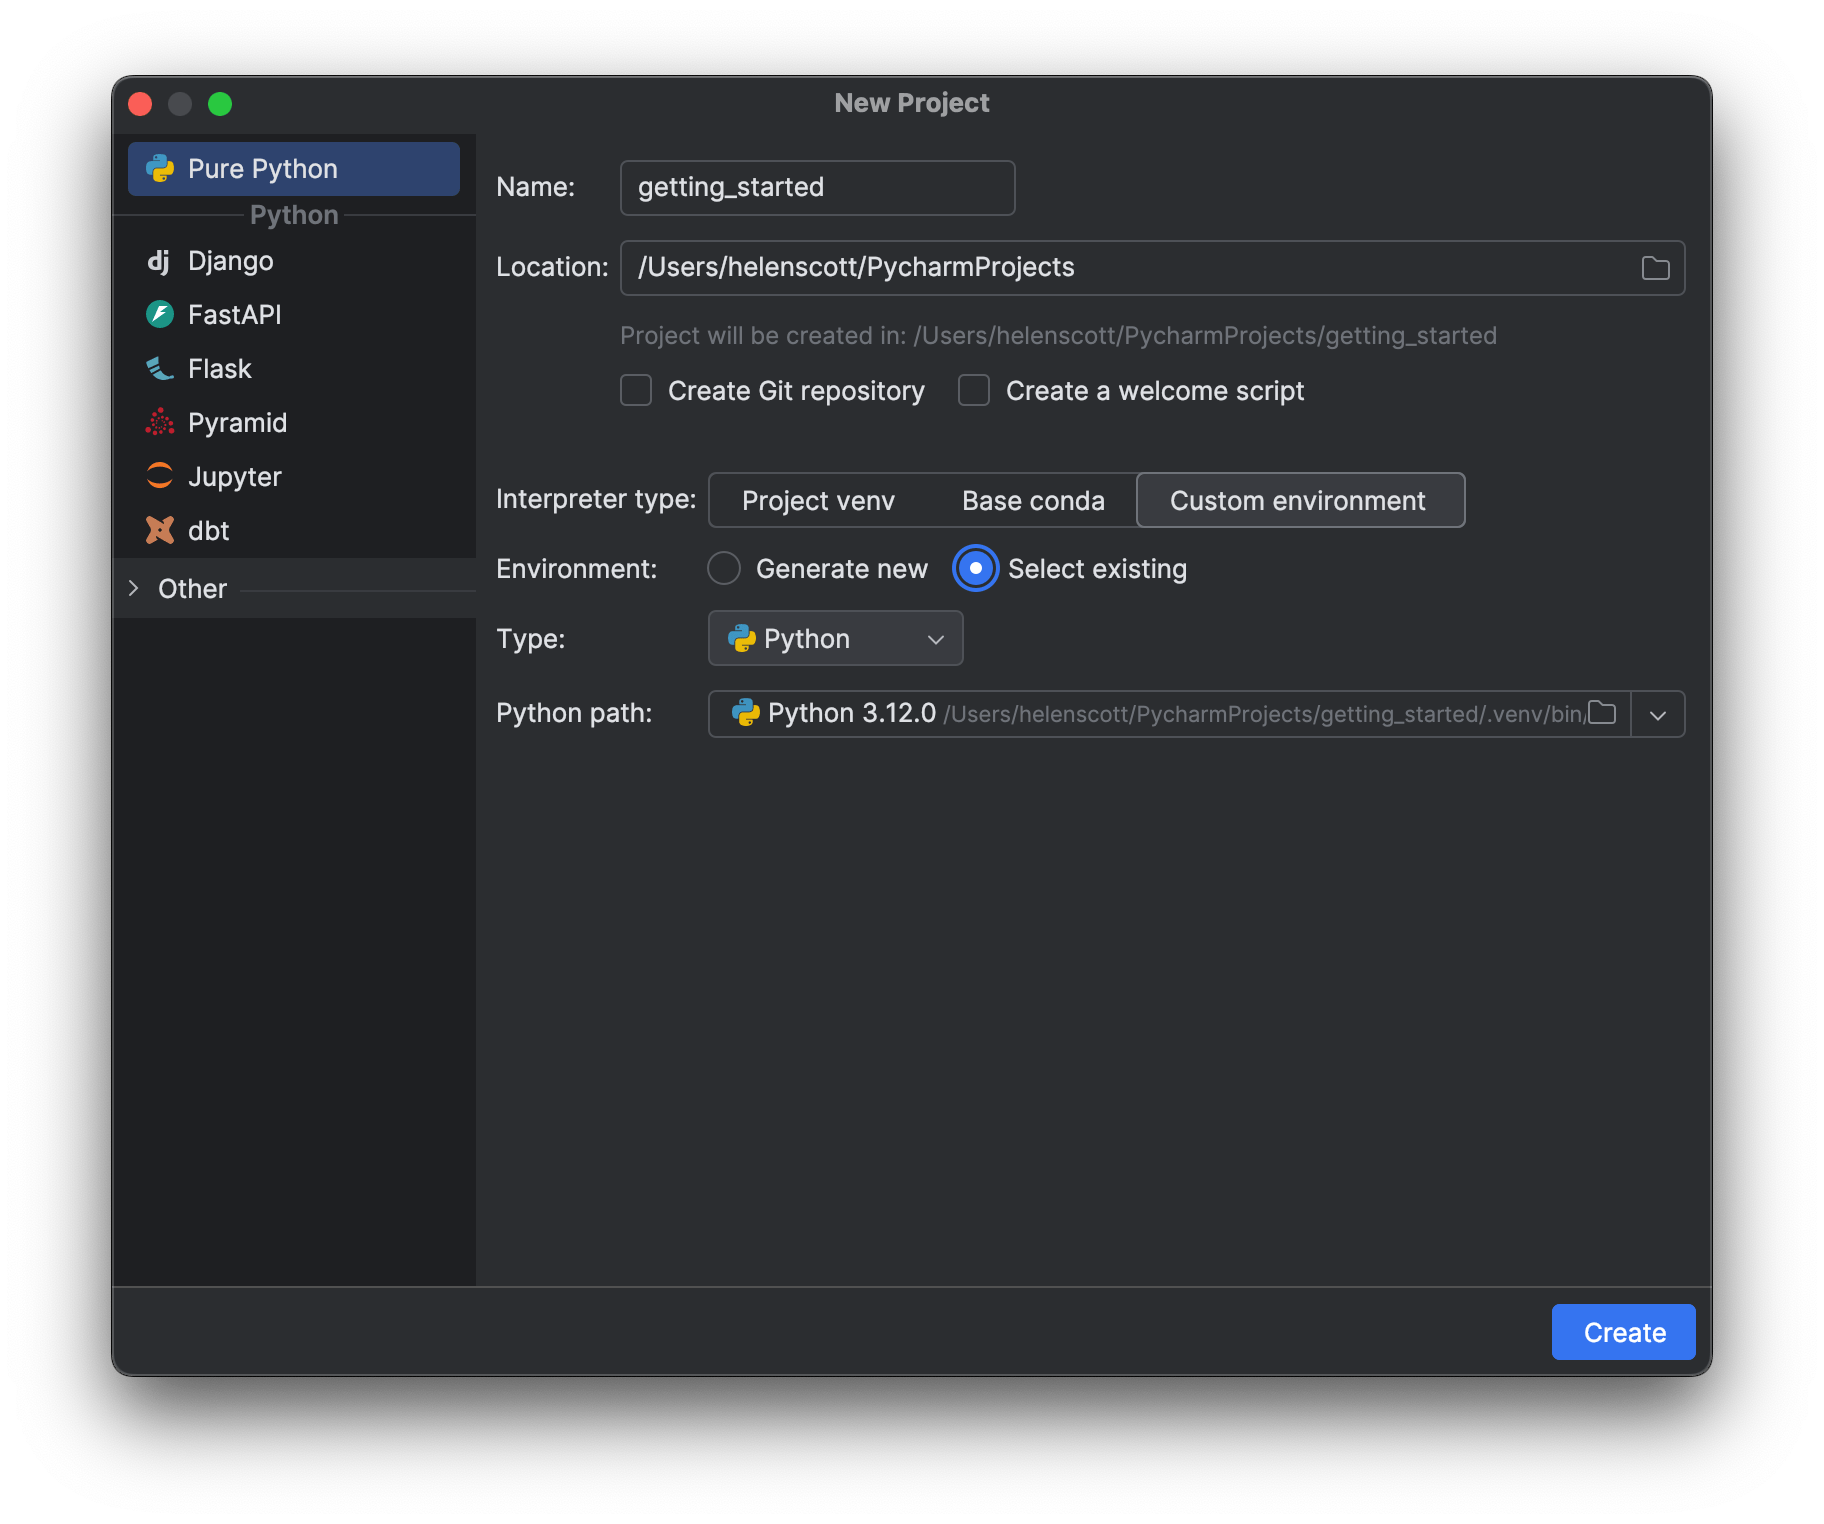
Alternatively, you can click Generate new and then, select from the different options, including Virtualenv, Conda, Pipenv, or Poetry.
Clone project
The second place you can configure your interpreter is when you clone a project from VCS. In the PyCharm Getting Started screen, you can click Get from VCS.
We can paste the repository URL in and accept the generated choice for the directory to clone into, and click Clone.

PyCharm opens a new project in that directory and starts cloning the repository. Once the clone has finished, PyCharm makes a project interpreter, based on your default Python, and starts installing the packages in your requirements file.
Open project
We have a cloned project and PyCharm has a “project interpreter” for it, but what if you want to change the interpreter used by a project? You can see which interpreter the project is using in the bottom-right of the screen. There are two ways to change this.
You can click the interpreter name in the Status Bar which opens a list of available interpreters. It will also give you the opportunity to either open interpreter settings or add a new interpreter.
Alternatively, you can find the same settings in your Preferences/Settings ⌘, (macOS) / Ctrl+Alt+S (Windows/Linux) and then search for project interpreter. If you click the gear icon to the right of the drop-down, PyCharm will give you options for managing all the project interpreters that PyCharm knows about.
Conclusion
That’s it! We just went through configuring local Python interpreters in PyCharm.
In the next step, we’ll see how to configure remote interpreters in PyCharm.
Video
You can also check out the video for this step from our Getting Started series on YouTube: