
Creating a Data Source
In the Database View, create a data source for our database.
Whenever you're working with databases in your projects, it's very useful to create a data source connection to your database in IntelliJ IDEA. It allows you to easily interact with your database right within your IDE. Let's do that for our H2 database. If you're using a different database, you can use similar steps, or you can follow the instructions outlined in the IntelliJ IDEA database connection help page. Note that this feature is only available in IntelliJ IDEA Ultimate.
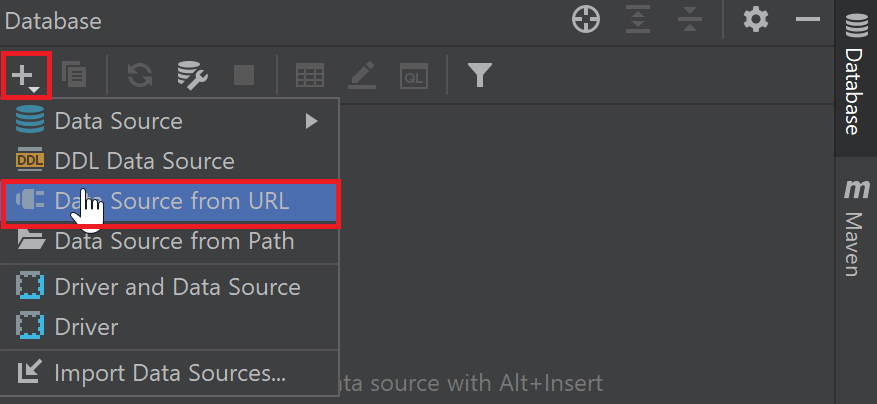
To create our H2 data source, we'll open the Database tool window (View | Tool Windows | Database) then click on the + button. There are various ways to create our connection. We'll use the Data source from URL option.
We'll enter in our databse URL: jdbc:h2:file:./data/myDB and click OK.
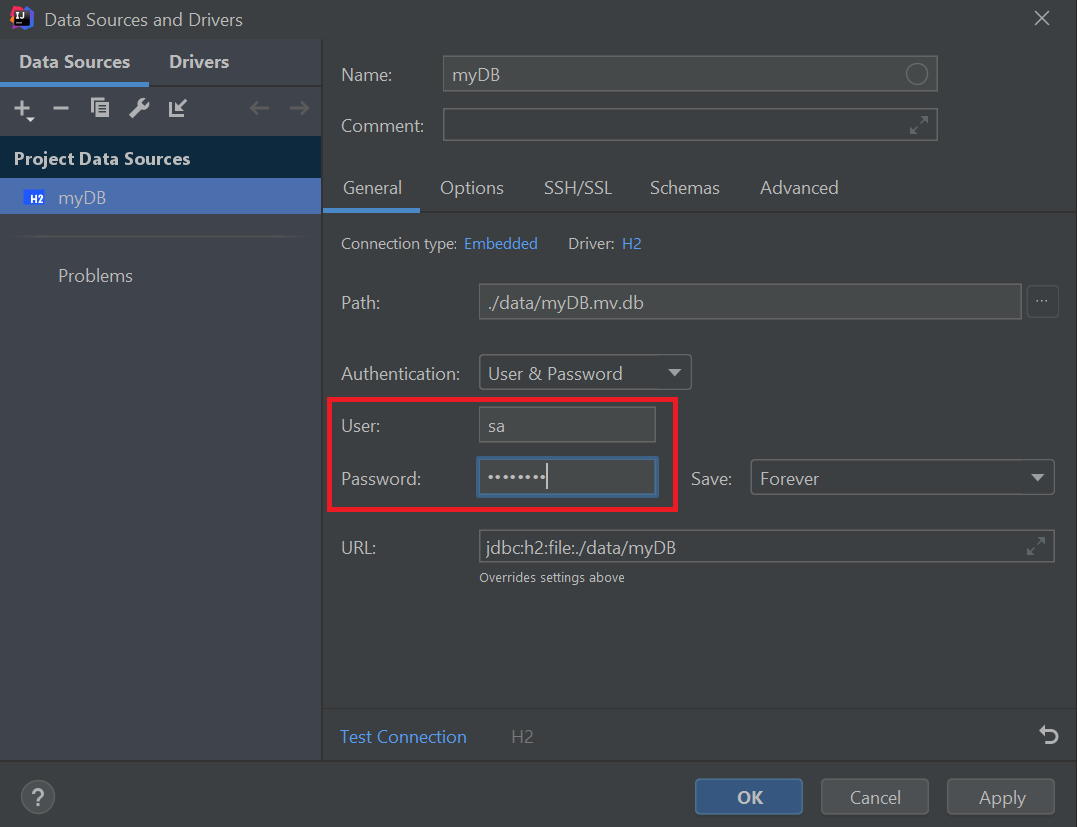
Next, we'll finish configuring the database. For our User and Password fields, we'll enter the user and password we set in our application.properties file (sa, password). If you have a warning about missing H2 drivers, click on the Download missing driver files.
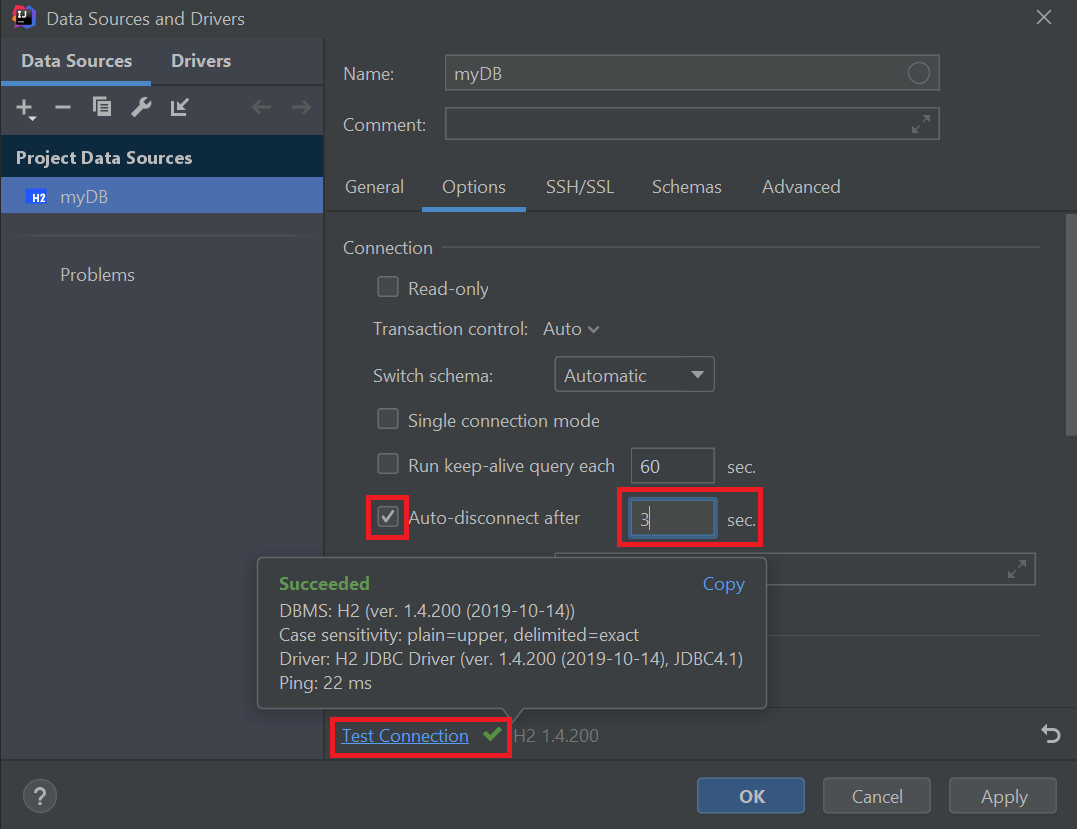
Optional Step: under the Options tab, enable the Auto-disconnect after setting and set it to disconnect after 3 seconds. This setting will disconnect the database in IntelliJ IDEA and release all locks allowing our application's process to continually connect and write to the database. This will prevent database may already be in use errors coming from your application. If you do this step, you may need to click on the Refresh button in the Database tool window to update your data source.
Then we will click Test Connection to make sure our configuration is valid.
Once we click OK, we see a new data source for our H2 database.
End Result
In the database view, we can now navigate to our Employee table and see all our employee data by double-clicking on the table.
