
Unit Testing For ReSharper Users
Learn the basics of the unit testing in Rider from a Visual Studio + ReSharper user's perspective.
Unit testing is an essential tool in modern software development toolkits. Rider and ReSharper share many of the same features, and in the tutorial, we'll cover the crucial similarities between the two products. We believe Visual Studio + ReSharper users will have few issues writing, running, and debugging unit tests in Rider; after all, the two products share the same engine.
Let's get into it!
General Overview
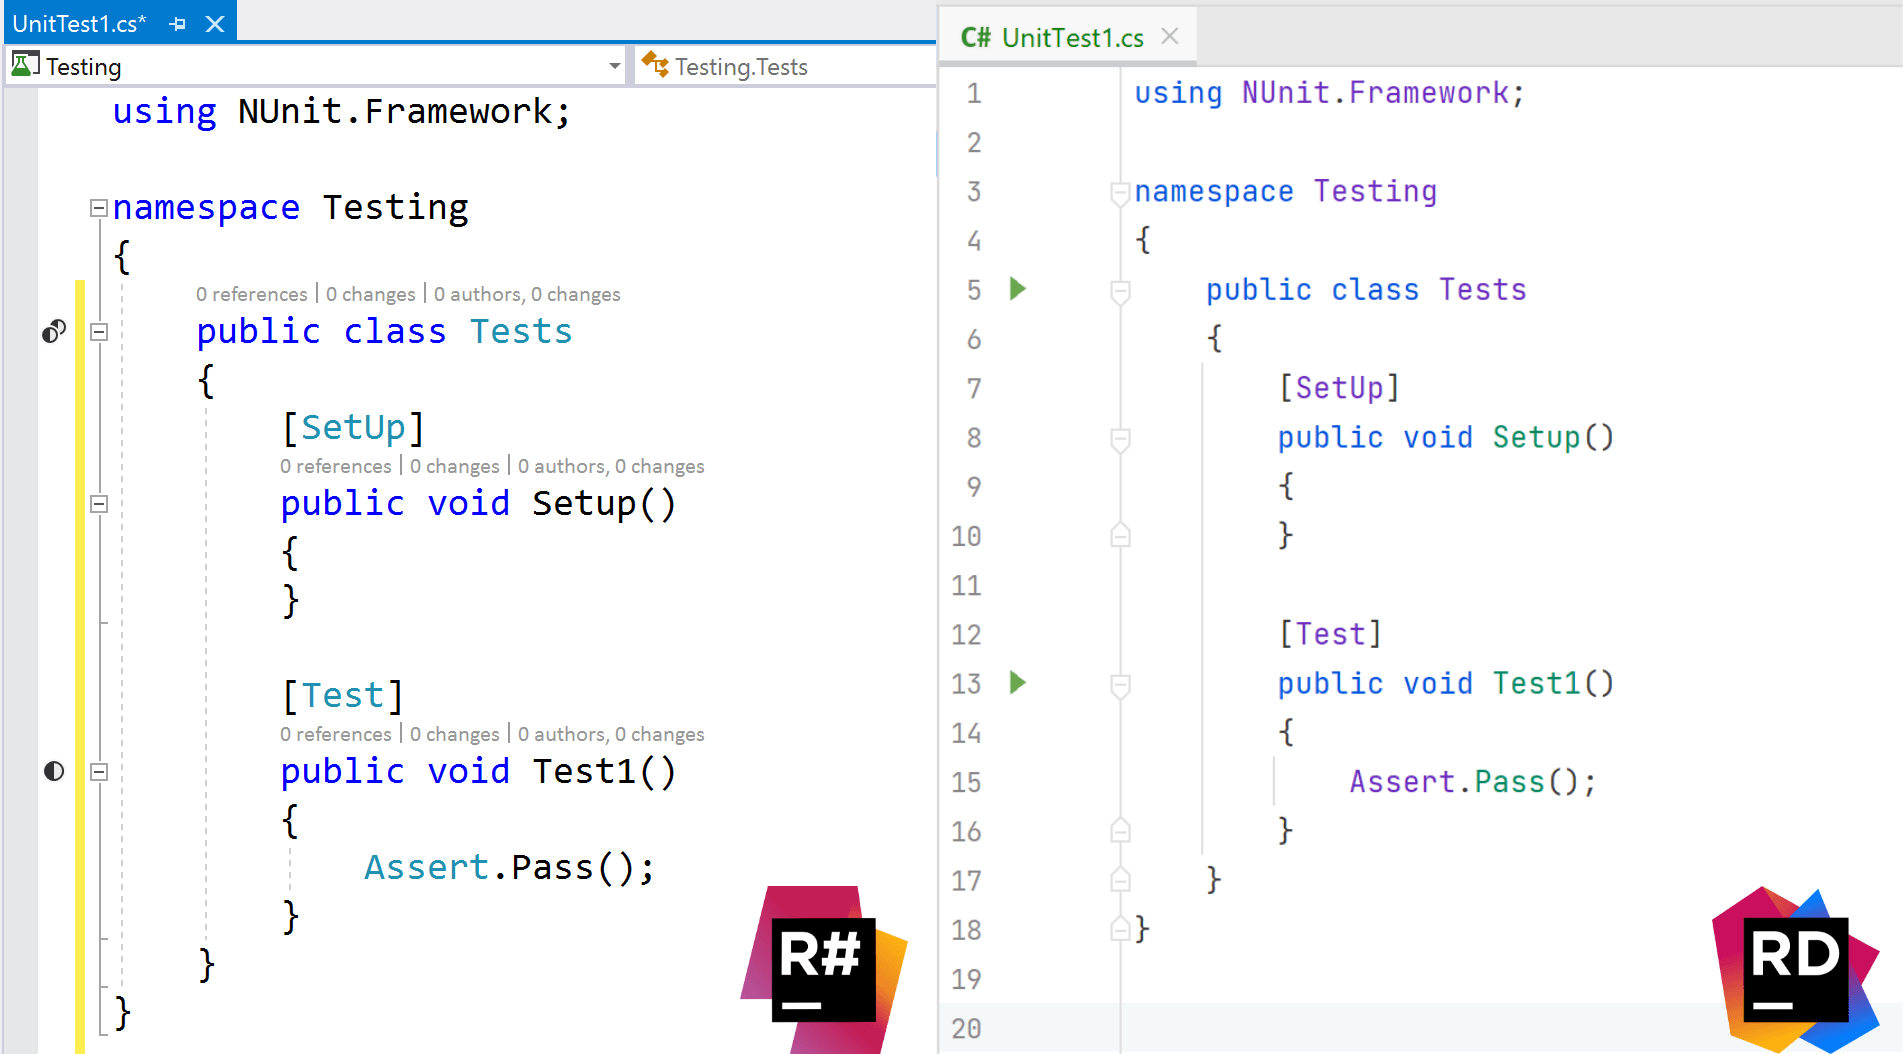
Rider can run all your favorite unit testing frameworks like NUnit, XUnit, and MSTest by utilizing the Microsoft.NET.Test.Sdk package. The presence of this package allows Rider to discover test fixtures and individual unit tests. Like ReSharper, Rider will denote discovered test structures in the gutter of a unit test file, except that Rider uses a different set of icons. Rider uses green Run buttons, while ReSharper uses unit test icons.
The difference working within the editor with individual test files is very similar. Where the experience differs is in the overview of all unit tests in an existing solution. ReSharper users would typically utilize two windows within Visual Studio: Unit Test Explorer, Unit Test Sessions. Within Rider, users will find a consolidated experience in the Unit Tests tool window.
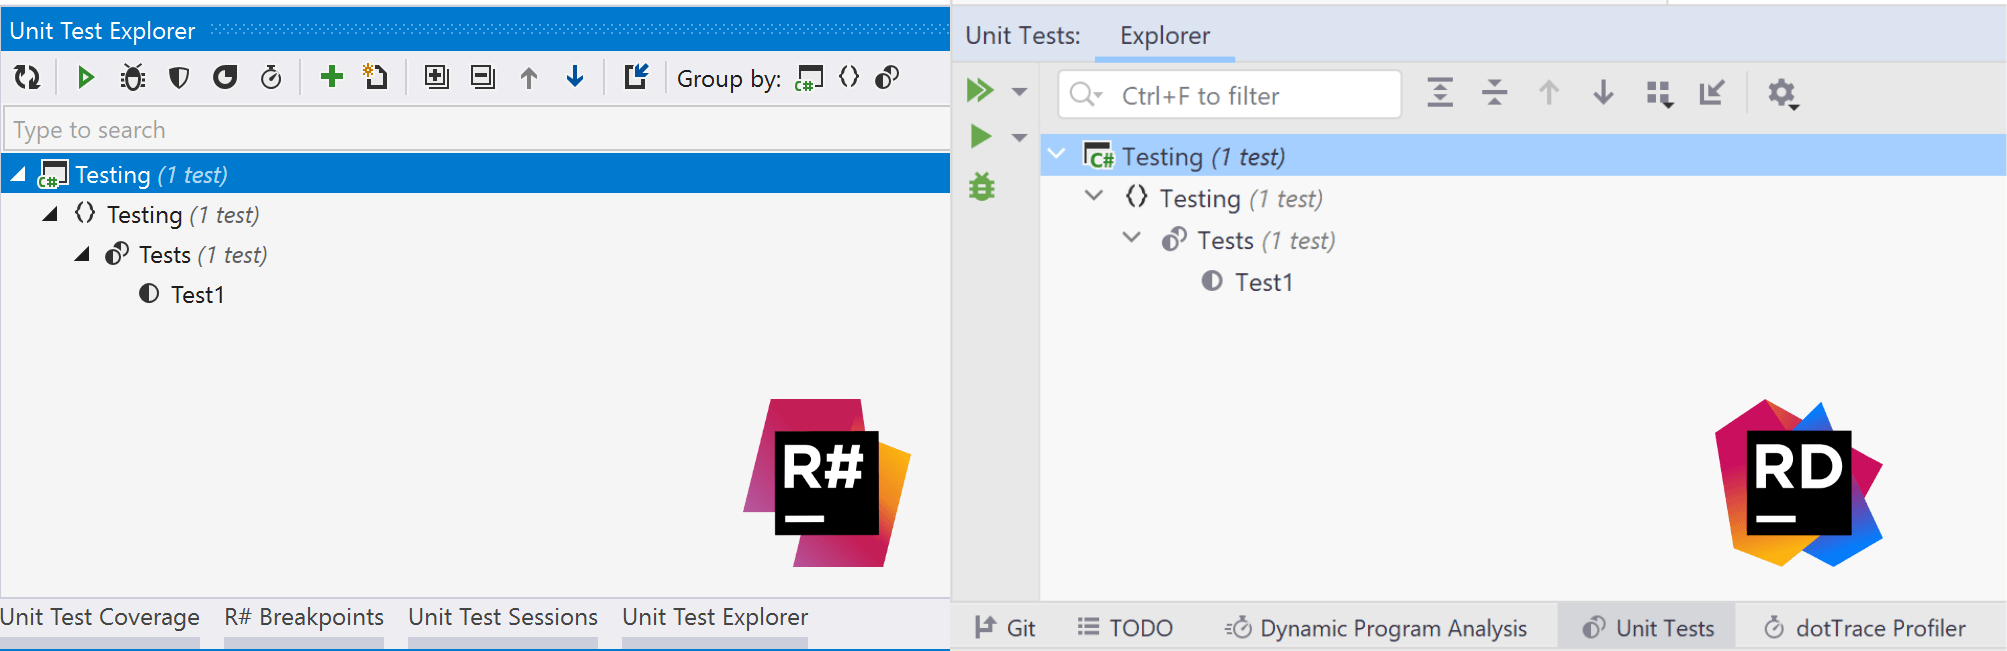
Many of the same abilities are present across the Unit Test Explorer tool window in ReSharper and the Unit Tests tool window in Rider:
- Run Unit Tests
- Debug Unit Tests
- Cover Unit Tests
- Profile Unit Tests
- Grouping/Filtering Options
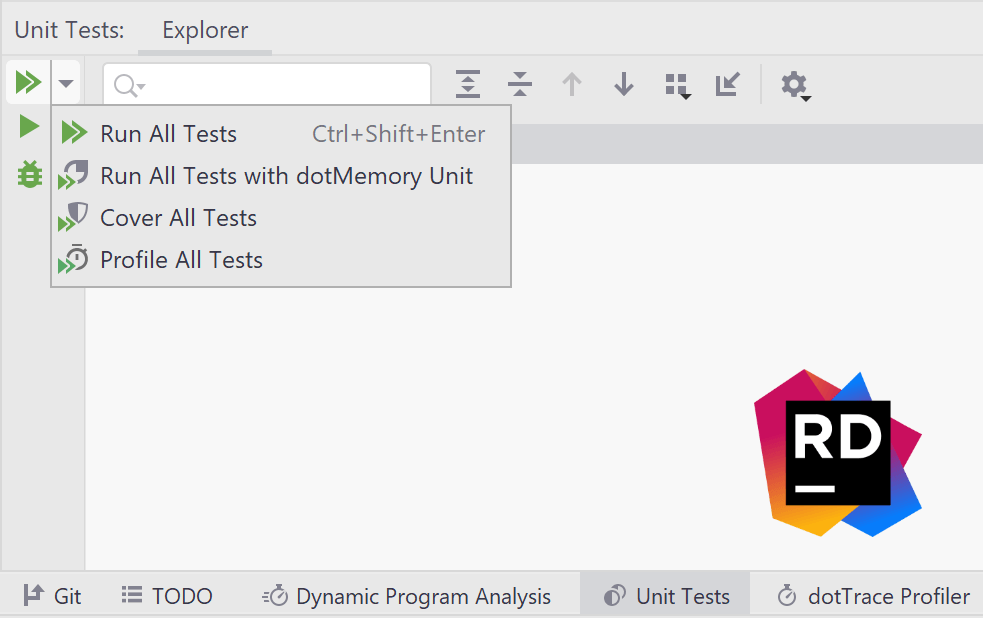
Rider supports a vertical view with many variants of running a test hidden under the Run button's sub-menu.
Writing and Running A Test
Whether you practice strict test-driven development or other forms of testing, the unit testing loop basics start with writing a unit test and ends with executing said unit test. Let's start with the most basic NUnit test.
[Test]
public void Test1()
{
  Assert.Pass();
}
Running the newly authored test in ReSharper will create a new unit test session and open the Unit Test Sessions tool window.
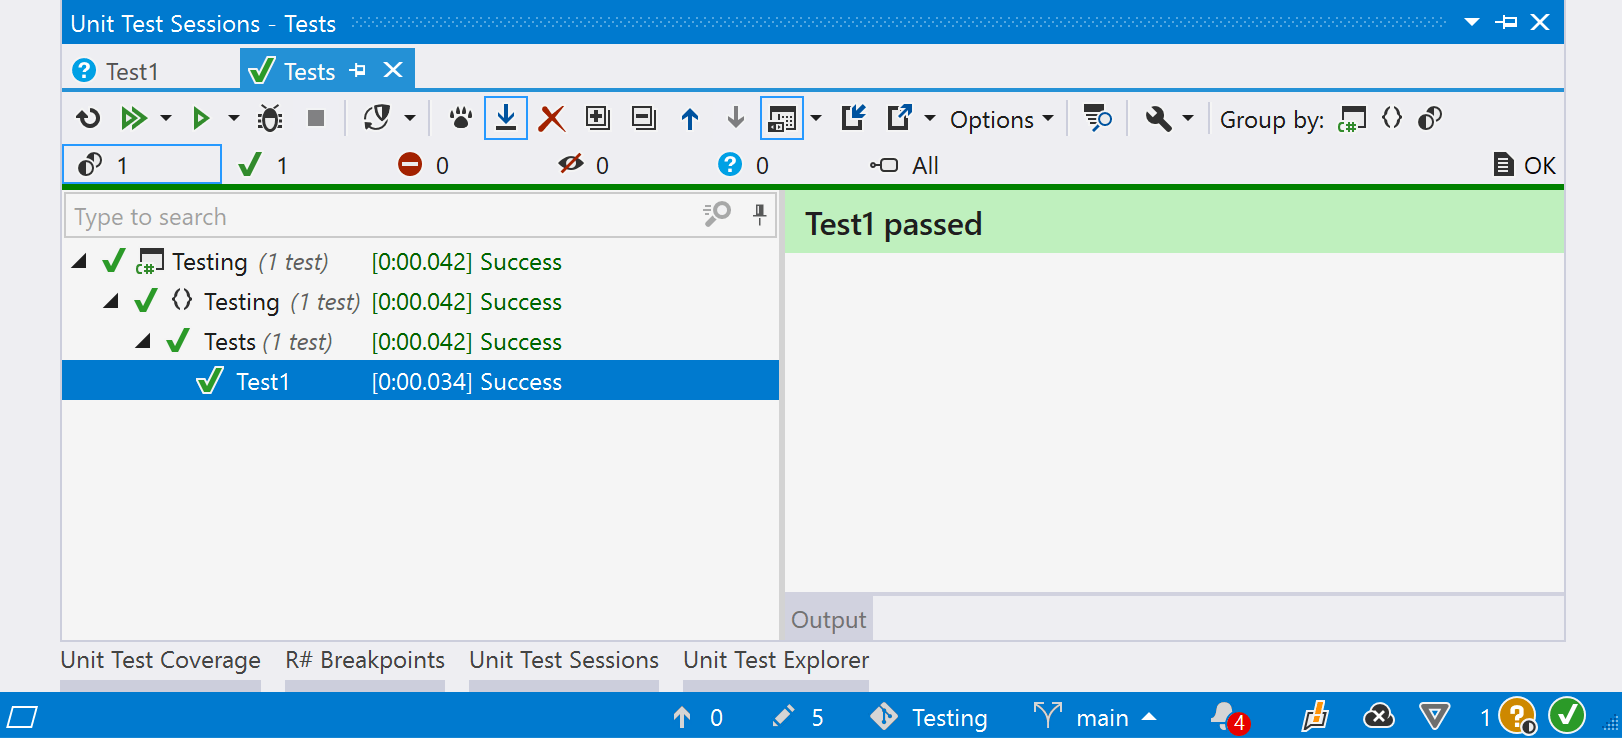
Running the same test in Rider will create a new unit test session tab within the Unit Tests tool window.
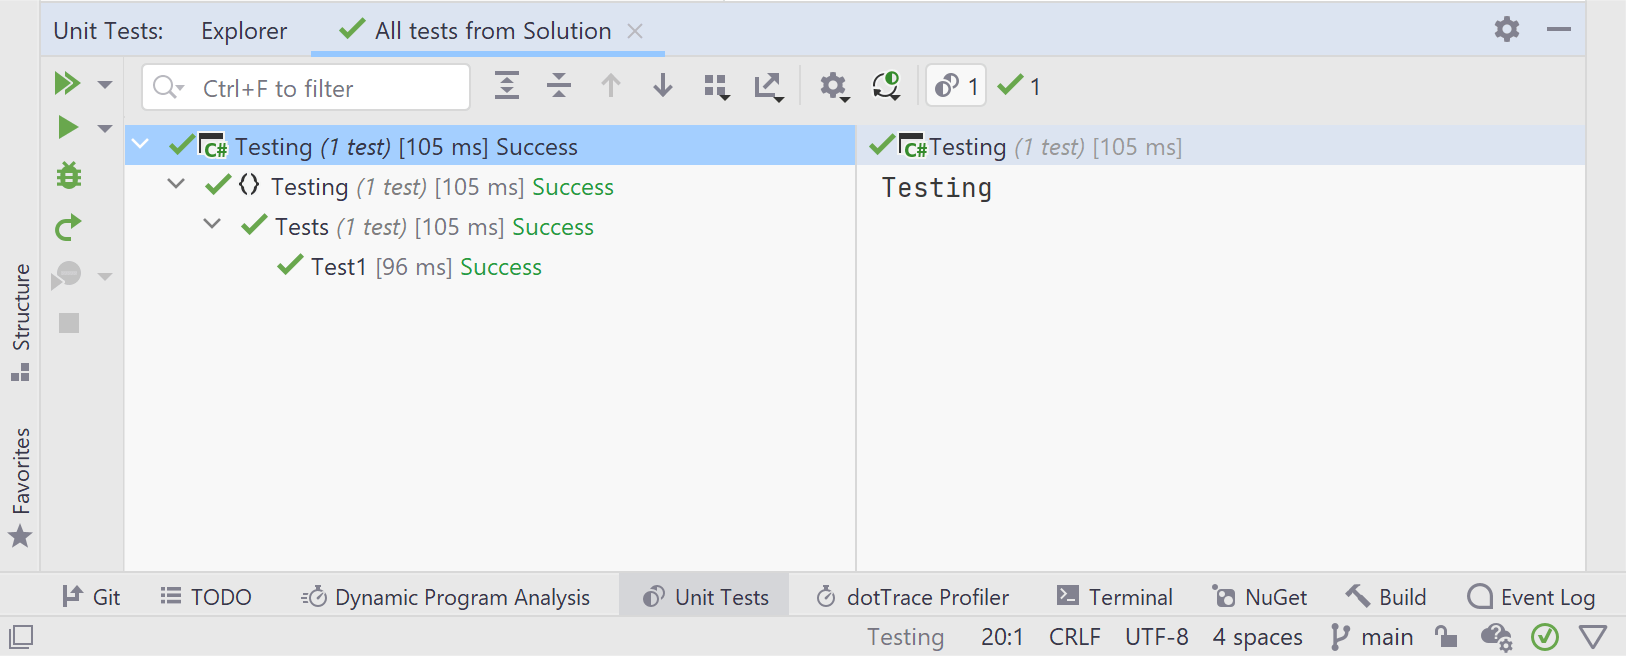
While the UI is slightly different between ReSharper and Rider, developers can find many of the same features by exploring the icons found in Rider's Unit Tests tool window.
Debugging, Coverage, and Profiling
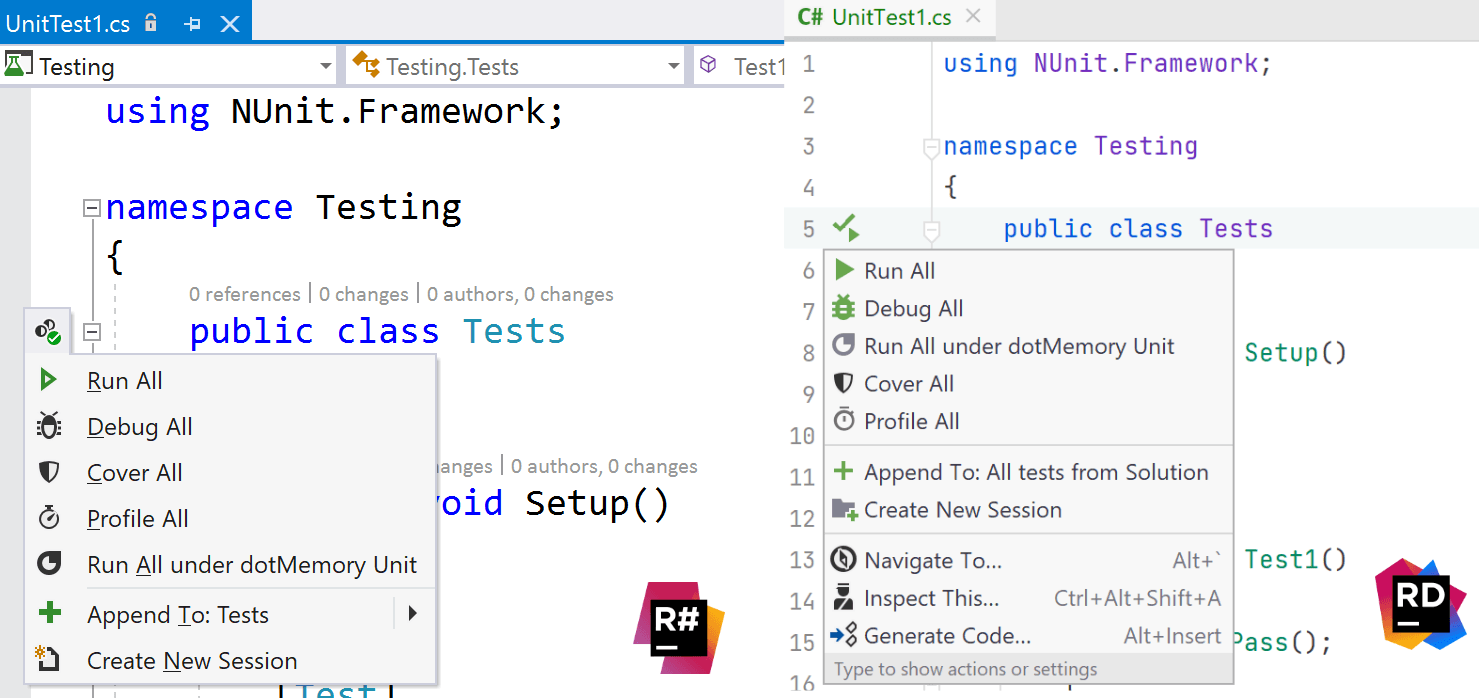
Users with a dotUltimate license will also have access to integrated tools like dotCover, dotMemory, and dotTrace. All these tools are available via the Alt+Enter shortcut menu, and within the Unit Tests window. Within Visual Studio, hitting Alt+Enter over our unit test reveals several options. Rider users will see the same options listed within the IDE, in a slightly different order:
- Run
- Debug
- Cover
- Profile
- Run under dotMemory Unit
Conclusion
The unit testing experiences between Rider and ReSharper are almost identical, and developers transitioning to Rider as their full-time IDE will find it enjoyably familiar. Rider supports many of the popular unit testing frameworks, so users should have no issues running their unit test runner of choice. Additionally, dotUltimate license holders get more as integrations with dotCover, dotMemory, dotCover and dotTrace take unit testing to a whole new level. Unit testing is a cornerstone of modern software development, and with Rider, it's never been more powerful.
Speaking of a whole new level, check out our tutorial series on unit testing in Rider. You'll learn about the power of continuous testing and code coverage.