
Database Setup - Part II
Setting up database migrations with Alembic.
Hello everyone! Welcome to the PyCharm FastAPI Tutorial Series. In this tutorial, we are going to connect FastAPI with Postgres.
DataGrip
Before moving ahead, let us connect to our Postgres database via the DataGrip plugin which is already bundled in PyCharm with Pro subscription.
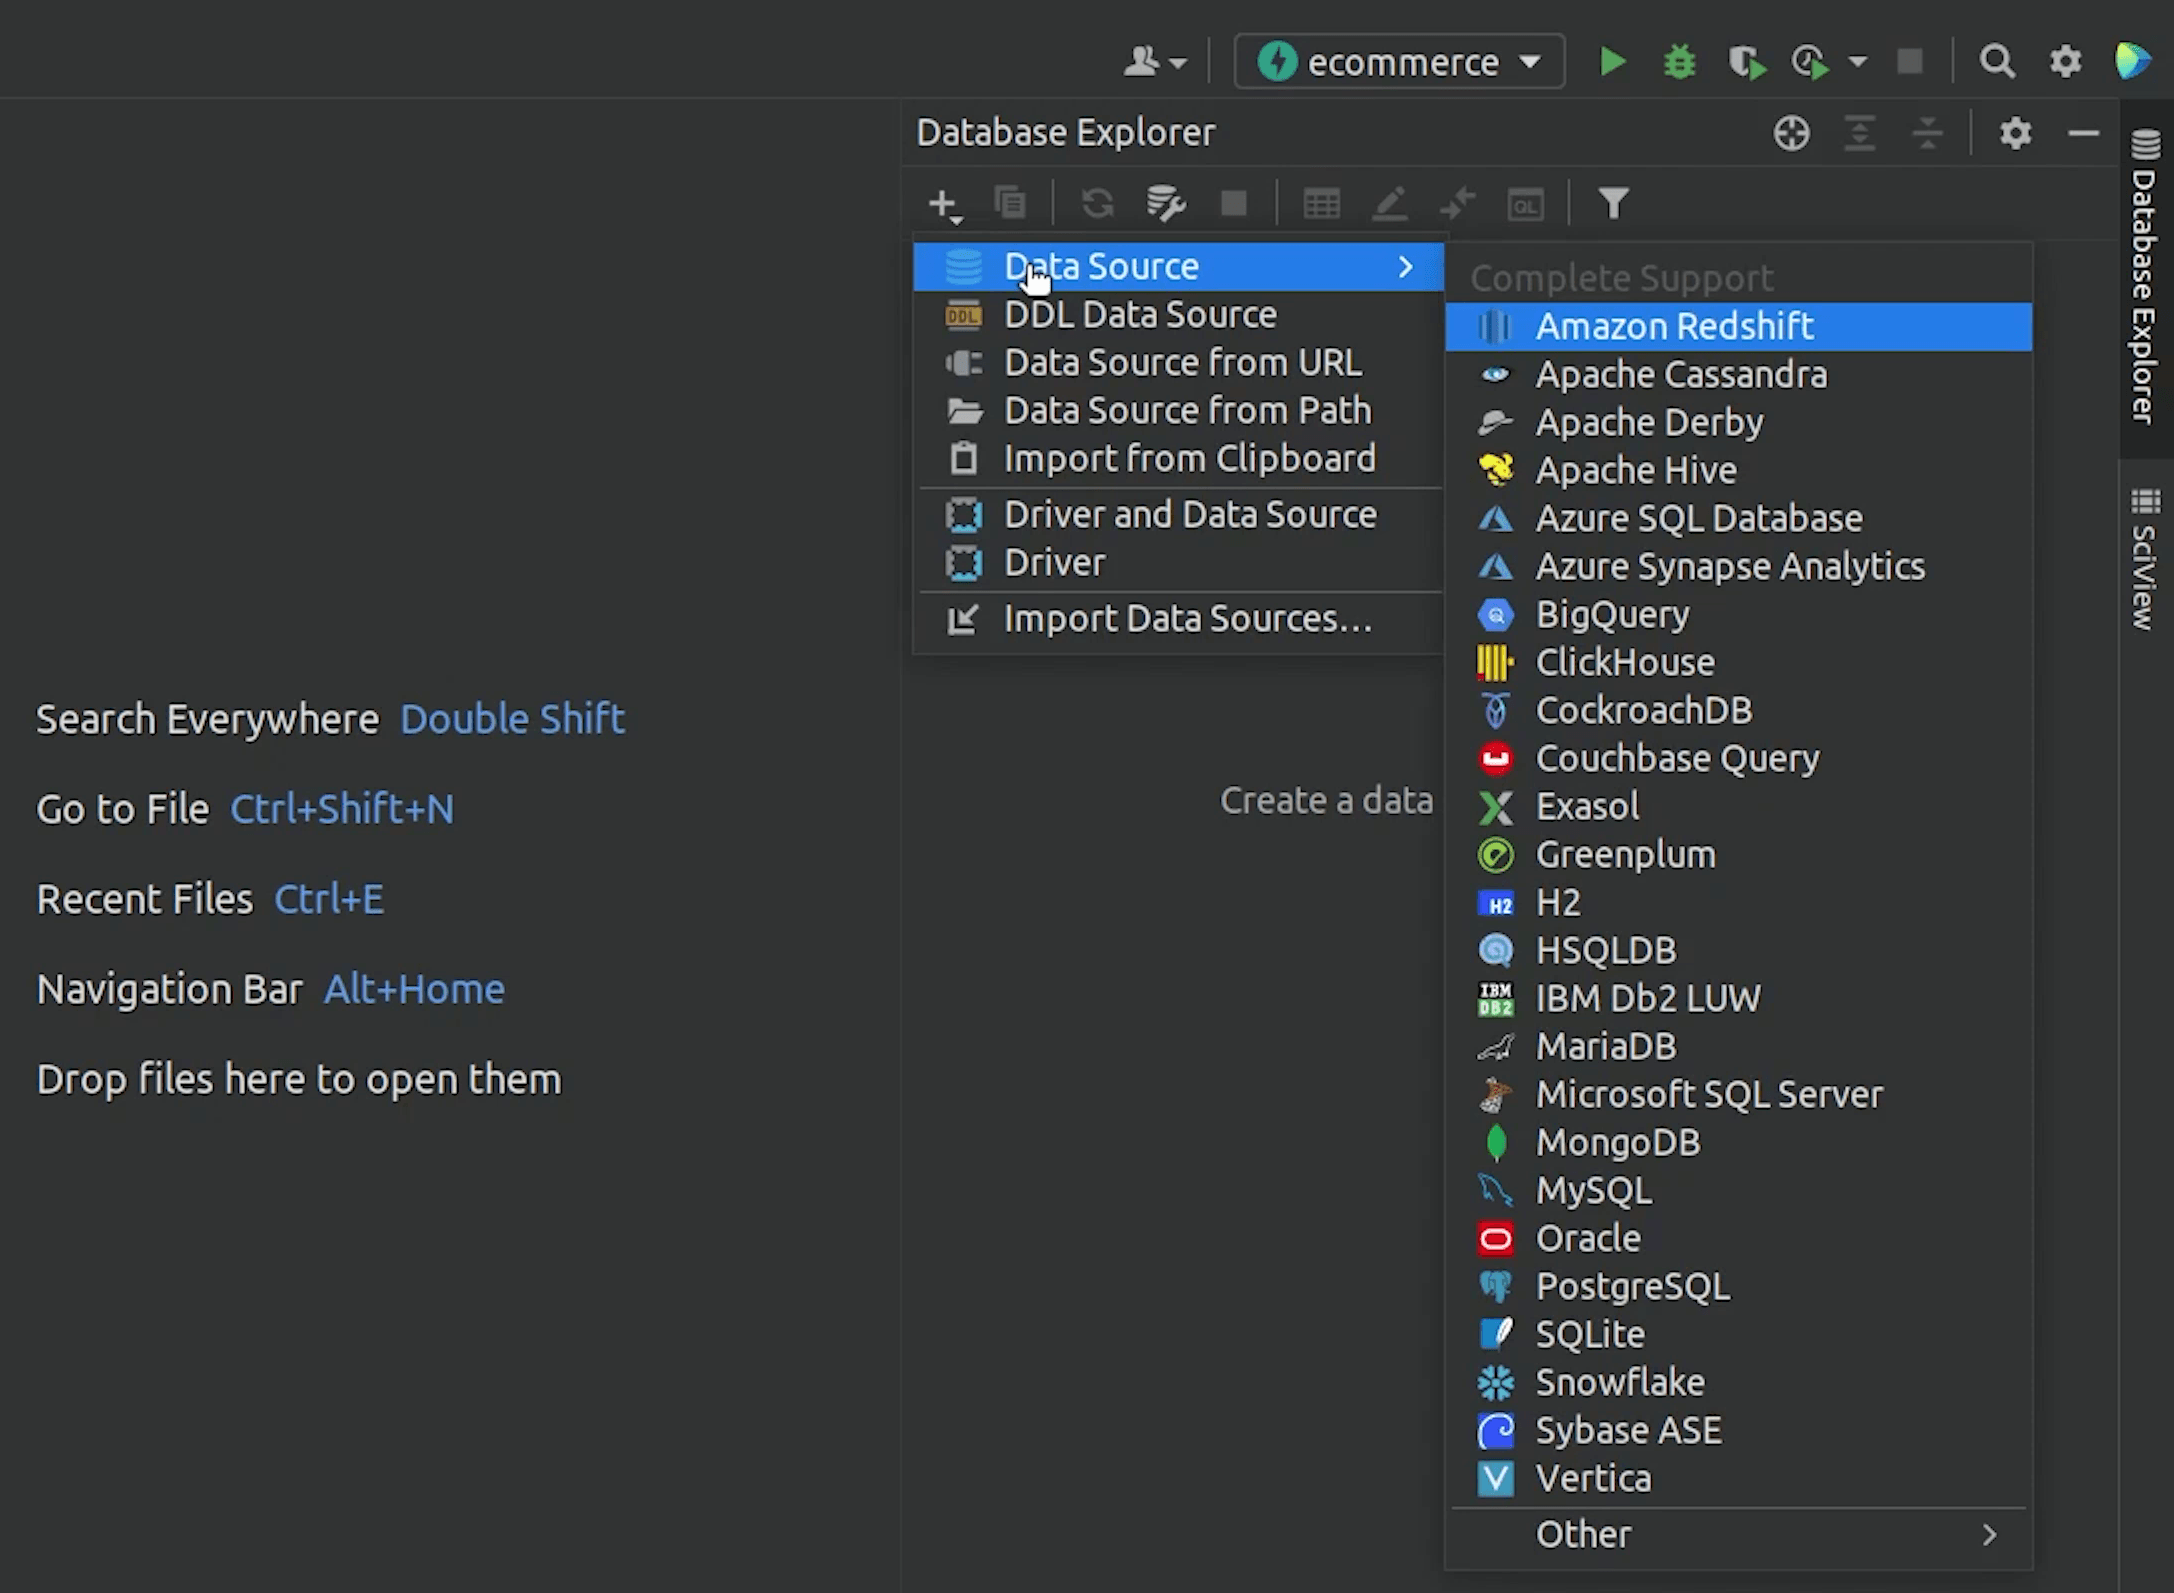
I will click on the Database Explorer, then click on plus (+) and I will choose Postgres.
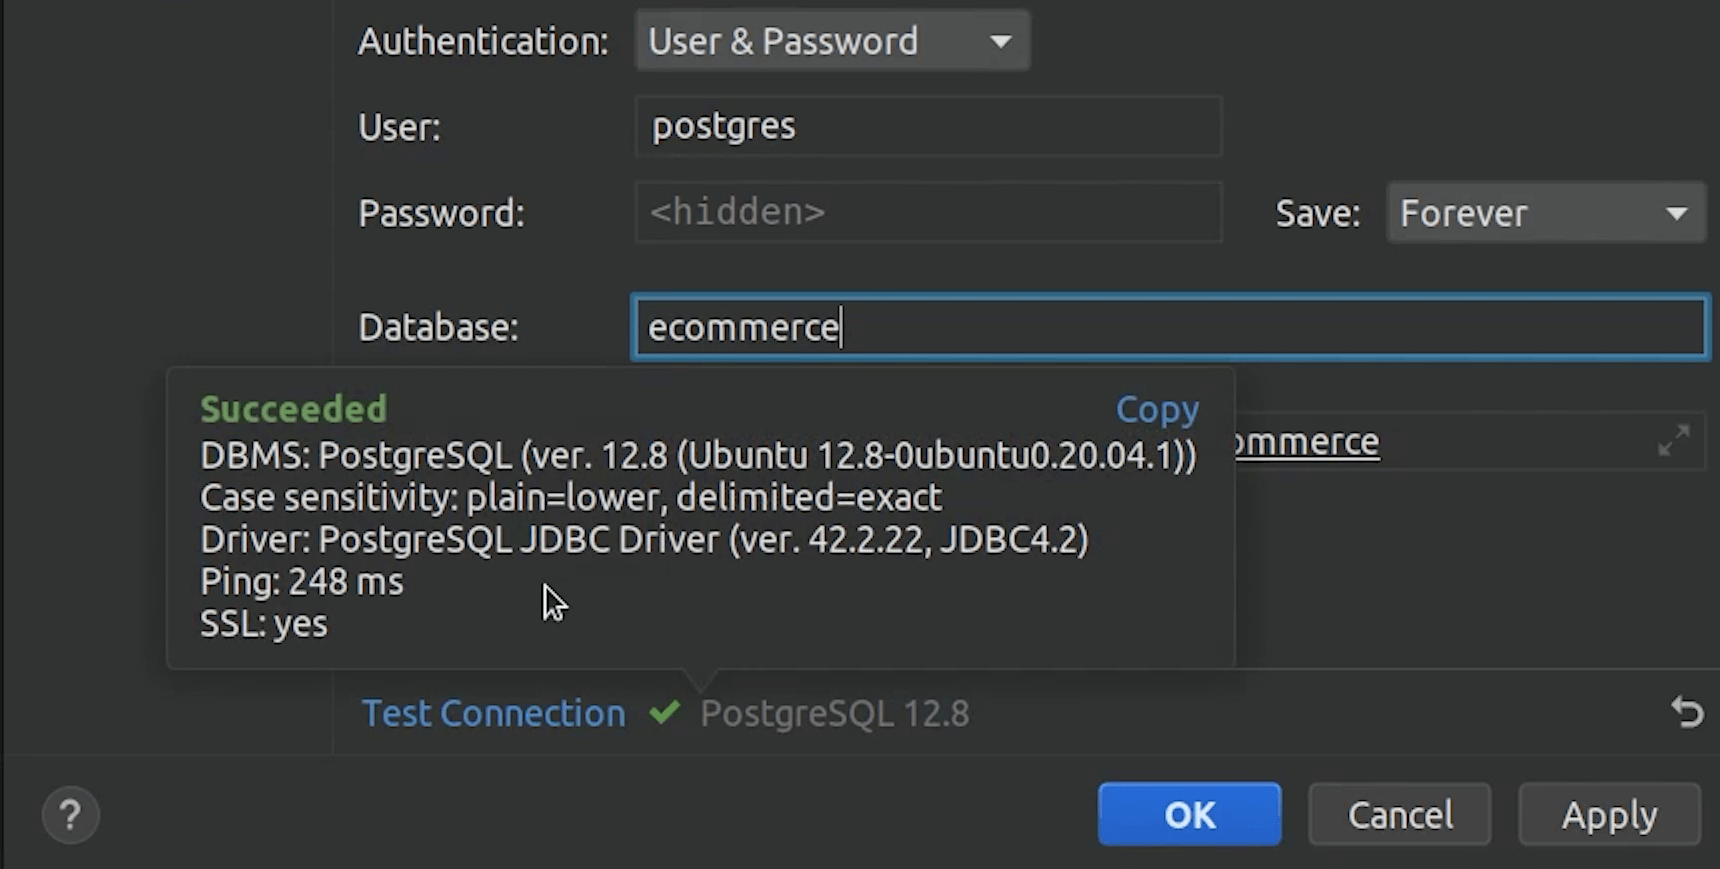
I will provide necessary credentials like host, port, username, password & database name.

I will click Test Connection, just to verify everything is working fine.
Once the connection is successful, I will click on Apply and then OK.
You can observe that there are no tables, so let’s begin by creating our database connection.
Database Connection
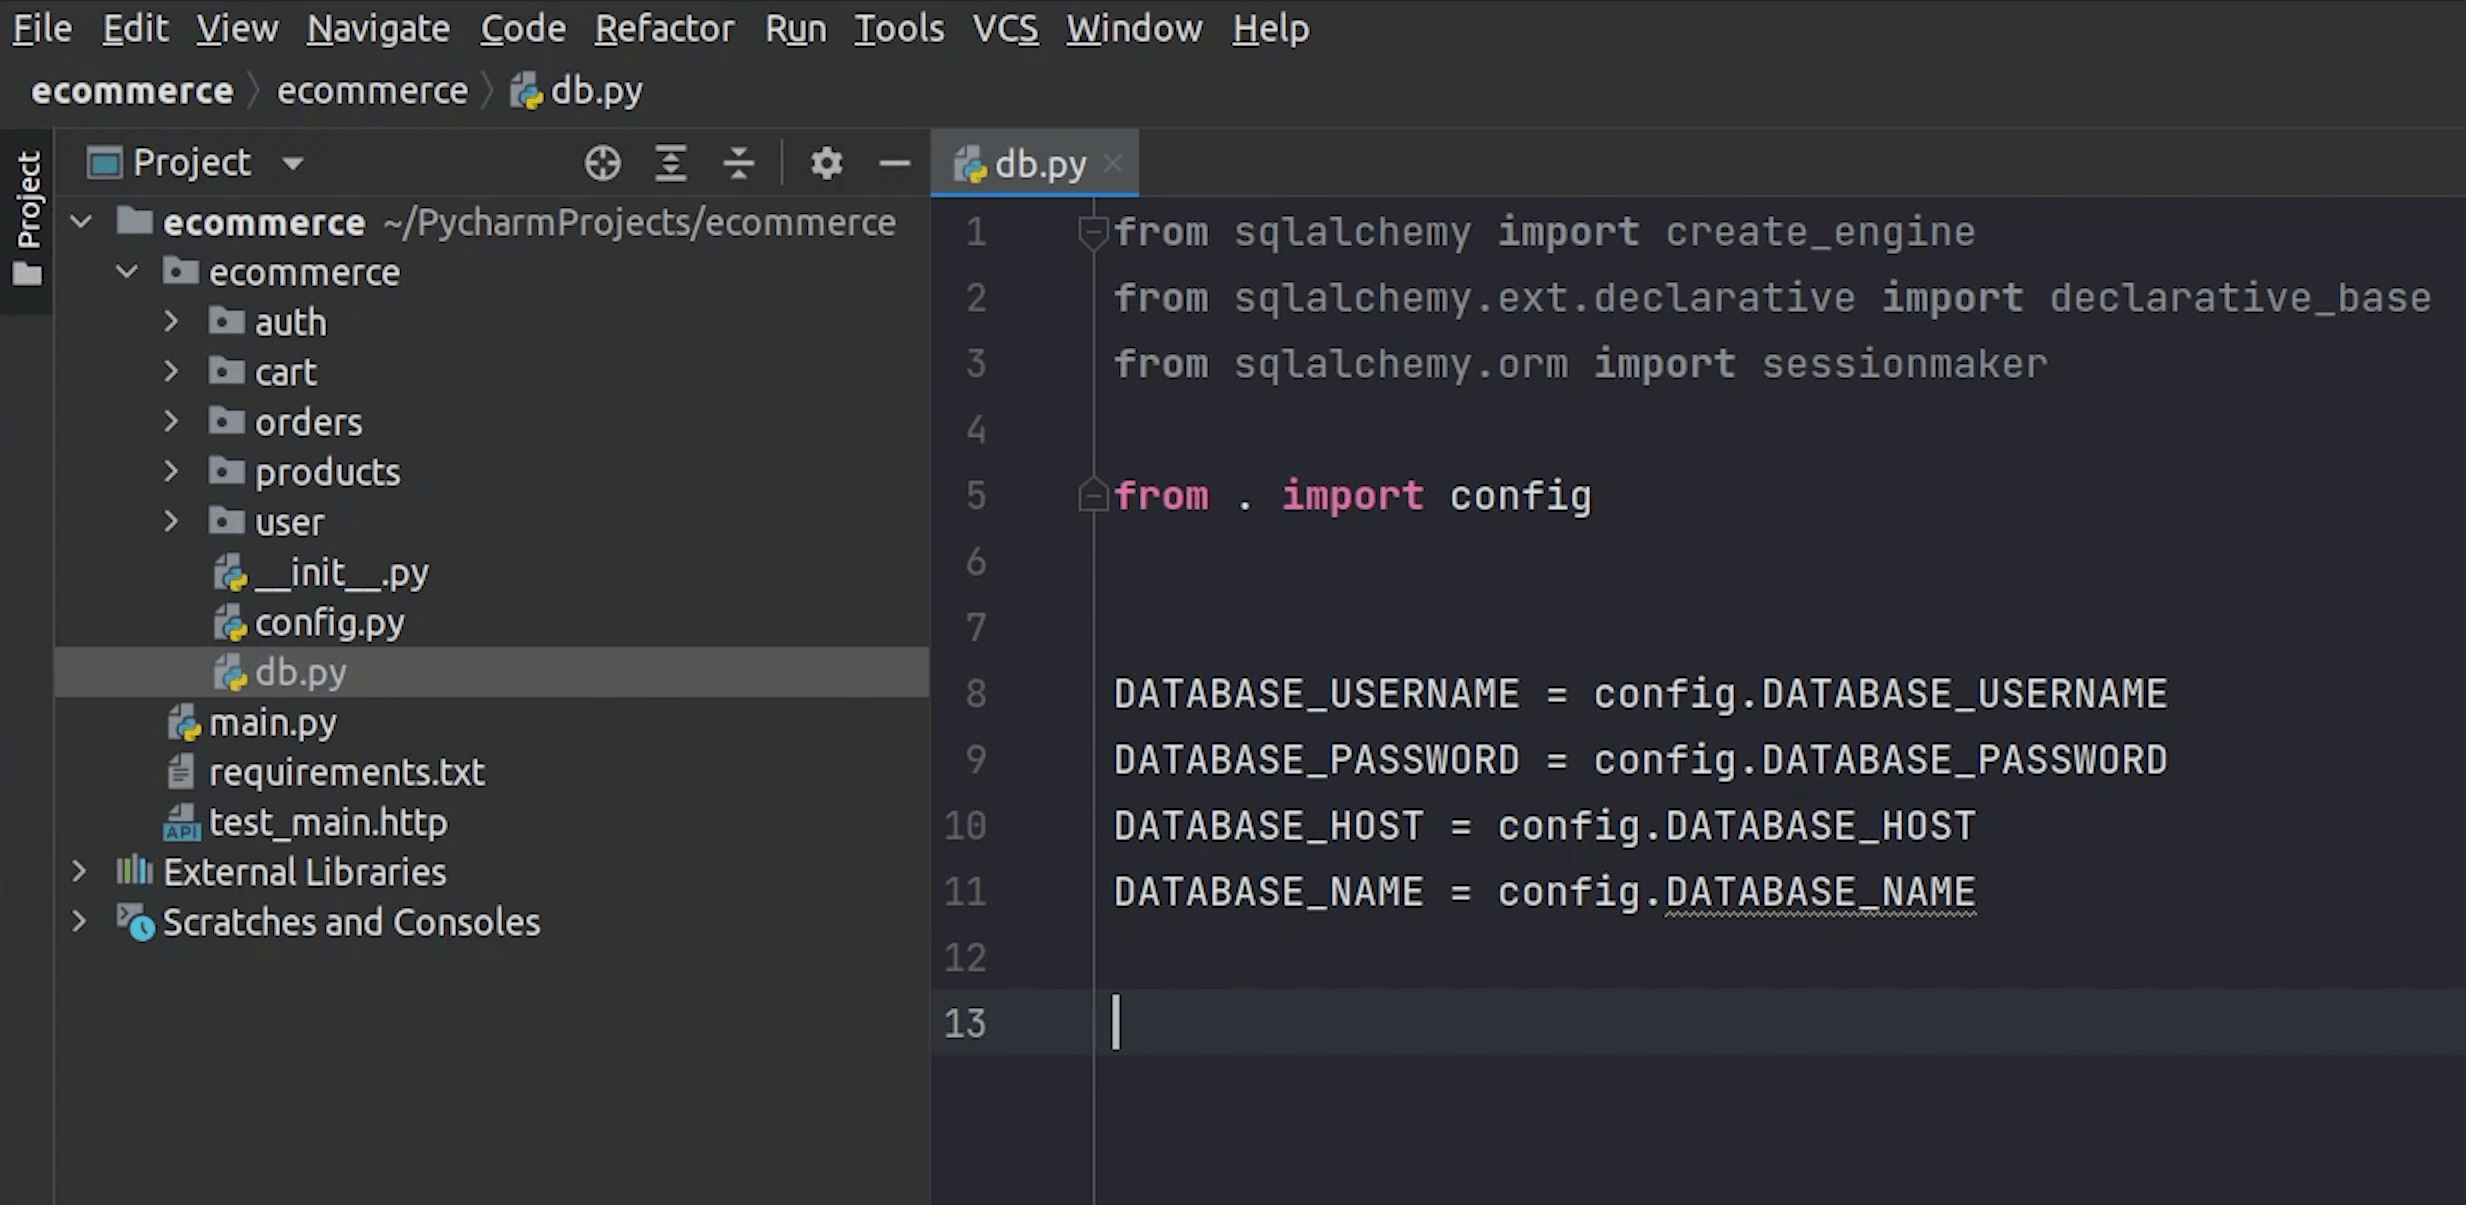
I will create a db.py file and do the necessary imports from sqlalchemy and the config file from where I will need the environment variables like the username, password etc.
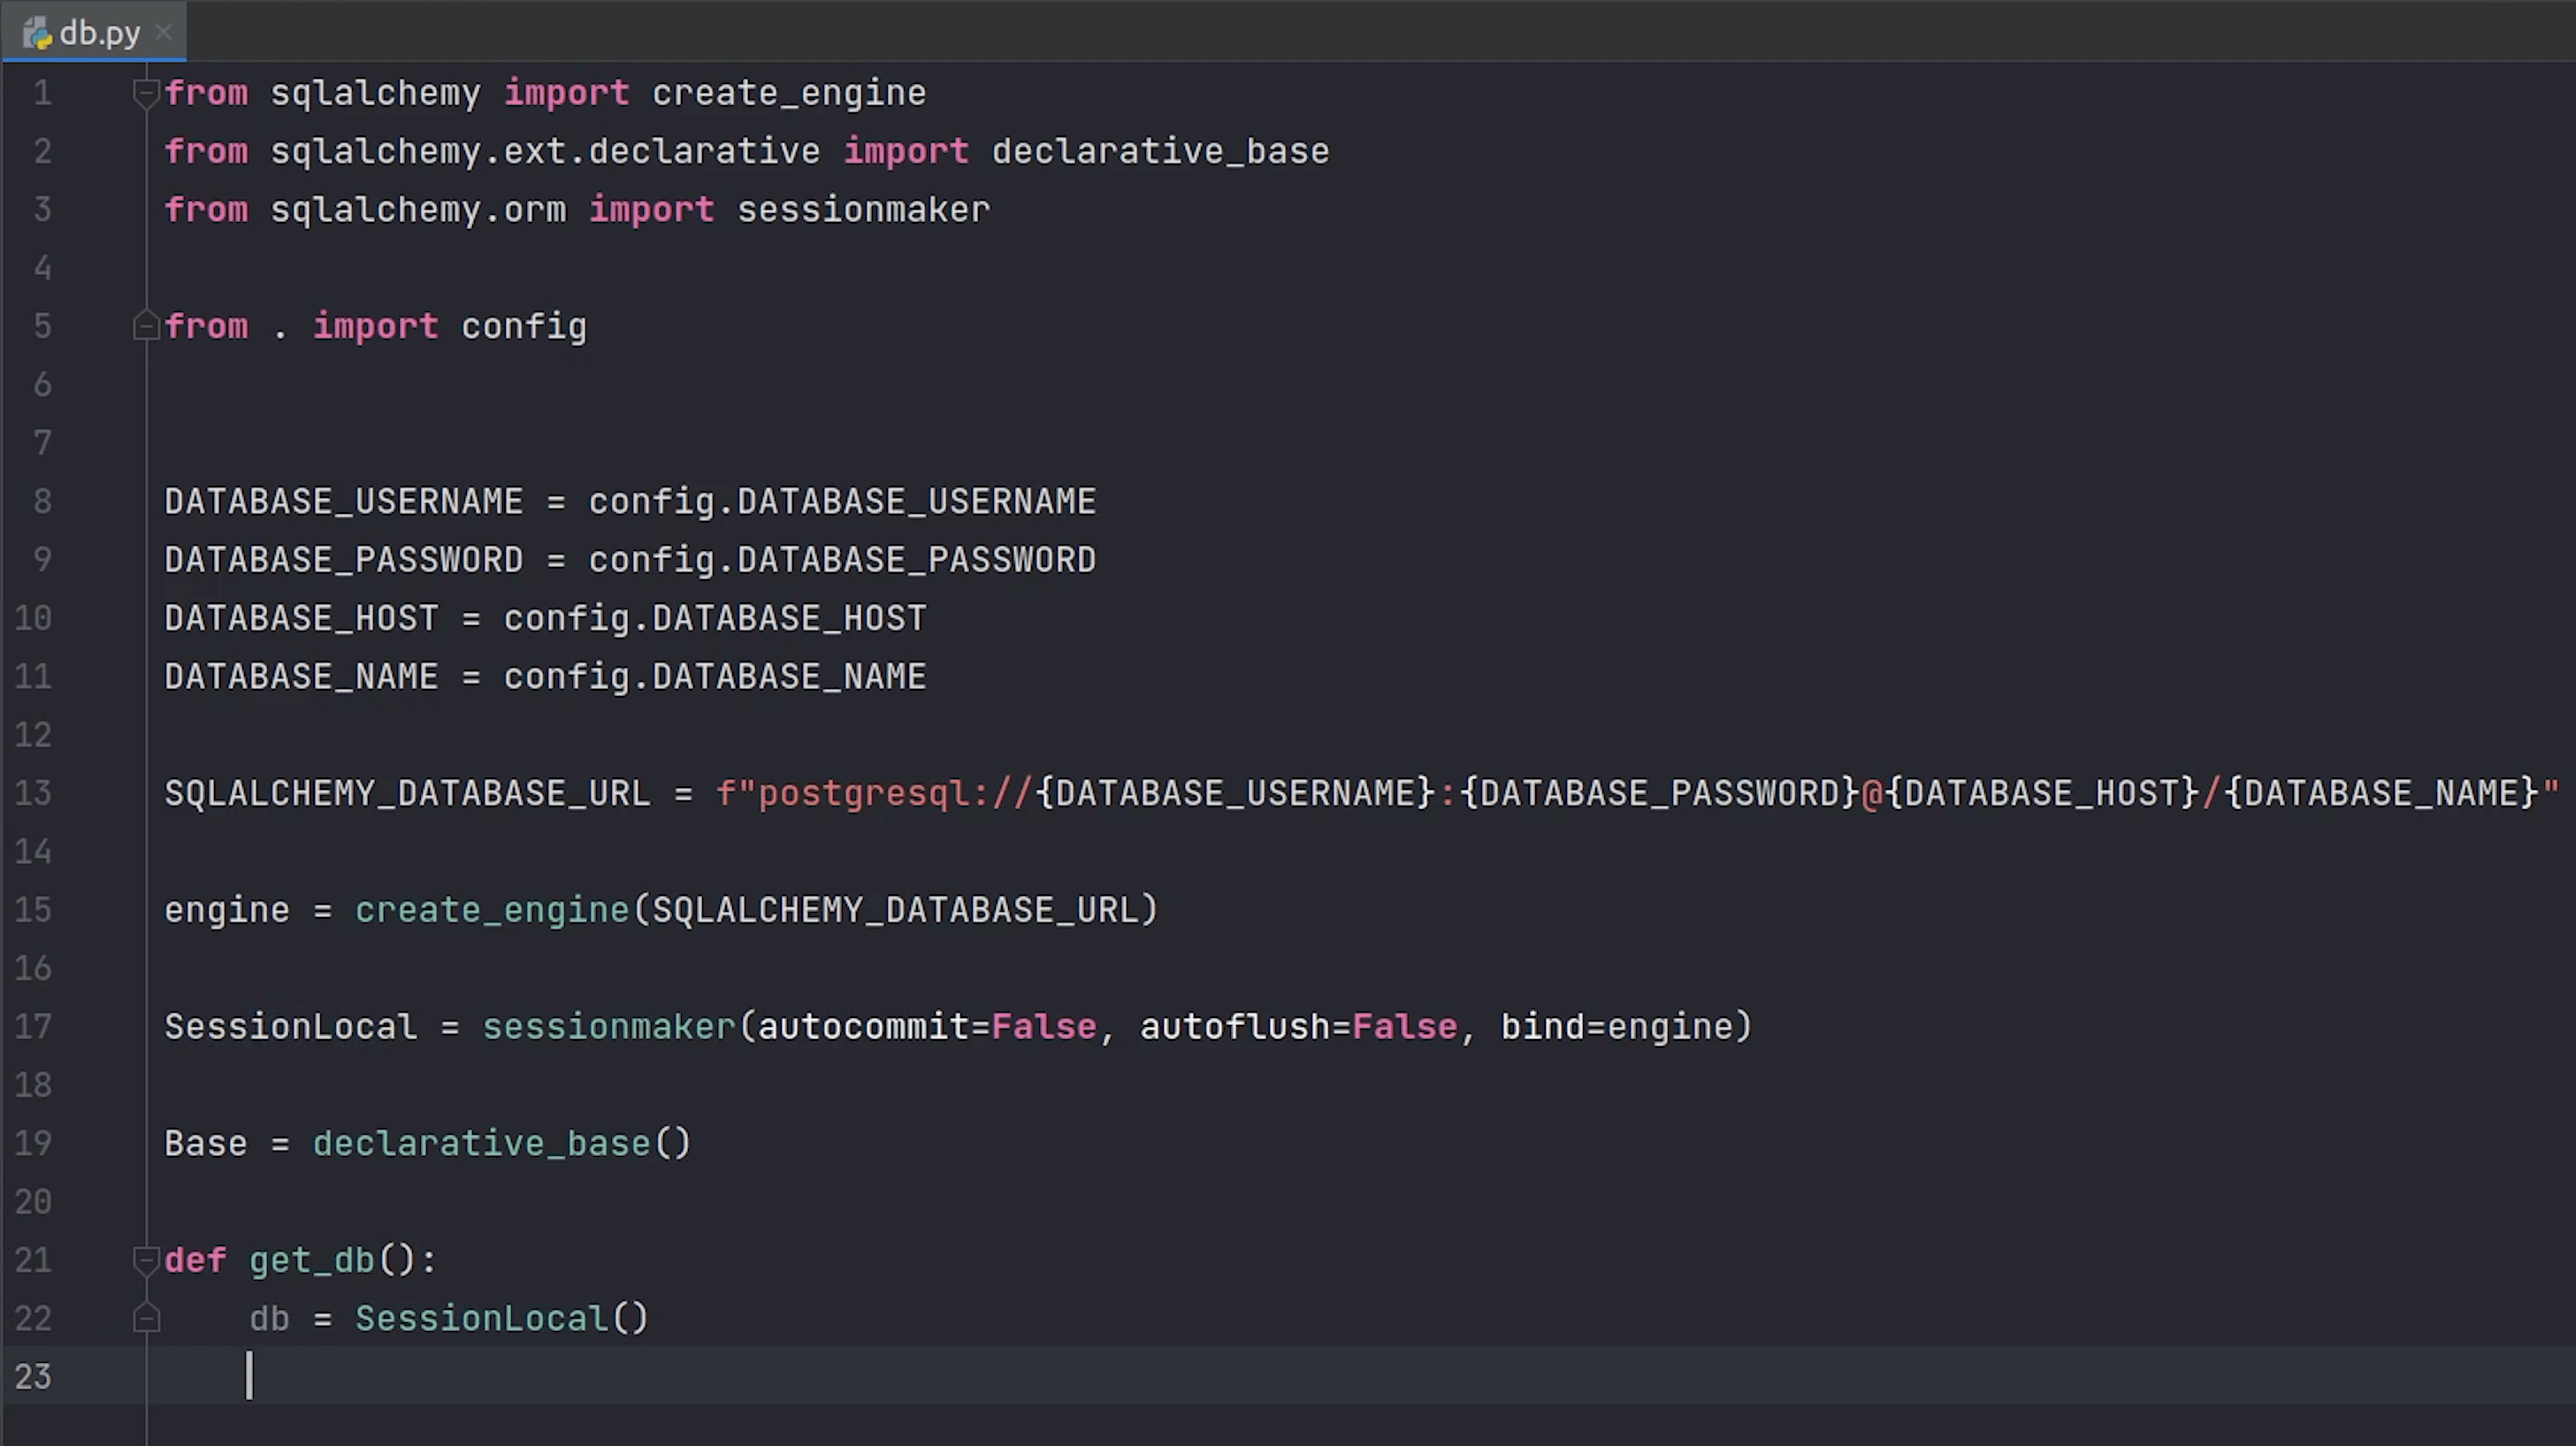
I will create the connection string and name the variable SQLALCHEMY_DATABASE_URL
Next, I will use the common functions like create_engine and sessionmaker
As per the SQLAlchemy documentation, the engine is the starting point for any SQLAlchemy application. It's the “home base” for the actual database and its db api.
In order to interact with the database, a session object is required. The purpose of sessionmaker is to provide a factory for session objects with a fixed configuration.
The declarative_base characteristic is used to create a base class. This function is described in the sqlalchemy.Ext.Declarative module. Later we are going to inherit it to create database models.

At line 22, We will create an instance of a SessionLocal(), which is actually a database session.
Source Code :
from sqlalchemy import create_engine
from sqlalchemy.ext.declarative import declarative_base
from sqlalchemy.orm import sessionmaker

from . import config

DATABASE_USERNAME = config.DATABASE_USERNAME
DATABASE_PASSWORD = config.DATABASE_PASSWORD
DATABASE_HOST = config.DATABASE_HOST
DATABASE_NAME = config.DATABASE_NAME

SQLALCHEMY_DATABASE_URL = f"postgresql://{DATABASE_USERNAME}:{DATABASE_PASSWORD}@{DATABASE_HOST}/{DATABASE_NAME}"

engine = create_engine(SQLALCHEMY_DATABASE_URL)

SessionLocal = sessionmaker(autocommit=False, autoflush=False, bind=engine)

Base = declarative_base()


def get_db():
    db = SessionLocal()
    try:
        yield db
    finally:
        db.close()
Migrations
We are done with the db config part, next we need to deal with something called migrations.
It basically performs schema migrations whenever we add (or drop) tables or columns from our databases.
According to the FastAPI docs: A "migration" is the set of steps needed whenever you change the structure of your SQLAlchemy models, add a new attribute, etc. to replicate those changes in the database, add a new column, a new table, etc.
To know more about migrations, check out this link.
For our tutorial, we will be using Alembic. It is a widely used library for database migrations. You might have already heard about it.
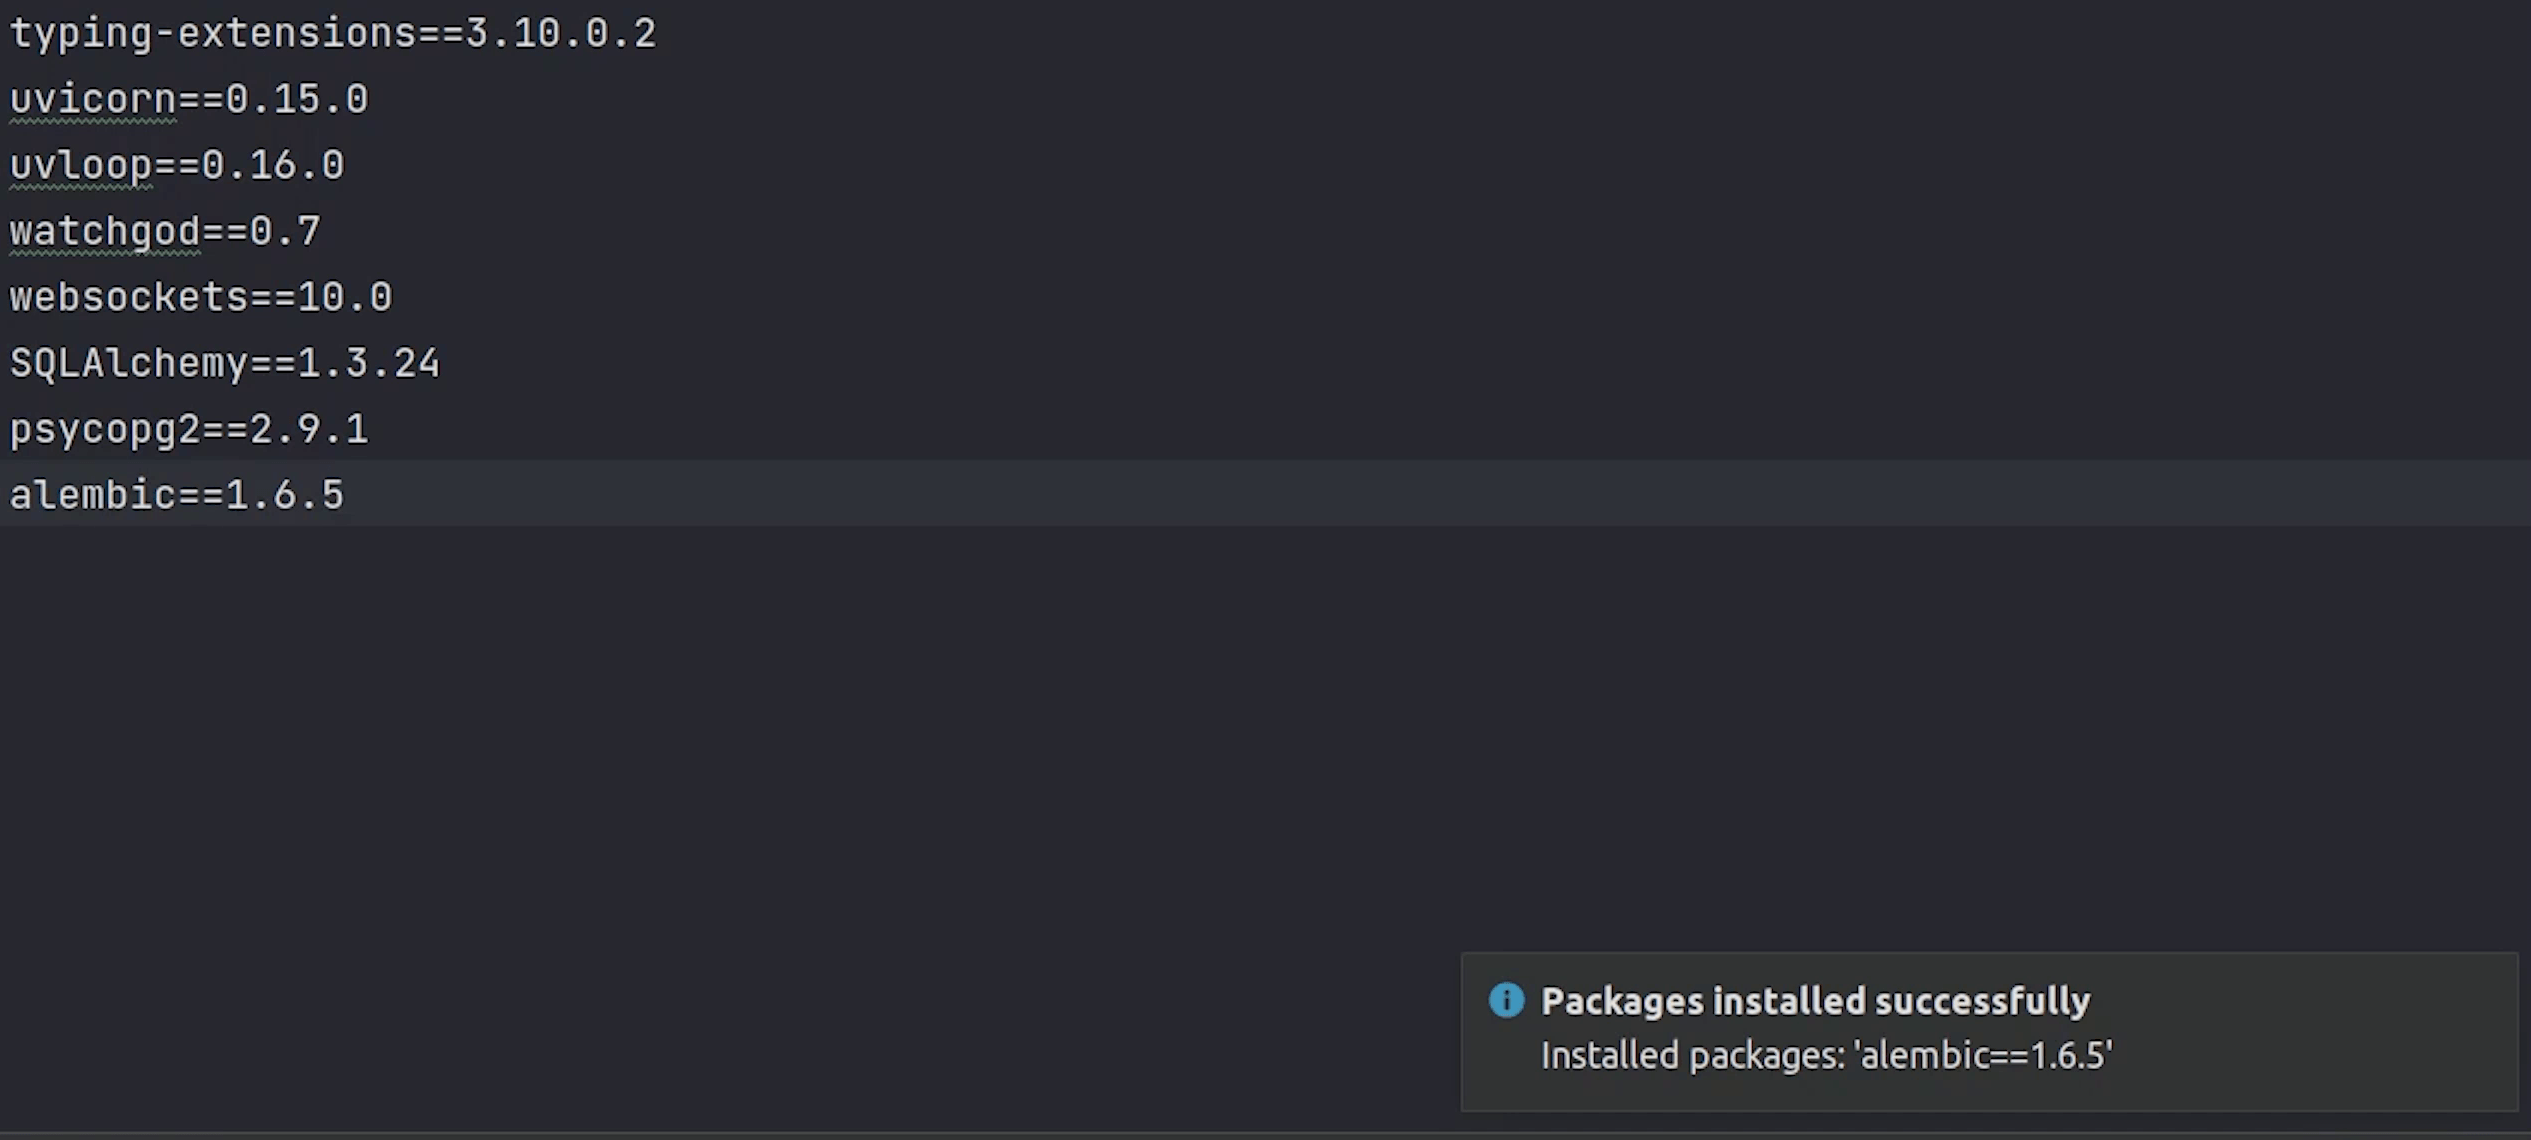
Let’s begin by installing the package alembic with version 1.6.5, this is the version which we are going to use.
After successfully installing alembic, we will move ahead with initializing the setup.
Alembic Setup
I am going to type alembic init alembic.
alembic init alembic
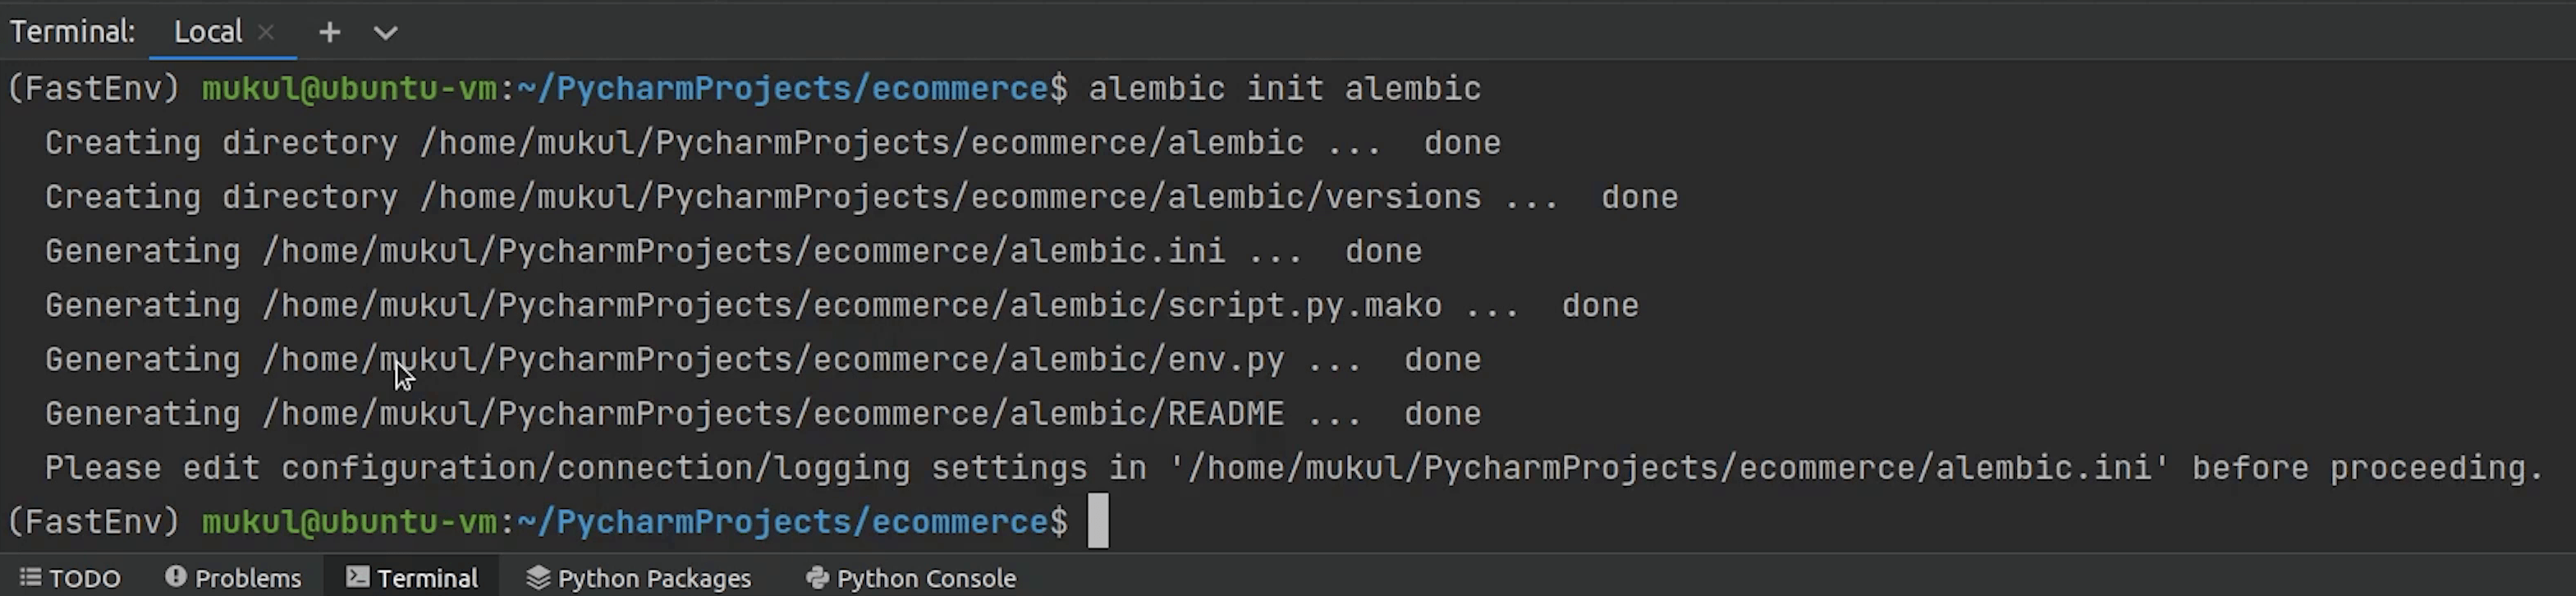
It creates a directory named alembic in the project root, along-with few files and a subdirectory named versions which keeps track of migrations files.
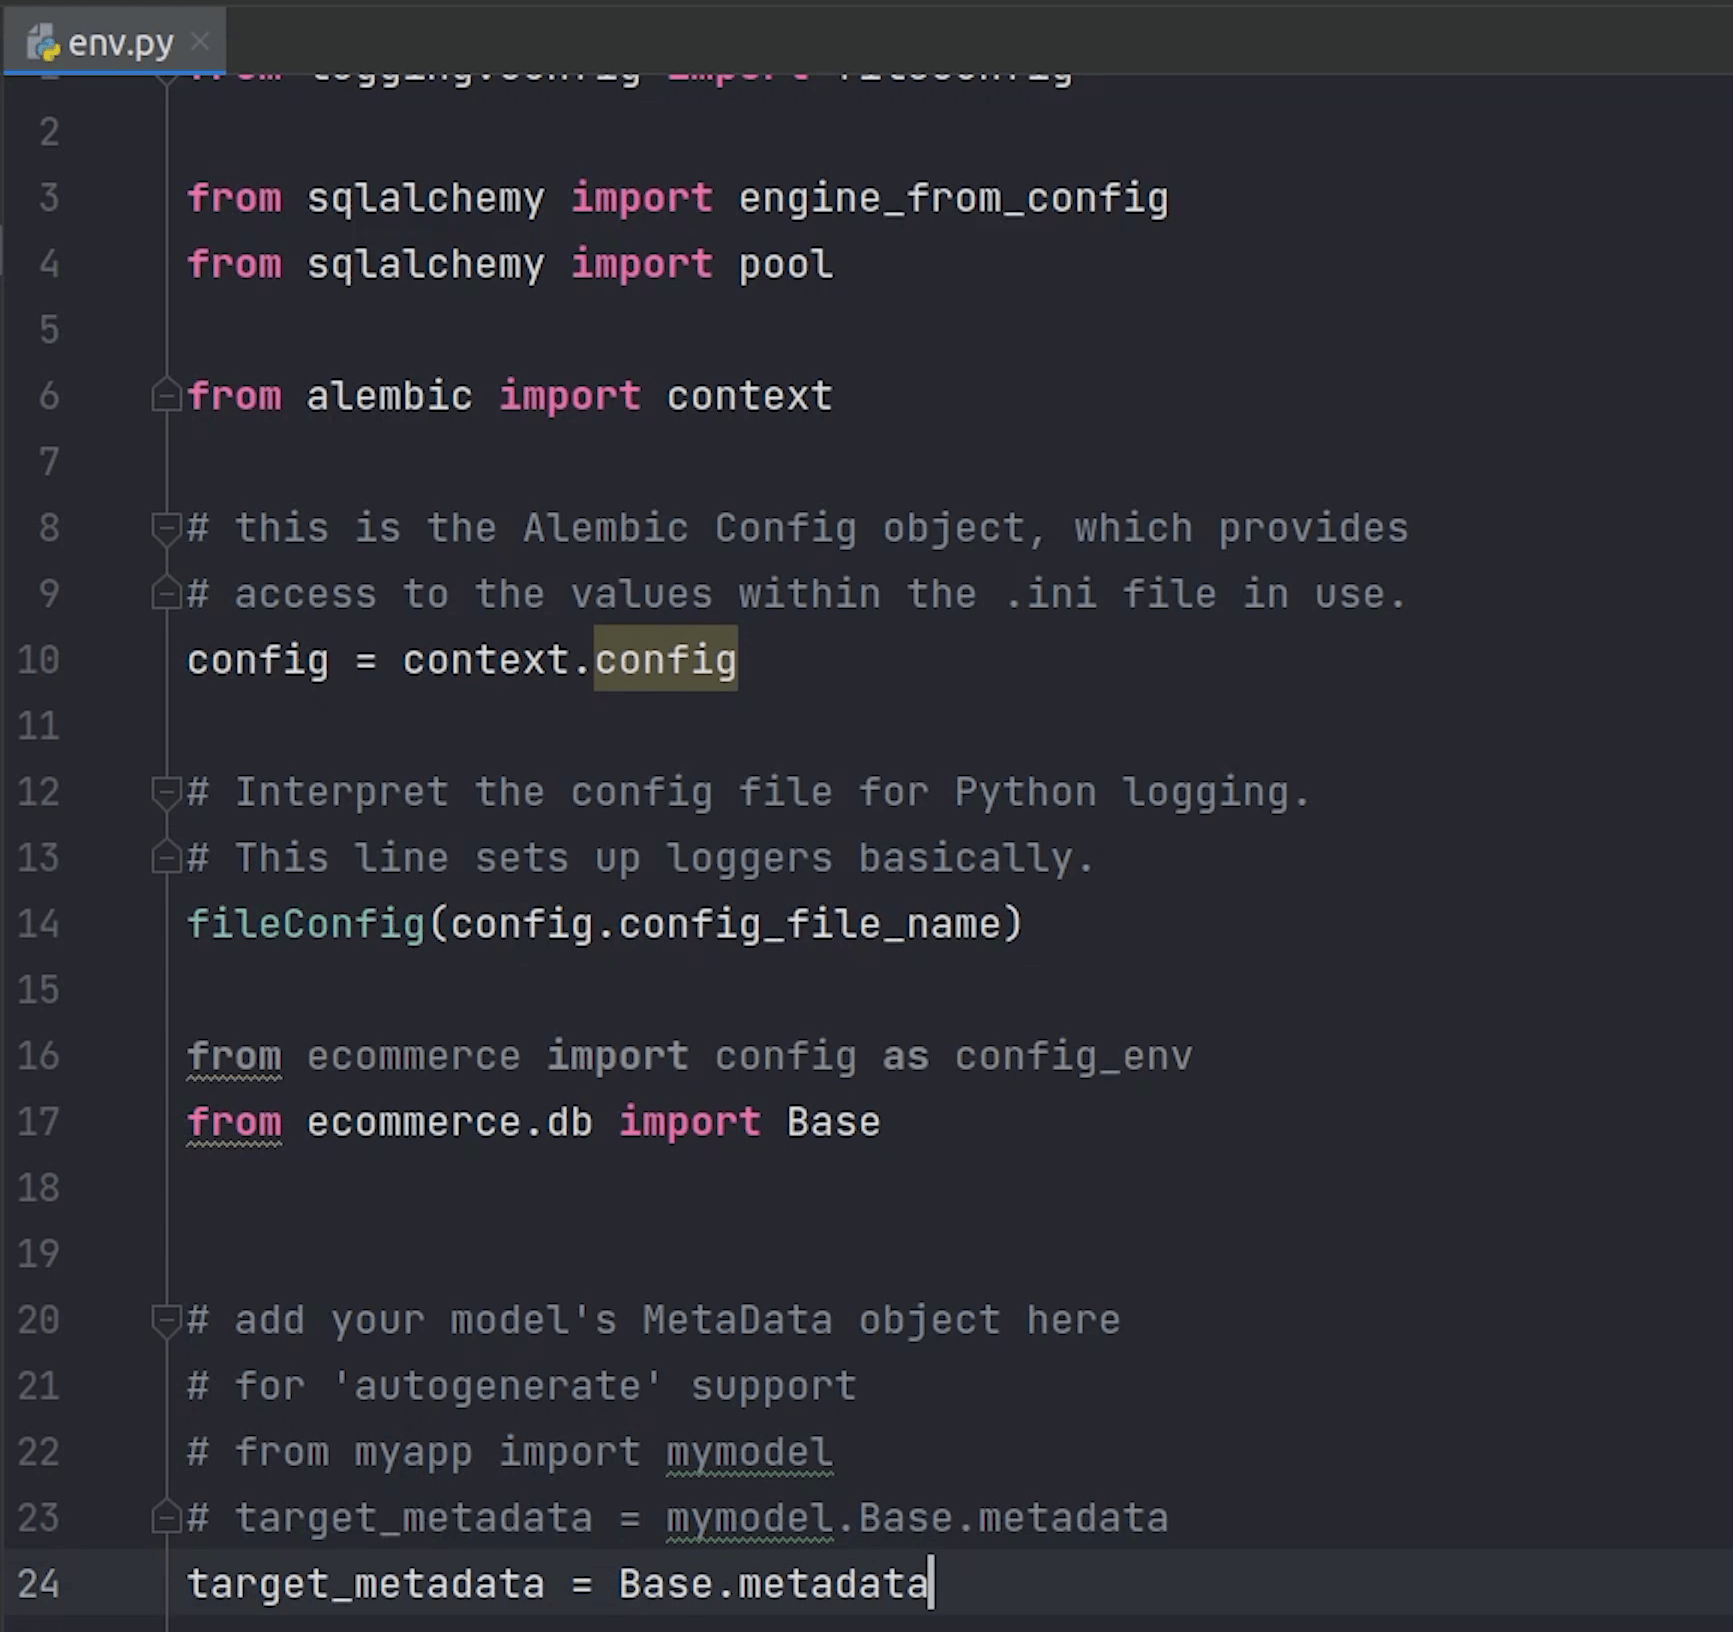
We are going to update the database configuration in the env.py file.

Again, I am going to do the necessary imports. Make sure to point target metadata to base metadata.
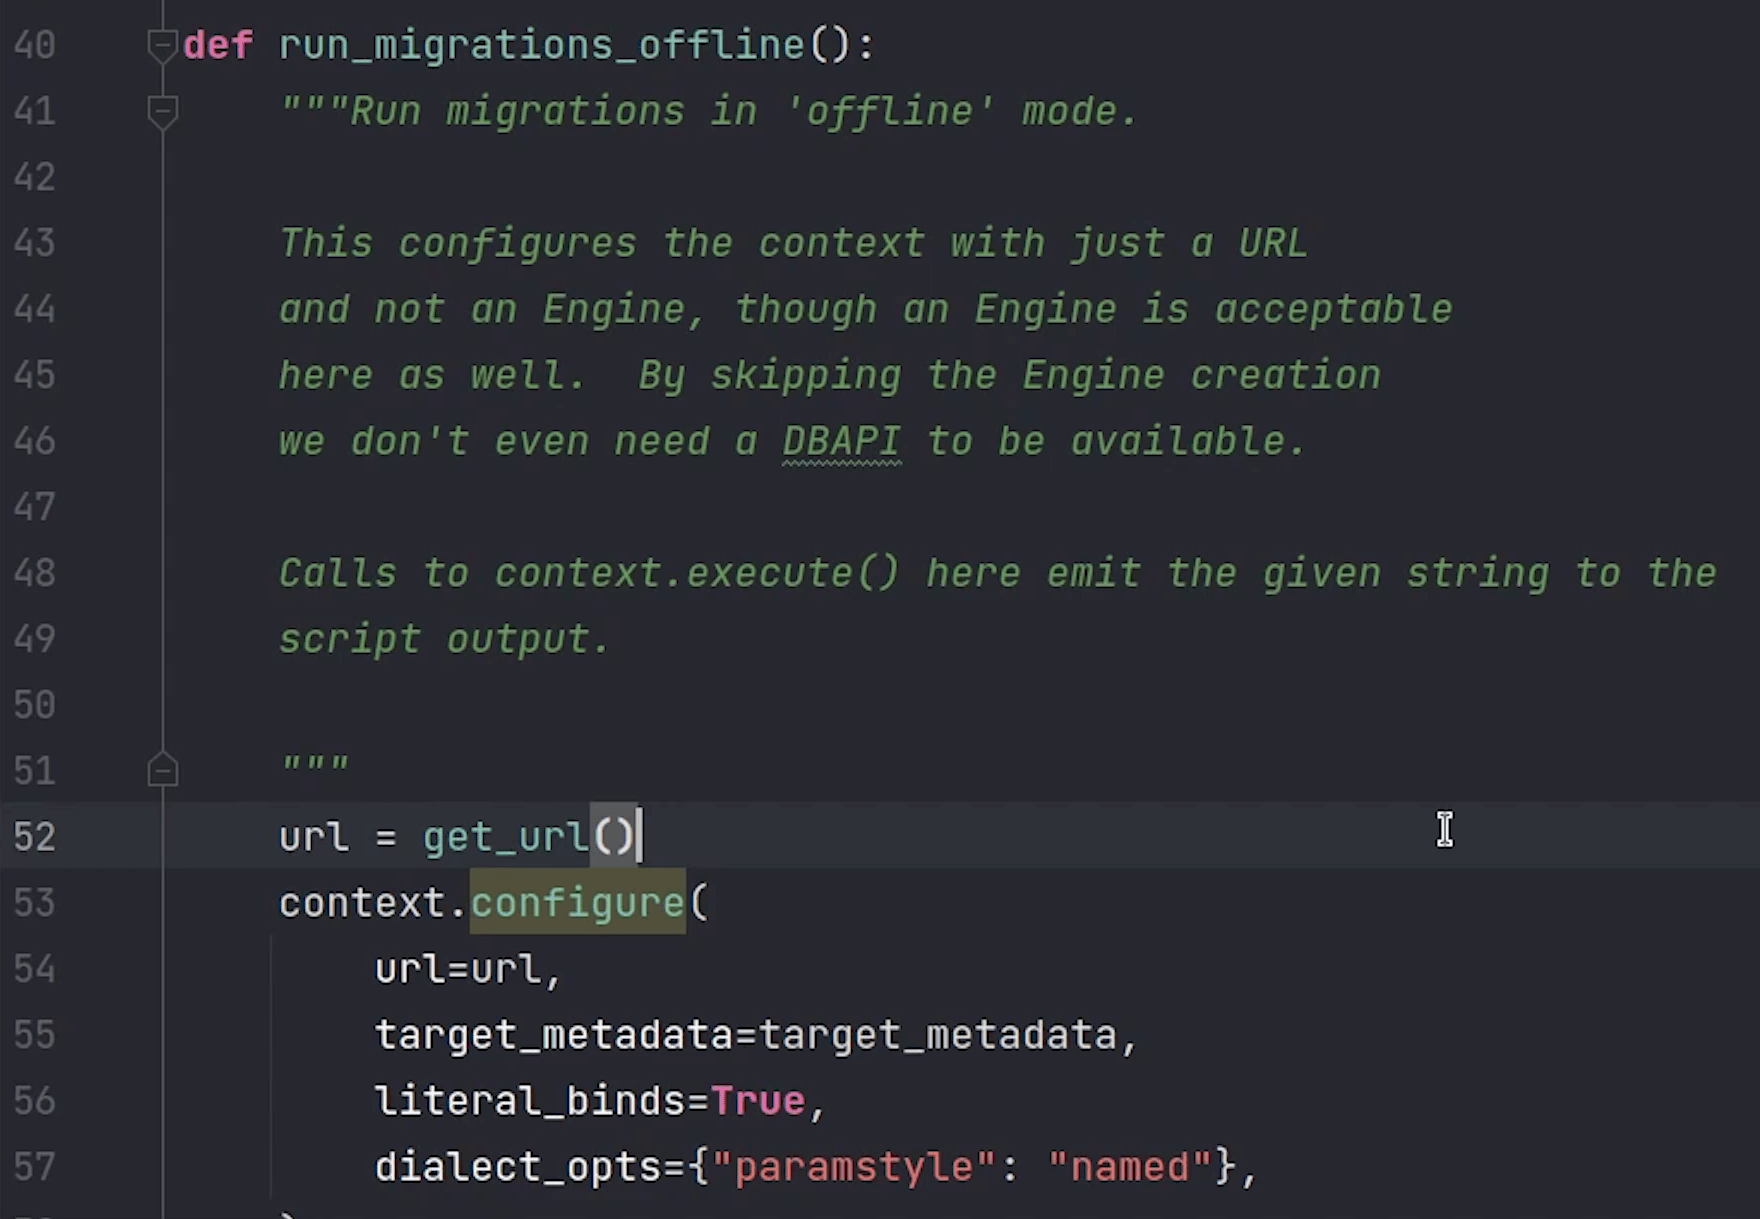
I will create a get_url function, where I will be returning the database connection string.

Make sure to update line number 52 with get_url function.
Comment the connectable variable which falls under run_migrations_online function.

Source Code :
from __future__ import with_statement

from logging.config import fileConfig

from alembic import context
from sqlalchemy import engine_from_config, pool

# this is the Alembic Config object, which provides
# access to the values within the .ini file in use.
config = context.config

# Interpret the config file for Python logging.
# This line sets up loggers basically.
fileConfig(config.config_file_name)

# add your model's MetaData object here
# for 'autogenerate' support
# from myapp import mymodel
# target_metadata = mymodel.Base.metadata
# target_metadata = None

from ecommerce import config as config_env
from ecommerce.db import Base

target_metadata = Base.metadata


# other values from the config, defined by the needs of env.py,
# can be acquired:
# my_important_option = config.get_main_option("my_important_option")
# ... etc.


def get_url():
    db_user = config_env.DATABASE_USERNAME
    db_password = config_env.DATABASE_PASSWORD
    db_host = config_env.DATABASE_HOST
    db_name = config_env.DATABASE_NAME
    return f"postgresql://{db_user}:{db_password}@{db_host}/{db_name}"


def run_migrations_offline():
    """Run migrations in 'offline' mode.

    This configures the context with just a URL
    and not an Engine, though an Engine is acceptable
    here as well.  By skipping the Engine creation
    we don't even need a DBAPI to be available.

    Calls to context.execute() here emit the given string to the
    script output.

    """
    url = get_url()
    context.configure(
        url=url, target_metadata=target_metadata, literal_binds=True, compare_type=True
    )

    with context.begin_transaction():
        context.run_migrations()


def run_migrations_online():
    """Run migrations in 'online' mode.

    In this scenario we need to create an Engine
    and associate a connection with the context.

    """
    configuration = config.get_section(config.config_ini_section)
    configuration["sqlalchemy.url"] = get_url()
    connectable = engine_from_config(
        configuration, prefix="sqlalchemy.", poolclass=pool.NullPool,
    )

    with connectable.connect() as connection:
        context.configure(
            connection=connection, target_metadata=target_metadata, compare_type=True
        )

        with context.begin_transaction():
            context.run_migrations()


if context.is_offline_mode():
    run_migrations_offline()
else:
    run_migrations_online()
We are done with the alembic setup. Next, we are going to create models for our user module.
User Model
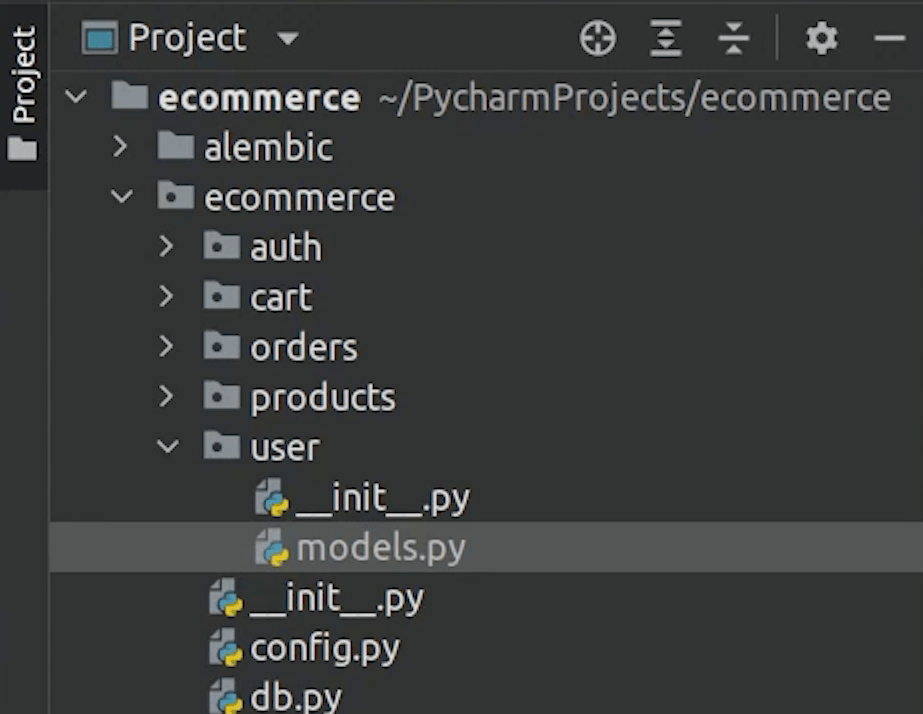
I am going to create models.py file under user and perform necessary imports.

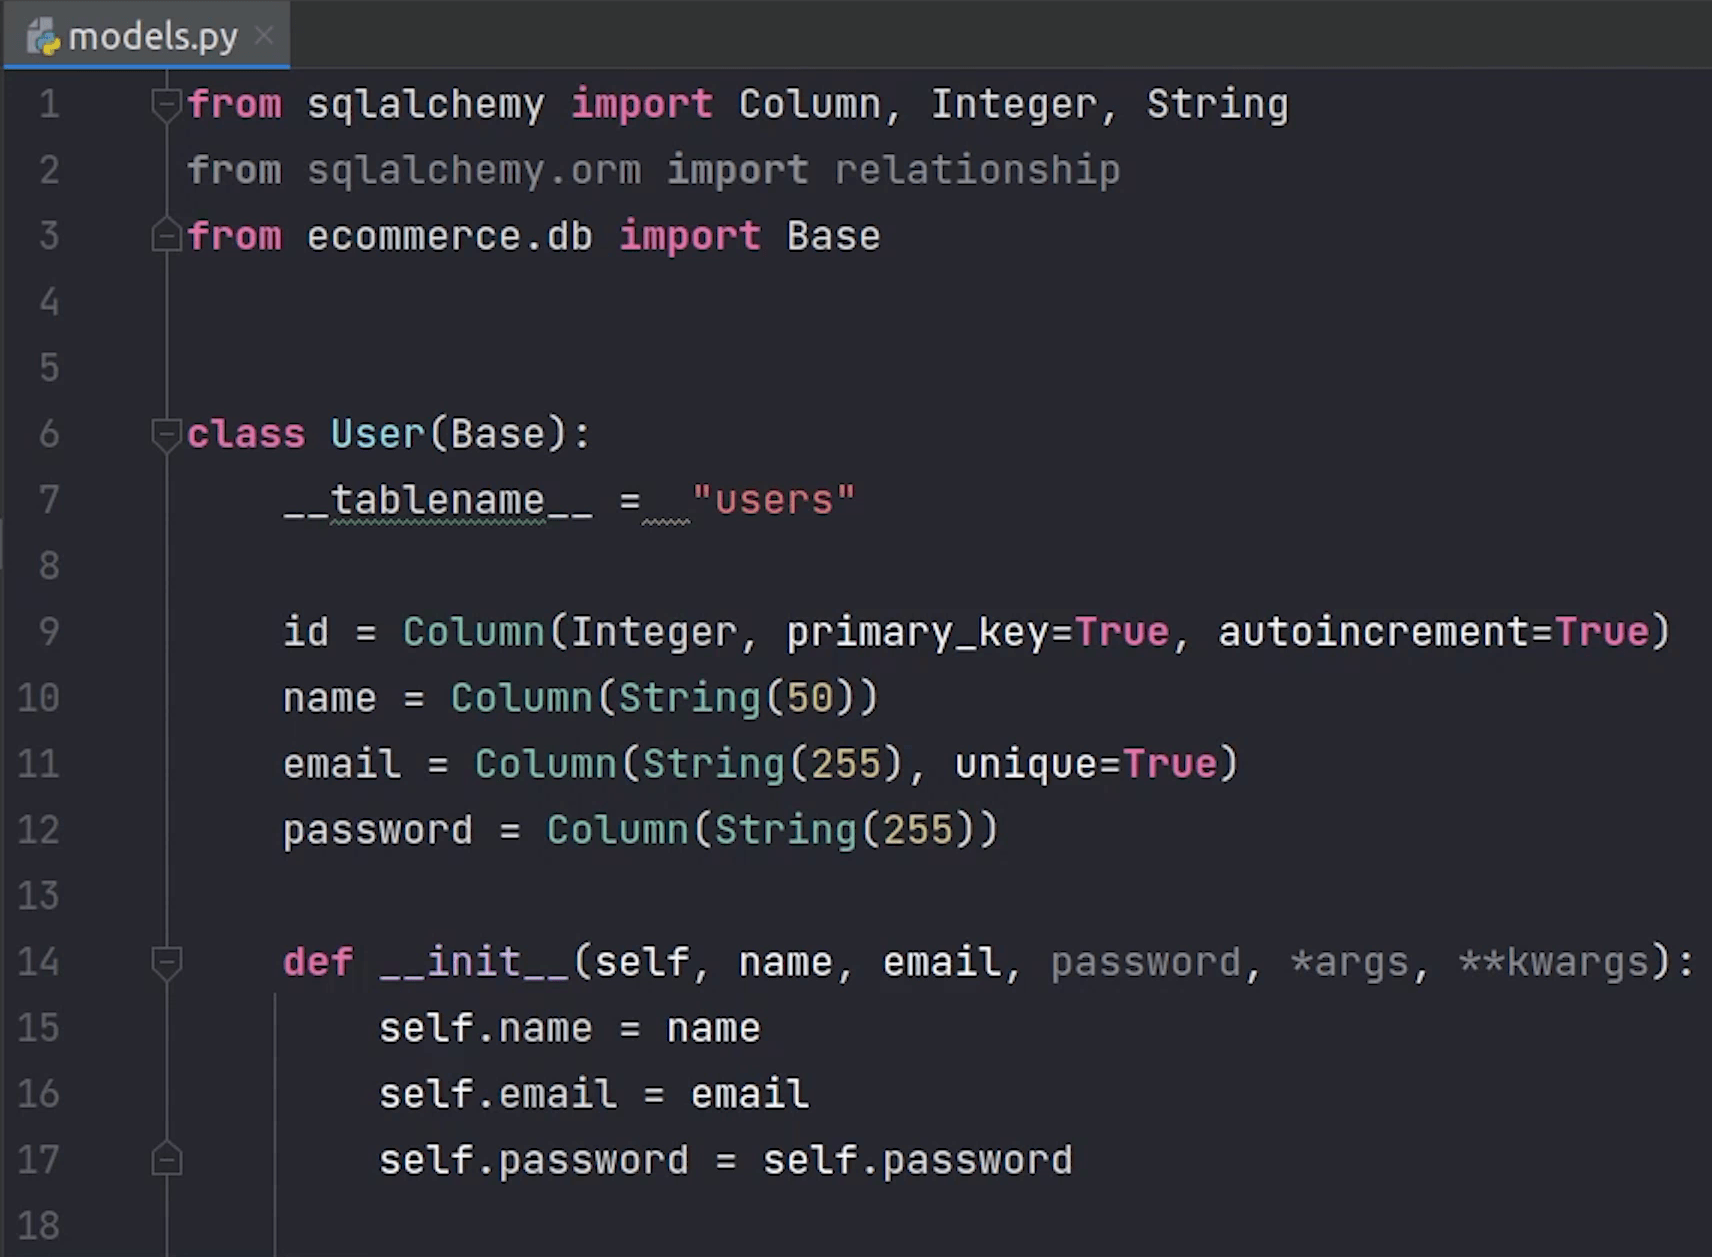
I am going to create a class called User which is going to inherit Base. My table name will be represented as “users”
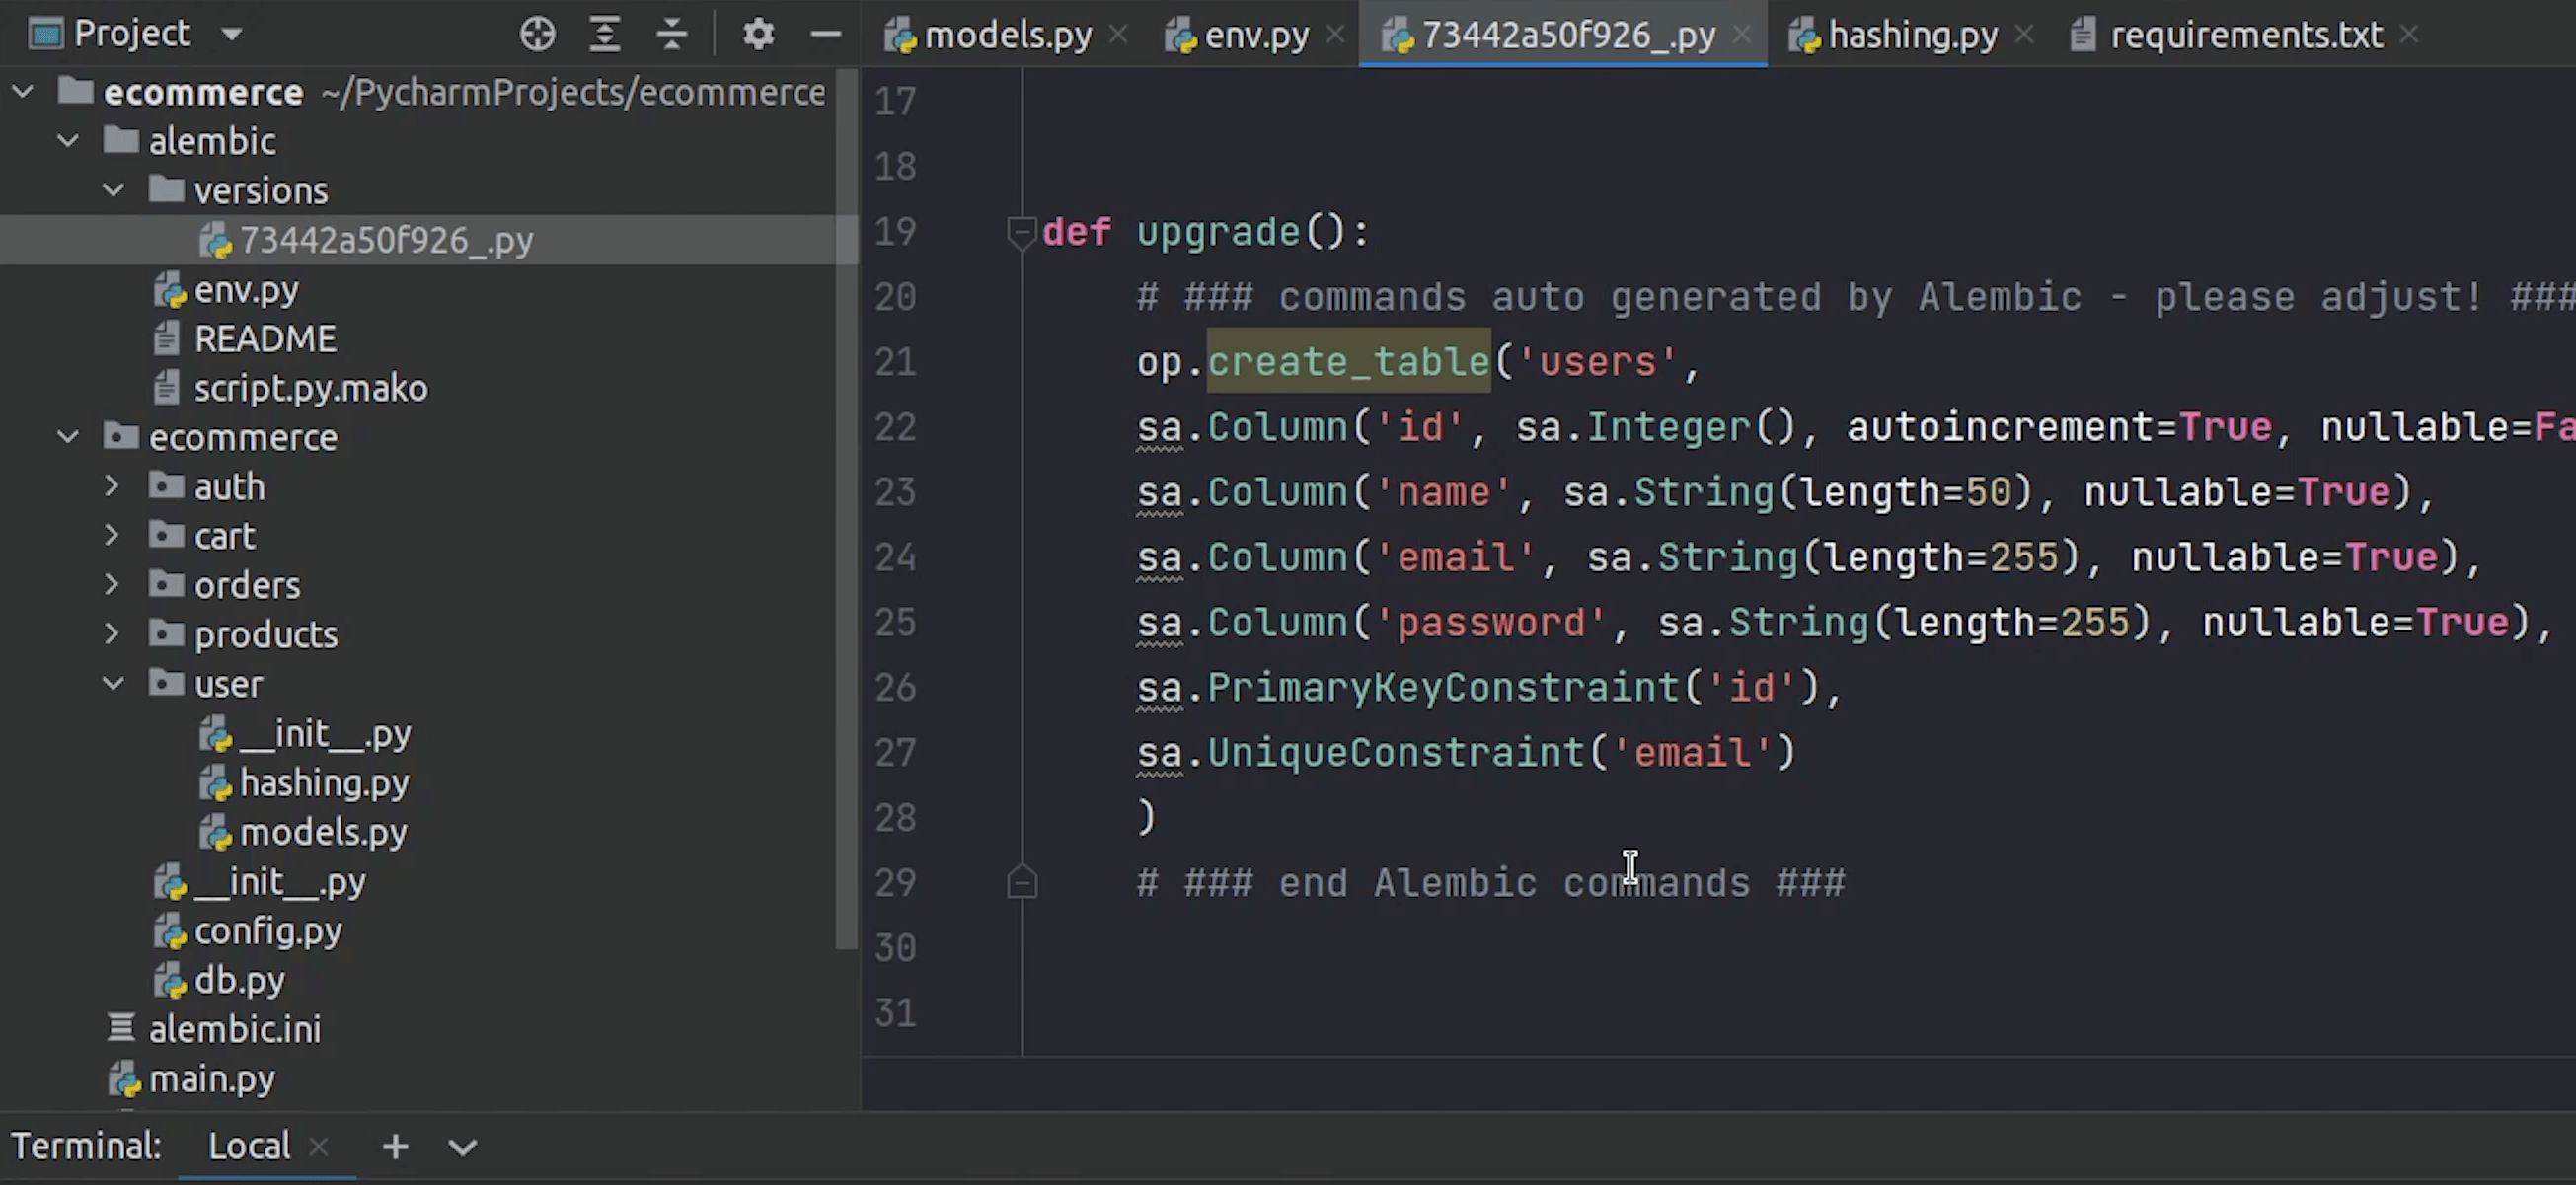
I will define the necessary columns like id, name, email, password.
- “Id will be the primary key and gets auto-incremented on every new row insert.
- “Name will be a string with max length of 50.
- “Email will be a string but with a unique index.
- “Password will also be a string with max 255 characters.
We won’t be storing passwords as plain-text, it will be stored in encrypted format.
For encrypting the password, I will create a separate file called hashing, where I will be writing the encryption logic.
We are going to use the passlib package. You can see it has been mentioned in the FastAPI documentation as well.
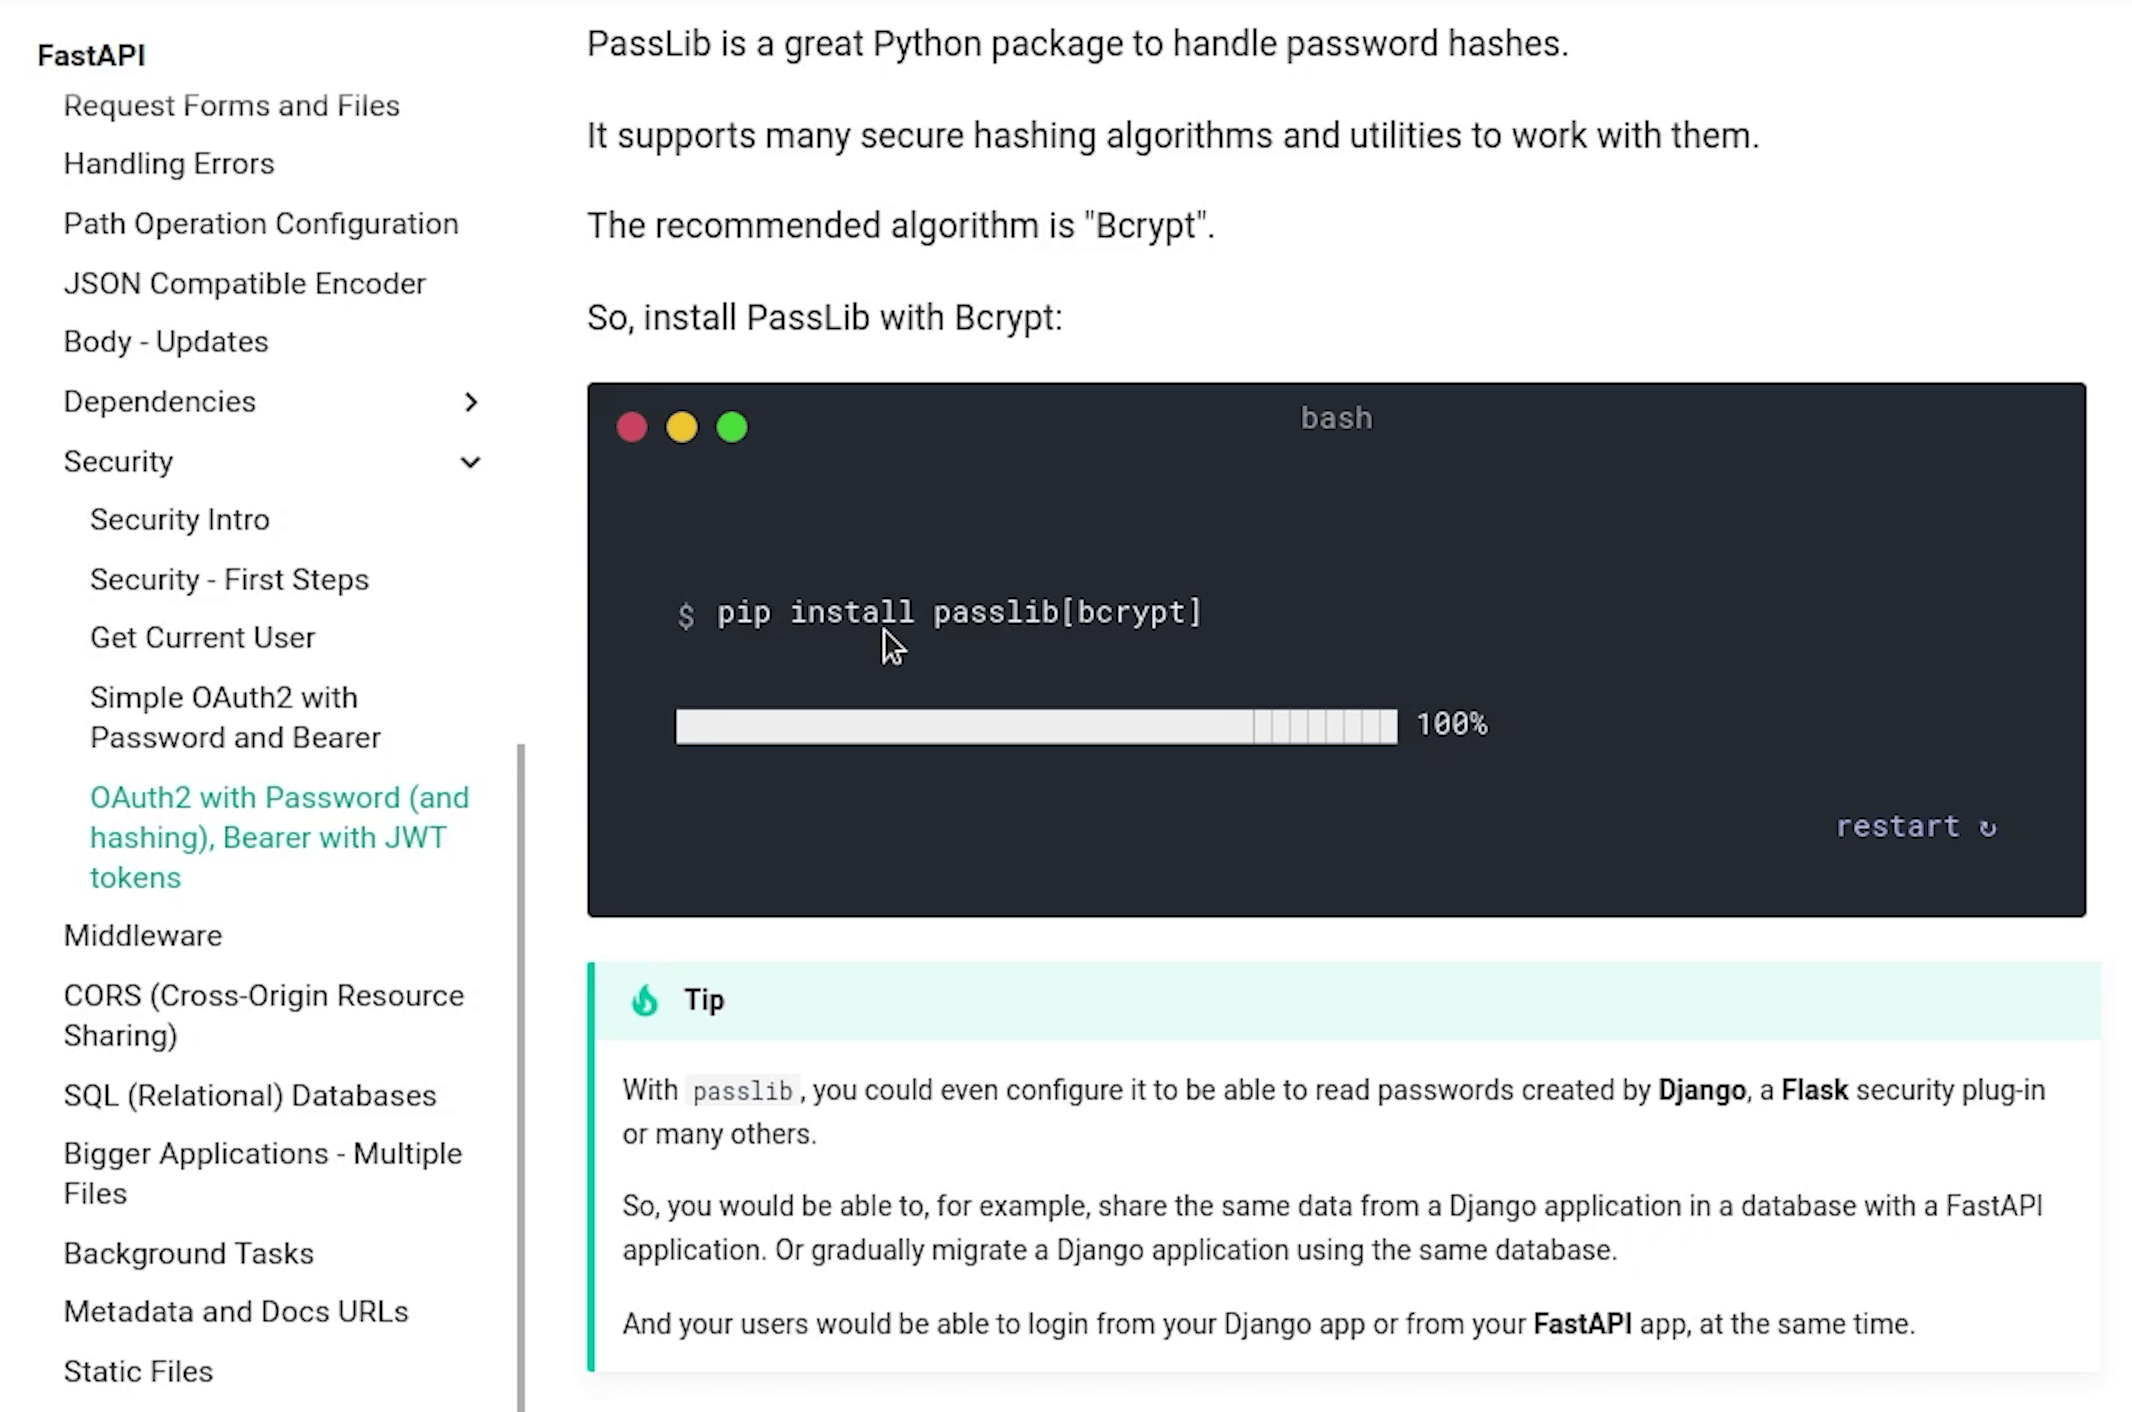
We won’t be using bcrypt, instead we will use argon2.
Argon2 is a modern ASIC resistant and GPU-resistant secure key derivation function. It has better password cracking resistance.
Let's install the package.
pip install passlib[argon2]
Once the installation is complete, update the requirements.txt file.
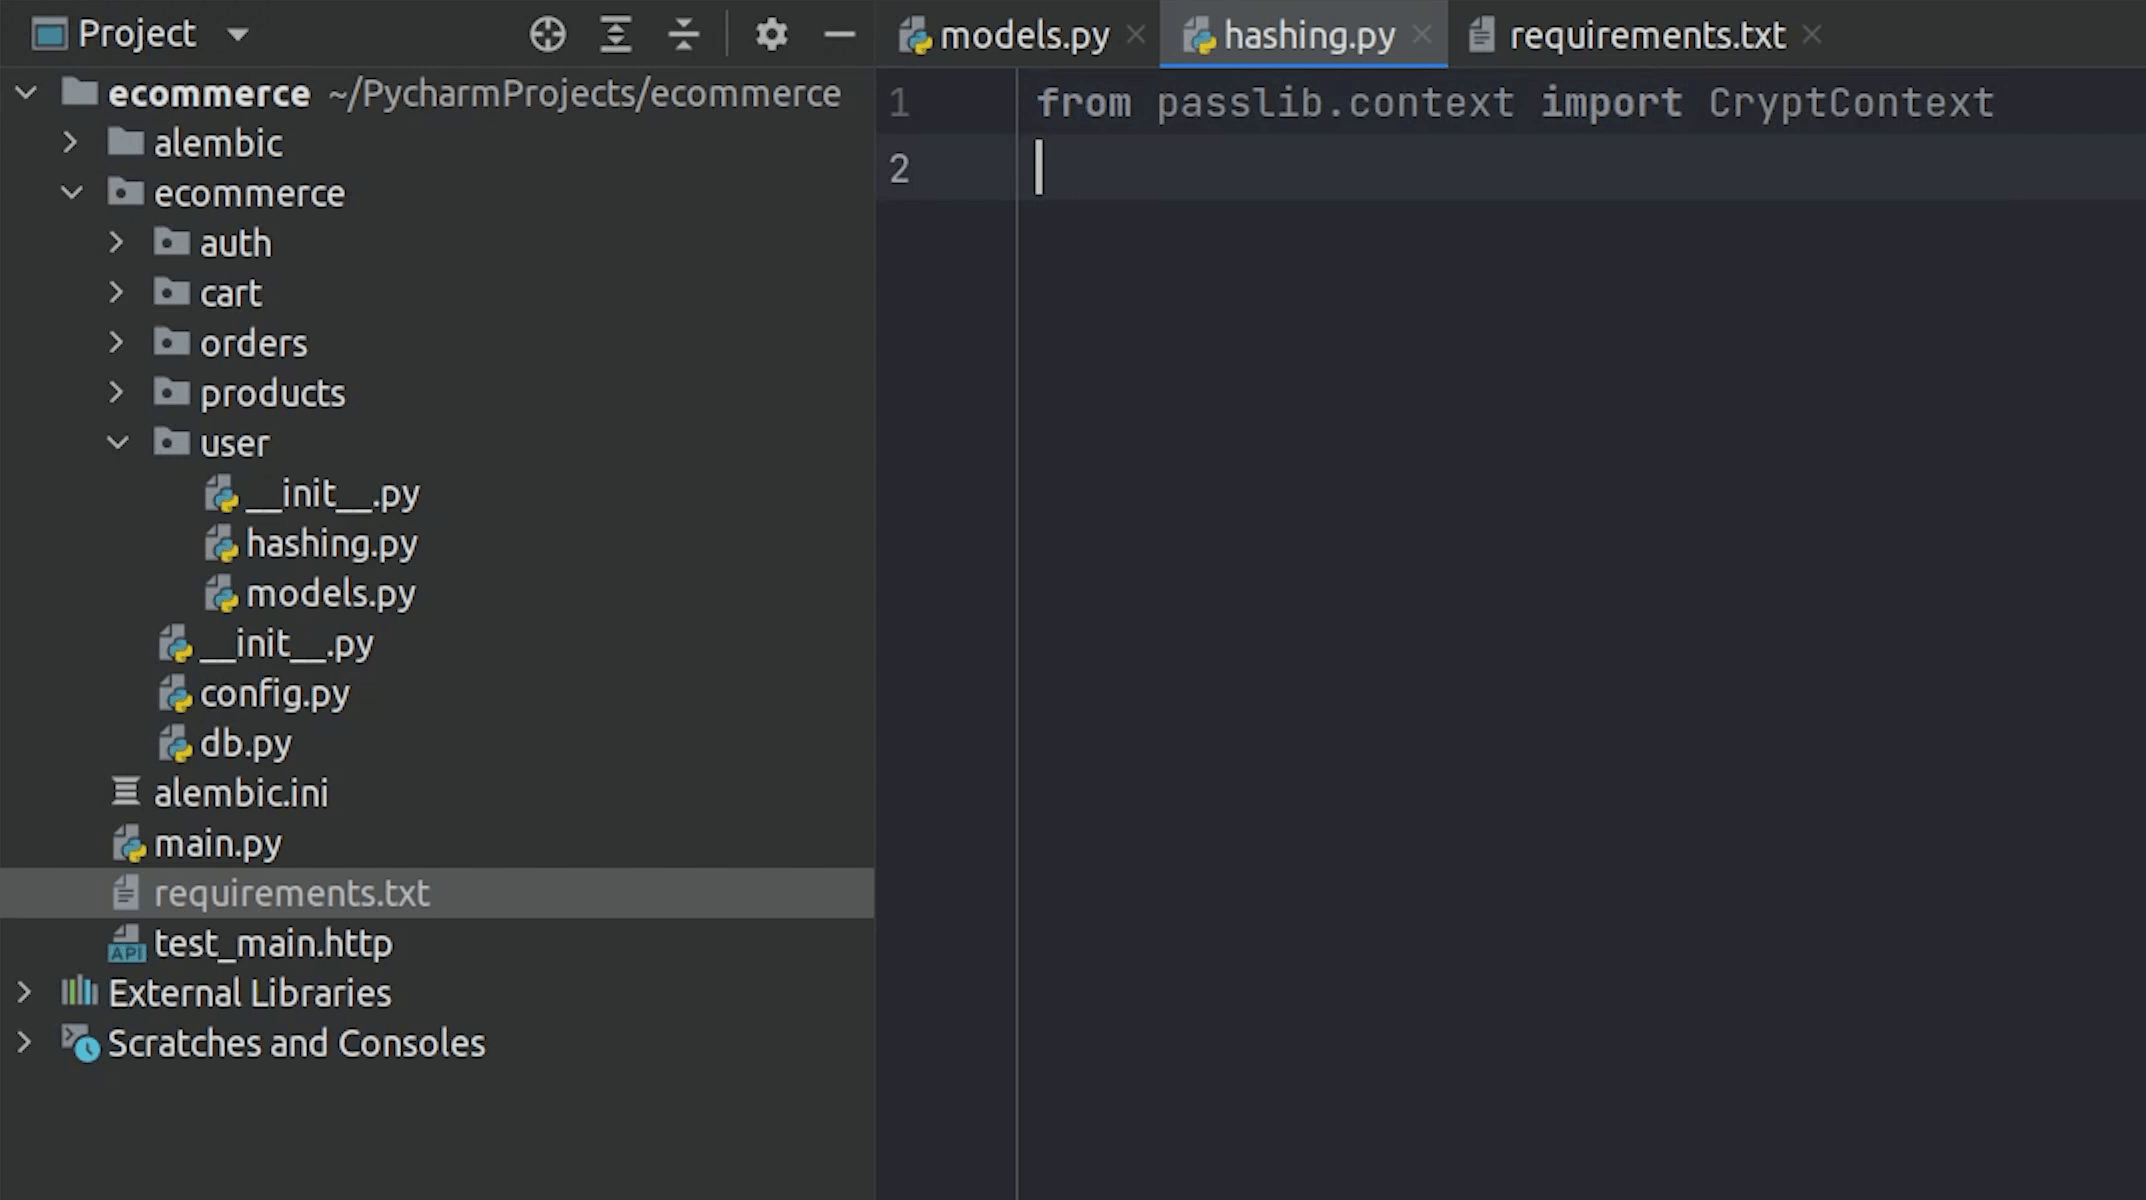
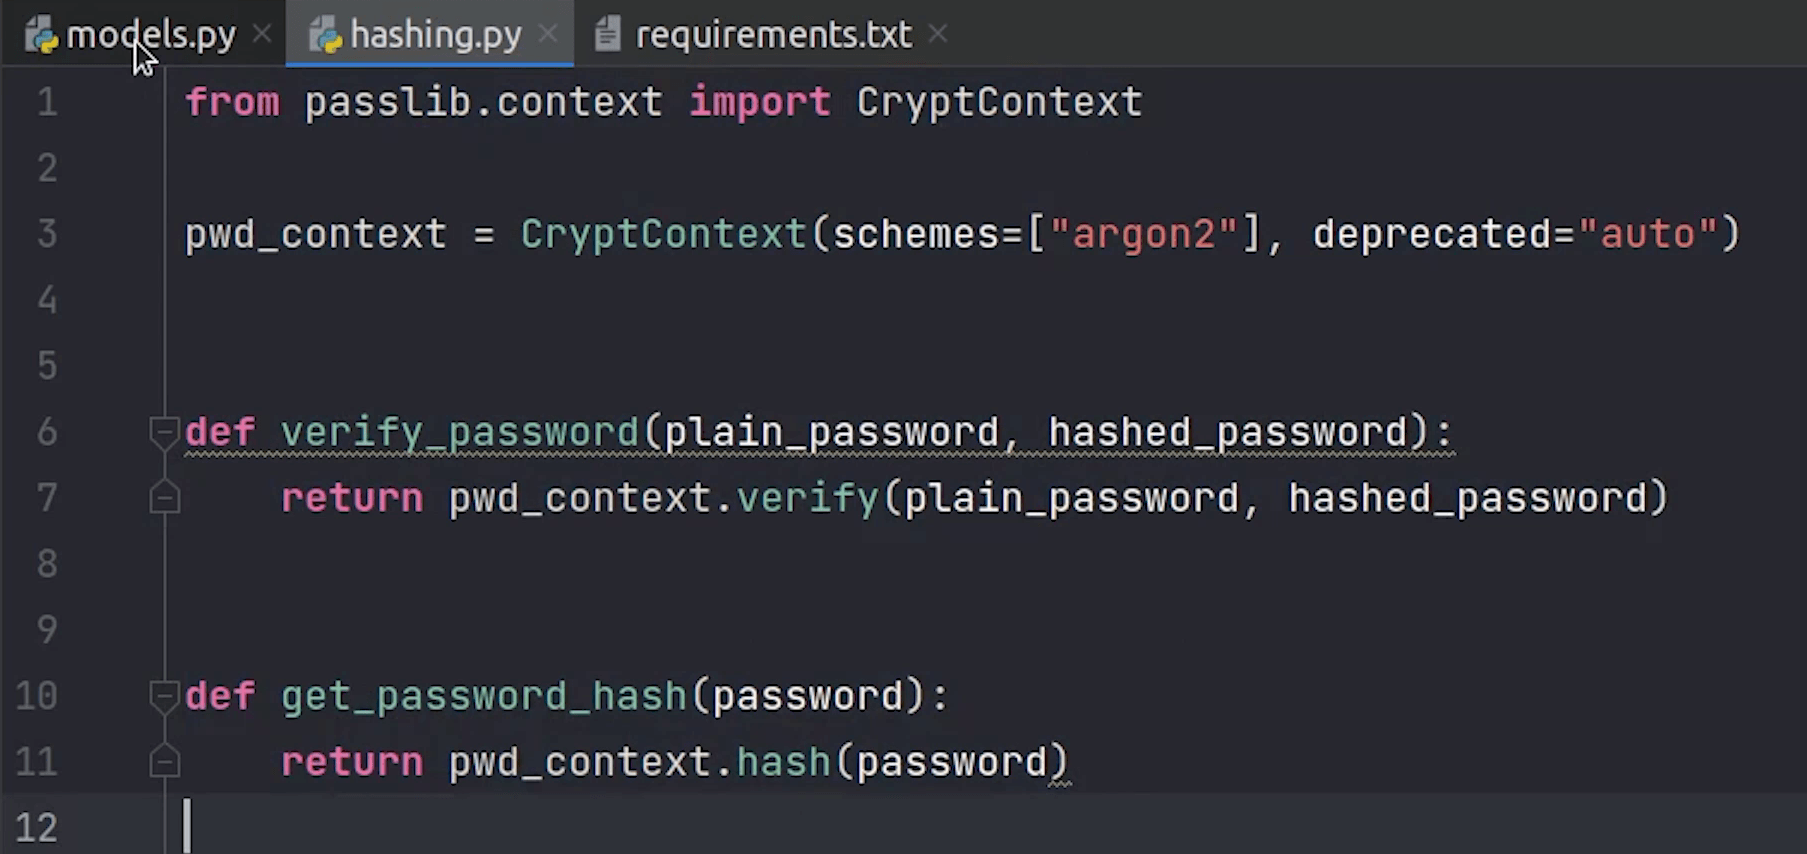
Next, I will move to the hashing file and do the necessary imports from the passlib library.
I will create two functions verify_password and get_password_hash. This is something which I have taken directly from the FastAPI documentation -- you can
also refer to that directly.
We are done with the hashing, next we will import this file in models.
In __init__ constructor, we are going to call the get_password_hash function which will return the encrypted password and this will be stored in the db.
The check_password function will verify whether the plain-text password and encrypted password hash is valid or not.
models.py
    def __init__(self, name, email, password, *args, **kwargs):
        self.name = name
        self.email = email
        self.password = hashing.get_password_hash(password)

    def check_password(self, password):
        return hashing.verify_password(self.password, password)
Source Code :
from sqlalchemy import Column, Integer, String
from sqlalchemy.orm import relationship
from ecommerce.db import Base
from . import hashing


class User(Base):
    __tablename__ = "users"

    id = Column(Integer, primary_key=True, autoincrement=True)
    name = Column(String(50))
    email = Column(String(255), unique=True)
    password = Column(String(255))
    order = relationship("Order", back_populates="user_info")
    cart = relationship("Cart", back_populates="user_cart")

    def __init__(self, name, email, password, *args, **kwargs):
        self.name = name
        self.email = email
        self.password = hashing.get_password_hash(password)

    def check_password(self, password):
        return hashing.verify_password(self.password, password)
Migrating New Changes
We are done with the implementation for our user model. Next, we are going to create our first migration.
But before that, I need to register the model in the environment (env.py), so it can be tracked easily.

Once you have imported the user model in environment, go ahead to the Terminal and run the below command :
alembic revision --autogenerate
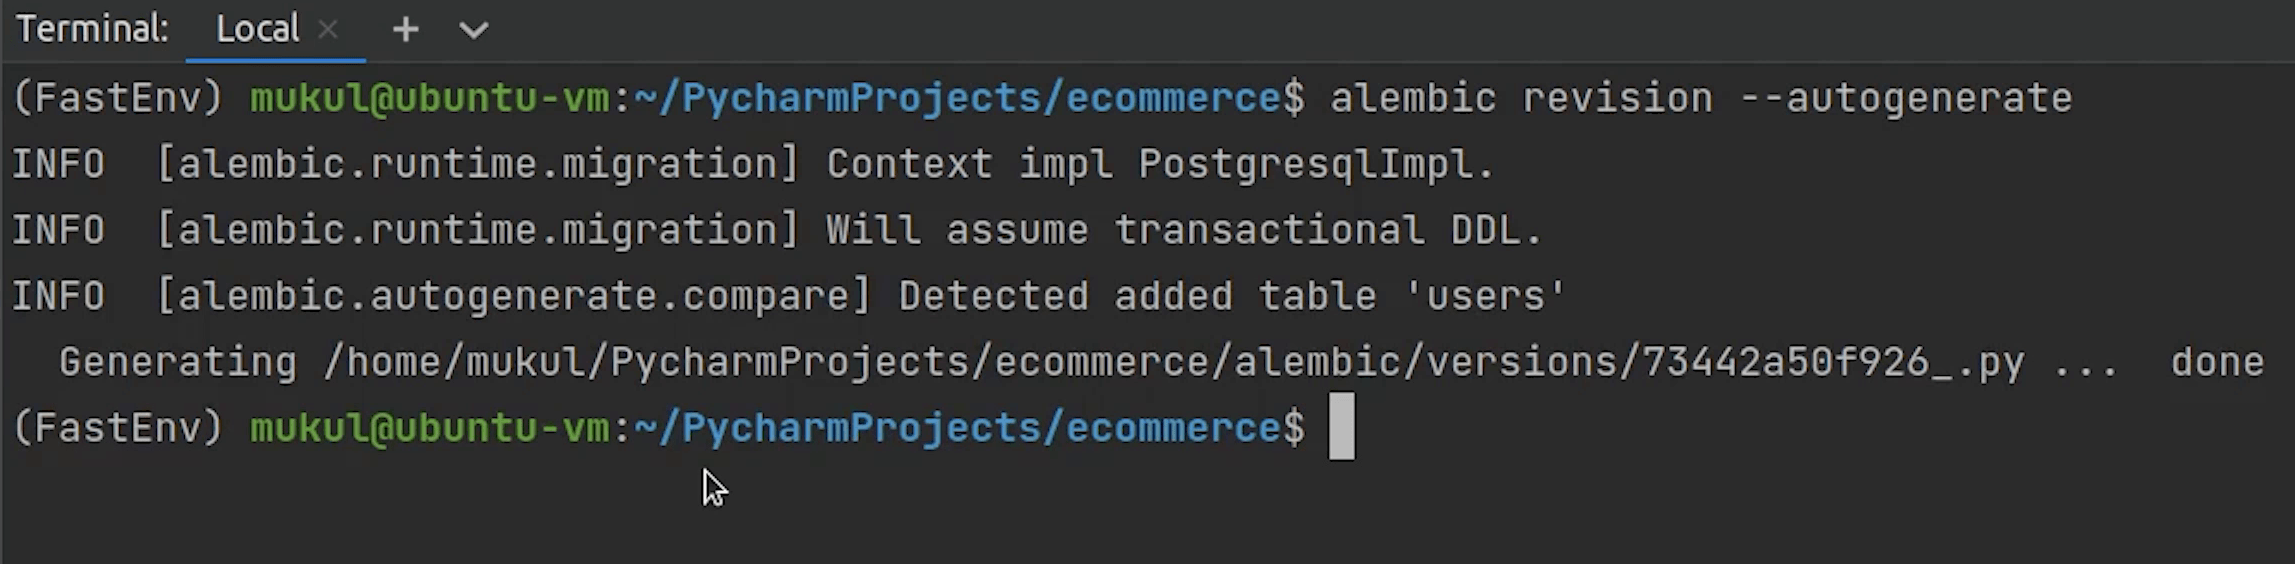
As you can see clearly, it has created a migration file which will be residing under the versions directory.
The migration file has been created successfully. Let's move and migrate the new changes into our database.
I will type the command:
alembic upgrade head
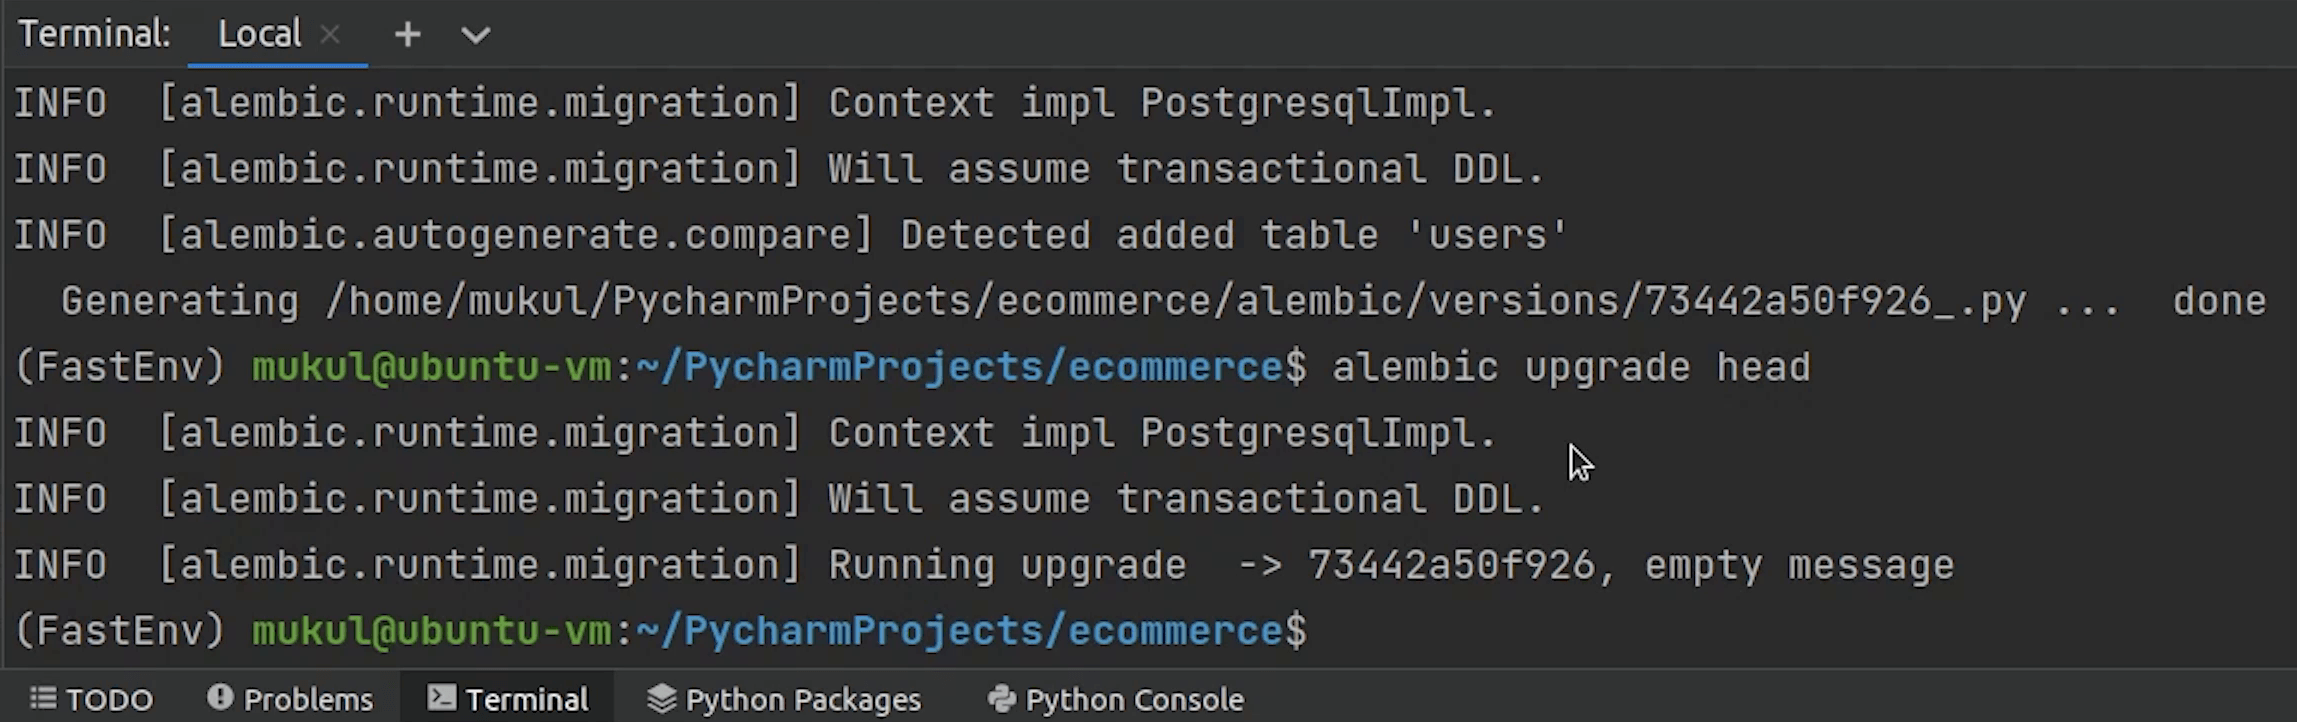
Let me check in the Database Explorer and verify that new tables are appearing.
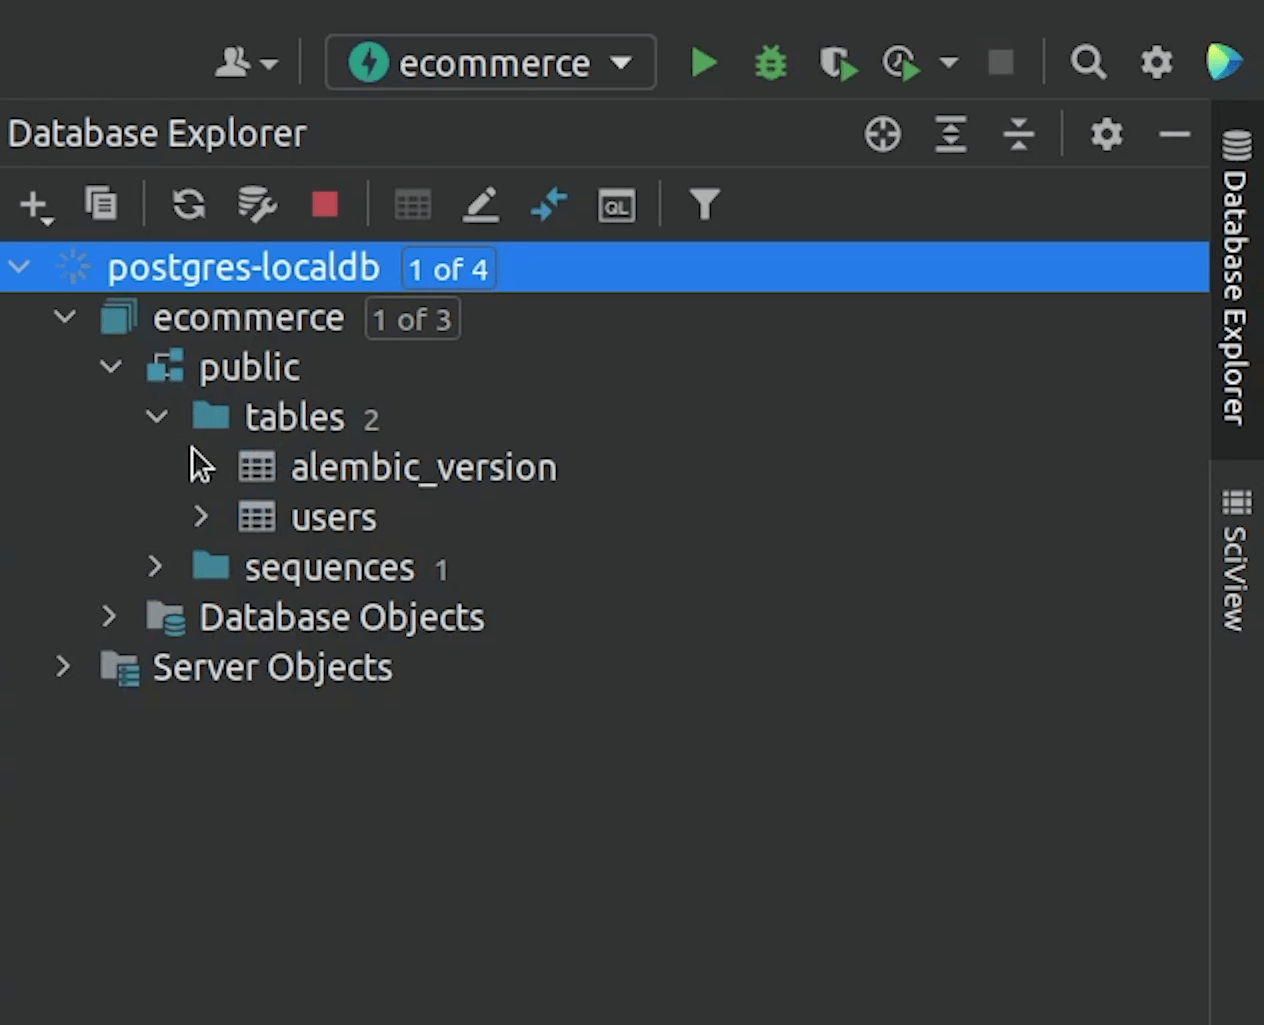
Yes, two new tables have been created. There is a table name called alembic_version, which basically keeps a history of all migrations applied. You can compare its similarity with the Django migrations table if you have previously worked with Django.
Also, the user table has been migrated.
In the next tutorial, we will be focusing on writing REST APIs and performing CRUD operations.