
GitHub Actions
Deploy Docker Image to AWS ECR through GitHub Actions.
Hello everyone, welcome to the Django tutorial series. In this tutorial step, we are going to build, tag and push our docker image to Amazon Elastic Container Registry through GitHub Actions.
GitHub Actions helps you build, test, and deploy applications, but you can also use it to automate other tasks common to your developer workflows: triaging and managing issues, automating releases, collaborating with your user base, and more.
There are tons of alternative flavours you can try out.
Setup
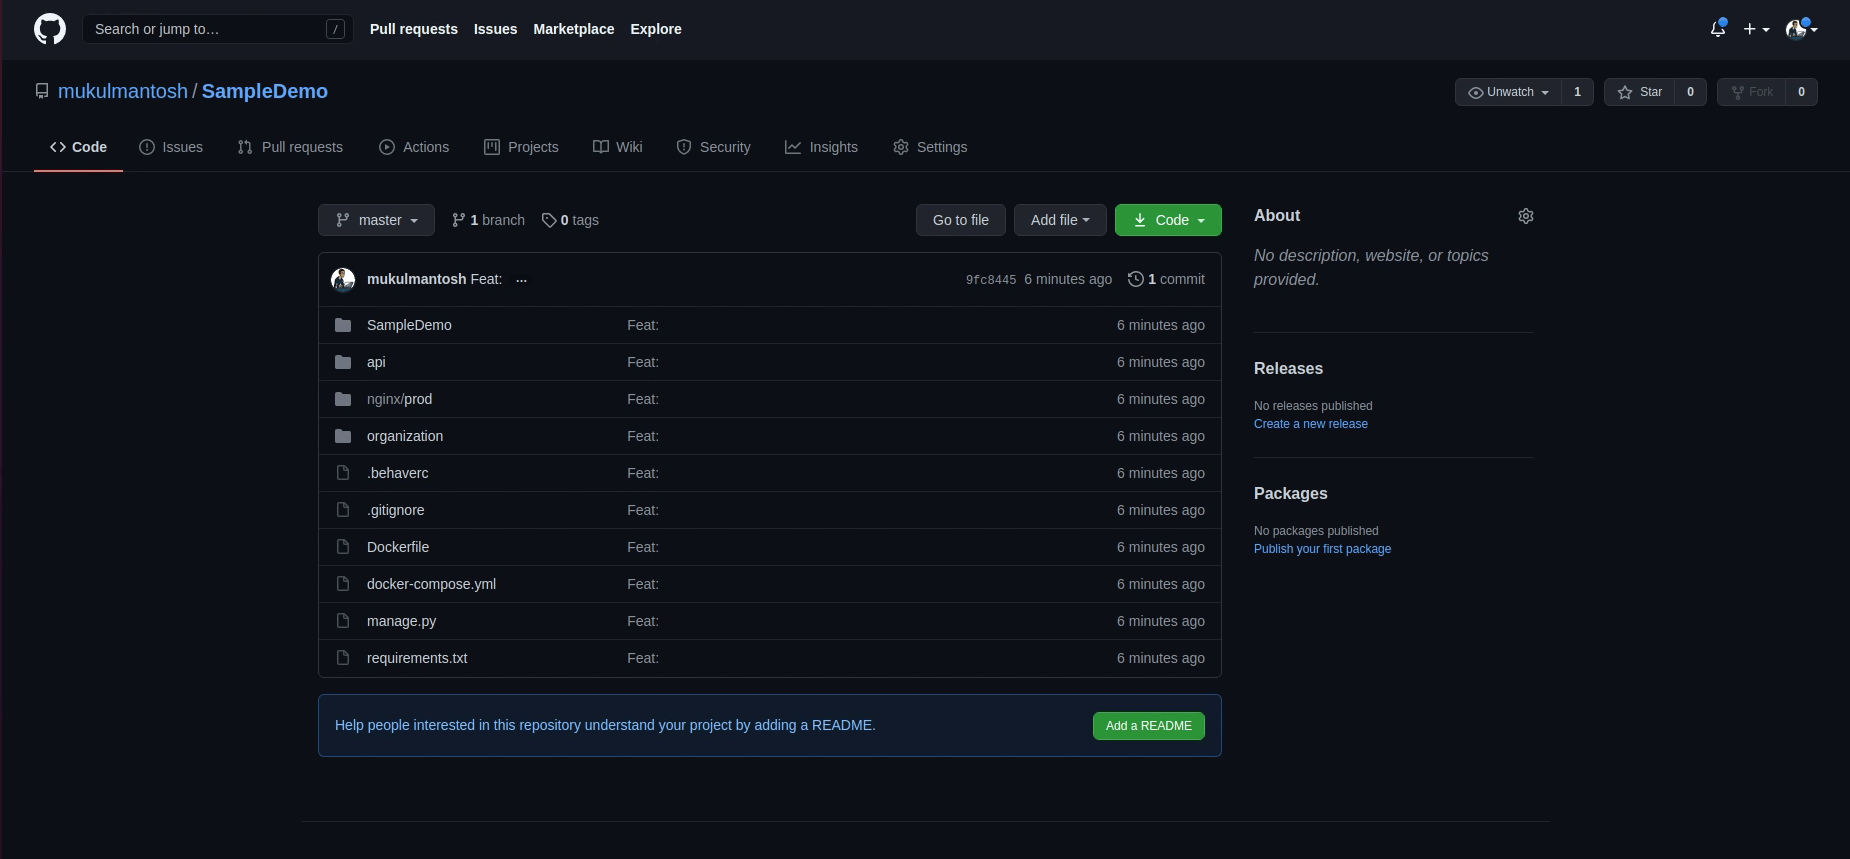
You can see I am already logged into my GitHub repository:
Now, I am going to click on Actions:
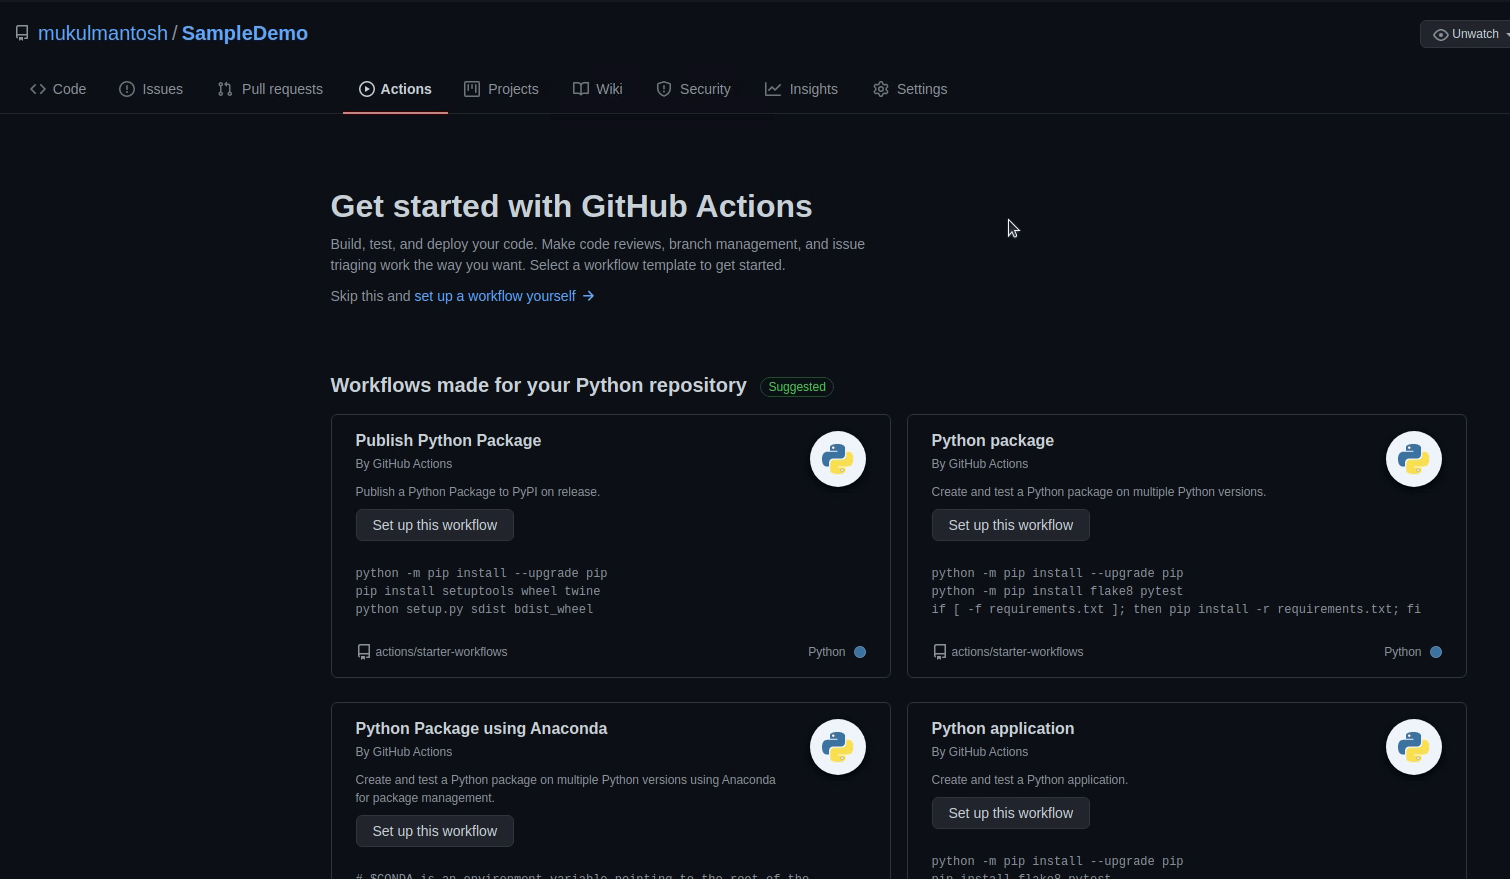
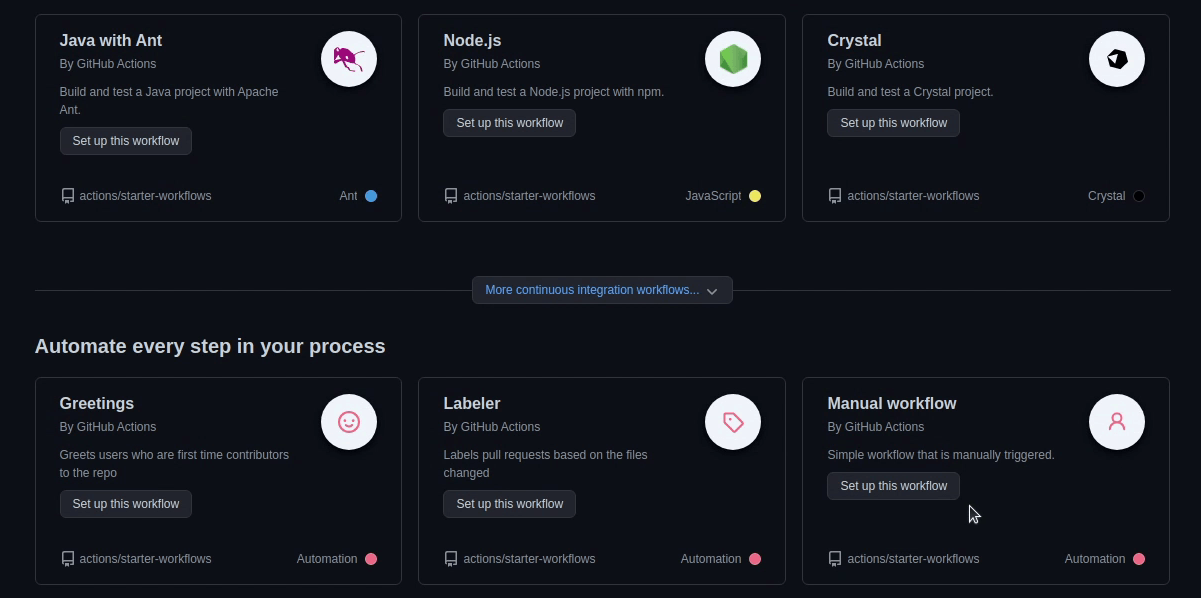
There are many integration workflows available in GitHub Actions, but we will be using a manual workflow.
I will click on it and hence we will get a pre-generated manual.yml file.
We are not going to use this, instead I will be providing my own custom workflow. Let me give you a brief idea what this workflow is going to do.
First, the workflow is going to run on the latest version of Ubuntu, next comes the steps which are going to perform multiple operations like:
- Step 1: Configure AWS Credentials, we need to set up an access key and secret access key in IAM.
- Step 2: Log into our ECR.
- Step 3: Checkout code, so our workflow can access it.
- Step 4: Get the latest tag.
- Step 5: Build, tag and push docker images in Amazon ECR.

This is how the manual.yml file will look at the end.
name: Deploy image to AWS ECR

# Run this workflow every time a new tag is created
on:
  create:
    tags:
      - .*
jobs:
  ecr:
    # Name the Job
    name: build and deploy image to AWS ECR
    # Set the type of machine to run on
    runs-on: ubuntu-latest

    steps:
      - name: Configure AWS credentials
        uses: aws-actions/configure-aws-credentials@v1
        with:
          aws-access-key-id: $
          aws-secret-access-key: $
          aws-region: ap-south-1

      - name: Login to Amazon ECR
        id: login-ecr
        uses: aws-actions/amazon-ecr-login@v1

      - name: Check out code
        uses: actions/checkout@v2
      - name: Set Tag Number
        id: tag-number
        run: echo ::set-output name=tag::${GITHUB_REF#refs/*/}
      - name: Check Tag Release
        env:
          RELEASE_VERSION: $
        run: |
          echo $RELEASE_VERSION
          echo $

      - name: Build, tag, and push image to Amazon ECR
        env:
          ECR_REGISTRY: $
          ECR_REPOSITORY: demo
          IMAGE_TAG: $
        run: |
          docker build -t demo .
          docker tag demo:latest $ECR_REGISTRY/$ECR_REPOSITORY:$IMAGE_TAG
          docker push $ECR_REGISTRY/$ECR_REPOSITORY:$IMAGE_TAG
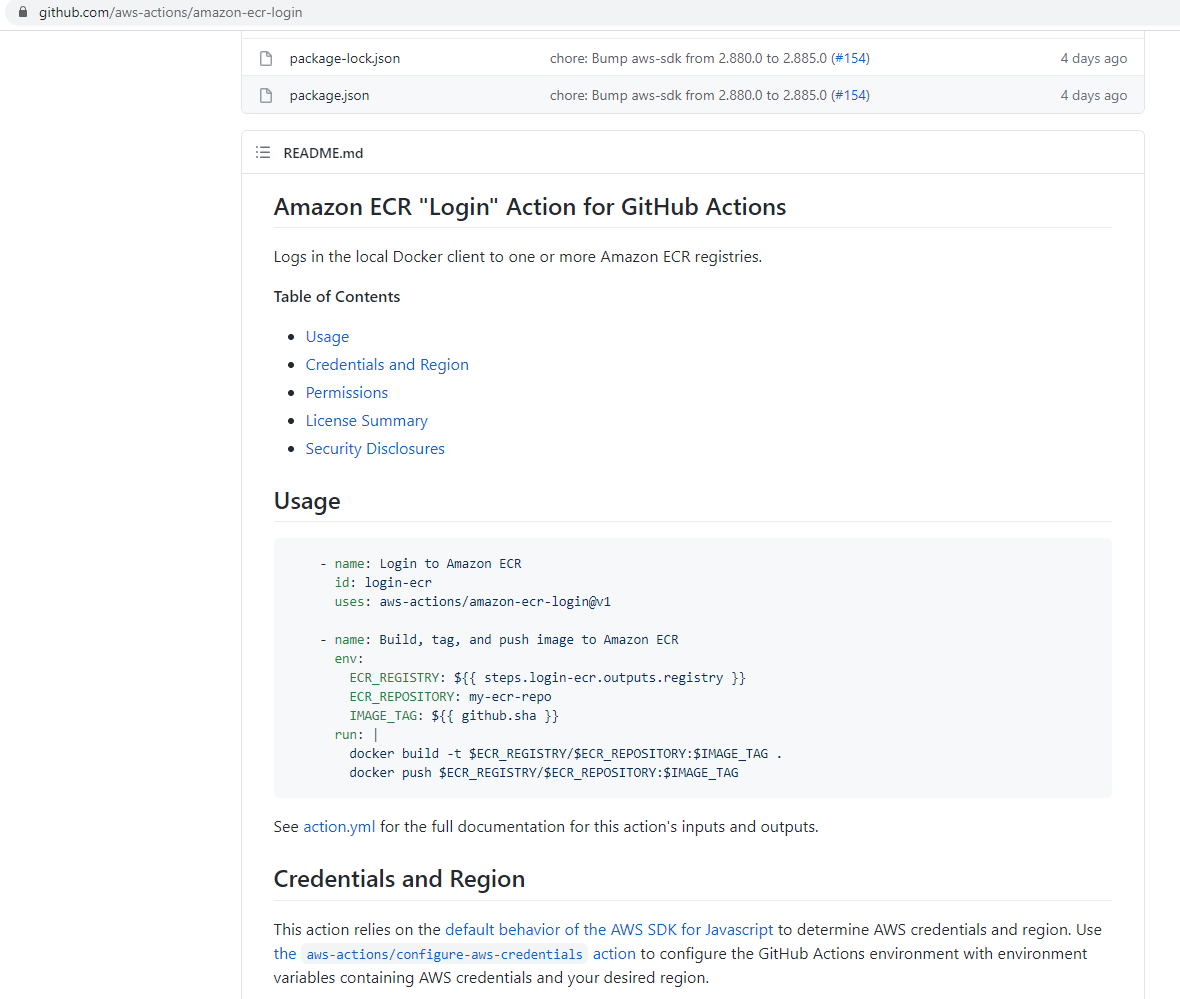
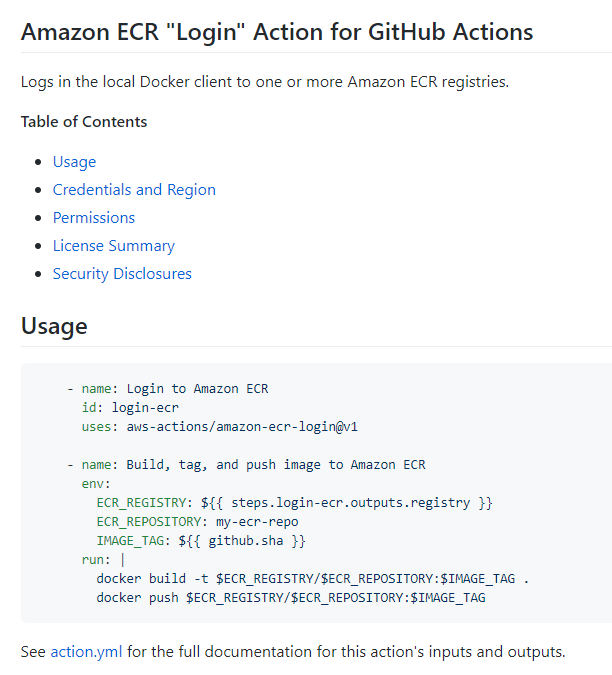
To work with ECR we need to browse aws-actions, which contains starter templates for multiple services. This action is maintained by AWS itself.
For our tutorial we need the amazon-ecr-login repository. To use this action
we need to follow the steps provided in the README file.
- Reference URL : http://localhost:8000/tutorials/django-aws/github-actions/
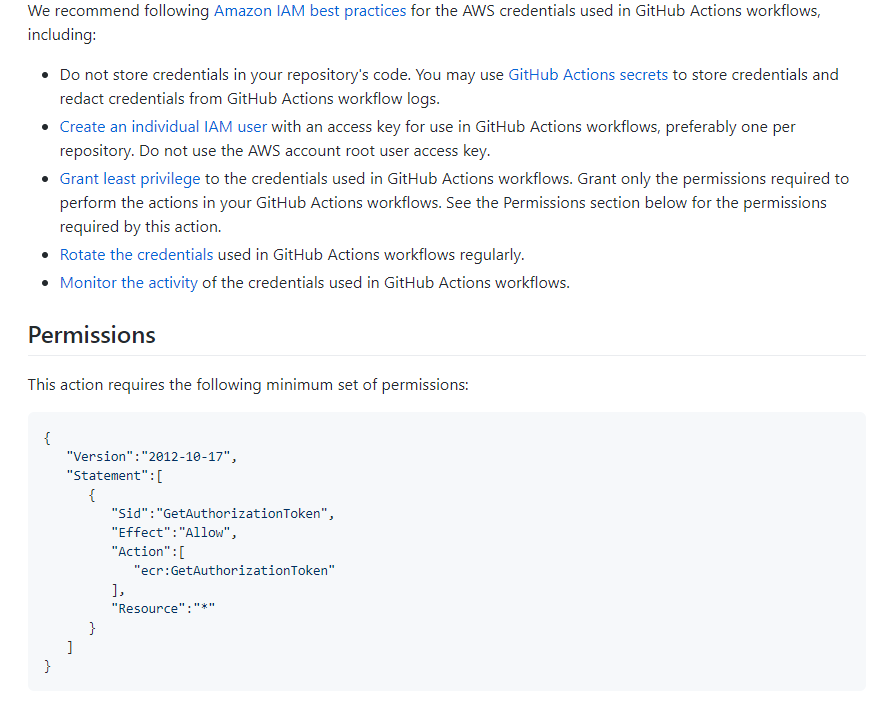
To work with Amazon ECR, first we need to set up an IAM User. An AWS Identity and Access Management (IAM) user is an entity that you create in AWS to represent the person or application that uses it to interact with AWS.
As you can see below, they are recommending what permission you need to provide to the IAM user. I also recommend following the IAM best practices as per the documentation.
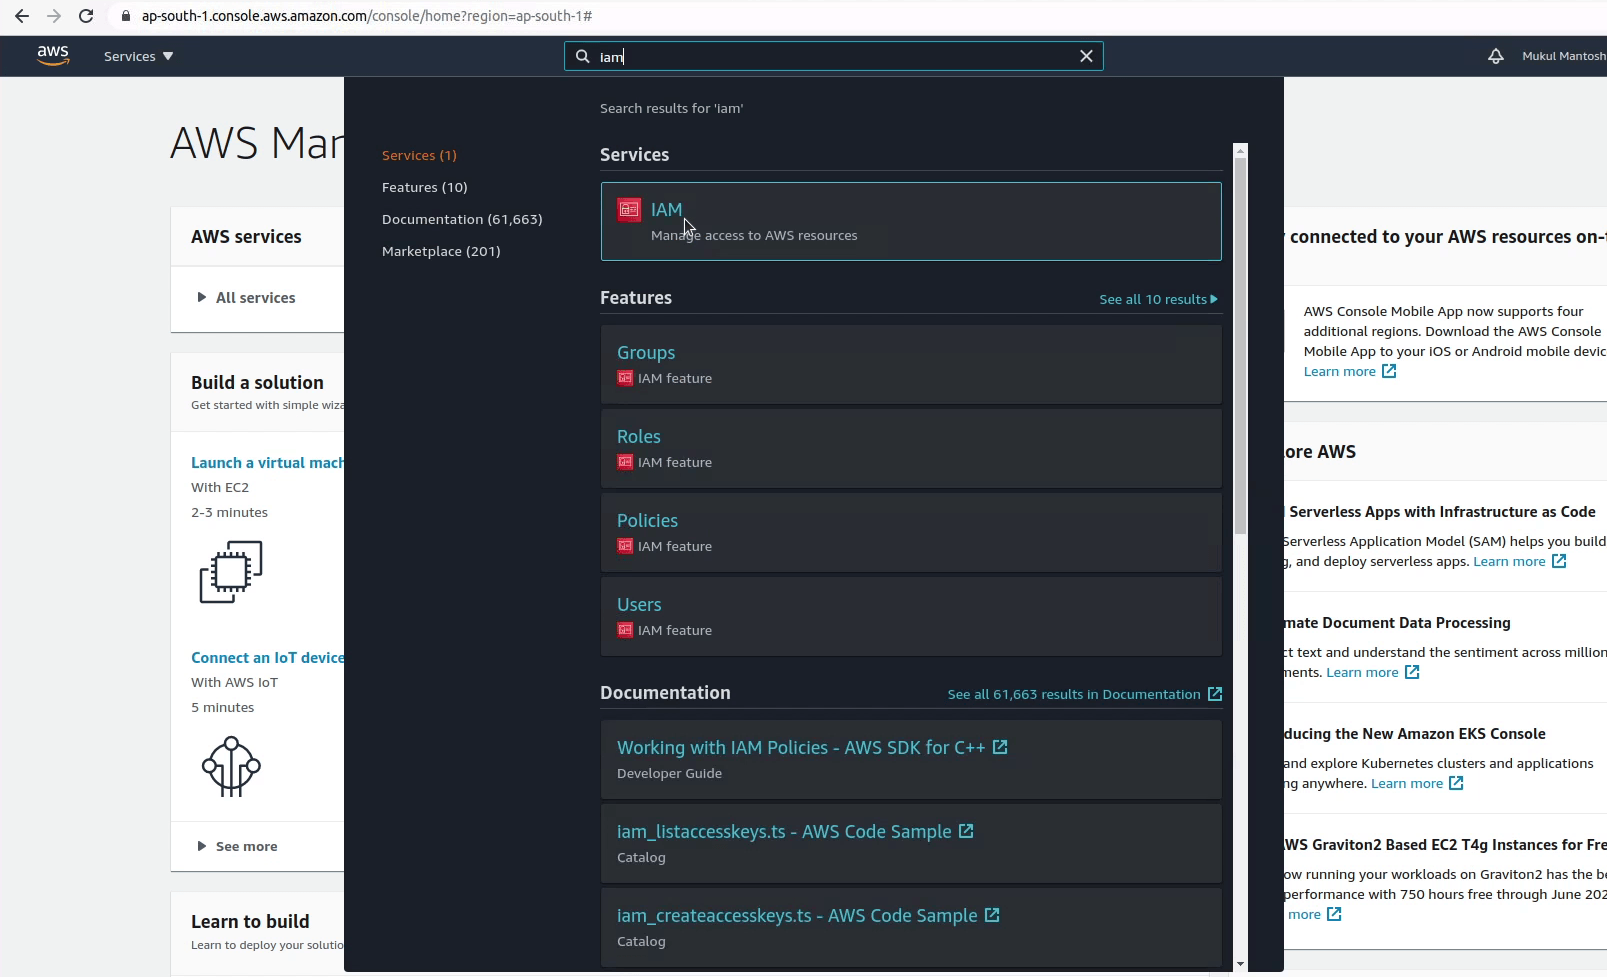
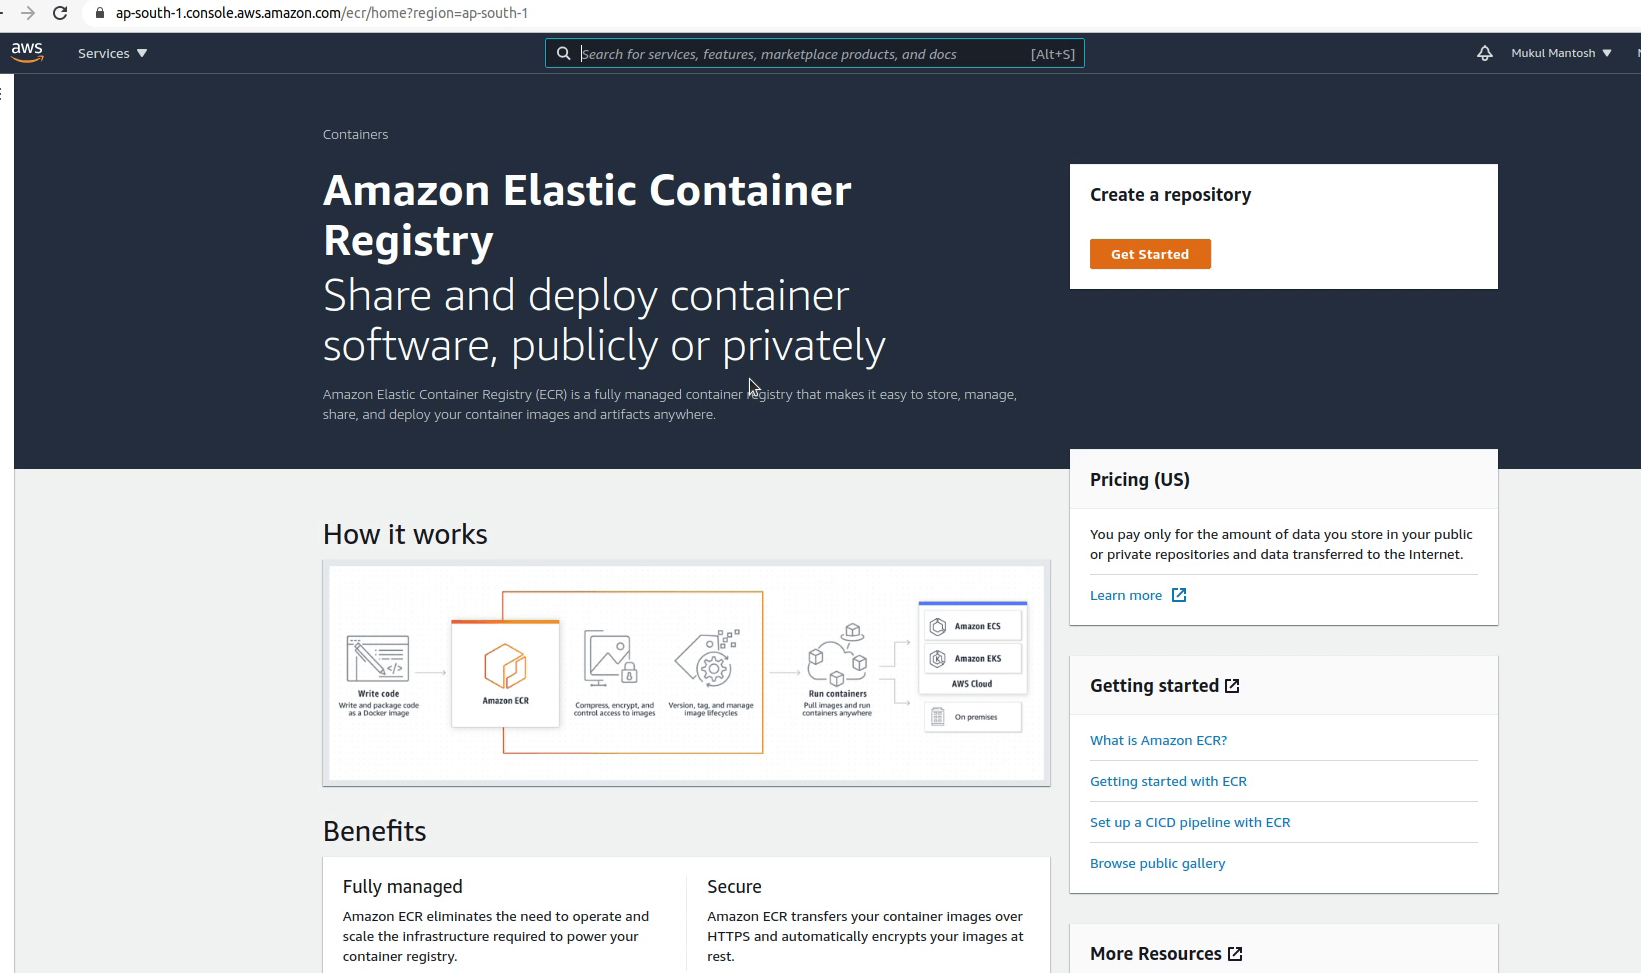
Let’s open the AWS Management Console and search for IAM.
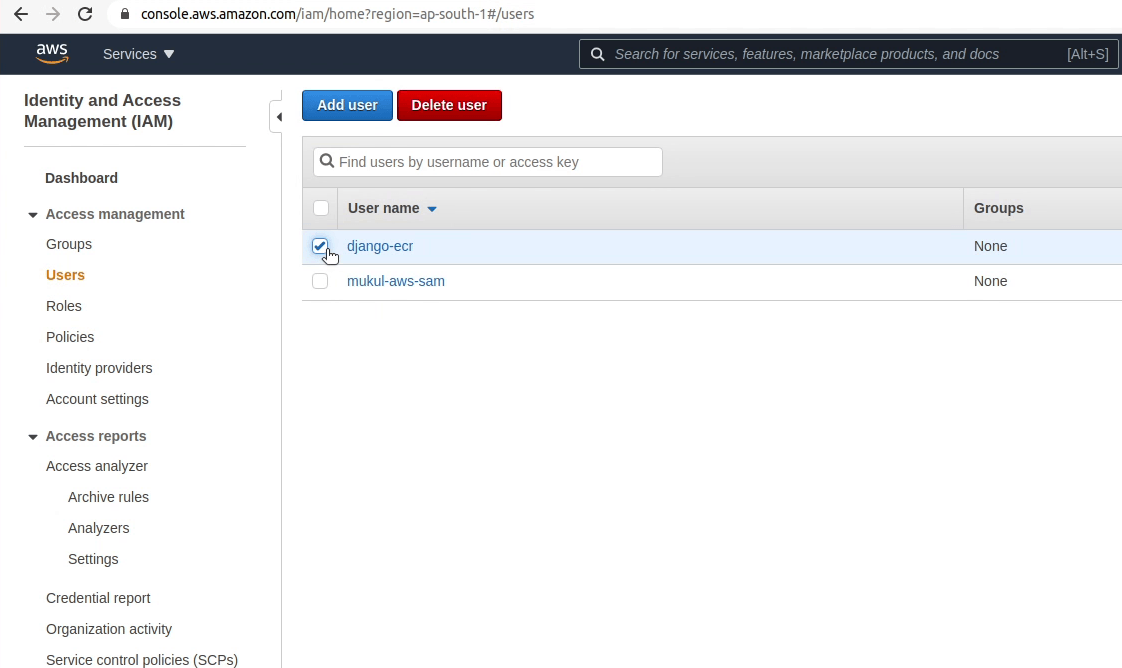
I will create a new user and name it “django-ecr” and will enable programmatic access.
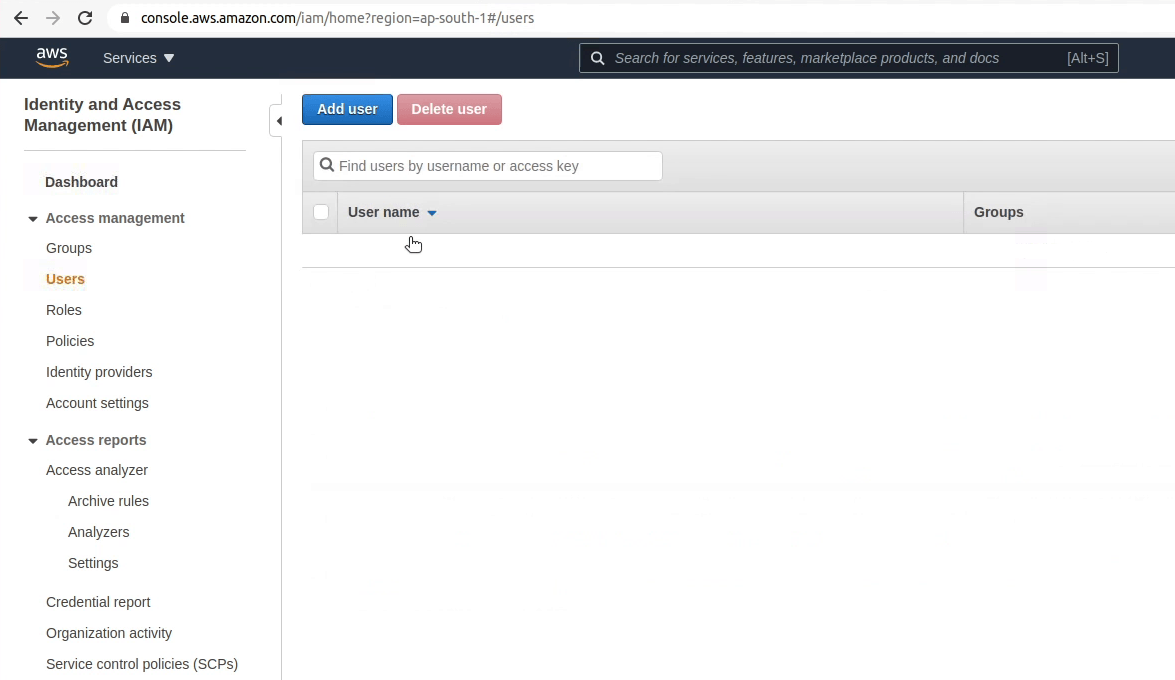
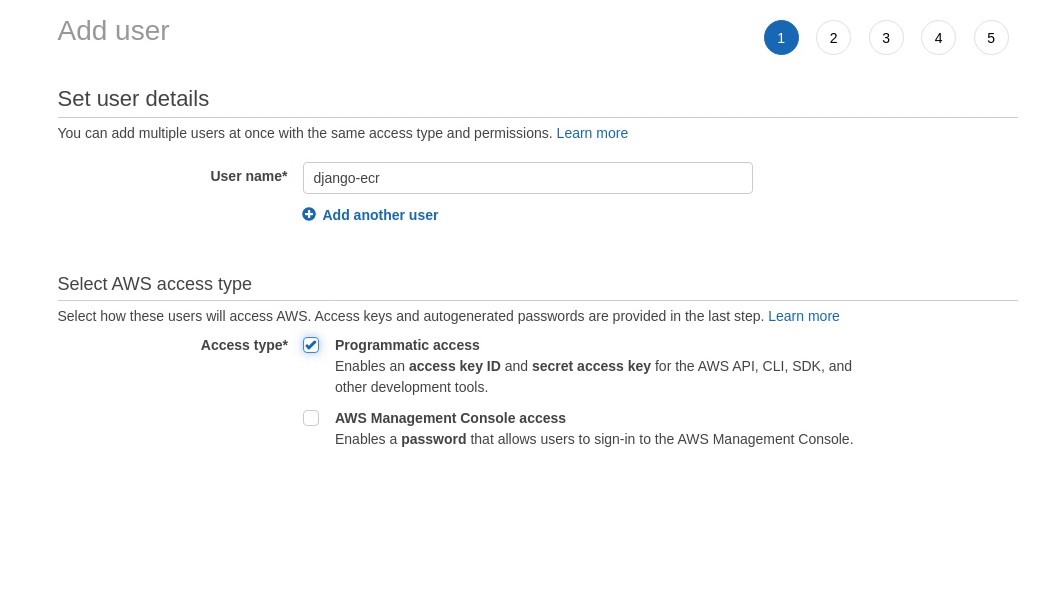
I will not provide any permission, rather I will create an inline policy later.
I don’t need any Tags, I am going to ignore it, and finally I click Create User.
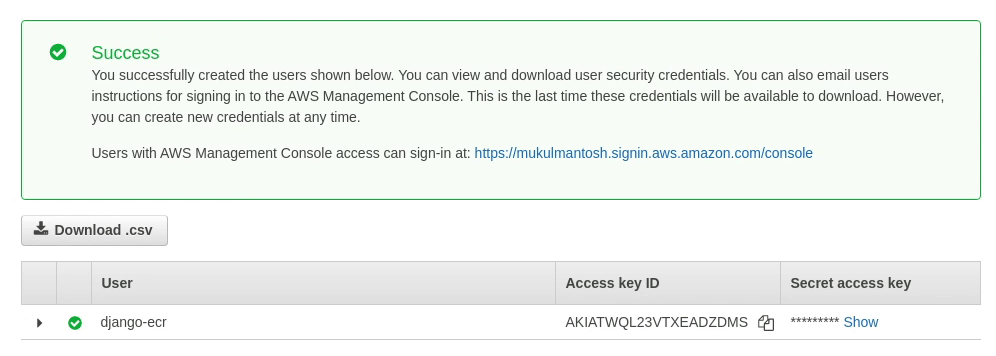
Once the user has been successfully created, you will receive the Access key ID and secret access key. Keep it confidential and don’t share it with anyone. I am currently sharing my credentials, but I am going to remove it at the end.
We need to set up these credentials in our GitHub Action, so we can access it like environment variables.
I will go back to my repository and commit the new workflow.
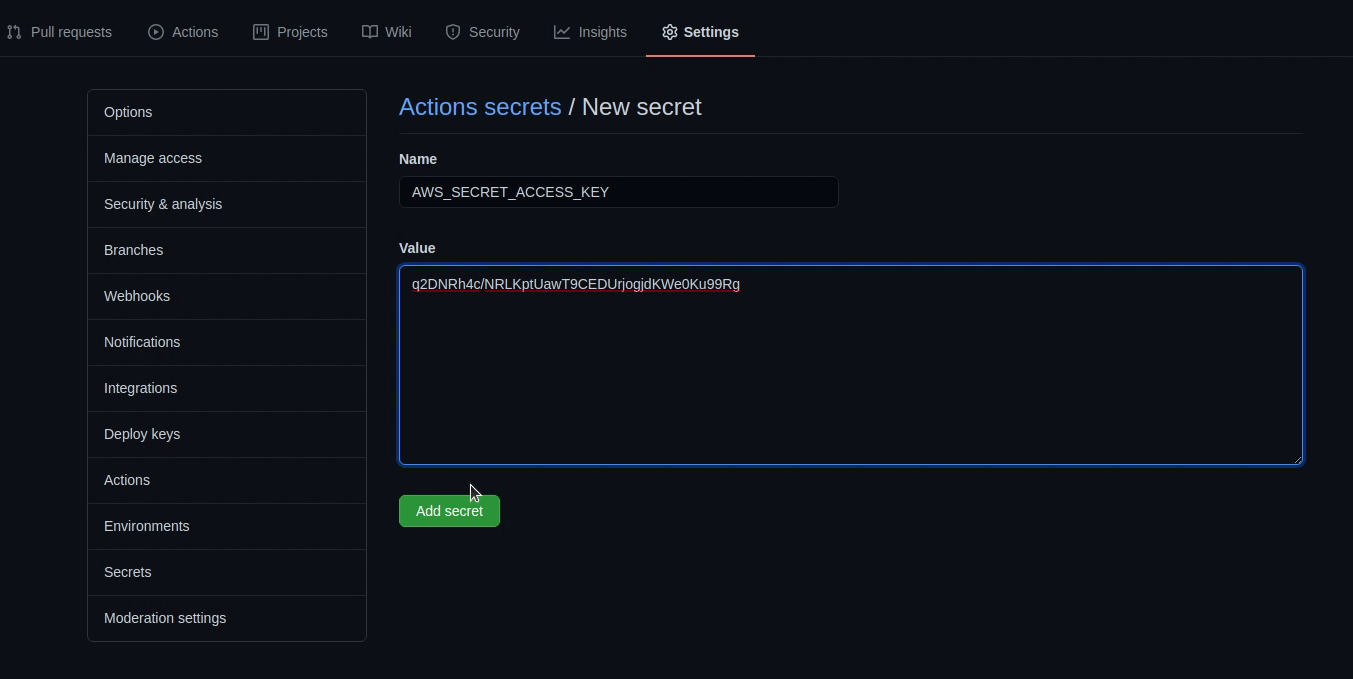
Next, I will click on Settings | Secrets.
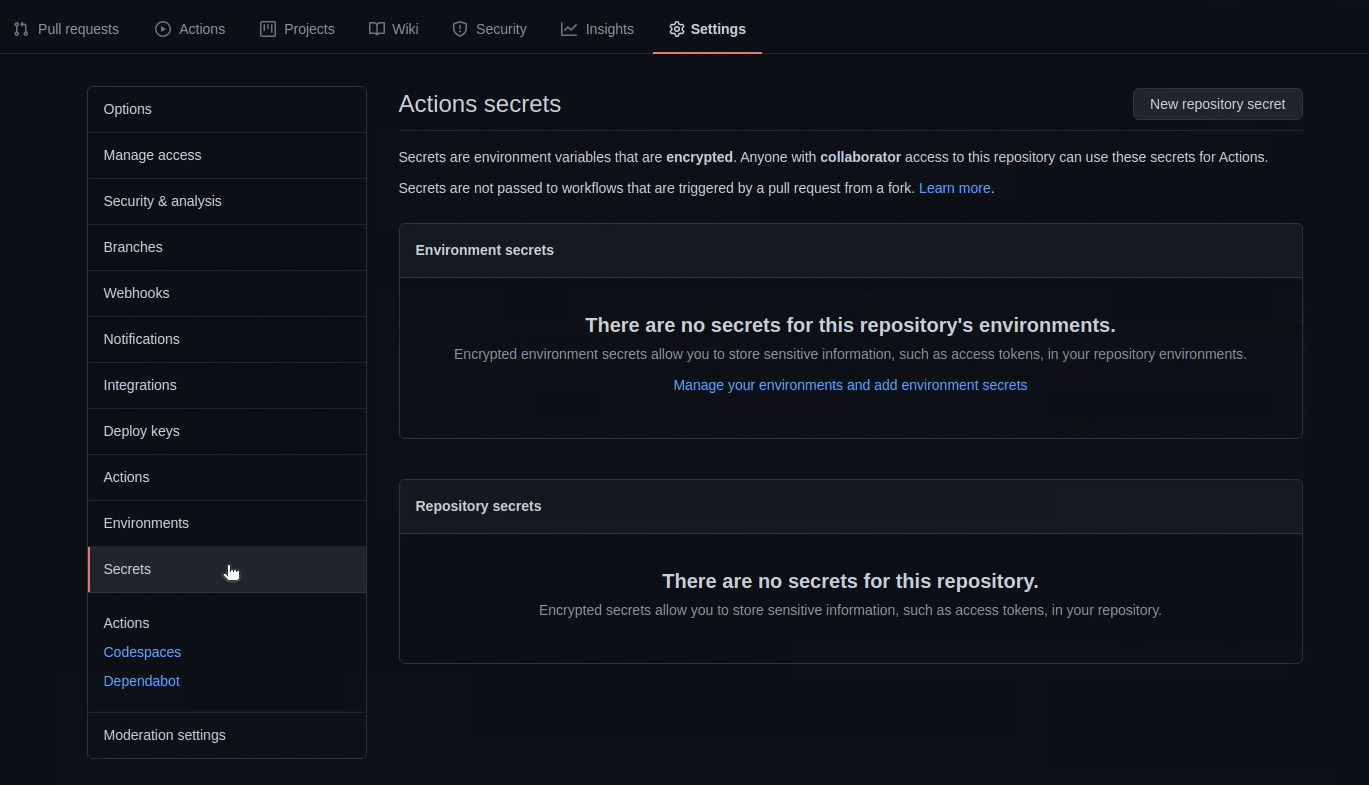
Here I will be providing information related to my AWS access keys along-with ECR repository information. It’s much better to use GitHub Secrets as they are encrypted, instead of directly using it as plaintext in the codebase.
I will create a private repository in ECR and name it as demo.
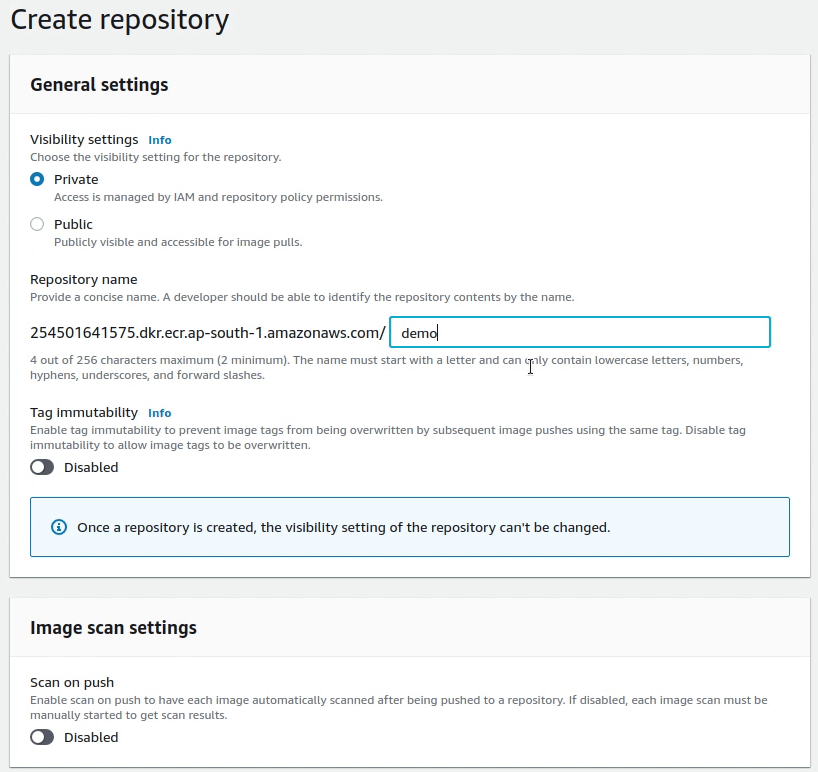


We have successfully created a private repository in ECR and name it as demo. As you can see in the manual.yml file that we have hardcoded the repository name to be “demo”, instead you can configure it as a secret. So, you don’t need to modify your yaml file in future in case you change your repository name.
Tagging
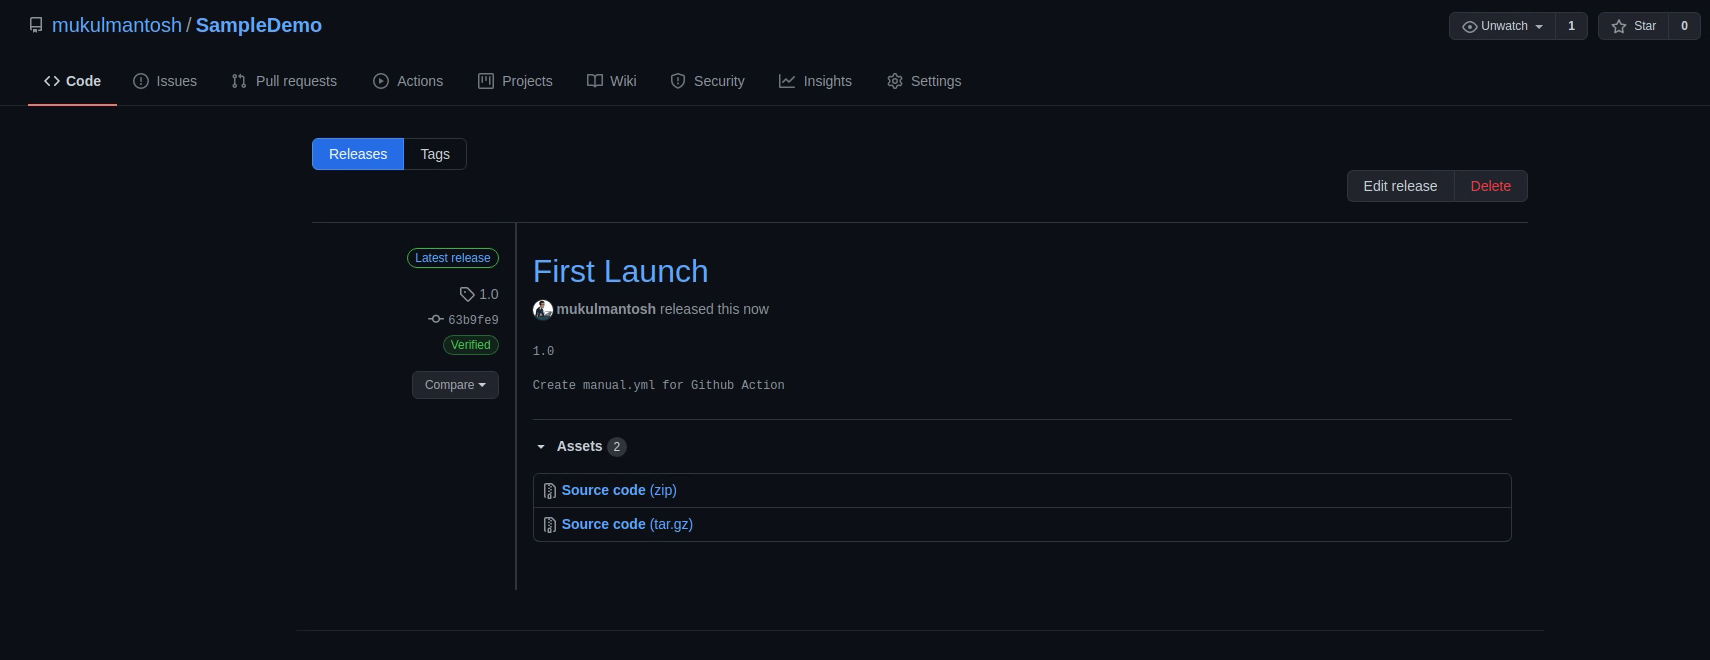
We have done all the configuration. Now, I will create a new release and name it 1.0.

You can see the build process has begun.
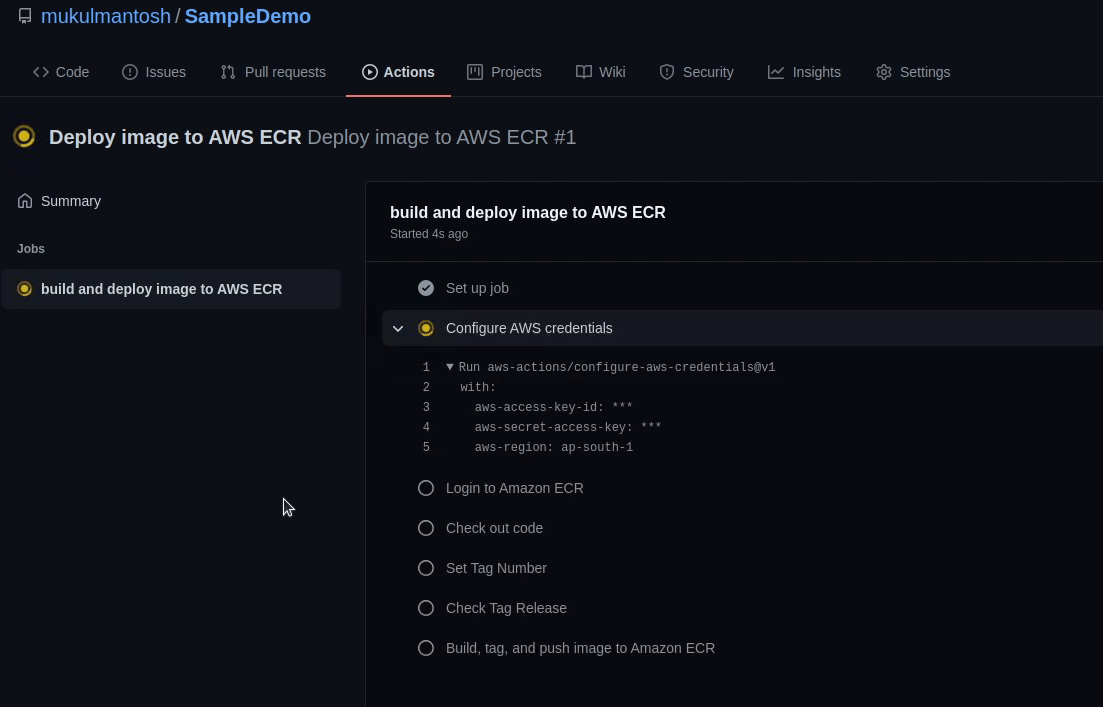
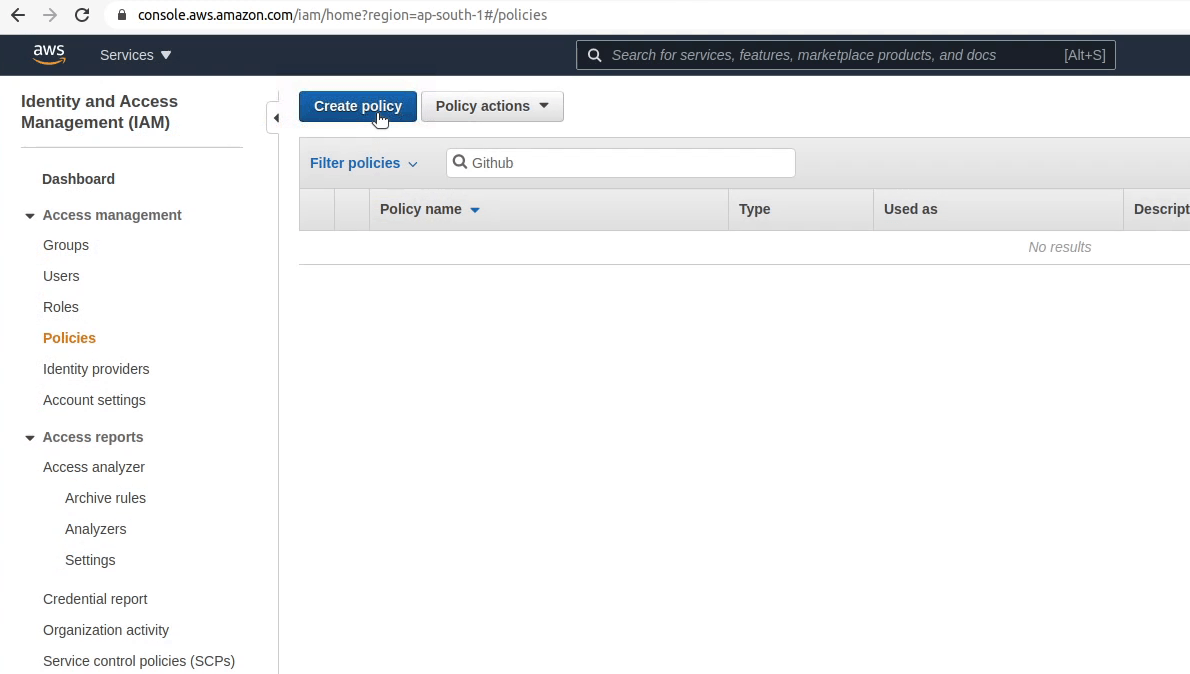
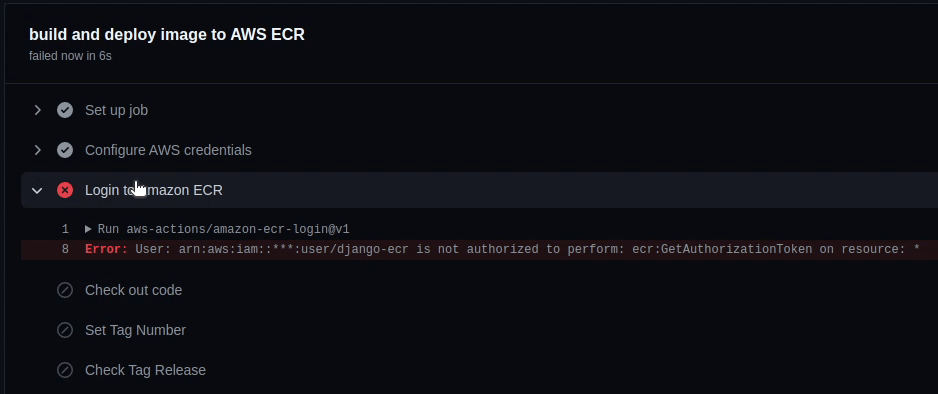
Oops ! The build failed. I forgot to assign a permission to our IAM User. Let’s go back to the AWS Management Console.
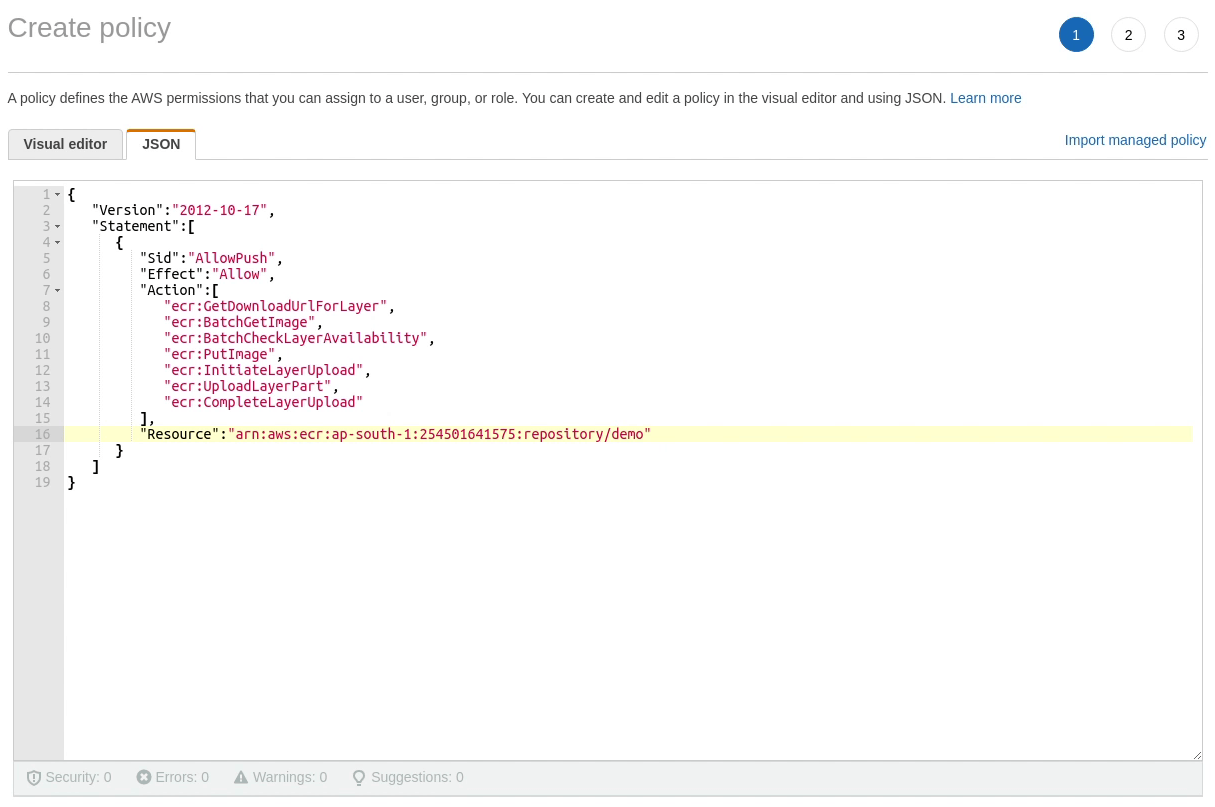
We are currently in the IAM section. I will be creating a new policy which will allow the user to access the ECR. I am going to provide permission according to my project requirements.
Follow the principle of least privilege and keep rotating your keys frequently. Always focus on best practices.
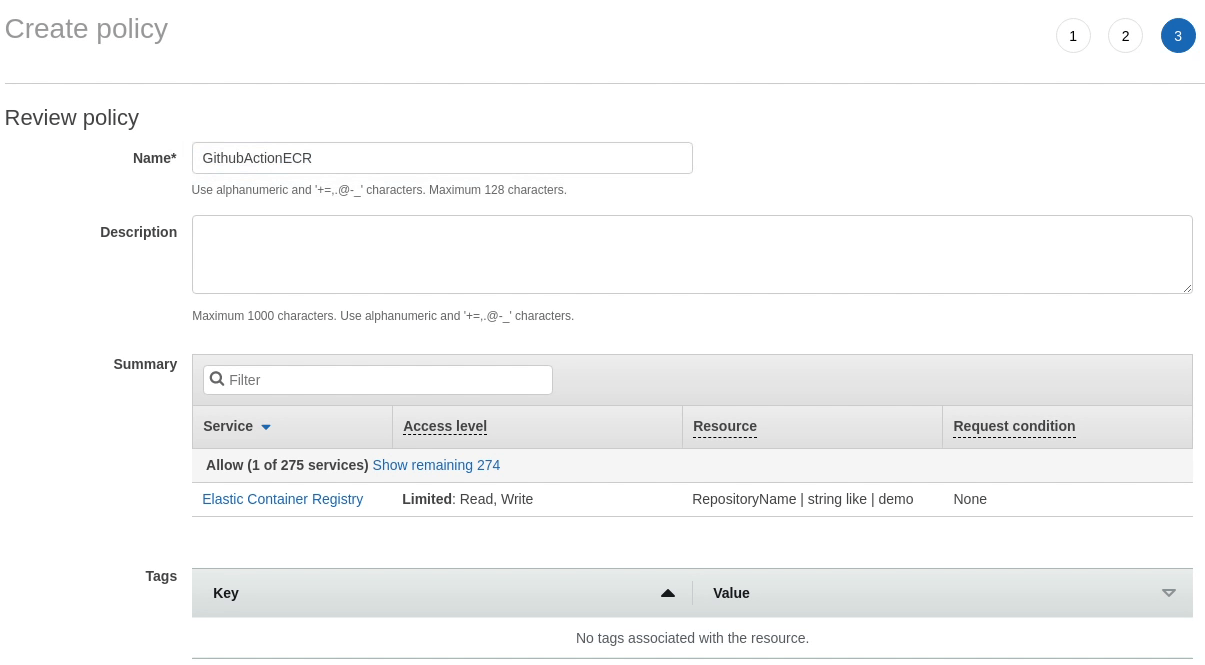
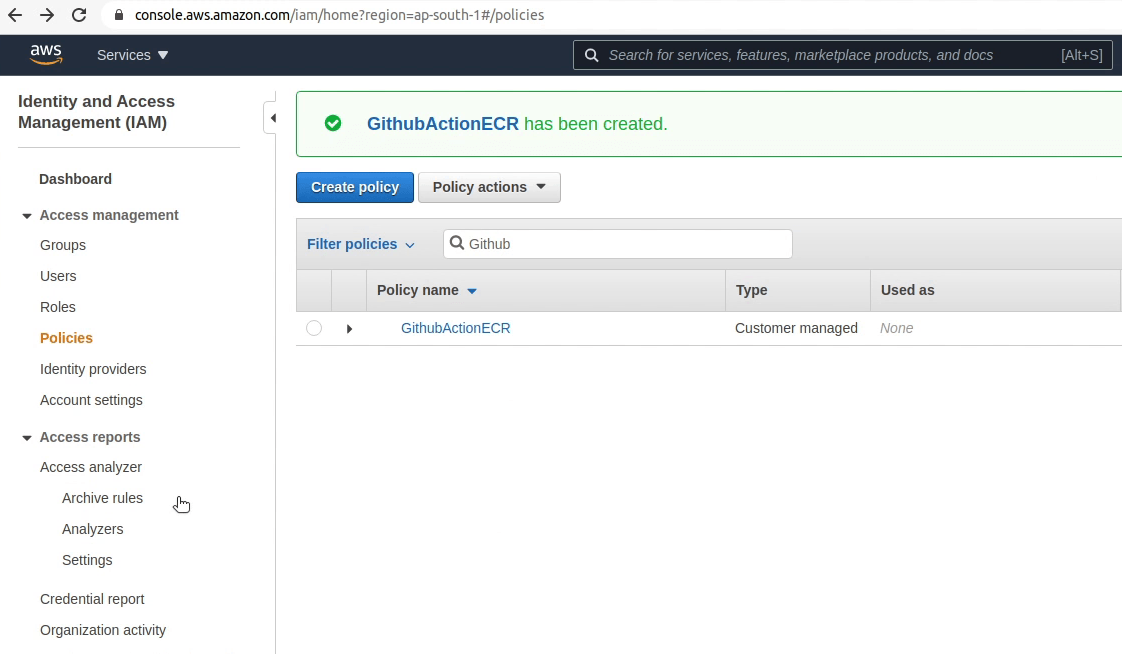
The policy has been successfully created. Next, I am going to attach the new policy to the user.
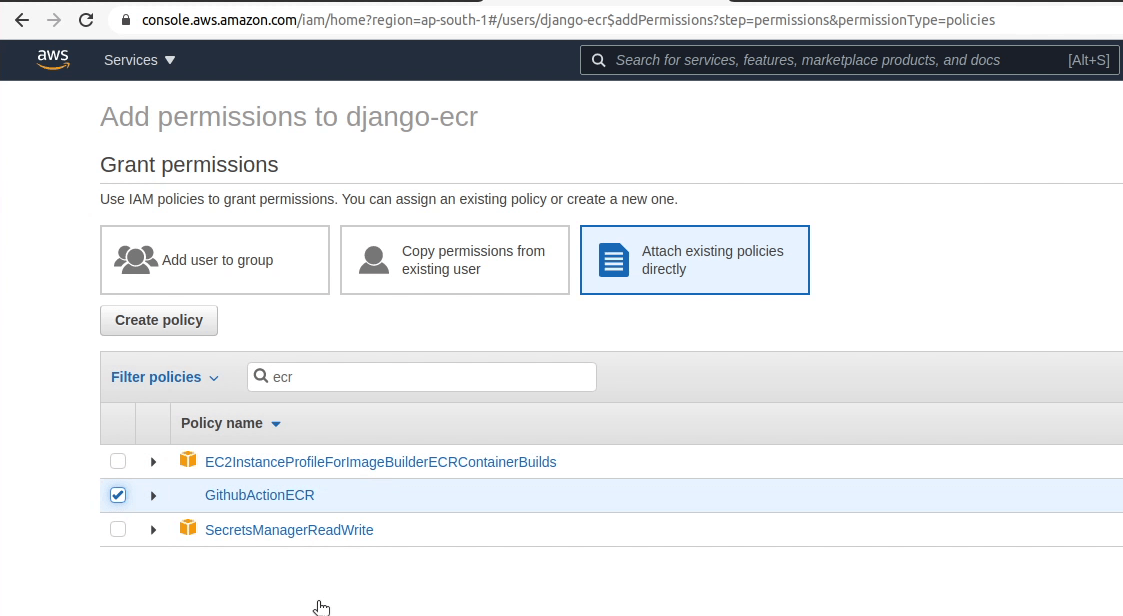
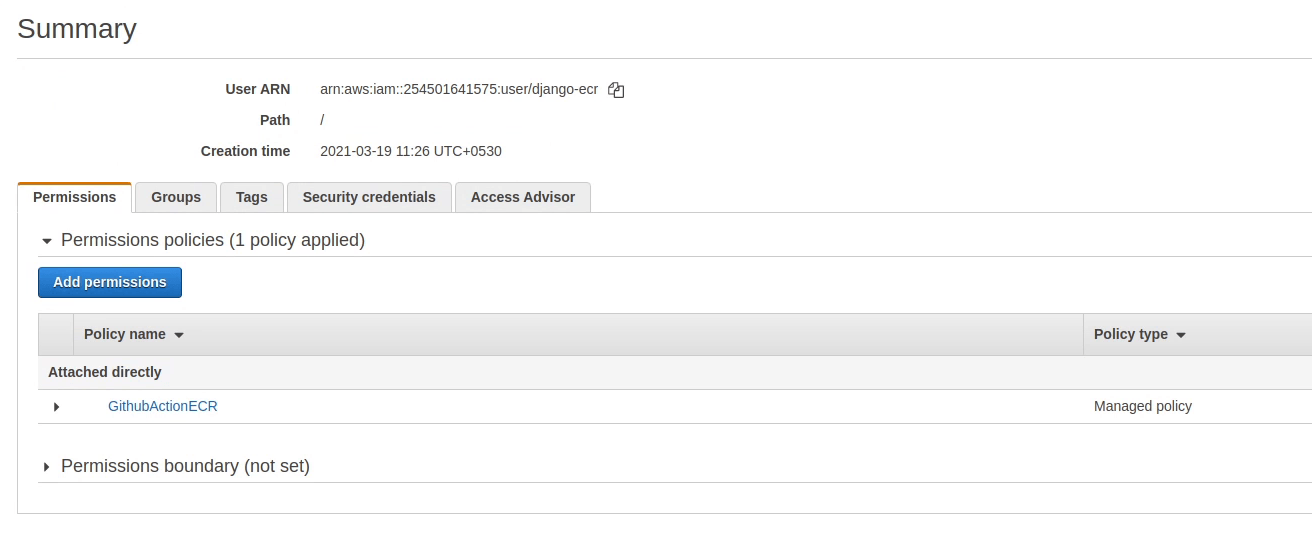
The policy has been attached successfully to the user. I am going to restart the build again.
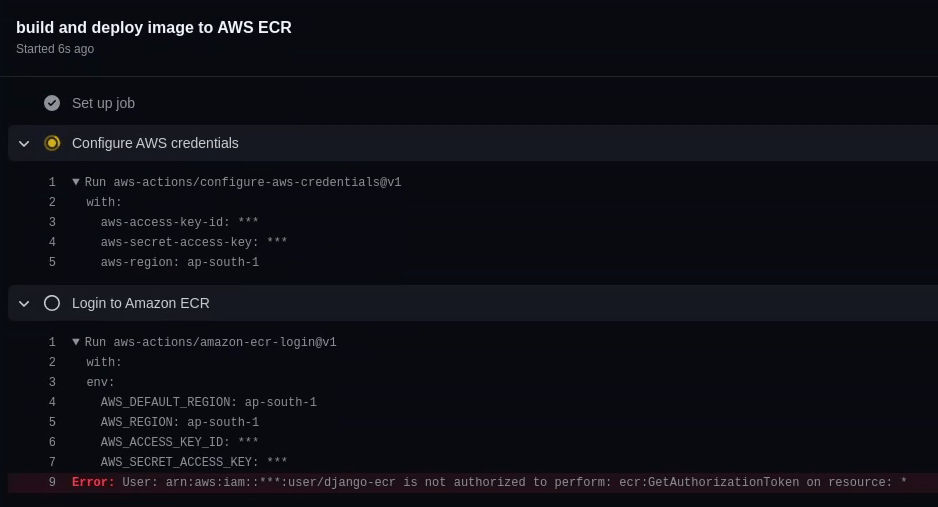
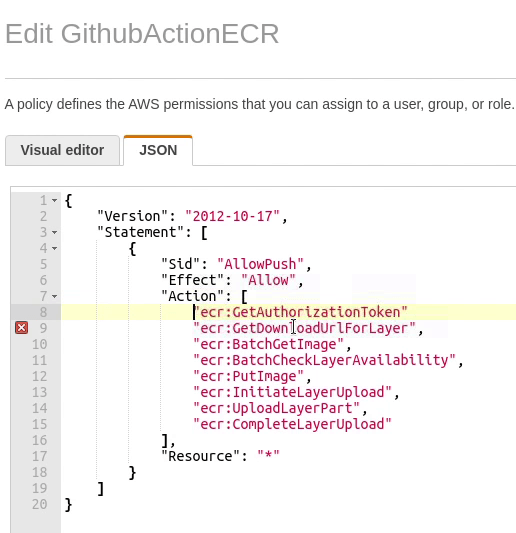
Looks like the build has failed again, but this time it's different. I forgot to add the *GetAuthorizationToken.
Let me fix it quickly in the policy document.
I have successfully updated the policy document. Let's give one more try.
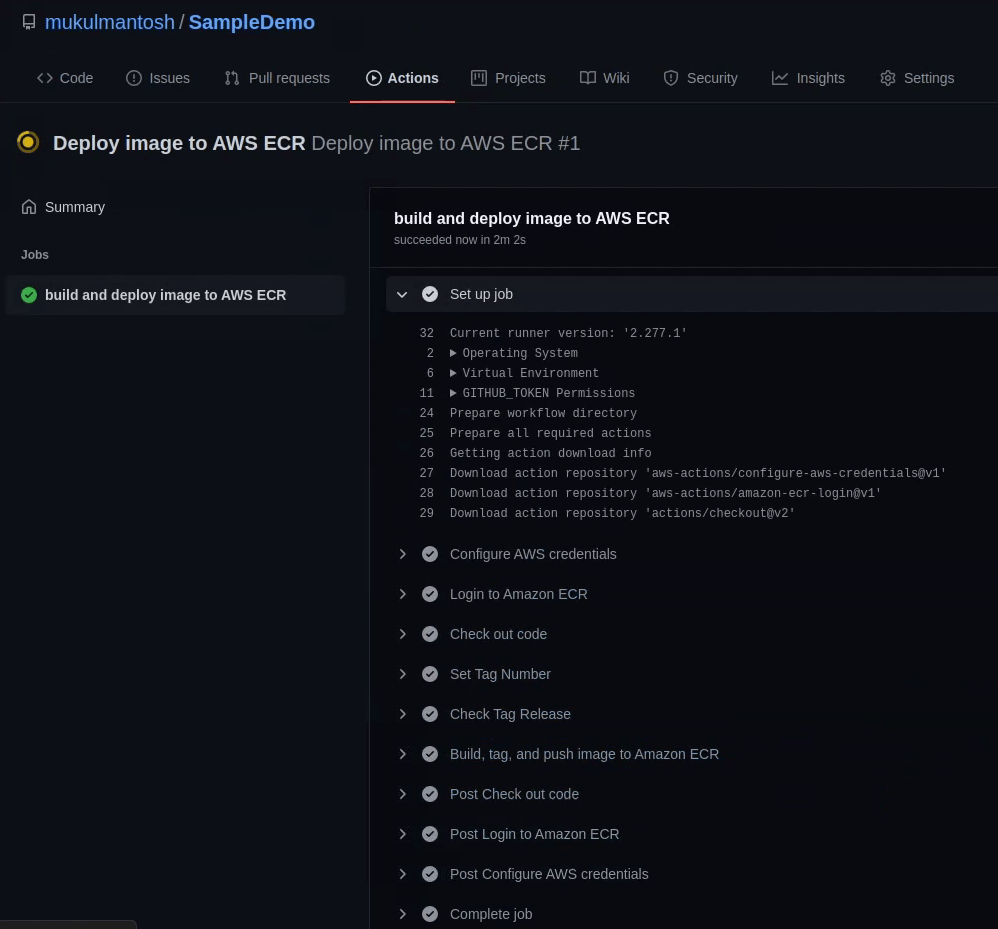
Okay, finally our build has been initiated successfully, let’s wait for it to complete.

You can see the below image, the docker image is getting pushed to the ECR registry.

Great ! Our deployment is successful. Let me verify that in the ECR Console.
Yes, the 1.0 tag is reflecting in the repository.

I hope you now have the basic knowledge how to set up a workflow and initiate an automated build & deployment process. If you got stuck somewhere, then follow the video. This is what actually happens in the real software world, but over there you will be interacting with complex workflows.
The main goal of this tutorial series was to provide you brief knowledge of what actually happens during the software development beginning from development, testing and finally until deploying the application in production.
Don’t get overwhelmed, take your time, it's not a race. I know there are lots of topics that I didn’t cover in this course, but that was not the goal of this tutorial series. This tutorial is only for those people who are interested in working with Django or just beginning with it and having basic knowledge on AWS. If you want to dig deeper, there are lots of good courses out there on the Internet, go and check them out.
Never Give Up, Keep Learning and Keep Growing.