
Unit Tests
Writing and running unit tests in Django.
Hello everyone, welcome to the Django tutorial series. In this tutorial, we are going to focus on Unit Tests.
Unit testing ensures that all code meets quality standards before it's deployed. It saves time and money, and helps developers write better code, more efficiently.
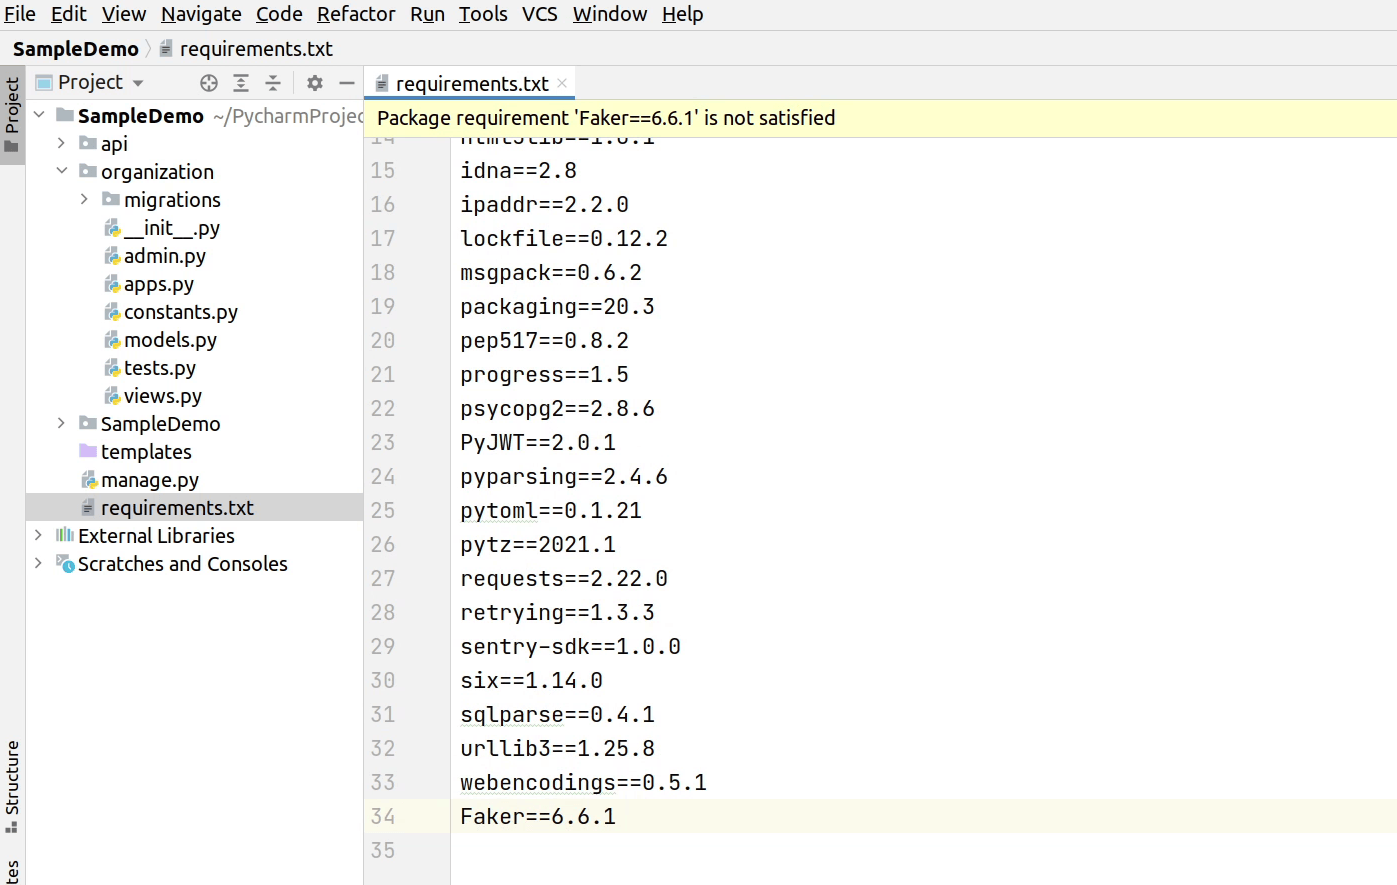
Installing Package
For this tutorial, we will be using Faker. Faker is a python package that generates fake data. You can also use the model-bakery package which offers you a smart way to create fixtures for testing in Django.
Let's begin testing
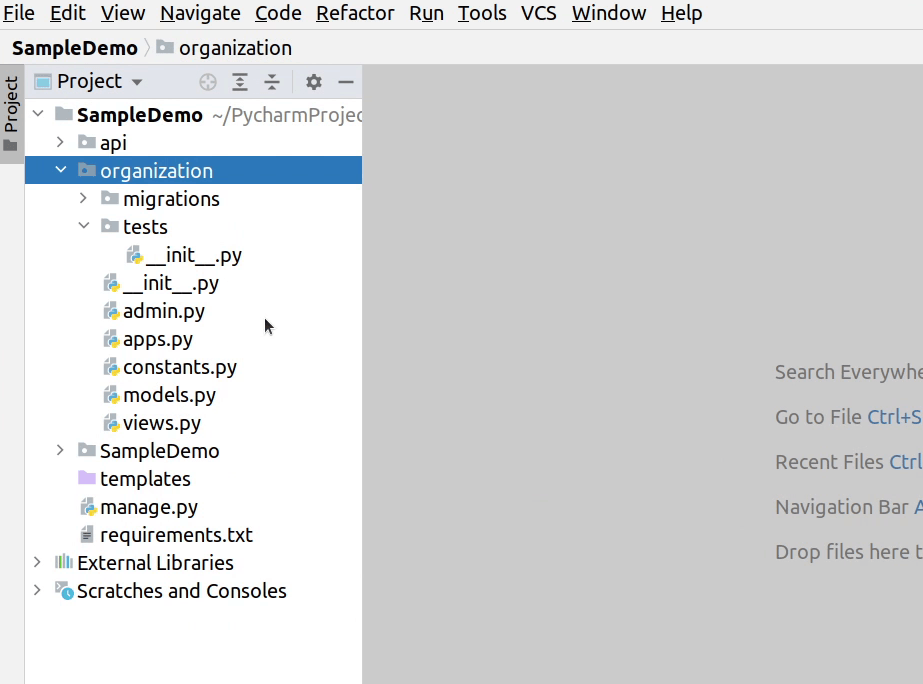
I will create a tests folder under our organizations. We don't require the base tests.py file, so I will remove it.
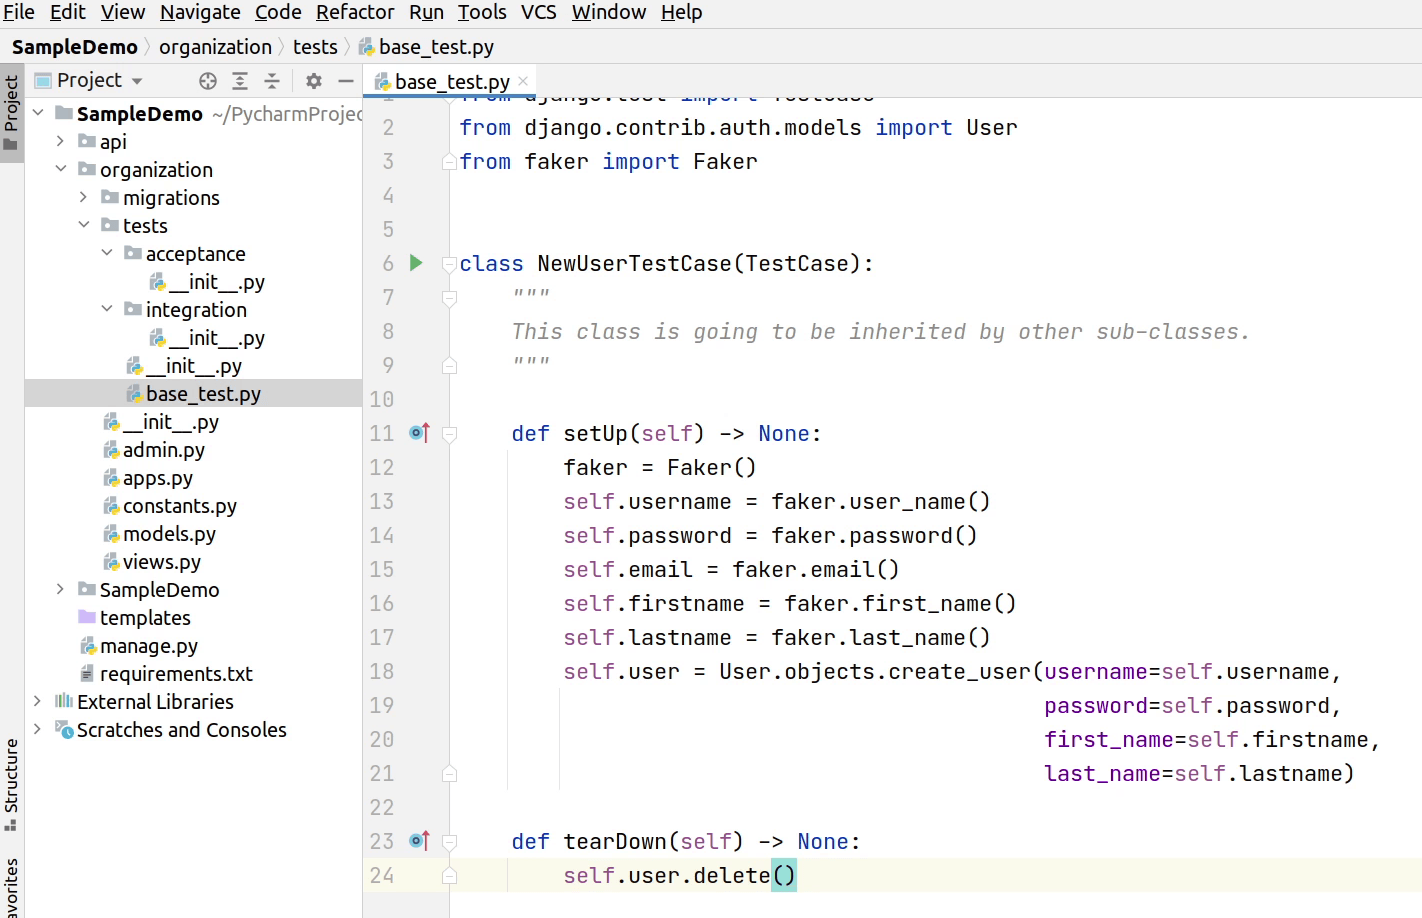
Next, I will create two more packages under tests and name it as integration and acceptance. We will focus on acceptance testing in our next tutorial.
I will be setting up a new user in our base_test.py file which is going to be re-used by other test classes.
You can see in our setUp method we are creating a new user by using the faker library. I haven’t used the email field: it’s optional and in the tearDown method we will be removing the user object from the database.
Our base test is complete. Let’s create a new test for the login module under integration.
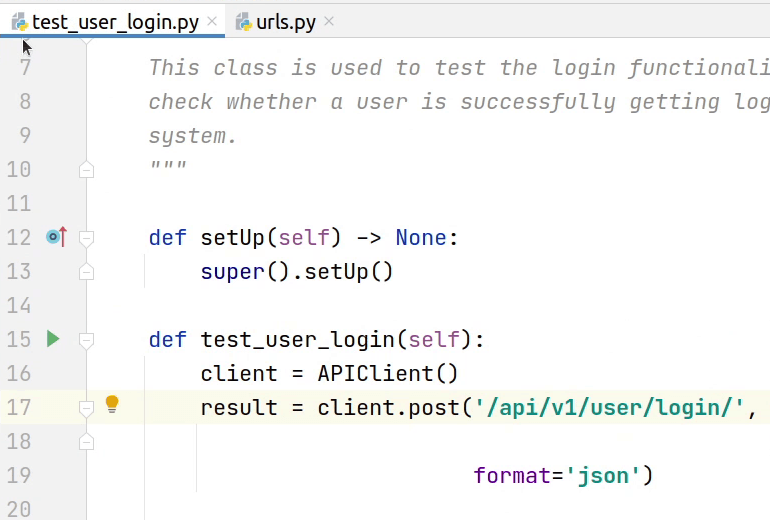
First we are going to do the necessary imports like the APIClient and base_test.

I will create a new class UserLoginTestCase which inherits the base class NewUserTestCase.

You might be thinking why I created an integration directory.
According to Wikipedia : Integration testing is the phase in software testing in which individual software modules are combined and tested as a group.
In our case we are dependent upon the NewUserTestCase, which needs to inherited, and finally it's going to create a new user in our system. Indirectly, we are setting up a fixture. According to Wikipedia : A software test fixture sets up a system for the software testing process by initializing it, thereby satisfying any preconditions the system may have.
If there is a user in our system then only we can proceed with login that means a new user needs to be registered successfully in the platform and after that only we can perform a test in the Login API.
Moving ahead, in the setUp method, I will be calling the setUp method defined in our base class through super(). The super function is used to give access to methods and properties of a parent or sibling class.
In our test_user_login function, I will pass username & password to our login api and will check in response that I receive a 200 status code along-with access and refresh tokens present in the response body.
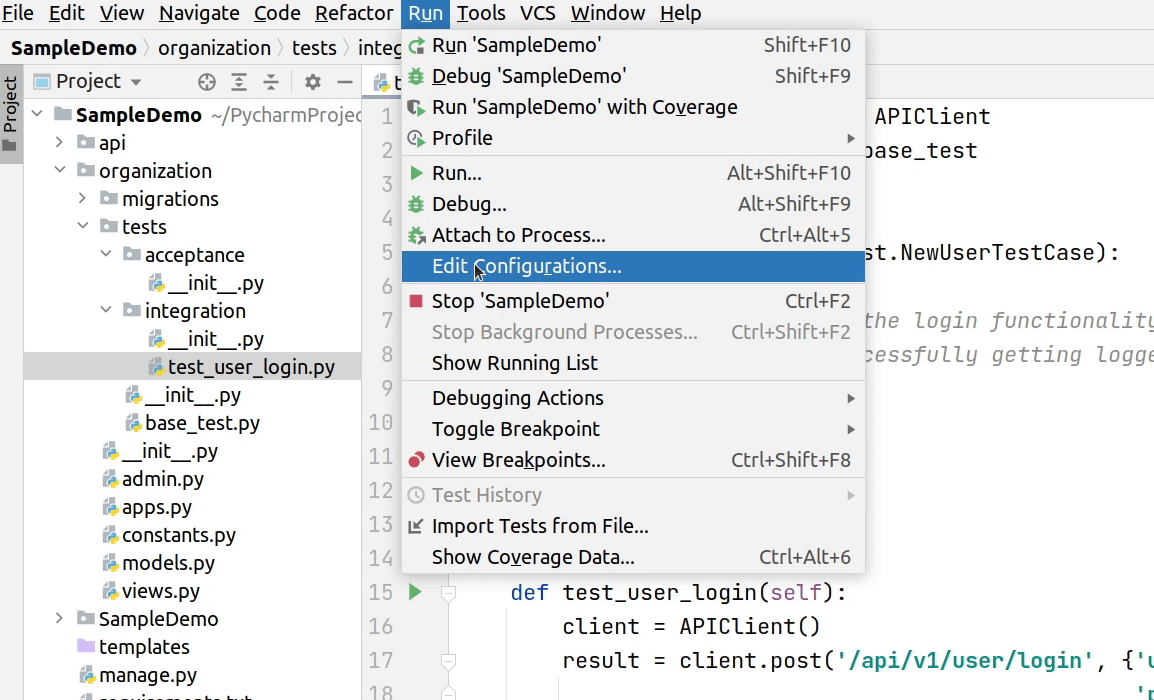
Okay, the implementation is done. Let’s move forward and configure our test settings.
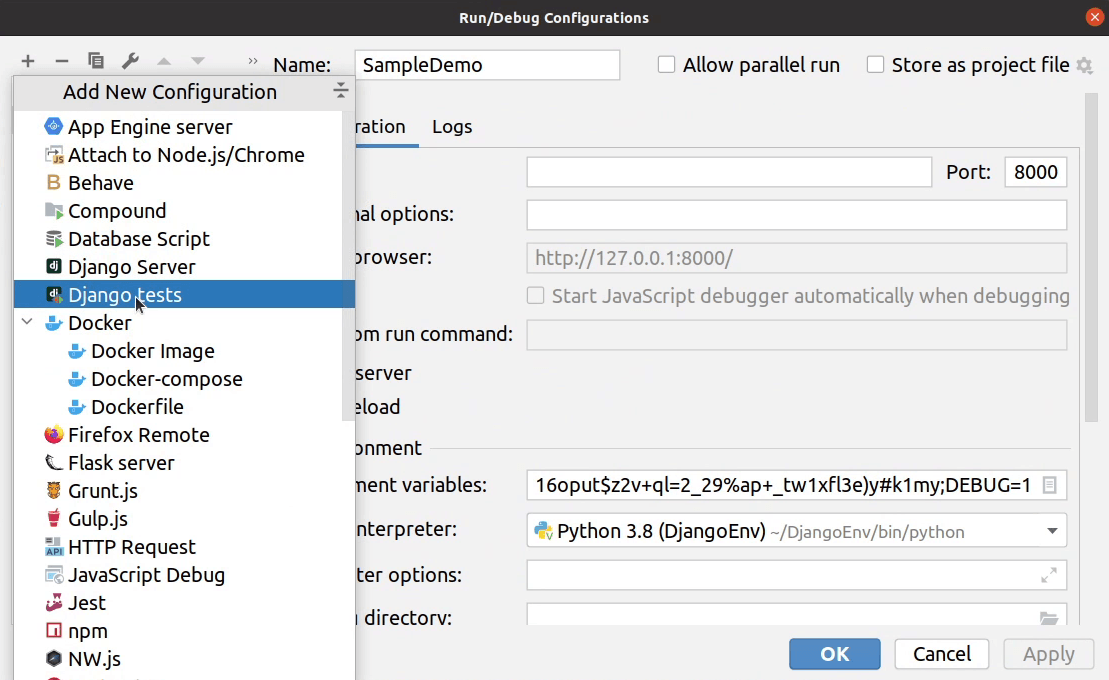
I will click Run | Edit Configurations.
I will click on + and add Django tests. Make sure to replicate the environment variables from the Django server.
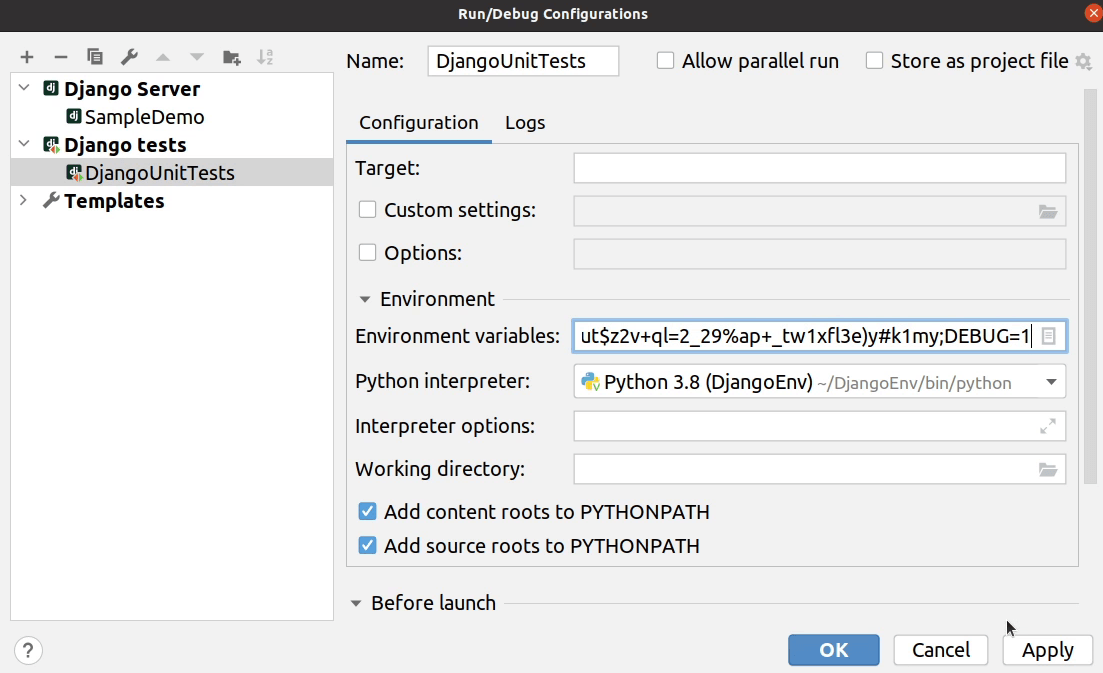
I will click Apply | OK.
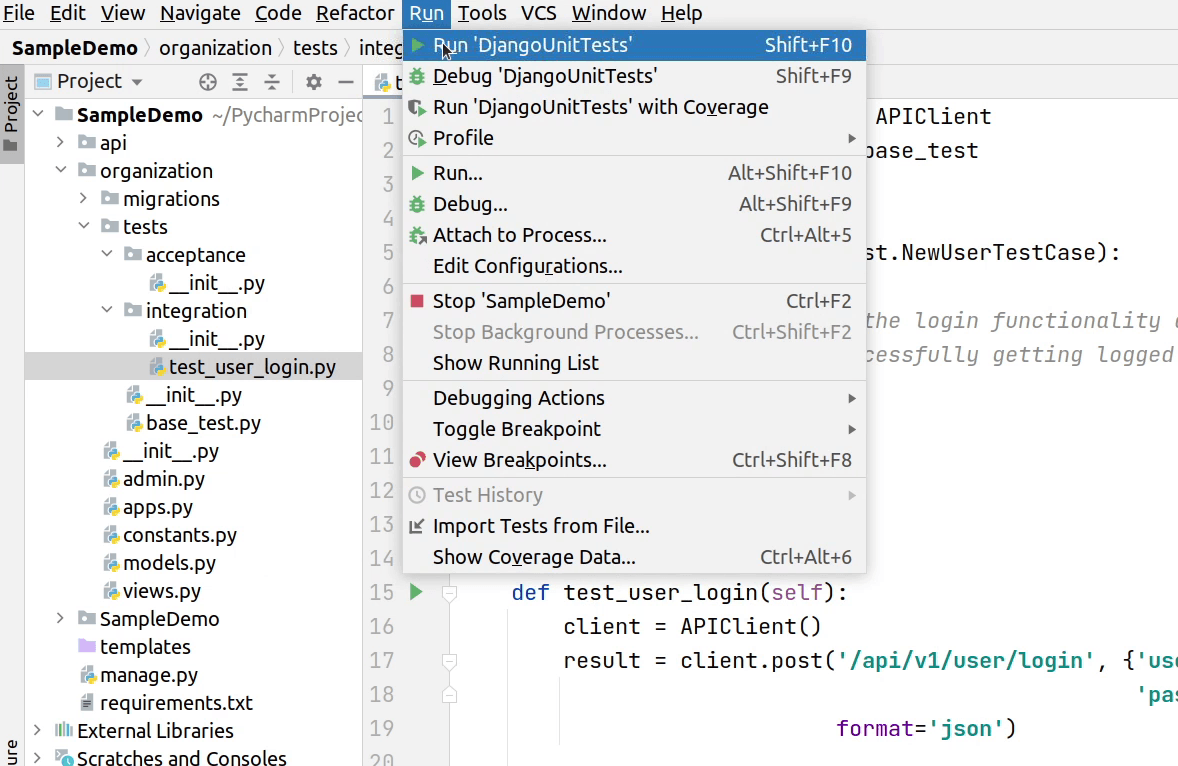
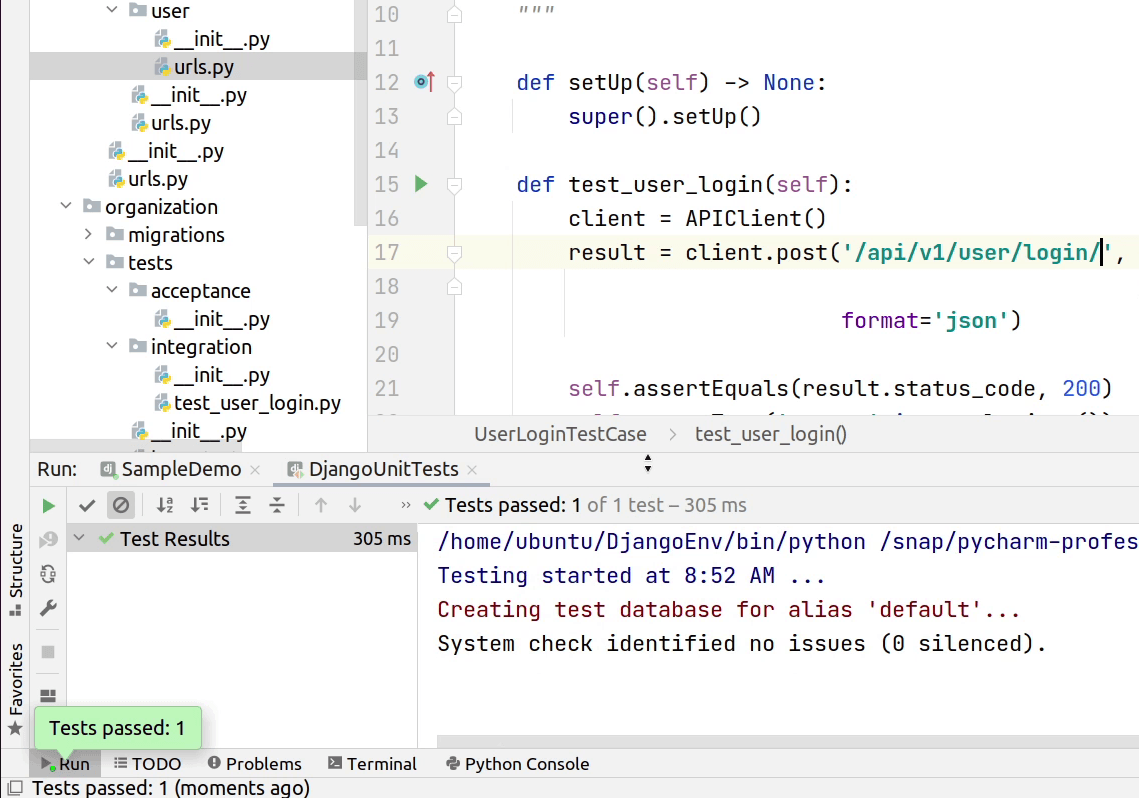
Everything is done, Now I will click Run | Run ‘DjangoUnitTests’
Our test case has failed: we received a 301 permanent redirect http response.
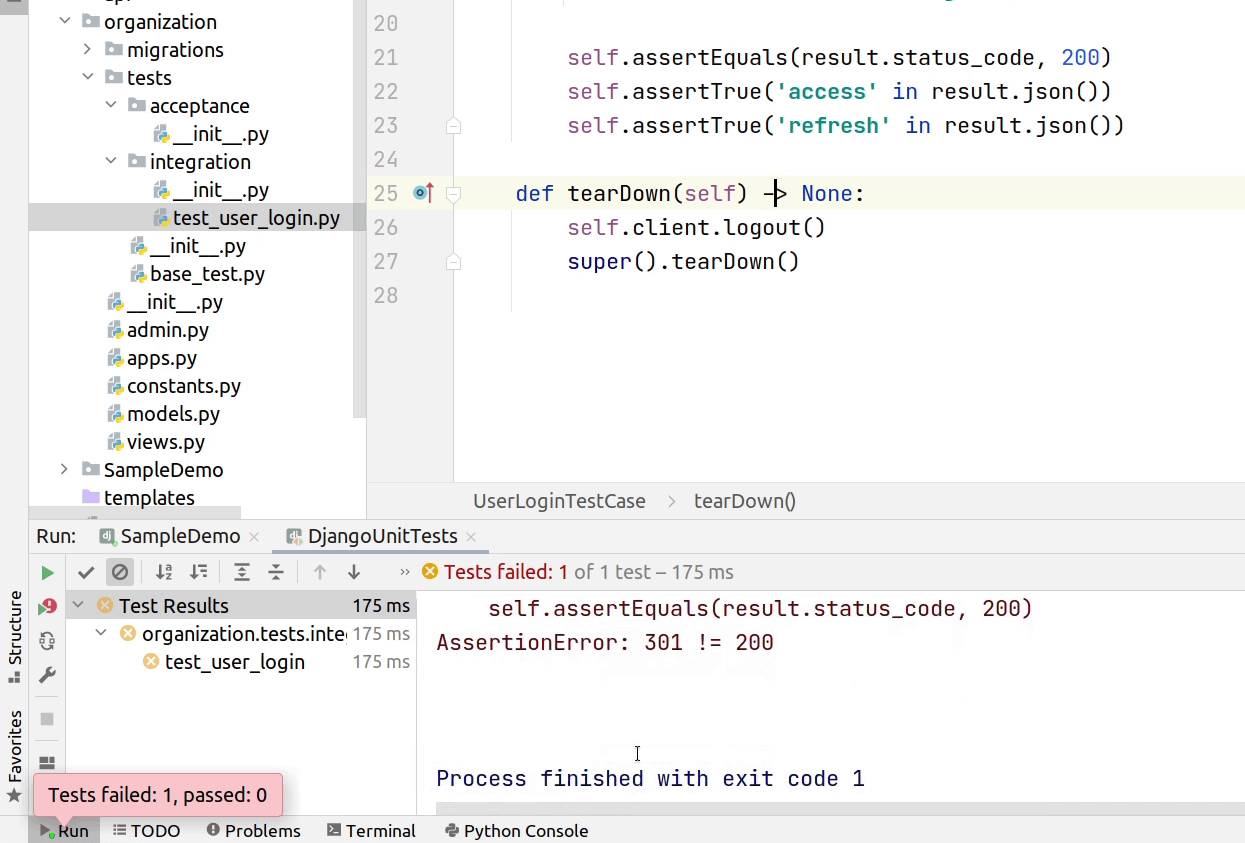
I forgot to add forward slash in the login url /api/v1/user/login/ at line number 17.
I am going to try once again.
Yes, the test case has successfully passed.
Let’s move ahead and complete other test scenarios, just follow along-with me. I would recommend watching the video because I will be doing same kind of operations for other test cases.
In case you want to save more time, the source code is available on GitHub.
If you have completed implementing all the test cases, then you can observe the below image, that's going to be our final output.

In the upcoming tutorial step we will be focusing on writing acceptance tests using python bdd framework.