
Setting Up a Database in MongoDB Atlas
Connect MongoDB smoothly by connecting through Pycharm to explore the database GUI.
In this tutorial, we are going create a MongoDB Cluster and connect through PyCharm with Pro subscription.
MongoDB Atlas
MongoDB is open-source cross-platform document-oriented database. As you know MongoDB provides a managed database as a service which is also known as MongoDB Atlas. They offer free storage upto 512MB which is good enough for development but not suitable for production workloads.
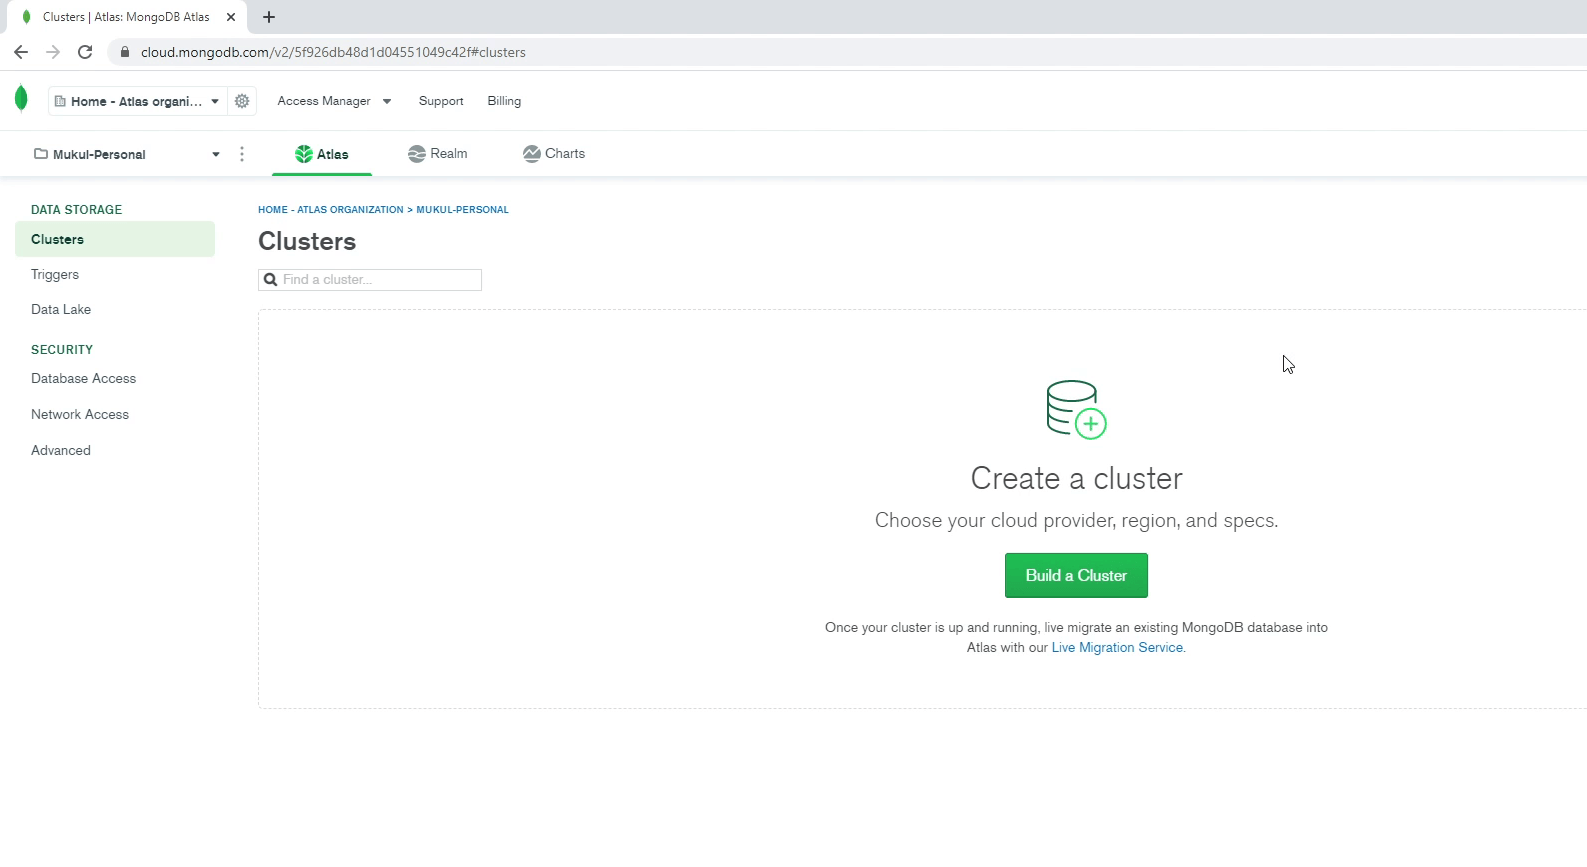
This is the landing page which provides a list of information related to your databases.
Now I am going to click Build a Cluster. I will choose Shared Cluster which is FREE of cost.
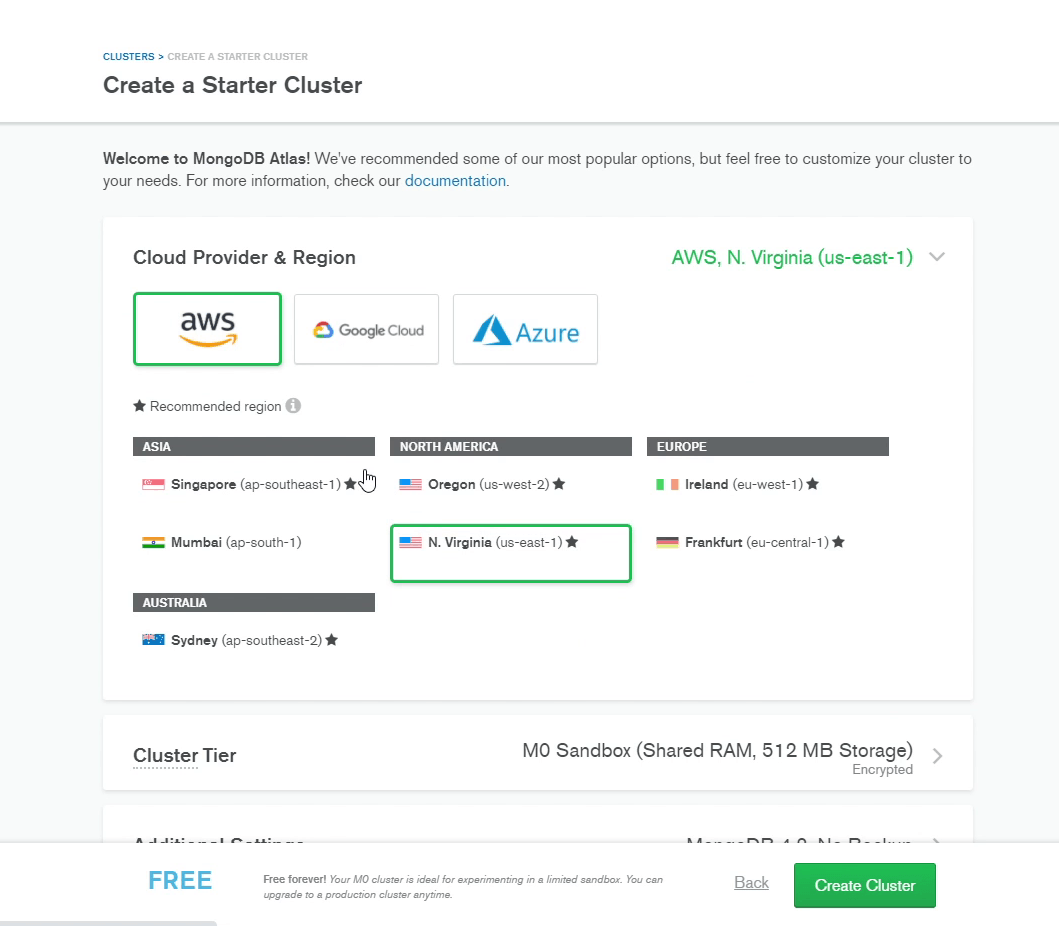
I'll opt for AWS as my cloud service provider and select the "Mumbai (ap-south-1)" region to minimize latency since it is the closest to my location. Feel free to choose the datacenter nearest to you.
I will set cluster name as myDB, after that I will click Create Cluster. It will take a few minutes to provision the new cluster.
Database Access
Once the database has been successfully created, we need to create a "Database User" which will be authorized to connect to the database.
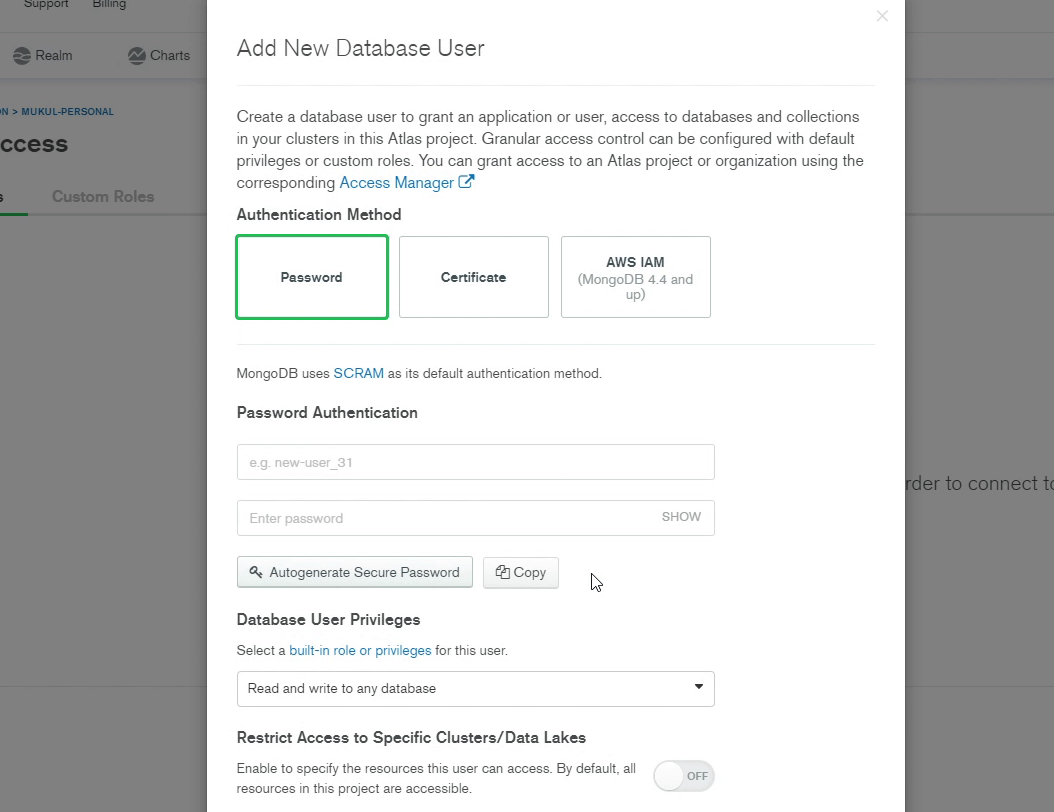
Click Database Access. Provide a username and click , Autogenerate Secure Password.
In Database User Privileges make sure you have access to Read and write to any database.
Also, make sure to enable permission to access the cluster, and finally click on Add User. It will take some time to reflect those changes.
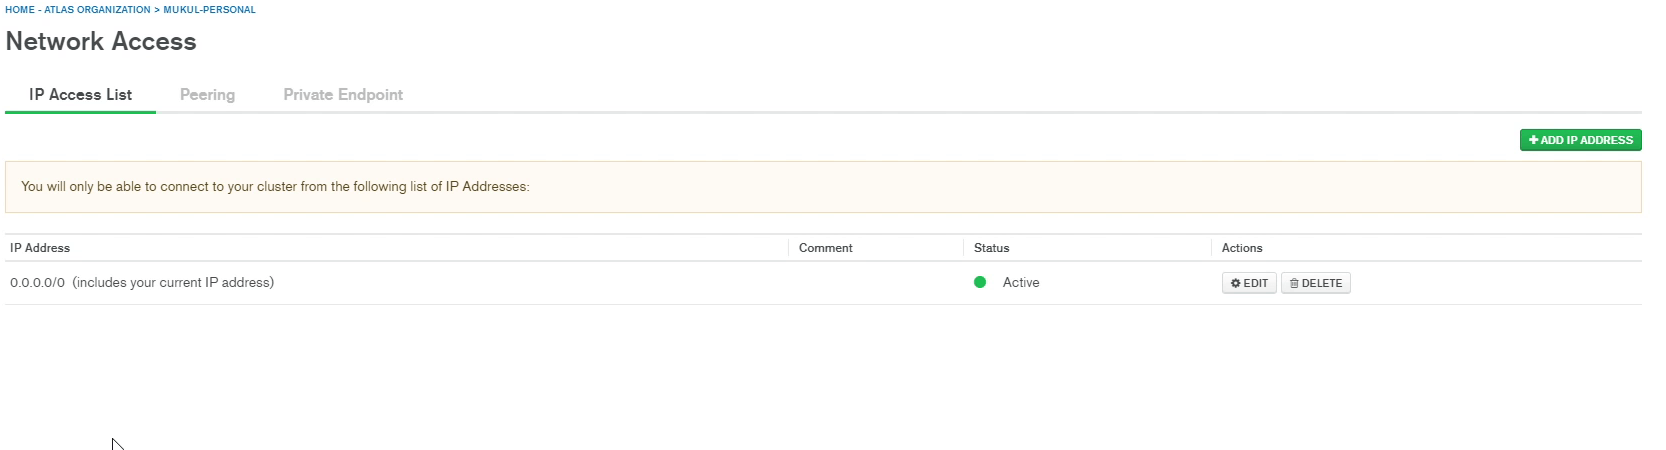
Now, click on Network Access.
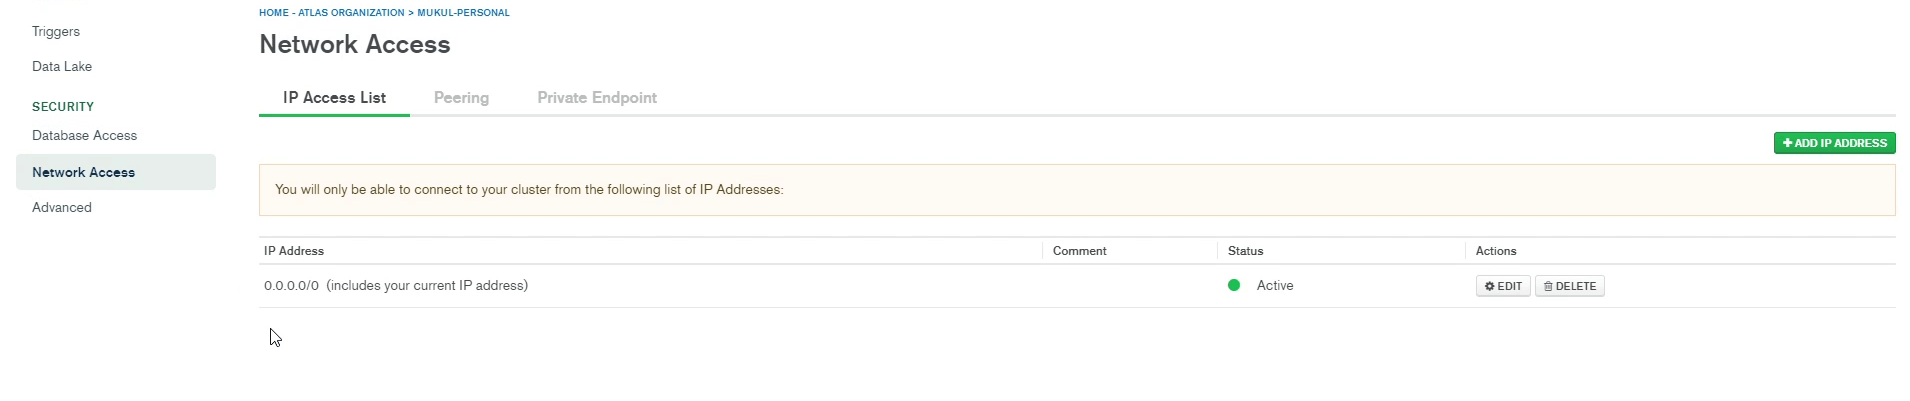
Make sure to whitelist your IP Address. As you can see, for this tutorial, I have provided 0.0.0.0 which means I can connect to the database from any IP Address. This is definitely not good when it comes to security. Please follow the Defense in Depth approach and try to restrict IP addresses. Exposing everything to the outer world makes it more vulnerable to data breaches and hacking.
After setting up the Network Access, it will take some time for changes to take effect.
Once the changes have been successfully updated, I will be following the instructions for connecting to the MongoDB Database.
I'll click on Connect, then proceed to click on Connect using MongoDB Compass, and ultimately, I'll copy the "connection string."
Connecting through PyCharm with Pro subscription
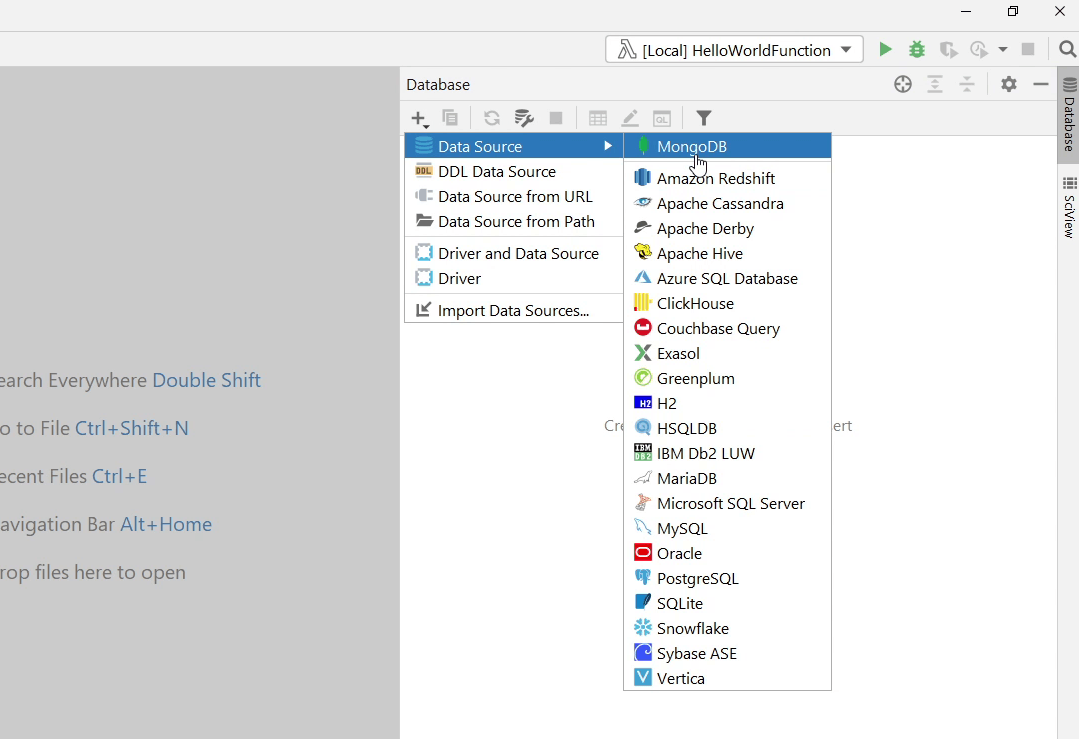
I will click on the Database section. I will click on the + (plus) button, hover to Data Source and then click on MongoDB.
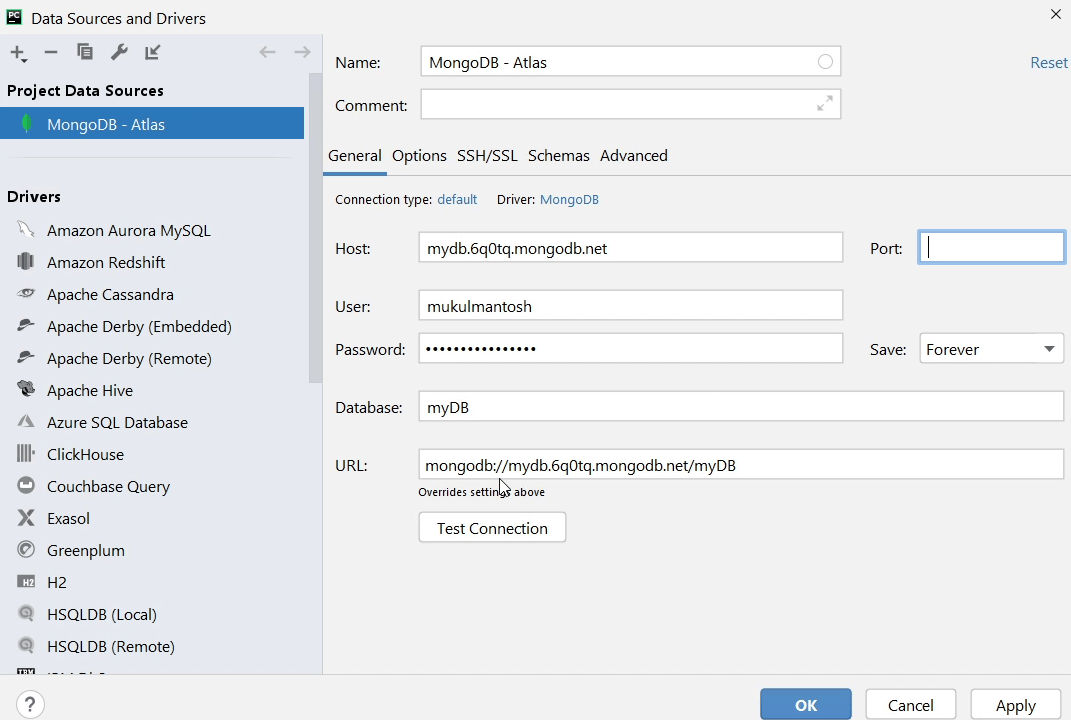
Now, paste the connection string in the Host section. We will be updating all the information like user, database name, password and the URL.
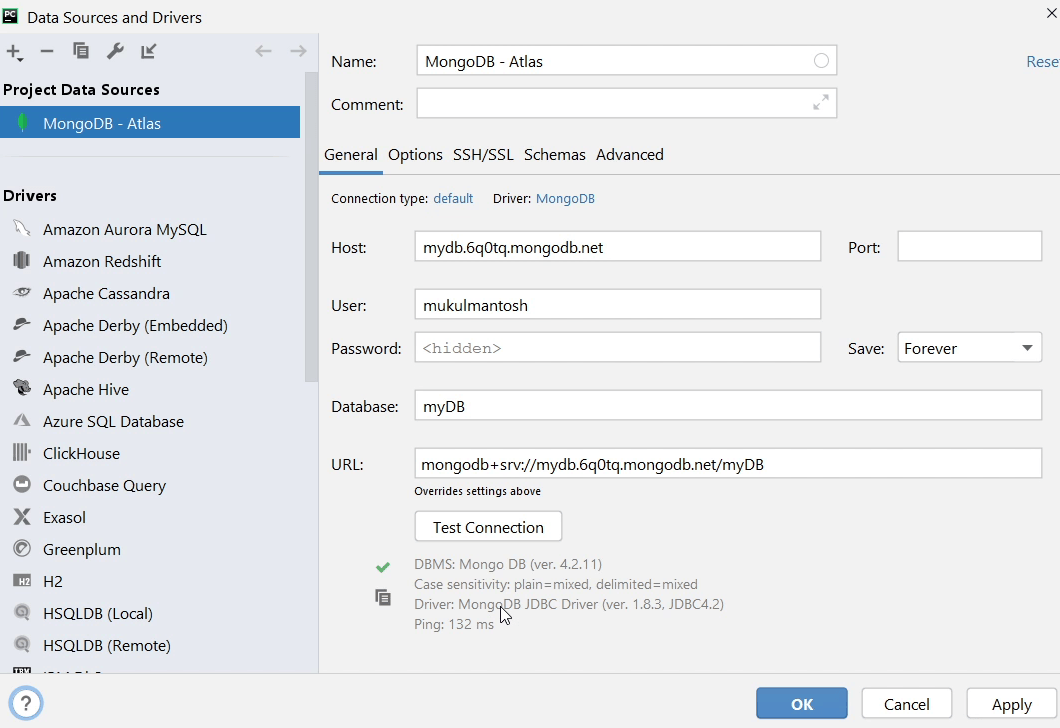
After that I am going to click on Test Connection to check whether I am able to establish connection to the DB or not, as you can see the connection was successful. I will click on Apply and then OK.
We have successfully connected with the MongoDB Database through PyCharm with Pro subscription.