
Exploring Project Structure
Launching up project in PyCharm, installing plugin and exploring the project layout.
In this tutorial step, we will be setting up the new project and exploring the project structure.
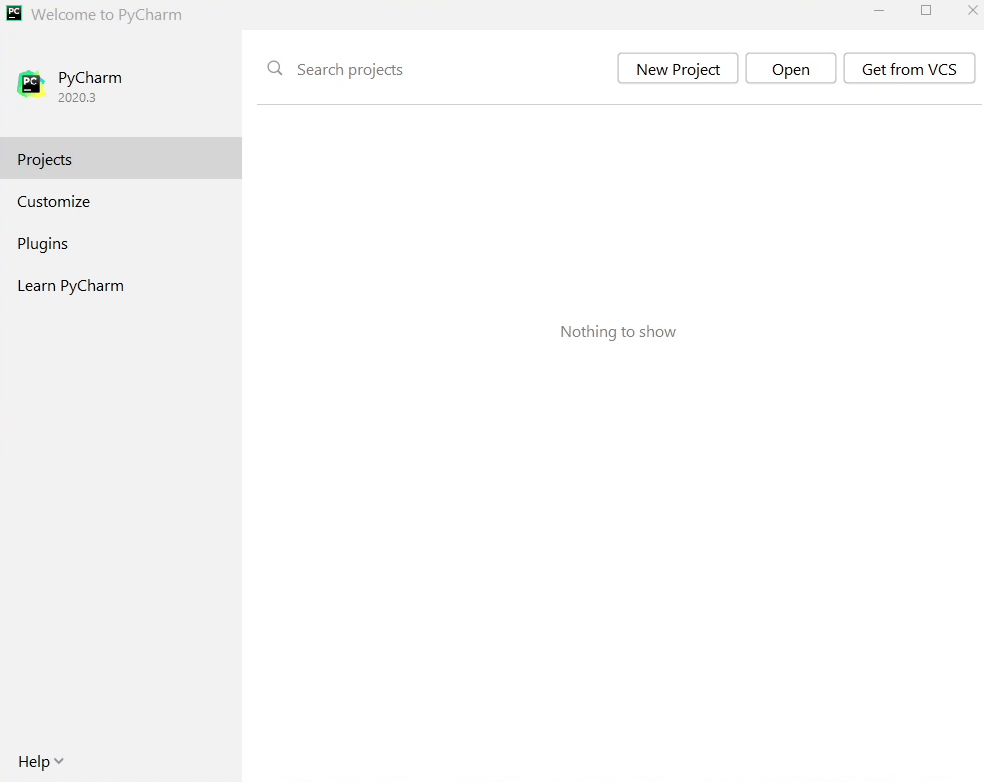
New Project
Here is the New Project screen in PyCharm with Pro subscription. To start, I'll select the New Project.
I will be choosing the AWS Serverless Application.
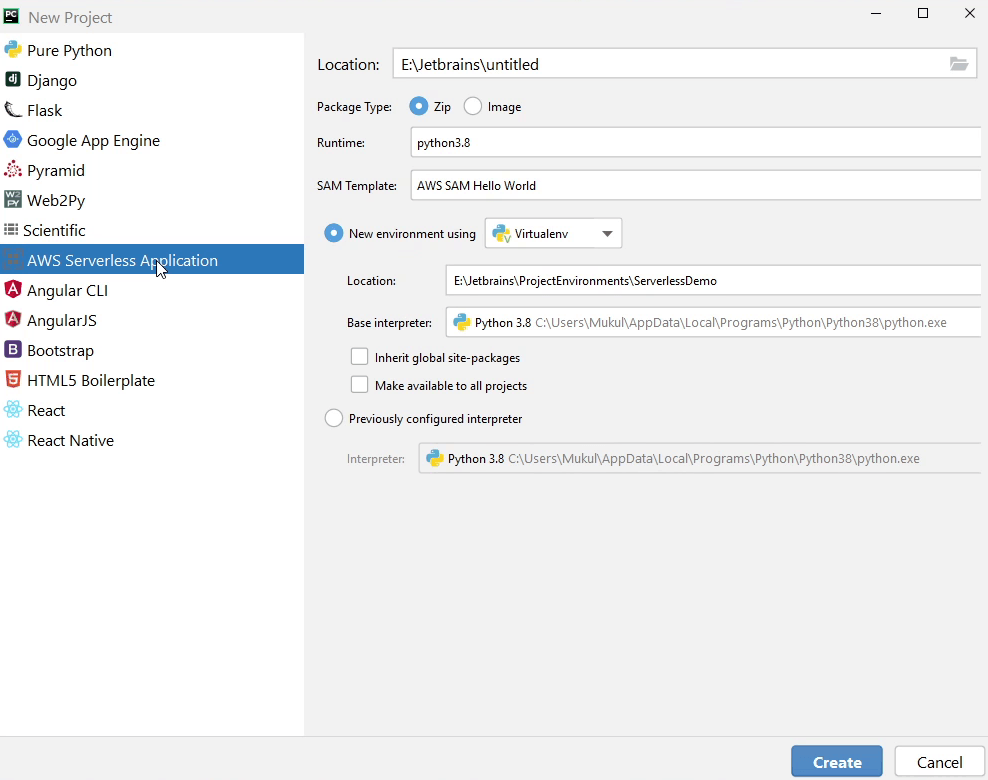
As you can see Location points to path of my codebase.
For this tutorial, I have chosen E:\Jetbrains\ServerlessDemo as my path.
The runtime is going to be Python3.8, and we will be using the default SAM Template AWS SAM Hello World.
You are free to use virtual environment of your choice. I am sticking to virtualenv.
There is something new added by the AWS plugin to the interface called Package Type which provides two options: Zip & Archive.
Zip is basically archiving and storing it into Amazon S3 and Image is storing the Docker Images in AWS ECR also known as Amazon Elastic Container Registry. We are now good to go. I will click Create, and we will wait for a few minutes for the project to get initialized.
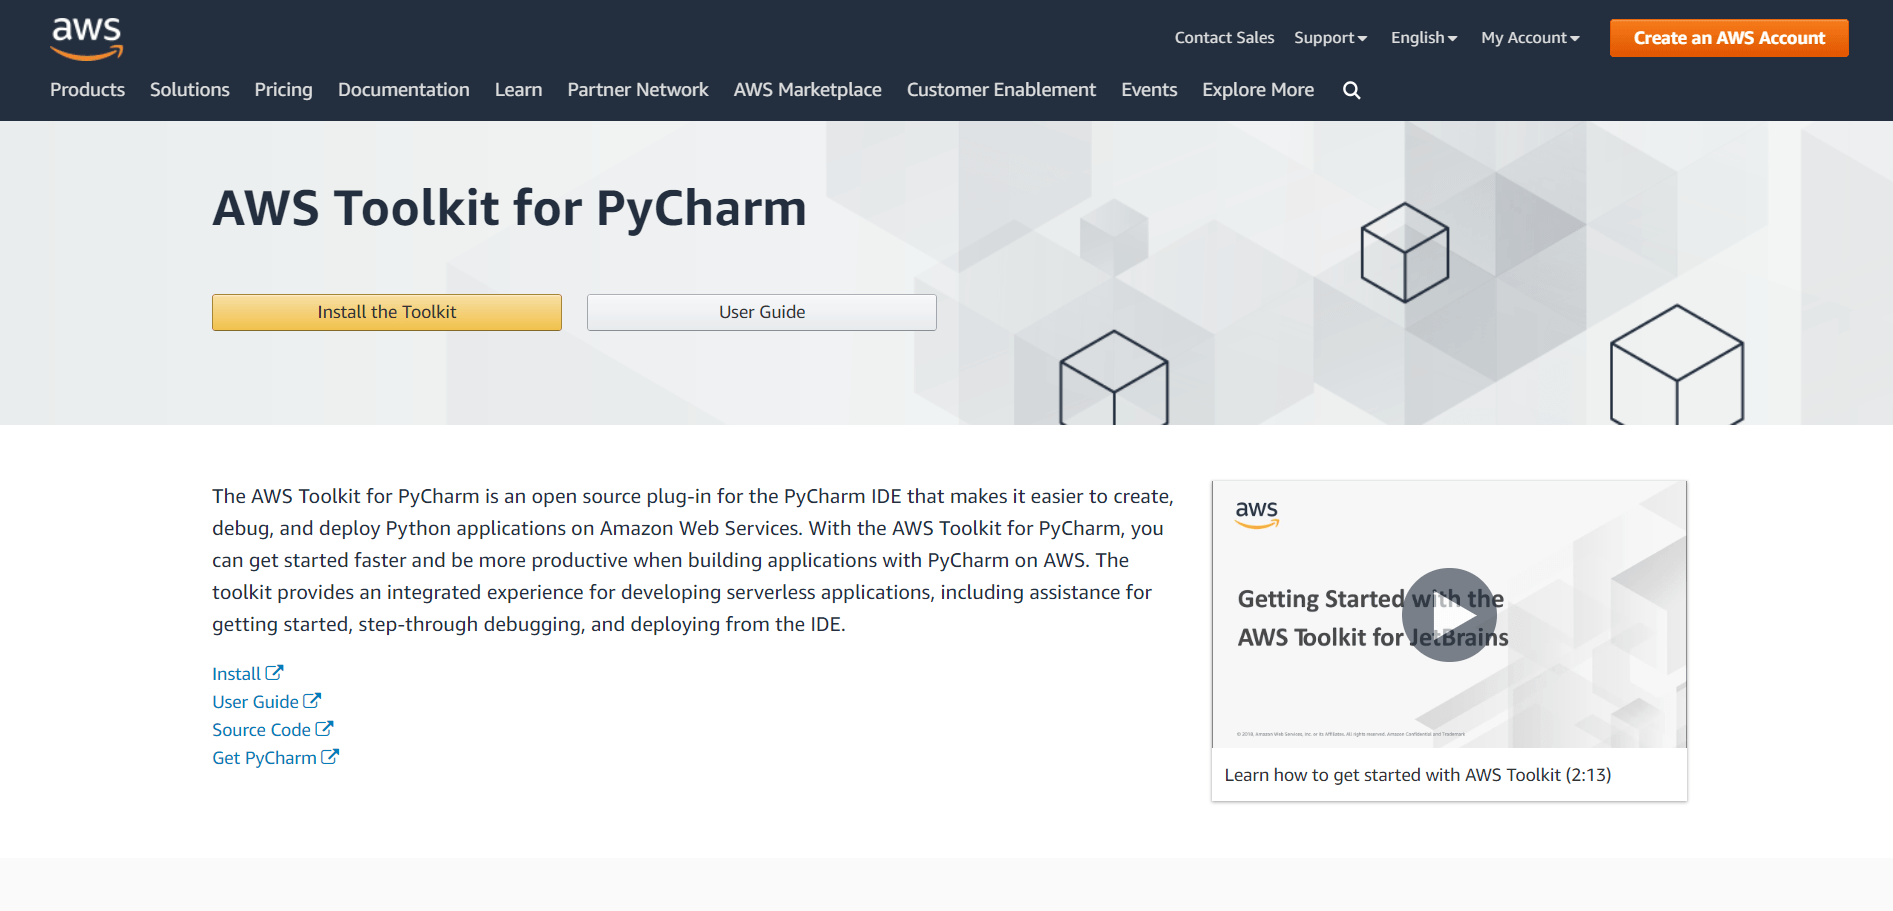
AWS Toolkit
Before doing a deep dive into the Project Layout if you want to get more information about the AWS Toolkit please visit the website aws.amazon.com/pycharm which is offered by AWS. This Toolkit is developed by AWS so over here you can see what are the features they are providing along-with their recorded webinars and all other information you can find in their website.
Project Layout
You can see how this project looks like. This is a small kind of blueprint or starter template.
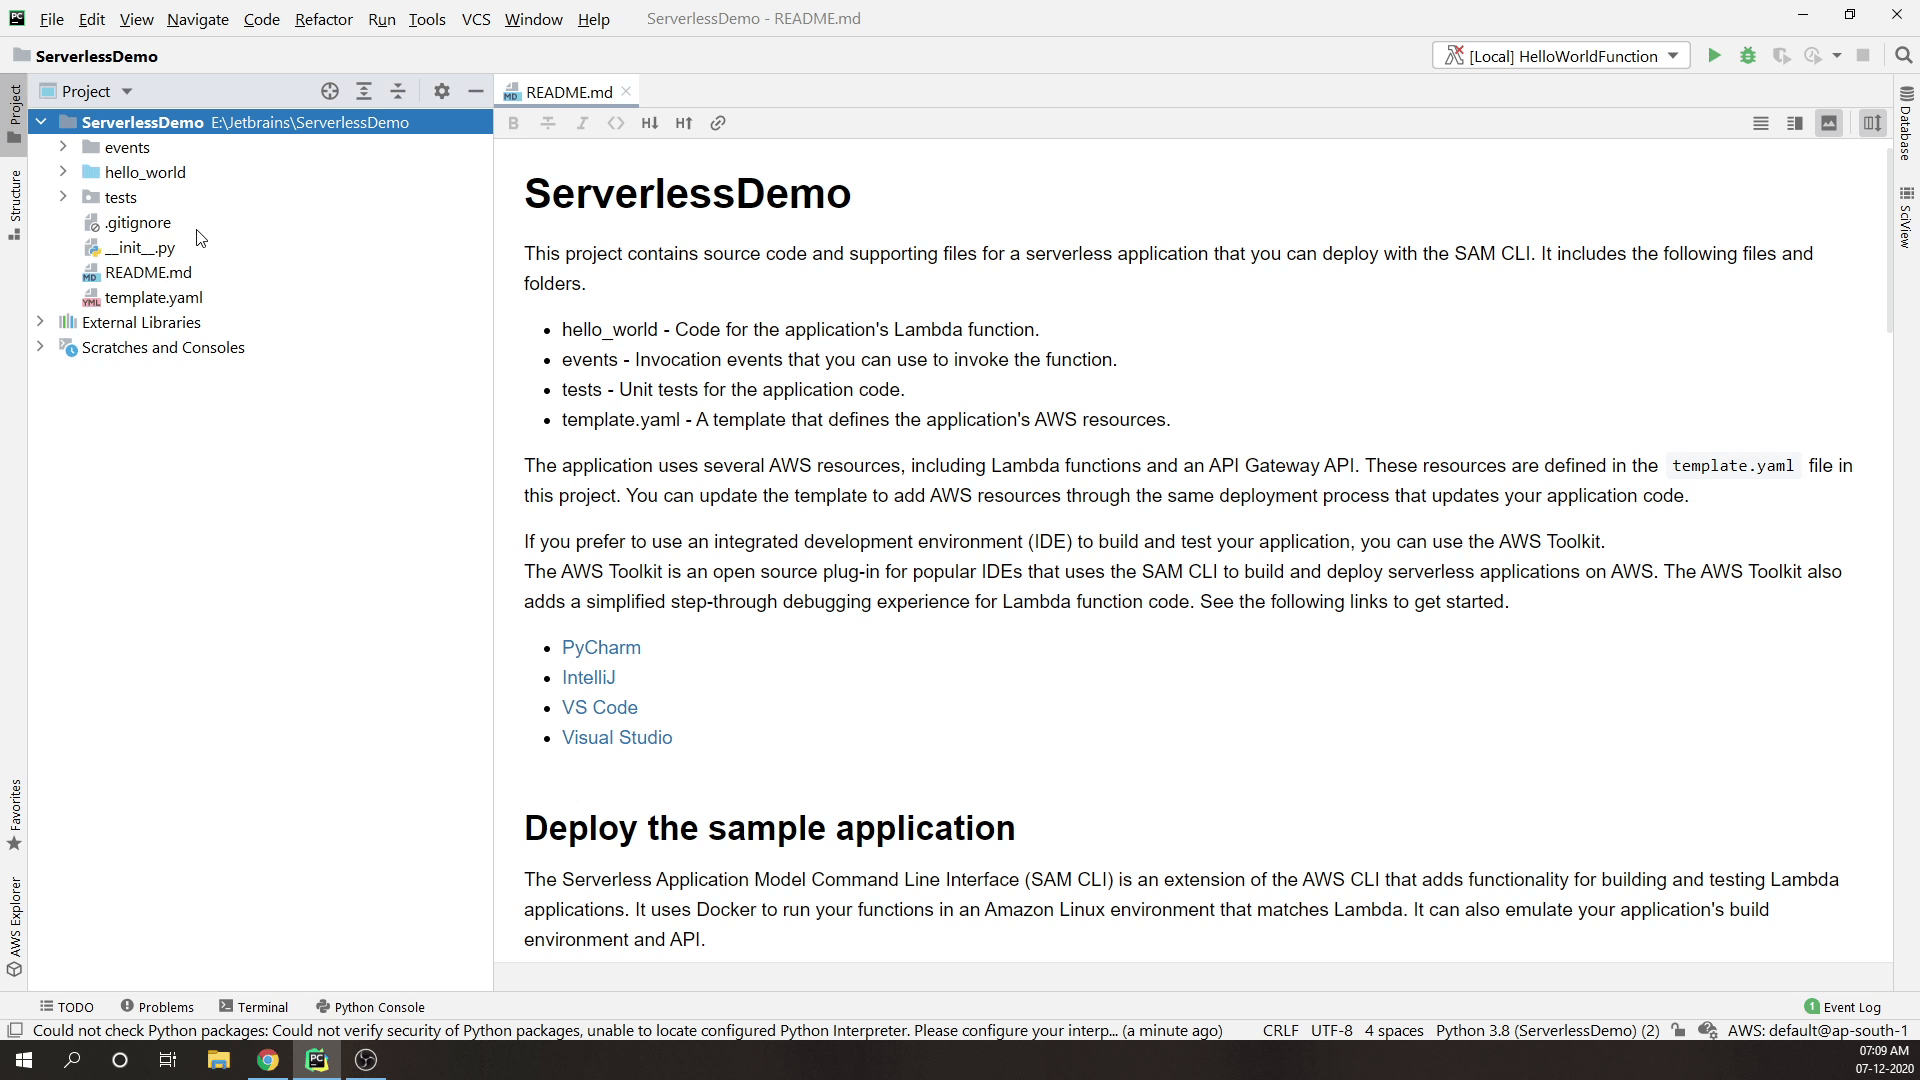
The heart of this application is the template.yaml file.
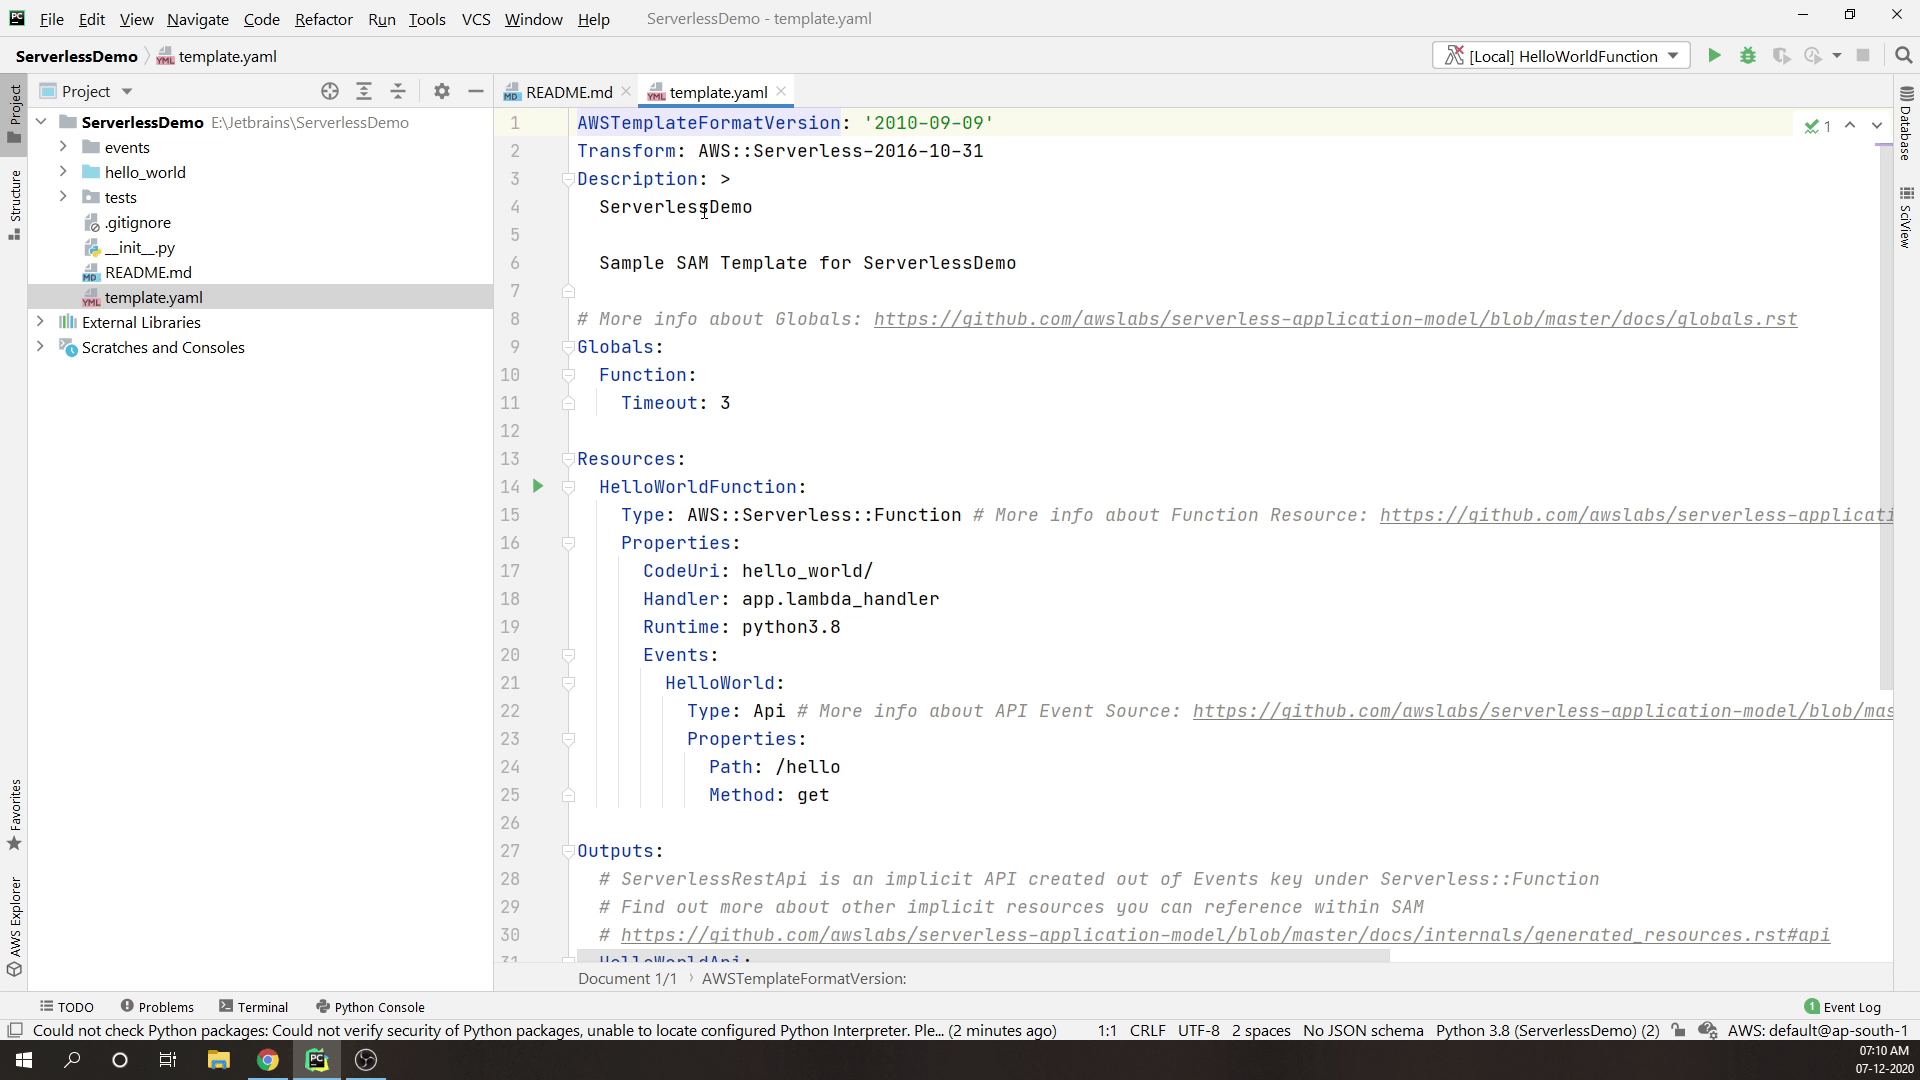
It looks similar to CloudFormation. It’s basically an extension to the CloudFormation Template. If you have previously worked with CloudFormation then its basically known as Infrastructure as a Code. It is a tool from AWS that allows you to spin up resources quickly and everything is being managed via code. If you don’t use AWS and you rely on different cloud vendors then you can use an open-source tool provided by HashiCorp called Terraform. Terraform is an open-source infrastructure as code software tool that provides a consistent CLI workflow to manage hundreds of cloud services. The great advantage of using Terraform is that you can use it with any cloud provider.
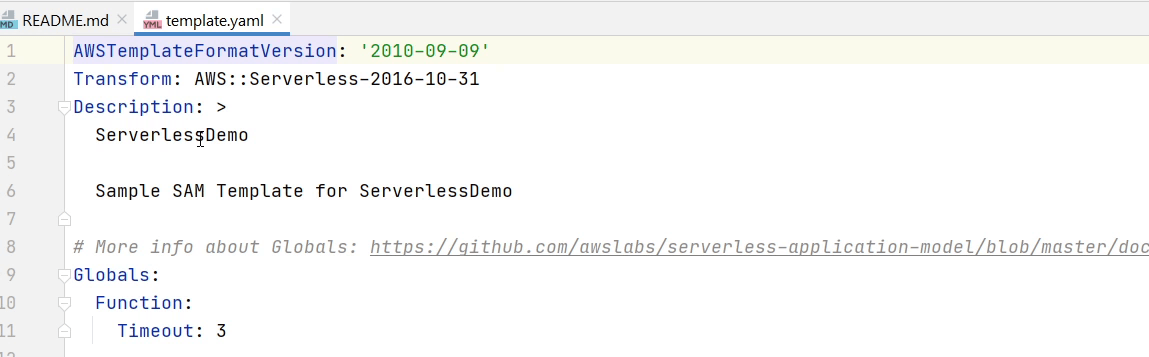
As you can see in the template over here there is something like “description”, “template version”. This is the global information about your functions. All the functions will be getting a time-out after 3 seconds. You can also define your memory requirements.
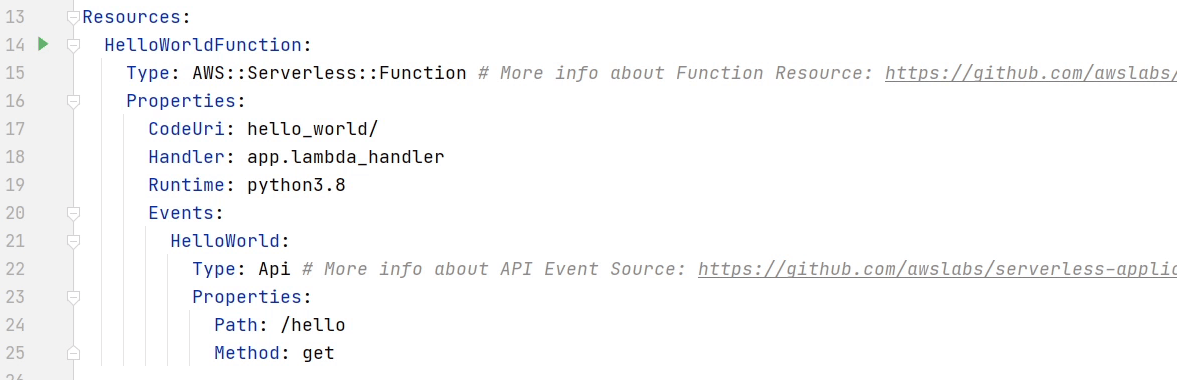
We will be registering our APIs under this Resources section.
There are two properties CodeUri and Handler. CodeUri is the directory in the business-logic reside and Handler is the combination of file name and
function name (app.lambda_handler).
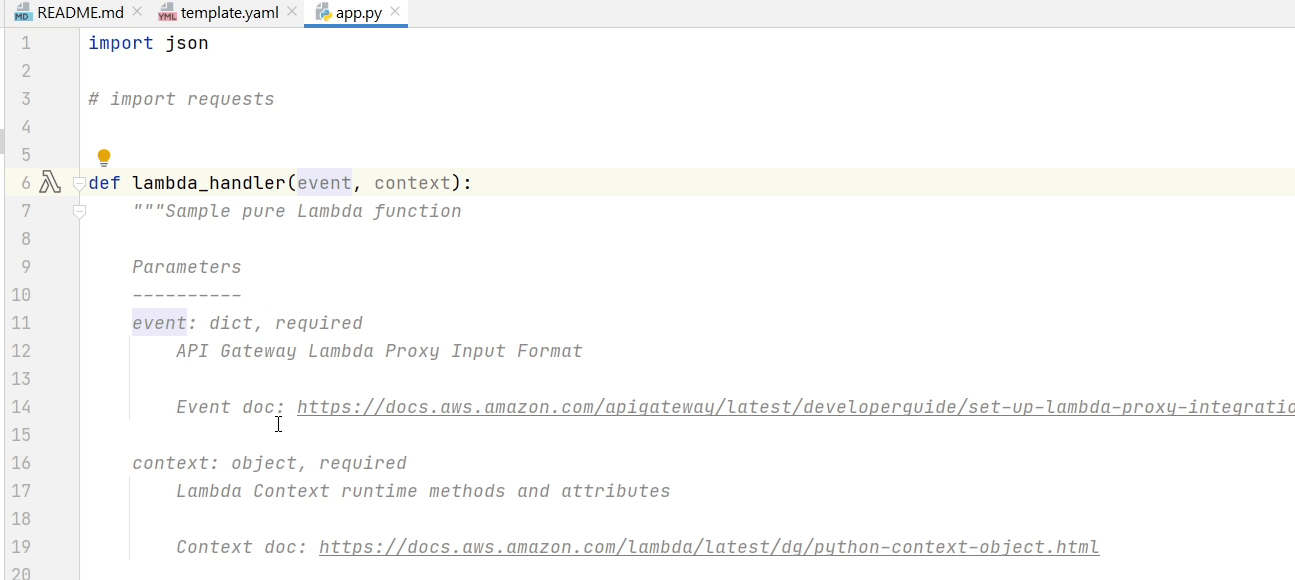
Lambda handler is nothing but a pure python function. It takes a set of events and from that event you will be getting all information like the request body etc.

This is the sample response structure of the lambda function.

So, in the lambda function you might have seen something called events & context. I will dig deeper into this.
When Lambda runs your function, it passes a context object to the handler. This object provides methods and properties that provide information about the invocation, function, and execution environment.
As you can see on my screen this is a list of properties which you can pass in your lambda context. I will provide the link in the description if you want to go into more details about the Lambda Context.
Apart from context there is one more thing passed called events. According to AWS an event is a JSON-formatted document that contains data for a Lambda function to process. The Lambda runtime converts the event to an object and passes it to your function code. It is usually of the Python dict type. It can also be list, str, int, float, or the NoneType.
If you want more information, please visit AWS Lambda context object in Python
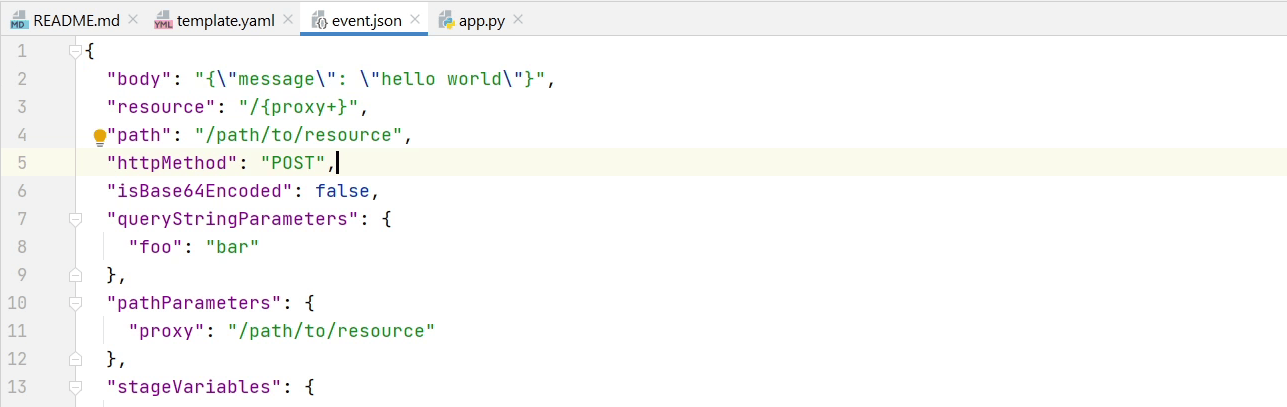
In the above image you can see a sample event which can be used for testing the functions as you can see over here what are the data that is passed to the lambda function. The sample shows how we are passing the request body.
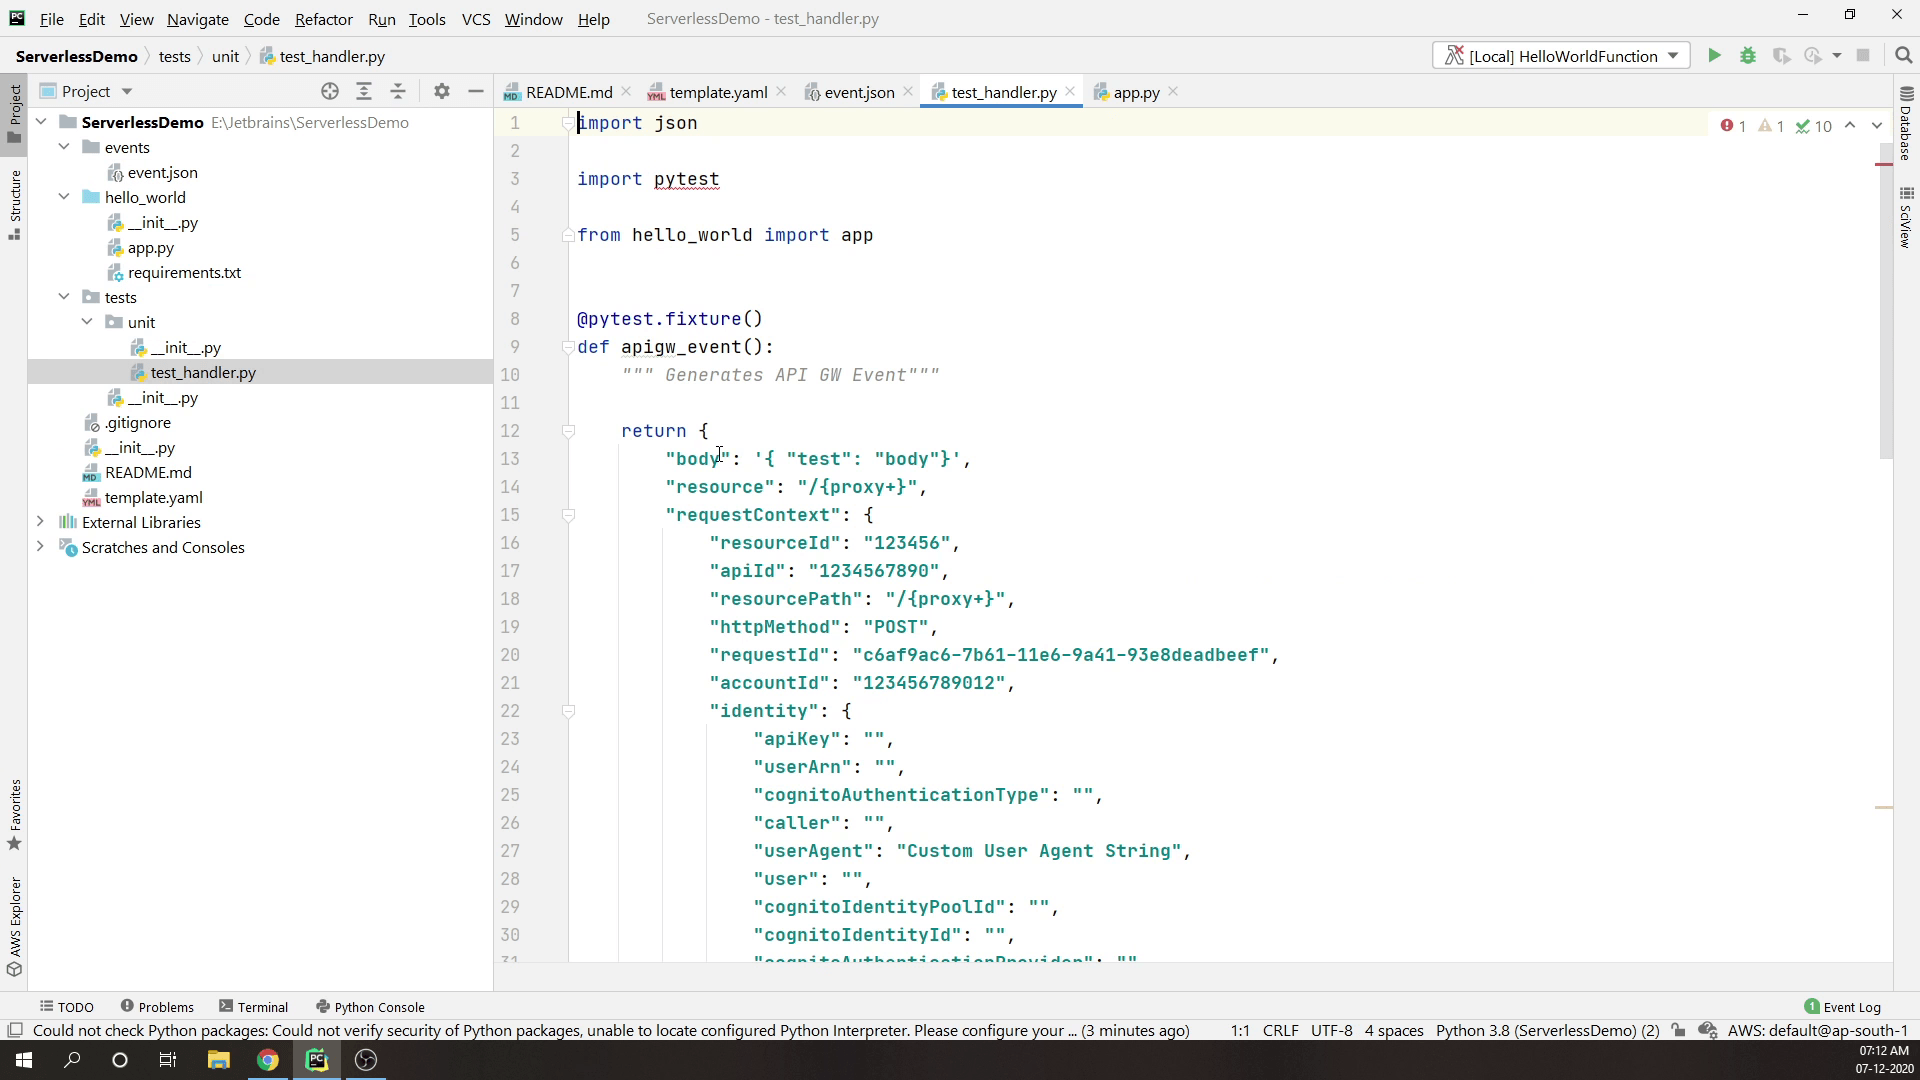
A "tests" directory is available. If you intend to create unit tests, your locally executed Lambda functions can utilize the identical sample event.json file.
Template Anatomy
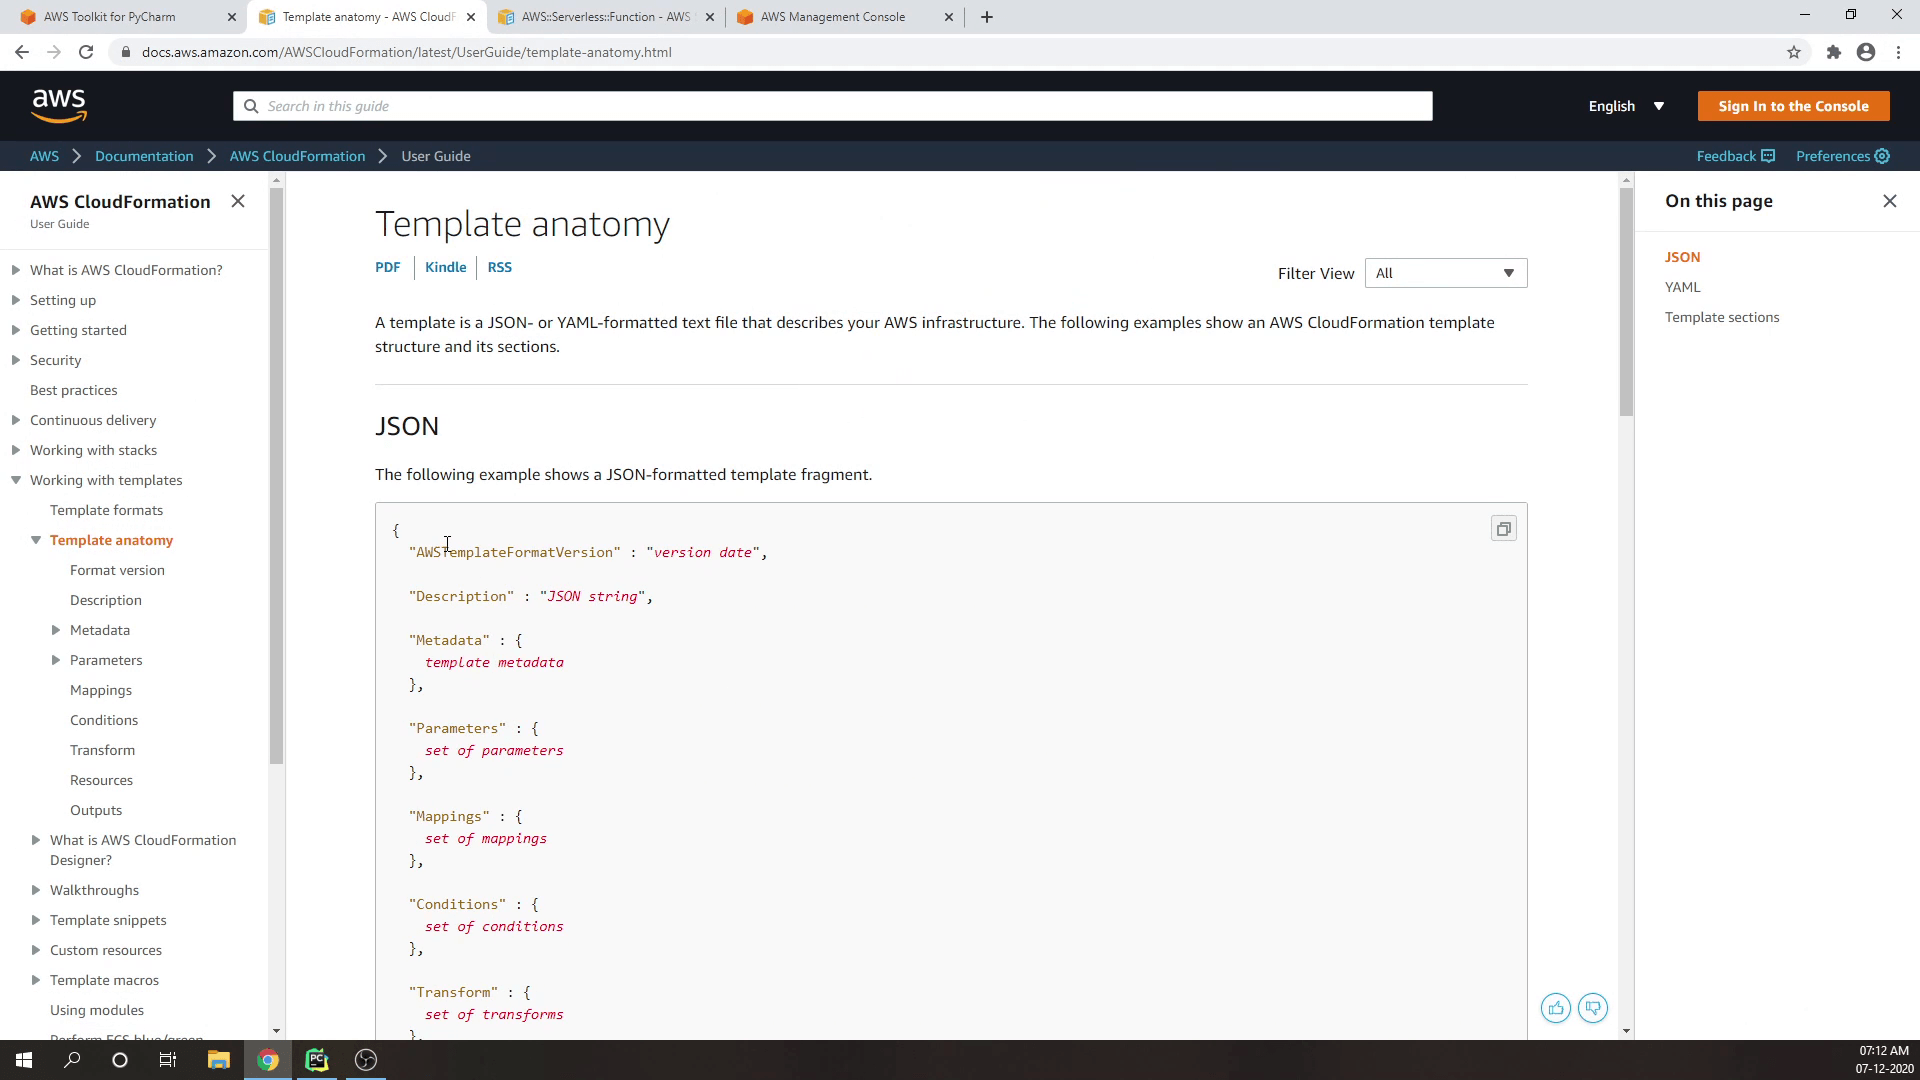
If you want to get into more details about Serverless Functions then there is something called Template Anatomy as you can see on my screen. Here you will get more information about what data we can pass to the SAM Template. There are lots of properties over here which you can pass to your serverless functions. You can set the events, environments, handlers, and you can even set the memory size.
You will feel intimidated at first, but don’t worry, we will be exploring step by step. In the upcoming tutorial I will show you how to run the Lambda function locally using Docker Container.