
Testing
Writing unit tests of our functions that we deploy to AWS Lambda, to ensure everything works.
In this tutorial, we are going to work on Unit Tests.
Unit Testing
According to Wikipedia : Unit tests are automated tests written and run by software developers to ensure that a section of an application (known as the "unit") meets its design and behaves as intended.
I will be covering only one scenario that will help you understand how we can begin with unit testing.
Installing Requirements
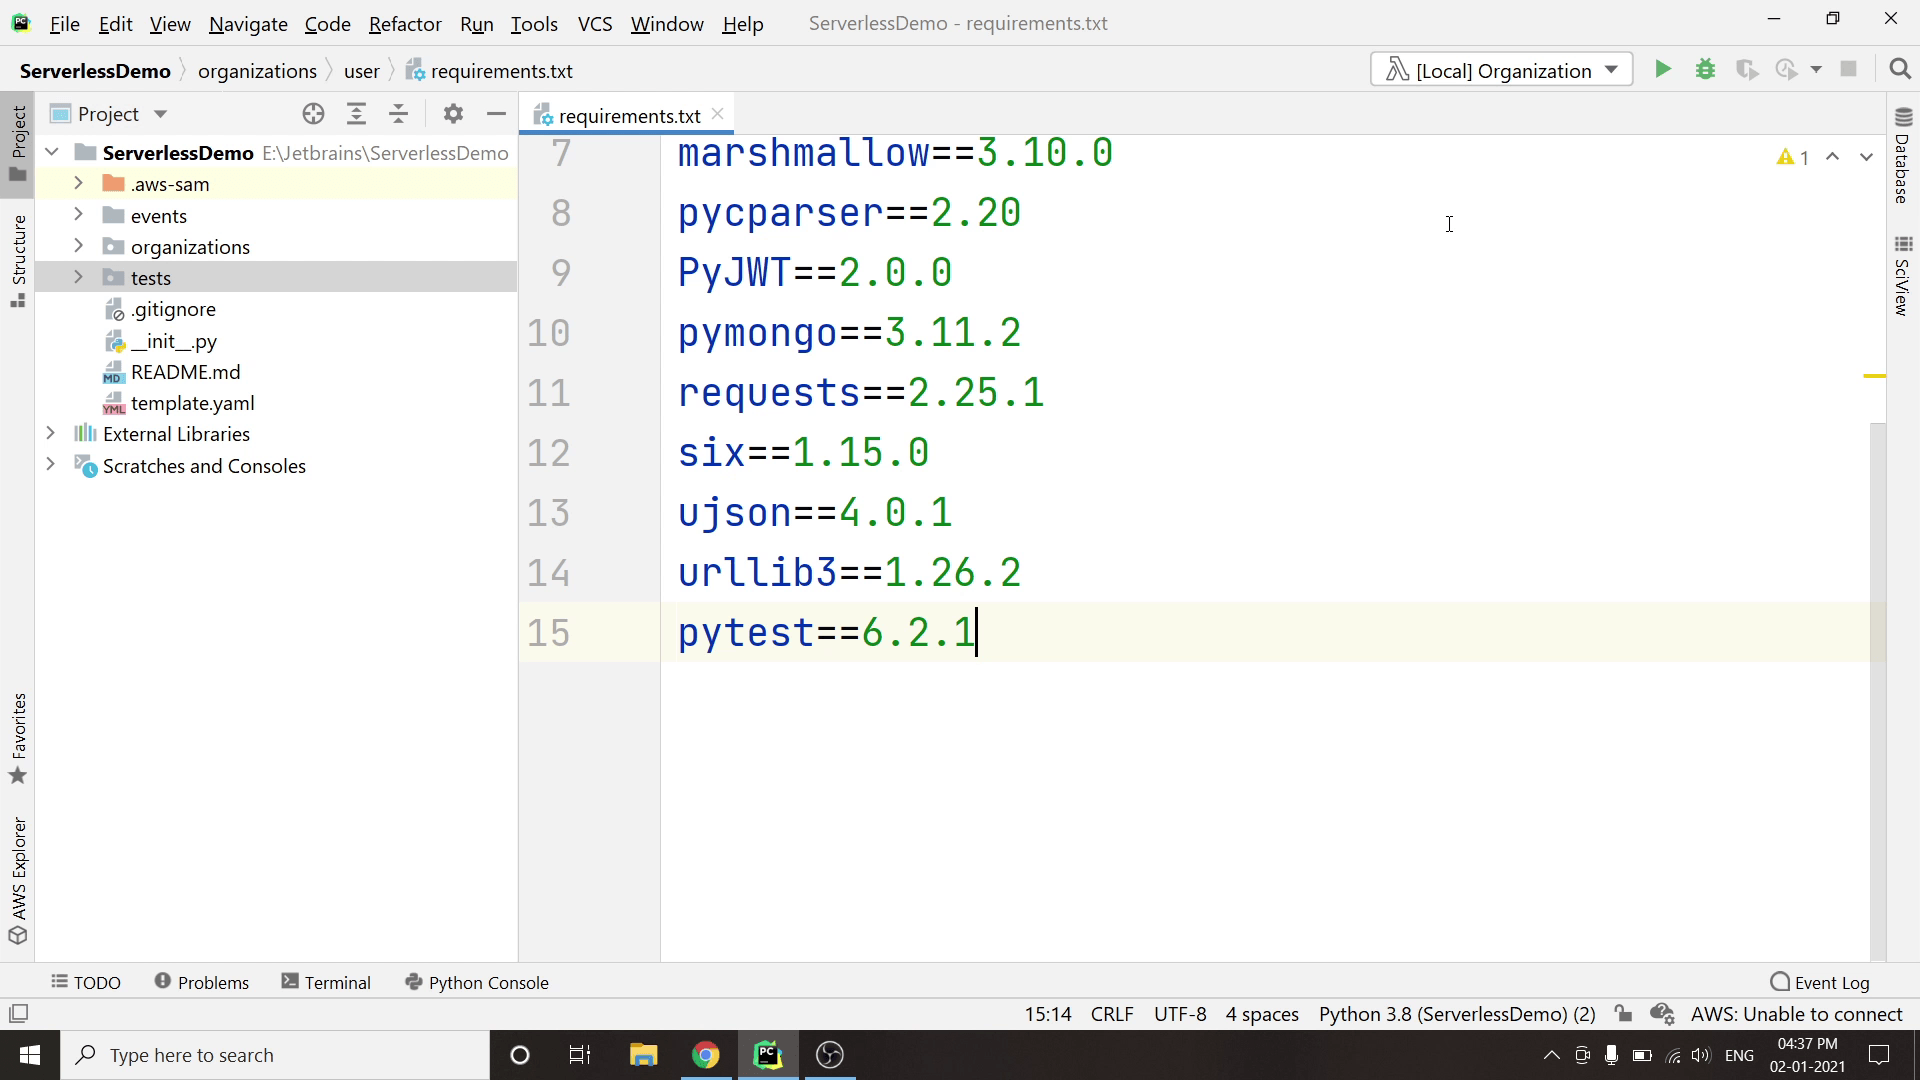
First, install the pytest package. It's the most popular Python testing framework, widely used by developers and QA engineers.
Let's begin testing
I am going to start from scratch. Let me first delete the default test_handler.py file. I will create a db.py file under the "testing_db" package which will contain the same database connection logic which I used earlier.
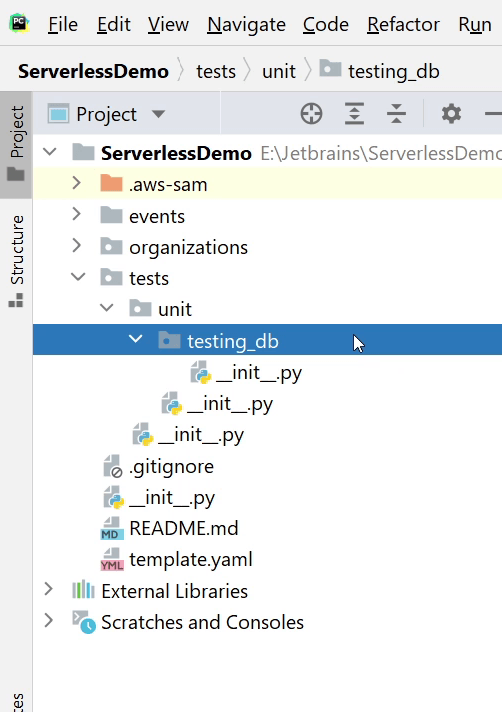
Next, I create the test_handler.py file under the unit package where I will write the unit tests.
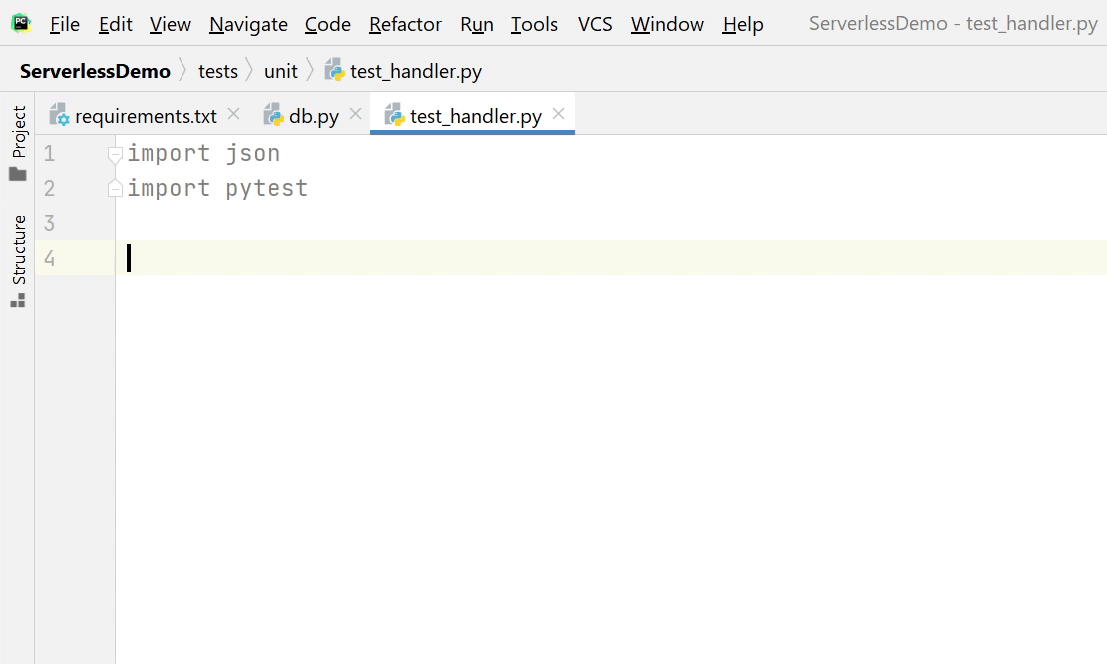 Now, I am going to import the necessary modules like "json" and "pytest".
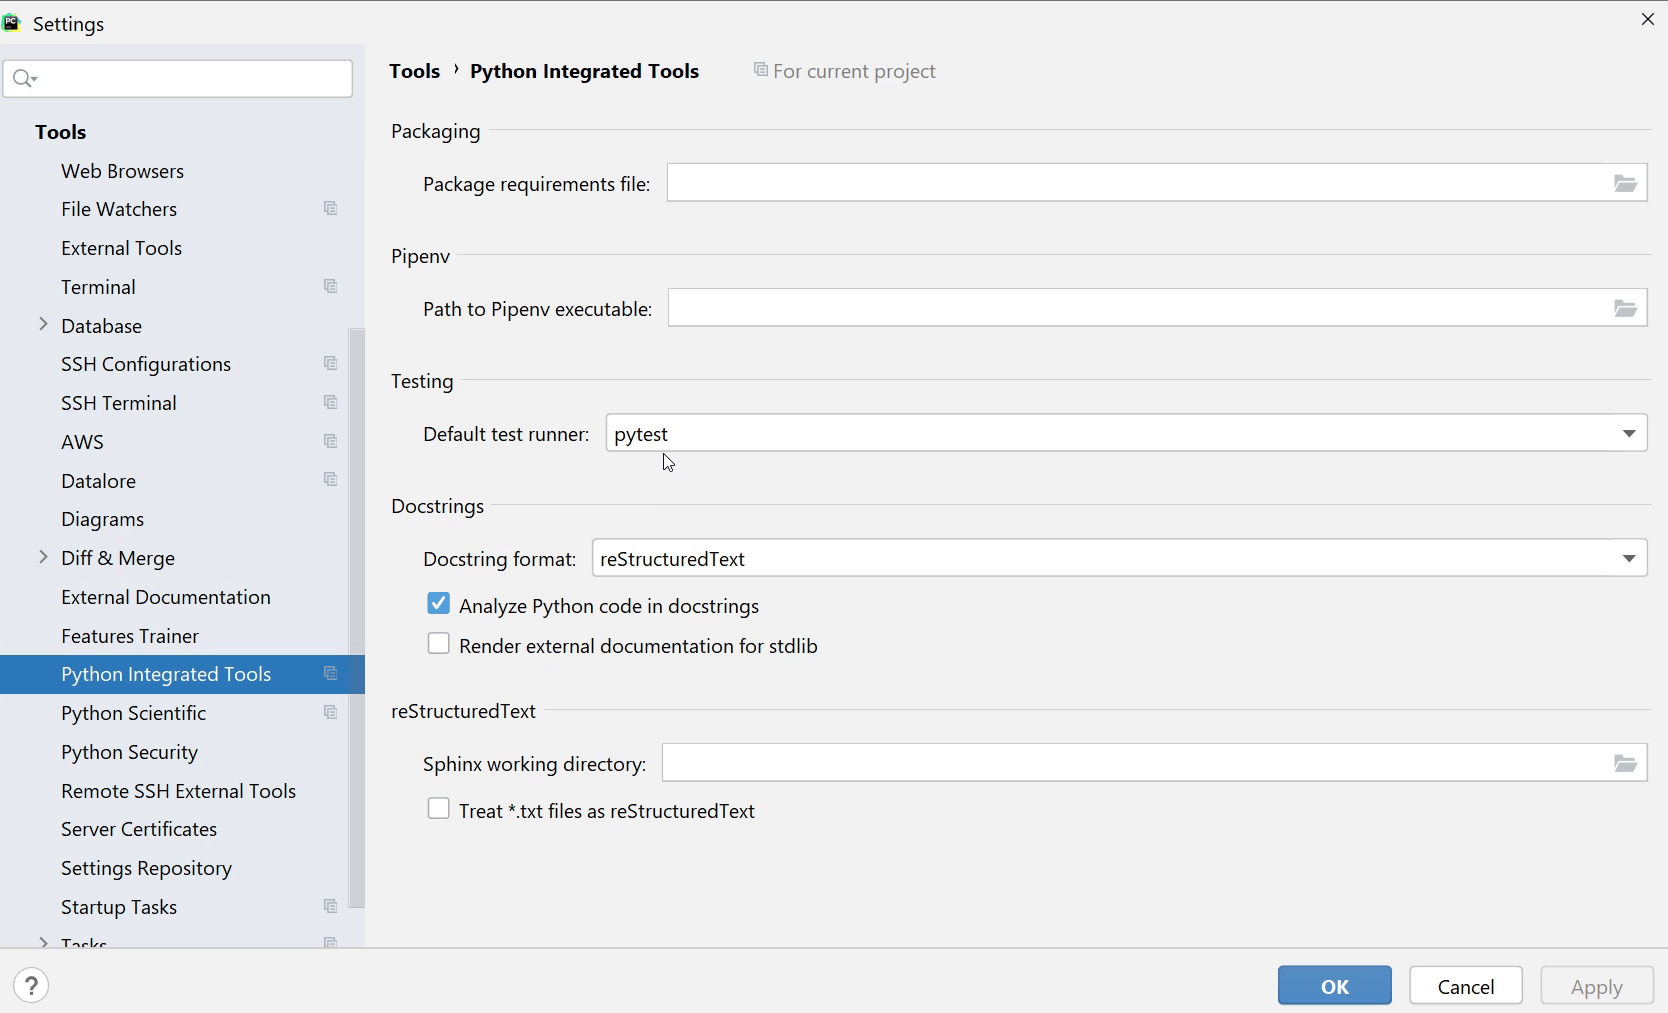
Next, I am going to setup "pytest" as my default test runner.
Go to Settings -> Tools -> Python Integrated Tools and set the default test runner to "pytest".
Let’s resume where we left and import the necessary modules.
I am going to create a sample fixture, according to Wikipedia "A software test fixture sets up a system for the software testing process by initializing it, thereby satisfying any preconditions the system may have."
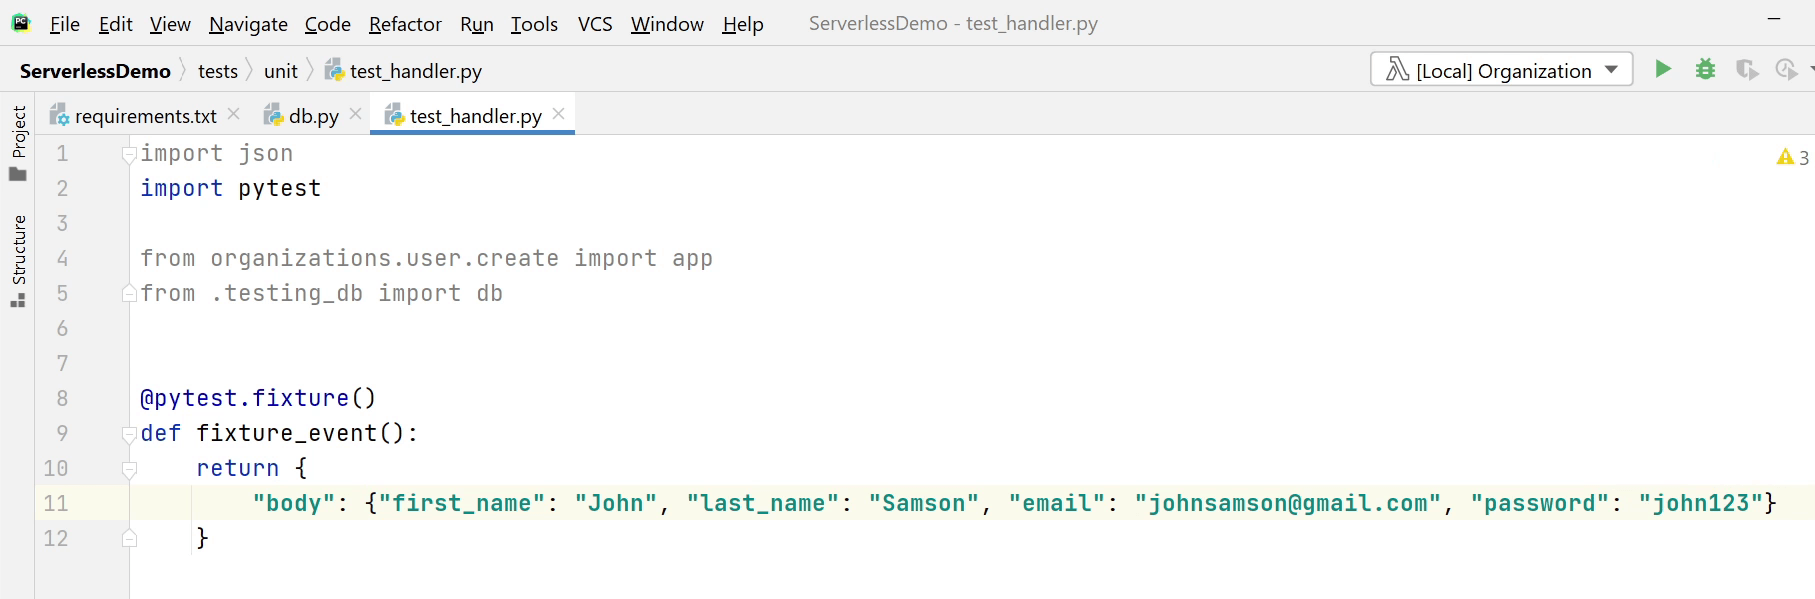
You can see in the above image, I will be passing a sample user information to run my test case.
I will begin creating the TestRegistrationAPI class where I will be loading my fixture and passing it into the lambda handler.
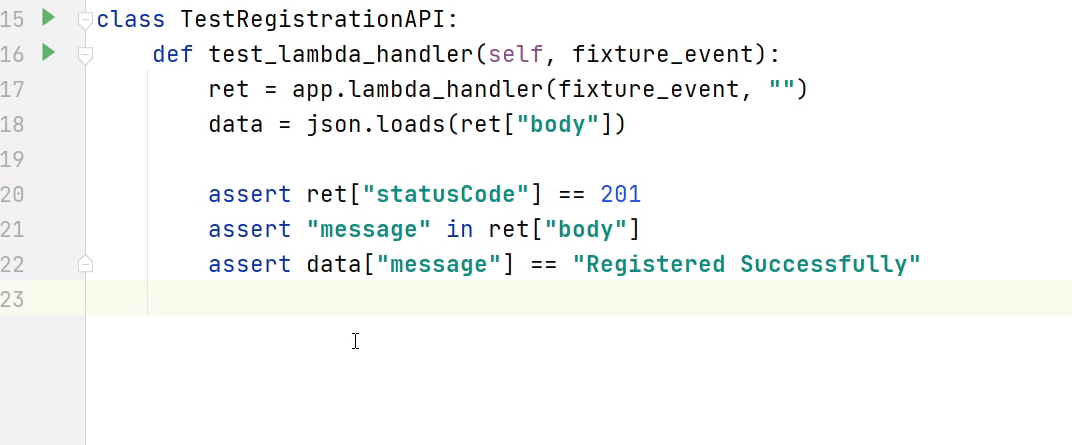
Before running the test case, make sure to add escape characters in the sample fixture as shown in line 11 and 12. As you can see on the below image, every time I run the test case, I will receive a different email address. This is just for creating randomness, nothing special.

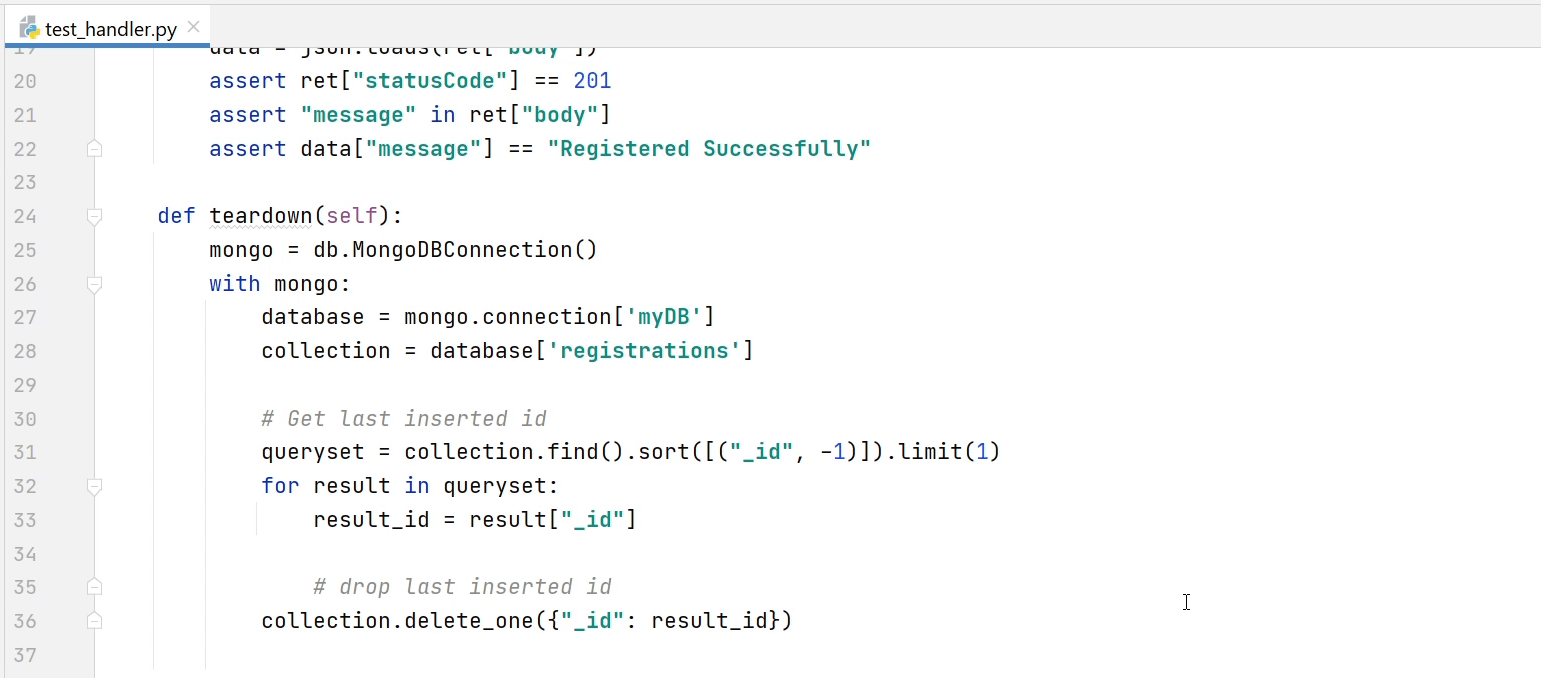
In the teardown method I will be flushing only the last inserted object from the database.
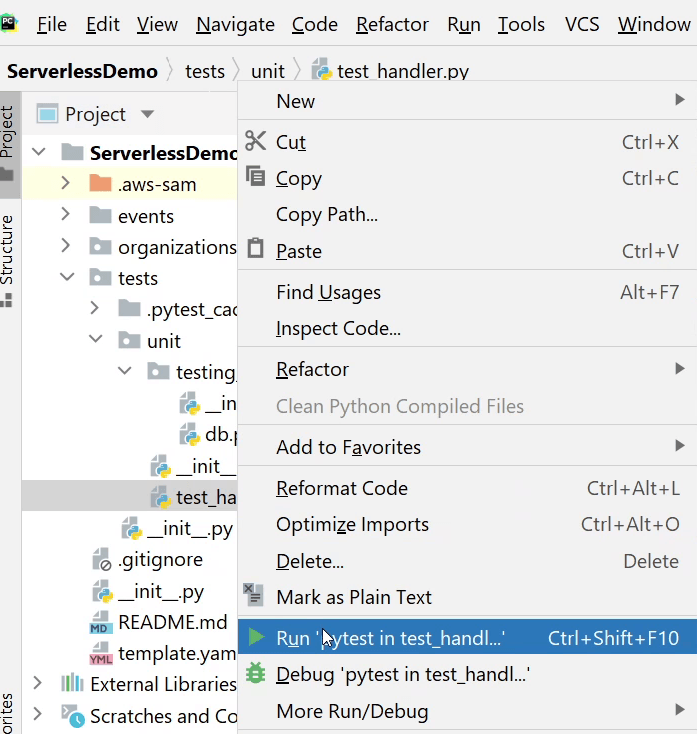
Okay, now I am ready to test. I will right-click on the file test_handler, and then I will click on Run “pytest in test_handler”.
The test has begun. It will take a few minutes or less than that based on the acceptance criteria.
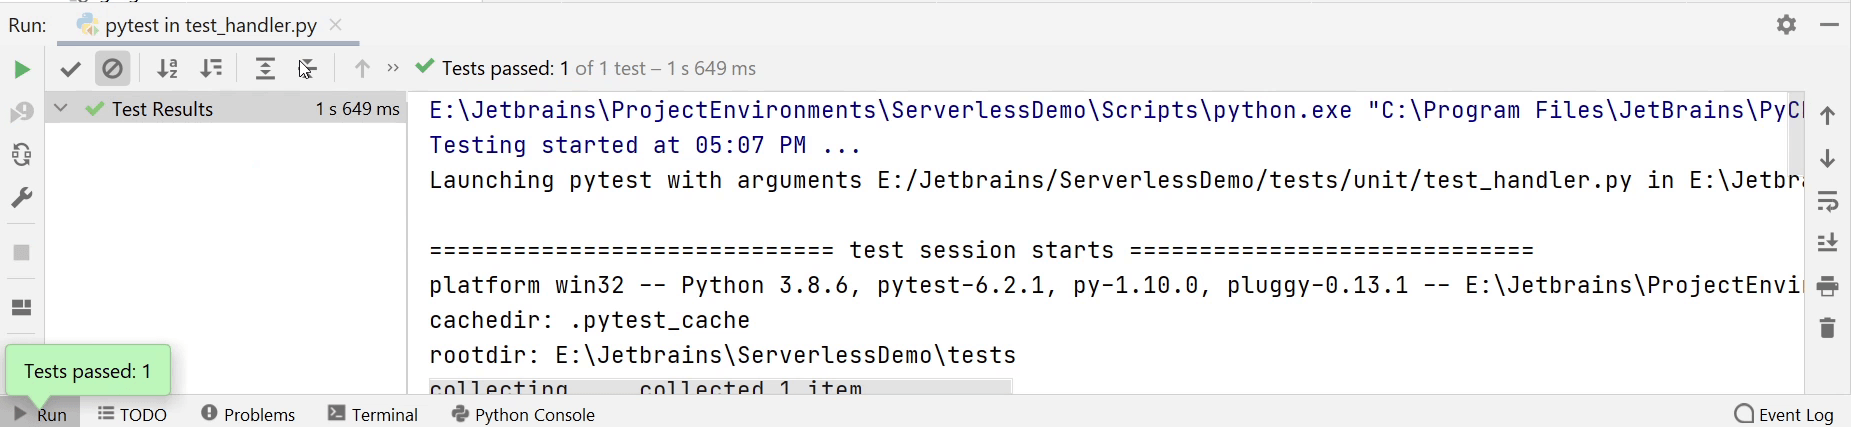
Awesome ! The test has successfully passed. This was a basic glimpse of unit testing. If you are interested to know more about testing then refer to this interesting tutorial Visual Testing with pytest written by Paul Everitt.