
Project Setup
Install AWS SAM (Serverless Application Model), AWS CLI & finally PyCharm Plugin AWS Toolkit.
In this tutorial step, let's install all the required dependencies.
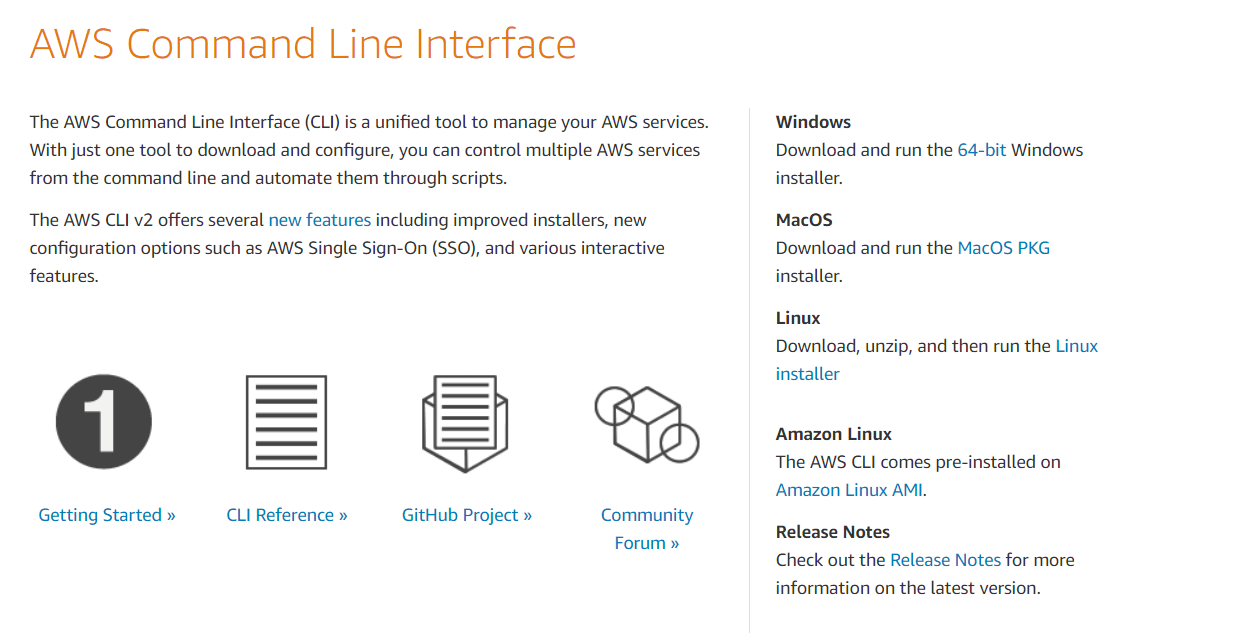
AWS CLI
Let's start first by downloading the AWS Command-Line Interface. As I am using a Windows machine, I will download the 64-bit installer. You can follow the same website if you are using Mac or Linux.
Before moving forward with AWS SAM, make sure you have installed following dependencies.
- AWS CLI
- Docker
AWS SAM (Serverless Application Model)
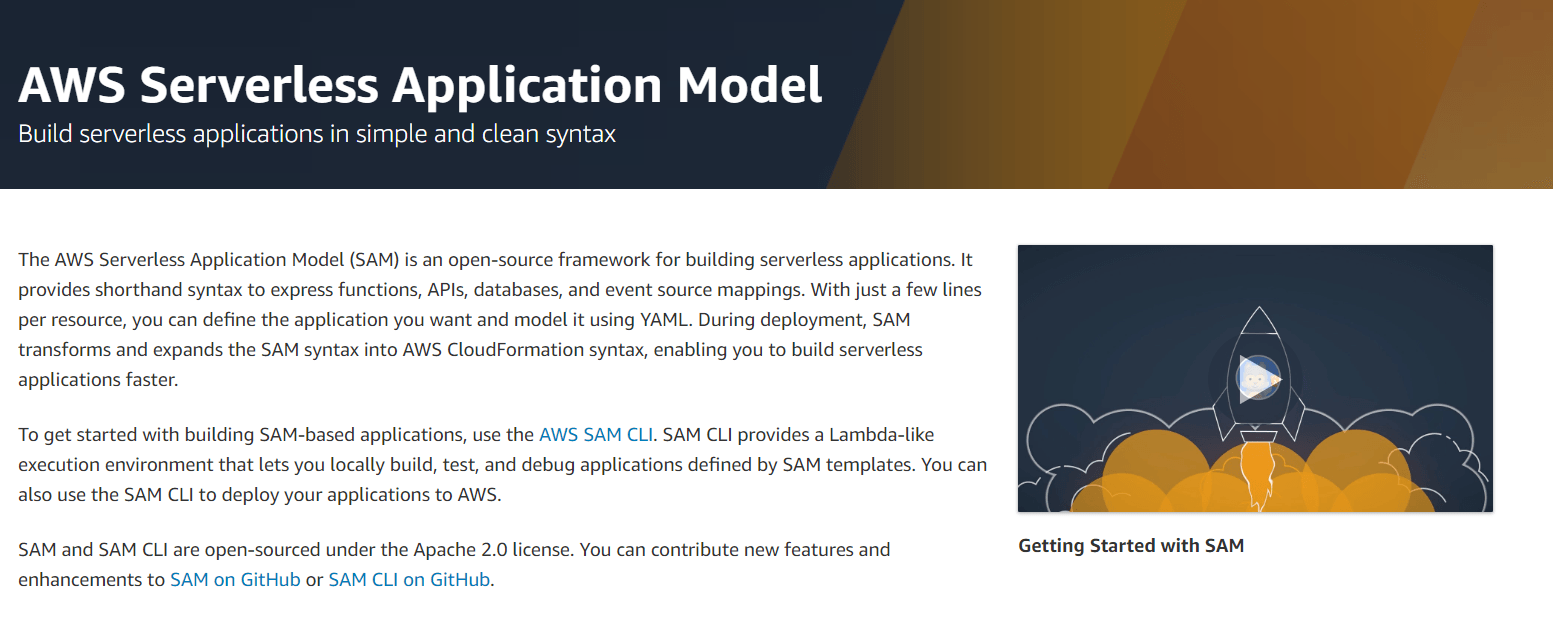
According to Amazon, the AWS Serverless Application Model (SAM) is an open-source framework for building serverless applications. A serverless application is a combination of Lambda functions, event sources, and other resources that work together to perform tasks. Note that a serverless application is more than just a Lambda function -— it can include additional resources such as APIs, databases, and event source mappings.
You can download the setup file from aws.amazon.com/serverless/sam and follow the same installation process like you did above for the CLI.
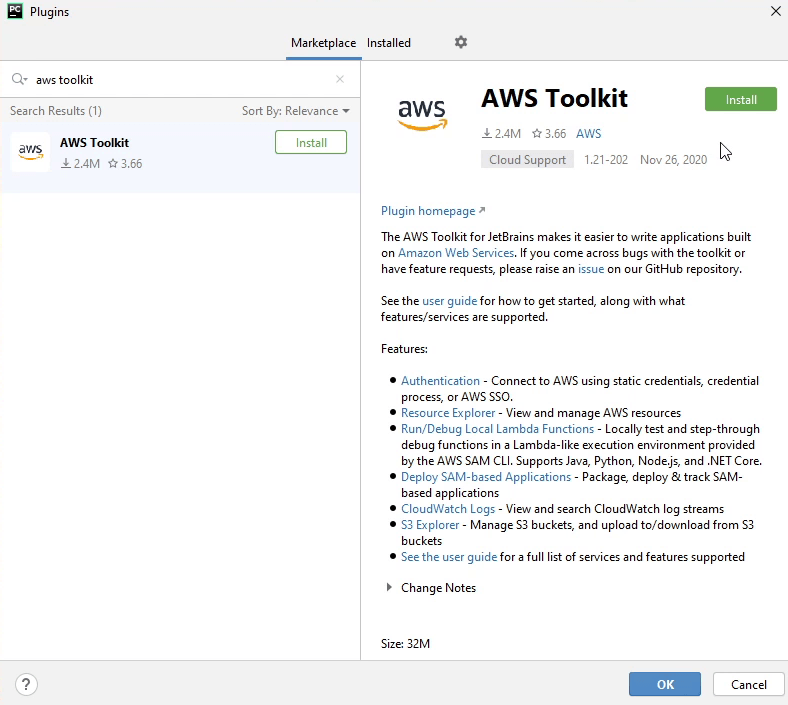
AWS Toolkit
This plugin is developed by the Amazon AWS team. It is an open source plug-in for the PyCharm IDE that makes it easier to create, debug, and deploy python applications on Amazon Web Services. The toolkit provides an integrated experience for developing serverless applications, including assistance for getting started, step-through debugging, and deploying from the IDE.
To learn more about this plugin, refer to this link AWS Toolkit for PyCharm.
To install the plugin follow the below steps.
- Go to Settings | Plugins
- Search AWS Toolkit
- Click Install
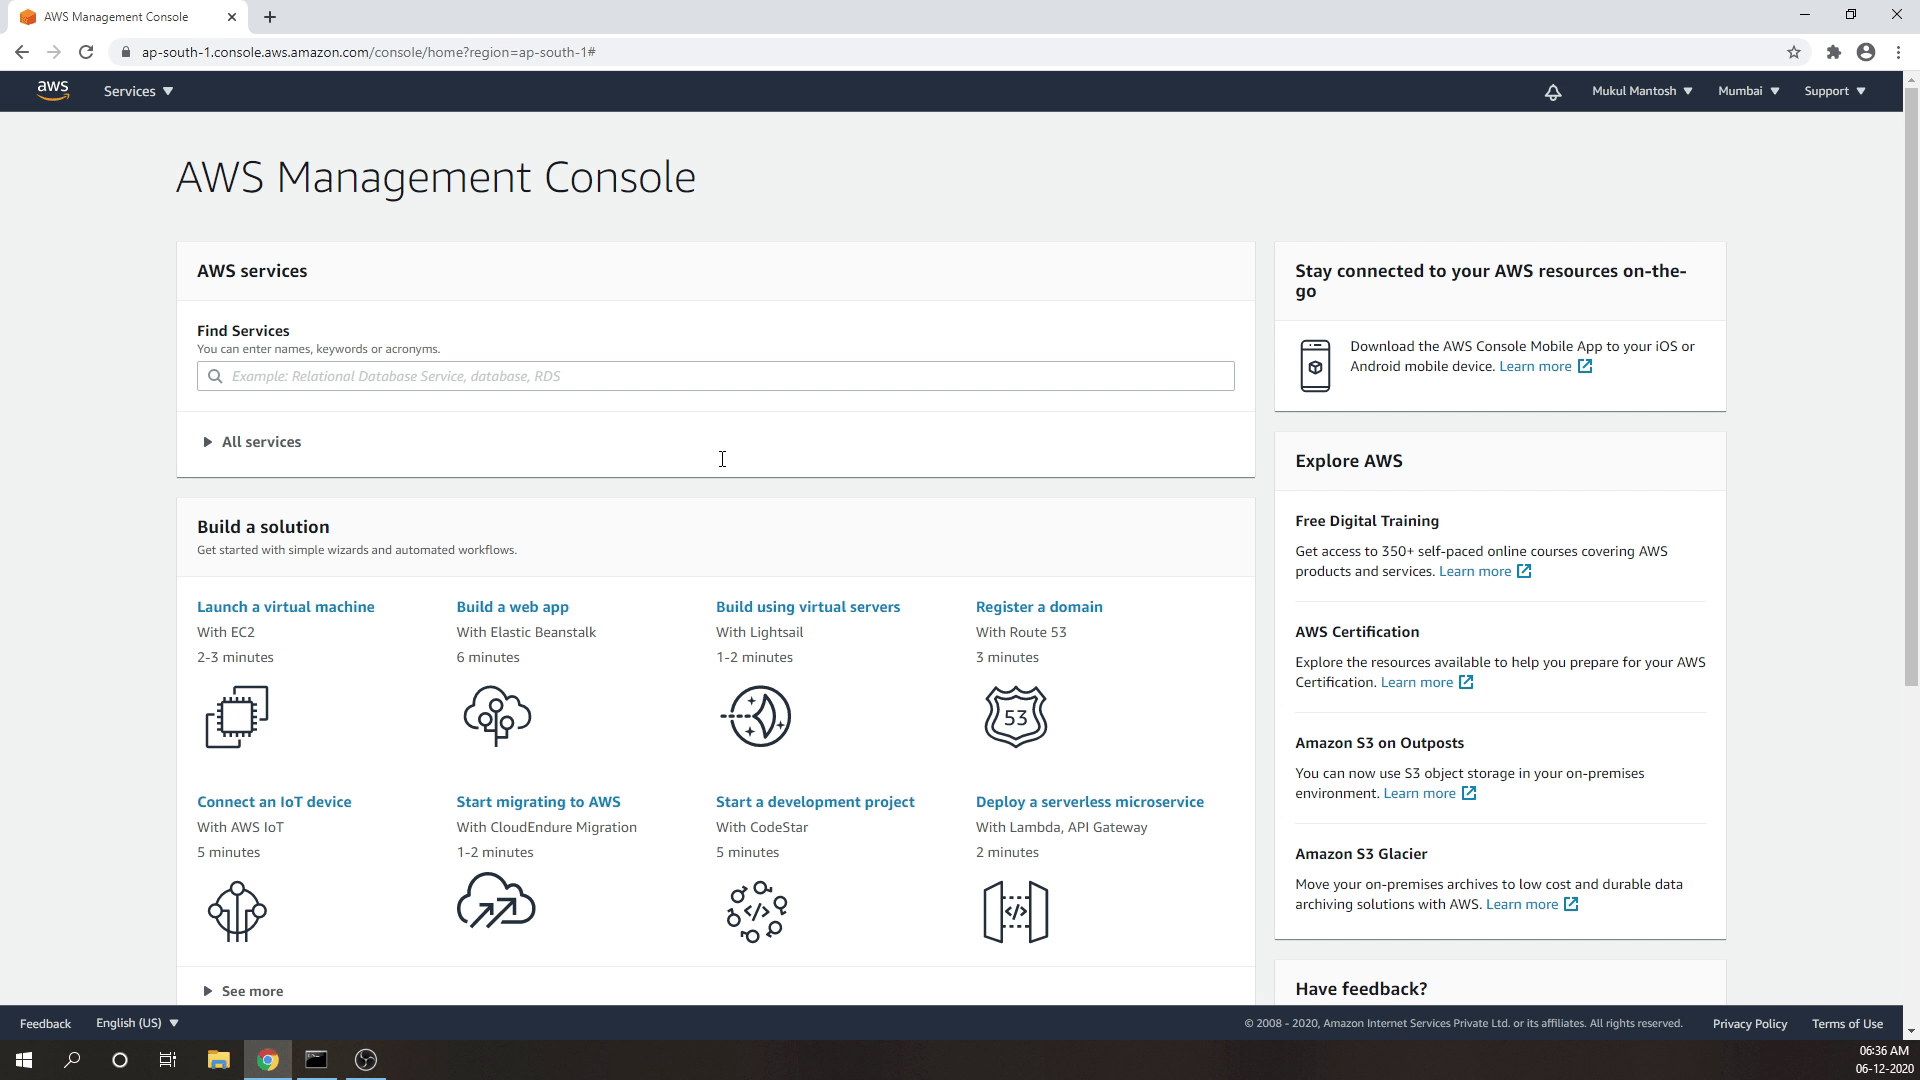
AWS Management Console
Before starting up the project make sure that you have an AWS Account. As you may know, AWS provides a free tier for some of the services, up to 12 months. Also, there are some services which are even free after 12 months, such as AWS Lambda, which provides 1 million free requests per month and 400,000 GB-seconds of compute time per month.
To know more about AWS, please visit aws.amazon.com
Identity & Access Management (IAM)
Once you have created an account and successfully logged into AWS, then we will goto IAM section. IAM stands for Identity & Access Management. IAM lets you manage access to AWS services and resources securely.

When I click on users, basically it will show me the lists of users residing in my account. As you can see, I have one user. I will click on that specific user to get more information.
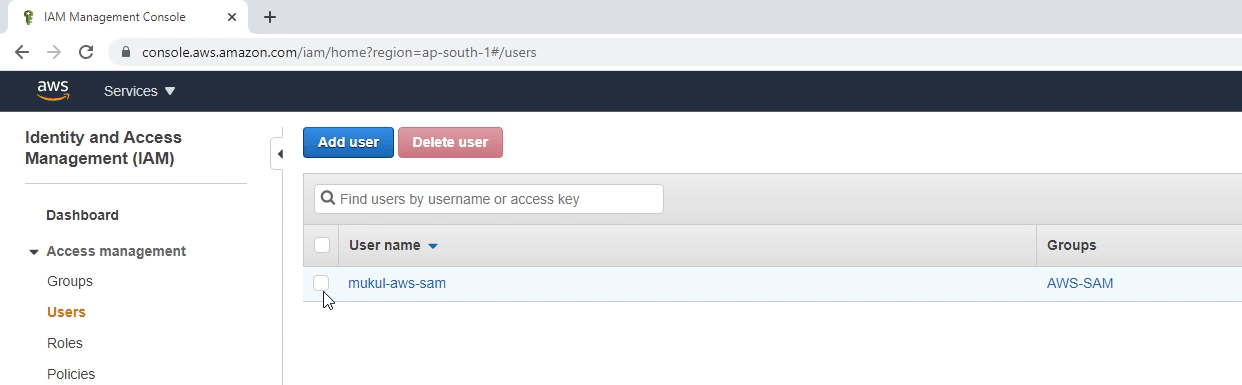
You can see below that user falls under a group. A group is a collection of IAM users. Groups let you specify permissions for multiple users and make it easier to manage.
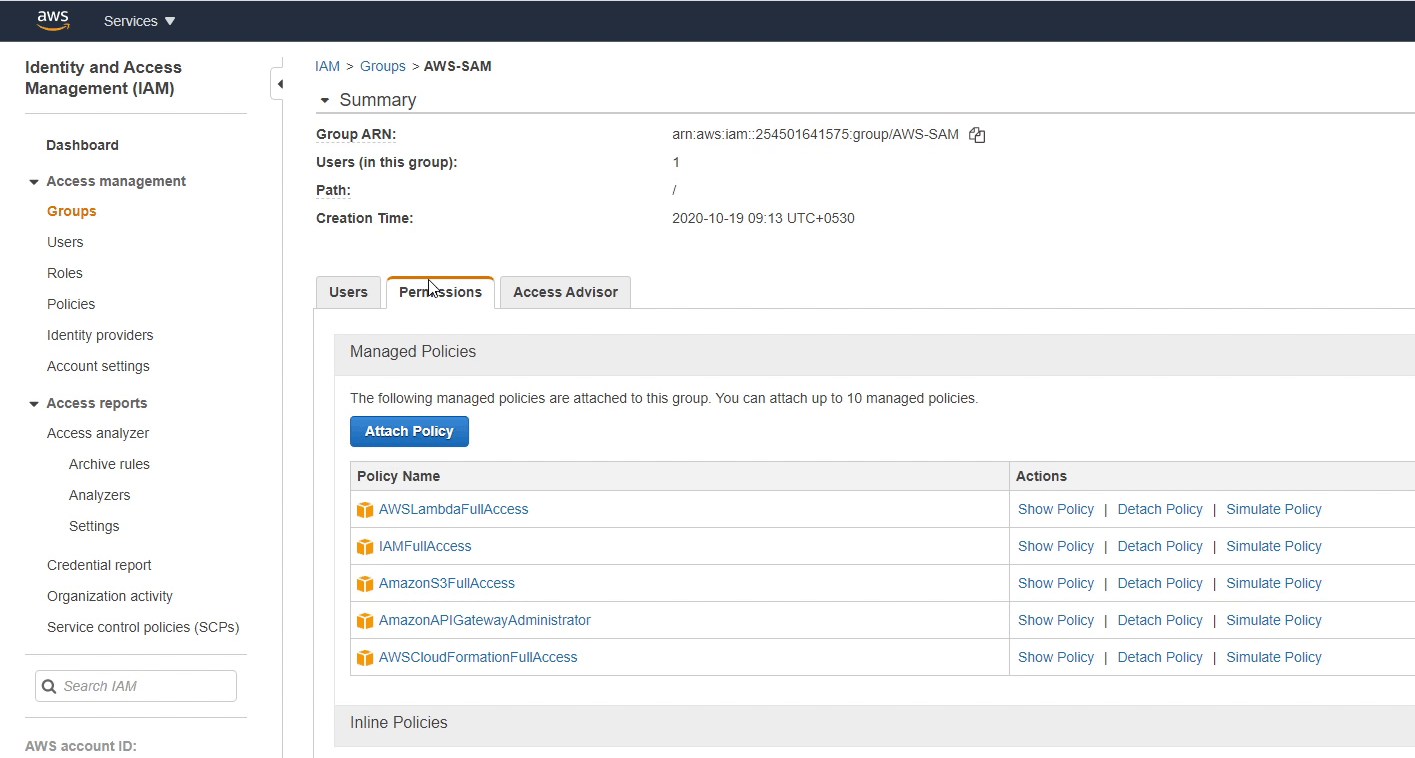
Over here I have provided full access to some of the AWS services because of the tutorial, but this is definitely not a good practice. You should always follow the principle of least privilege. Okay, we are done with the Groups. Let’s move back to the Users.
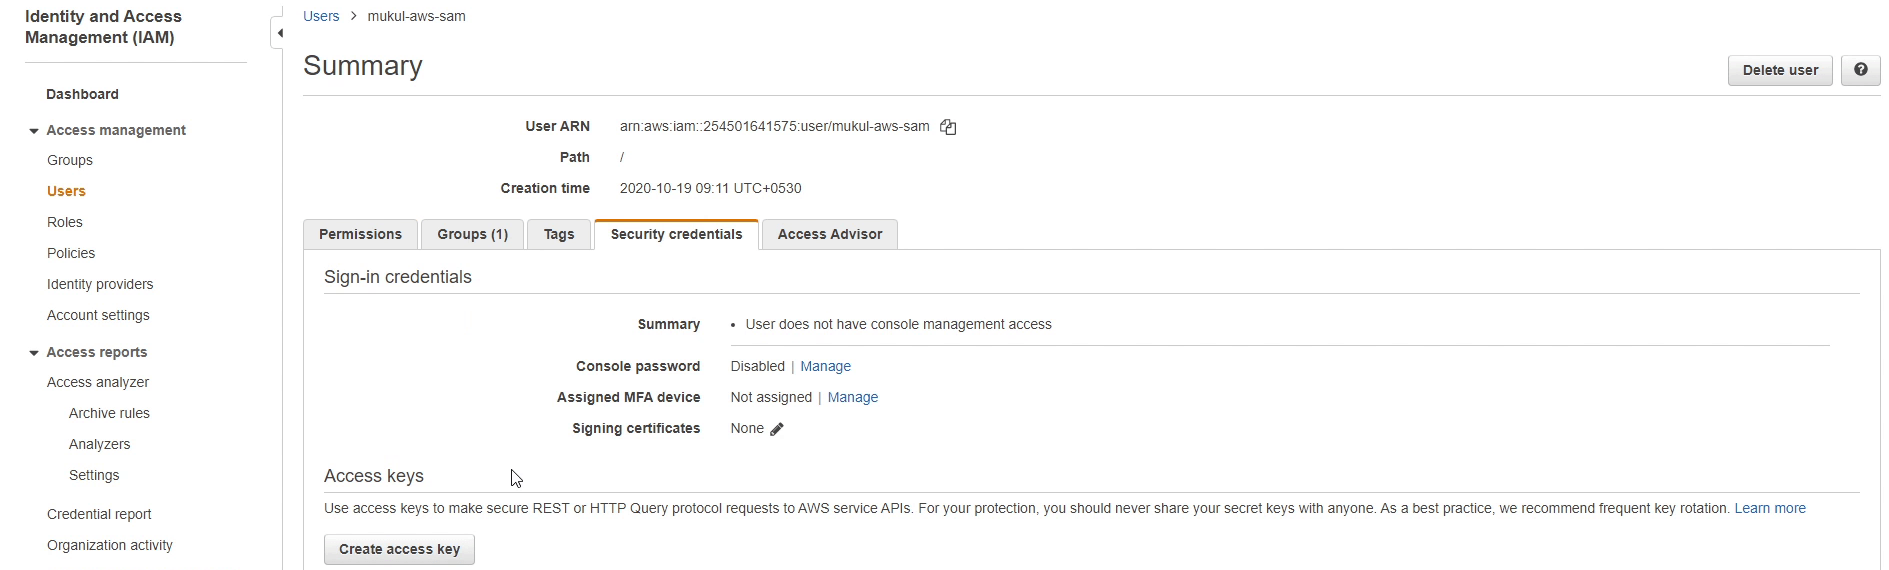
I'll select the particular user, then navigate to Security Credentials. Next, I'll initiate the creation of an access key, which will furnish me with both the access key ID and secret access key.
I'll copy the credentials and open Command Prompt or Terminal. Following that, I'll use the "aws configure" command, which will prompt me to input both the AWS access key ID and secret access key.
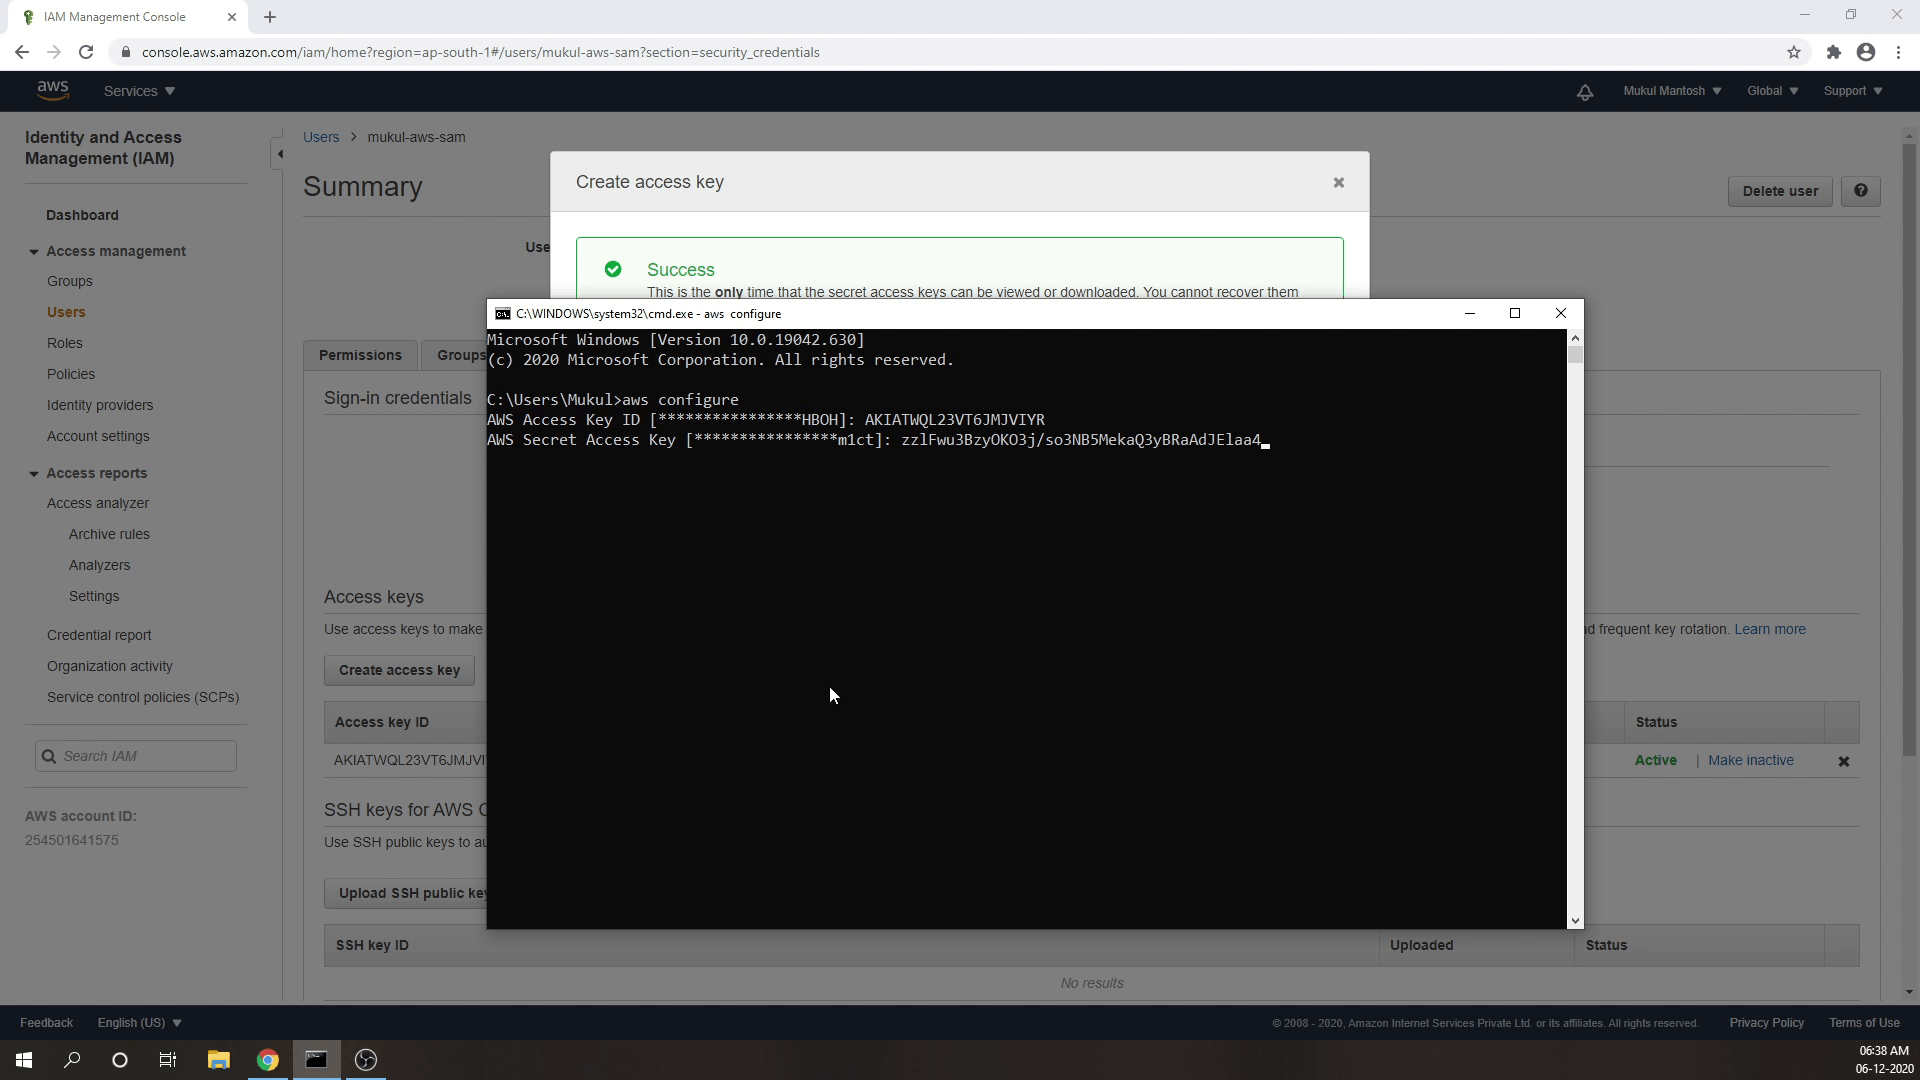
Once done, you are finally set to access your AWS Services programmatically through the CLI. You have completed installing the system dependencies.